Have a blessed Wednesday to everyone in the community
Bienvenidos a este pequeño espacio donde hoy compartiré con ustedes el paso a paso de como realizo las diademas para bebé. Este es un accesorio atemporal, siempre lindo y una prenda imprescindible para complementar los atuendos de las bebés.
Welcome to this little space where today I will share with you the step-by-step instructions on how I make baby headbands. This is a timeless accessory, always cute and an essential item to complement baby outfits.
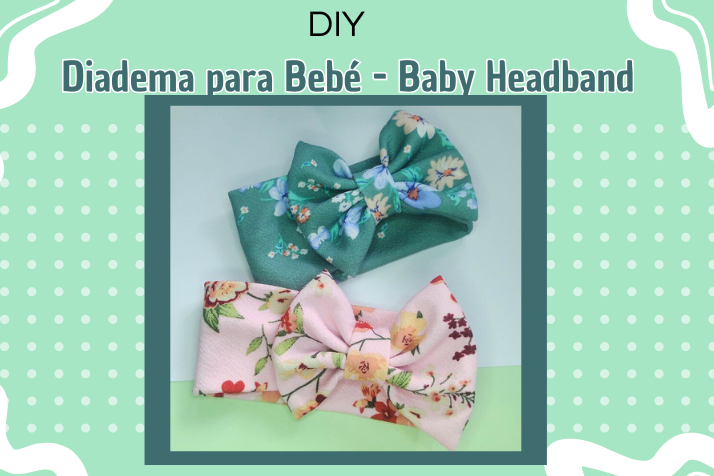
Este estilo de diadema es una de las más solicitadas en mi pequeño emprendimiento, son bastantes fáciles de colocar, lavar y sobretodo de combinar. Le quedan hermosas a las bebés de poco cabello, esos lazos resaltan de manera regia las facciones de la cara y realzan la vestimenta al combinarse. Elaborar estas diademas es bastante sencillo, además de que usamos poco material al hacerlas.
This style of headband is one of the most requested in my small business, they are quite easy to put on, wash and above all to combine. They look beautiful on babies with little hair, these bows highlight the facial features in a regal way and enhance the outfit when combined. Making these headbands is quite simple, and we use very little material when making them.
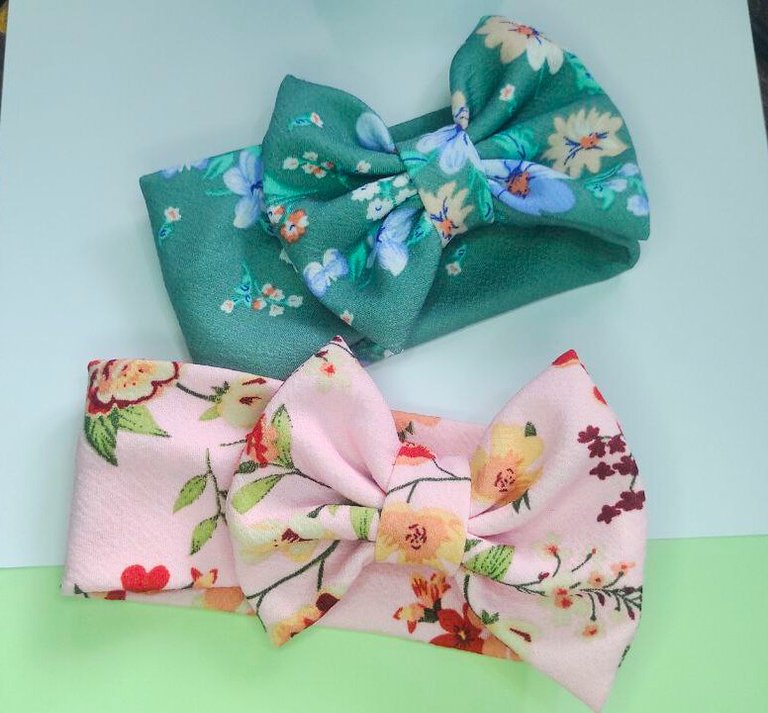
Para crear estas diademas de bebé debemos tener en cuenta algunos factores, para que sea realmente muy funcional y agradable el resultado final. Uno de ellos es el tipo de tela que usaremos, debe ser que ceda suficiente y sea suave, para esta ocasión he usado Beverly, pero en tela Micro Heavy también quedan muy hermosas. Otro detalle es la costura, para ello uso una costura elástica tipo zigzag grande, para que al momento de estira la banda ceda y no se rompan los hilos. Un último detalle importante es la medida, la cabeza de los bebés aumenta rápidamente, por eso es bueno tener referencias de circunferencias craneales infantiles, puedes conseguir en internet clasificada por meses o quizás simplemente tomar las medidas directamente a la bebé.
To create these baby headbands we must take into account some factors, so that the final result is really functional and nice. One of them is the type of fabric that we will use, it must be soft and give enough, for this occasion I have used Beverly, but in Micro Heavy fabric they are also very beautiful. Another detail is the seam, for this I use a large zigzag elastic seam, so that when the band is stretched it gives and the threads do not break. A last important detail is the measurement, the head of babies grows quickly, that is why it is good to have references of infant cranial circumferences, you can find them on the internet classified by months or perhaps simply take the measurements directly from the baby.
🌸🌸🌸🌸🌸🌸
Materiales
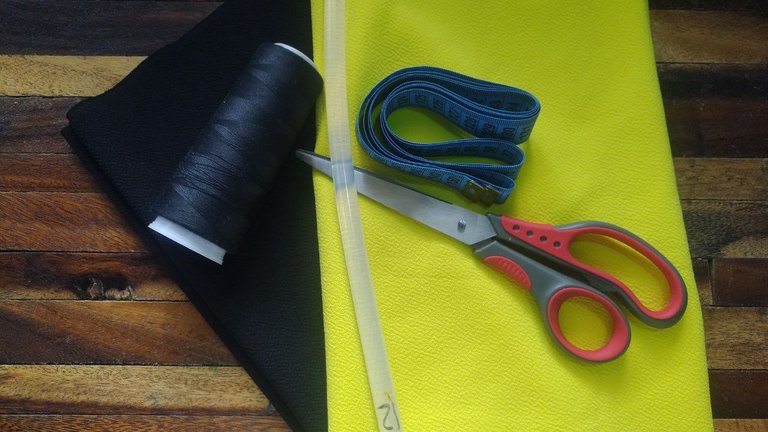
- Tela Beverly estampada o unicolor
- Hilo - Máquina de Coser - Tijera - Aguja común
- Silicon
- Cinta Métrica
Materials
- Printed or solid color Beverly fabric
- Thread - Sewing machine - Scissors - Common needle
- Silicone
- Measuring tape
🌸🌸🌸🌸🌸🌸
Proceso de Creación / Creation Process
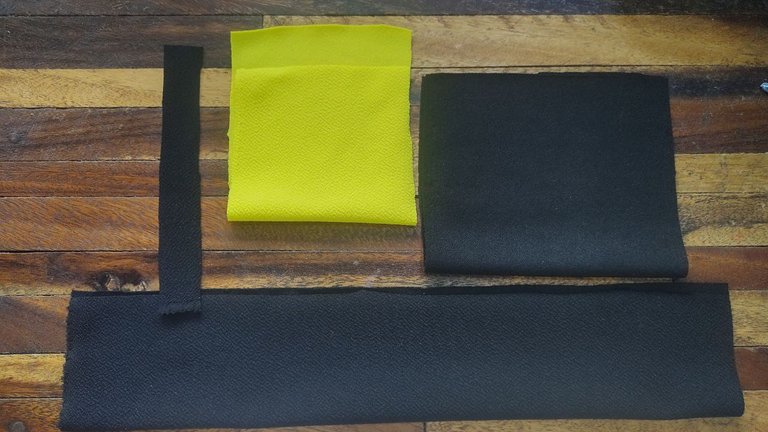
Para iniciar debemos tener claro el ancho de la diadema, este ancho lo multiplicamos por 2 y también agregamos un par de centímetros más de costura. Lo largo será de acuerdo a la circunferencia de la cabeza de la bebé, es decir a sus meses. En este caso la estoy haciendo para una bebé de 1 mes, así que es bastante pequeña. Cortamos el listón base de acuerdo a las medidas, también cortamos los rectángulos para el lazo que en este caso es doble. Por ello corté dos rectángulos, uno negro y uno amarillo, además de un pequeño listón para el centro.
To start, we must have a clear idea of the width of the headband. We multiply this width by 2 and also add a couple more centimeters of seam allowance. The length will be according to the circumference of the baby's head, that is, her months. In this case, I am making it for a 1-month-old baby, so it is quite small. We cut the base ribbon according to the measurements, we also cut the rectangles for the bow, which in this case is double. For this reason, I cut two rectangles, one black and one yellow, as well as a small ribbon for the center.
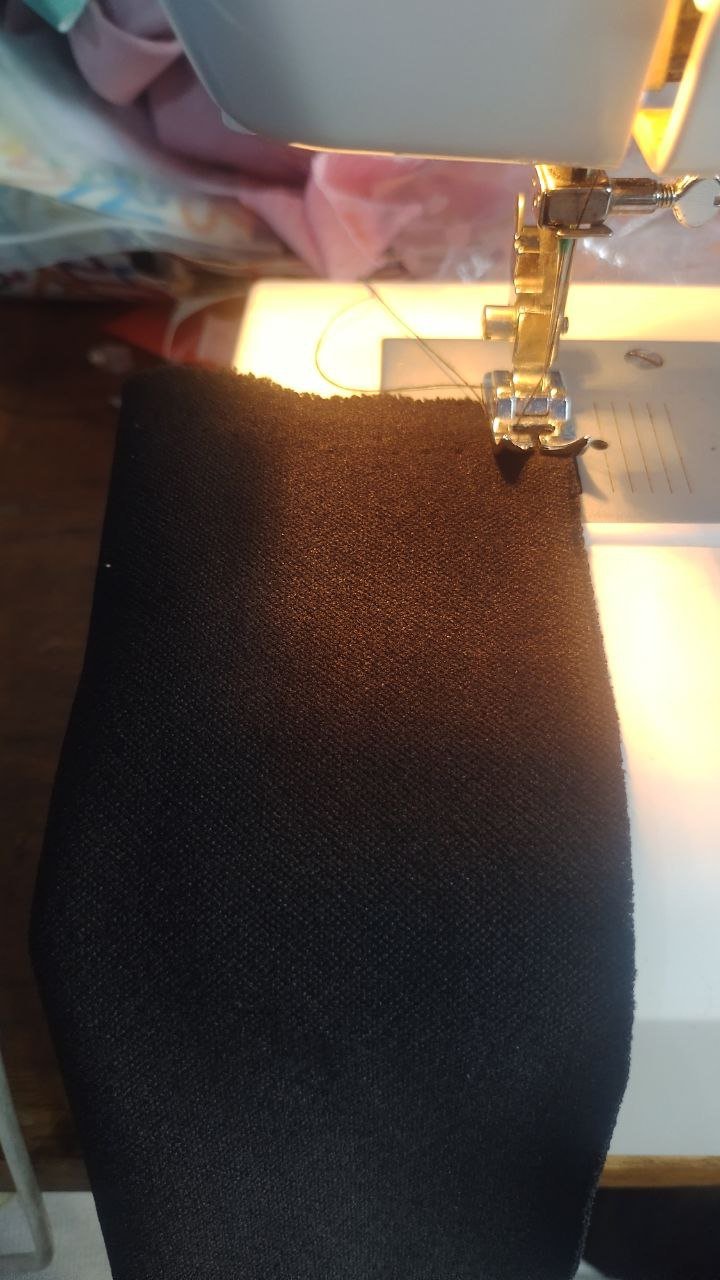
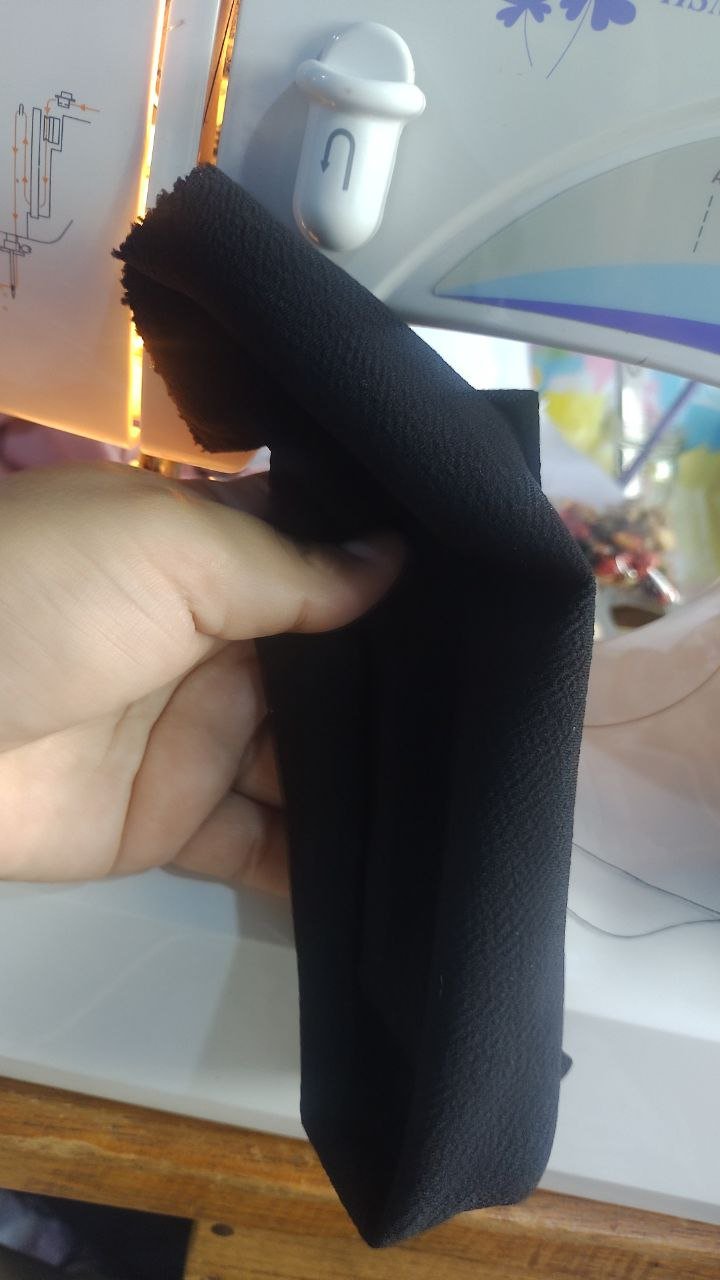
Tomamos las piezas y nos vamos a la máquina de coser. Empezamos con el listón base, enfrentamos costados por el derecho y cosemos. Volteamos y unimos los extremos con una costura recta.
We take the pieces and go to the sewing machine. We start with the base strip, face the right sides together and sew. We turn and join the ends with a straight seam.
 |  | 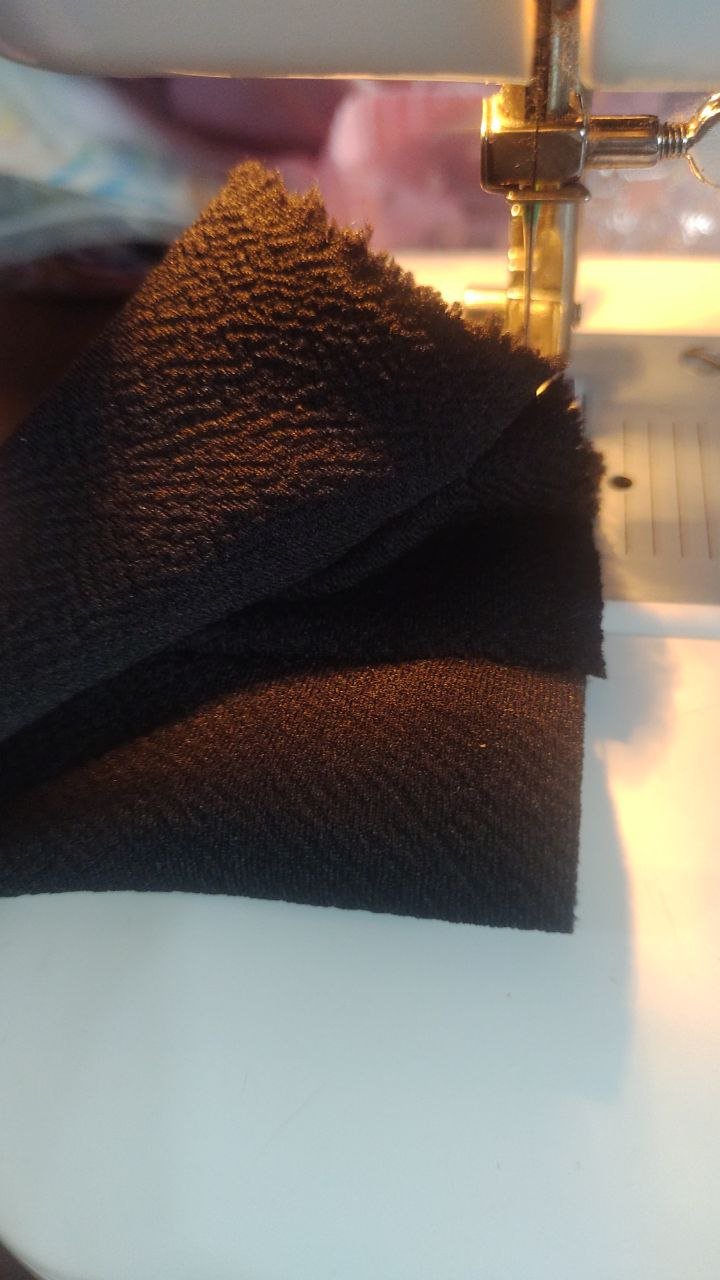 |
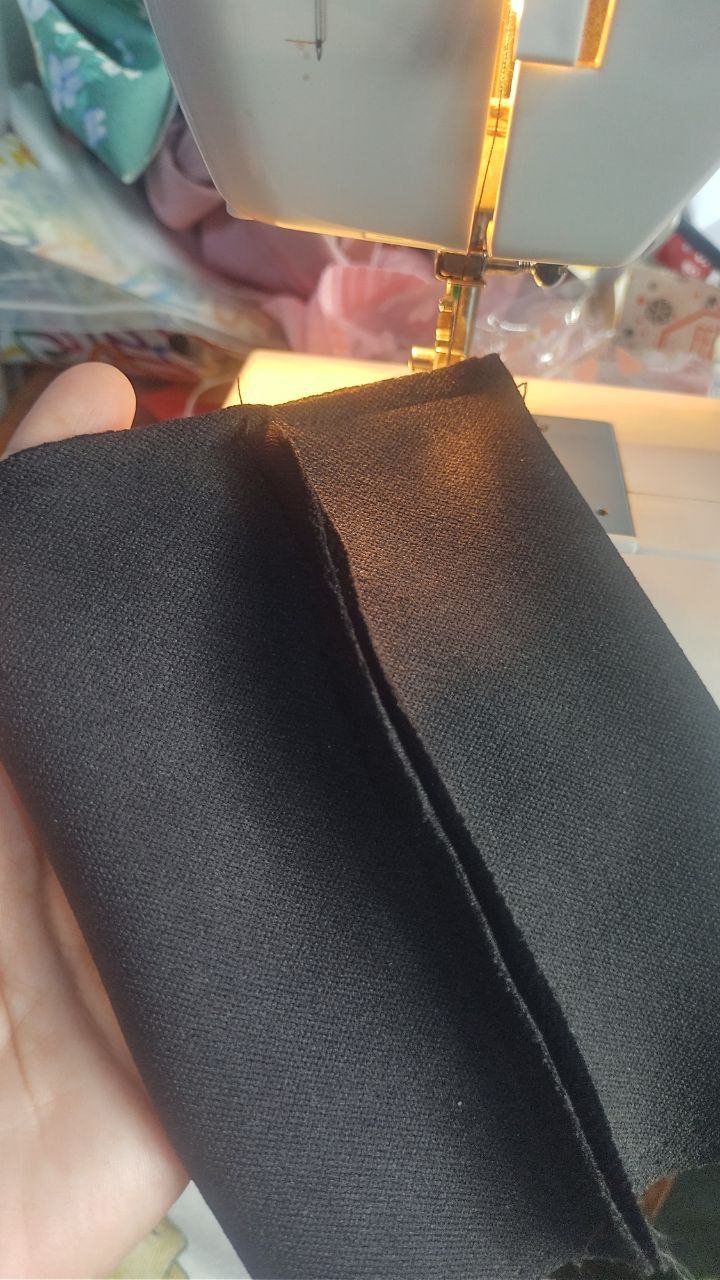
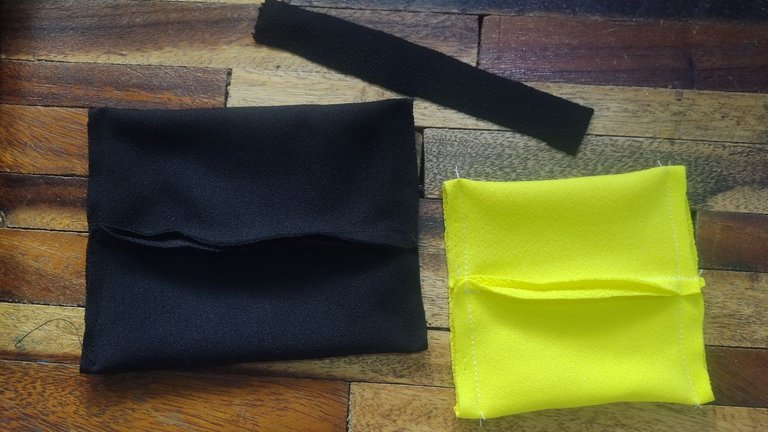
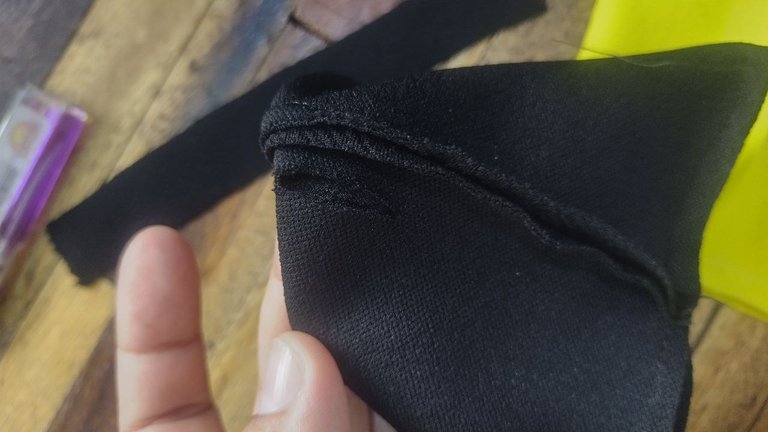
Ya esta lista la base. Vamos a coser ahora los rectángulos del lazo. Suelo coser las puntas, muevo la costura al centro y después coso los costados. Con la tijera haremos los piquetes en cada esquina, y también haremos una pequeña abertura en la parte trasera donde se ubica la unión de costura, por allí volteamos la pieza.
The base is now ready. Now we are going to sew the rectangles of the bow together. I usually sew the ends, move the seam to the center and then sew the sides. With the scissors we will make the notches in each corner, and we will also make a small opening in the back where the seam join is located, from there we will turn the piece over.
 |  |  |
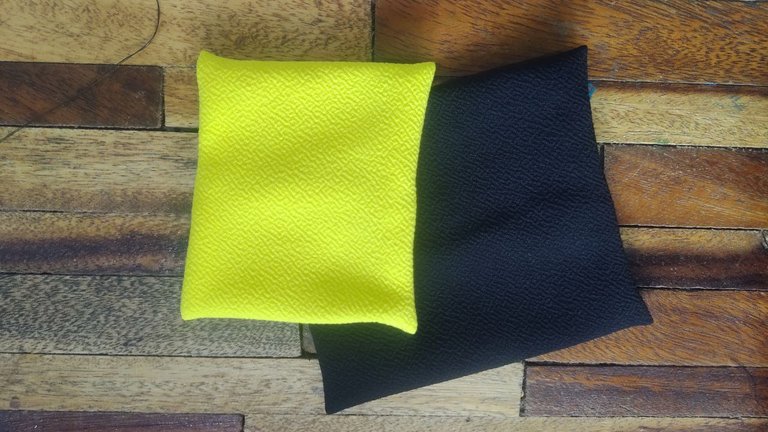
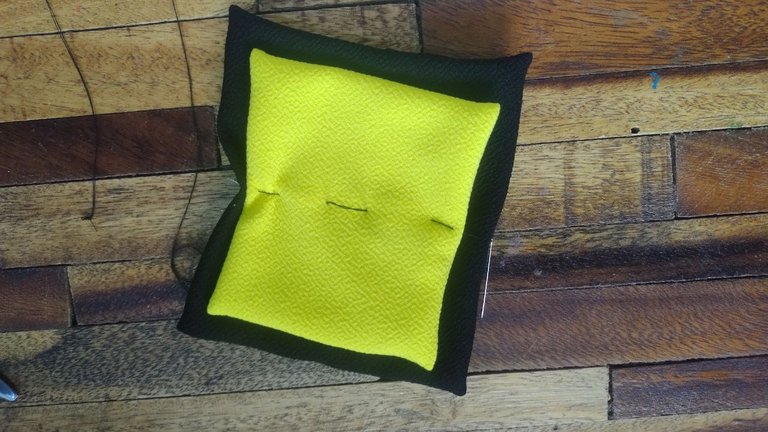
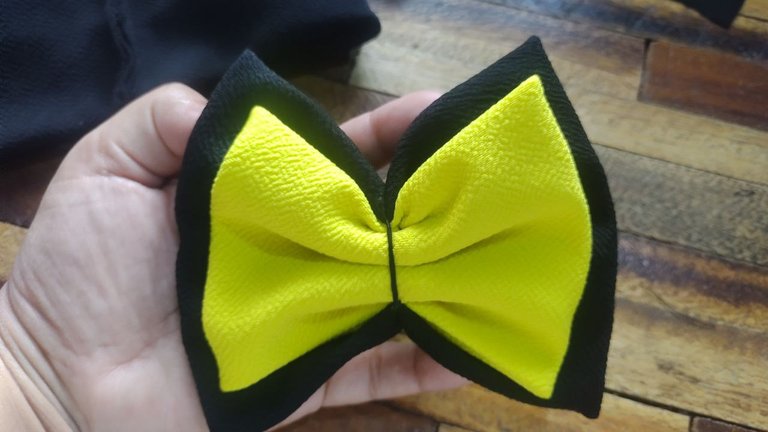
Colocamos las dos piezas del lazo, de manera que quede en el centro. Con una aguja con hilo, ubicamos el centro e hilvanaremos. Frunciremos y haremos un nudito para fijar.
We place the two pieces of the bow so that it is in the center. With a needle and thread, we locate the center and baste. We gather and tie a knot to secure.
 |  |
Tomando la diadema base, haremos unas puntadas para unir la parte superior e inferior. Después cosemos el lazo a la base, justo sobre el centro recién cosido. Con el listoncito que nos resta, lo colocamos que abrace el centro, proveniendo desde la parte trasera o interior de la diadema. Para ello fijamos con silicon.
Taking the base headband, we will make a few stitches to join the top and bottom parts. Then we sew the bow to the base, right over the newly sewn center. With the remaining ribbon, we place it so that it hugs the center, coming from the back or inside of the headband. To do this, we fix it with silicone.
🌸🌸🌸🌸🌸🌸
Resultado / Result :

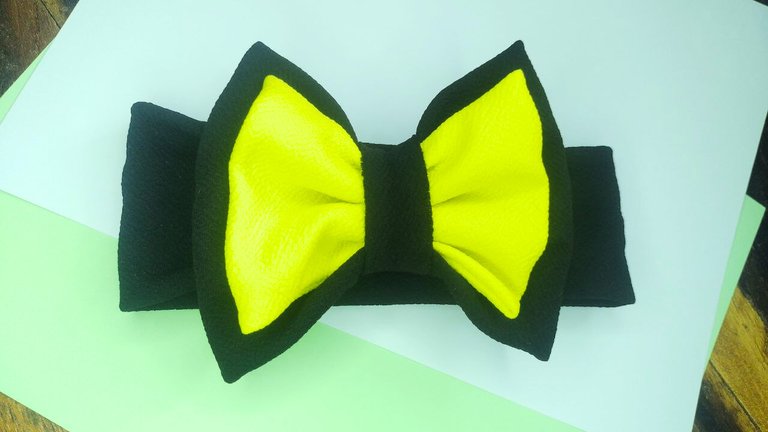
Lo mejor de este proyecto es que podemos realizarlo en variedad de colores, texturas y combinación de materiales. Esta diadema en negro y amarillo, es para combinar con un conjunto inspirado en abejita.
¡Y hasta aquí el proyecto del día! Espero les haya gustado tanto como a mí.
Si tienes alguna duda o sugerencia, no dudes en dejar un comentario. Las fotos que he colocado a lo largo del texto, las he tomado desde mi móvil Infinix.
¡Hasta la próxima!, tengan todos un bendecido día cargado de salud, paz y amor.
The best thing about this project is that we can make it in a variety of colors, textures and combinations of materials. This black and yellow headband is to combine with a bee-inspired outfit.
And that's it for today's project! I hope you liked it as much as I did.
If you have any questions or suggestions, don't hesitate to leave a comment. The photos I've posted throughout the text were taken from my Infinix mobile.
Until next time! Have a blessed day full of health, peace and love.
Esta muy linda amiga, el paso a paso genial!
Saludos!
Muchas gracias amiga. Bendiciones.
Me encantó lo bello y lo fácil que es hacer esta diadema para bebés, y lo mejor es que es un excelente detalle que podemos realizar rápidamente para obsequiar. Felicitaciones amiga @belkysmargarita
Muchas gracias, me contenta saber que ha sido sencillo y lindo. Cierto, es ideal para obsequiar, siempre nuestras amistades y familiares están teniendo nuevos bebés y es un detalles hermoso. Bendiciones amiga, un abrazo.