
Si el Inglés no es tu primer idioma, puedes ir a la versión en Español dando click aquí

It's Wednesday! That's means it's time for another entry in the Woodworking Wednesdays series. Today, we'll finish the back of this instrument and close it up!
Let's begin!
Shaping the Bars
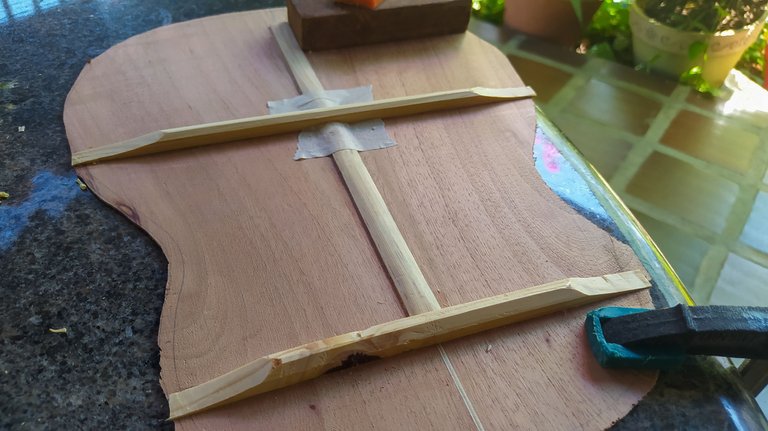
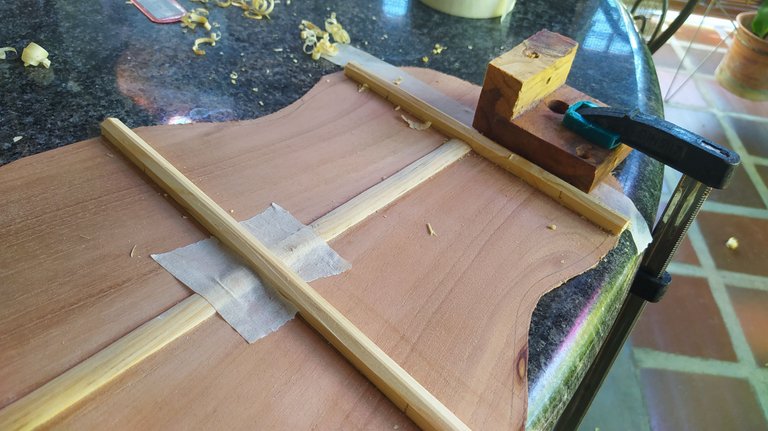
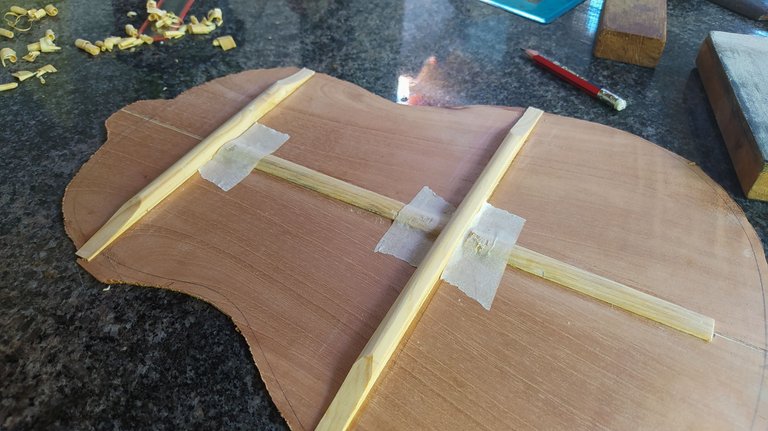
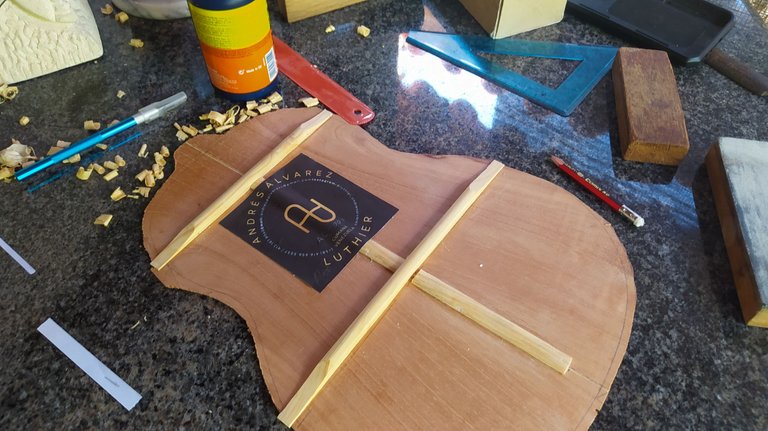
Last time, we had placed the bars. To finishing working on the back, we need to give them some shape. It usually the same shape on the bars on the top. We start by reducing the height of needed. Then, we go ahead and trim the corners of the bar to create a triangular shape.
We move on to the edges. After deciding the length of the slope we want to create on each edge, we use a chisel and remove the material trying our best to keep the symmetry between both sides. Once this is done, we smooth everything out using sandpaper. During this process the shape of top of the bar will change from triangular to round. This is something that depends on each luthier.
Label
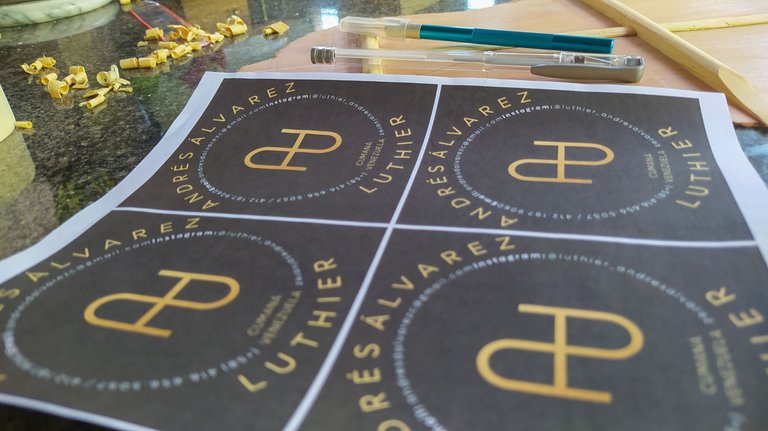
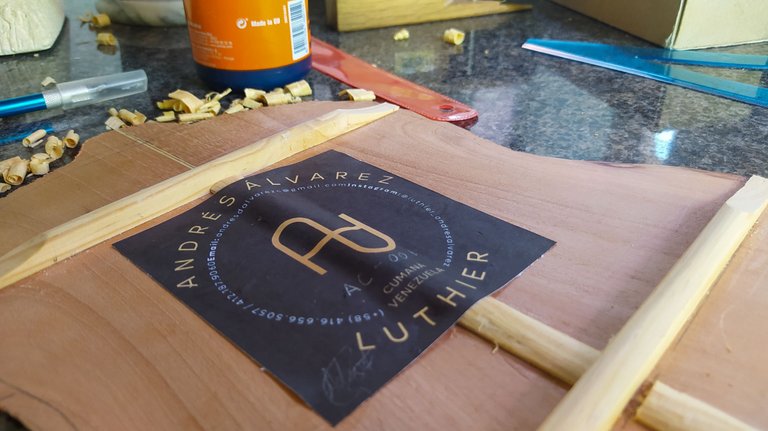
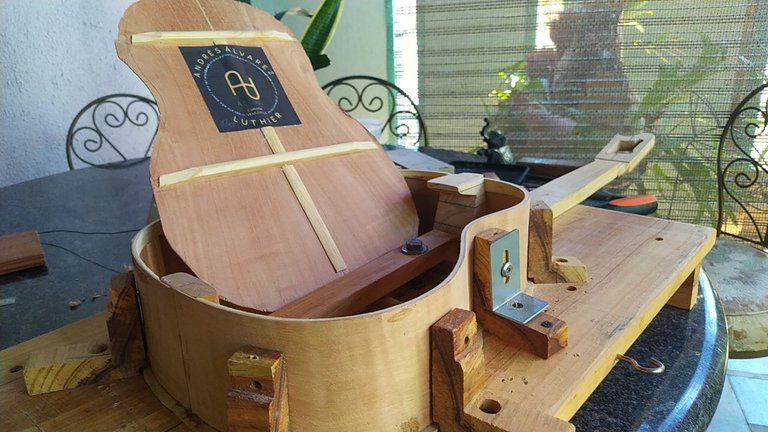
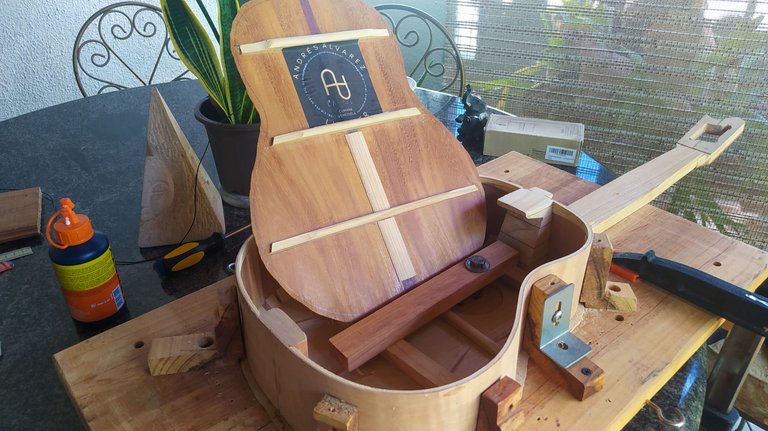
With the back ready, we can go to on of the last steps before closing the whole instrument, the label. It's important to identify our work so it will be known by anyone who comes in contact with our instruments. There are tons of models of labels from shapes, materials, typography, distribution and else. All styles vary greatly and all are suited for their users.
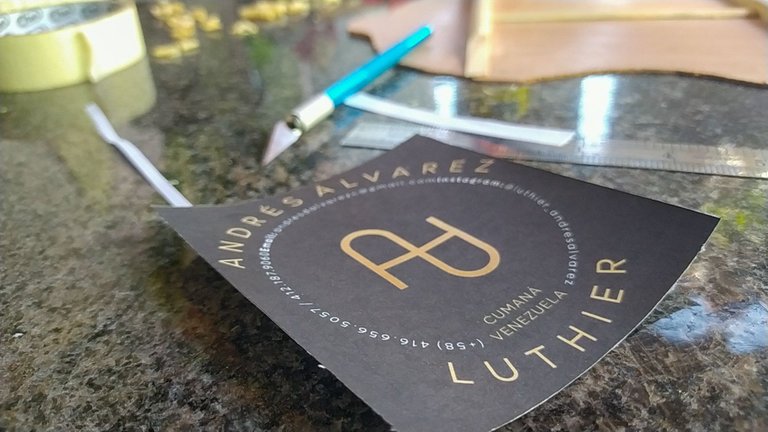
So, we first cut one label from the sheet using any method that's best for our skills. I suck at using sicsors, so I use a knife for it. Once the label is off the sheet, we can write anything we want on it. I usually give the instruments a serial number and write the month when it was closed.
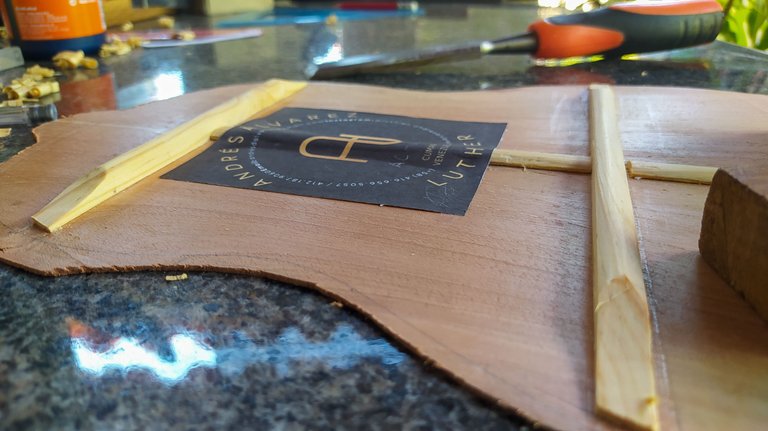
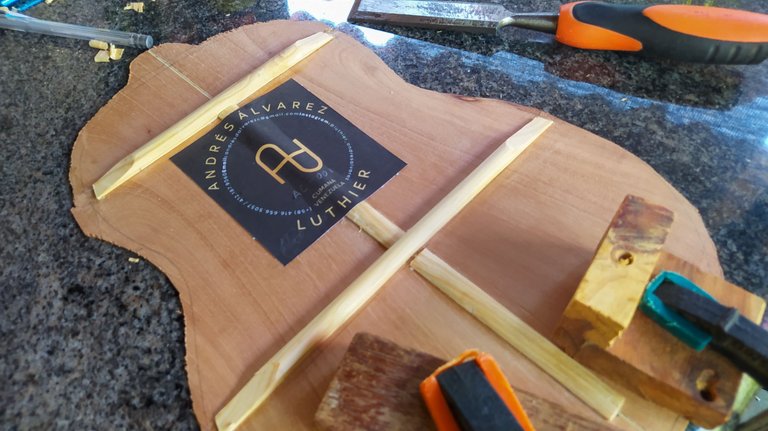
Once the label has all the information we want to put on it, we can go ahead and apply some glue and put it between the bars on the back. It goes closer to the top bar since that will place it at the center of the sound hole when the instrument is done.
Here's when we take a moment to appreciate the work done so far before moving forward to the closing of the instrument.
Closing it
If you remember what I mentioned back in the previous entry, this is the back of this instrument. The other was made for content purposes. As you see this one has 3 bars. It was to make an arched back to give a better sound projection. It will work the same as the instrument was worked to have this kind of back.
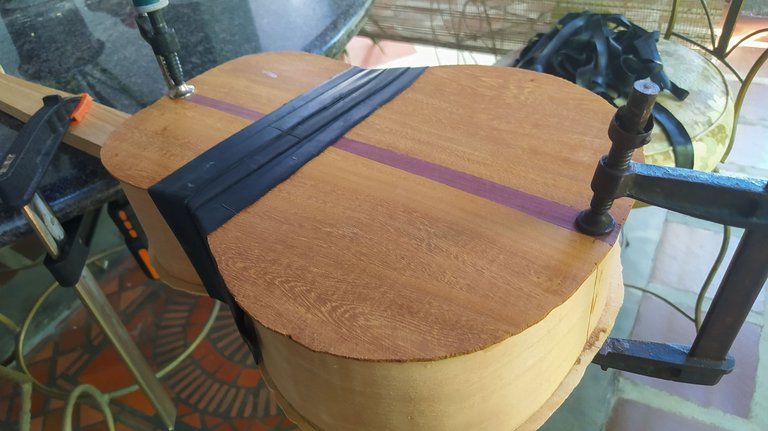
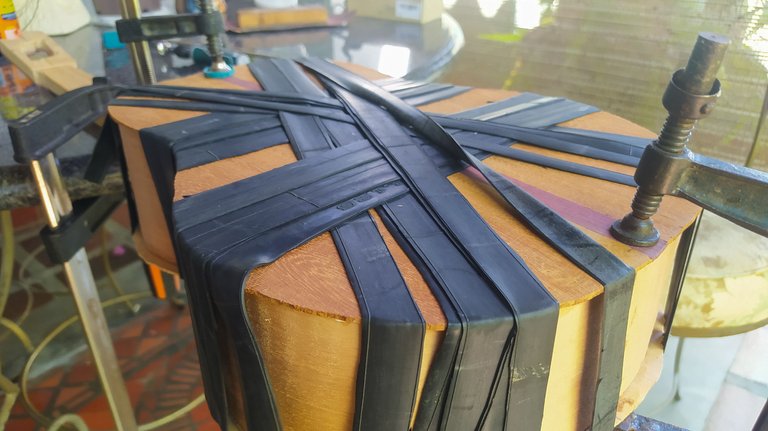
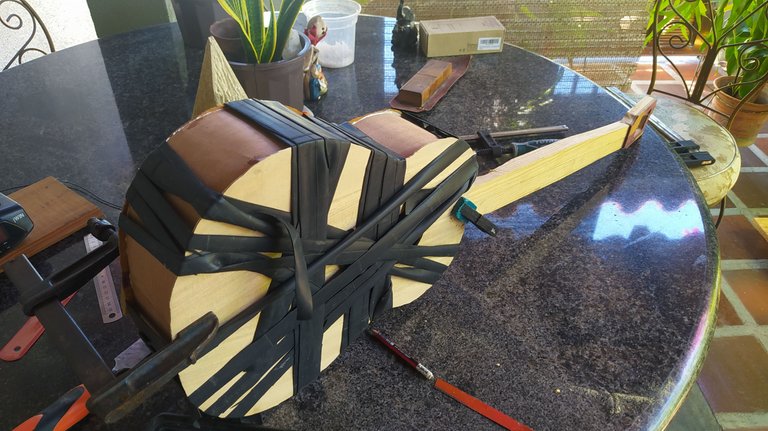
To place it, we remove a bit from the edges of each bar and measure until the back fits like a lid on the the instrument. Once we have this, it's time to apply some glue. We fix the upper and lower parts of the back with clamps and use rubber bands to press the rest of it to the instrument to keep it shut. Then, we let the glue for its work. Thus the instrument is closed.
We have done quite a lot of work until now and maybe this one will be on pause as I show some other kind of work that's been taking place the past few weeks. We shall see about that.
Thanks for reading and see you in the comments section!

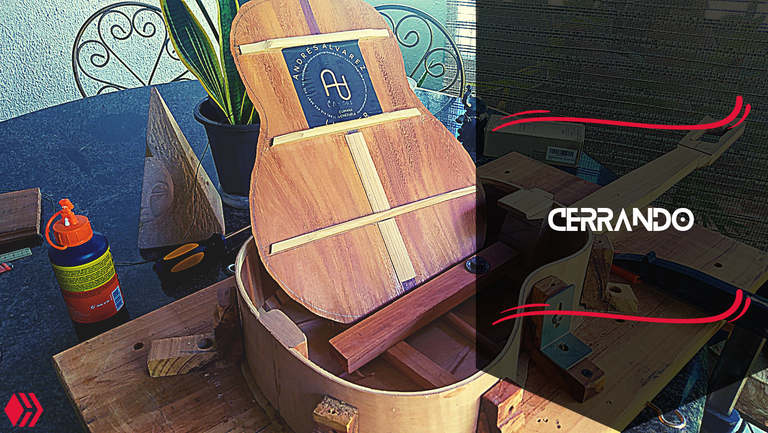
Cerrando

¡Llegó el miércoles! Eso quiere decir que es hora de una publicación nueva en la sección Miércoles de Carpintería. Hoy, vamos a terminar con el fondo de este instrumento para cerrarlo.
¡Comenzamos!
Dándole Forma a los Bancos
En la última publicación, colocamos los bancos. Para terminar el trabajo en el fondo, hay que darles forma. Generalmente, es la misma forma que tienen los de la tapa. Comenzamos por ajustar su altura. Luego, rebajamos las esquinas para crear una forma triangular.
Ahora vamos con los bordes. Después de decidir la distancia del rebaje que queremos crear, podemos empezar a remover material con un formón tratando de mantener la simetría de cada lado del banco. Cuando terminemos, podemos refinar la forma con lija. Mientras hacemos esto, la forma triangular que habíamos logrado cambiará por una más redonda. Aunque estos diseños varían dependiendo del fabricante.
Etiqueta
Al tener el fondo listo, podemos ir al último paso antes de cerrar: la etiqueta. Es importante identificar nuestro trabajo para que cualquier persona que vea uno de nuestros instrumentos pueda identificarlos. Hay muchos modelos de etiquetas que varían en formas, tamaños, colores, tipografía, distribución y más. Son estilos que varían mucho dependiendo de los gustos del luthier.
Primero, tenemos que cortar una etiqueta de la hoja. Para esto utilizamos el método más conveniente. Yo soy un desastre con las tijeras así que utilizo un bisturí. Cuando hayamos cortado la etiqueta, podemos escribir algunos detalles sobre ella. Generalmente, un número de serie y la fecha de cuando estamos cerrando el instrumento.
Una vez que hayamos colocado toda la información que querramos en la etiqueta, podemos pegarla al fondo. Va entre los bancos y más cerca del banco superior. Esto es para que pueda verse a través de la boca del instrumento cuando esté listo.
Aquí tomamos un momento para apreciar el trabajo realizado hasta ahora antes de cerrar el instrumento.
Cerrando
¿Se acuerdan que les había comentado que el fondo que estaba armando no era el de este instrumento? De no ser así, pueden ir a la publicación anterior. Este que ven colocado aquí, sí lo es. El otro se hizo con fines de continuidad. Como pueden ver este tiene 3 barras. Se hizo para hacer un efecto de bóveda para mejorar la proyección de sonido. El instrumento está hecho para llevar este tipo de fondo.
Para colocarlo, primero tenemos que quitar un poco de los bordes de cada banco hasta que el fondo calce como una tapa sobre el instrumento. Cuando hayamos hecho esto, podemos aplicar pegamento. Luego, fijamos arriba y abajo con prensas y luego utilizamos estos cauchos para sujetar el resto. Para terminar, dejamos que el pegamento haga su trabajo. Así cerramos el instrumento.
Es probable que este proyecto se vaya a una pausa luego de todo el trabajo realizado. Esto tiene una razón. Hay otros proyectos diferentes que se han estado desarrollando en el taller en los últimos días. Aunque ya veremos qué ocurre.
¡Les doy las gracias por leer y nos veremos en los comentarios!

Fotos/Photos 📷: taken by me (Redmi Note 8)
Portada/Thumbnail 🖼️: by me, created with Canva.
Edición/Editing 🎬: by me, made with Adobe Photoshop Lightroom.

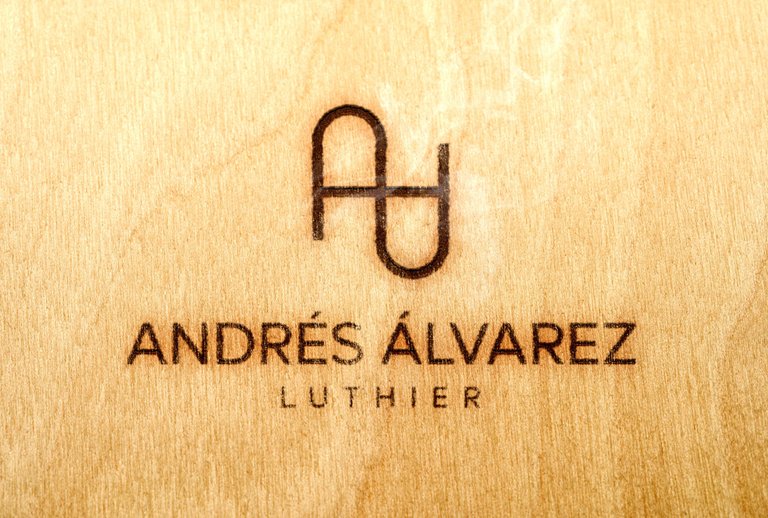
Follow me on Instagram for enquires and commission.
If you'd like to help the workshop grow, you can make a donation here. You can find me at discord as bertrayo#1763
~~~ embed:1646325914924359680 twitter metadata:MzA1NzQ0MTU3Mnx8aHR0cHM6Ly90d2l0dGVyLmNvbS8zMDU3NDQxNTcyL3N0YXR1cy8xNjQ2MzI1OTE0OTI0MzU5NjgwfA== ~~~
The rewards earned on this comment will go directly to the people( @bertrayo, @emybaby ) sharing the post on Twitter as long as they are registered with @poshtoken. Sign up at https://hiveposh.com.
Me imagino que hay que tener bastante delicadeza para trabajar eso, seguro soy yo y me queda choreto. O las tablas son de diferentes tamaños.
Me quedo esperando el resultado final de ese cuatro.
Ja, ja, ja, ja. Mis cuatros todavía quedan un poquito choretos de alguna cosa, pero no en algo que de verdad importe. Es un trabajo de tomarse el tiempo para hacer cada cosa.
Seguro estará listo para diciembre por el aniversario del taller.
Es un trabajo delicado y preciso. ¿Si usted introduce un elemento adicional, entonces el sonido podría cambiar, cierto?.
Lo pregunto, porque me vino la idea de que pudiese tener dentro un bluetooth para conectarse a un computador, o un micrófono para cuando se toca en público.
¿O tendría que colocarlo por el lado desde afuera, para que no perturbara el sonido?
La verdad no sé sobre micrófonos Bluetooth para hacer ese trabajo. Hay microfonía especiales para ese trabajo e incluso chapas que no requieren mucho trabajo para instalar. No cambiaría mucho el sonido, pero sí daría peso.
Gran trabajo amigo. Deberías hacer una colección para que coloques cada uno de los post avanzando en tu trabajo, y sugerir que se metan allí para que los vean todos, o puede ser una etiqueta especial. Yo he pensado en eso de la etiqueta especial y aun no lo he hecho, y las colecciones tampoco, pero quizás lo sugiera y lo hagan primero que yo jajajaj.
Bello día para ti... 💕
!PIZZA
Ja, ja, ja, ja. Muchas gracias, amiga.
La verdad es que tengo pendiente hacer las colecciones por instrumento. Debe haber más de 100 publicaciones en mi perfil sobre eso. La cosa es que como no tengo computadora, no lo he hecho, pero está pendiente.
The rewards earned on this comment will go directly to the people ( bertrayo ) sharing the post on LeoThreads,LikeTu,dBuzz.https://leofinance.io/threads/@bertrayo/re-leothreads-5hm3en
$PIZZA slices delivered:
(4/5) @dayadam tipped @bertrayo
Te quedó super bien Andrés! Y el logo con tu marca me encanta! Muy buen trabajo siempre.😀
Muchas gracias, Amonet. 🎶✨
Por ahí estoy aprendiendo a hacer algunas cosas nuevas que vienen la semana próxima.
Tan organizado el chico, esperaré a la semana que viene, entonces!😀
Yay! 🤗
Your content has been boosted with Ecency Points
Use Ecency daily to boost your growth on platform!
Support Ecency
Vote for new Proposal
Delegate HP and earn more, by @soldierofdreams.