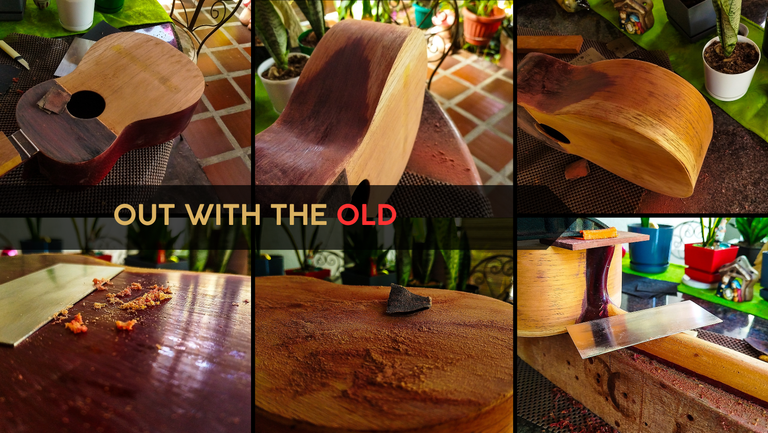

Welcome back to another entry in this series about the repair job of this instrument. Today, we are tackling the end of the scraping of this ugly paint. It was too old and it was showing bad texture. Something like this needs to be changed completely since it not only makes the instrument look ugly, but it also doesn't protect it anymore.
Let's get right to it!
Scarping the sides
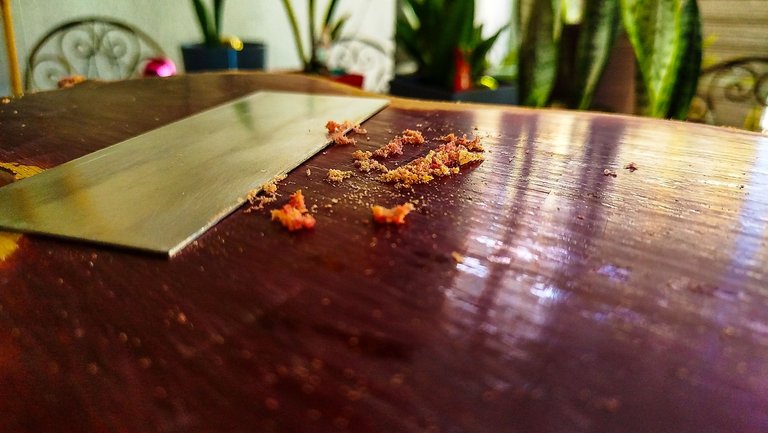
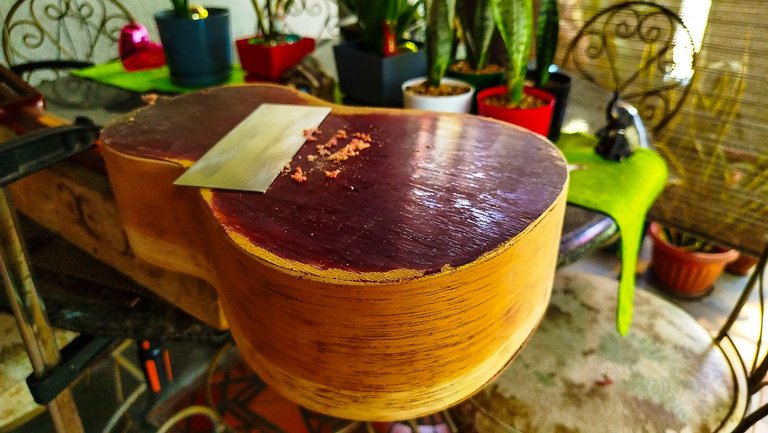
The first portion of the scraping job was only a matter of discovering the broken parts on the sound board. We had a crack to repair. But before dong that, we're going to remove all the paint on the instrument. This process takes a lot of time and it is something I do focusing on it for as much time as is needed to finish it.
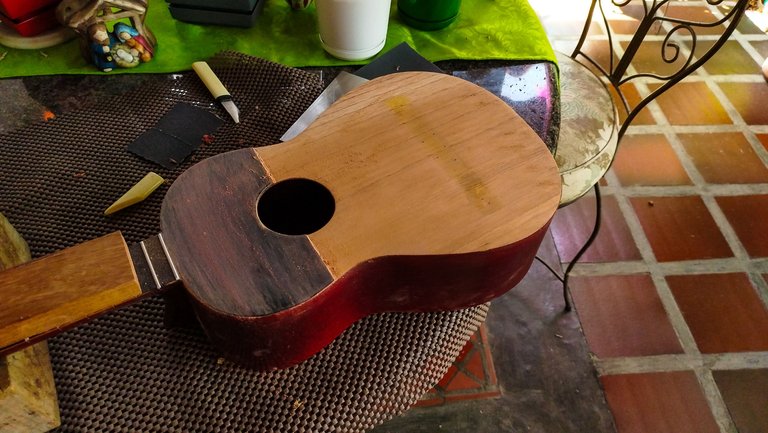
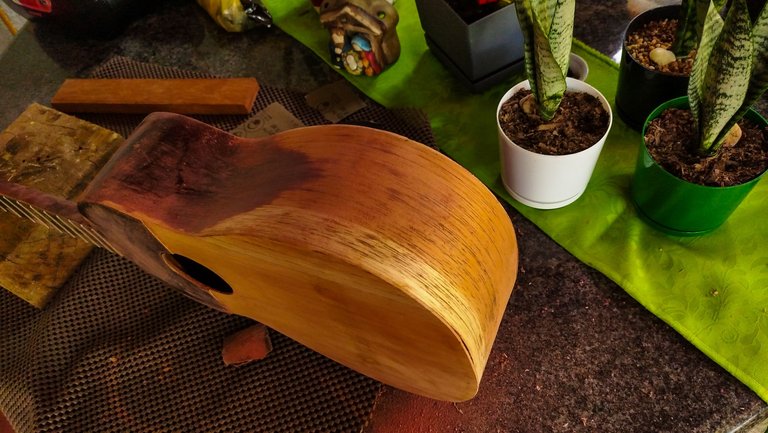
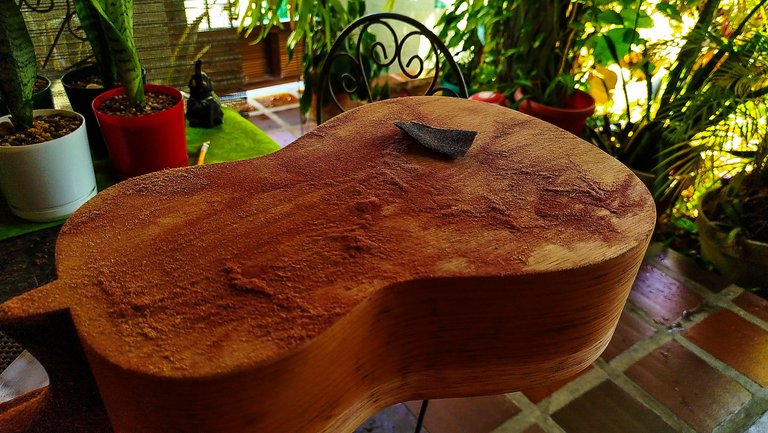
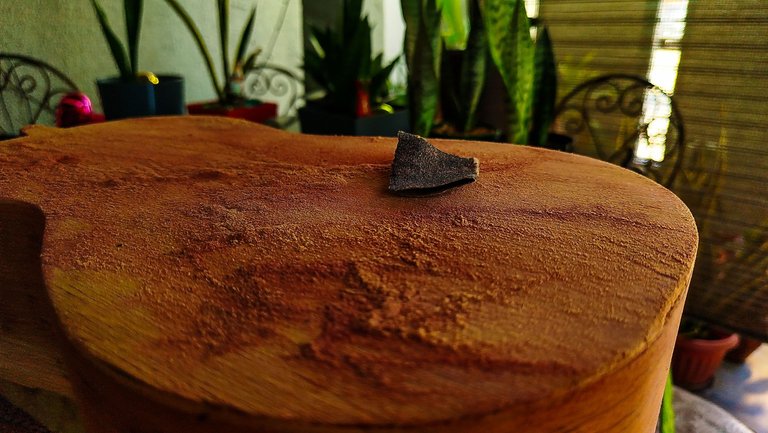
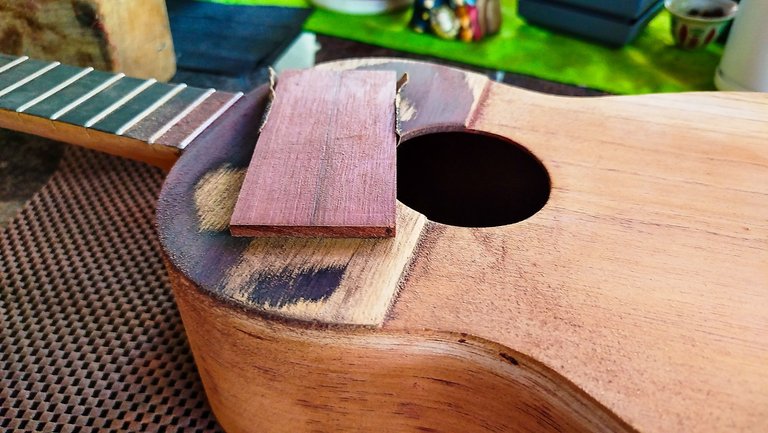
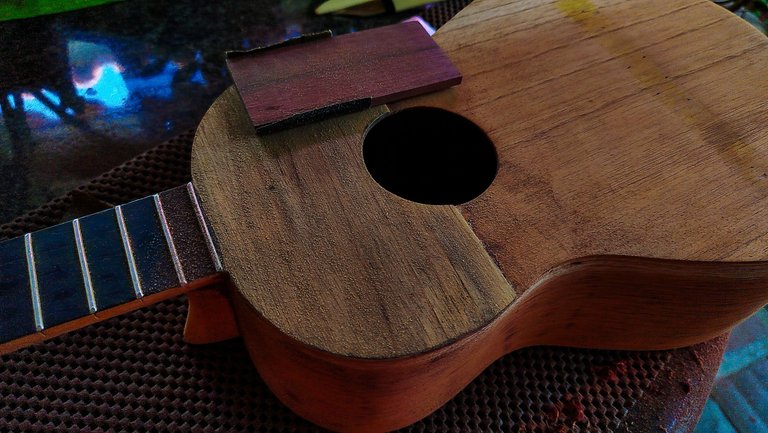
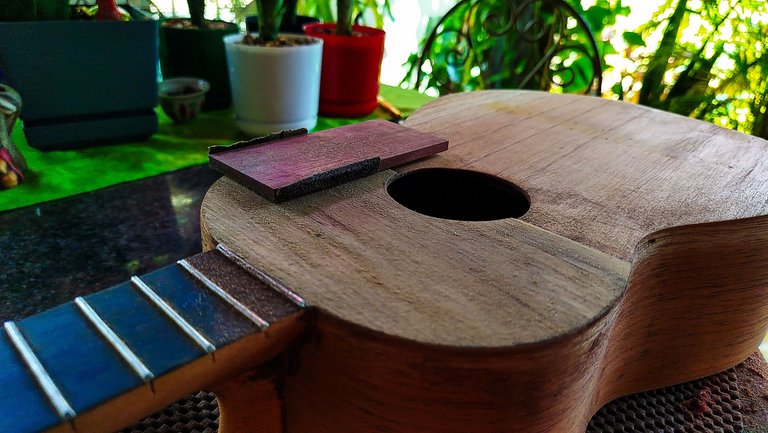
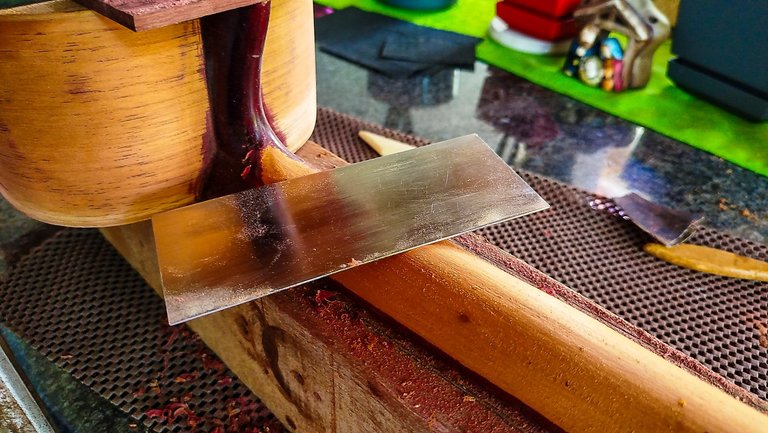
The idea is to scrape using a card scraper until we have removed the varnish or lacquer and then start using sandpaper to remove the ink or paint that's on the wood. This until we get to see the actual natural color of the wood. As it is revealed by sanding, we have more cedar on this instrument. It is the common standard for these cheap ones that are made in big quantities.
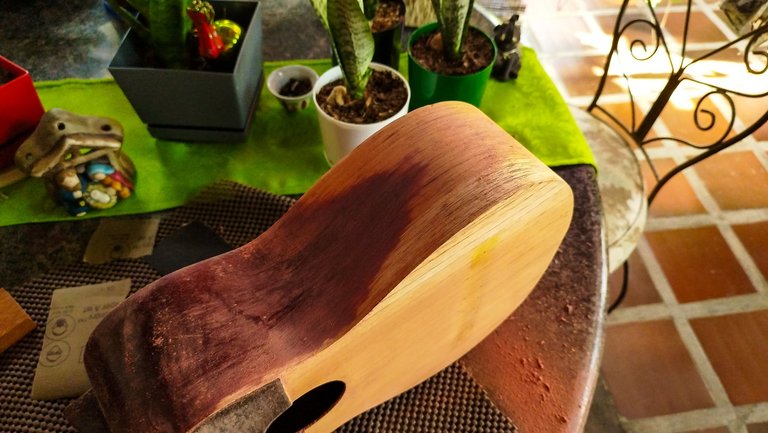
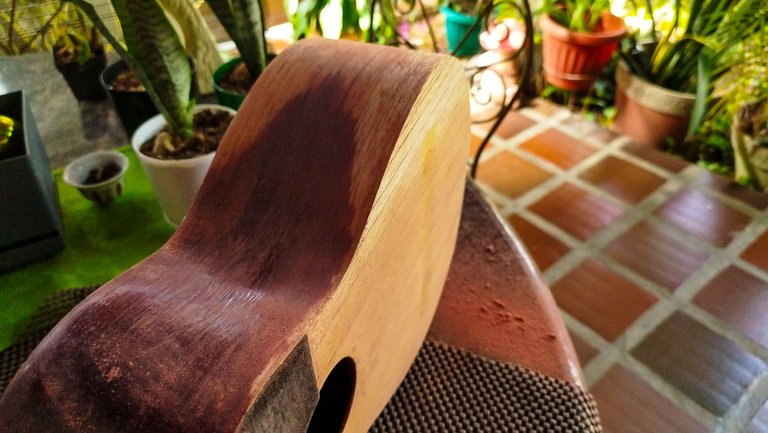
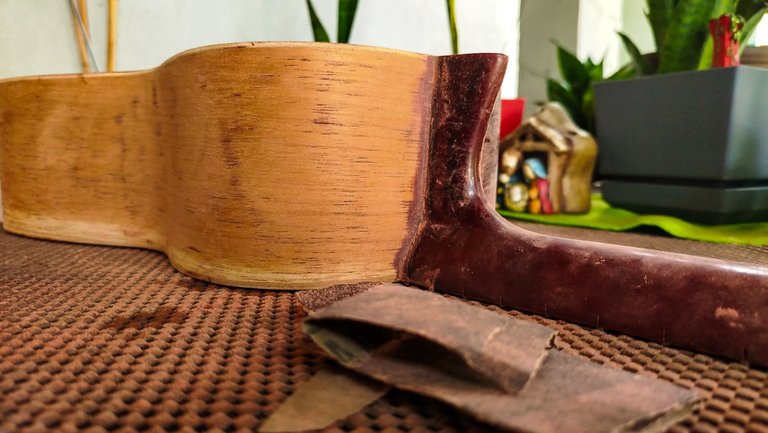
An interesting bit of information about this instrument is the fact that the sides aren't sides at all. It is just one big sheet-like piece of cedar that was bent to shape and put in place. Traditional construction tends to exploit this trick to save time in the assembly process. So, there are no marks on the rear of the instrument that show anything was use to keep two parts together. Not even a seam. Just one piece of wood making the whole flanks of the instrument. And they are also really good looking. I still wonder why they put such an ugly paint on this instrument to disguise woo grain.
Scraping the back and neck
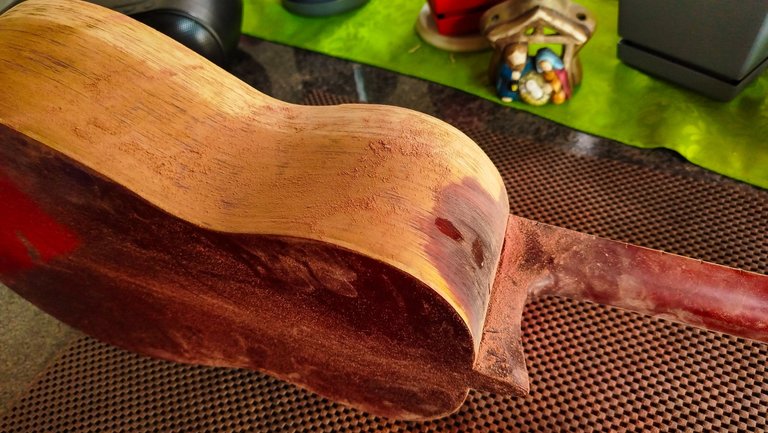
Now, onto a lot more work. To fortunately, the card scraper does wonders removing the lacquer from this zone and also saves some sanding work. By scraping this are we found out that the back of this instrument is laminated wood. Yes, the usual kind of thing for finishing doors. Anyway, it will be a good thing that we're going to change the color scheme of this one. We still need to sand to remove the rest of the paint.
On the same order of ideas, we're scraping the neck until we have removed the paint and sanding it all so it ends up being smooth. Fortunately, even when this instrument has fallen to the ground many times, this piece has not suffered any kind of damage. The cracks are all in the body.
We finish all the scraping job by doing some heavy sanding on the strum guard. There was lot of ink on this piece. It is also made of laminated wood. Here it actually doesn't matter. This wood is just there to protect the sound board from the action of playing the instrument.
By removing all the paint, we can start doing the whole lot of repairs until we have everything ready to start the process of covering the instrument in finish. But we'll start these works next time!
Thanks a lot for reading!

| Part | Title |
|---|---|
| 1 | Repair Job |

Photos 📷: Redmi Note 13
Thumbnail 🖼️: Canva.
Editing 🎬:Adobe Photoshop Lightroom.


Follow me on Instagram for enquires and commission.
If you'd like to help the workshop grow, you can make a donation here. You can find me at discord as bertrayo#1763
Key to protect these noble instruments, it is also key to know the technique and have the necessary tools to do the job well and get a good result.
Yes, we need both the knowledge and the experience to do the job well.
Great work as always, very detailed and beautiful... the second group of pictures are great!😃
Thanks a lot
🤗🤗🤗