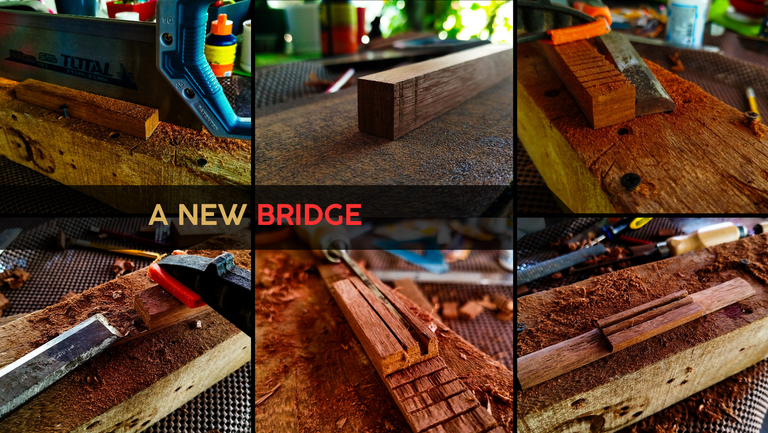

Welcome back to another entry in this series. As the maintenance of this instrument keeps moving forward the tasks start getting more detailed. In this post, we are delving into making a new bridge to replace the broken one.
For this, we start with a blank piece of wood and work our way into having the complete shape of the bridge.
Let's jump right to it!
Cutting
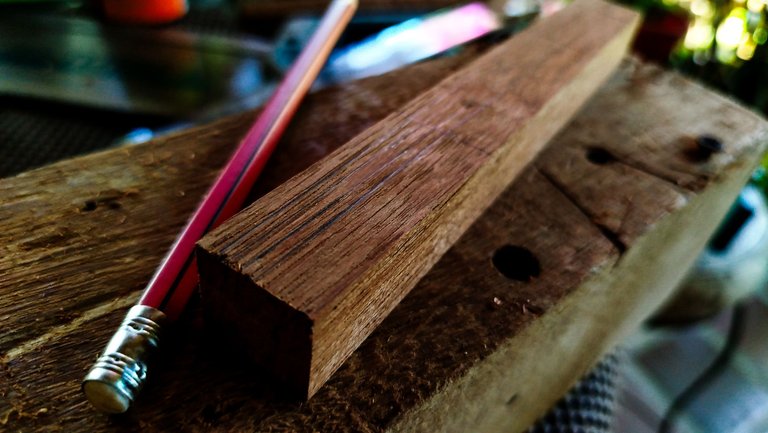
For this bridge, we are using a piece of a wood that goes by many names. I know it as mureillo or aurora. Other names include, camabra, quarubarana, among others. It's scientific name is Erisma uncinatum. It is commonly used for things like roof beams and outdoors furniture. It makes for an interesting choice that will endure for a lot of time as a new bridge for an old instrument.
The idea of making a new piece for this instrument requires to get measures in the right way to fit the ones used for this Venezuelan Cuatro. For instance, we need to address the basic measures of the lower bout. Bridges need to have at least half of the total length of this part. However, since we need to keep the fixed crack under the bridge lest we want it to break again, we need to make this bridge a bit longer than usual.
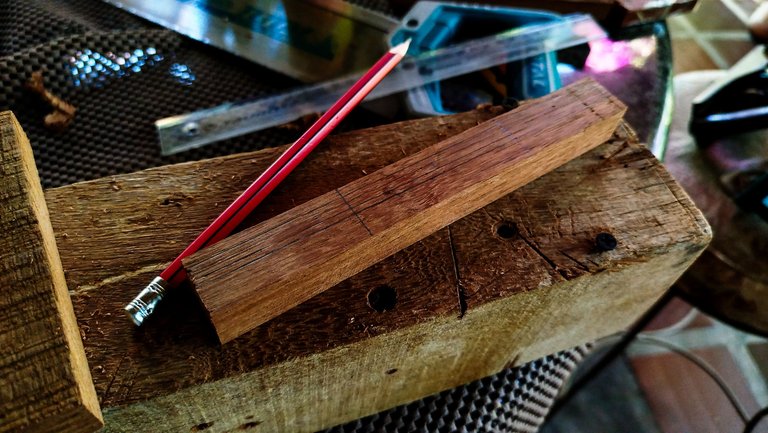
The magic number is 18cm. This way it can cover the crack on the sound board. But it isn't so long that it will cover all that area of the instrument and get in the way of its sound production.
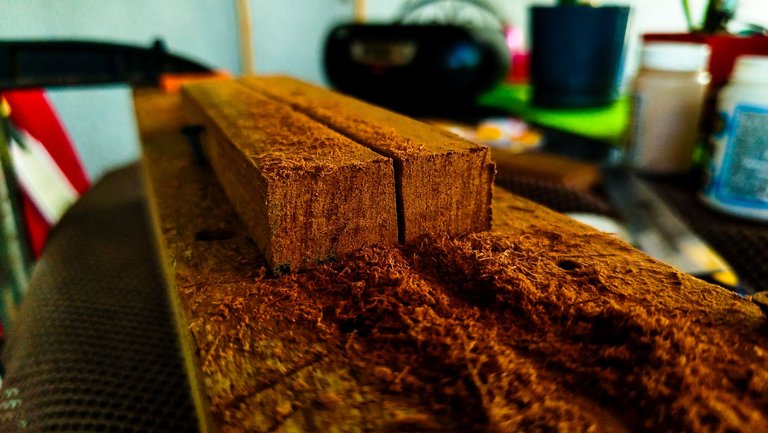
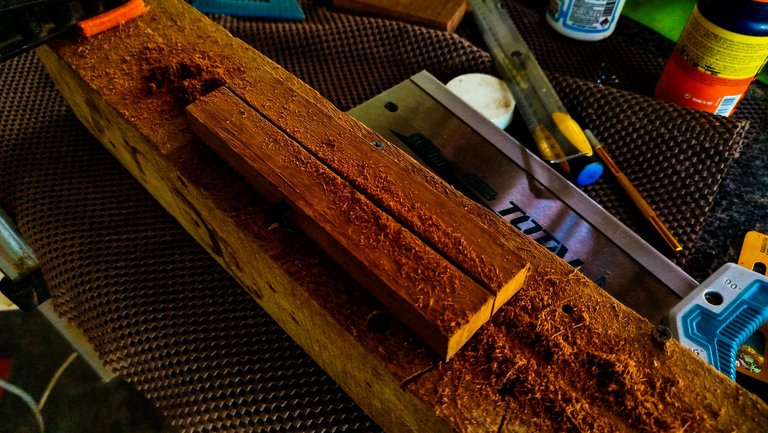
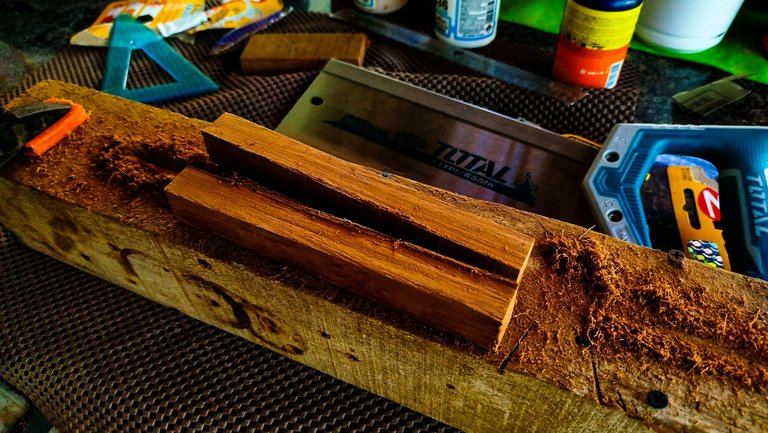
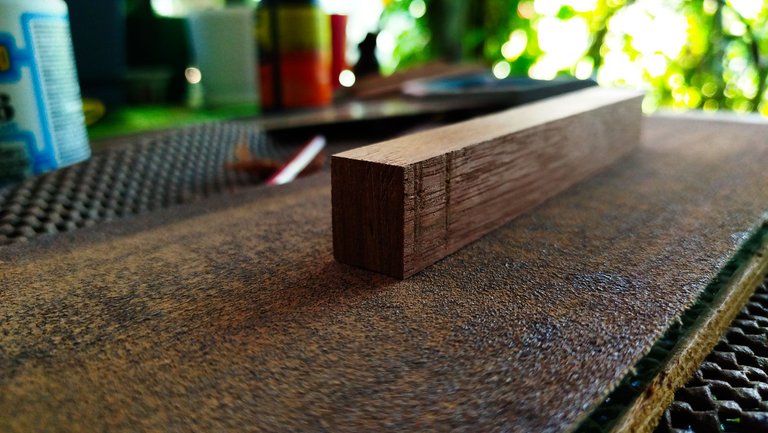
Once we have the piece selected and cut to length, we can split it in half. This way we can have also a second piece. In case something goes wrong, there's another piece that we can use for another bridge.
Shaping
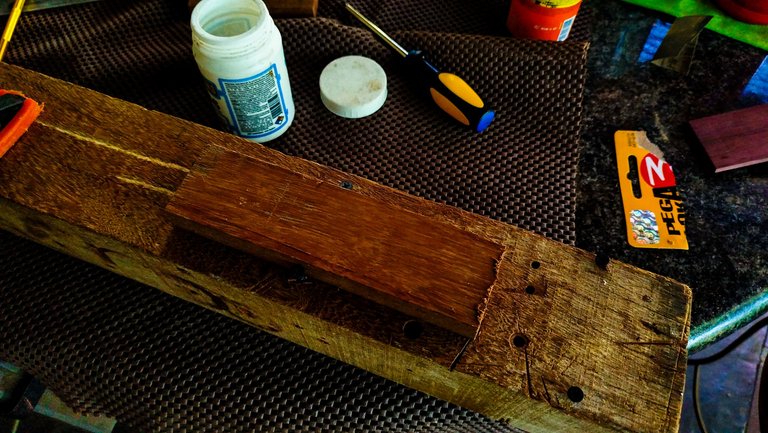
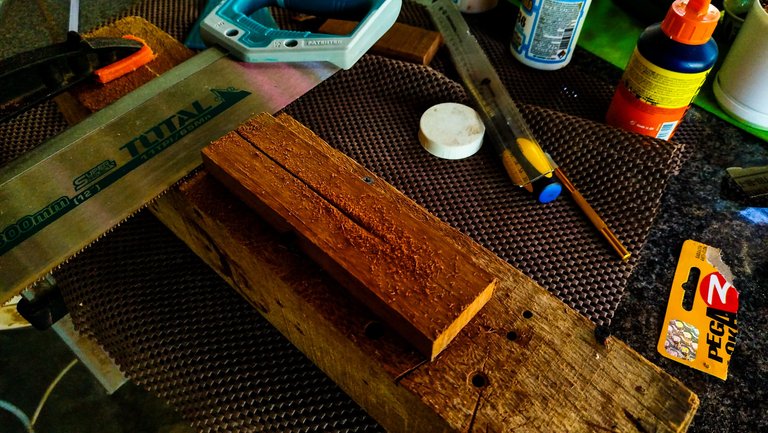
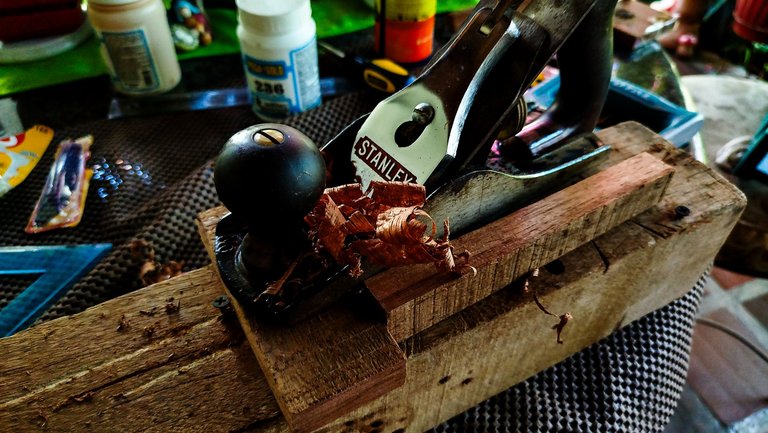
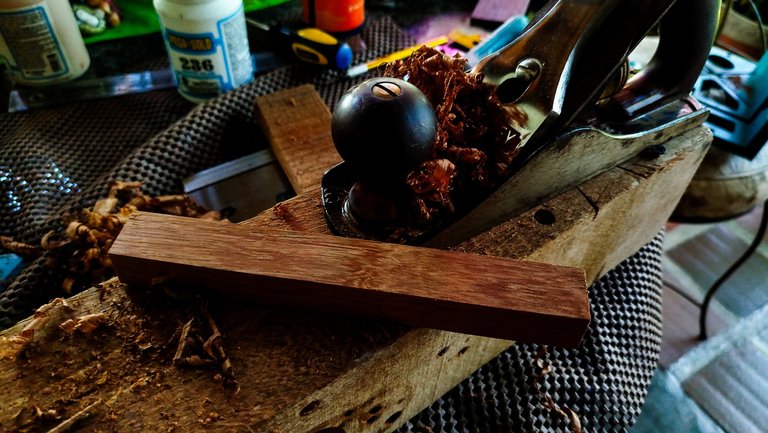
After the cuts, we need to clean up the blank. So, we use the hand plane and then sand all the faces of the piece of wood to have it ready for the next part.
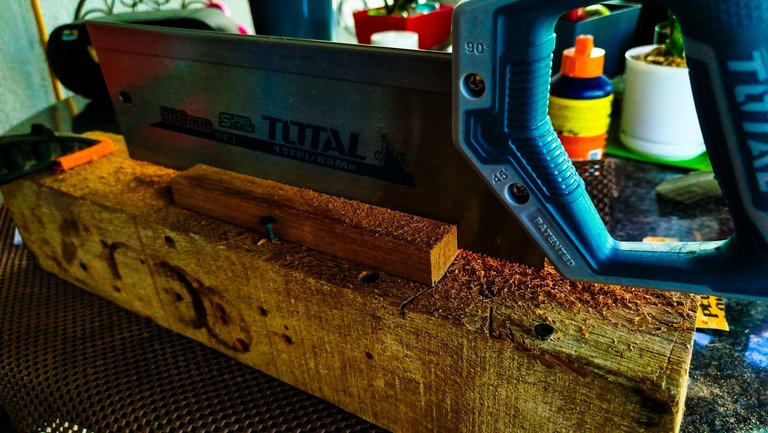
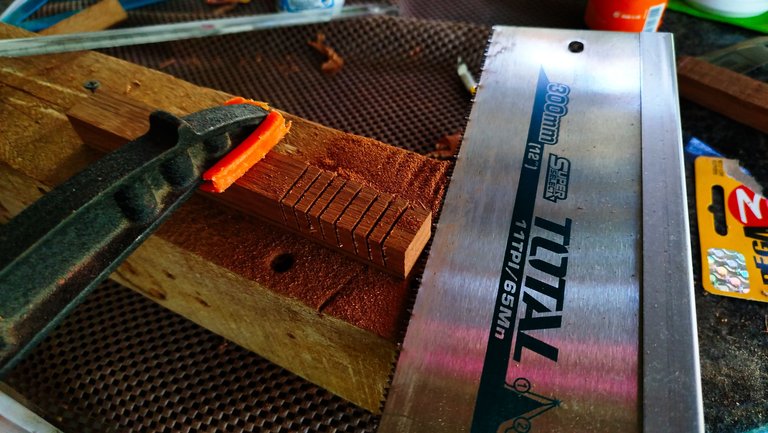
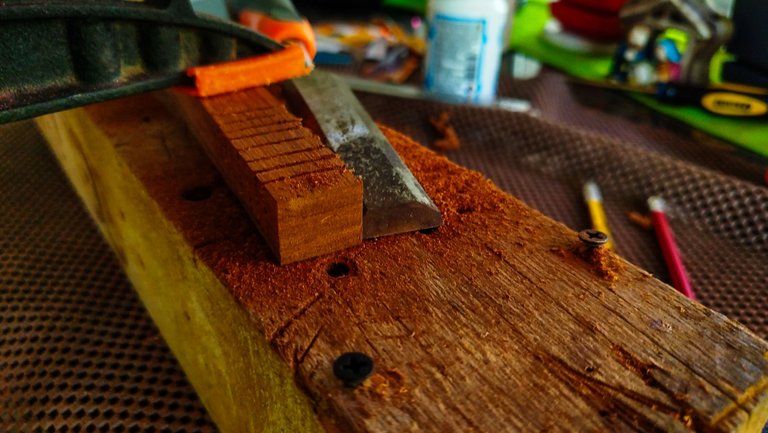
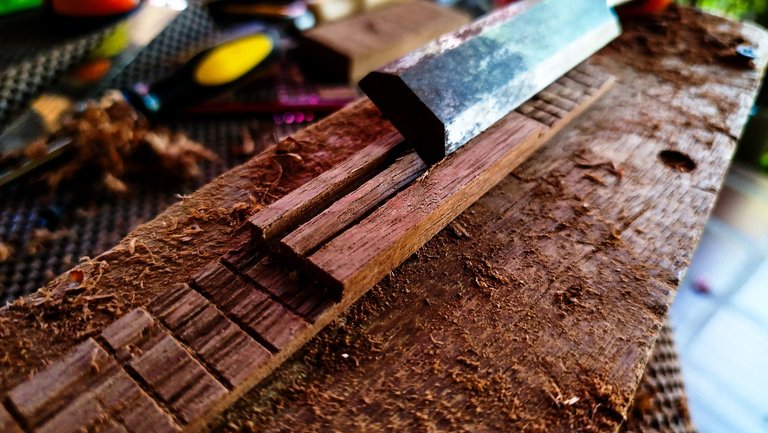
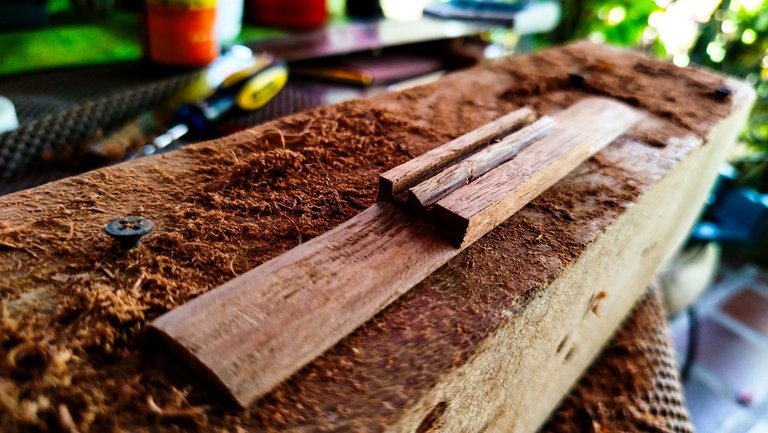
In terms of the usual shape, we have to start by having all the marks for the outline of the bridge on the upper side of it. Then, we can start making cuts right on the wings of it. These cuts go up to 3mm from the bottom of the bridge. We repeat these cuts until we can remove all these pieces and start having a rough shape for the base of the bridge.
This gives us the basic shape of the bridge. Something we could call the external shape of it.
Slots
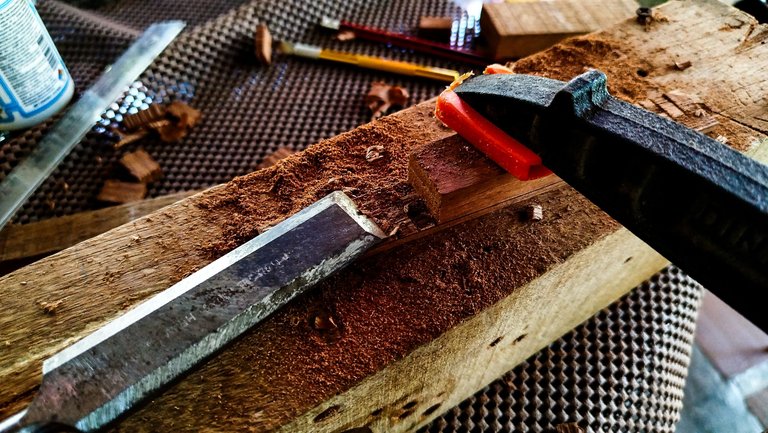
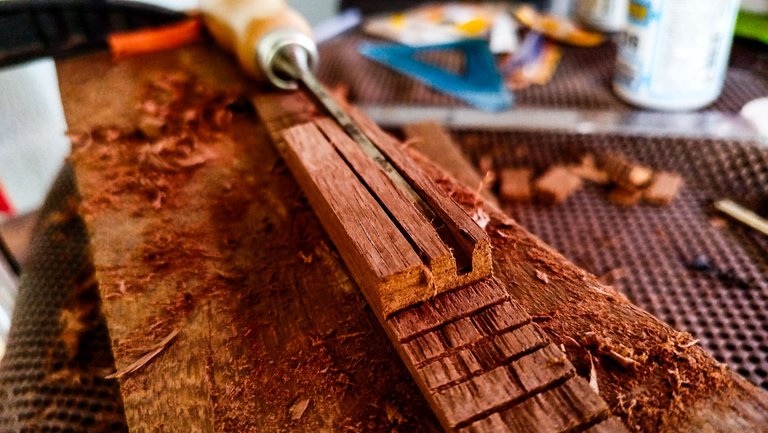
To make the more useful parts of the bridge, we need to start carving. The first slot is for the saddle. It goes right in the upper portion of the bridge. We make some guiding cuts in order to use a chisel and start removing all the extra material caught in between the the marks. This is a slow process and we cannot force the amount of material we remove with each pass.
Once we have that slot ready, we need to make a second one. This other slot is for the strings to have room to go from the lower part of the bridge up to the saddle. To make this, we need only one line to guide the chisel and use it to carve a slope.
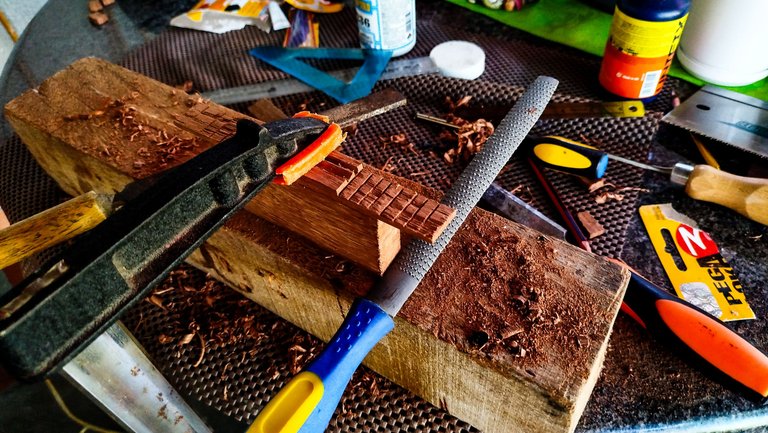
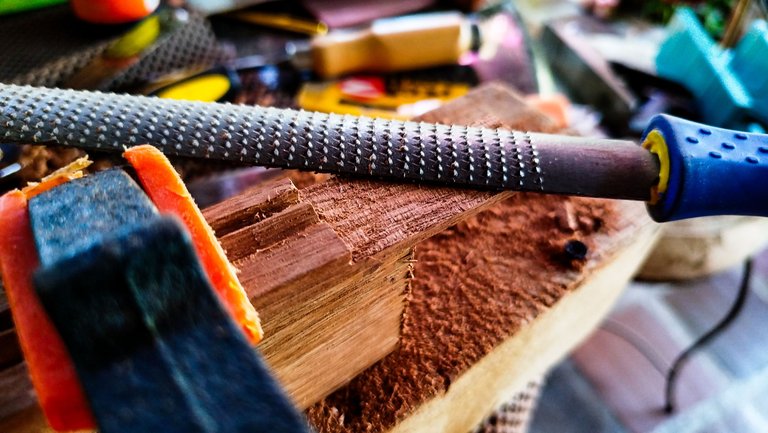
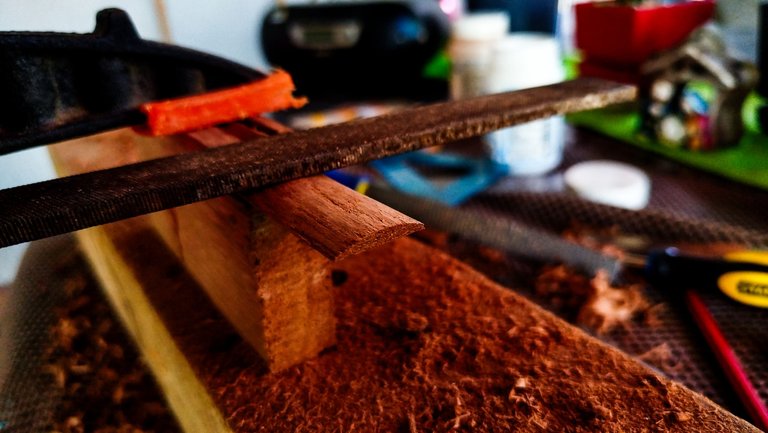
To finish our work on the bridge for now, we just need to start using a rasp to refine the cuts we made before to create the wings of the bridge. When we remove all the cut marks and have an even surface, we can start using a file to round this part and give it a smoother finish. And by doing so, we have the complete shape of the bridge ready to go.
On the next entry, we'll get into finishing this piece by making the holes for the strings, working on its finish and doing some extra work. We can also start working on the finish for the instrument and be another step closer to finish this job.
Thanks a lot for reading! See you on the next entry!

| Part | Title |
|---|---|
| 1 | Repair Job |
| 2 | Out with the Old |
| 3 | Fixing a Crack |

Photos 📷: Redmi Note 13
Thumbnail 🖼️: Canva.
Editing 🎬:Adobe Photoshop Lightroom.


Follow me on Instagram for enquires and commission.
If you'd like to help the workshop grow, you can make a donation here. You can find me at discord as bertrayo#1763




You always take very impressive pictures of the creative process. I really enjoy your posts bro, and I was just dropping by to wish you a Merry Christmas, but now I'm leaving with so much more. A hug in the distance man!...
Thanks a lot, my friend. I was in Caracas last two weekends ago and I missed the chance to write you to meet in person.
It will be for next time.
Send you a big hug. Merry Christmas.
It's been a while since I am checking your woodworking diary. Looks like this is a series, right? Anyway, merry Christmas and have a happy holiday 😊
Yup. Merry Christmas to you too, Mac.
Congratulations @bertrayo! You have completed the following achievement on the Hive blockchain And have been rewarded with New badge(s)
Your next target is to reach 220000 upvotes.
You can view your badges on your board and compare yourself to others in the Ranking
If you no longer want to receive notifications, reply to this comment with the word
STOPCheck out our last posts:
Si bien no soy experta en los trabajos de madera, me encanta hacerlos... Las imágenes me trasladan a algunos lugares hermosos de carpintería que he visitado
Muchas gracias, saludos. 🫶