
If Spanish isn't your first language, scroll down for the English version or click here

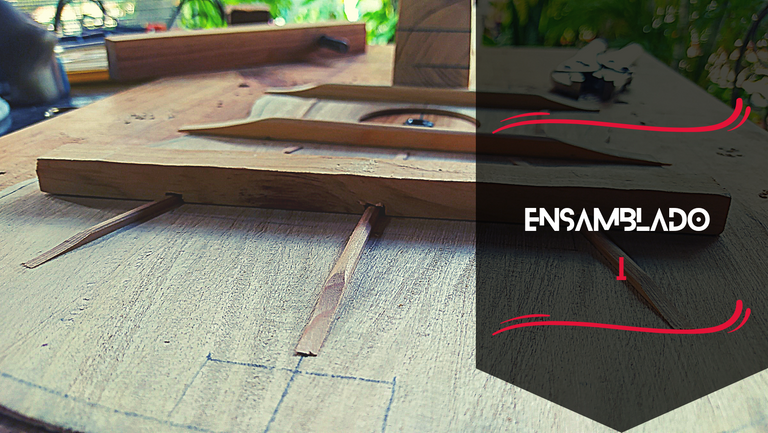
¡Es miércoles! Eso significa que es otro día para la sección de Miércoles de Carpintería del Blog. El día de hoy, continuamos con el proceso de este cuatro venezolano. Como pueden leer en el título, comienza el proceso de ensamblado.
Preparación
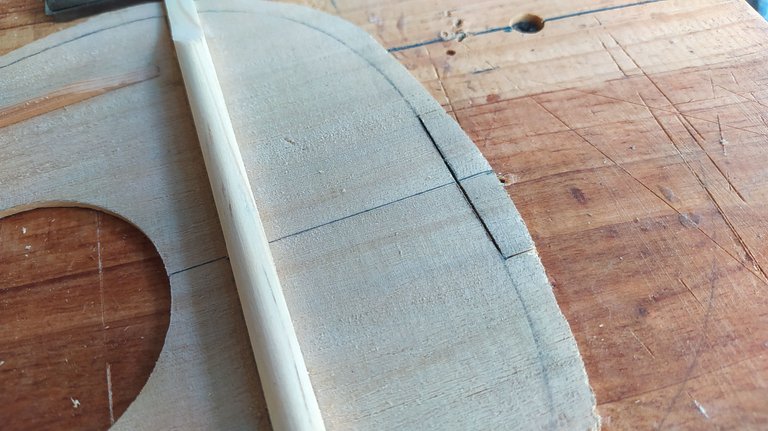
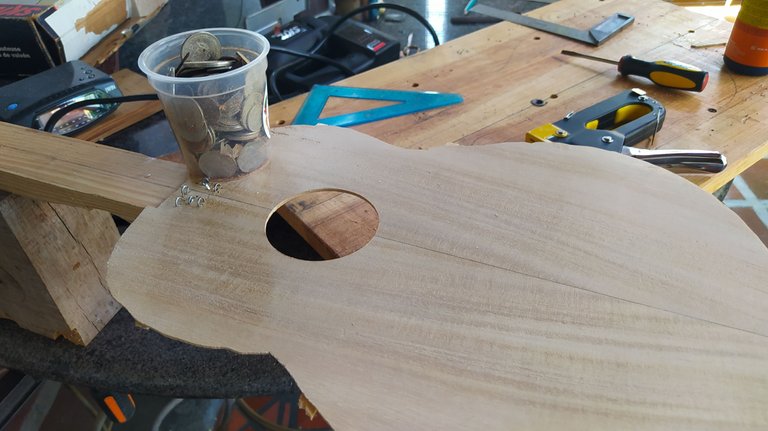
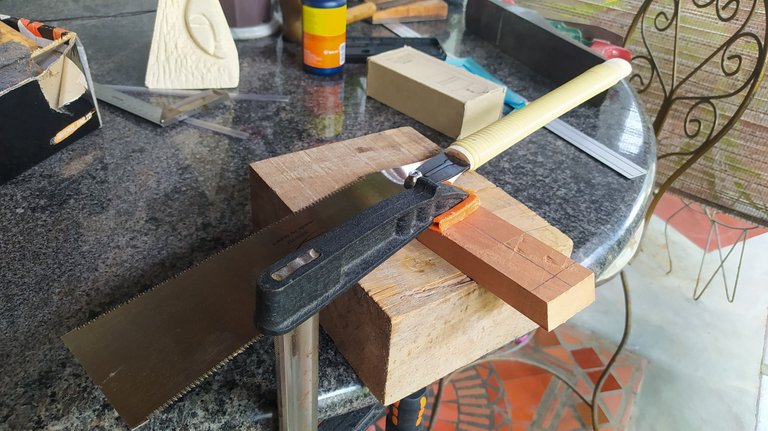
Antes de colocar nuestro cuatro en la solera, hay que pegar la tapa armónica del mástil. Incluso antes de hacer esto, tenemos que hacer un corte en la tapa. Para esto podemos utilizar cualquier método que sea más fácil. En mi caso, utilizo un exacto y una regla. Primero, tenemos que marcar el ancho del diapasón al llegar hasta la tapa. En mis cuatros venezolanos, este anchones de 4,6 cm. Nos guiamos por la línea central de la tapa y dividimos la medida a la mitad. Dejamos ese espacio a cada lado de la línea y nos disponemos a cortar. Al remover ese material tenemos el espacio para que el diapasón quedé al ras de la tapa armónica.
Primera unión
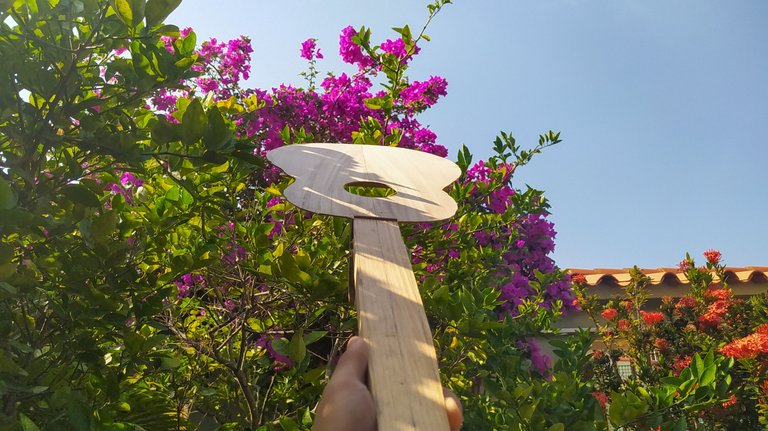
Así estamos listos para unir el mástil con la tapa armónica. Para lograrlo, vamos a utilizar pegamento para madera, en mi caso, cola blanca, y una grapas de tapicería. Algunos fabricantes usan clavos. Cada quién a su manera. Lo que puedo decir es que lo importa mucho lo que se utilice para lograr esto, siempre que la unión sea fuerte.
Alineamos la tapa con el mástil utilizando una líneas de guía previamente dibujadas sobre estás piezas. Al colocar las grapas, ayudamos a mantener esta piezas en contacto. Cuando el pegamento se haya secado, removemos las grapas.
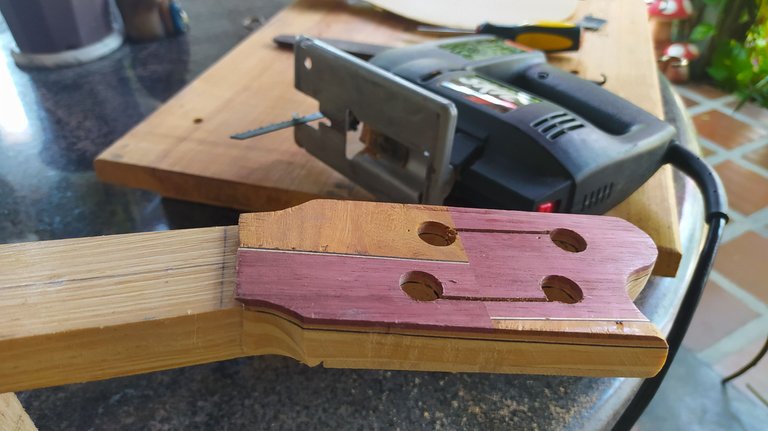
Un detalle extra a la hora de hacer este armado es que hice un corto en el área de la pala para tener un diseño vacío en el centro del clavijero. Mostraré más de este detalle más adelante cuando el instrumento tengo más forma.
En la Solera
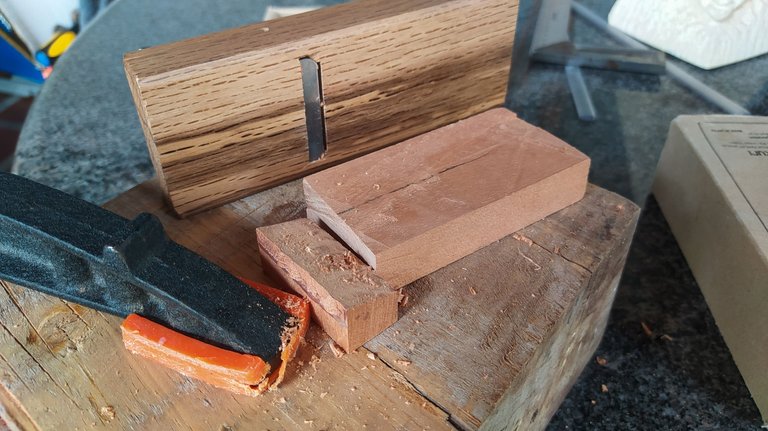
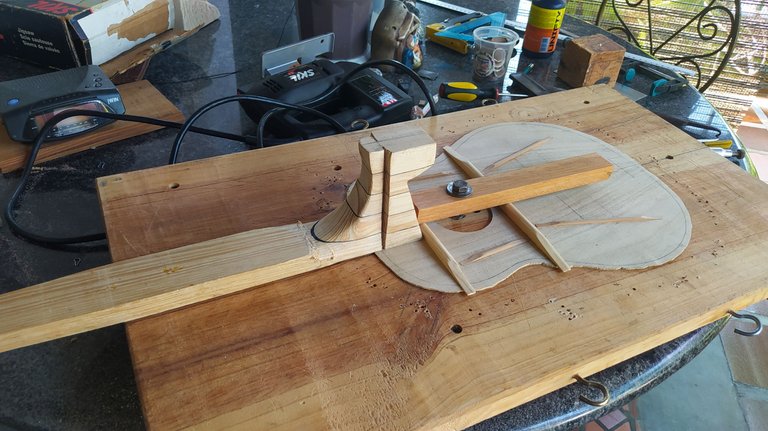
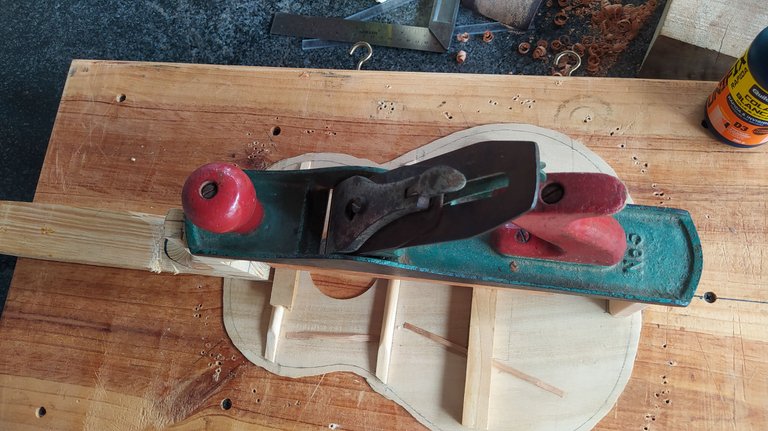
Al colocar el instrumento en la solera, vamos a empezar a ensamblar el resto de las partes que faltan. Comenzamos por preparar el tacón interno dónde entran en contacto todas las piezas del cuerpo del instrumento. Para prepararlo, tomamos una pieza de madera de 4 cm de ancho y la cortamos a un largo de 9cm. Luego, con la ayuda de un cepillo, redondeamos las esquinas y finalmente, lijamos todo el taco.
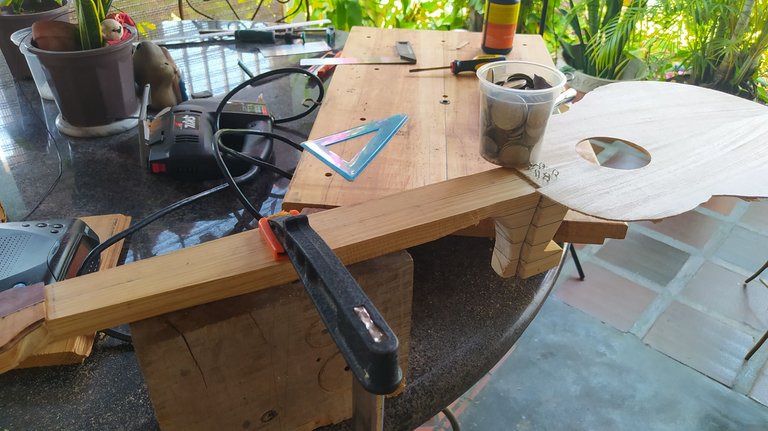
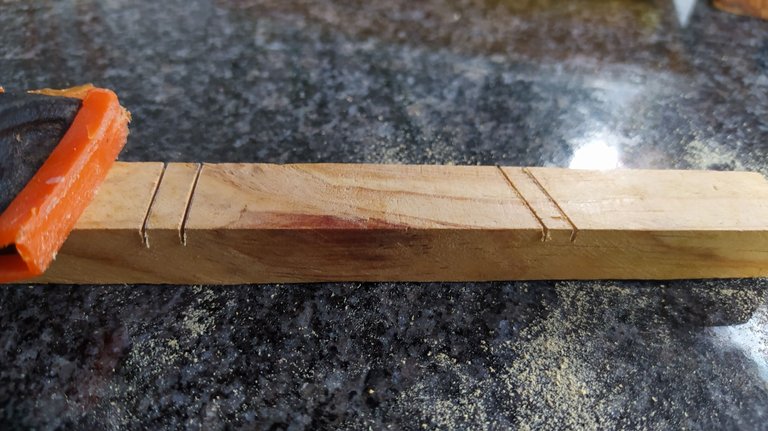
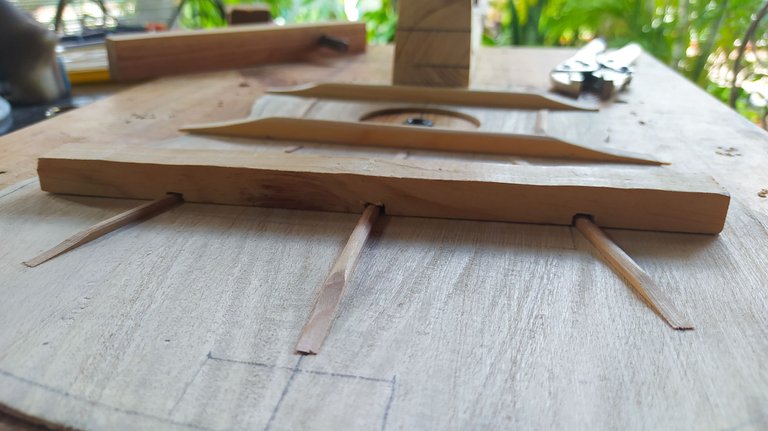
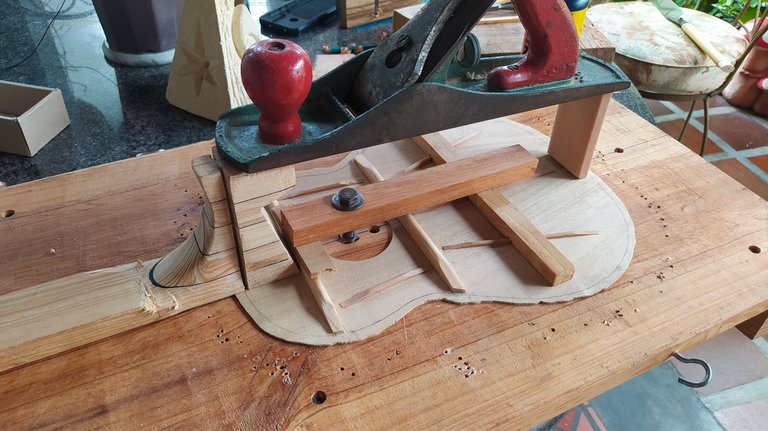
Antes de proceder con el pegado, preparé este otra pieza (foto 3) para poder presionar la tapa contra la solera. Al colocarla la primera vez, me di cuenta que quedaba un espacio que podría generar problemas cuando se coloque el puente. Una vez resuelto esto, podemos proceder a pegar el tacón el tacón interno.
Cuando el pegamento se haya secado, podemos proceder a colocar las escuadras y así estamos listos para la siguen etapa: colocar los aros. Sin embargo, esta parte del proyecto quedará para la próxima ocasión.
Gracias por leer. Nos vemos en los comentarios.

Assembling
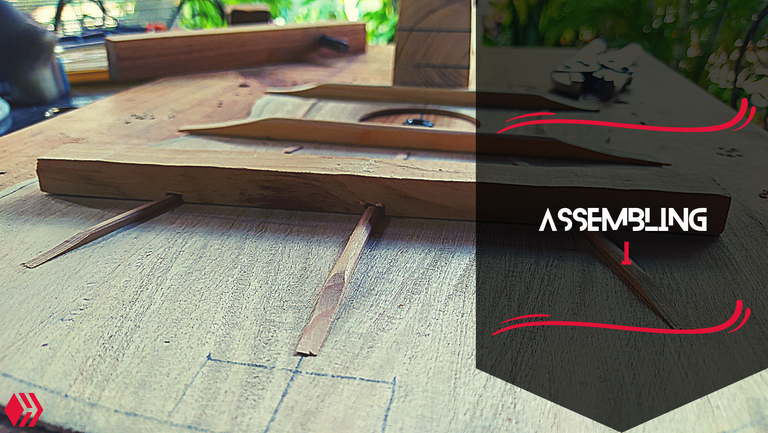

It's Wednesday! That means it's time for the new entry of Woodworking Wednesdays. Today, we continue on the processing of making this Venezuelan Cuatro. As you could read on the title, it's time to assemble!
Get it Ready!

Before getting the instrument on the solera mould we need to glue the sound board to the neck. Even before this, we need to make a cut on the top. Any sharp tool will do. I use a box cutter and a ruler. We employ the method that suits is best. First, we have to mark the width of the fretboard on the top. In my instrument, the widest point on the fretboard is 4,6 cm. We use the center line of the sound board and mark half on the measure mentioned above at each side. Then, we proceed to cut. By removing this piece, we have a clean cut to get the fretboard in place once it's time to do so.
First step
Now, we are ready to glue the sound board on the neck. To do it, we'll use some wood glue and staples. Some luthiers use nails. To each their own. The methods are valid of they achieve the same results.
We align the pieces with some lines that were previously drawn on them. When we put the staples, we help the surfaces stay in contact. Once the glue has dried up, we can remove them.
An extra thing I did before this process was to make the cut to start of the final design for the head stock. I'll show more of this design in other entries.
On the Mould
Once we get this on the mould, the largest portion of the assembling process van start. We start by making the end block. This piece is an important block that joins almost all parts of the body of the instrument. To make it, we star with a piece of wood around 4 cm wide. We cut it to length. In this case, 9 cm. Then, we a planer we round the edges and finish it up by sanding everything.
Before gluing this up, I had to address some space that was between the sound board and mould. It didn't stay flat against the mould when I placed it the first time. So, I prepared a bar (see the third photo above) to help me press down the sound boaed and avoid any problems that could arise in the future while placing the bridge. Once this was addressed, it's time to glue the end block.
When the glue has dried up, we can put the angles and get everything ready for the next big step, placing the sides. However, that will have to wait until the next entry on this project.
Thanks a lot for reading! See you in the comment section.

Fotos/Photos 📷: taken by me (Redmi Note 8)
Portada/Thumbnail 🖼️: by me, created with Canva.
Edición/Editing 🎬: by me, made with Adobe Photoshop Lightroom.

Follow me on Instagram for enquires and commission.
If you'd like to help the workshop grow, you can make a donation here. You can find me at discord as bertrayo#1763
~~~ embed:1638711733630955520 twitter metadata:NzE2NjQ2NzUwNjAyMzA5NjMyfHxodHRwczovL3R3aXR0ZXIuY29tLzcxNjY0Njc1MDYwMjMwOTYzMi9zdGF0dXMvMTYzODcxMTczMzYzMDk1NTUyMHw= ~~~
The rewards earned on this comment will go directly to the people( @bertrayo, @ferod23 ) sharing the post on Twitter as long as they are registered with @poshtoken. Sign up at https://hiveposh.com.
https://leofinance.io/threads/@bertrayo/re-leothreads-2ujaai
The rewards earned on this comment will go directly to the people ( bertrayo ) sharing the post on LeoThreads,LikeTu,dBuzz.
It's all coming together to form a true masterpiece. Nicely
Thanks a lot! ✨
Un trabajo minucioso y muy bien realizado Andrés!❤️
Gracias ☺️
❤️✨
Awwn the work looks beautiful, you did a very clean job Weldon.
Hey, thanks a lot ✨
Me encanta la parte (no sé cómo se llama) que tiene los dos colores de madera, se ven geniales. Nunca me voy a cansar de chulear esa madera moradita, aunque digas que luego pierde ese color.
Besos 😘😘
Ah, eso es el clavijero. El cuatro iba a ser de otras maderas pero la nación del fuego atacó.
No es que pierda todo el color, pero se pone mucho más oscura. Cosas de la madera y sus procesos de oxidación.
Besos y abrazos 🥰😘
Muchas cosas técnicas que no voy a recordar, por más que lo intente 🤣
O sea, ¿Este es el cuatro de las tragedias?
Besos, abrazos y... 👀
El primer cuatro aniversario es el cuatro trágico. Le voy a poner un nombre bien triste.
Tampoco espero que las recuerdes. Por eso en todas las publicaciones van los nombres de todas las partes.
Ay, es que ese cuatro te ha hecho sufrir mucho 😢
Gracias por pensar en los que tenemos memoria de zanahoria 🤣
Suele pasar cuando dejo mucho tiempo entre empezar a armar uno y otro. Son cosas del trabajo
Ohhh, bueno, ahora a trabajar sin parar. ¿Quién dijo esclavitud? 🤣
Congratulations, your post has been upvoted by @dsc-r2cornell, which is a curating account for @R2cornell's Discord Community. We can also be found on our hive community & peakd as well as on my Discord Server
Felicitaciones, su publication ha sido votado por @dsc-r2cornell. También puedo ser encontrado en nuestra comunidad de colmena y Peakd así como en mi servidor de discordia
Thanks a lot! ✨
Amigo, saludos, nunca habría imaginado tantos detalles para la fabricación del cuatro. Ha sido entretenido su publicación.
Muchas gracias, me alegra que sea entretenido y educativo. Saludos.