
Si el Inglés no es tu primer idioma, puedes ir a la versión en Español dando click aquí

Another Wednesday, another entry on the Woodworking Wednesdays series. Today, I want to show some of the work I've been doing lately. I'm on some online classes learning to make percussion instruments and couldn't miss the chance to show you what I'm building. Sit tight and enjoy this brand new project.
Let's begin!
The Parts
The first instrument I'll be building over four months of classes are some Boxed Bongos. You might be familiar with the regular round Bongos. This version is all made of wood. Yes, it doesn't use a leather patch as regular minor percussion instruments. It's an interesting format of making instruments since there are more boxed versions of other instruments of the same kind.
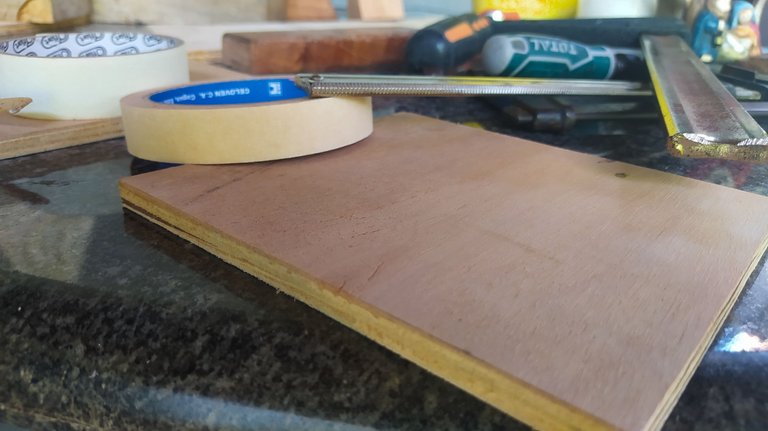
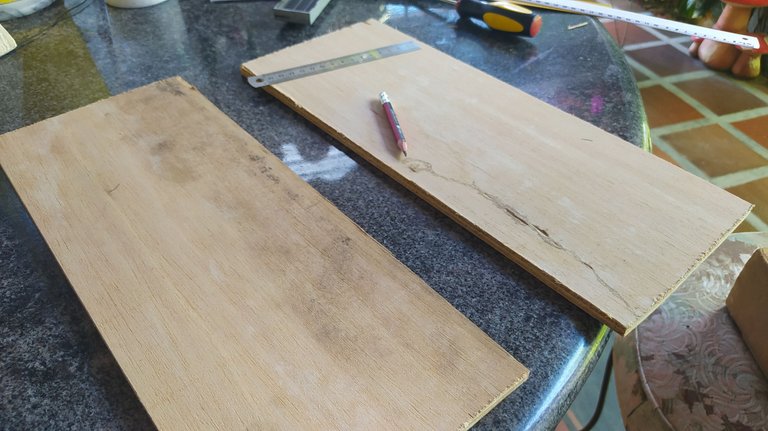
For the materials, I bought half a panel of 9mm plywood and a sheet of 3mm plywood (like the ones used on doors). I had some help to have the pieces cut to shape. There are 2 large pieces, plus 3 square ones. One of the latter is shorter since it is used in the middle to make the division between the drums to have the high-pitched one and the low-pitched one. Once we have selected which side will show, we can proceed to prepare everything.
The Work
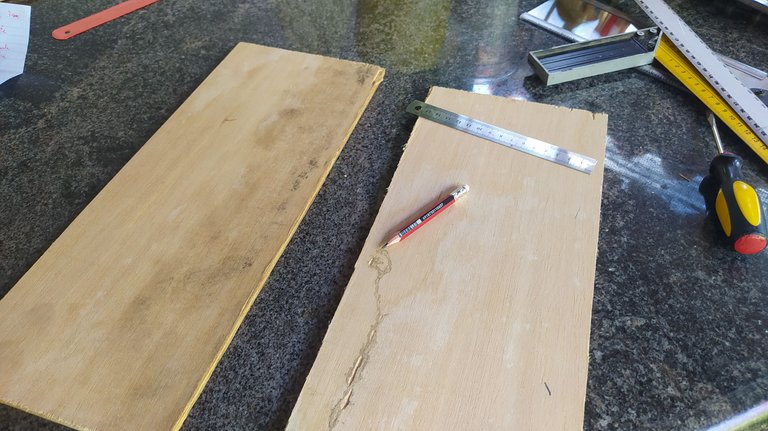
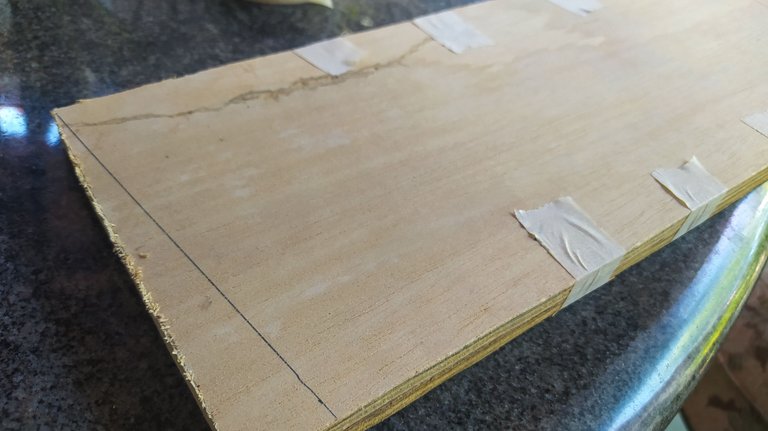
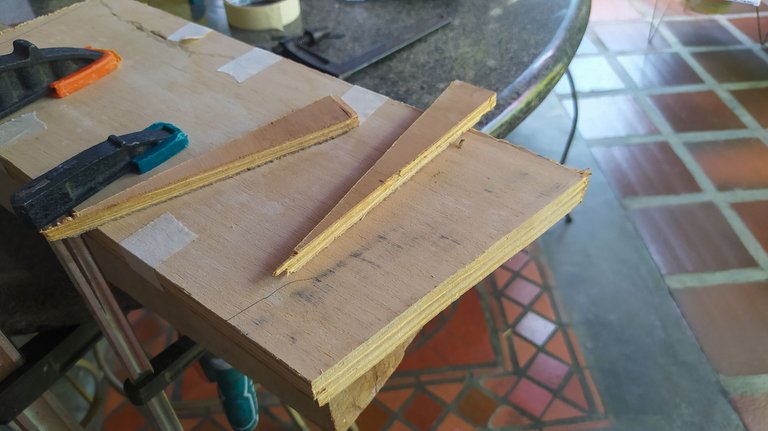
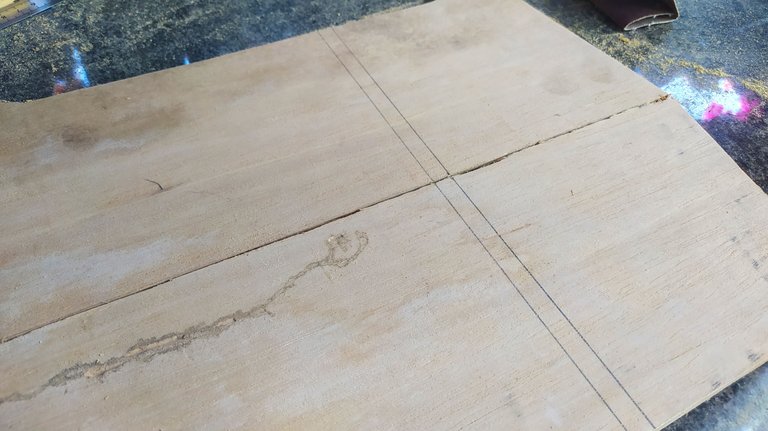
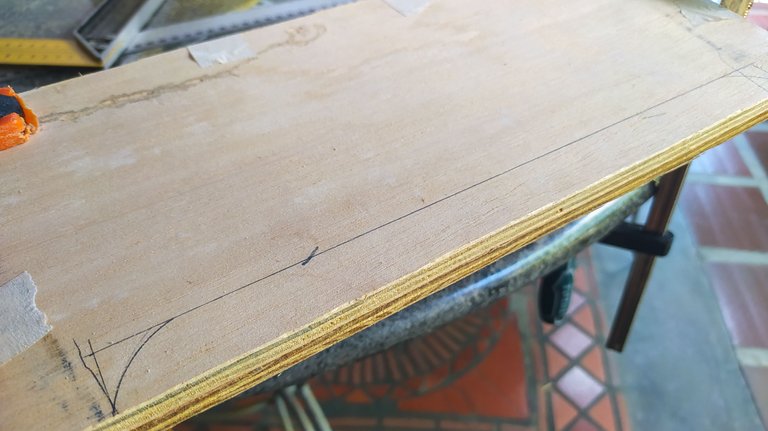
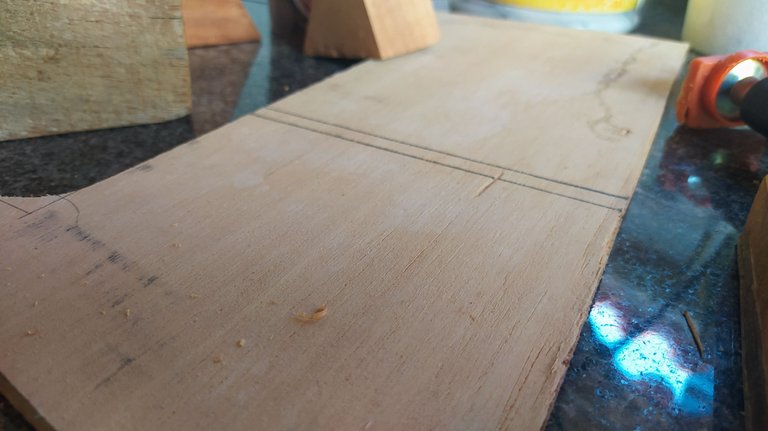
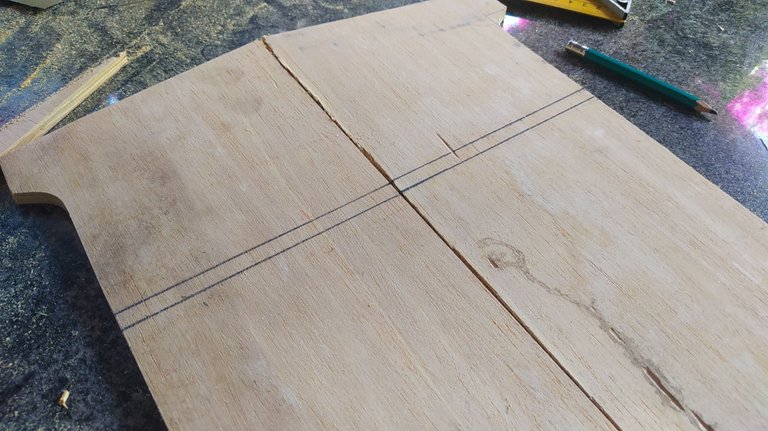
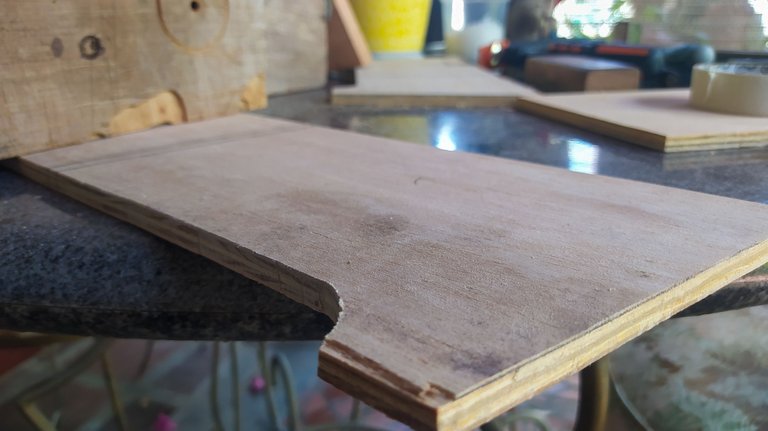
There's not a lot of preparation for this. First we need to match the long pieces and remove a wedge from the borders. This will give us the final shape. Then, we need to make a line to mark the place of the smallest piece of wood. The one that will give us the division between the drums.
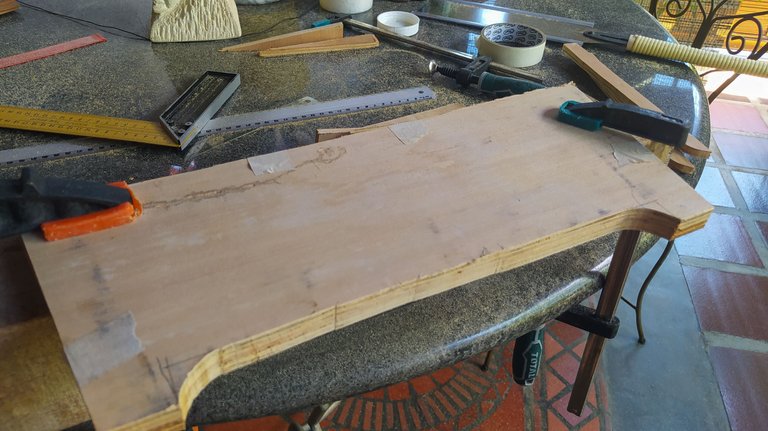
Once we have this in place, we can go ahead and carve the bottom of this pieces. This is for aesthetics only. It is a easy job to do with a jigsaw and then some sandpaper to remove any uneveness.
Assembling
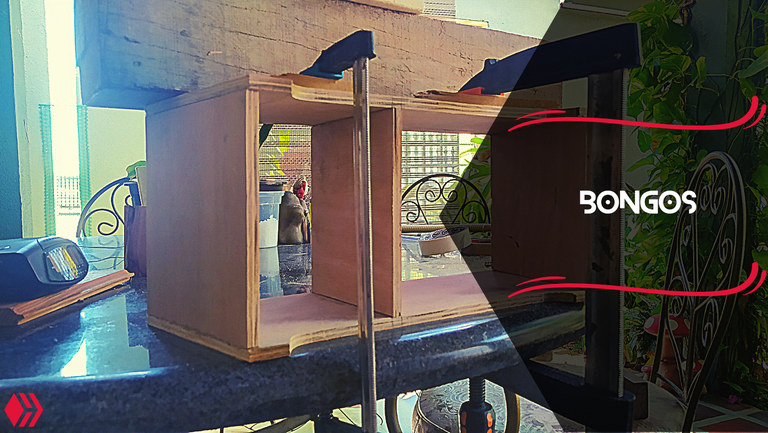
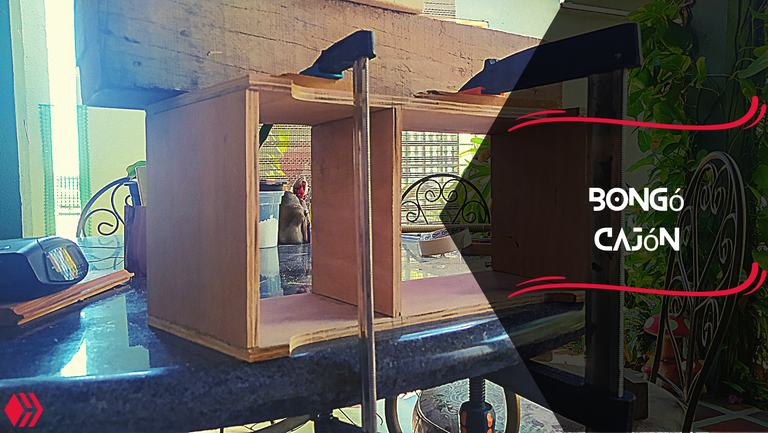
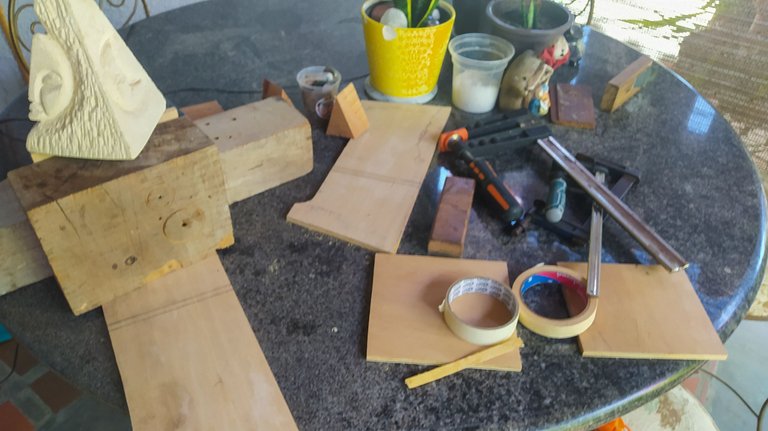
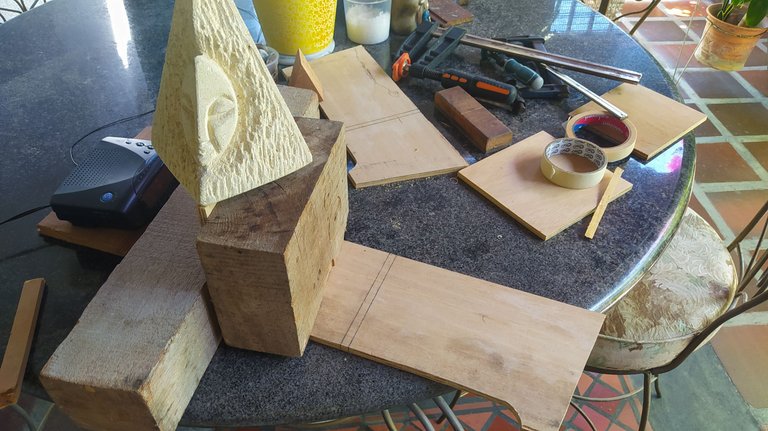
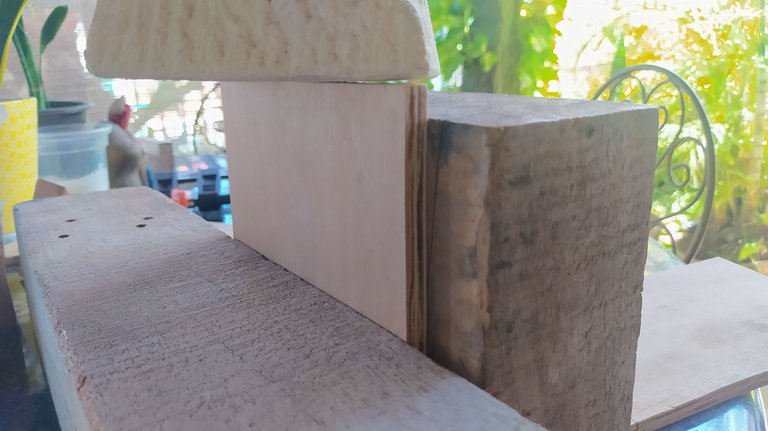
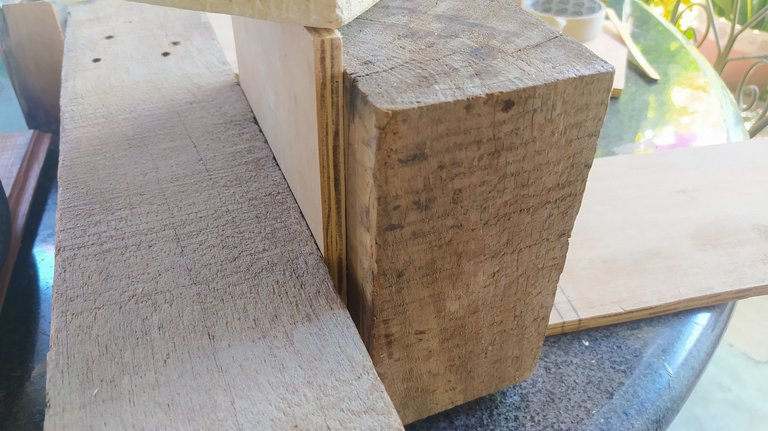
Coming to the assembling stage, I realised I didn't have enough clamps for the build. Clamps just made it to the top of the buying list. Now, I did devise a method for this. You can see in the photos above, there was some creativity in de assembling department.
Anyways, the idea is simple, the pieces need to be aligned as well as possible. It isn't easy without clamps and there were some mistakes on this part of the process, but the first one is like hot cakes. You know what I mean. It won't be perfect but it will do. And of course, it's all about learning to do the thing.
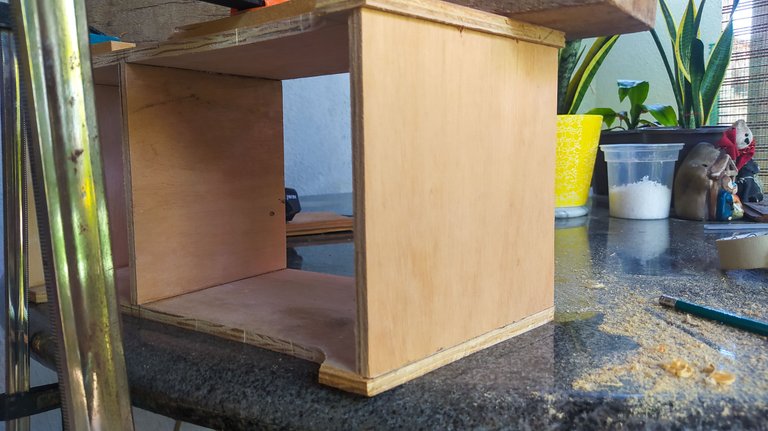
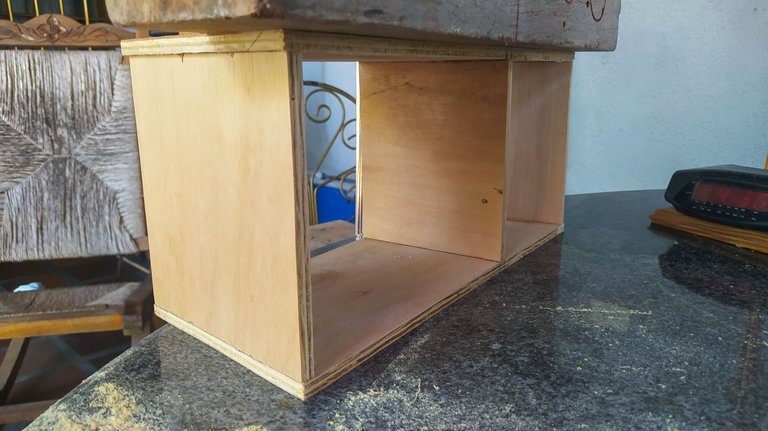
Placing one part at a time, we can manage to get some of tb structure ready and then we can finish it by placing the last part and making the box.
And next time, we'll see how well it ended up and what adjustments were necessary for the build.
Thanks a lot for reading. This project has got me all excited for learning some new techniques and adding another instrument to the list of availables in the workshop. Drop a comment if you found this one interesting! See you next time!

Bongó Cajón

Llega el miércoles y con este, otra entrega de la sección Miércoles de Carpintería. Hoy, les vengo a presentar un proyecto en el que he estado trabajando en estas últimas semanas. Estoy tomando clases online de lutheria y aprendiendo a construir instrumentos de percusión. No me podía perder la oportunidad de mostrarles lo que estoy construyendo. Así que tomen asiento pónganse cómodos y disfruten de este proyecto nuevo.
¡Vamos allá!
Partes
El primer instrumento que voy a fabrics durante este curso es un Bongó Cajón. Quizá sepan lo que es un Bongó y estén familiarizados con su forma tradicional. Son dos tambores redondos con parches de cuero. Uno es más pequeño que el otro. Está versión está toda hecha de madera. Sí, se reemplaza el cuero por una capilla de madera. Existen muchos tipos de instrumentos de cajón. Es un formato interesante en la fabricación de instrumentos de percusión menor.
Los materiales para este proyecto son multilaminado de 9mm y contraenchapado de 3mm. Tuve algo de ayuda para cortar las piezas. En total son dos piezas rectangulares y tres cuadradas. Una de estas últimas es un poco las angosta para colocarla en la parte interna del instrumento. Está es la que nos dará la división para tener un área con tono agudo y otra con tino más grave. Después de tener las maderas listas, seleccionamos el lado con la mejor apariencia. Este será la parte visible del instrumento.
¡A Trabajar!
No hay mucho trabajo para preparar las piezas. Lo primero es juntar los rectángulos y cortar un poco de las esquinas para empezar a darle forma. Procedemos a marcar el lugar donde colocaremos la pieza corta para dividir el tambor.
Cuando hayamos hecho esto, podemos empezar a trabajar la estética del Bongó. Comenzamos por la parte inferior de los rectángulos. Para estoy utilizamos una sierra caladora y luego lijamos para remover cualquier detalle.
Armado
Al llegar a la etapa de armar el cajón me di cuenta que no tenía prensas suficientes para hacerlo de manera facil. Ahora las prensas encabezan la lista de cosas por comprar. Sin embargo, nada que un poco de creatividad no solucione. Pueden ver en las fotos de arriba cómo me las arreglé para llegar parte por parte hasta tener la estructura completa.
De todos modos, el proceso es simple. Las piezas deben estar alineadas lo mejor que se pueda. No es un trabajo fácil y sin las prensas se puede hacer un poco engorroso, pero es el primer instrumento de este tipo que hago y no planeaba que fuera perfecto. Es como las panquecas. La primera siempre sale un poco chueca. Saben a lo que me refiero. Además, todo proceso es un aprendizaje.
Así que con las piezas en su lugar, se puede terminar de pegar la base del cajón y tener lista la estructura principal.
En la próxima entrega, veremos qué tan bien quedó y cuáles son los ajustes necesarios para completar este proyecto.
Muchas gracias por leer. Estoy muy emocionado por este proyecto y por aprender técnica de fabricación nuevas. Además, acabo de añadir otro instrumento a mi lista de disponibles en el taller. Dime si este proyecto te pareció interesante en un comentario. ¡
Thanks a lot for reading. This project has got me all excited for learning some new techniques and adding another instrument to the list of availables in the workshop. Drop a comment if you found this one interesting! See you next time!

Fotos/Photos 📷: taken by me (Redmi Note 8)
Portada/Thumbnail 🖼️: by me, created with Canva.
Edición/Editing 🎬: by me, made with Adobe Photoshop Lightroom.

Follow me on Instagram for enquires and commission.
If you'd like to help the workshop grow, you can make a donation here. You can find me at discord as bertrayo#1763



The rewards earned on this comment will go directly to the people( @bertrayo ) sharing the post on Twitter as long as they are registered with @poshtoken. Sign up at https://hiveposh.com.
The rewards earned on this comment will go directly to the people ( bertrayo ) sharing the post on LeoThreads,LikeTu,dBuzz.https://leofinance.io/threads/@bertrayo/re-leothreads-6kqlrc
Que buena pinta lleva ya este Cajón. Na guara e´talento que tienes.
Sigue perfeccionando la técnica para que sigas creando piezas tan hermosas como esta, que se ve va quedar genial. Saludos
Lo primero que me dijeron es que parecía una maceta. Y es cierto, tiene pinta de maceta. 🤣
Ahí vamos. Espero poder hacer muchos de dtos y ponerles un toque más personal también.
Ah la gente y sus cosas jajaja si parece pues pero ya sabemos que tiene un fin distinto. Saludos.
Exactamente 😅
A primera vista parece fácil pero no creo que lo sea, me encanta ver el paso a paso!
Bonito día Andrés!😀
No es nada fácil. Ja, ja, ja, ja. En el reto, está lo divertido del proyecto.
🤣🤣🤣🤣 a divertirse entonces.
Más nada. Ya me están sonando por cierto. No me falta mucho para completarlos.
Esperaré tu próximo video jaja
Buenas noches!
Buenas noches ✨
Lei lo del corte de la madera con ansiedad 🫣que bueno que tuviste apoyo, aunque haya sido tu primera panqueca se que estás disfrutando del proceso,con tus clases nuevas de lutheria aprendí que los bongos pueden ser cuadrados.
Es un estilo de hacer instrumentos. Hay congas en el mismo formato. Son más livianos y fáciles de llevar a todos lados.
Ja, ja, ja, ja. Corte de madera y ansiedad son dos fijas en mi trabajo. 🤣
La primera panqueca es fea, pero sabe igual a las demás.
You are very skillful - quite an artisan. Keep up the good work.
Hey, thanks a lot. I really appreciate it. ✨