
Welcome back to this project! This is the second to last entry for this series. Today, we're focusing our efforts into more finish, refretting and cleaning the frets and sanding for the second to last time.
Let's jump right to it!
Another Coat

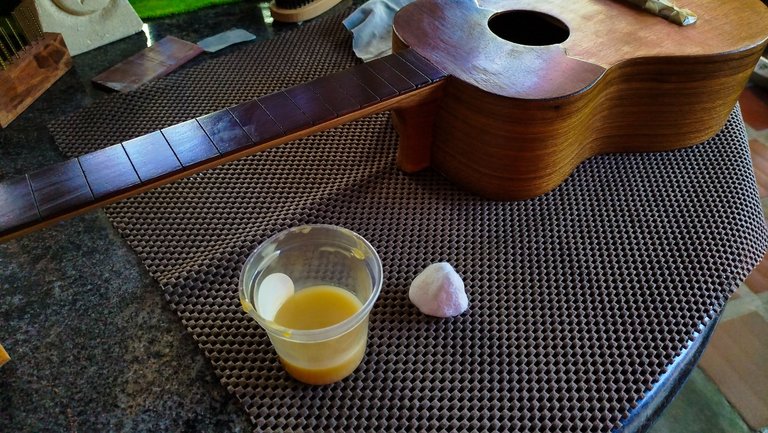
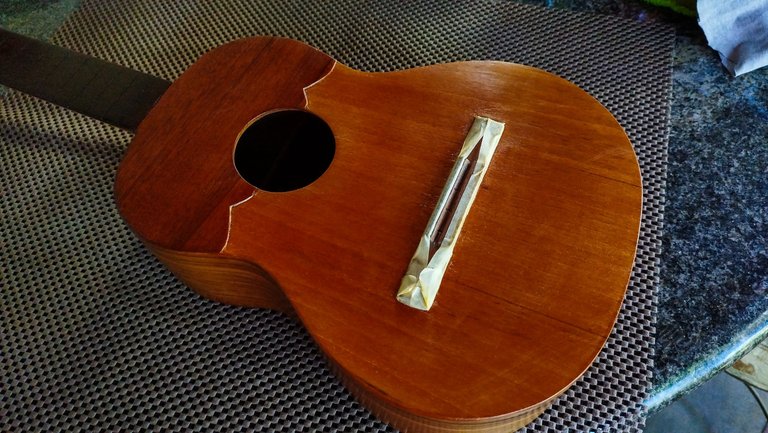

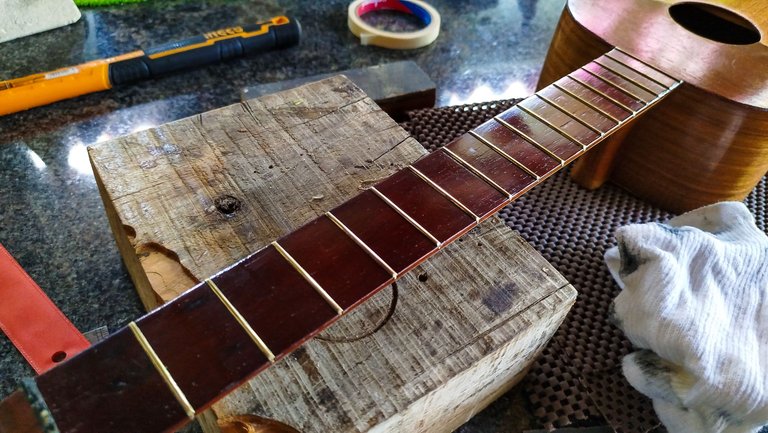
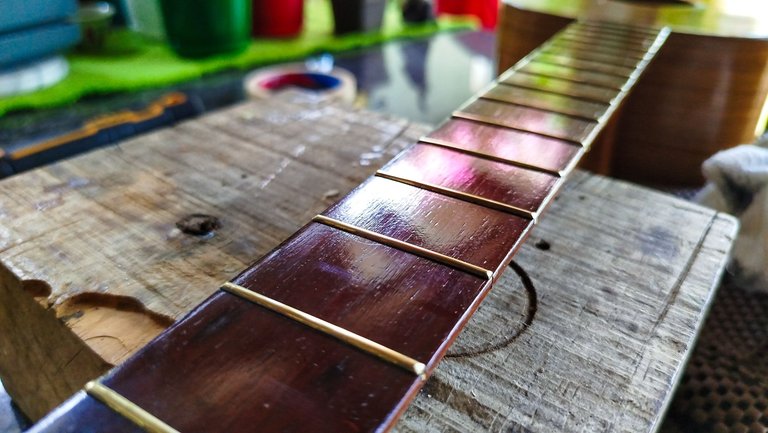
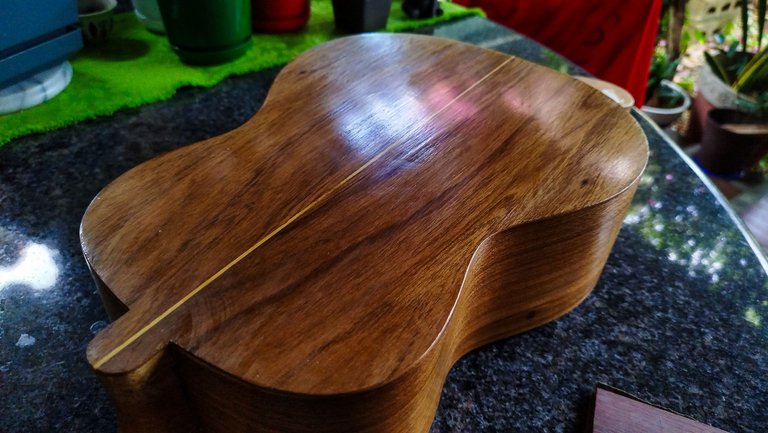
The coats of finish are something that doesn't end until the last one is in place. When does that happen? Usually, when one gets tired of adding coats, you just add another one and call it a day. All these coats need another cycle of sanding to be even. Don't worry! A coat is usually a much sealer as it is prepared. We apply it and let it dry and then it's rinse and repeat! We do this until there's no more sealer. The reasoning behind this is simple. The sealer expires when it isn't applied this gives us around 3-4 hours to do this task.
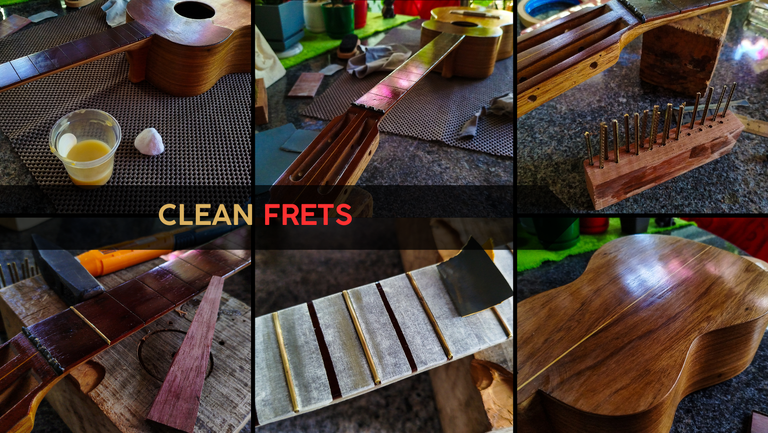
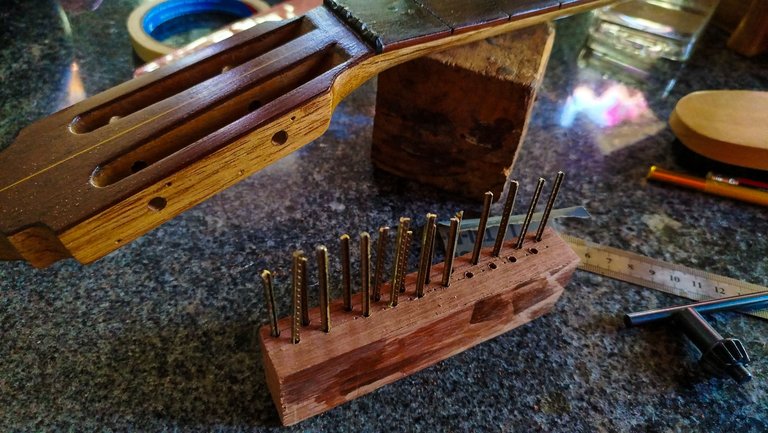
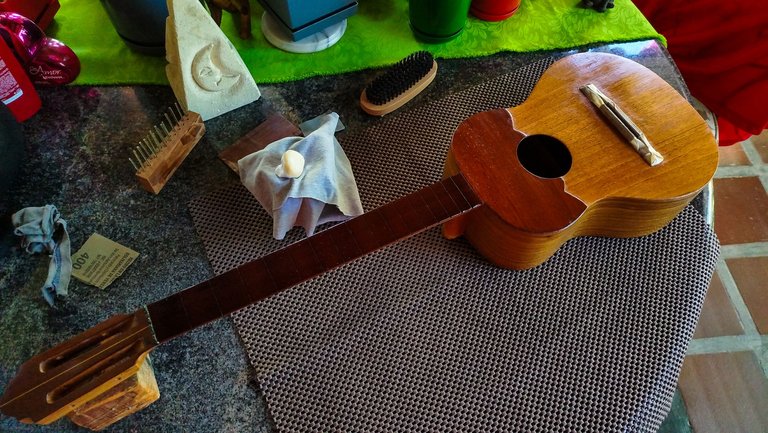
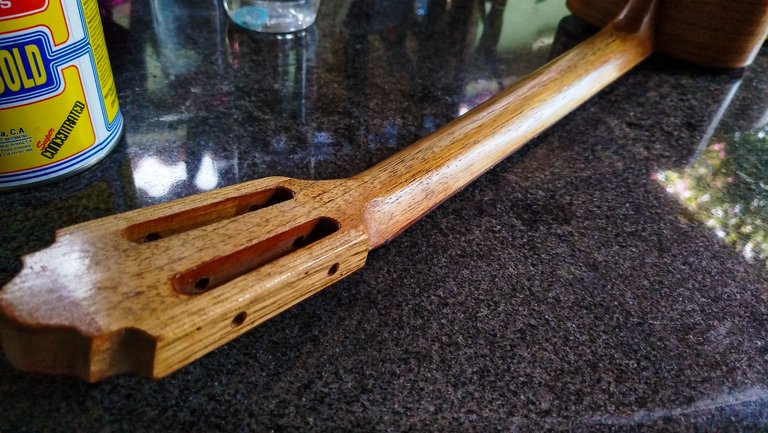
An extra step that should've been done beforehand was the marking of the frets we removed. To say it plainly, we forgot to keep track of which fret was which. This means that we had to make a jig to keep them in order. And also, measure each fret to the slots to see where each one had to be placed. Fortunately, this is the kind of anecdote that gives you enough time to reflect on how to do things.
Re-fretting
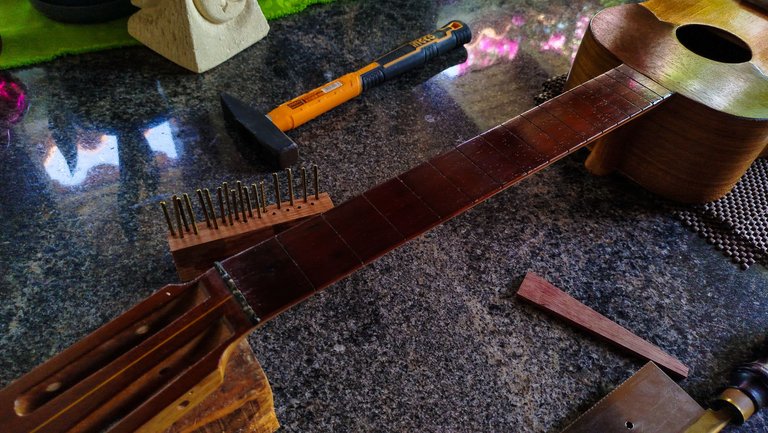
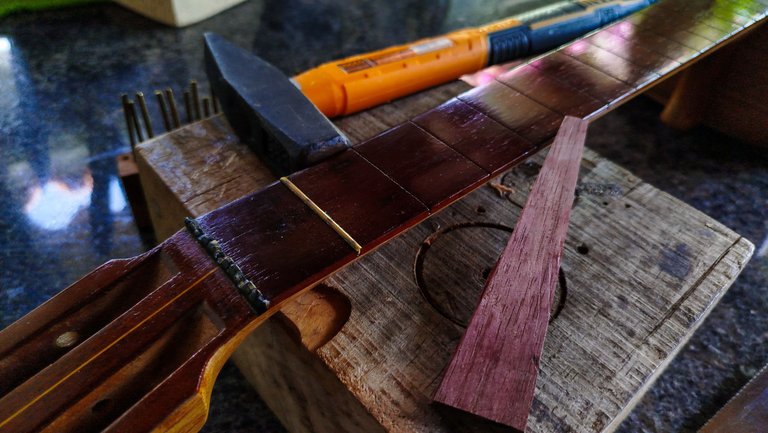

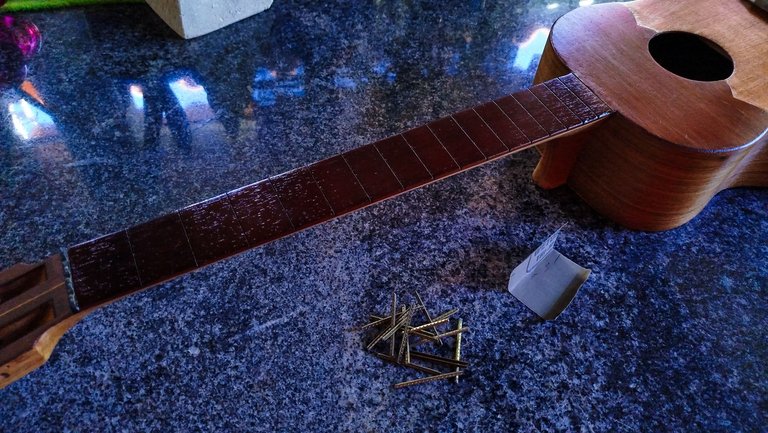
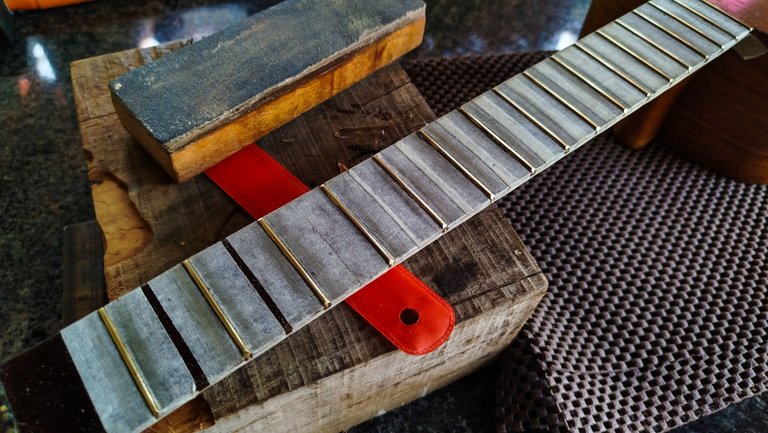
Time to get each fret back into its place. With a lot of patience and a firm hand, we use a piece of wood to hammer the fret into place. Once we are done with them, we can start the process of masking the wood to then clean and polish the frets.
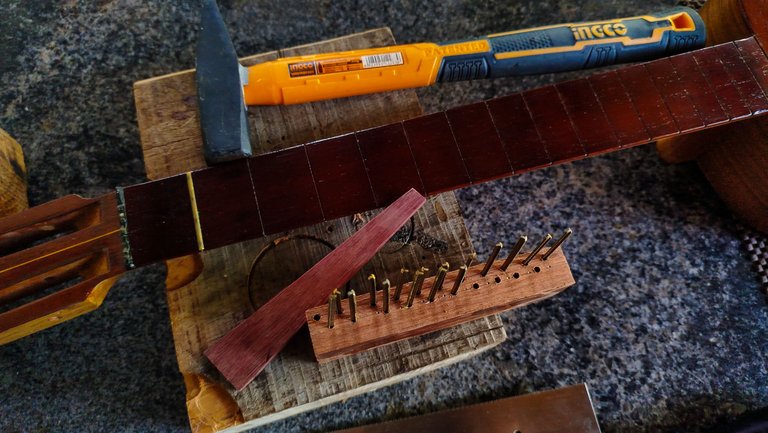
In perspective, the whole idea of cleaning the frets was a miss. To explain, cleaning the frets was something that could've been done before putting the frets in place. That way getting all the dirt off them would've worked better. This is just a reminder of things to do and their order.
Cleaning, Polish and more Sealer
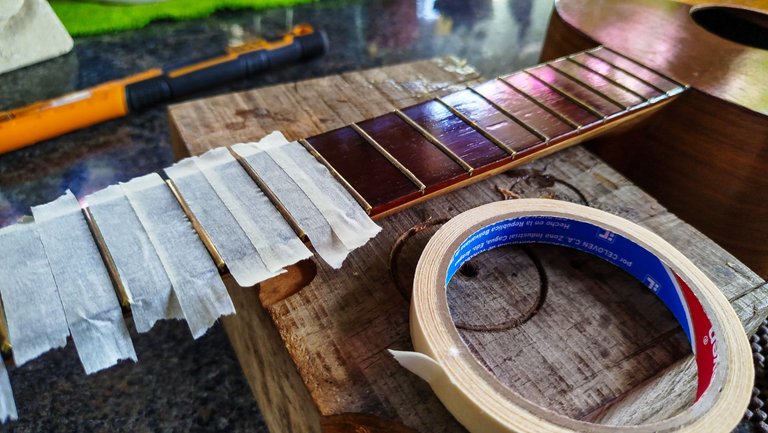
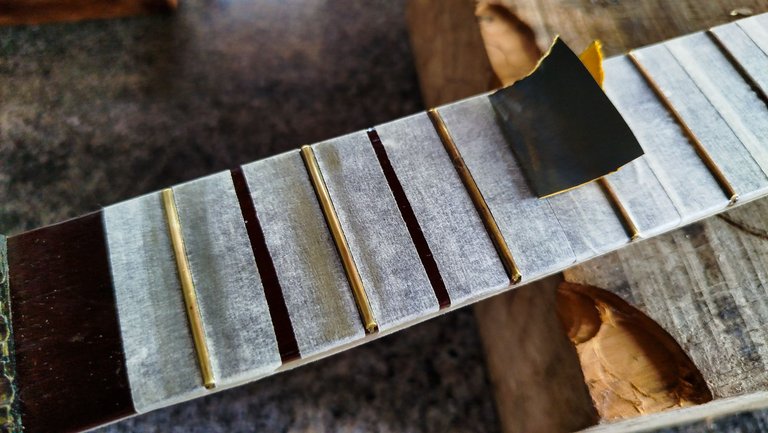

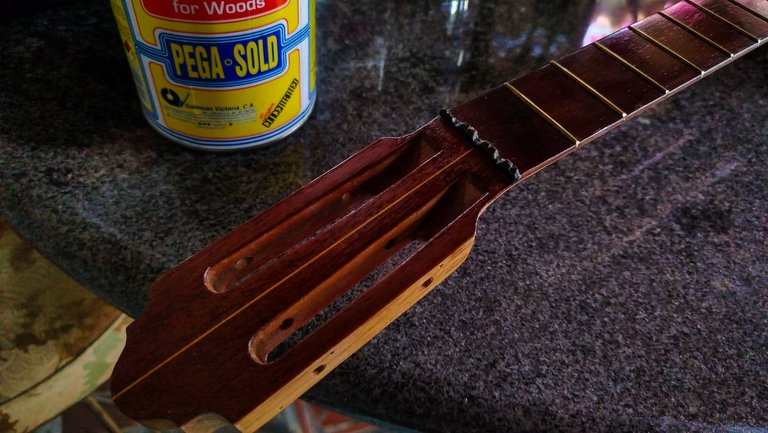
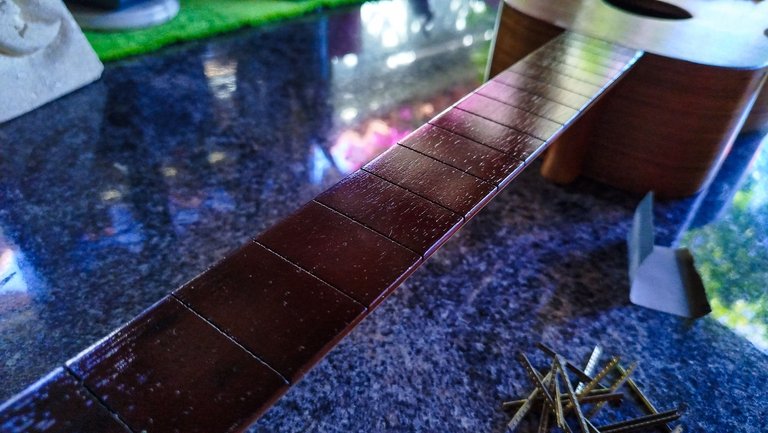
The most interesting part of this task is to put each piece of masking tape on its place. It is a task of patience. Once we finish it, we start with the cleaning and polishing phase. We need a piece of sanding paper that doesn't damage or reduce the level of the frets. We get the finest grit possible. So a piece of 1500-grit sandpaper.
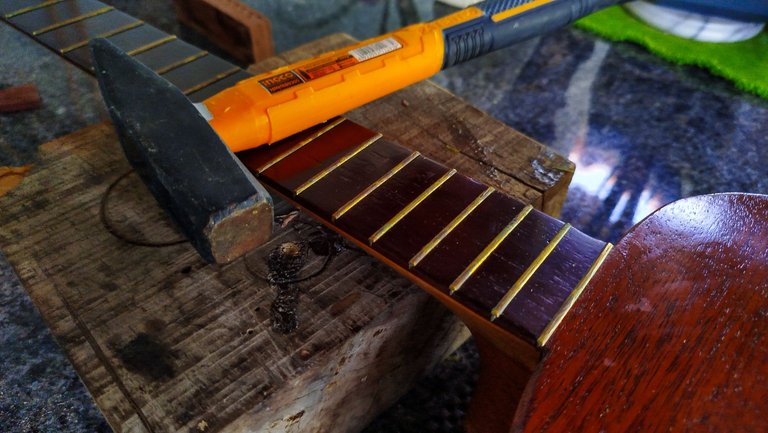
We start the whole work of doing each fret one by one. Yes, sanding each of them until we get all the dirt off. Repeating the whole process from each one of the 17 frets. The next step is getting the polishing compound. We use a cloth and the wax on, wax off movements to do this.
Once we have all the work done, the next step is filing the edges of frets in case there are any sharp edges.
The next step is applying a new coat of finish. In this case, it will be the last one before we apply the last one using the paint gun. But that will be a topic for another entry.
Thanks a lot for reading. See you next time!
| Entry | Title |
|---|---|
| 1 | Scrape, Scrape, Sand |
| 2 | New Coat, New Mask |
| 3 | Easier Task |
Photos 📷: Redmi Note 13
Thumbnail 🖼️: Canva.
Editing 🎬:Adobe Photoshop Lightroom.

Follow me on Instagram for enquires and commission.
If you'd like to help the workshop grow, you can make a donation here. You can find me at discord as bertrayo#1763
Excelente trabajo,esta muy hermoso.
Muchas gracias 🫂
Awesome results. This is the kind of things a robot could never get to do 😅
Lots of patience and attention to so many details. Thanks for sharing.
Maybe, who knows if robots get that good?
Thanks a lot for stopping by