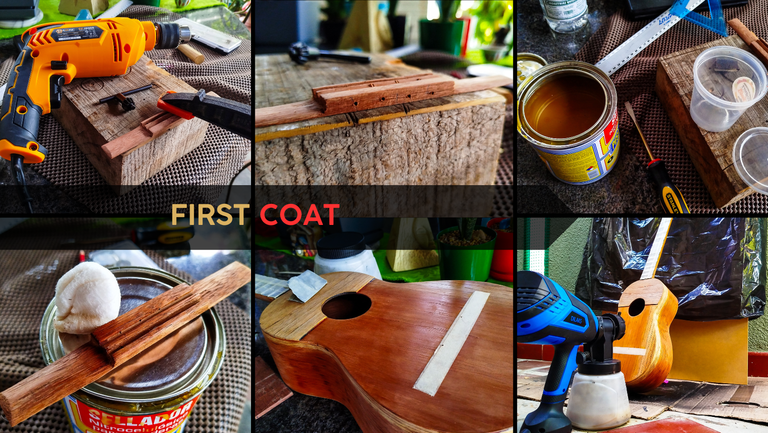

Welcome back to another entry on this series about maintenance. Last time, we were just about to start applying the finish to this instrument. Today, we're going to get to the first coat of finish. This is a bit of sealer to get the wood ready for the ink we are going to apply.
However, there's one thing to do first.
Let's get to it!
Due diligence
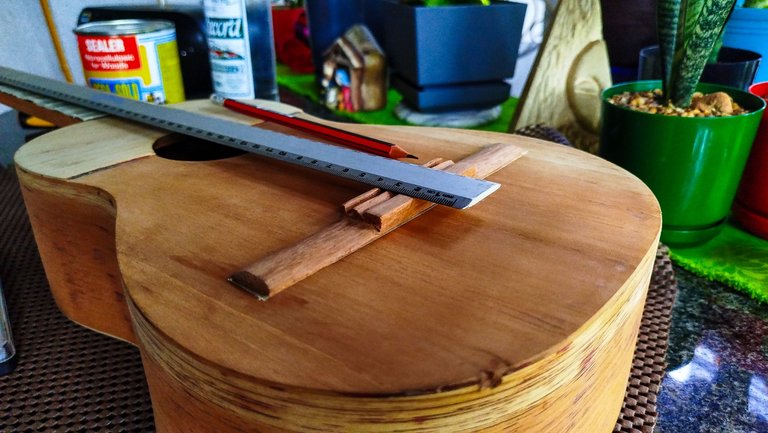
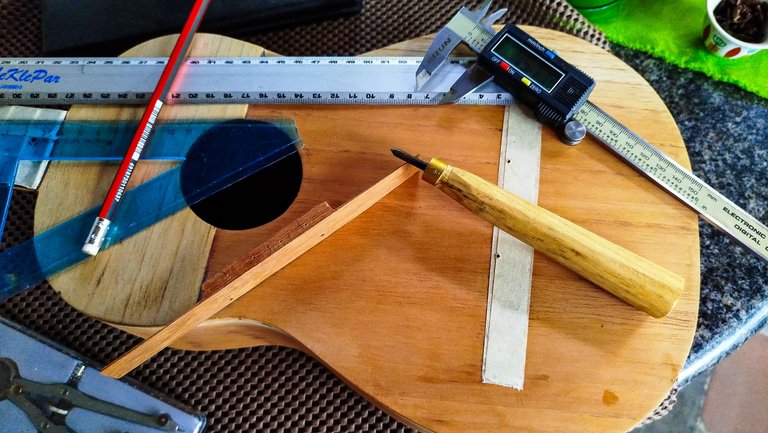
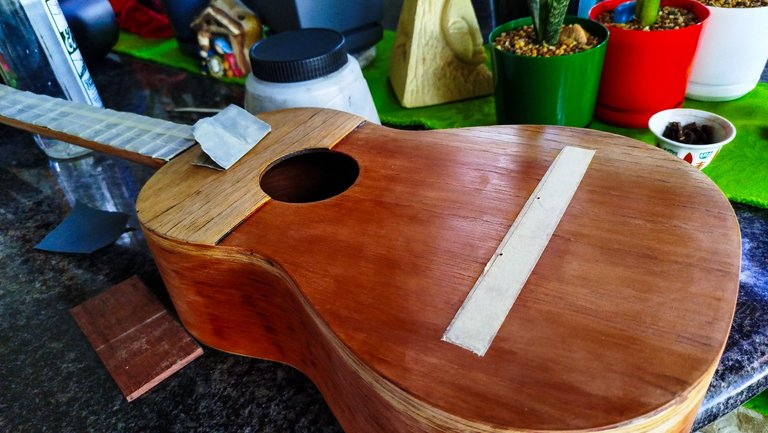
Before getting into anything related to finish, we need to complete the bridge. It is missing the holes for the string knots. This is easy to solve. We get the center line on the bridge and put it on top of the center line of the sound board. Now, we use the measure we had already taking to get the strings in place. With that we have the total length. Now, we have to divide it by 3 to get the distance between the strings. Of course, the strings that go on the ends are just going to rest on those points. The division is just to ensure the middle strings are at the same distance from each other.
This instrument had a problem with that when it came, so this is another fix. Having the strings at the same distance from each other is important to play and actually having it easy to change chords. Having the strings at different distances is a mess when playing as you'd need to adjust your movements and that is not efficient.
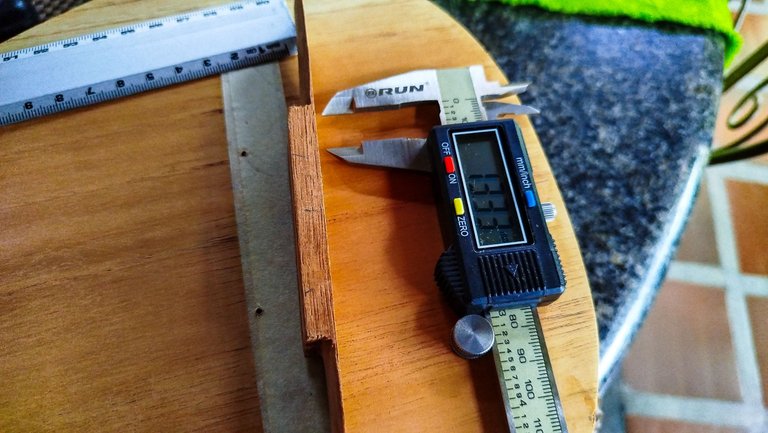
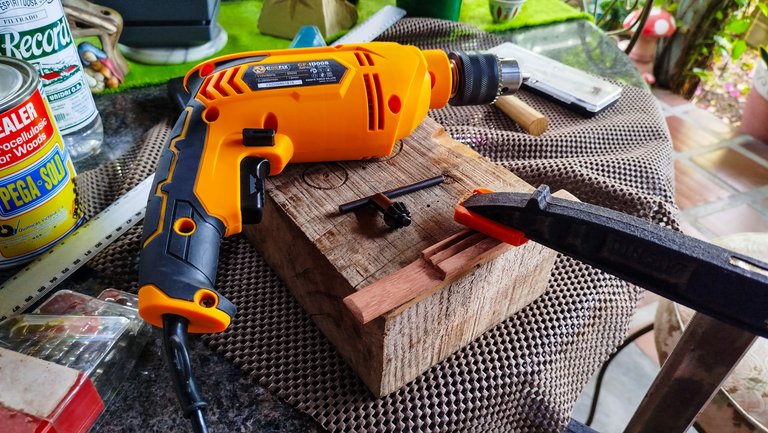
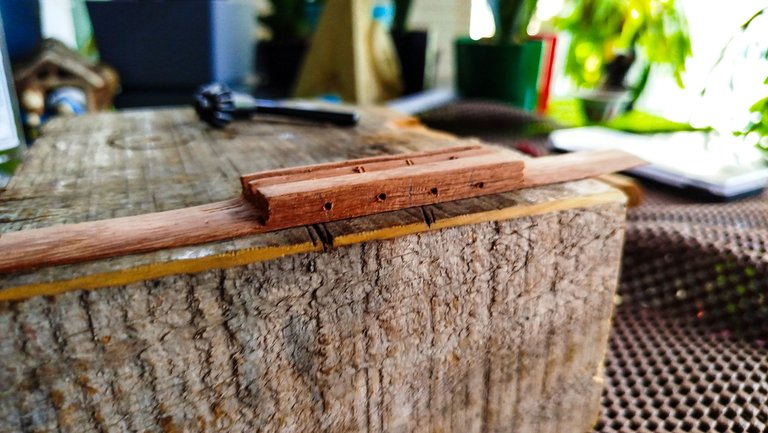
We use a caliper to mark the distance we need between the strings. Once that is done, we use something to mark the spots. Now, we fix the bridge to the table. Then, we use the drill to get the holes in place. This angle for the drilling is quite annoying and it must be done slowly lest we want to damage something. When the holes are done, we have file both ends to make them flush with the rest of the bridge. Not it is almost complete.
The first coat
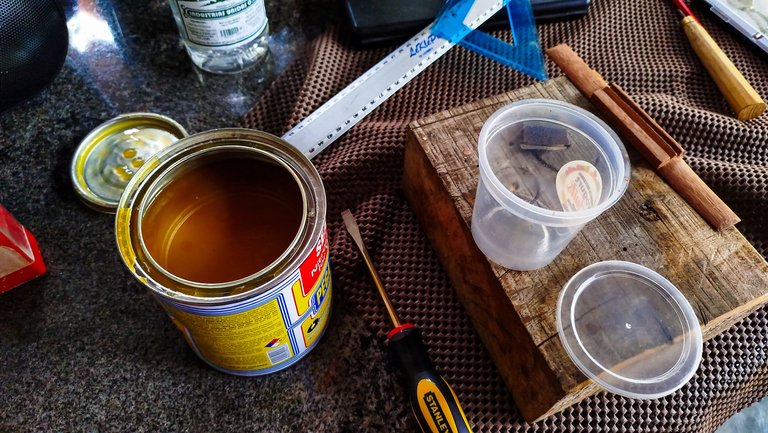
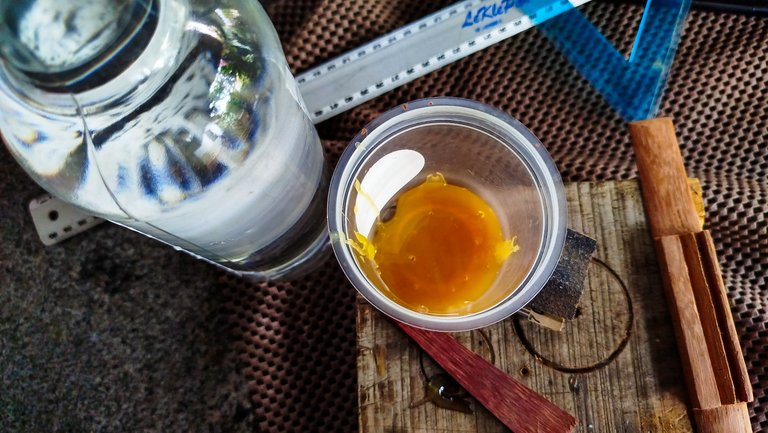
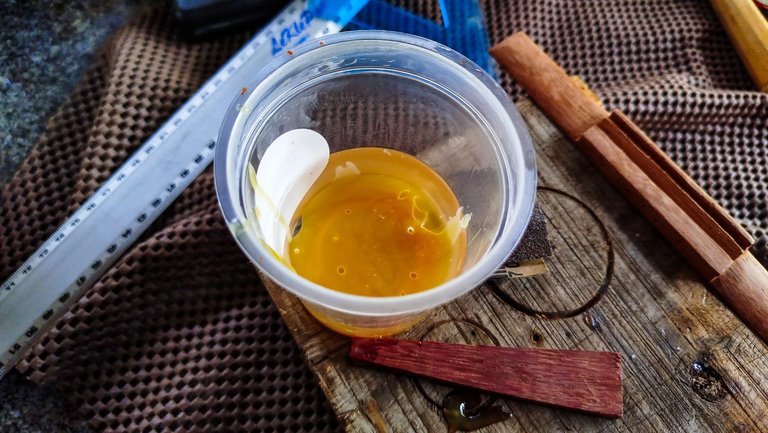
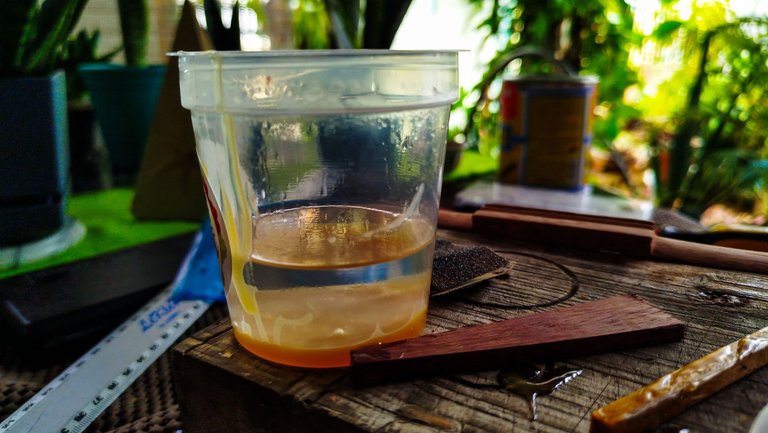
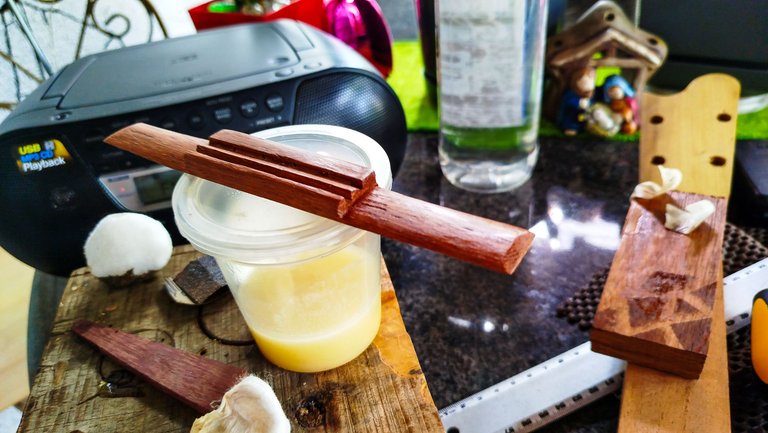
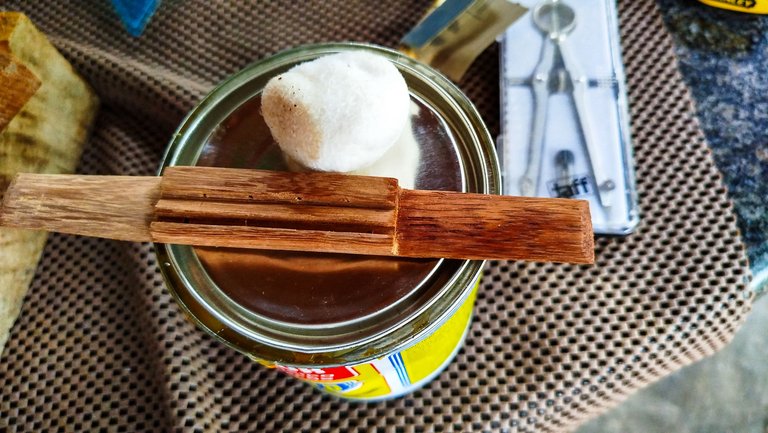
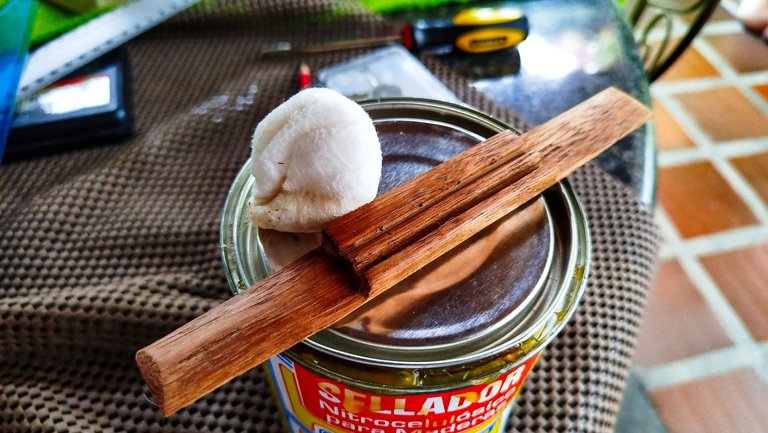
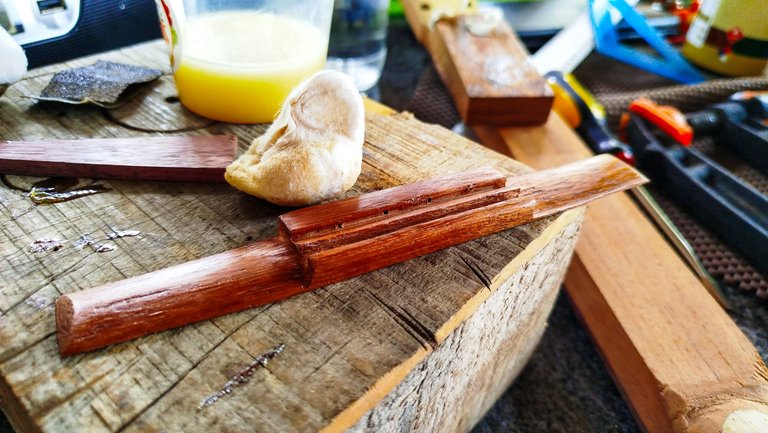
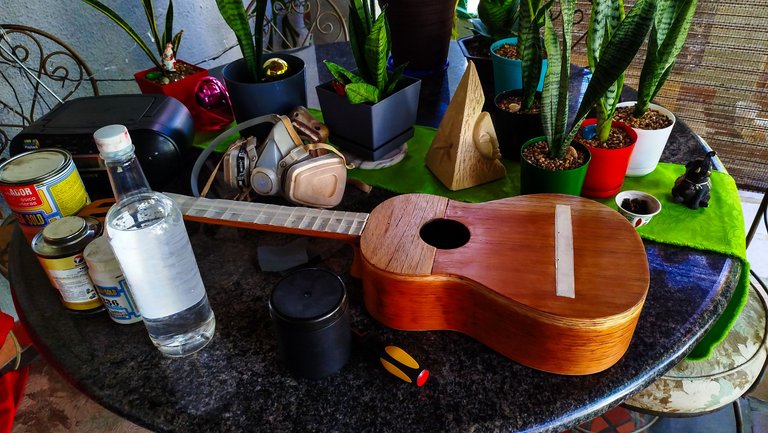
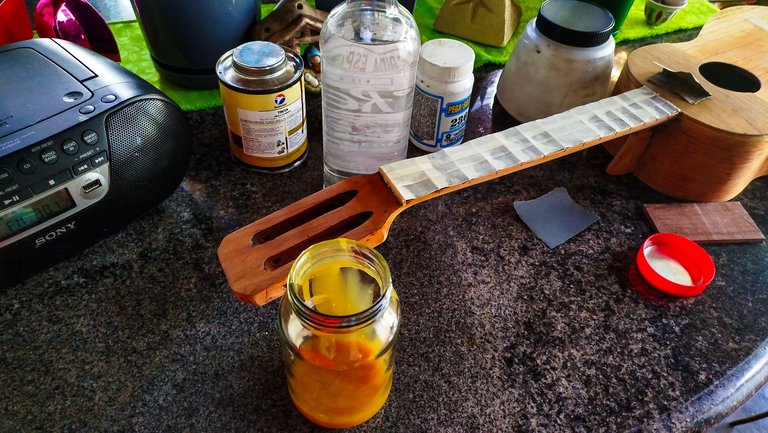
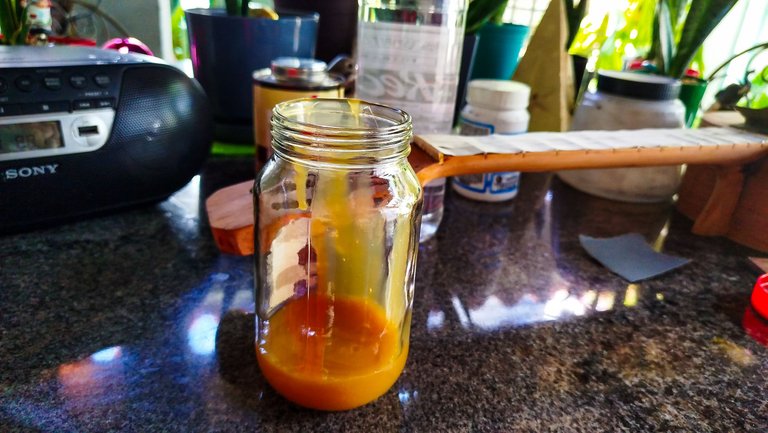
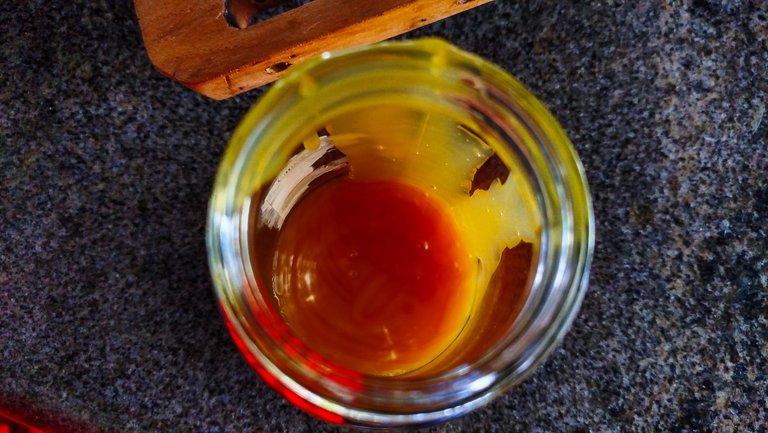
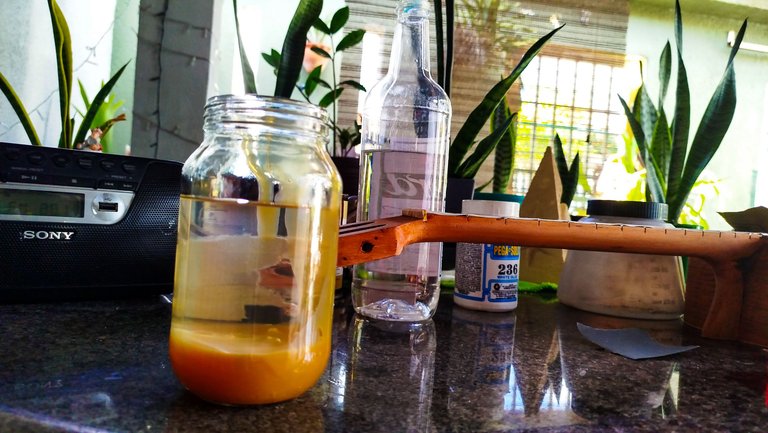
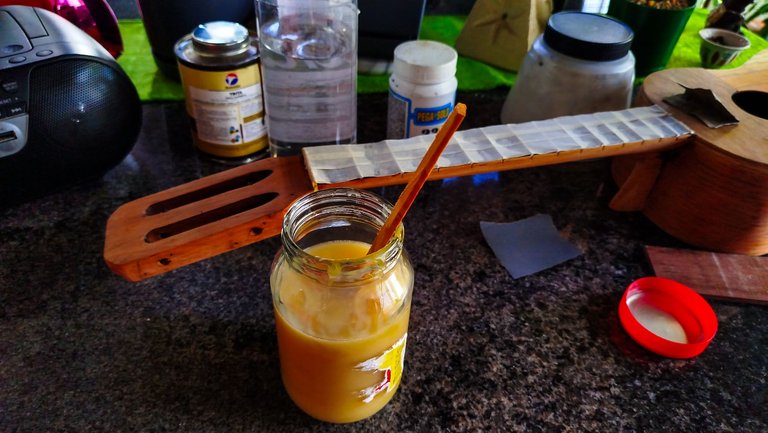
Usually, we don't pun any finish of this kind of the bridge. However, a thin layer is as good as an oil finish. So we are doing just that. We prepare a small amount of sealer. 1/3 sealer and the rest in thinner. That way the preparation is really thing and it will dry almost after applying. We apply at least 6 coats of this thin sealer. When the last coat dries up, we sand the bridge. To top it off, we apply some oil to get the finish of the bridge ready to glue it up.
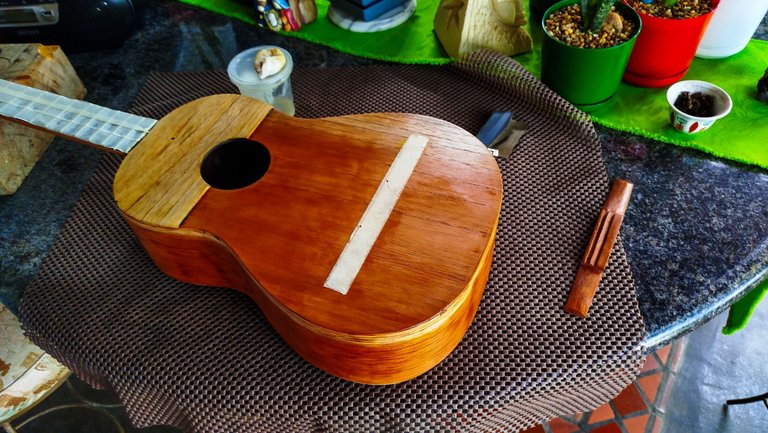
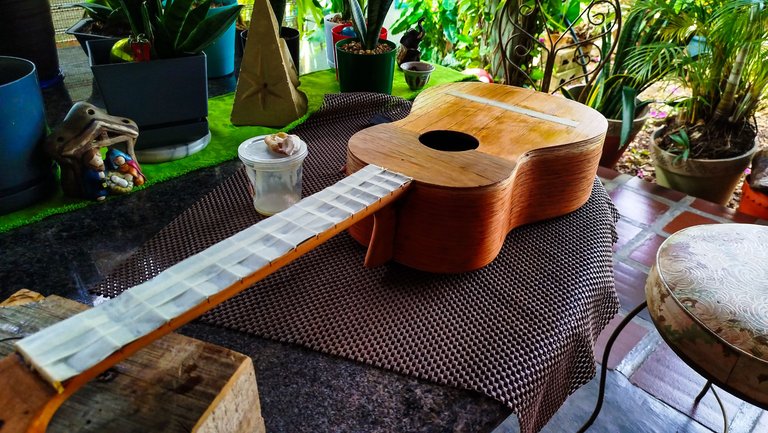
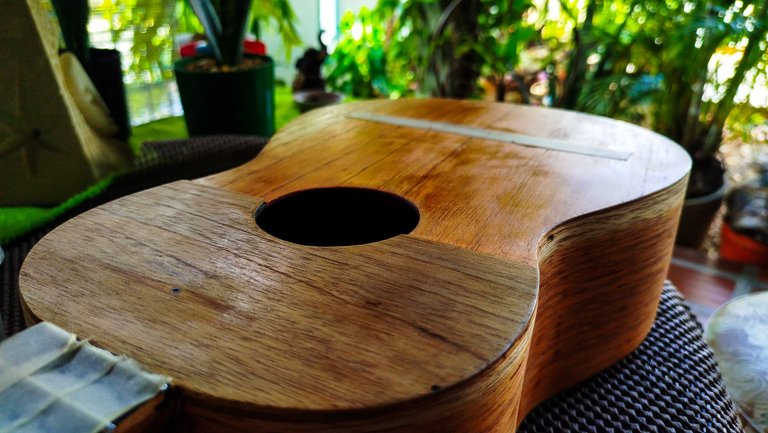
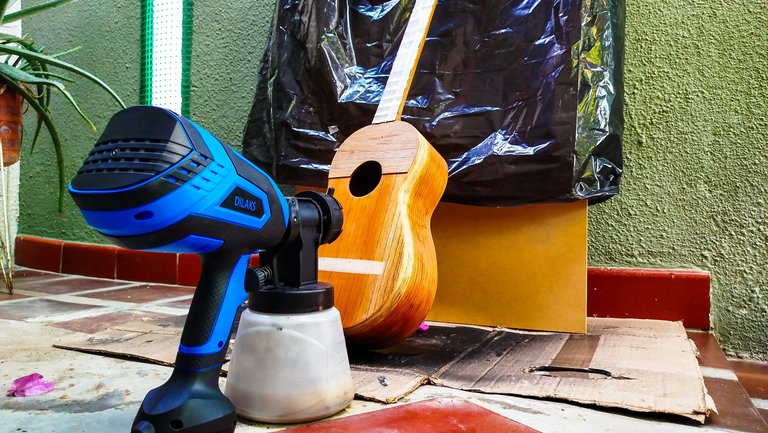
The leftover of the sealer is applied to the rest of the instrument. This thin coat is the first step to make the finish of the whole instrument. And since we made a lot, we can apply several coats to it. We start by applying the first one following the direction of the grain. For the others, we go against the grain. That way we can fill it quicker.
Once the coats dry, we do the same as before and sand the whole instrument.
More coats
The finish is never made in one coat. We need to apply several and let them cure properly. That's why it usually takes a lot to finish an instrument. This step is a complete halt to the pace you might have. This time we are preparing more sealer. After applying another 3 coats and sanding between them, we are ready for the big step. We are setting everything to apply ink or as it is usually referred to in the media, the stain.
The one we'll use for this instrument is mahogany. But we will use it on almost every part of the instrument but the sound board. That way we will have an interesting contrast between the dark instrument body and the color of the top.
However, that part will be for the next entry alongside with some extra last bits of work to get this ready for its turnover.
Thanks a lot for reading. See you next time!

| Part | Title |
|---|---|
| 1 | Repair Job |
| 2 | Out with the Old |
| 3 | Fixing a Crack |
| 4 | A New Bridge |
| 5 | Bring on the Finish! |

Photos 📷: Redmi Note 13
Thumbnail 🖼️: Canva.
Editing 🎬:Adobe Photoshop Lightroom.


Follow me on Instagram for enquires and commission.
If you'd like to help the workshop grow, you can make a donation here. You can find me at discord as bertrayo#1763

Always a good and dedicated job, it's looking spectacular!
Thanks
🤗
Congratulations @bertrayo! You received a personal badge!
You can view your badges on your board and compare yourself to others in the Ranking
Check out our last posts: