
Welcome back to the start of a new series on the making of a Venezuelan Cuatro. Since I had not been making instruments in a while, it's always a good thing to start a new project to prevent getting rusty on the skill's department. This isn't a commission project or anything just something built for the workshop' stock.
Sit back and enjoy as we begin to make each piece of the instrument. If you like to see all these process with movement and sound, don't miss my DIY Shorts.
Without further a due, let's get to it!
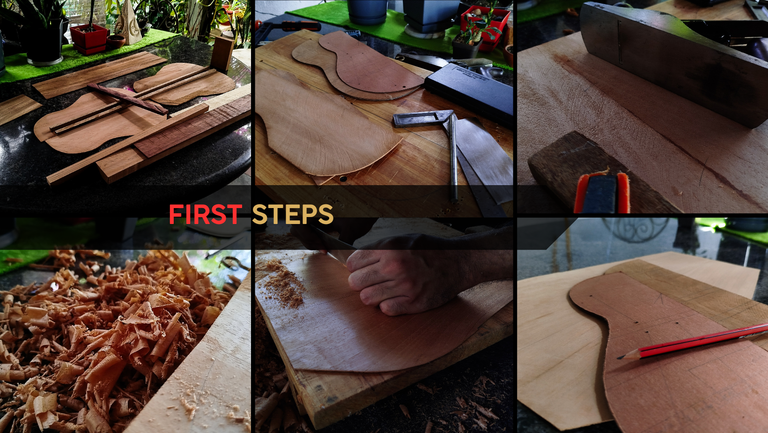
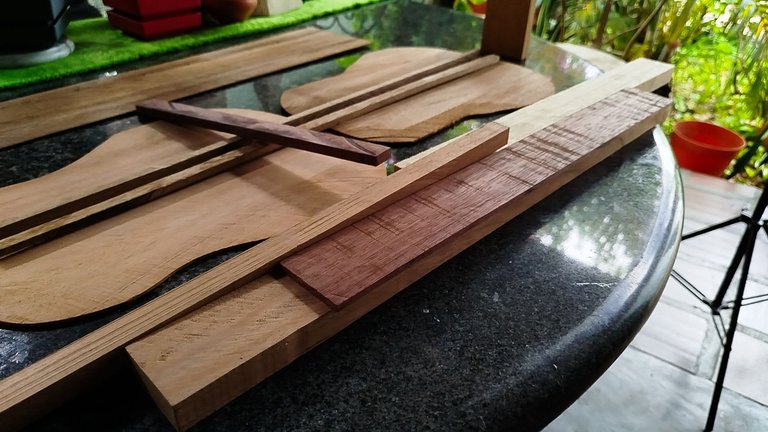
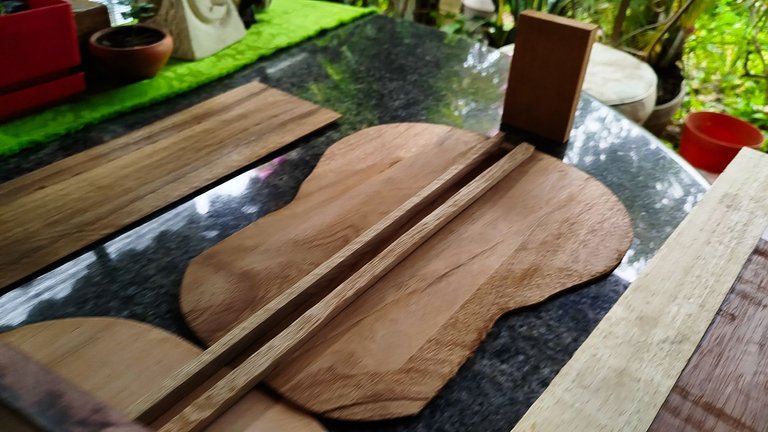
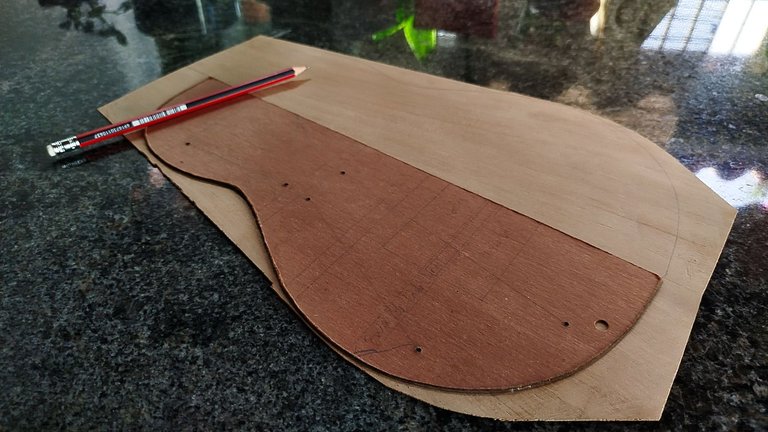
Pieces of the puzzle

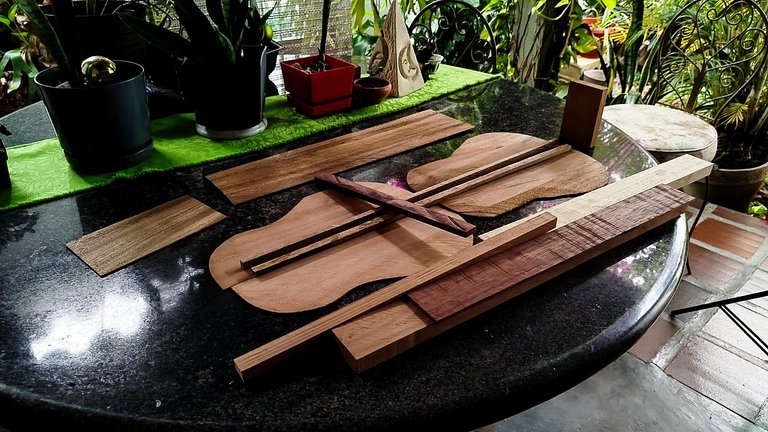
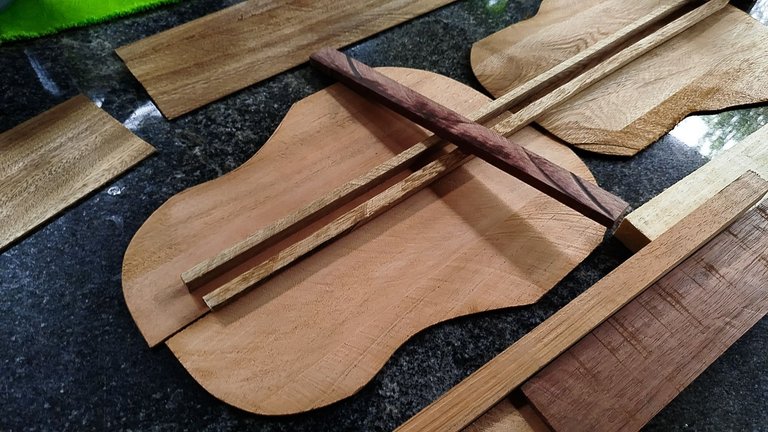
Looking at the piece before the start of a project is part of my ritual to visualize the instrument. It requires some imagination to get to the result without any assembly and some other things might be added during the process. That's the thrill of the build!
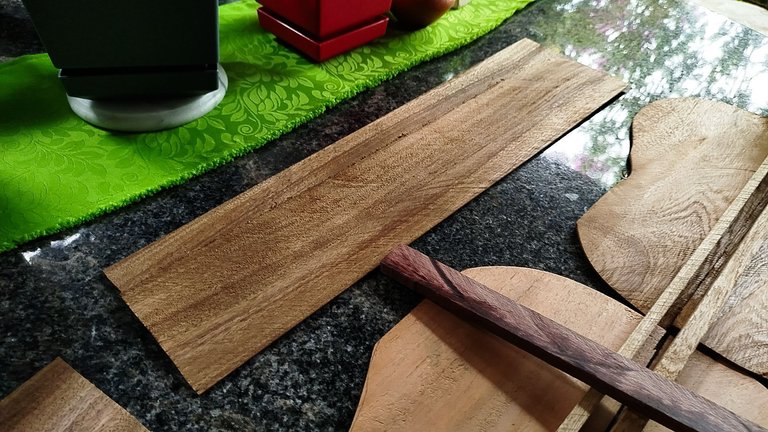
What we have here are all the wooden parts of the instrument, the extra parts like frets, strings, tuners and else are usually something that comes once all of these are put together. We have a really cool build in hand. These materials are quite similar to my very first sale. The sound board will be made of a local species of cedar (cedrela odorata) and the rest of the body in saman (samanea saman).
Elbow grease
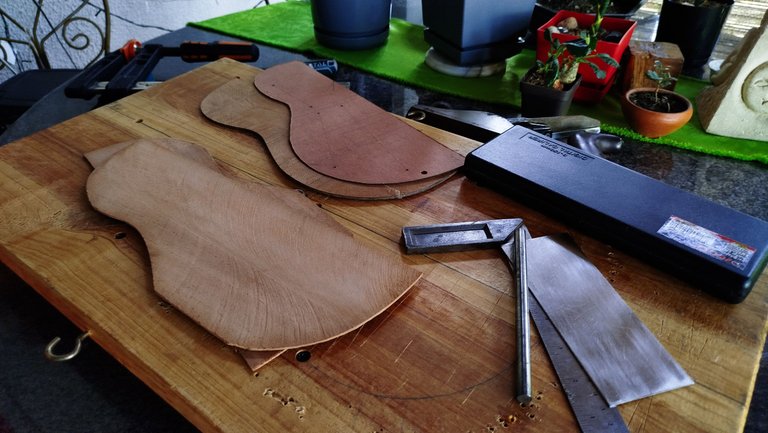

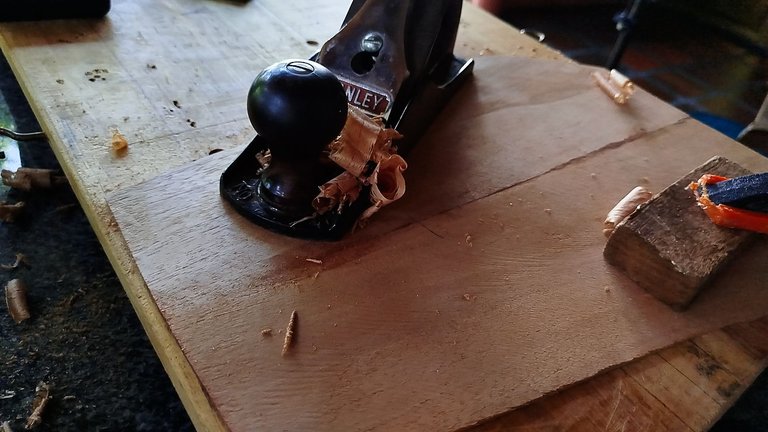

The prep work for this instrument starts by making the joint of the sound board. I usually take the pieces assigned to the build; however, in this case, I had had an extra sound board from the last pieces of a cedar plank I bought some years ago. And since it was already glued together, it saves me some time on this part.
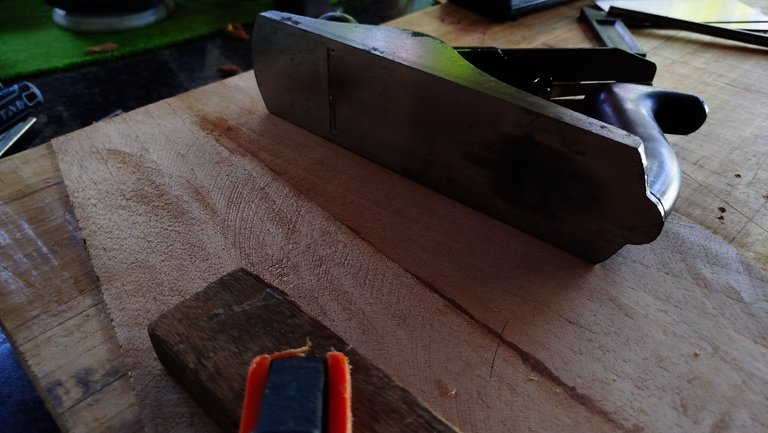
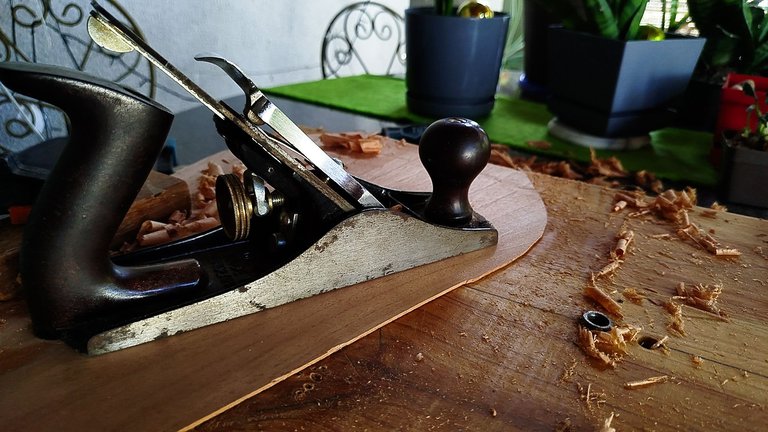
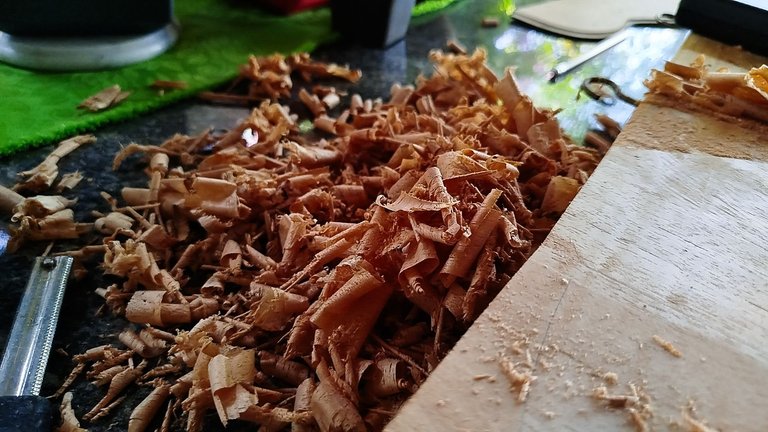
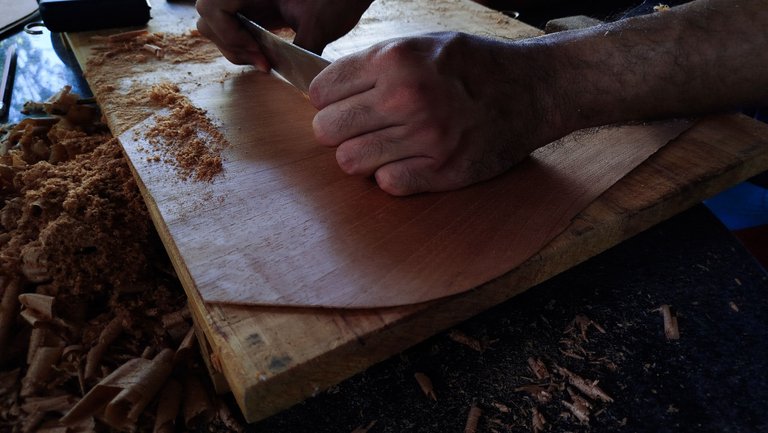
Now, comes the elbow grease section, the thicknessing of the board. This is a completely manual process. So we start by removing the marks from cuts with the help of a plane. It is a matter of adjusting the blade to get a thin shaving and using the plane according to the grain's direction to avoid any tear on the sound board.
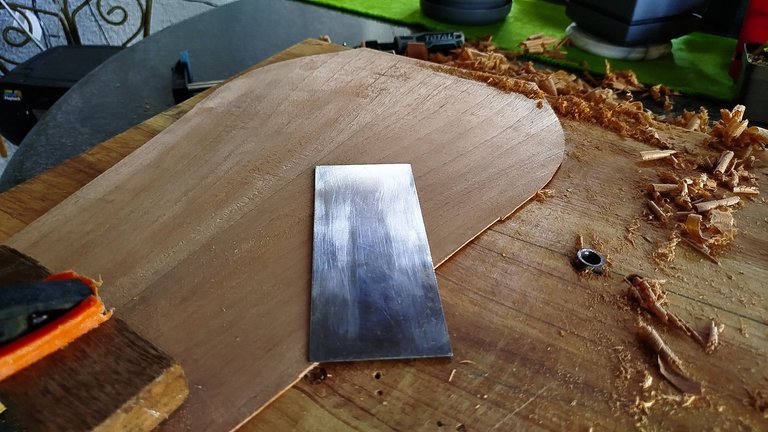
Once the thickness is on a good number around 1,5mm - 1,8mm, we can drop the plane and use a card scraper to fix as much of the surface of the cedar top. This help us remove any scratches left by the plane's blade.
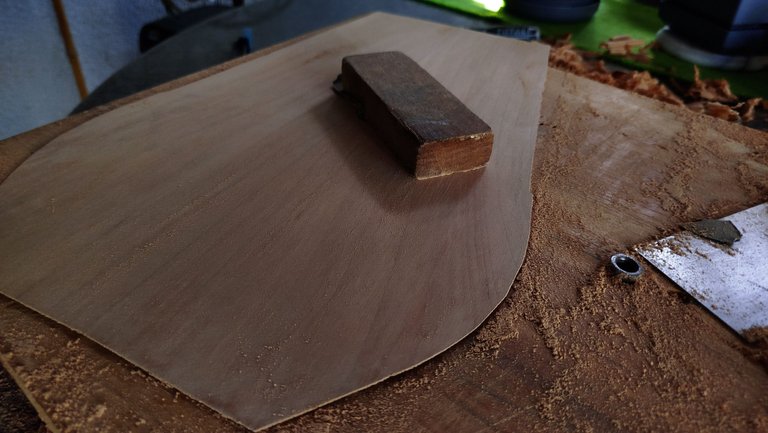
The last step is sanding the piece to give it a smooth finish on both sides. To get this sanding done we need to move the sanding block turning the direction of the strokes to get an even result om the piece.
Drawing
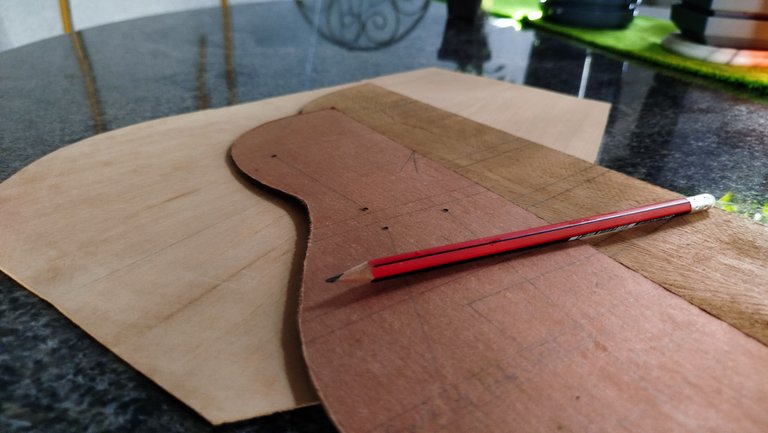
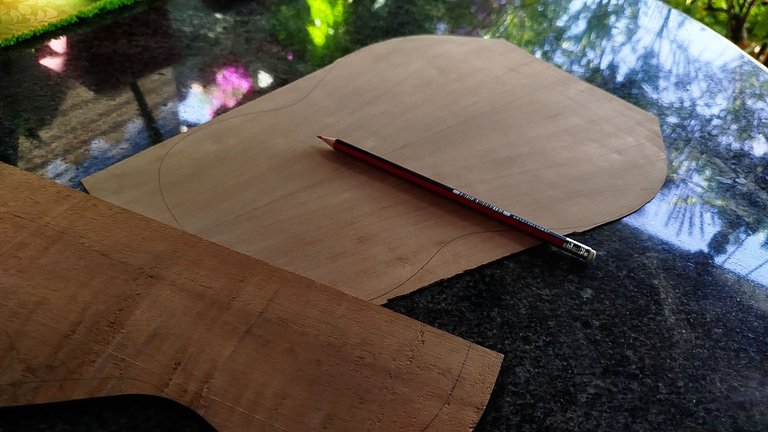
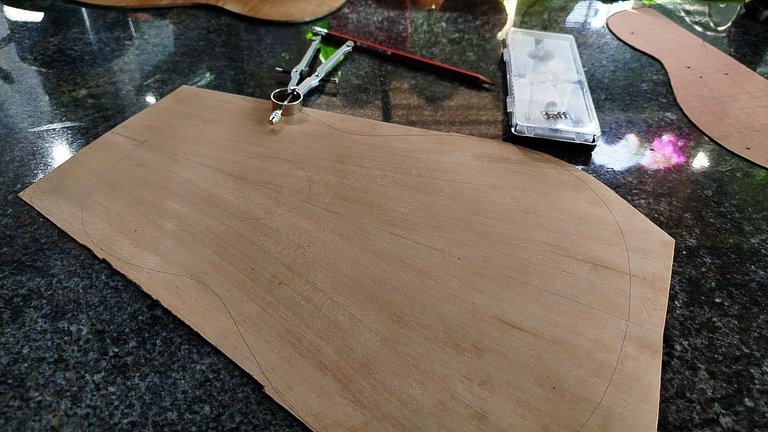
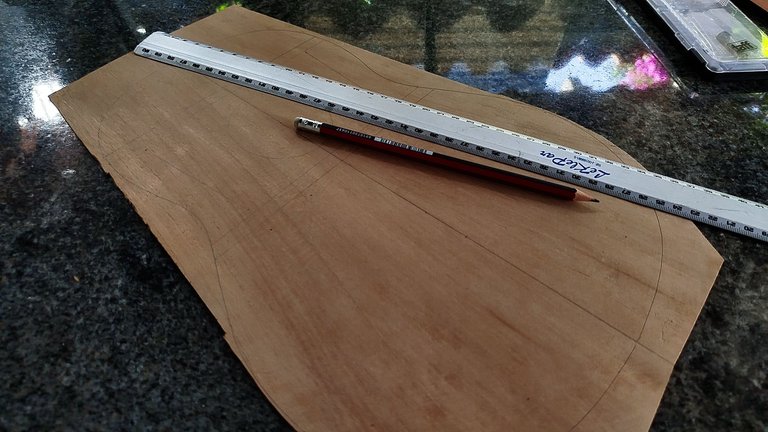
With the heavy work out of the way for the moment, we can use our template to draw the lines on the sound board. These include the center line, the sound hole outline and the placement of the bars and other reinforcements. By doing this, we mark once and for all which will be the inner face of the sound board and which will be the one seen once the instrument is complete.
These simple steps are but the beginning of a whole lot of work coming up in the next months. Updates on the project will come each week as the work gets done and photographs are taken.
Thanks a lot for reading! See you next time!
Fotos/Photos 📷: taken by me (Redmi Note 13)
Portada/Thumbnail 🖼️: by me, created with Canva.
Edición/Editing 🎬: by me, made with Adobe Photoshop Lightroom.

Follow me on Instagram for enquires and commission.
If you'd like to help the workshop grow, you can make a donation here. You can find me at discord as bertrayo#1763e
It's the little steps and little things that make the big job later and it looks great, I loved the pictures and the details. Hugs Andres!
Thanks a lot!
😊
Congratulations @bertrayo! You have completed the following achievement on the Hive blockchain And have been rewarded with New badge(s)
You can view your badges on your board and compare yourself to others in the Ranking
If you no longer want to receive notifications, reply to this comment with the word
STOPCheck out our last posts:
Congratulations @bertrayo! You received a personal badge!
Wait until the end of Power Up Day to find out the size of your Power-Bee.
May the Hive Power be with you!
You can view your badges on your board and compare yourself to others in the Ranking
Check out our last posts:
This is work. Big work.
And all that I can say is Well done.
Thanks a lot!