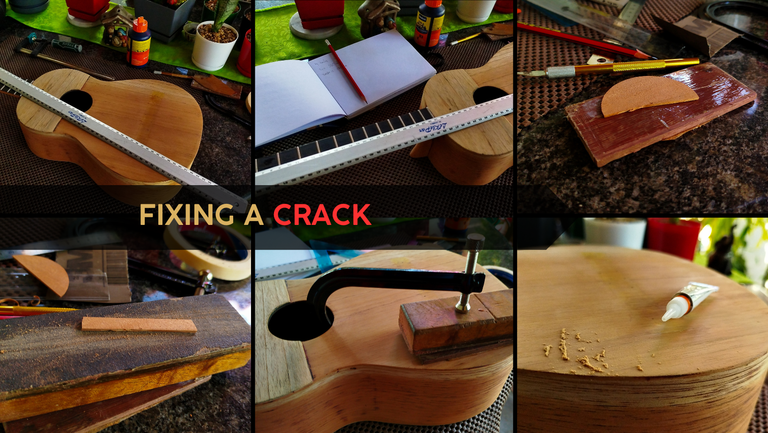

Welcome back to another entry on the series of repair work on this battered Venezuelan Cuatro. On the previous entry, we finished the work of scraping the old paint and making sure we had no residue on the instrument. Today, we are addressing two important things. First, the position of the new bridge. This ties along the length of vibrating strings. Second, fixing the crack on the sound board.
Let's jump right to it.
Bridge Position
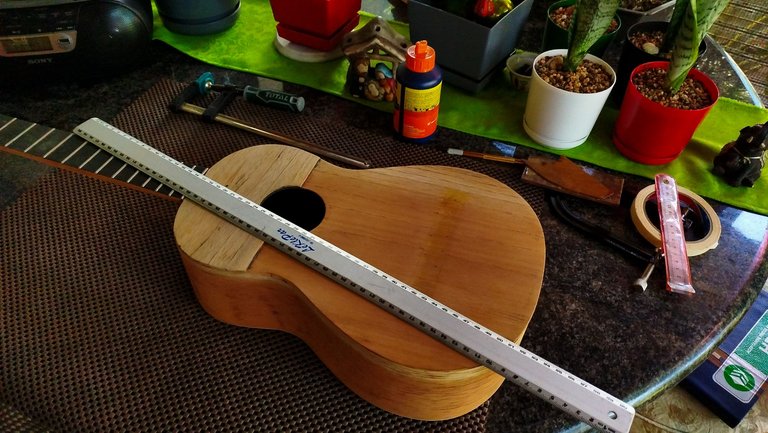
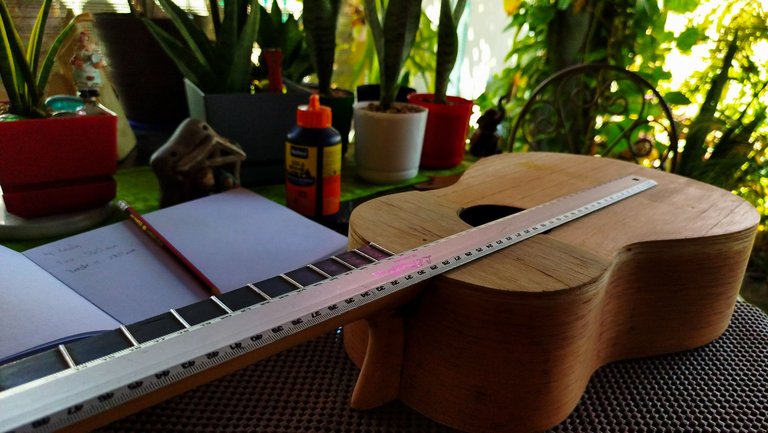
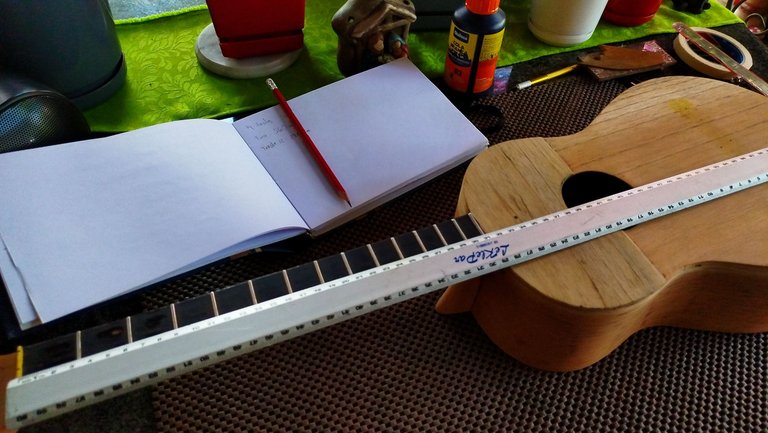
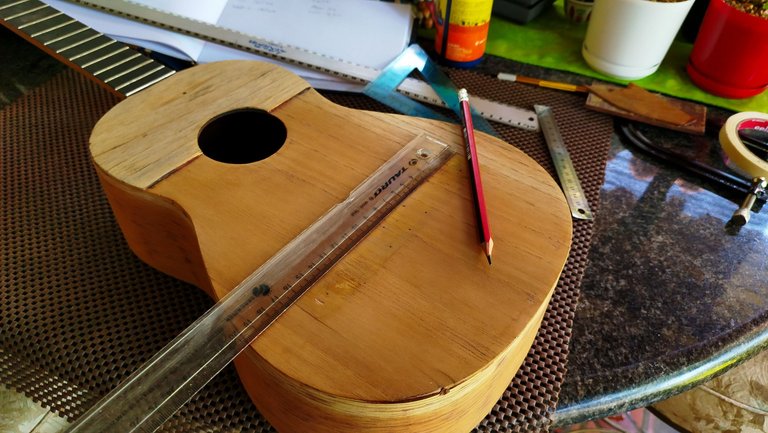
An issue about fixing an instrument you didn't make is that you have to pay attention at things like the length of the vibrating strings. For this, we need to consider the shadow left by the older bridge and the length of strings from the nut to fret 12. This gives us an idea of how the bridge was placed when the instrument was made.
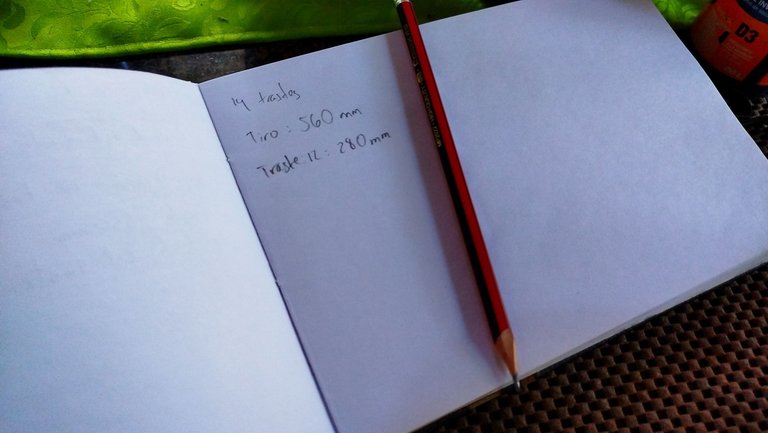
In the case of this one, the length of strings from the nut (fret 0) to fret 12 is 28cm. That means we need to double that length from fret 12 to the saddle on the bridge. That gives us a total of 56cm. With this in mind, we can mark the position of the saddle and have that in place for later.
Now, we can move on to the next step on this job.
Fixing the crack
Cracks on the sound board are a serios issue. They can be fixed, but they already take away from the sound of the instrument. Once you fix it, you are adding adding another node to the piece. A node is a place that dampens the vibrations of the sound board. We usually have one that goes in the middle of it since they are two pieces held together by glue. But anything else we add created another node.
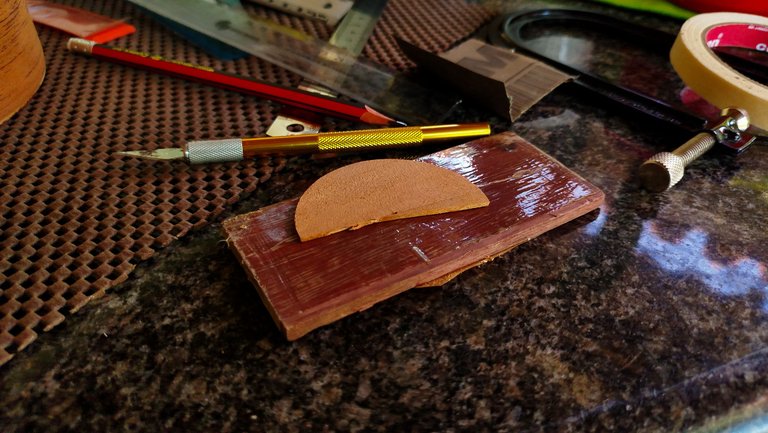
So, we need to make a piece of wood that can go below the crack. Just adding glue to it won't cut it. Yes, it would hold it together, but once we get the strings into place and tune them, the crack would open again. It could be worse. The crack could become longer. To avoid this, we reinforce the back side of the crack using our creativity.
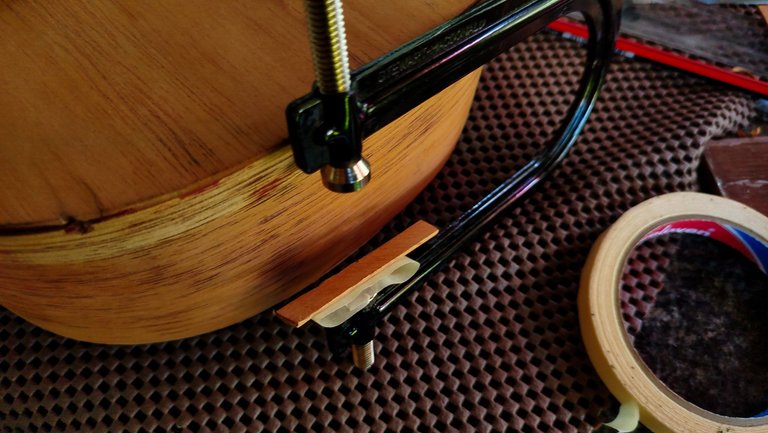
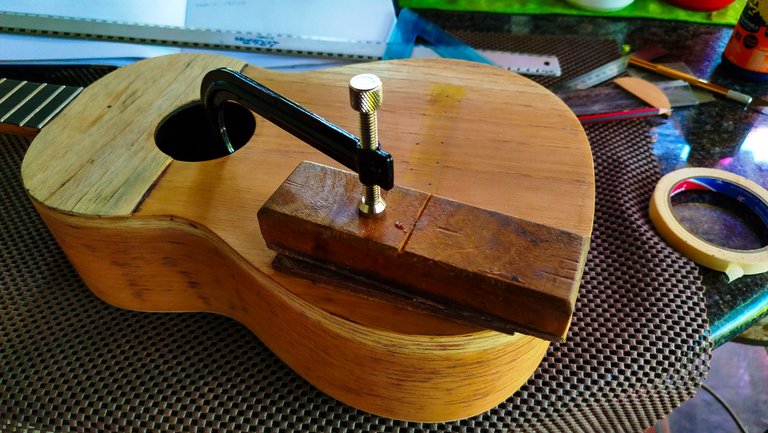
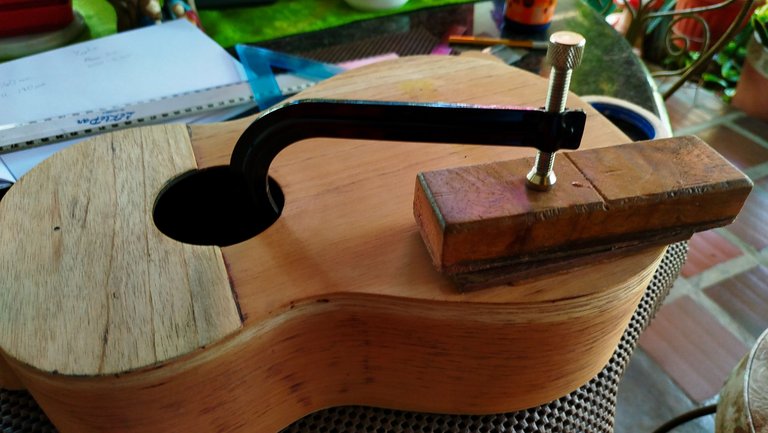
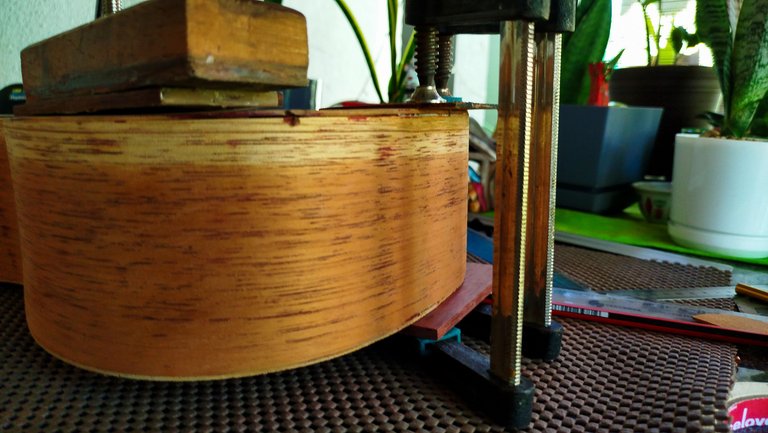
Once we have made the reinforcement, we need to use the C clamp to place it inside the body of the instrument. We can use some masking take to hold it to the screw of the clamp so once we apply pressure, the piece will go into place and be kept there. Once the glue dries we can remove both the clamp and the tape.
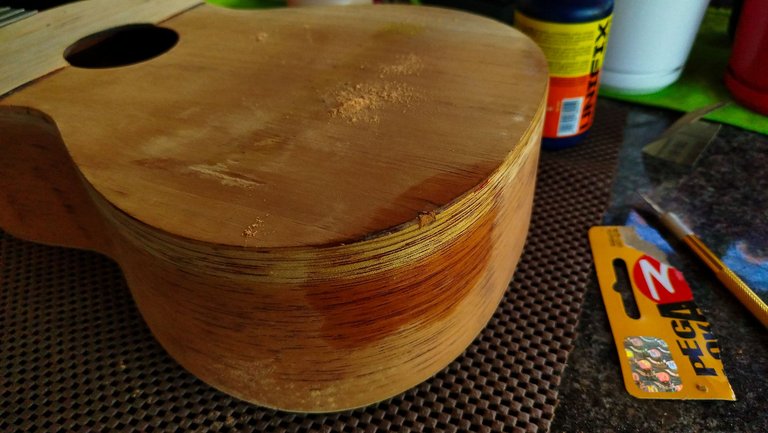
This will take a complete day to dry properly. After that time has elapsed, we can use start fixing the other cracks. The sound board and back need to be glued to the lower portion of the sides. First, we need to sand this parts to remove any old glue. Then, we can apply glue and clamp them tightly.
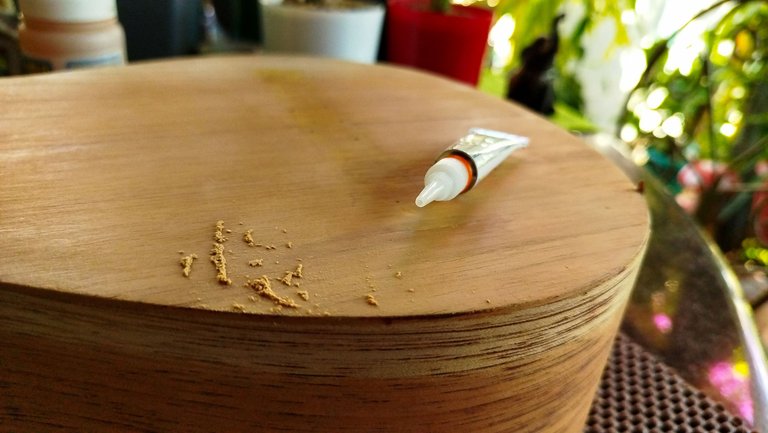
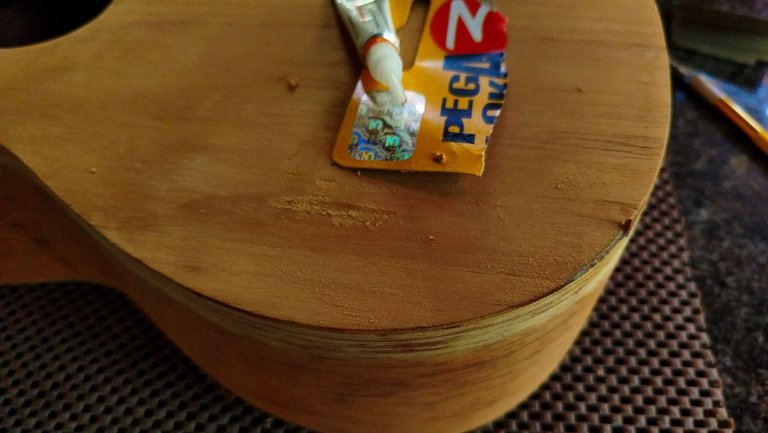
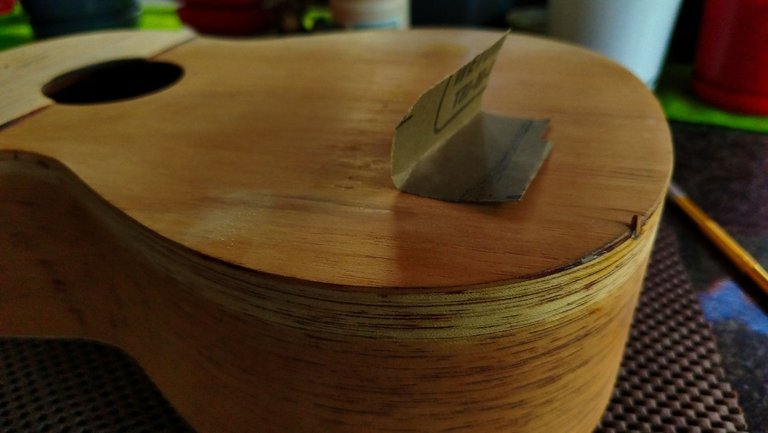
The last bit of work to fix the crack is to mask the top portion of it. To do this we use some sawdust and cyanoacrylate. We need to use cedar sawdust if we want to stay in the color palette. We apply layers of glue and sawdust. We need to press it every time we add a new layer to make them flat to the surface. Once this dries up, we can use a sandpaper to smooth the surface and so we have a fixed crack.
Next time, we will start making the rest of the work for this instrument. Starting by making the surface smooth to apply the new finish.
Thanks for reading! See you next time!

| Part | Title |
|---|---|
| 1 | Repair Job |
| 2 | Out with the Old |

Photos 📷: Redmi Note 13
Thumbnail 🖼️: Canva.
Editing 🎬:Adobe Photoshop Lightroom.


Follow me on Instagram for enquires and commission.
If you'd like to help the workshop grow, you can make a donation here. You can find me at discord as bertrayo#1763

Manifestamdo para el 2025 tener un cuatro hecho por ti, jeje
Eso no se resuelve manifestando. 🤣