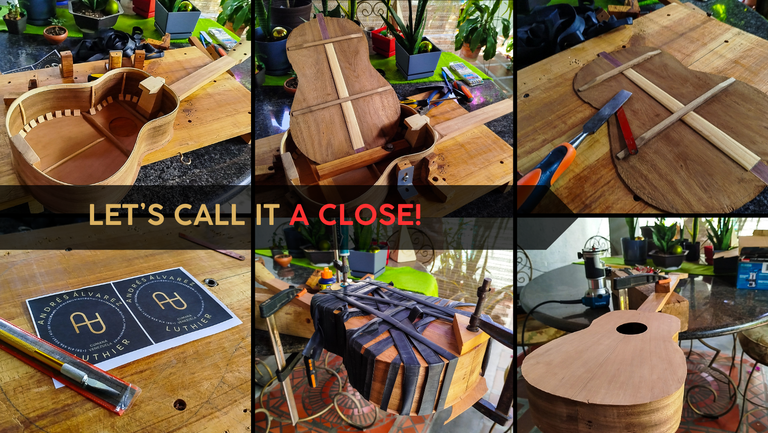

Welcome back for another update on this build. Last time we saw this instrument, we had made the whole work in the inside of the body, i.e., kerfing and other reinforcements. Now, it is finally time to put the lid on this one and close the body. Besides that, we'll trim the edges once the back glues in place.
Let's get right to it!
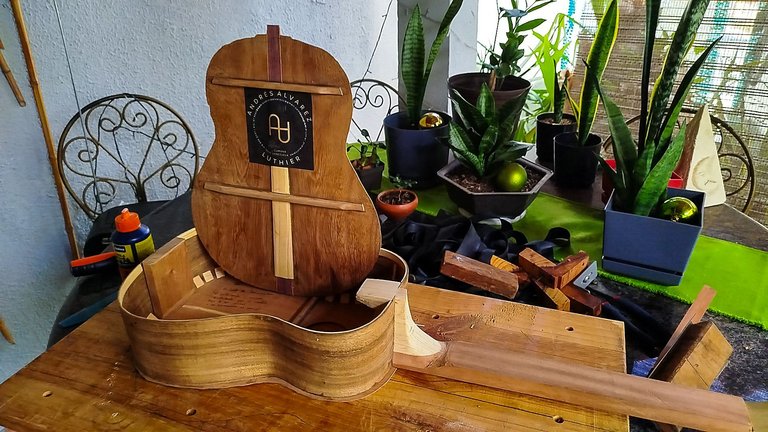
Out of the mould
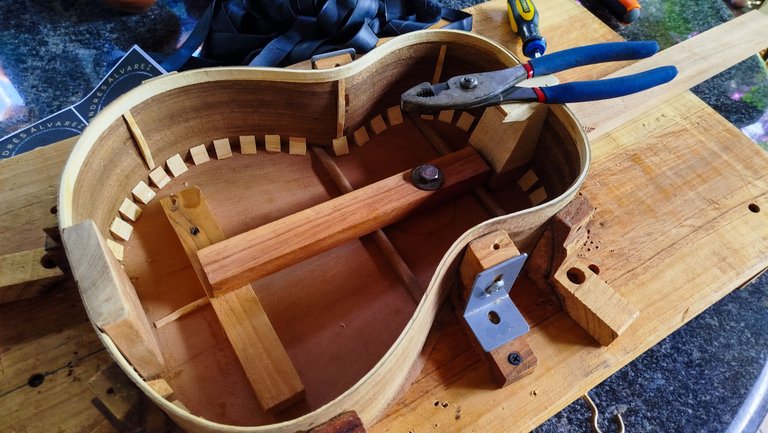
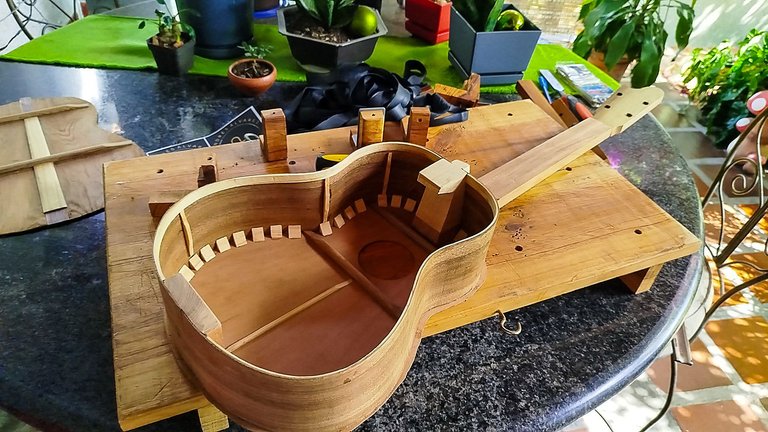
Once we have the reinforcements in place and glue has dried up, we cant remove the instrument from the mould. Since everything is glued in place, the shape of the sides and everything else will hold.
So, we'll use pliers to loosen the bolt that holds the instrument to the mould. After doing this, we need to remove the angles that will restrict the movement of the build. And thus, we have a free instrument. Well, sort of.
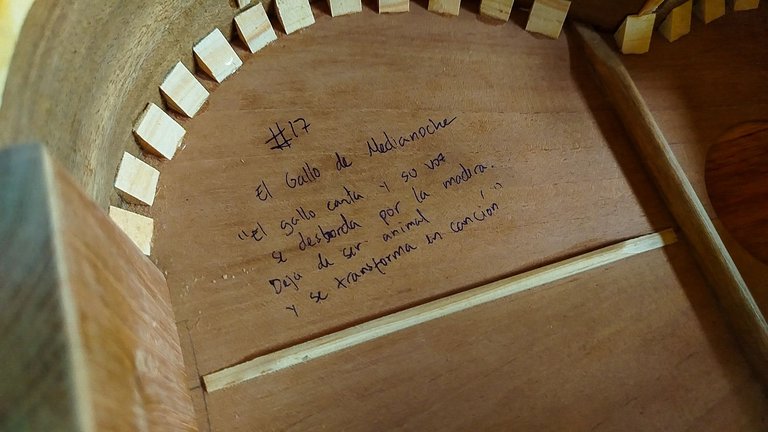
A final touch added to the instrument is a pen baptism. It is a sentimental touch to my work. Yes, I name my instruments. Some have one name; others, a phrase. This one has a poem. Short one. There isn't enough room to get epic on the naming of the instrument. Plus, I ain't no Shakespeare.
If you need a translation, it says that the name of this Venezuelan Cuatro is The Midnight Rooster. It's cheesy, but it is something from a song I was listening at the time of closing.
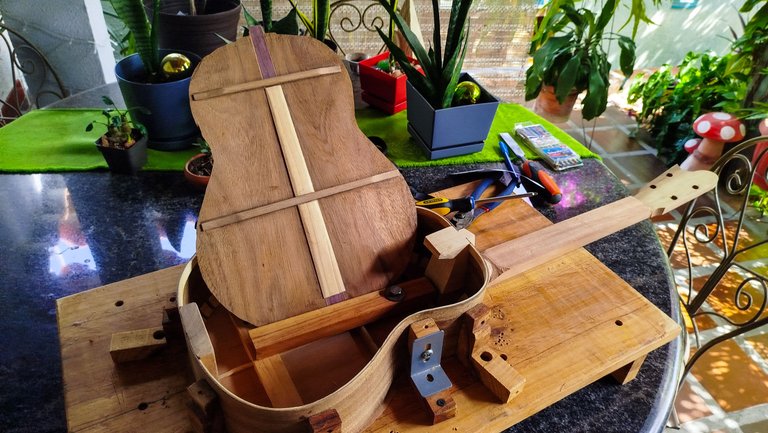
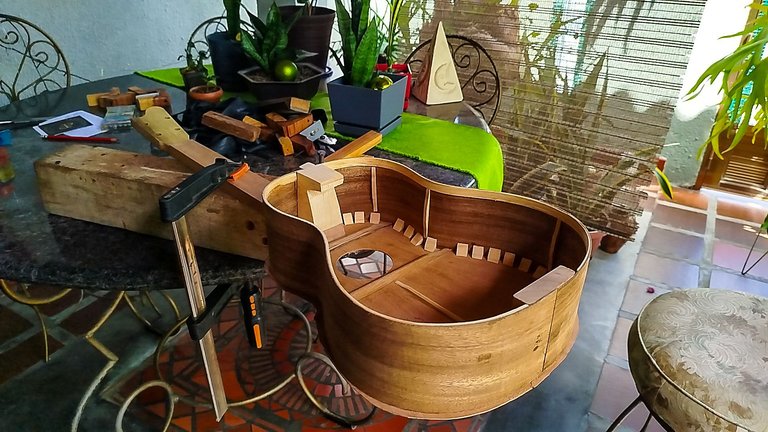
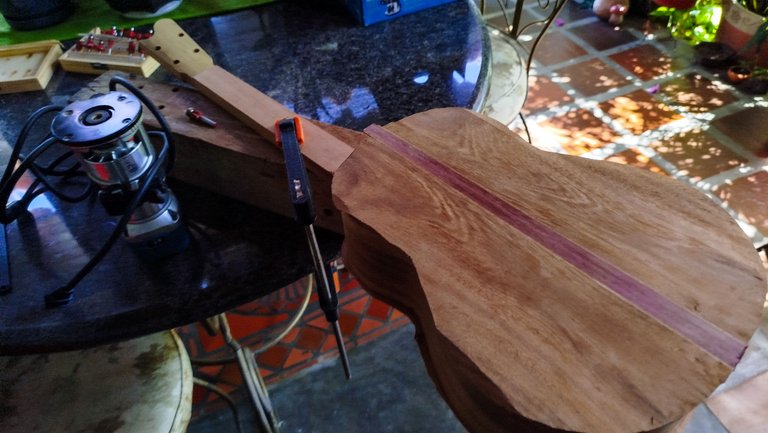
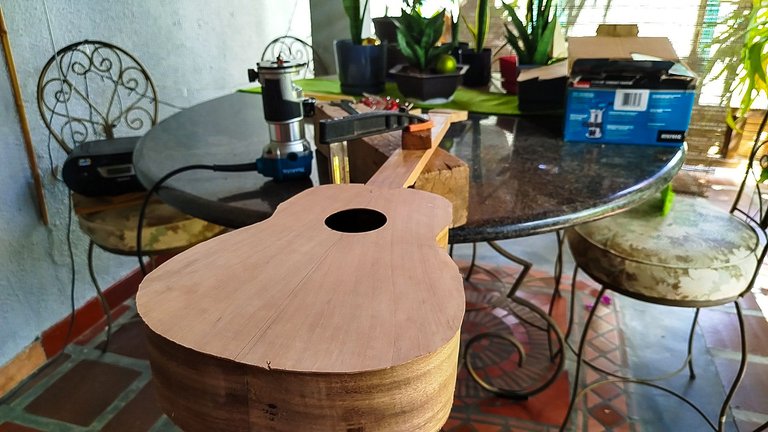
Prep the Back
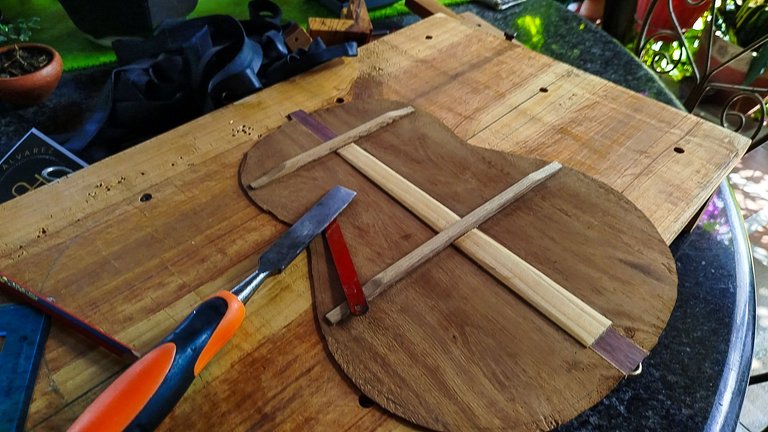
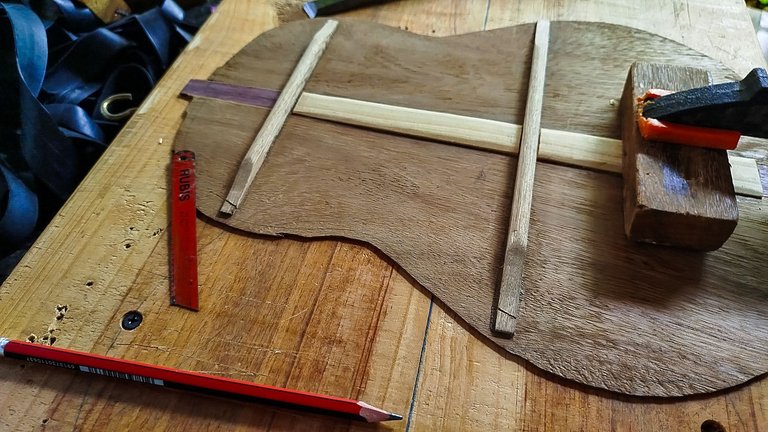
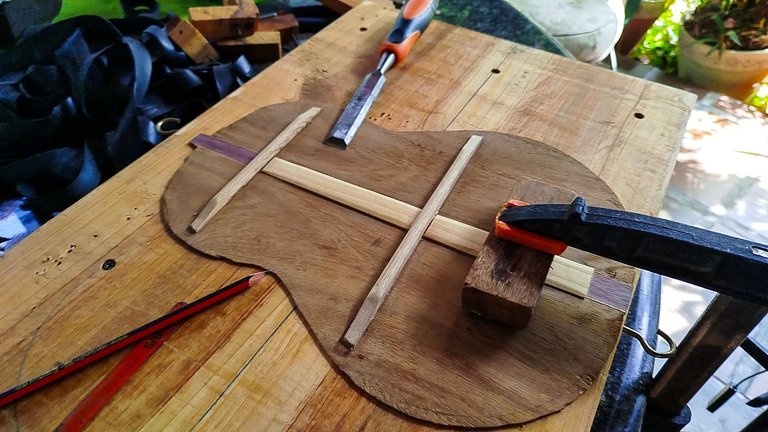
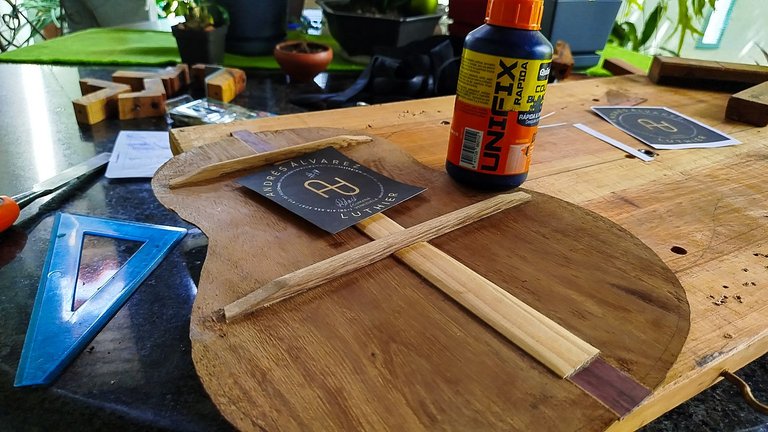
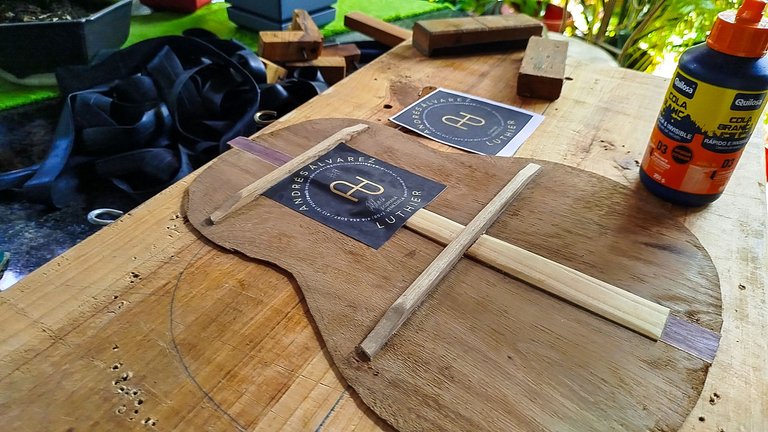
To get the back in place, we need to make some cuts. First, we have the cuts of the excess of the bars. We can measure this by trying to dry fit the back to the instrument. If we have the back above the sides instead of resting on top of them, we have to cut the bars. And this is an eye task. We watch. We measure. We cut. But we do it a little bit at a time.
We mark the points where we need to cut and then use a piece of a hacksaw to make the first cuts and then use a chisel to remove the piece we have just cut. This cut can be adjusted more than once if need be.
To finish this prep work, we can cut a label. We use an exacto to make the cuts as straight as possible. We just need to remove the white parts of the page until we have a nice frame for this label. The next step is to sign the label and add a time stamp. It is just the year of build.
Now, we are ready for the glue up.
Glue up and Trim
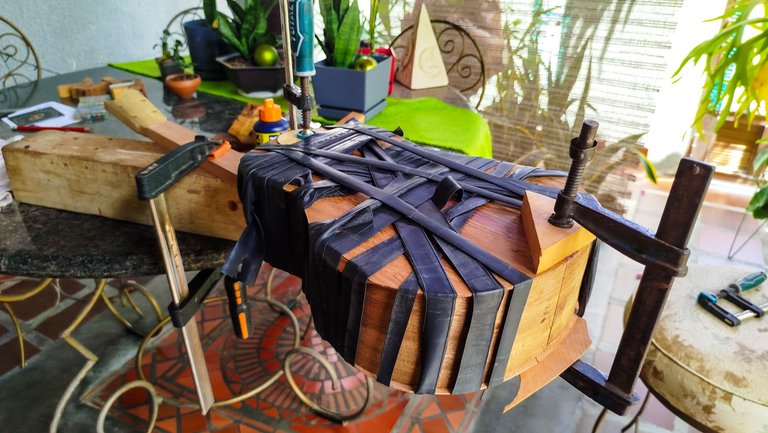

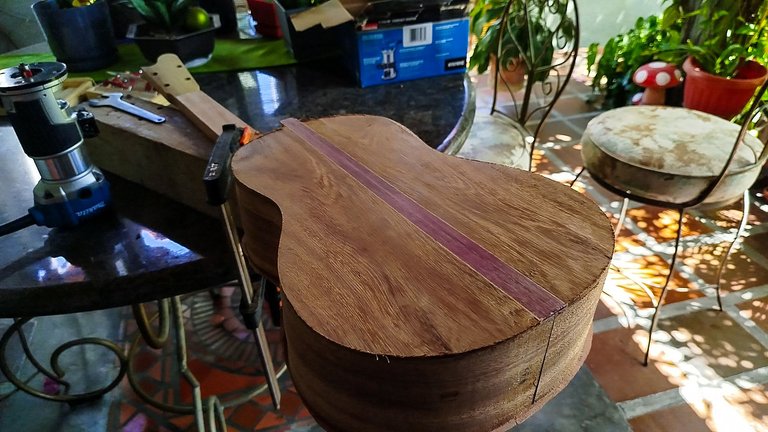
Closing an instrument is always a thrill. Doing it is another thing. It is a messy job. First, we apply the glue on the sides, heel and end block. Second, we get all other things we need to close the instrument. Third, the back goes on top as a lid to close the instrument. Fourth, we have make sure to clamp both ends of the back, i.e., the part that goes on top of the heel and the one that goes on top of the end block. Fifth, we finish applying pressure on the rest of the back withe rubber bands. These give us enough pressure without damaging the wood.
After having enough time to let the glue dry, we can get the instrument back on the table for a trimming of the edges.
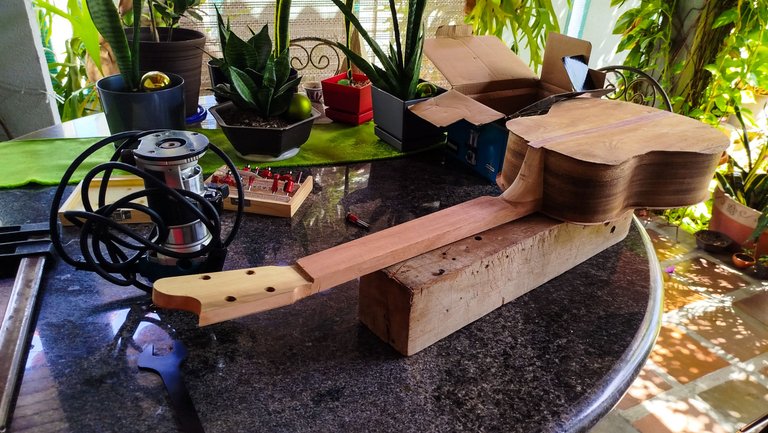
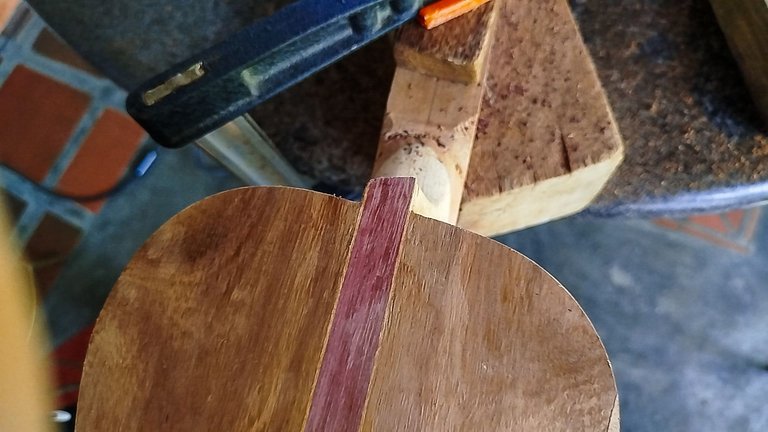
We just need to use the router and the copying bit to remove the rest of the excess material from the edges of the instrument. So, we end the having both sound board and back having the same shape.
On the next entry, we finally start working on the next piece to get on this build, the fretboard. Until next time, I hope you enjoyed this summary.
See you next time!
Photos 📷: Redmi Note 13
Thumbnail 🖼️: Canva.
Editing 🎬:Adobe Photoshop Lightroom.

Follow me on Instagram for enquires and commission.
If you'd like to help the workshop grow, you can make a donation here. You can find me at discord as bertrayo#1763
My sister like guitars. She wants to buy no matter she doesn't know how to play it😂.
Your work is really inspirational and hard . Very good job.
Ha, ha, ha, ha. Having instruments is cool even if you can't play them. Besides, you can always learn.
Thanks a lot for dropping by!
I love the writing inside, on the wood!!!! Those step by steps are great and the pictures are so colourful and impressive!😃
😁
Wow this is really beautiful. So this is how the make guitar. Thanks for sharing this.
Some of the details. This is a more traditional method since the fancy things require lots of tools.