
Today, we push forward this project. If you remember last entry, we had made the frame for our Box Drum and now we need to work our way to put the bottom and sound board. We follow up with the bottom since the sound board requires some special work in order to achieve the desired sound.
Let's move right to it!
Sanding
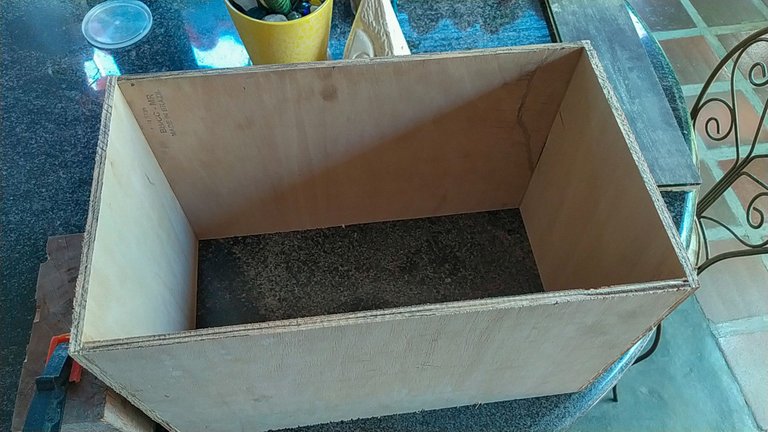
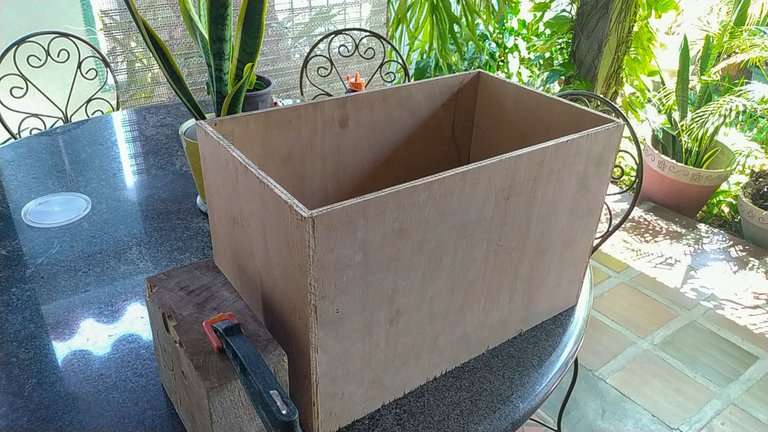
Before trying to glue the bottom in place, we need to sand the edges of the frame to make them even. This piece is an important part of the structural integrity of this Box Drum. Also, it will have the sound hole on the instrument right in the middle. If we want it to last, we need to ensure it's glued properly.
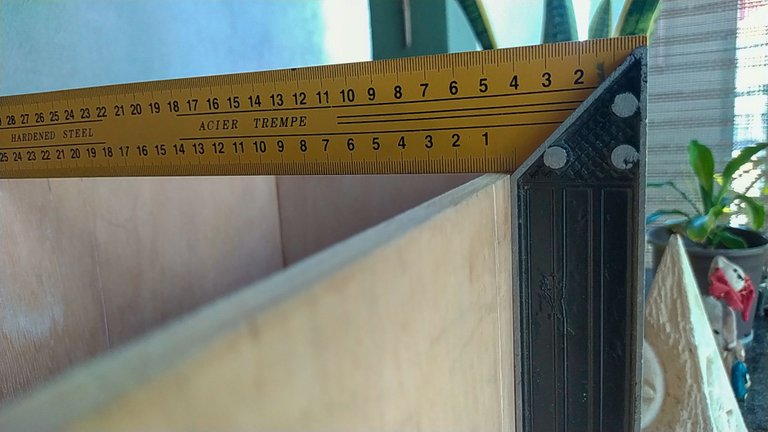
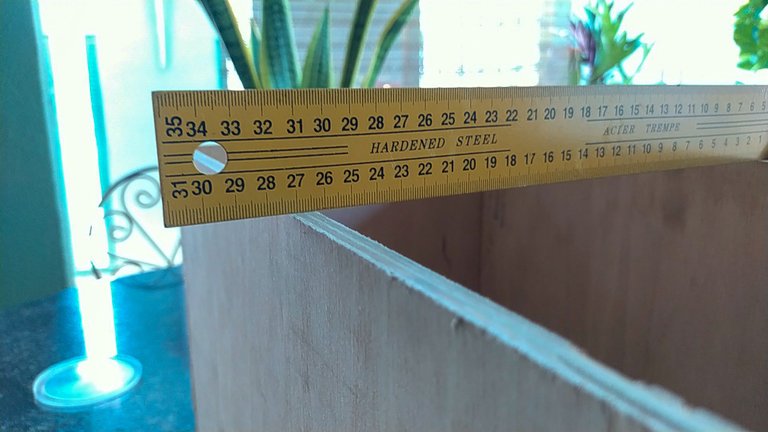
We can keep an eye on the sanding process by using a carpenter' square to ensure we are not going off the 90 degree angle and that no light comes true the edges. Once we have achieved the latter, we can proceed to glue the bottom in place.
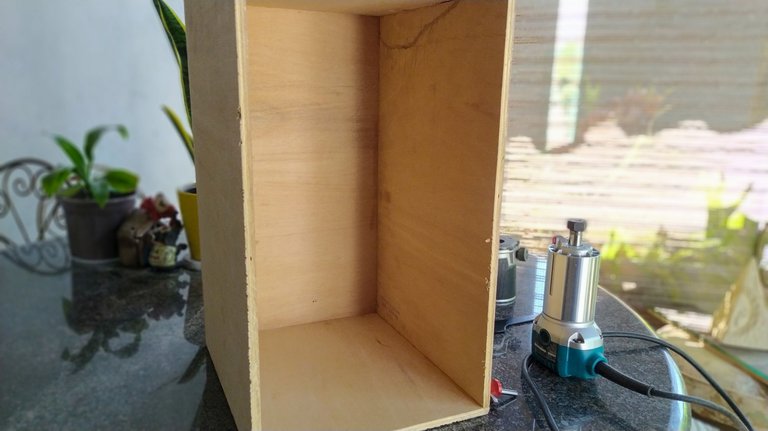
Gluing the bottom
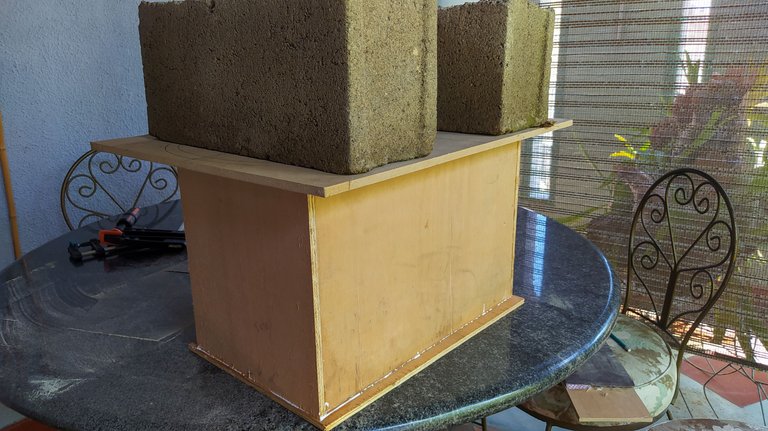
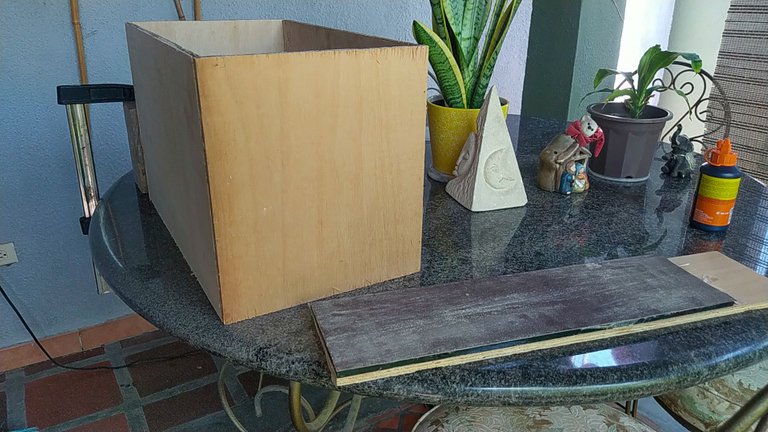
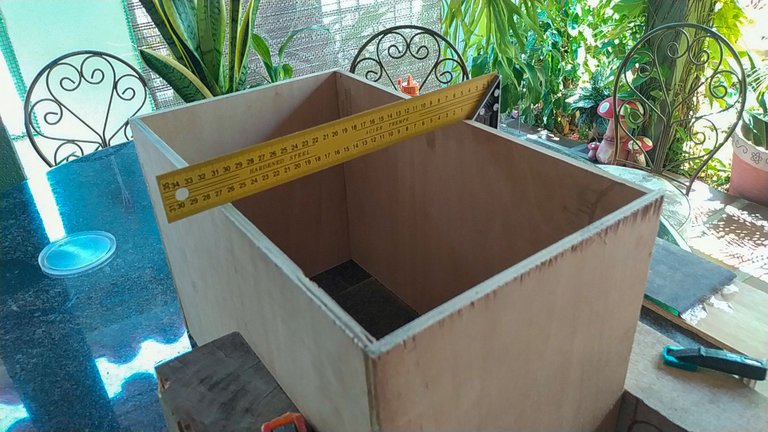
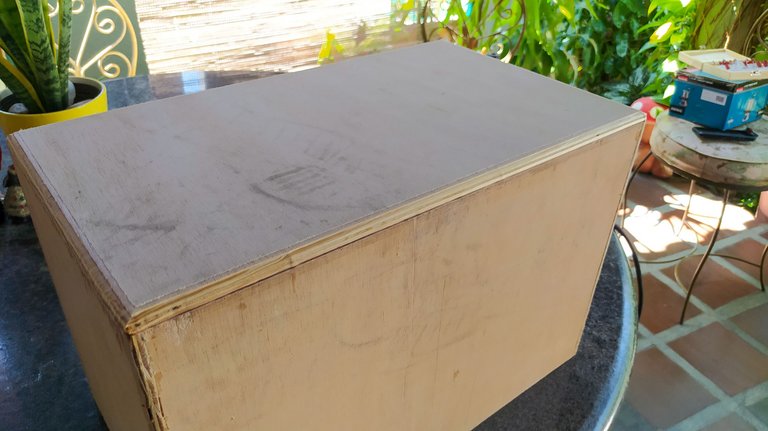
Having worked on the edge, we can glue the bottom to the frame. This is as simple as applying glue to the edges and placing the frame on top of the bottom piece. We don't need to worry about much except marking which side will face out and which will face in. Also, you might have guessed this piece is a bit bigger than the frame. That's intentional. It's to ensure there some wiggle room in case the piece moves while we apply pressure on it.
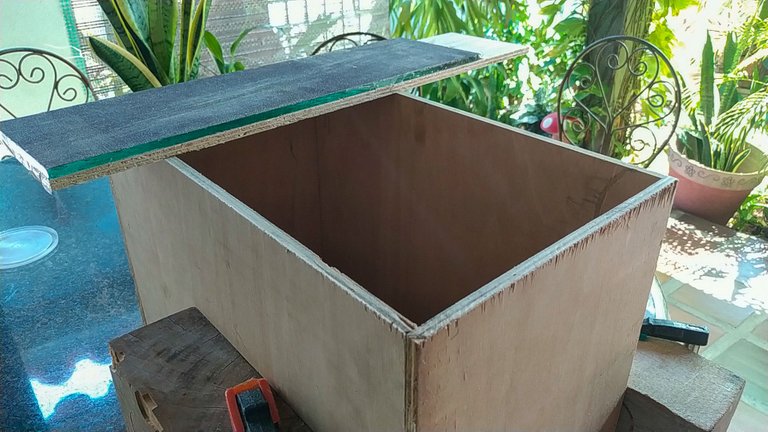
Since we don't have enough clamps and the ones in the workshop are too small, we'll use the concrete blocks again. This time we'll help use with a piece of MDF to give them a solid footing on top of the frame.
Trimming sides and rounding corners

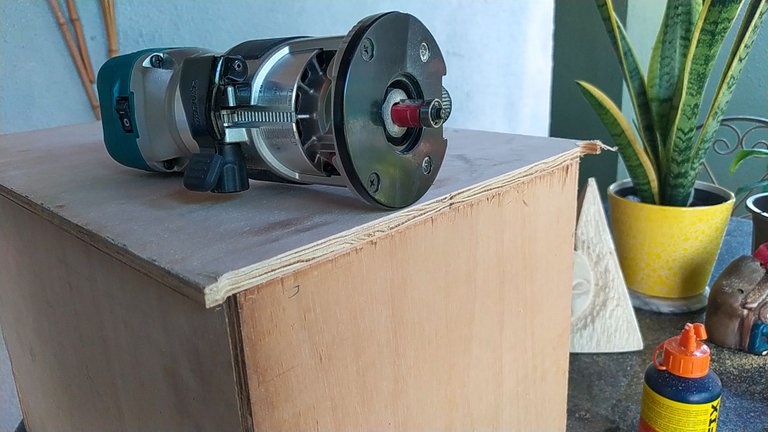
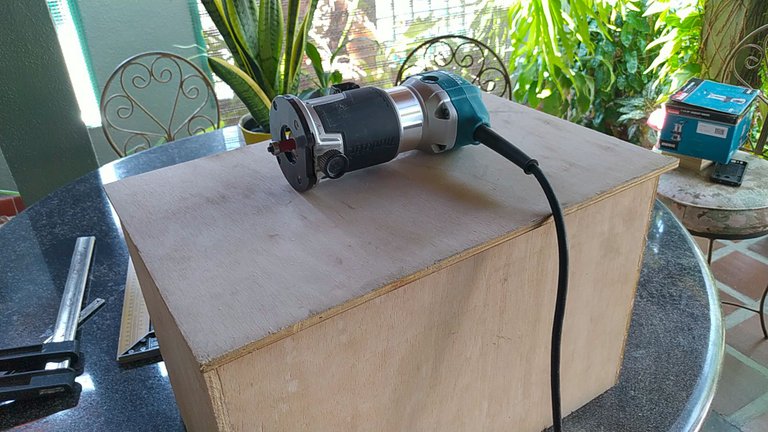
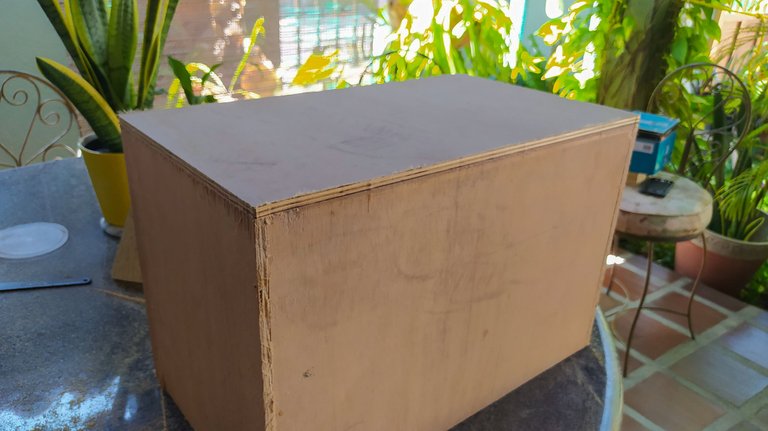
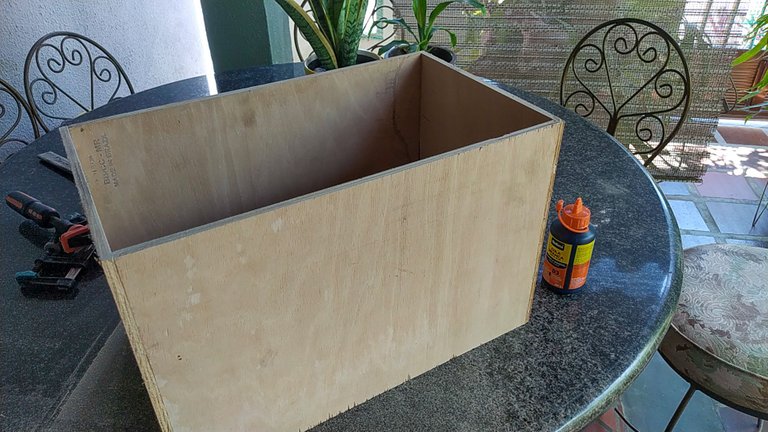
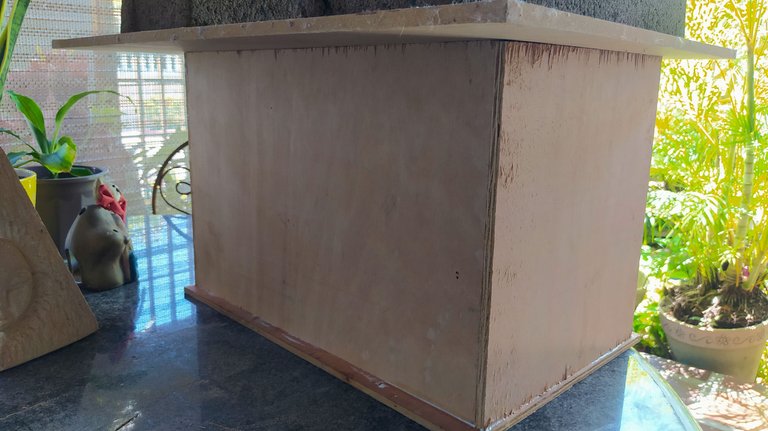
Now, we begin to shape this half-made box. To start, we are going to trim the edges of the bottom to make it even with the other sides of the frame. Once we have done this, we will go ahead and round the corners of the box, except for the sides where we will place the sound board.
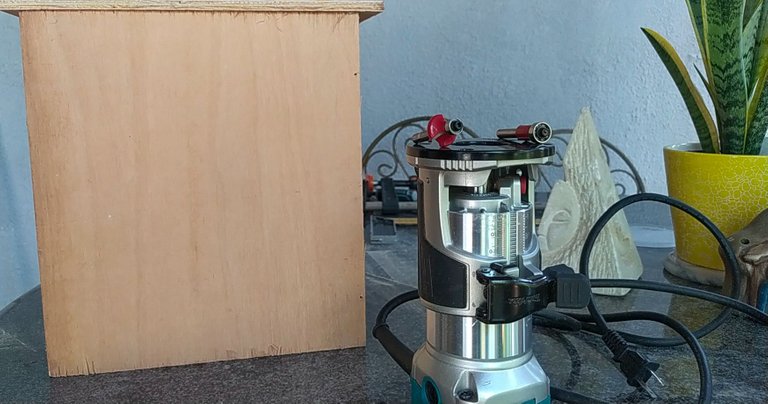
This is as easy as grabbing our trusty router and using a straight bit with a repeater and then using a corner rounding bit. We just need to watch out for the temperature of the bits as heating them to much could break the blades.
Sound Hole
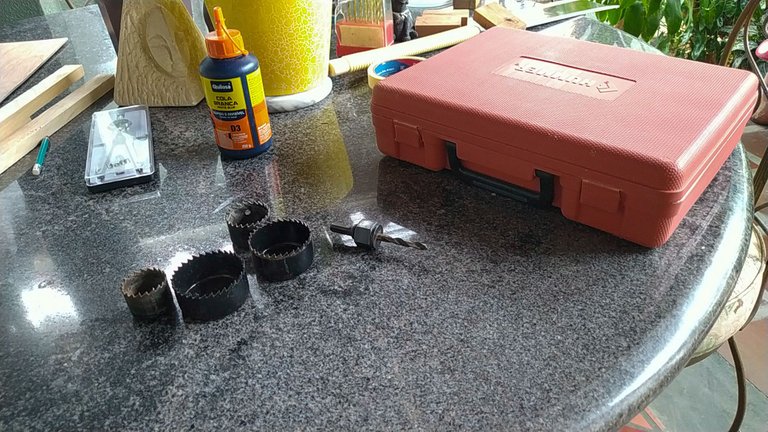
The traditional sound holes for these instruments are a big circle. They range from 10,5cm to 11cm in diameter. Since there isn't a hole cutter that big around, we need to be creative and use the once available. Here comes a mixture of luthier expertise.
The sound board will be 3mm thick. That means the sound of this Box Drum will be deep and bassy. So, we need to exploit that. By making a smaller sound hole, we can achieve an even bassier sound.
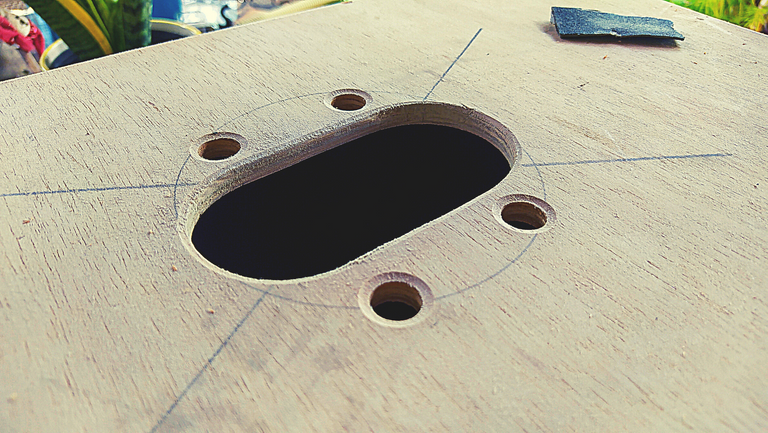
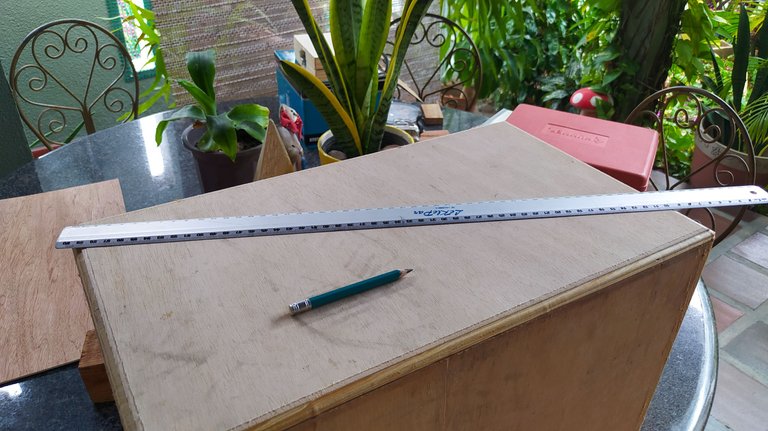
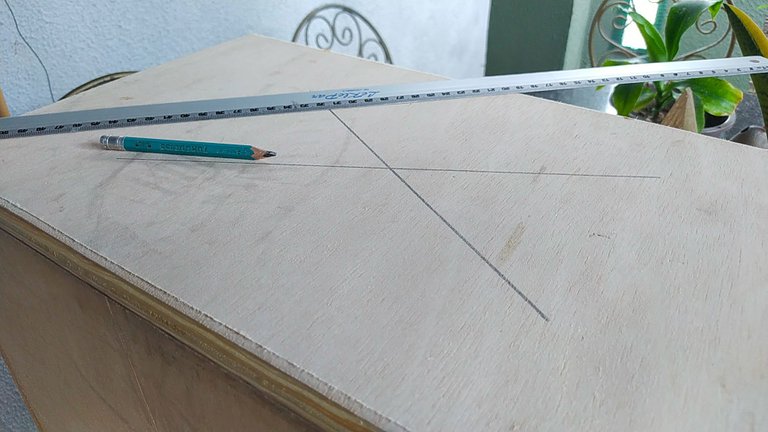
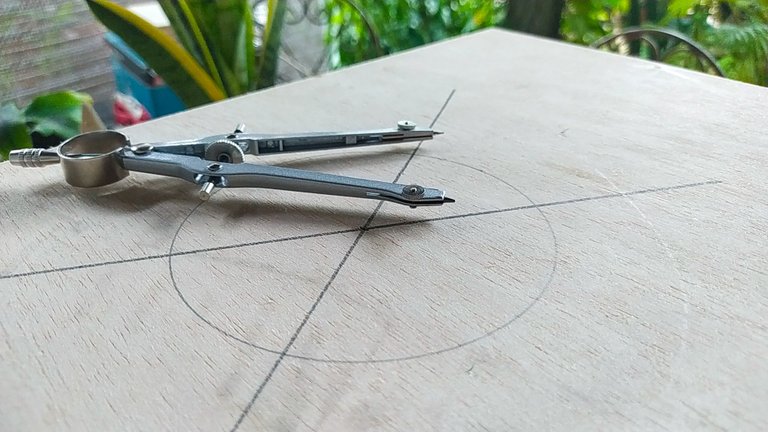
First, we need to get the center of the bottom. We do this by drawing lines from opposite corners and looking at the place where they meet. Once we do this, we use a compass to draw a circle with a diameter of 11cm. With this in place we can mark where the cuts will go.
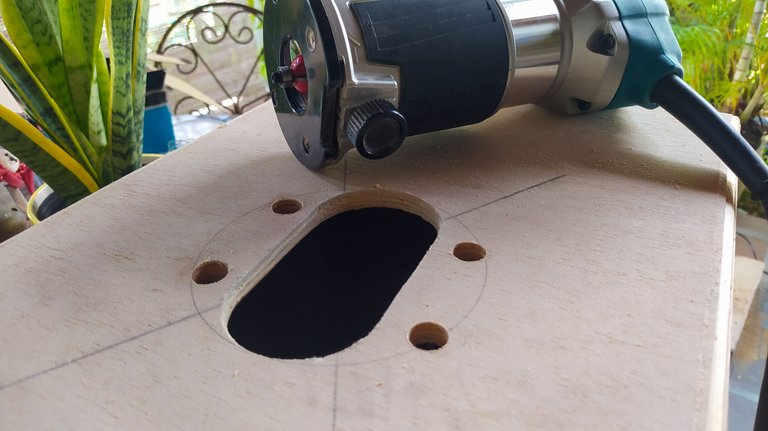
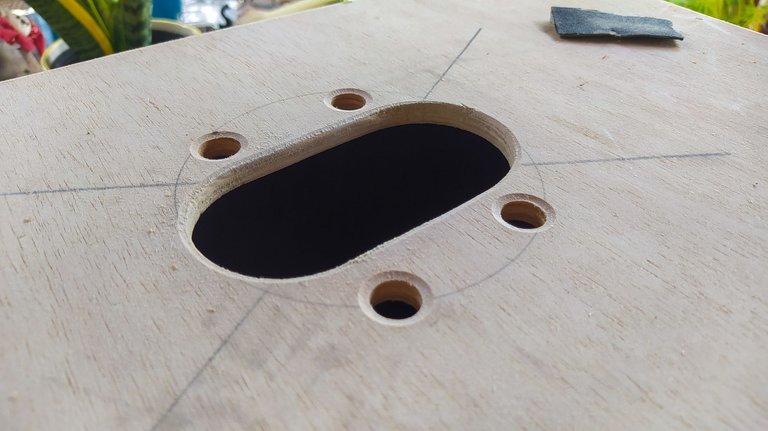
The circle cutter used in this case was a drill bit with 53,8mm of diameter. As you can see, we tried to stay inside the bigger circle but the design is offset from the center. If you look at it, it looks crooked. That's part of the style. To make it even more stylish, we can make some other hole around the bigger one.
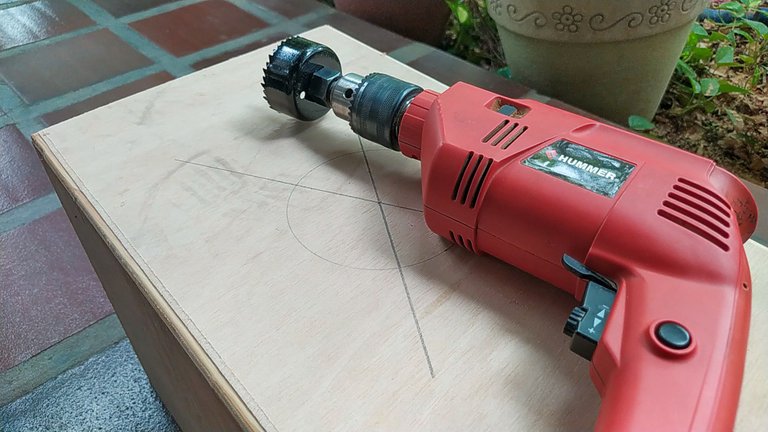
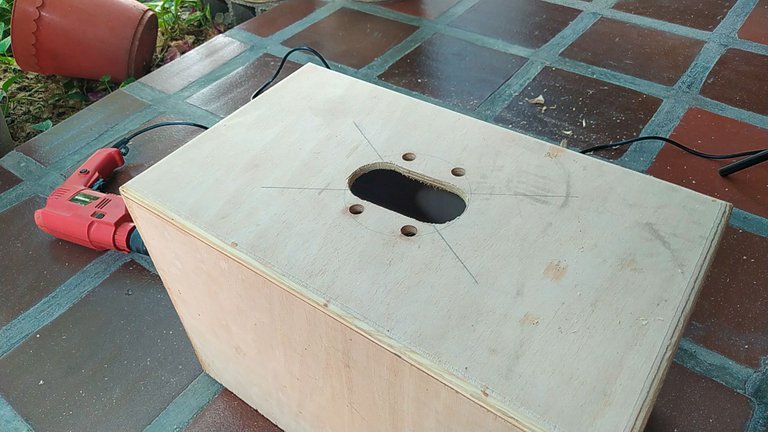
To drill the holes, we need to do it in two stages. First, from the outside until we are halfway through the wood and then we continue from the other side. That way we can prevent a chipping away the wood. Once the holes are made, we can create a better texture by using the router again.
And that's all for this entry, my friends. Thanks a lot for reading a following up this series for this interesting build. Stay tuned for the next part next Wednesday. That day, you'll understand the difference between this Flamenco Box Drum and the Peruvian Box Drum. Until then!
¡Mira, hice una Caja!
El día de hoy continuamos con el avance en este proyecto. Para refrescarles la memoria, habíamos construido el marco para nuestro Cajón y ahora tenemos que colocar el fondo y la tapa. En este caso, tenemos que colocar el fondo primero porque la tapa requiere un trabajo especial para lograr el sonido deseado.
¡Vamos a ello!
Lijado
Antes de intentar colocar el fondo, hay que emparejar los bordes donde irá pegegado. Como es una pieza importante para la integridad de la estructura del Cajón, tenemos que asegurarnos de que esté bien pegada. Además, aquí tendremos que hacer la boca justo en el centro. Si queremos que el instrumento dure, hay que hacer esto bien.
Podemos asegurarnos de mantener el ángulo de 90° con una escuadra de carpintería. Solo hay que colocarla apoyada contra una de las caras del cajón y pasarla por la zona que estamos lijando. Tenemos que fijarnos de que no pase luz por debajo de la escuadra en todo el trayecto y así podemos estar seguros de que el fondo quedará bien colocado en el marco.
Pegando el fondo
Con los bordes listos, podemos pegar el fondo al marco. Esto es tan simple como aplicar pegamento al marco y colocarlo sobre el fondo. No tenemos que preocuparnos por muchas cosas excepto por recordar cuál cara va hacia adentro y cuál hacia afuera. Es probable que se hayan dado cuenta de que el fondo es más grande que el marco. Esto es intencional. Así hay suficiente espacio para compensar cualquier movimiento que ocurra durante el pegado.
Como no hay prensas suficientes en tamaño y números para colocar esta parte, volvemos a hacer uso de los bloques de cemento para aplicar presión sobre la estructura. En esta ocasión, nos ayudaremos con un trozo de MDF para que los bloques tengan donde apoyarse y así distribuir la presión de manera pareja.
Rebajando bordes y esquinas.
Ahora es momento de empezar a darle forma a esta caja a medio hacer. Comenzamos por rebajar los bordes del fondo para emparejarlo con los lados del marco. Cuando hayamos hecho esto, podemos empezar a redondear las esquinas. Solo hay que evitar hacerlo con la cara donde va a ir colocada la tapa.
Esto es una tare simple con una fresadora. Utilizamos una fresa con copiadora para emparejar los bordes del fondo; luego, otra para redondear esquinas. Otra cosa a considerar es la temperatura de las fresas mientras se trabaja. Hay que cuidar no calentarlas mucho porque las cuchillas se podrían romper.
Boca
Lo tradicional es hacer una boca redonda en estos instrumentos. Suelen variar en diámetro. Van desde 10,5cm a 11cm. Como no disponemos de un cortador de círculos con ese diámetro, hay que ponerse creativo. Aquí viene un poco de la experiencia del luthier.
La tapa de este cajón será de 3mm de espesor. Eso significa que el sonido del Cajón va a ser grave. Hay que explotar eso. Al hacer una boca mas pequeña, el sonido será mucho mas grave.
Primero, tenemos que encontrar el centro del fondo. Esto lo hacemos trazando líneas desde las esquinas opuestas. El centro estará en la intersección de ambas líneas. Una vez tenemos esto listo, utilizamos un compas para dibujar un círculo de 11cm de diámetro. Con esto, podemos marcar dónde irán los cortes.
La mecha copa que utlicé en este caso era de 53,8mm de diámetro. Como pueden ver, el corte se mantuvo dentro del círculo, pero el diseño está un poco desplazado del centro. Si lo ven fijamente, se darán cuenta que está un poco hacia un lado. Para estilizalo más, podemos hacer otros hoyos cerca del principal.
Para cortar la boca, es necesario hacerlo en dos etapas. Primero, desde afuera hasta la mitad de la madera y después, continuamos desde el otro lado. Esto es para evitar astillar mucho la madera desde ambos lados. Una vez que todos los agujeros están en su lugar, podemos mejorar su aspecto con la fresadora.
Eso es todo por esta ocasión, amigos. Muchas gracias por leerme y seguir la serie de este proyecto tan interesante. Manténgase antentos para la próxima parte. El próximo miércoles entenderán cuál es la diferencia entre un Cajón Flamenco y un Cajón Peruano. ¡Nos vemos!
Fotos/Photos 📷: @bertrayo (Redmi Note 8)
Portada/Thumbnail 🖼️: @bertrayo, created with Canva.
Edición/Editing 🎬: @bertrayo, made with Adobe Photoshop Lightroom.
Follow me on Instagram for enquires and commission.
If you'd like to help the workshop grow, you can make a donation here. You can find me at discord as bertrayo#1763
The rewards earned on this comment will go directly to the people ( bertrayo ) sharing the post on LeoThreads,LikeTu,dBuzz.https://leofinance.io/threads/bertrayo/re-leothreads-38cg43v7h
Me encantó ver la terminación de la madera y sobre todo me detuve en la primer fotografía, esta buenísima!! Abrazo Andrés!❤️
Muchas gracias, Amonet. Todavía le falta a la serie pero ya se va a ver el resto del trabajo.
Yo voy a mirarlo todo , por publica por partes, como te guste que yo lo disfruto.😀
Tan bella 😘
Bello el instrumento jajaja
Ja, ja, ja, ja. También
🤣🤣🤣🤣🤣🤣🤣
No sé si es mi imaginación o qué, pero parece una boca como de caricatura, jajajajaja. Me encanta la forma en la que te las ingenias para sustituir las cosas que no tienes, eso es tener mucha creatividad.
Qué buen trabajo, muchachito bonito 😘
Bueno, el trabajo no se puede detener. Hay que seguir avanzando. Cuando tenga las herramientas, todo serás más fácil. Por el momento, se hace lo que se puede.
La idea de la boca es que se vea diferente. También que el instrumento siga sonando grave.
Gracias. 😘
Bueno, ojalá pronto puedas comprar las cosas que te hacen falta, igual me parece genial que sepas resolver con lo que tienes 😅
¿Gracias? 😏
Hay que hacerlo de alguna manera. De lo contrario, estaría echado y amargado. 🤣
¿Qué quieres? 👀
Jajajajajaja, bueno 😅
Ajá, tú sabes, no te hagas el loco 👀
👀👀
Está quedando bastante bien, leer sobre el proceso de creación es entretenido.
!DIY
Es muy útil también.