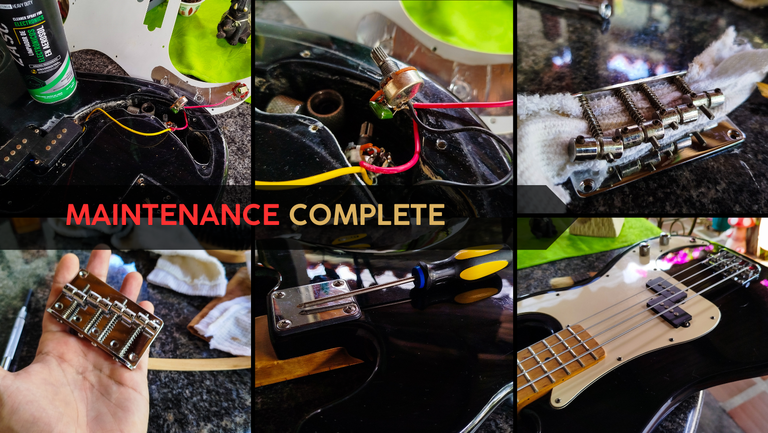

Welcome back to the last entry on this maintenance job for this Electric Bass. We are on the last bits of work that will take us around cleaning the bridge, the electronics, and putting the instrument back together.
Without further a due, let's get to it.
Cleaning the bridge
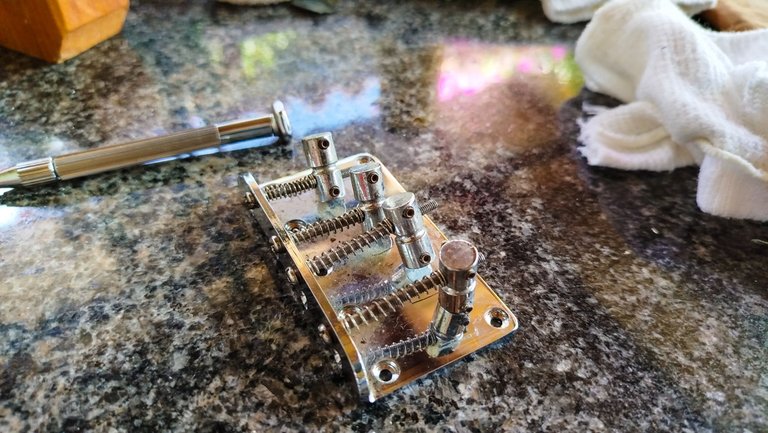
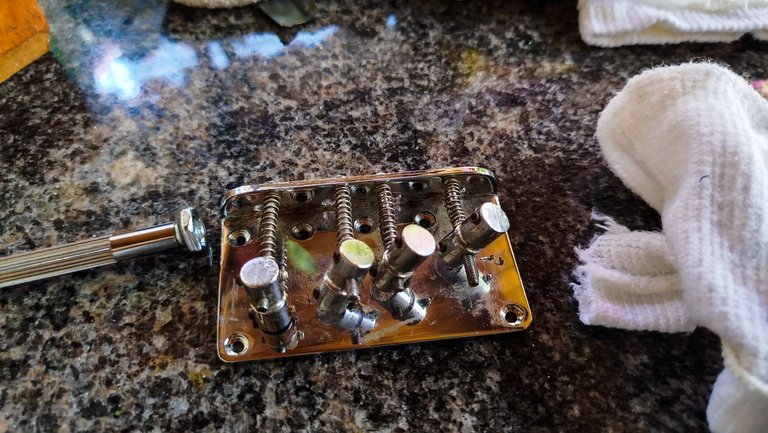
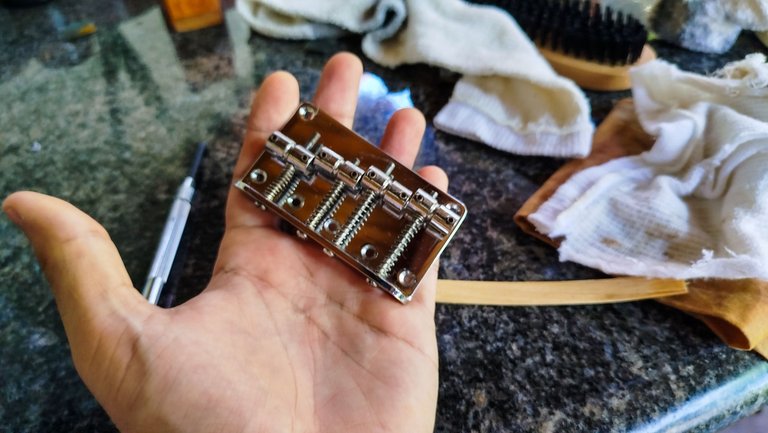
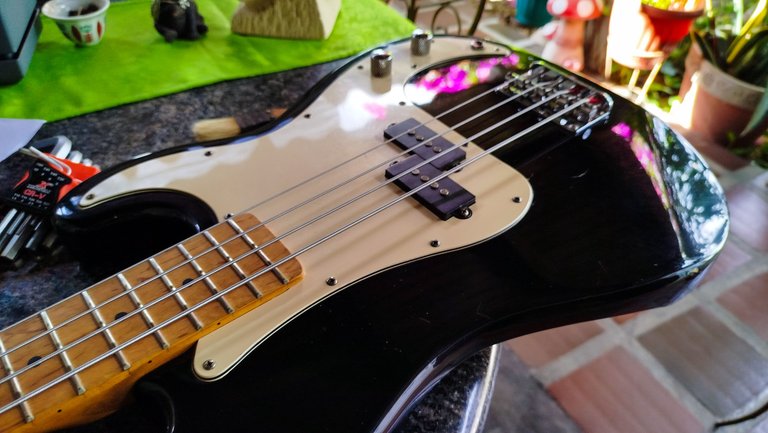
These bridges are far more complex than the usual thing around the workshop. In essence, this is a customizable bridge. As you can see each string has a saddle that can be adjusted to fit the compensation individually. Also, you can set the height of each string as you want. This particular point is relevant to the fix of the buzzing E string.
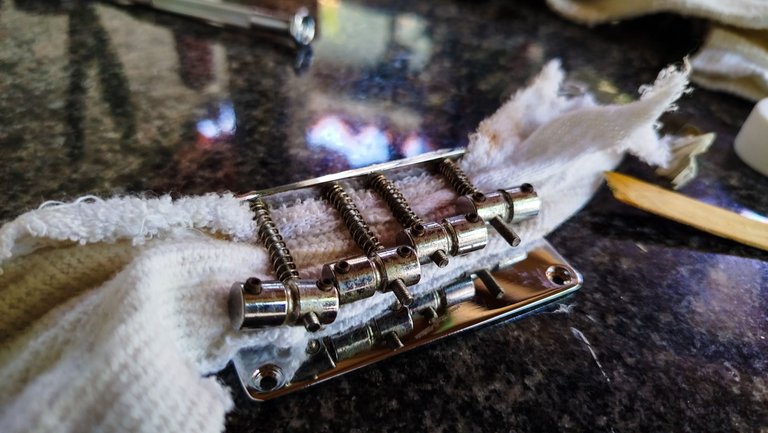
So to clean a bridge that has gathered a lot of dirt and said dirt has become solid and almost welded to the thing, we need something acid. Luckily, vinegar works fine in this cases. We use a piece of cloth soaked in vinegar to wipe off all the dirt. It won't event damage the chromed exterior of the piece. After using vinegar, we need to wipe the excess off to keep the bridge in good conditions.
Some extra that can be done to help keep dirt off this piece is to polish the surface of the bridge. And that's exactly what we are going to do next. Using another cloth and some polishing wax, we give a nice shiny finish to this piece.
Cleaning the electronics
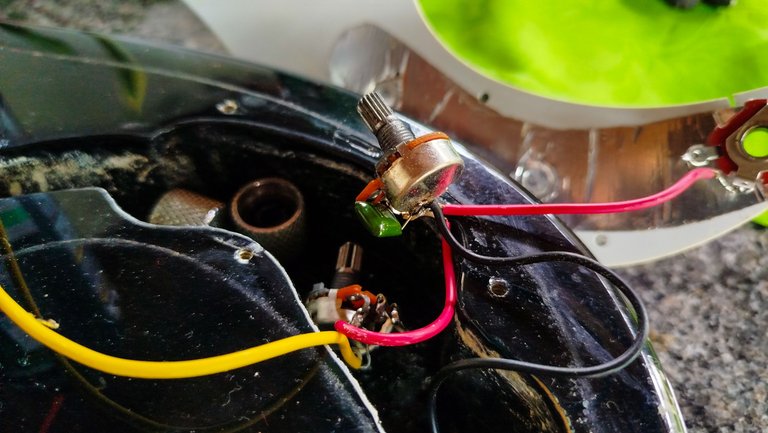
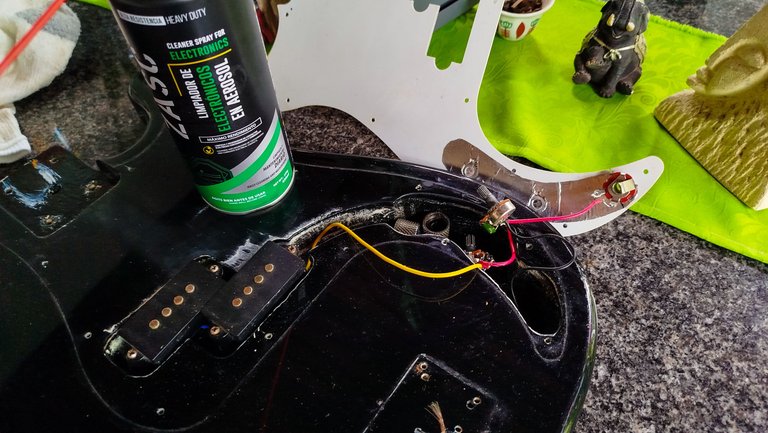
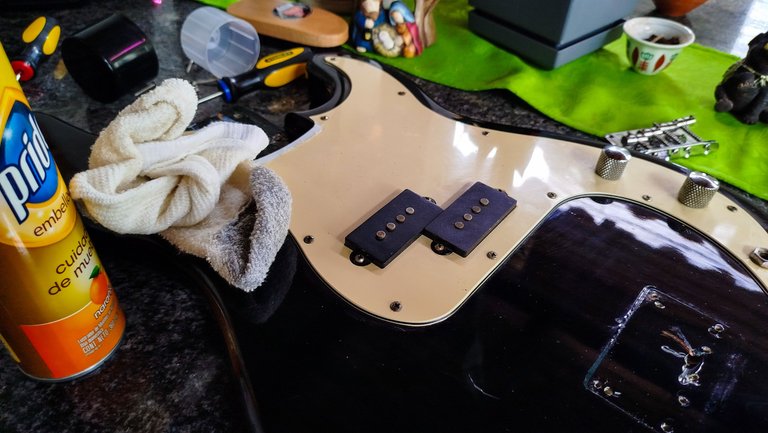
This was one of the reasons behind the maintenance job on this instrument. There was some bad sounds coming from it while it was plugged to the amp. After checking the electronics, I found nothing to be worried about. However, I decided to clean the whole thing with something that was made to clean electronic contacts. So I bought these cans of said compound and had to wait for it to arrive.
Once it was here, I did my best to spray the whole electronics with it. Just to make sure it got into every part of the electronics. And with that out of the way, it was time to finally put everything together.
The bad thing about trying to work an instrument like this is to make sure the whole job isn't damaging anything. Well, you can only know once the instrument is put back together and connected to an amp.
Put it back together
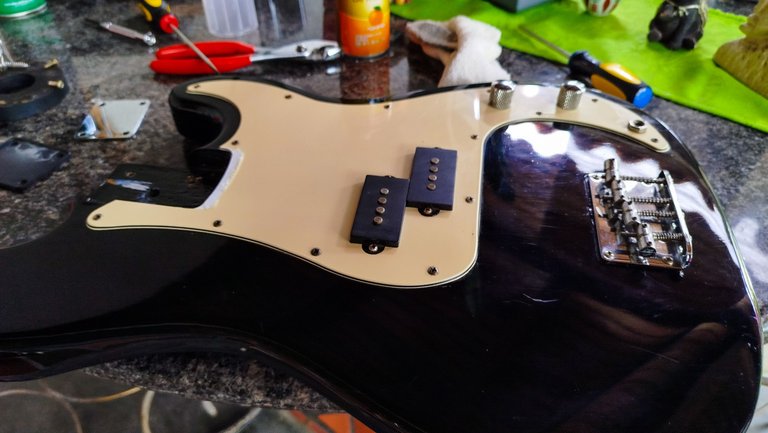
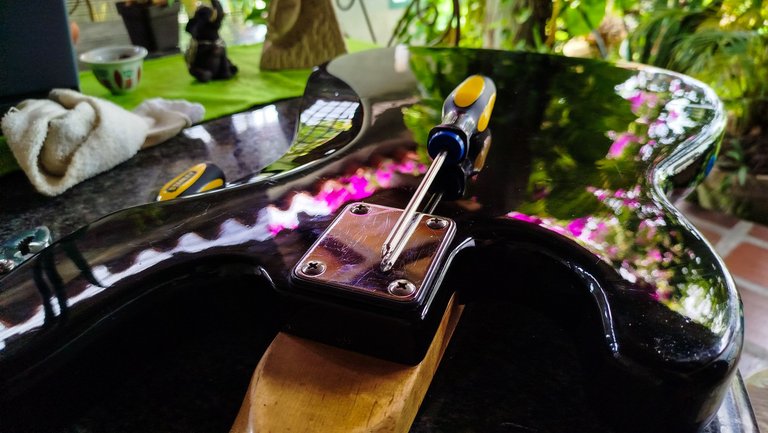
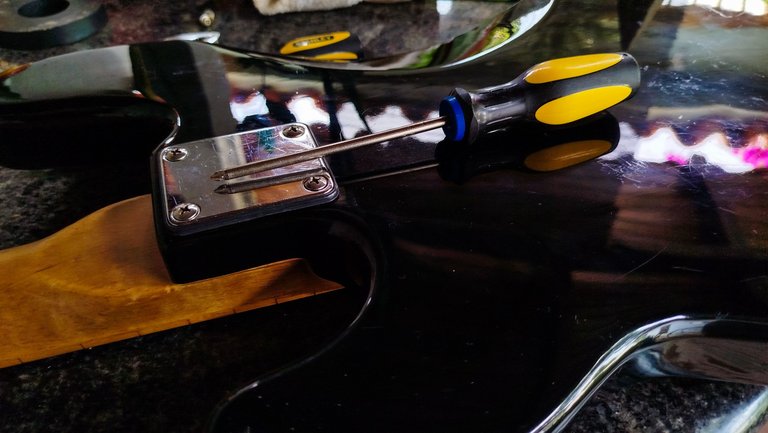
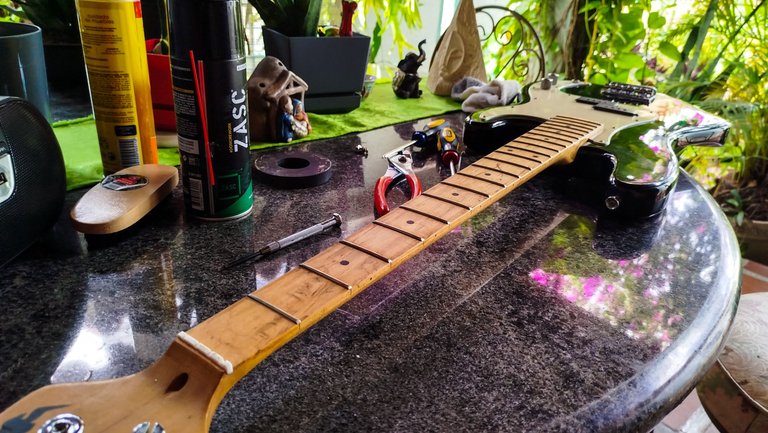
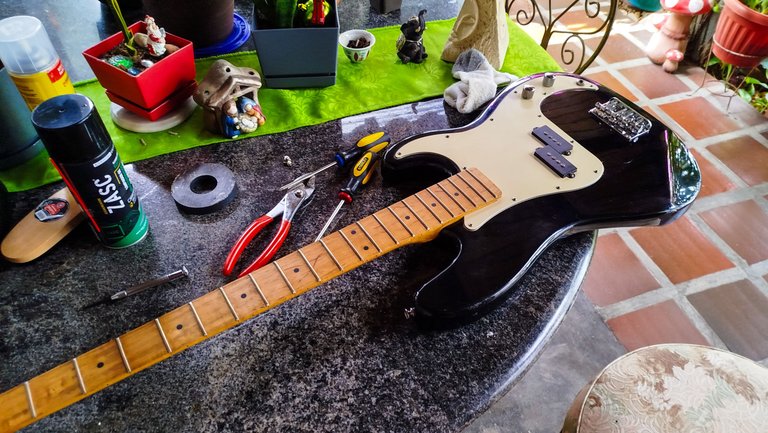
With all the jobs complete, the last part of the work is to put the instrument back together. One thing to keep into consideration while putting apart such a contraption is to have a magnet to keep all screws and metallic piece in one place. That was the way everything was at hand once it was time to do this.
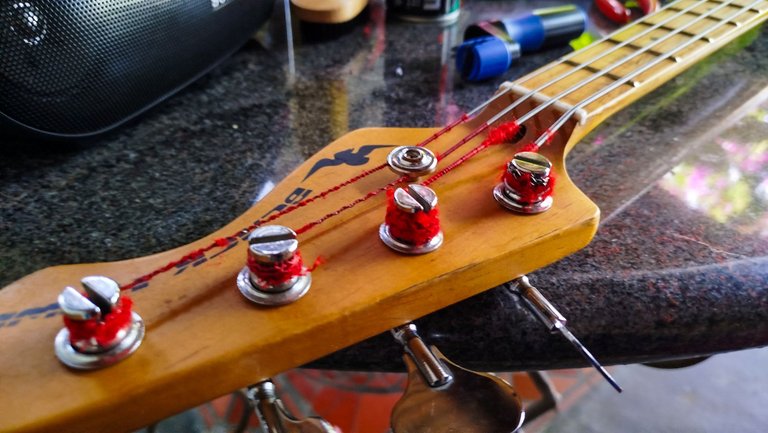
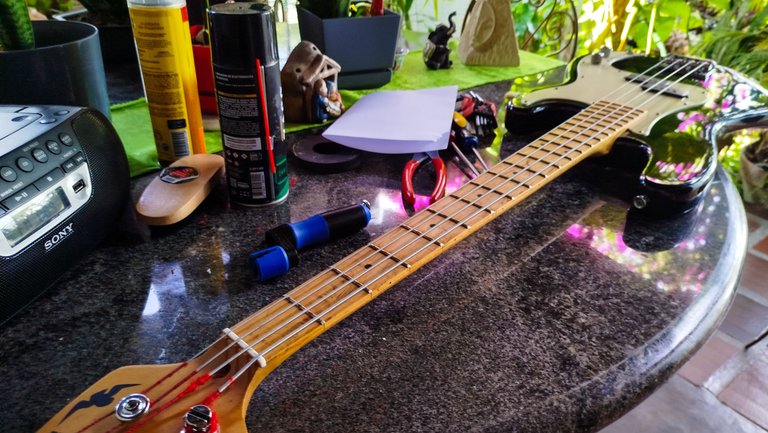
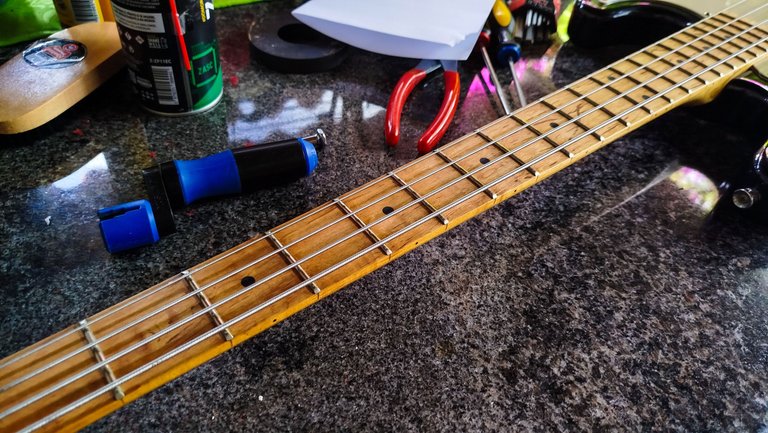
Placing every screw in place and then getting all the instrument back together. The most annoying part of the job is definitely to get the strings back into place. Bass strings are difficult to work with, they are thick and have a lot of tension and tend to move out of the tuning machine unless you apply enough pressure to keep them where they are. These had this red felt that came off when it was passed through the bridge. So, there was some extra cleaning needed after the set up.
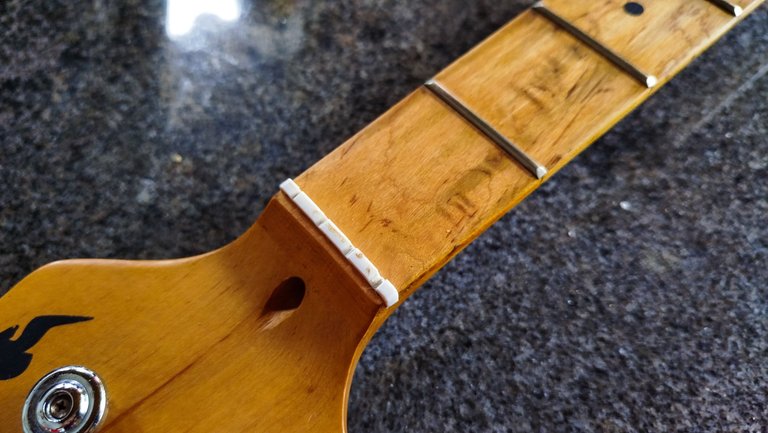
The last thing to address was the buzzing E string. First, after checking the nut, there was nothing wrong with it. The slots for the strings where on the right depth and width. So before working on a piece that might not need anything, it is better to check something else. One of the many fixes for this kind of trouble I found online was about the action of the strings. Here, the nut was fine and the neck wasn't concave. So, adjust the action of the E string fixed the problem in no time. And it was only a half of a turn on the saddle for the string. And thus the bass got back its nice sound without a lot of buzz.
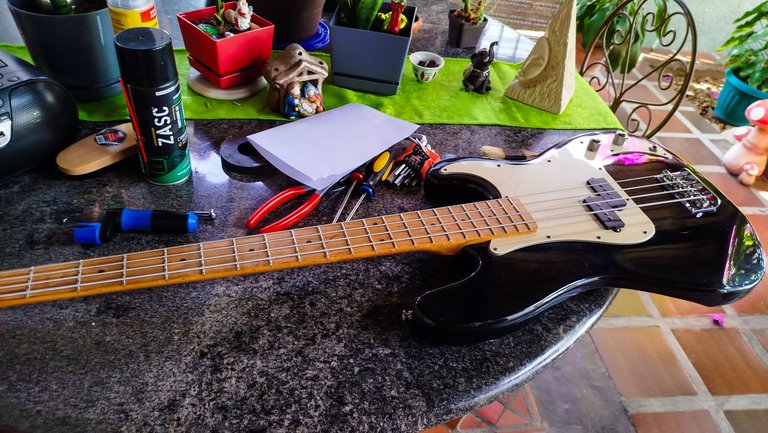
Once this was ready, the owner came by the house the same night I had finished to test the instrument. He was happy to see it looking as if it were new. He also tested it with an amp and the sound was nice. Since it was late, I asked for a photo with better light once he had time, and a few days after, he sent the photo.
He looks happy with his bass and I'm happy to help another client.
That's all for this topic of maintenance of an Electric Bass. Next time, I'll start showing the work on a Venezuelan Cuatro that had a lot of problems. For now, thanks for reading! See you on the next post!


| Part | Name |
|---|---|
| 1 | Cleaning Bass |
| 2 | Polishing Frets |

Photos 📷: Redmi Note 13
Thumbnail 🖼️: Canva.
Editing 🎬:Adobe Photoshop Lightroom.


Follow me on Instagram for enquires and commission.
If you'd like to help the workshop grow, you can make a donation here. You can find me at discord as bertrayo#1763
A very good maintenance job. It looks incredible and is ready to be used again. Good job.
Thanks a lot!
What a delicate and meticulous job the cleaning, especially the electrical part is calling my attention. It is a beautiful instrument!😃
Always working on new things. 😌
That should cheer you up! It is work!