Hello beautiful people
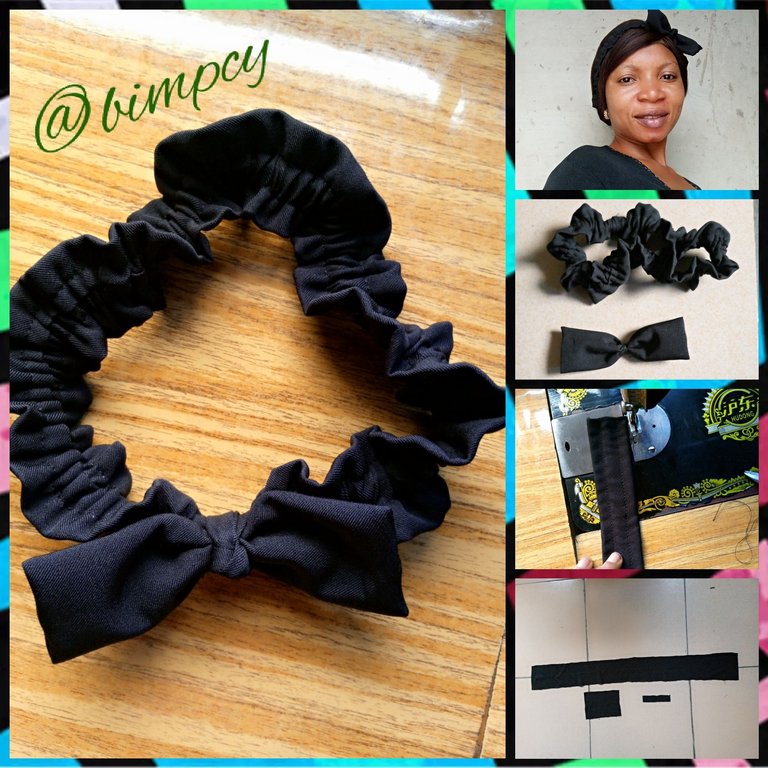
Greetings to you all on this beautiful day in this lovely and creative community @hivediy, I hope you all are doing great just as I am doing here, it is my pleasure to share with you today the step by step process of making this beautiful headband for my little niece from scrap fabric.

I have been making different and beautiful outfit for my niece but never thought of making any accessories to compliment the dress, all I usually do is to make an outfit for her, just recently, I made a simple outfit for her and she told me that there's this friend of hers that wore an outfit with a particular matching headband that she would have love to have one for herself,then I promised I was going to make her one.
Thinking of what to make, I remembered I saw a particular simple and beautiful headband online which I thought will good on her, another thing is the materials to use to make the headband, I wanted to use a color of fabric that can go with any outfit, I had to search through my bag where I usually keep leftover fabric from my previous work, just as I always do, I keep all leftover fabric in a bag for future use until the last piece, with this, I have a lot of leftovers and scraps that I can easily use, in the bag, I saw this black long piece of fabric I had kept for a long time, it was detached from one of my friends outfit when she asked me to transform the outfit into another style for her, so I kept the long piece after her job was perfectly done, I brought the black piece out and saw it to be perfect for what I needed it for.
I processed to the cutting and sewing process of the headband
I cut out 3 pieces from the long strip of scrap fabric
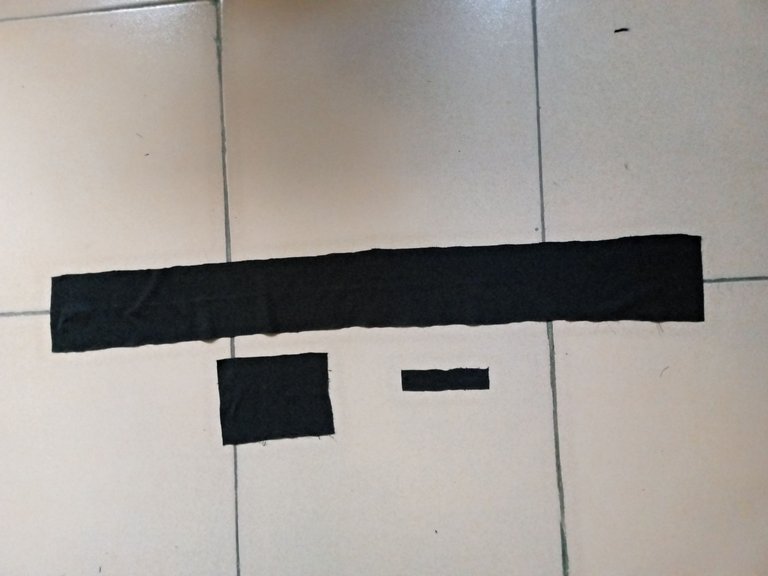
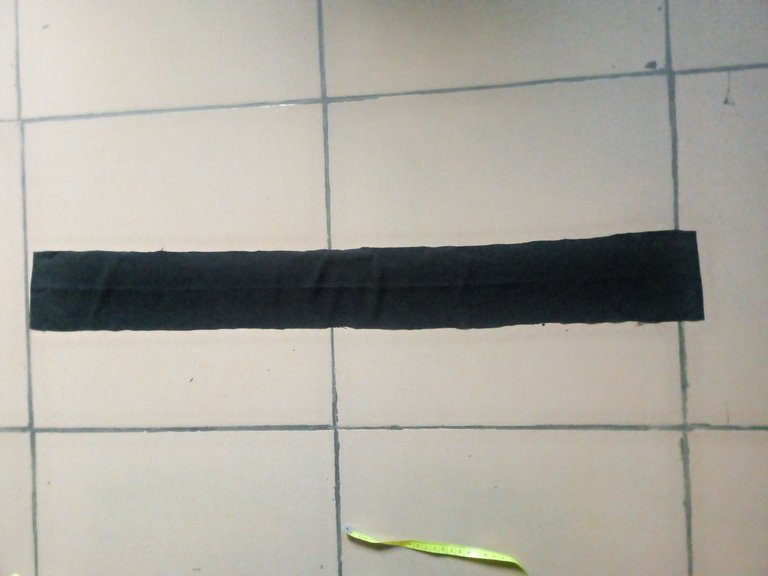
For the first piece, I measured 32" by 6" for the band which was sewn and turned inside out
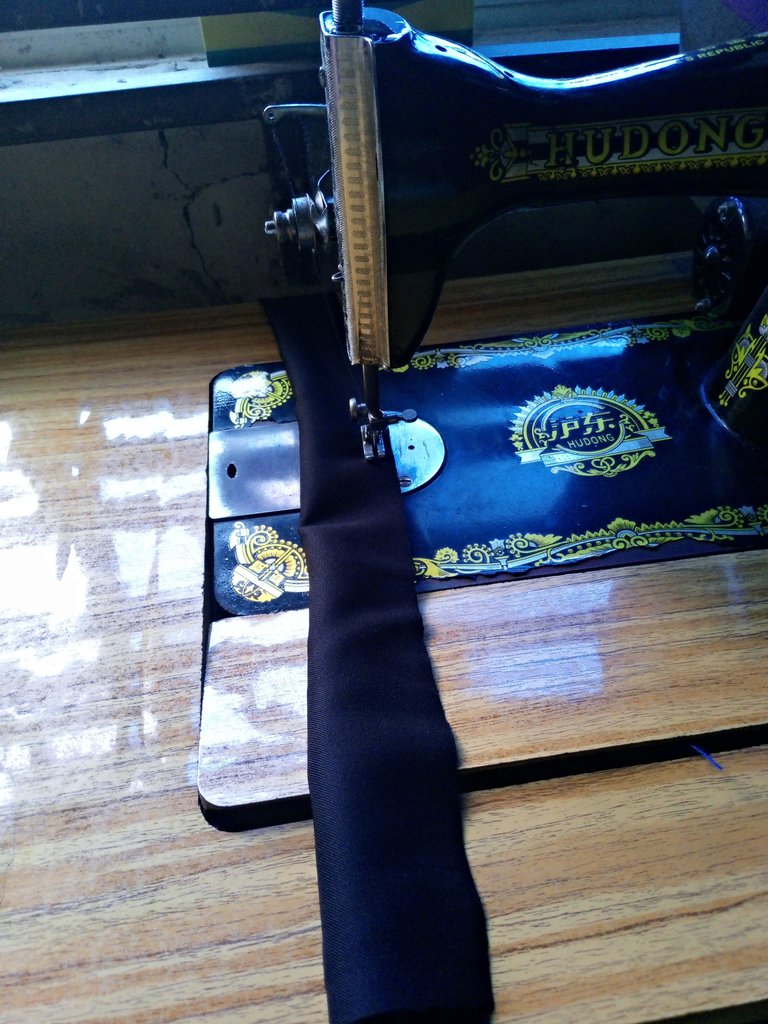
I sew 0.5" on both sides to make a loop in the middle for inserting my elastic band to make a stylish ruffles at the edges.
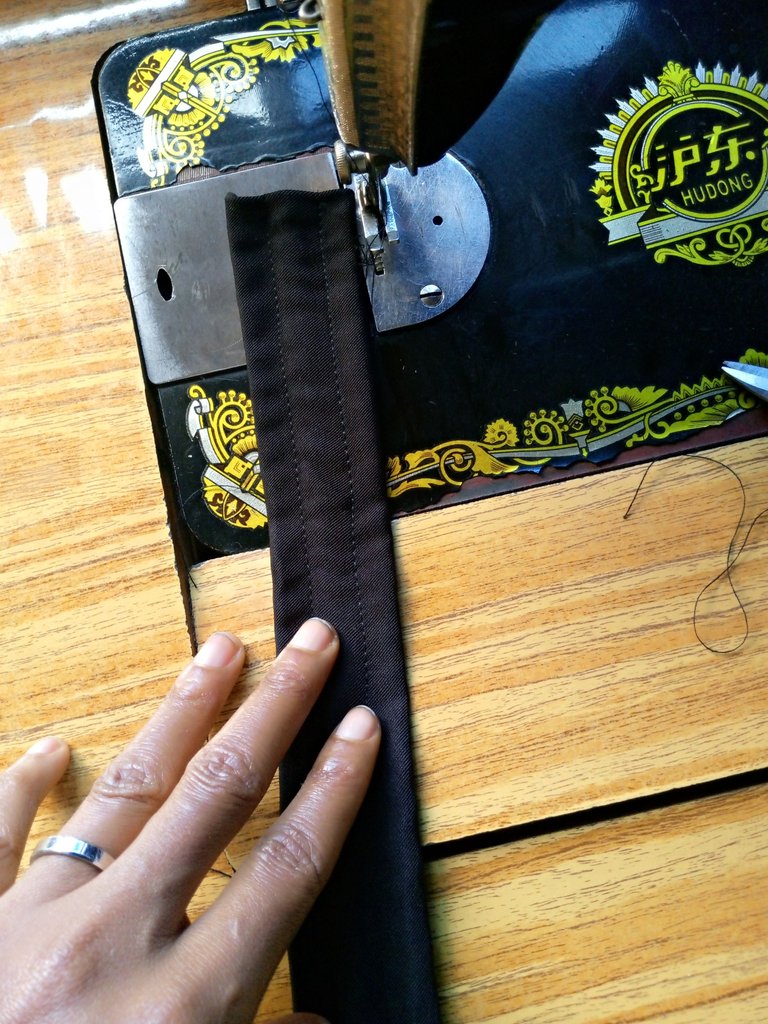
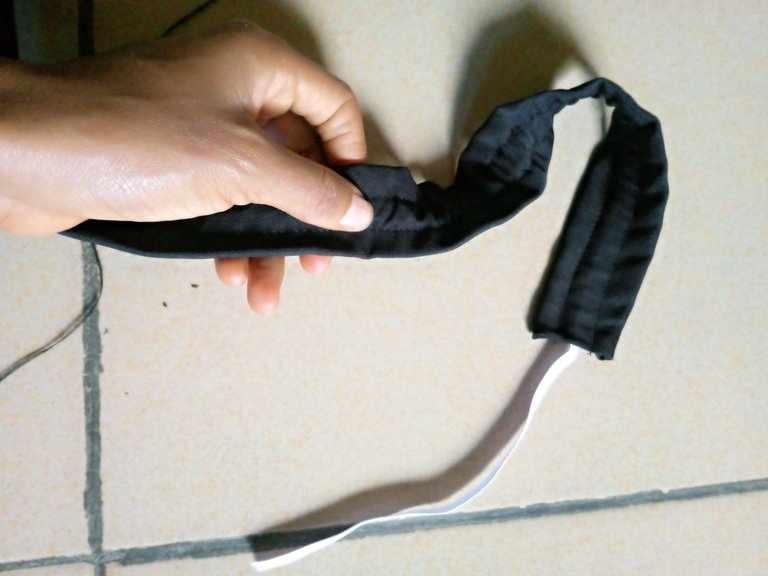
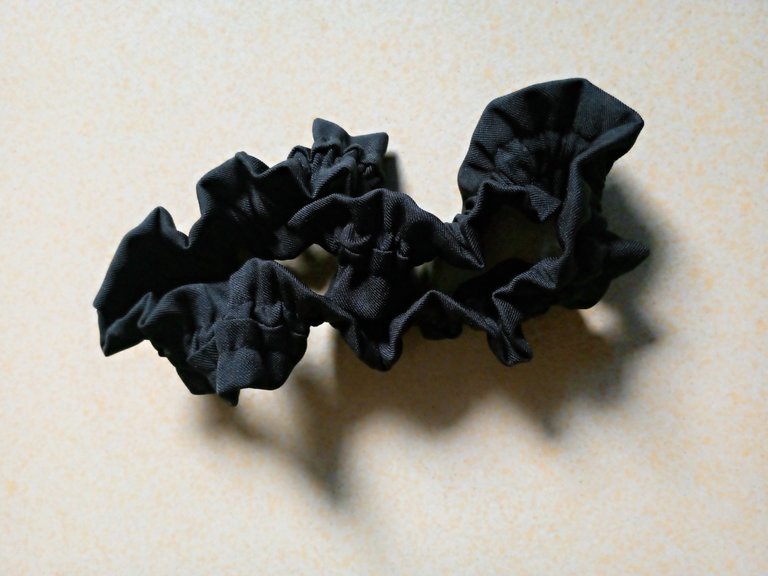
On the second piece, I measured 6" by 4" to make a bow for the band.
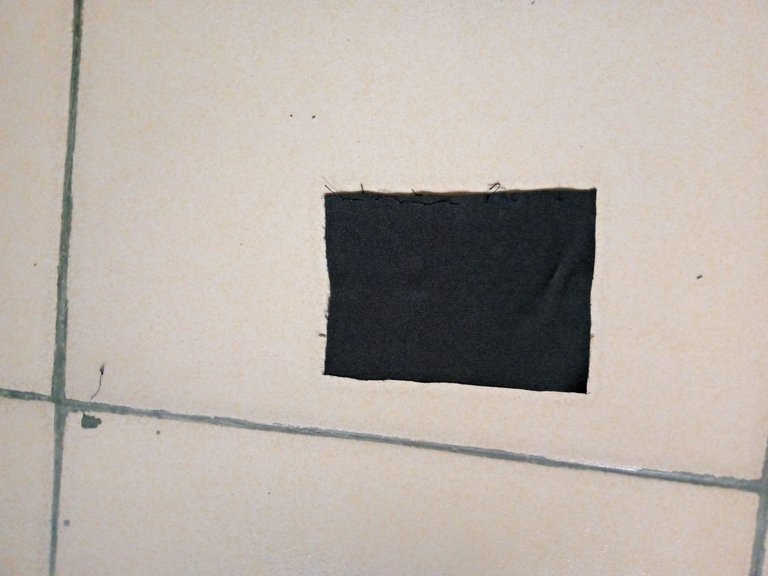
It was taken to the sewing machine and sewn leaving an opening at the middle to turn it inside out.
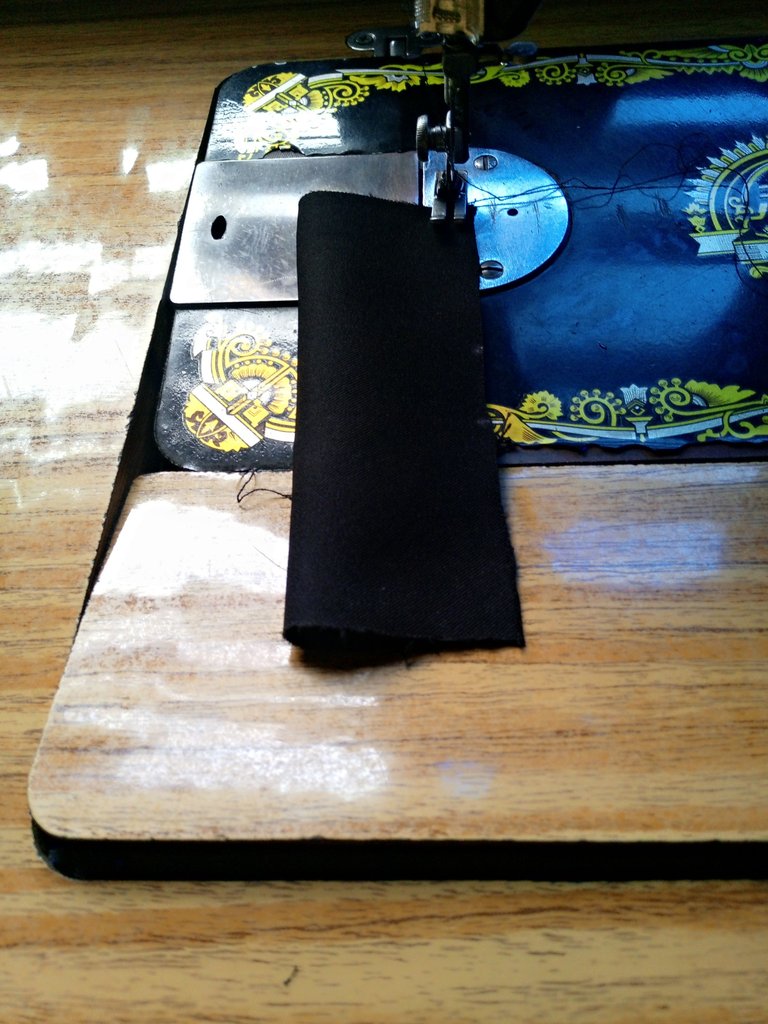
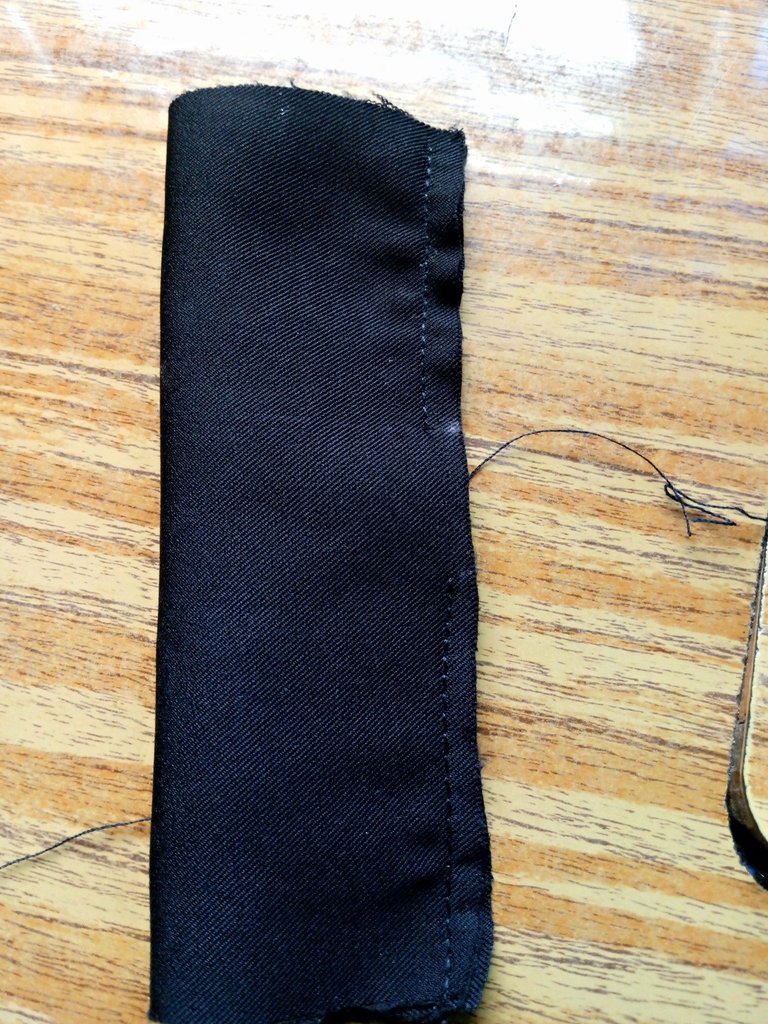
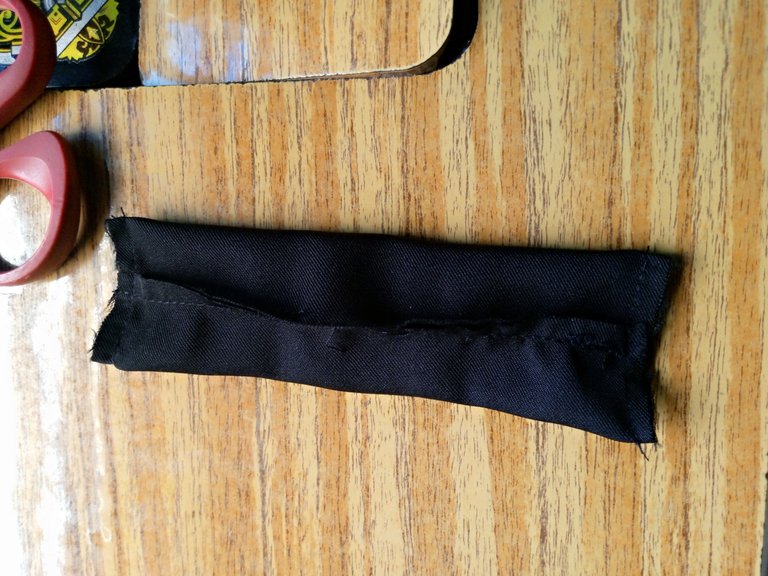
The third piece was measured 4" by 1.5".
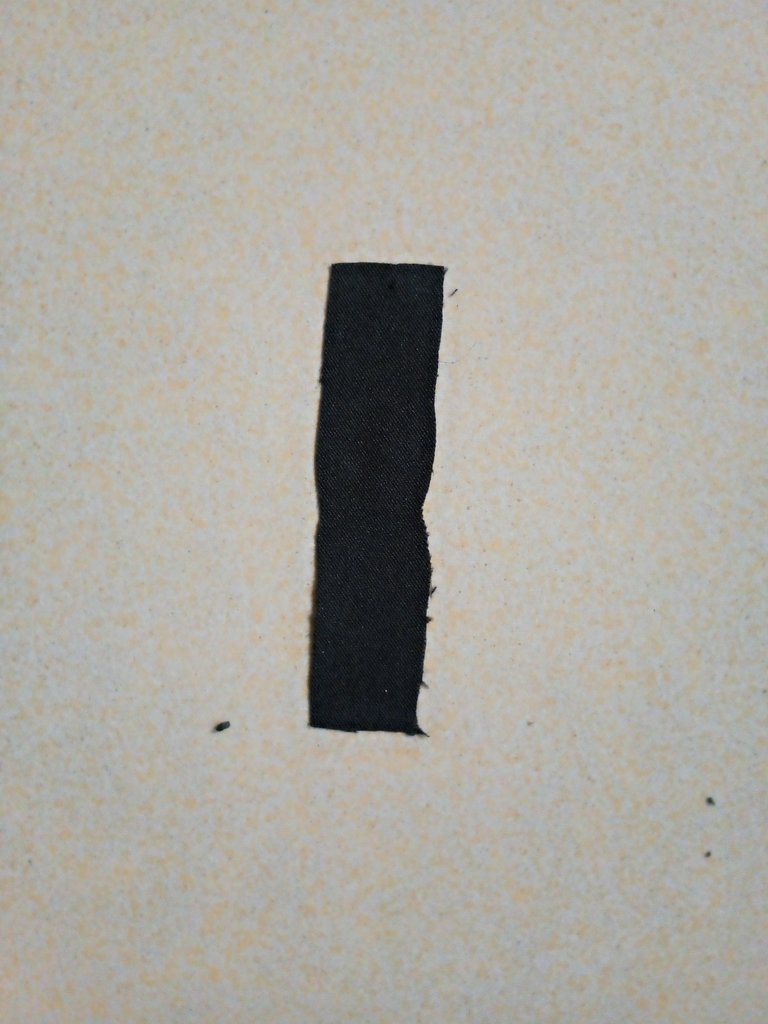
It was also sewn, turned inside out and knotted just to add more beauty to the bow.
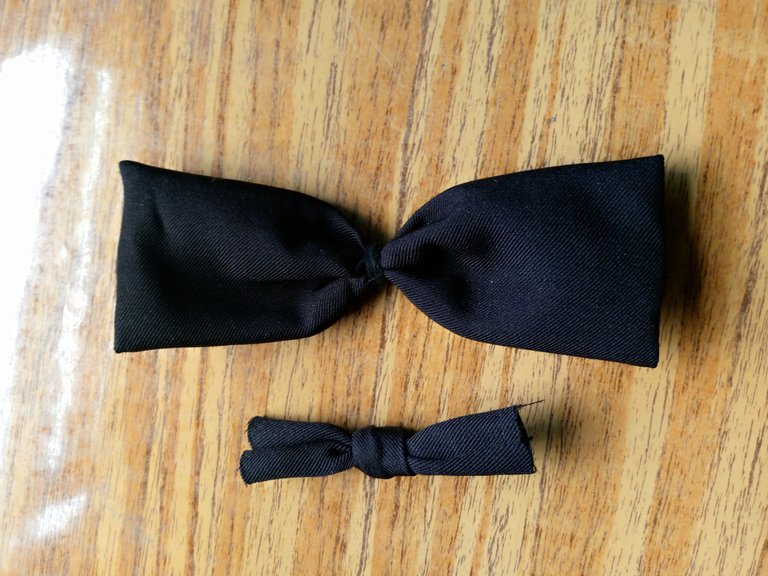
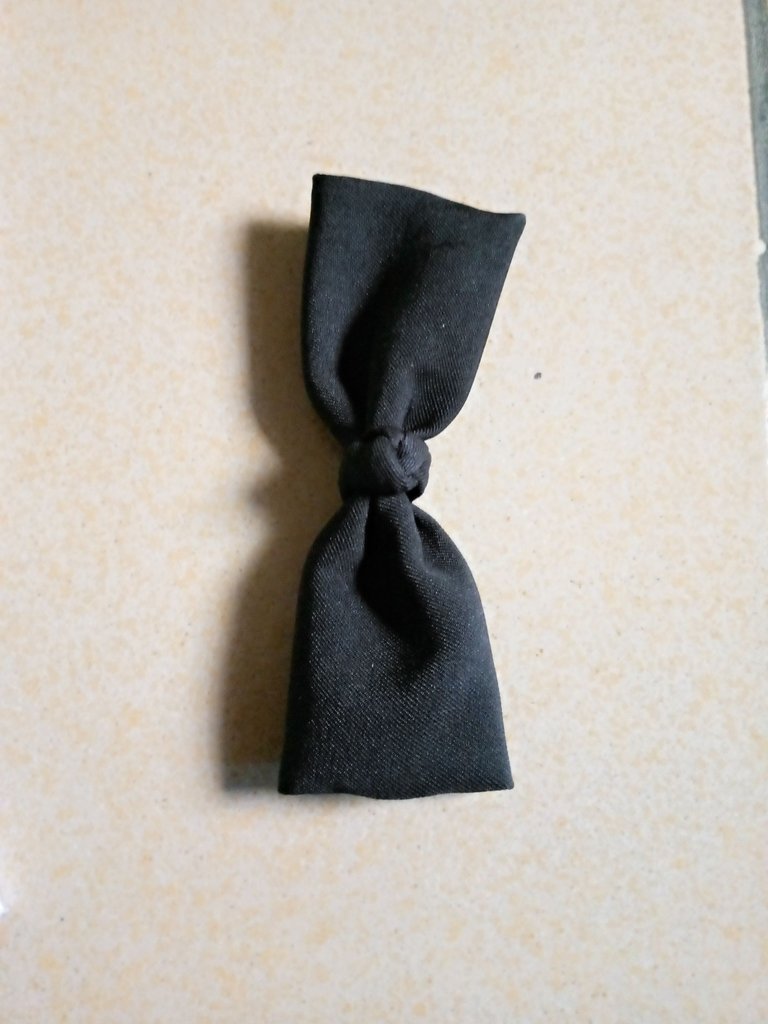
The bow was placed on the middle of the band where it was sewn together just to cover the seam, and the knotted piece was used to hold the two together just as seen below and it was sewn at the back with a hand needle and thread.
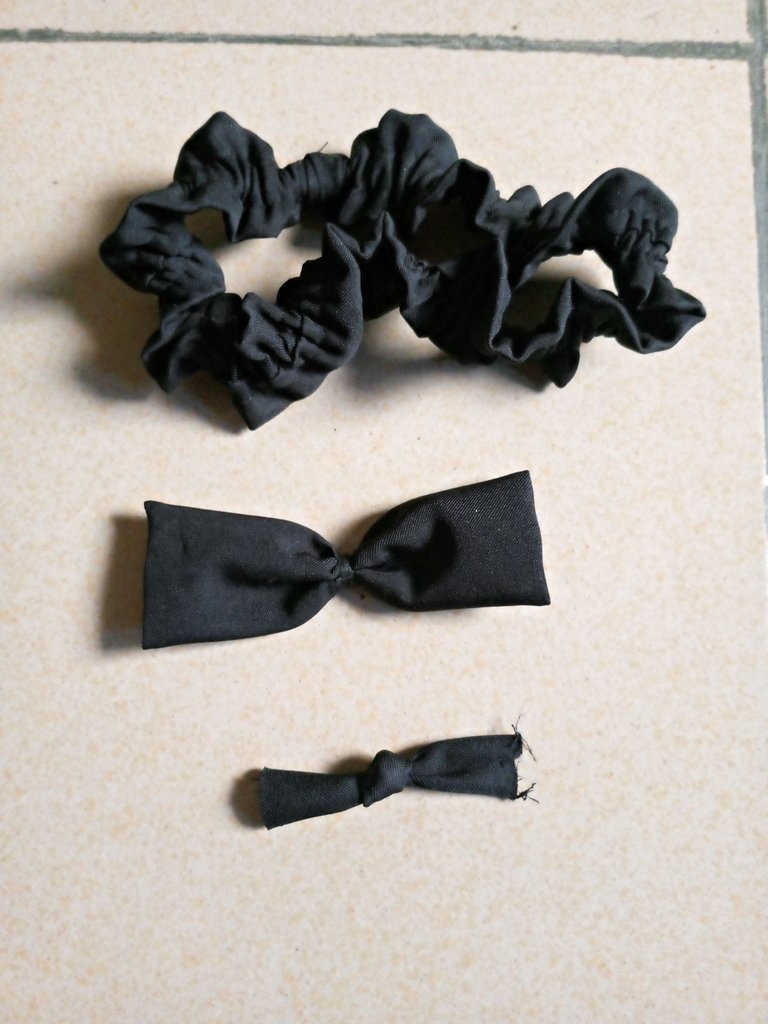
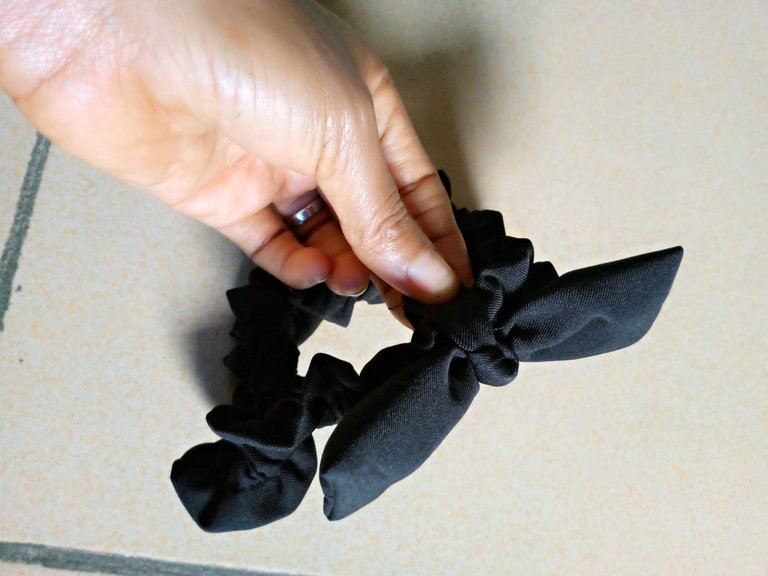
This is the final outcome of the band I made for my niece.
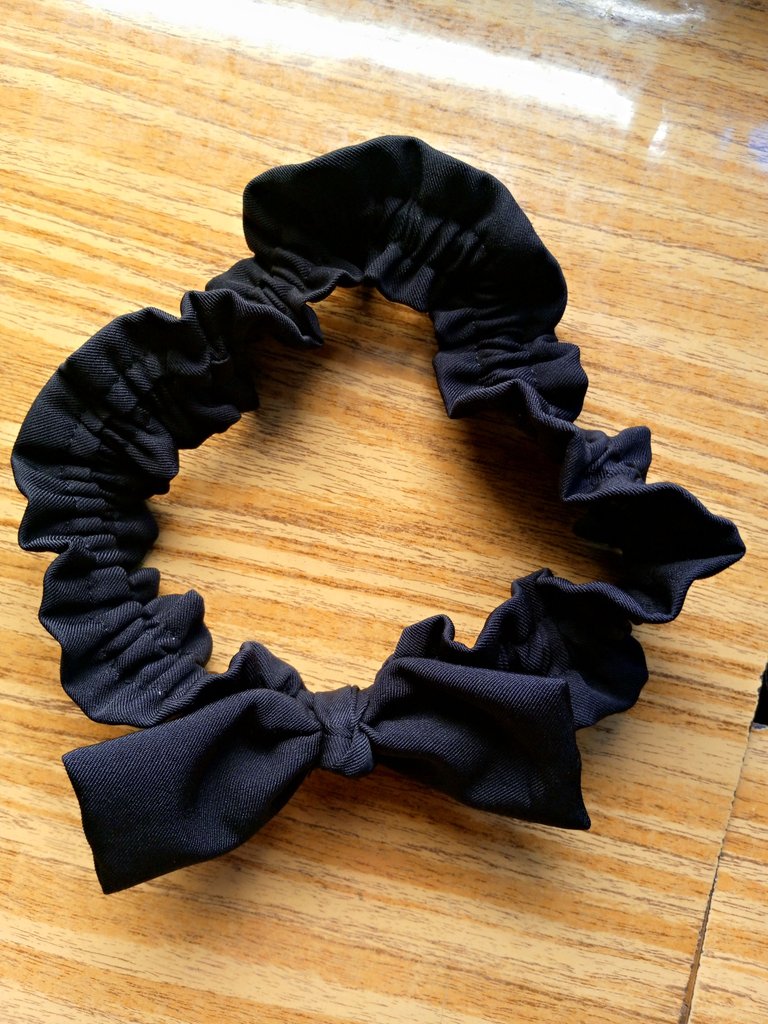
I tried it on my head and it was looking so nice, I hope my niece will love it too when delivered to her.

aha that looks great you are amazing keep up the good work. have a great day and week ahead.
Thanks so much @diyhub for your comment and support.