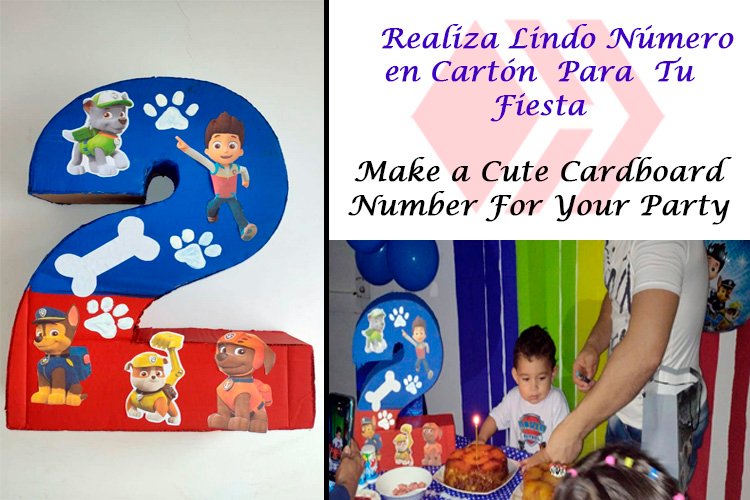
Materiales:
• Cartón
• Silicón
• Lápiz
• Tijeras
• Pinturas
• Dibujos impresos

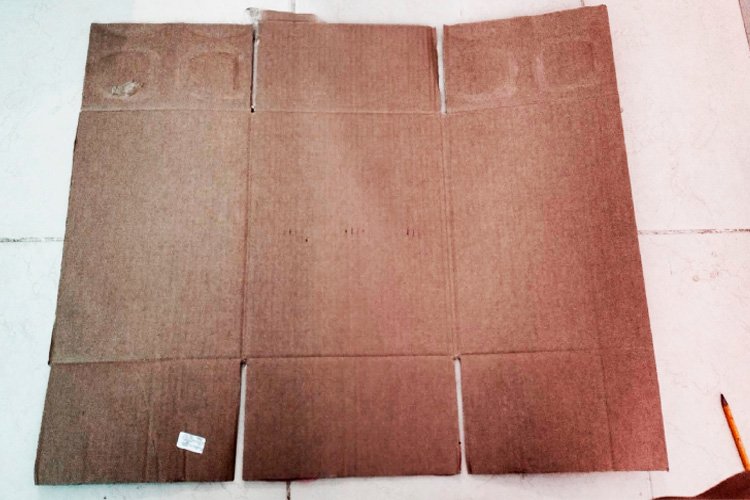
• Desarmamos una caja de cartón para ver con qué tamaño disponemos para realizar nuestro número.
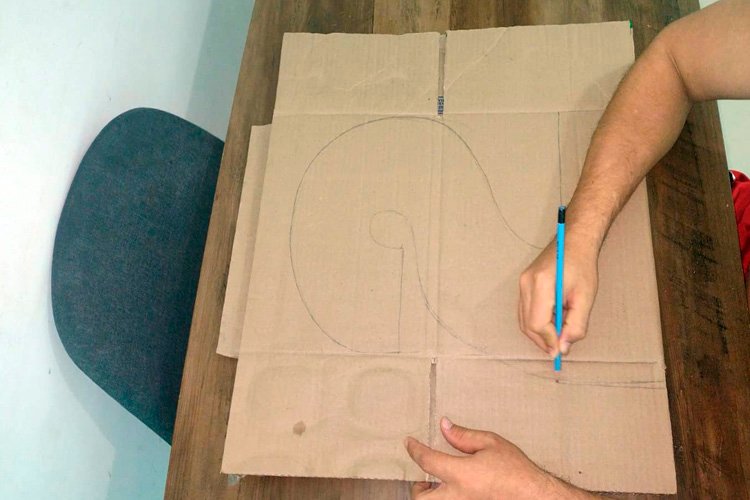
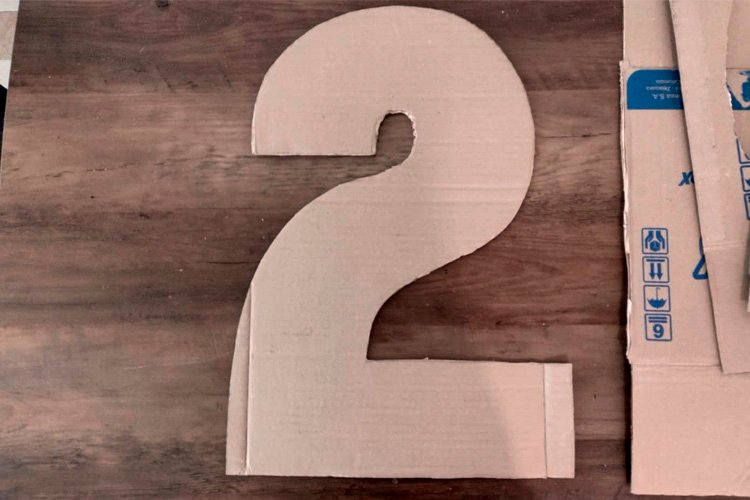
• Con el lápiz dibujamos el número dos (en mi caso la edad de mi bebé), pueden marcar el número que desee.
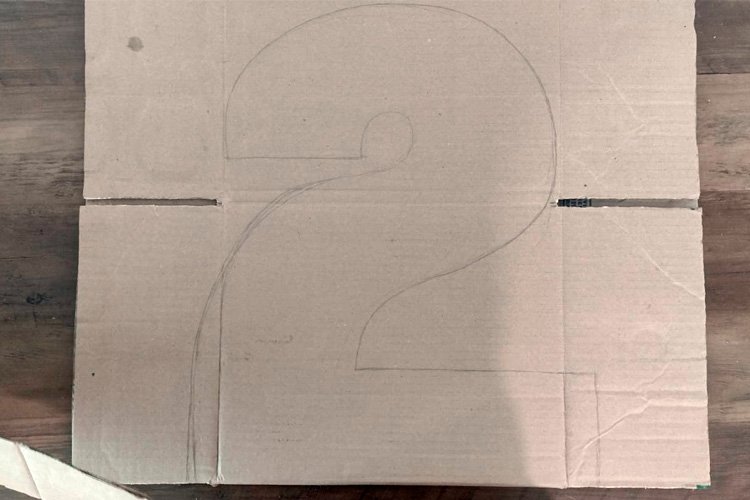
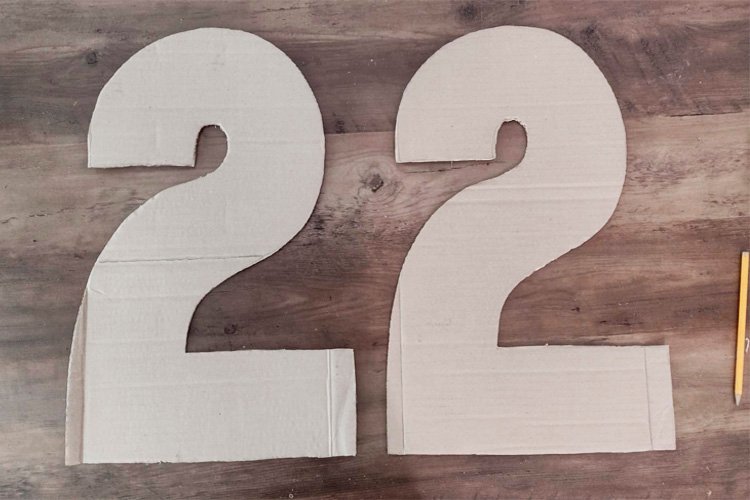
• Recortamos el número dos veces, para tener ambas caras.
• Con cartón adicional se recorta tiras de 8 cm para hacer el espesor del número. El número tiene 40 cm de altura.
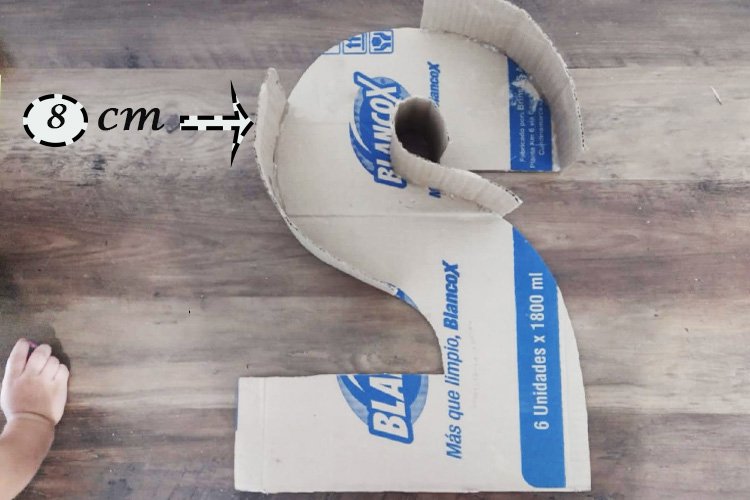
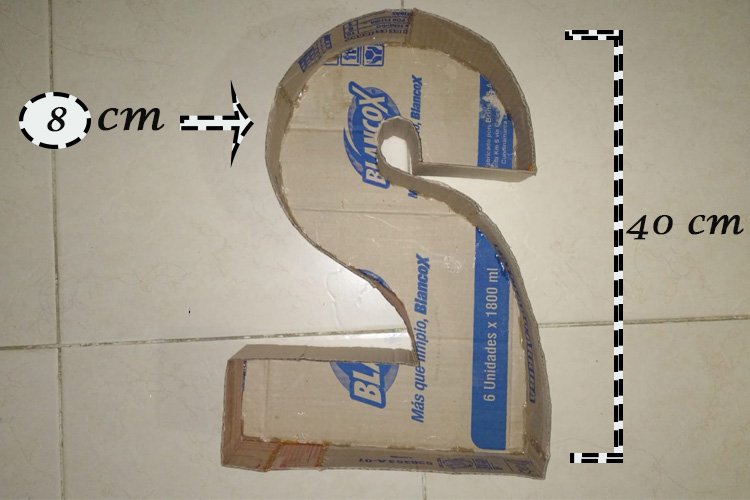
• Pegamos con silicón (preferiblemente caliente) las tiras de cartón alrededor de nuestro número de manera interna.
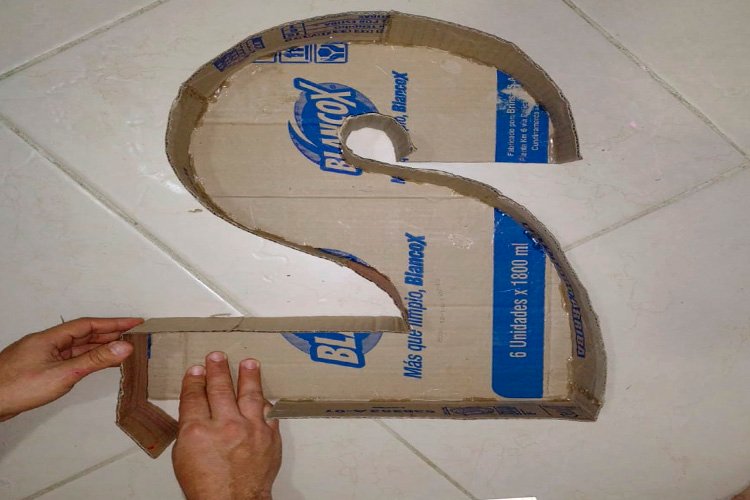
• Luego colocamos la otra cara inversa del número y sellamos con silicón por la parte externa.
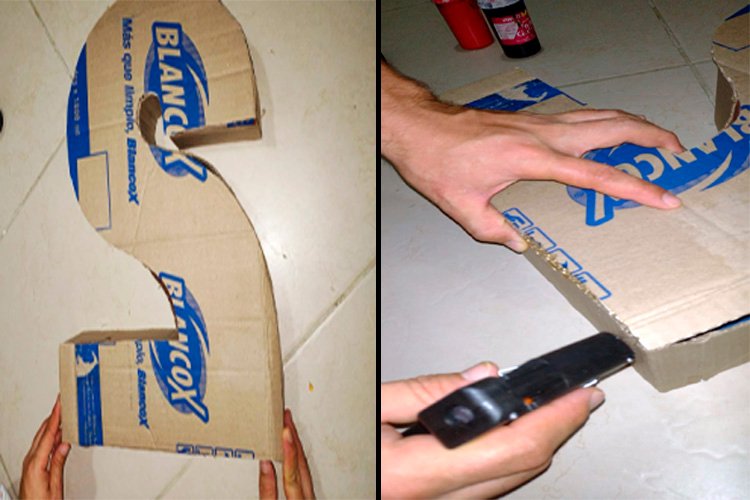
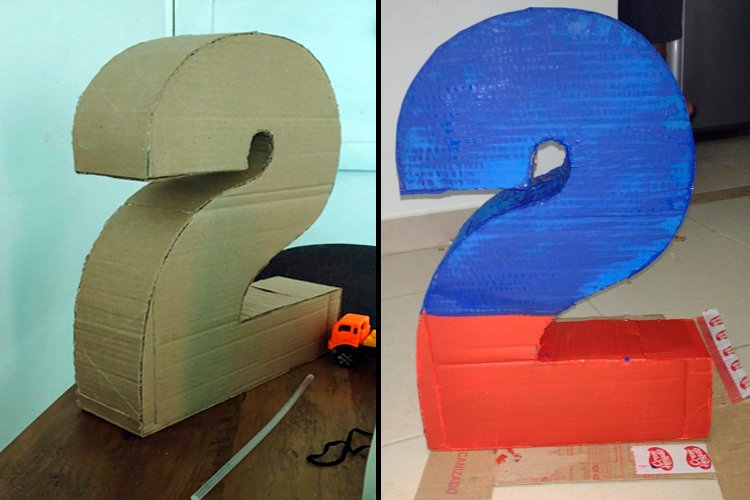
• Pintamos con colores de nuestra preferencia. (Azul y rojo por el motivo de cumpleaños). Retocamos con varias capas para un mejor acabado.
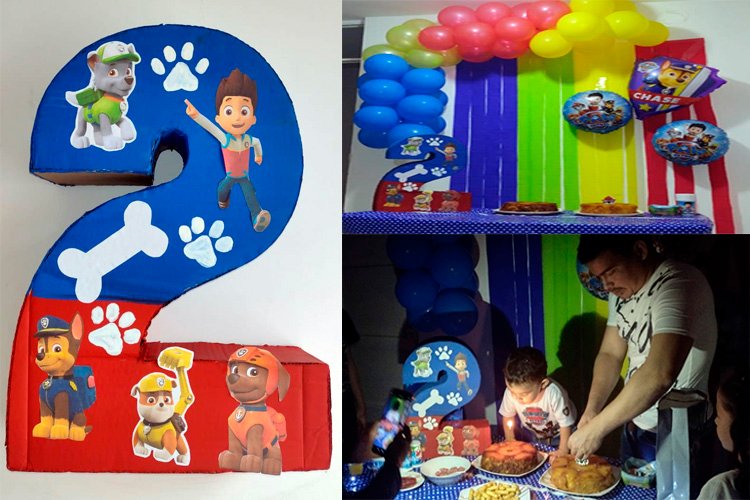
• Para culminar recortamos y pegamos el material impreso a nuestro número.
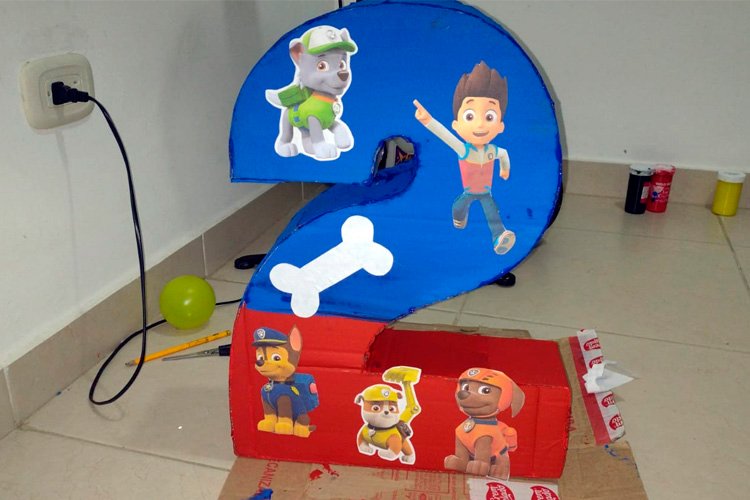
• Finalmente así quedo el número dos en cartón, lindo y económico para decorar el cumpleaños de mi bebé. Realmente fue de gran ayuda para mí hacer la decoración con materiales reciclados, ya que no gaste dinero para hacerlo. El cartón me lo regalaron en la tienda, las pinturas las tenía, y las impresiones una amiga me las saco en su casa. Solo hay que poner de nuestra parte para disponer de un tiempito, esforzarnos y realizarlo con el ingrediente secreto: el Amor.

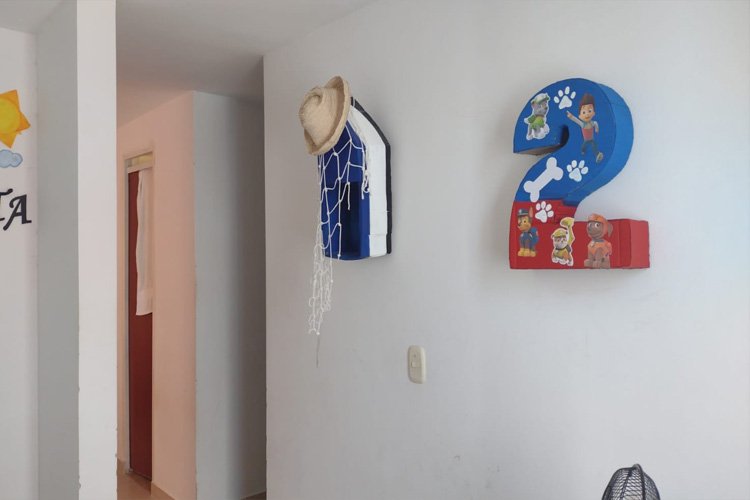
Después de la reunión o la fiesta, puedes conservar el número. Y en mi caso lo guinde con una puntilla en la pared del cuarto de mi bebé para decorarlo.
Gracias querida comunidad por brindarme un espacio, y poder compartir mis creaciones con ustedes. Espero que les haya Sido de su agrado. Espero seguir mejorando en mis publicaciones. Y agradecida siempre por el apoyo que me brindan en mi humilde trabajo. Felíz día

Materials:
•Paperboard
• Silicone
•Pencil
•Pair of scissors
•Paintings
•Printed drawings

• We disassemble a cardboard box to see what size we have to make our number.

• With the pencil we draw the number two (in my case the age of my baby), you can mark the number you want.


• We cut the number twice, to have both sides.


• With additional cardboard, cut 8 cm strips to make the thickness of the number. The number is 40 cm high.


• We paste with silicone (preferably hot) the cardboard strips around our number internally.

• Then we place the other reverse face of the number and seal with silicone on the outside.

• We paint with colors of our choice. (Blue and red for the birthday reason). We touch up with several layers for a better finish.

• To finish, we cut out and glue the printed material to our number.

• Finally, this is how the number two was left in cardboard, nice and cheap to decorate my baby's birthday. It was really a great help for me to make the decoration with recycled materials, since I did not spend money to do it. The cardboard was given to me at the store, I had the paintings, and a friend took the prints from me at her house. We just have to do our part to have a little time, make an effort and do it with the secret ingredient: Love.


After the meeting or party, you can keep the number. And in my case I hung it with a lace on the wall of my baby's room to decorate it.

Thank you dear community for giving me a space, and being able to share my creations with you. I hope they have been to your liking. I hope to continue improving in my publications. And always grateful for the support they give me in my humble work. Good day


Bienvenida. Uneté a nuestro Discord: https://discord.gg/tYENgKmTHA
Muchas Gracias por el apoyo