Happy and blessed Thursday Hive friends, a pleasure to greet you and wish you health and wellness, to continue enjoying life. For me it is a pleasure to share with you today a nice creativity, a pencil organizer very simple to make and with few materials.
Español:
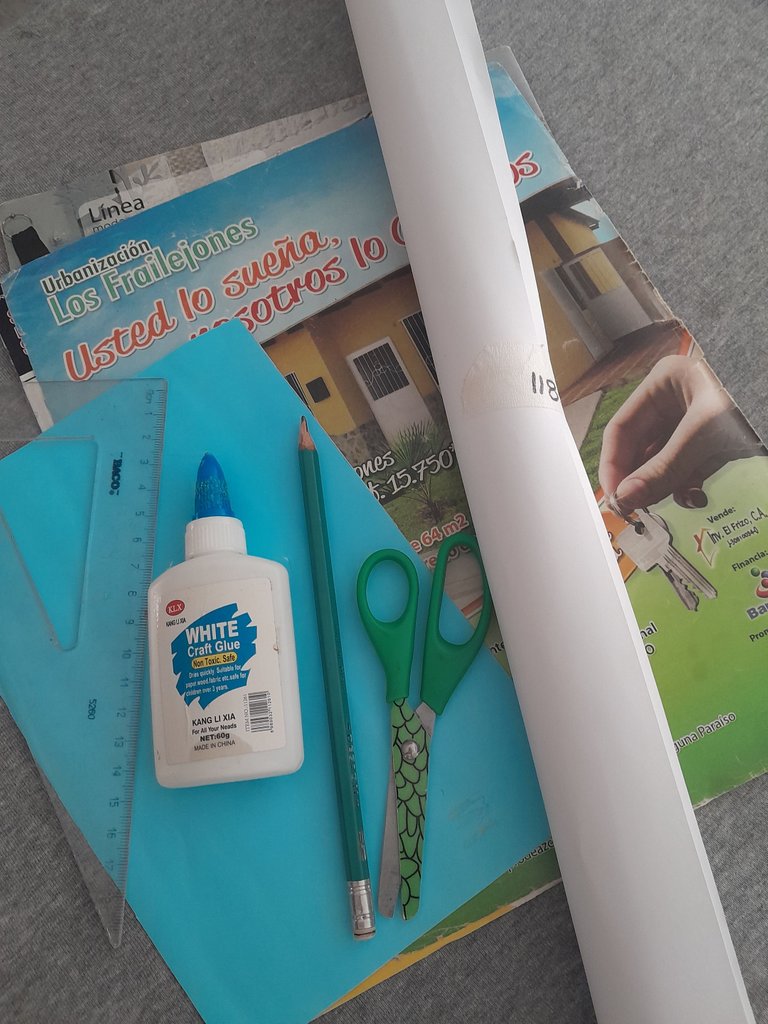
Materiales:
- Papel bond blanco.
- hojas de revistas viejas.
- Cartulina.
- Tijera.
- Lápiz.
- Regla.
- Pega.
English:
Materials:
- White bond paper.
- Old magazine pages.
- Cardboard.
- Scissors.
- Pencil.
- Ruler.
- Glue.

Español:
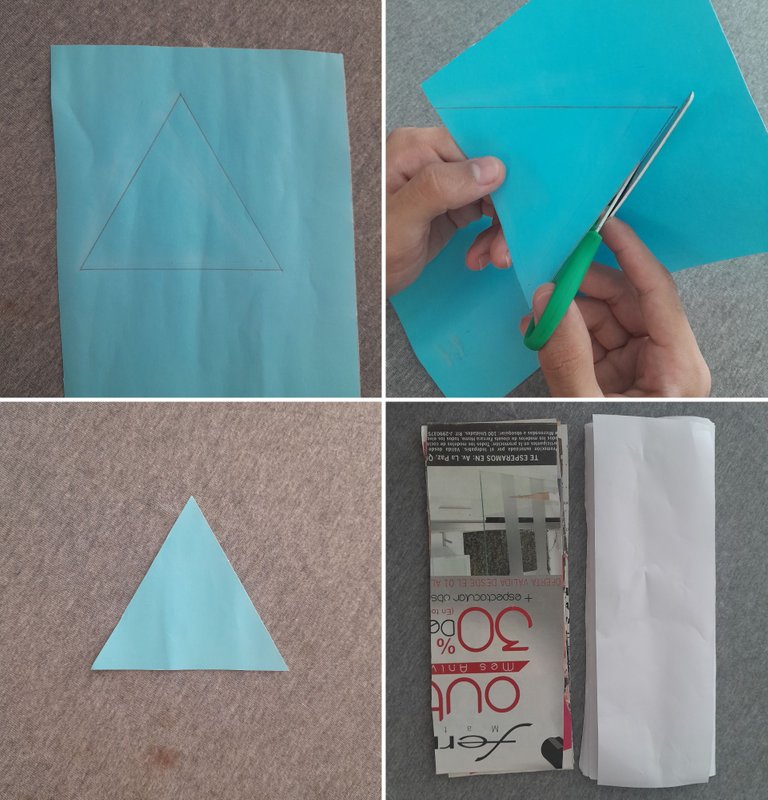
Paso 1:
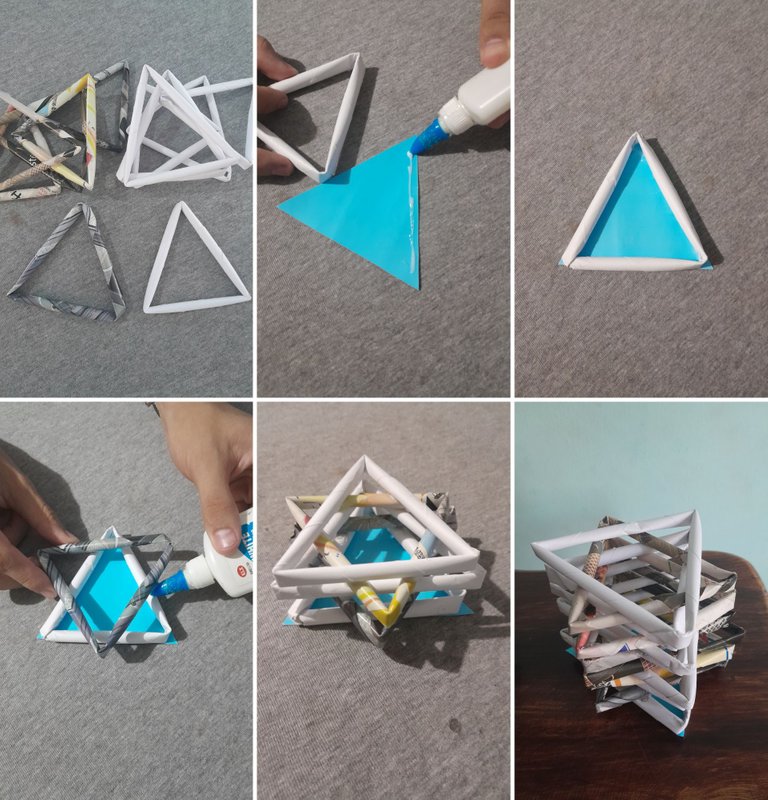
- Dibujo y recorto en la cartulina un triangulo de 10 cm cada lado , luego recorto 7 rectángulos de papel bond y 7 de revistas con una medida de 30 x 10 cm.
English:
Step 1:
- I draw and cut out a triangle of 10 cm on each side of the cardboard, then I cut out 7 rectangles from bond paper and 7 from magazines with a size of 30 x 10 cm.
Español:
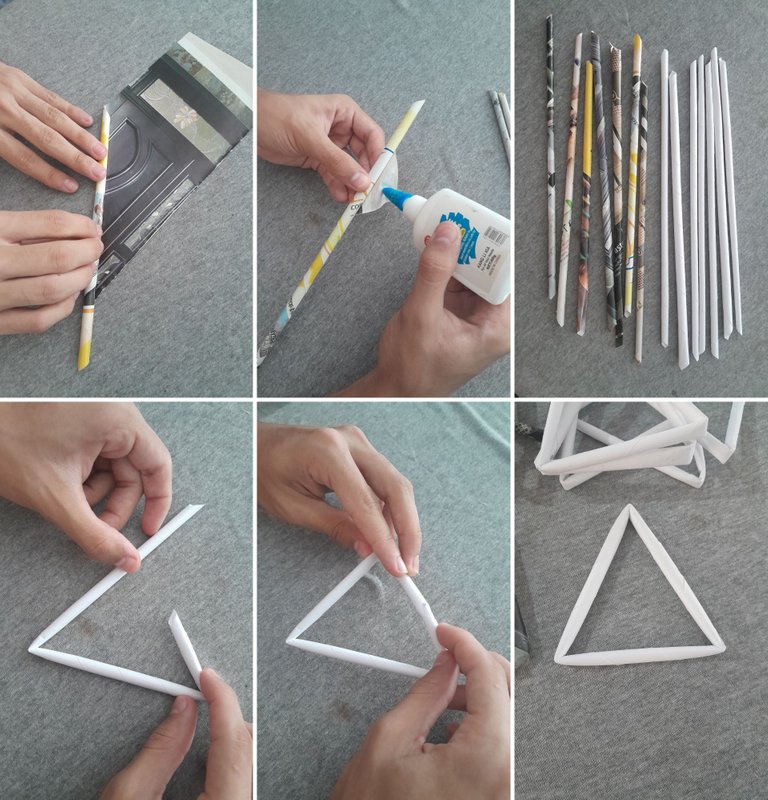
Paso 2:
- Con la ayuda de los dedos comienzo a enrollar los 14 rectángulos uno a uno, asi como lo muestro en la foto formando unos palitos aproximadamente de 30cm, cuando terminamos de enrollar pegamos con la pega al finalizar, luego doblamos los palillos de papel en forma de triangulo sellando las puntas con pega, tomando en cuenta que el triangulo debe quedar a 10 cm cada lado.
English:
Step 2:
- With the help of my fingers I begin to roll the 14 rectangles one by one, as I show in the photo forming sticks of approximately 30cm, when we finish rolling we glue them with the glue at the end, then we fold the paper sticks in the shape of a triangle sealing the ends with glue, taking into account that the triangle should be 10 cm on each side.
Español:
Paso 3:
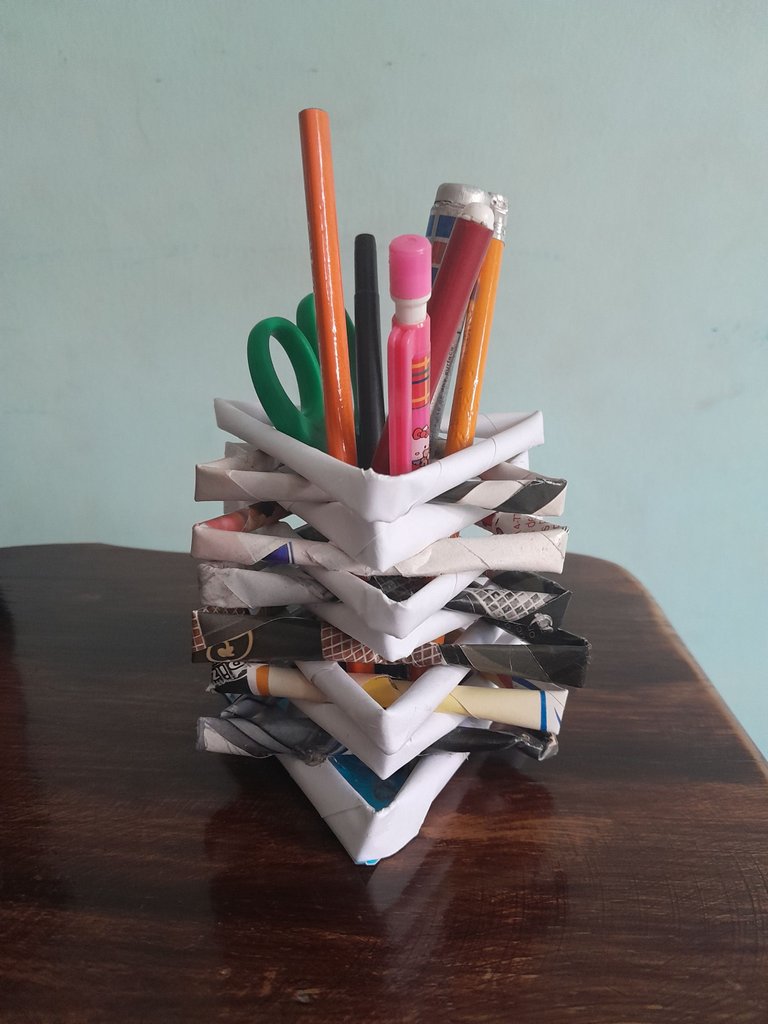
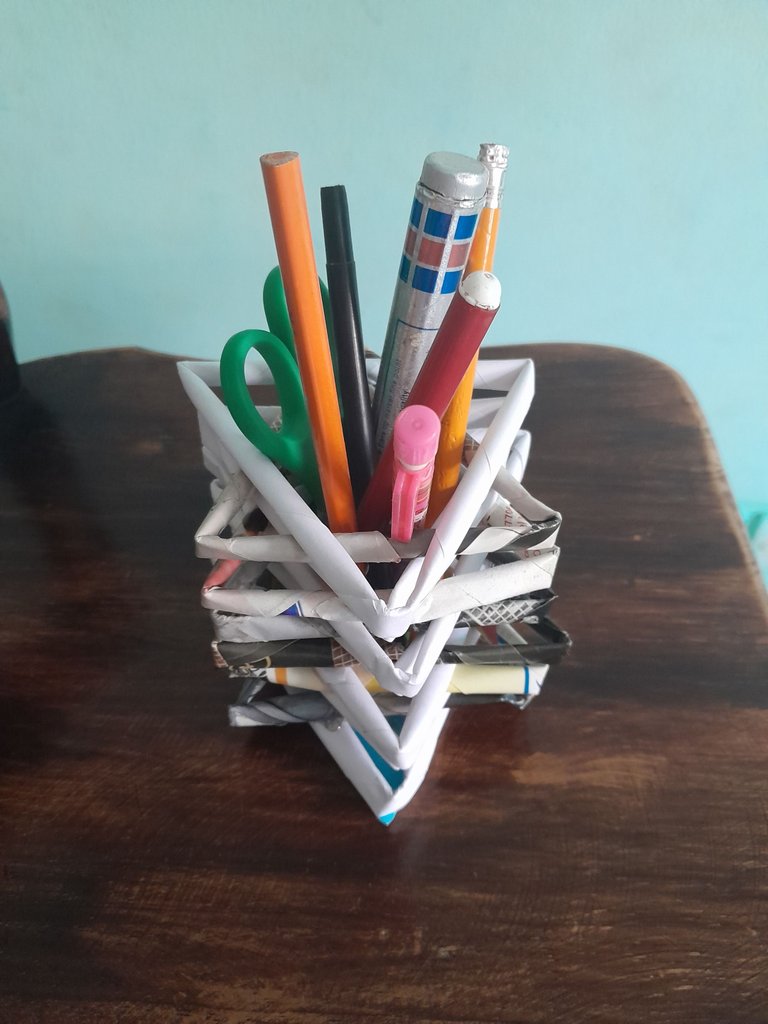
- Teniendo ya los triángulos de papel, procedo a pegar colocando pega por todo el borde del triángulo de cartulina y empiezo a colocar y pegar los triángulos de papel ya enrollado uno encima del otro en forma de estrella, así sucesivamente hasta pegar el ultimo triángulo, formando un lindo organizador de lapices.
English:
Step 3:
- Once I have the paper triangles, I proceed to glue by placing glue all around the edge of the cardboard triangle and start placing and gluing the paper triangles already rolled up one on top of the other in a star shape, and so on until the last triangle is glued, forming a nice pencil organizer.
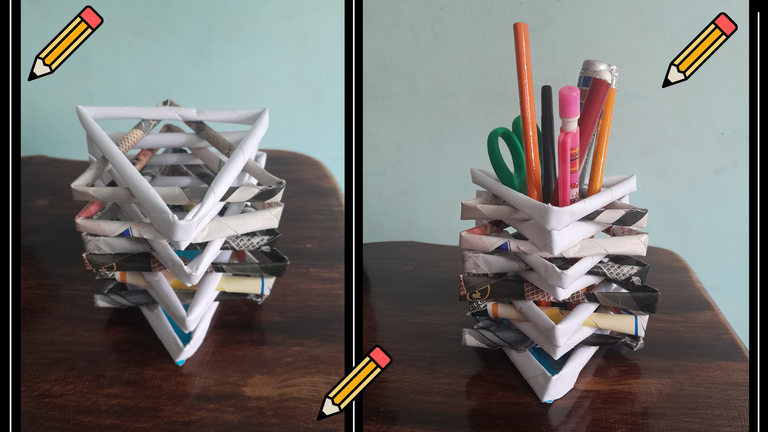
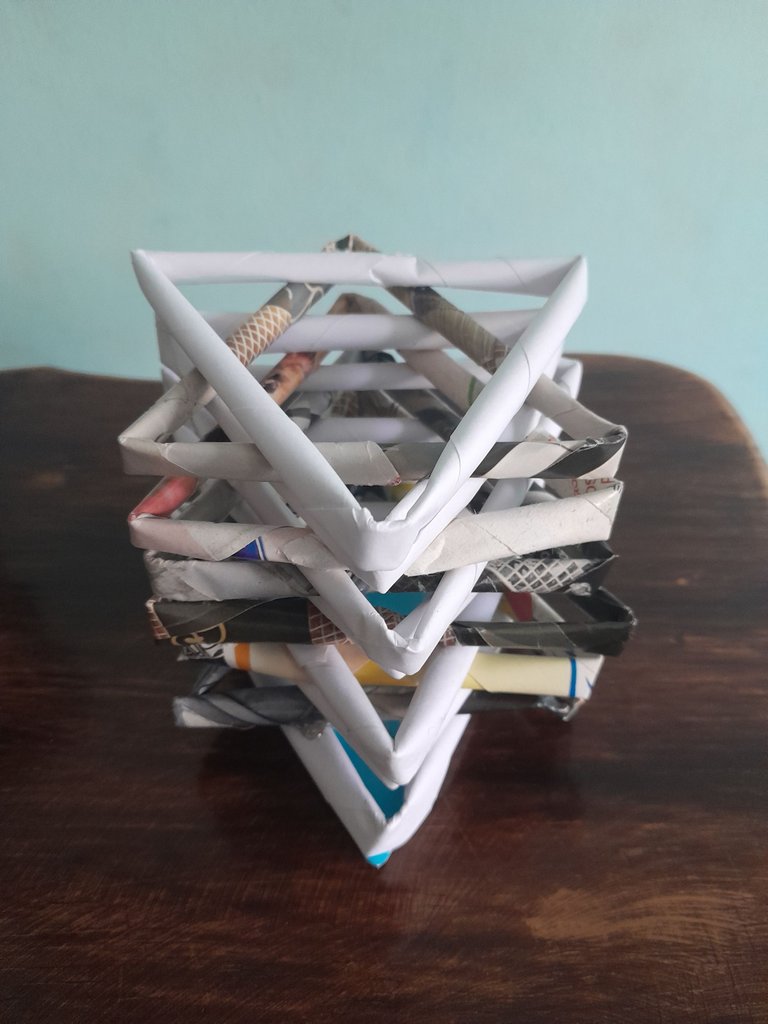
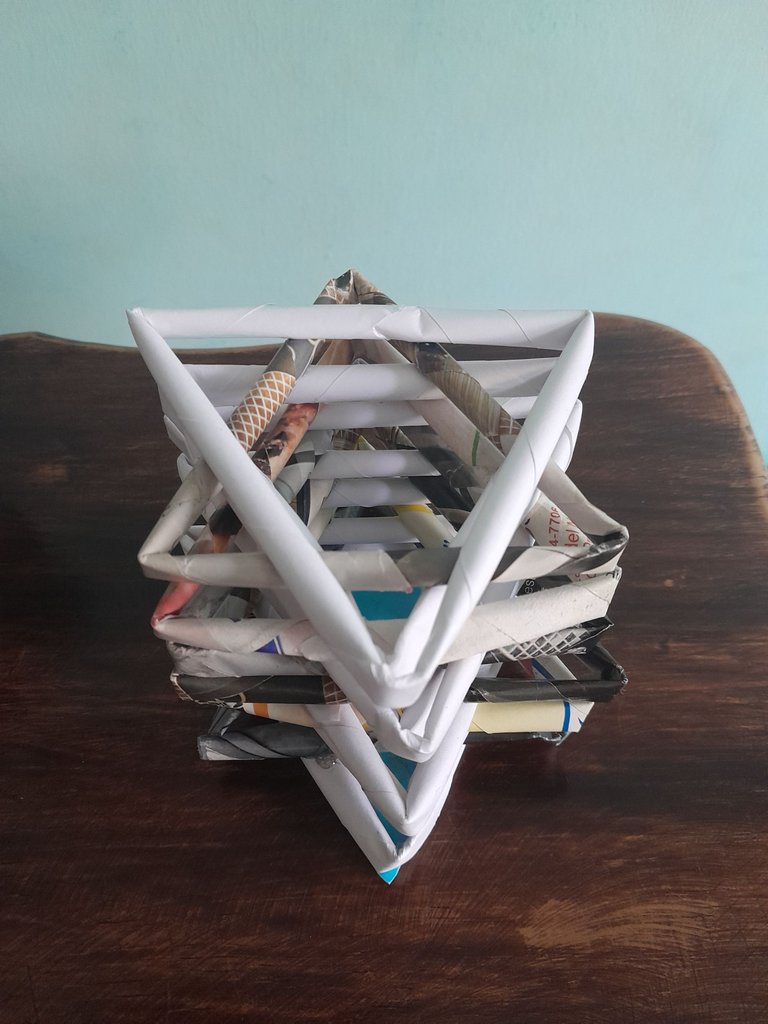
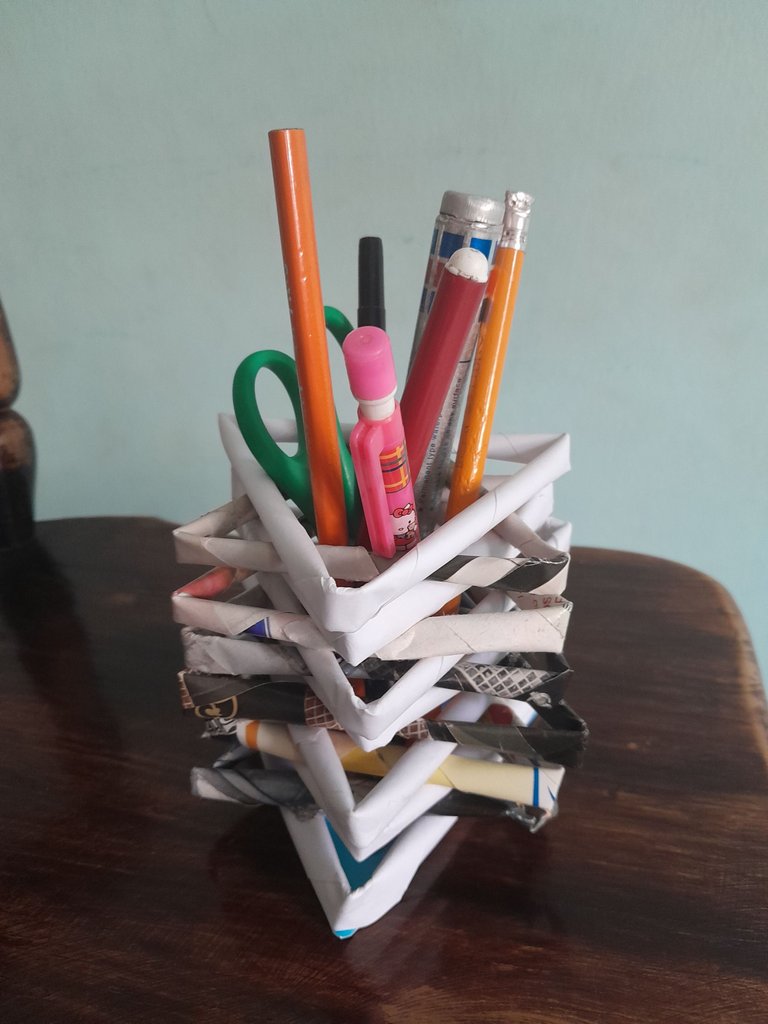
Este es mi resultado final, gracias por visitar mi blog.
This is my final result, thanks for visiting my blog.
Todas las fotos son de mi autoria y editadas con Canva.
Traductor: DeepL Traslate.
All photos are my own and edited with Canva. Translator: DeepL Traslate.
Traductor: DeepL Traslate.
All photos are my own and edited with Canva. Translator: DeepL Traslate.
Una idea creativa, práctica y útil para mantener el escritorio ordenado, gracias por compartir el paso a paso!
Gracias amiga @leticiapereira por comentar, saludos.
I know this technique, I used to make similar things and I loved it. Your pencil holder looks better though :)
Also, I see you're not commenting often. You may want to work on that as engagement on Hive is key. It can bring you followers and votes too. I hope I can count on you :)
Thanks for your nice comment, I will take it into account, greetings happy day.
Yay! 🤗
Your content has been boosted with Ecency Points
Use Ecency daily to boost your growth on platform!
Support Ecency
Vote for new Proposal
Delegate HP and earn more, by @hive-130560.