# EN ESPAÑOL
Hola colmena @HiveDiy, Dios les bendiga, Hoy quiero mostrarles la elaboración de una cajita que les servirá para regalar un lindo detalle, es muy fácil de elaborar, ya tengo la que voy a usar armada, así que les muestro su elaboración con una plantilla de este modelo de caja, comencemos.
Materiales:
1 cartulina del color de tu preferencia
Plantilla para elaborar la caja
papel de seda de 30x30 cm del color de tu preferencia
golosinas
Silicon
Un globo de nuestra preferencia o según el motivo
Paso a Paso:
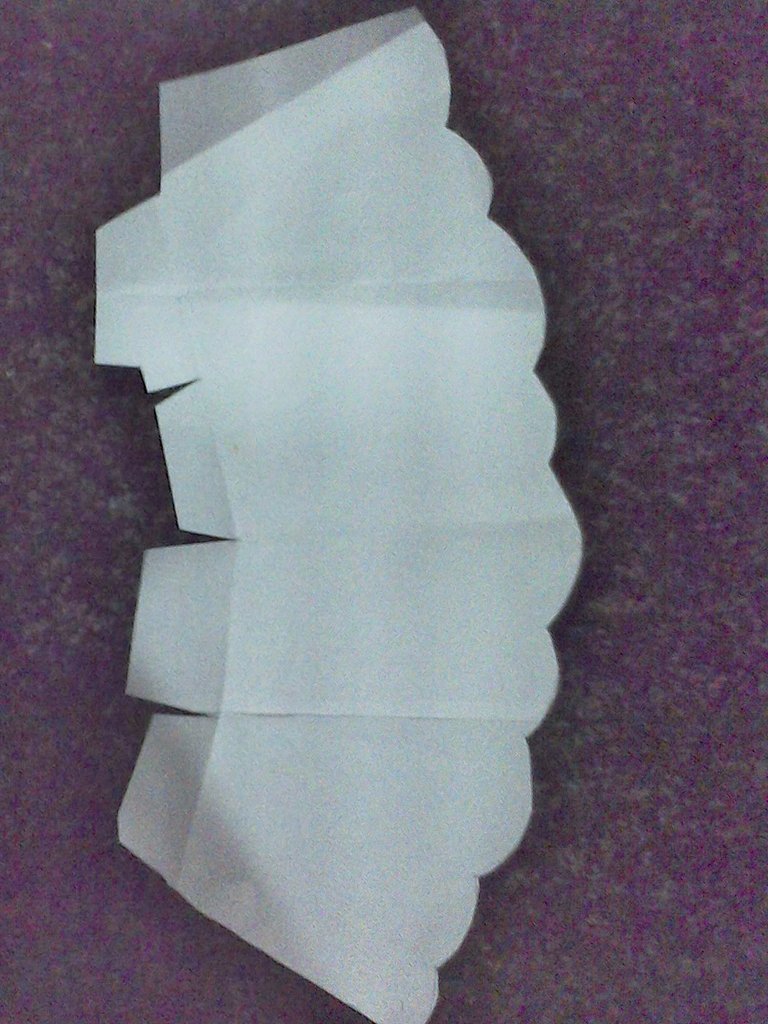
Esta es la plantilla para la caja, luego de que la hayas hecho y recortado se doblan todas las pestañas hacia la cara que quedará por dentro así:

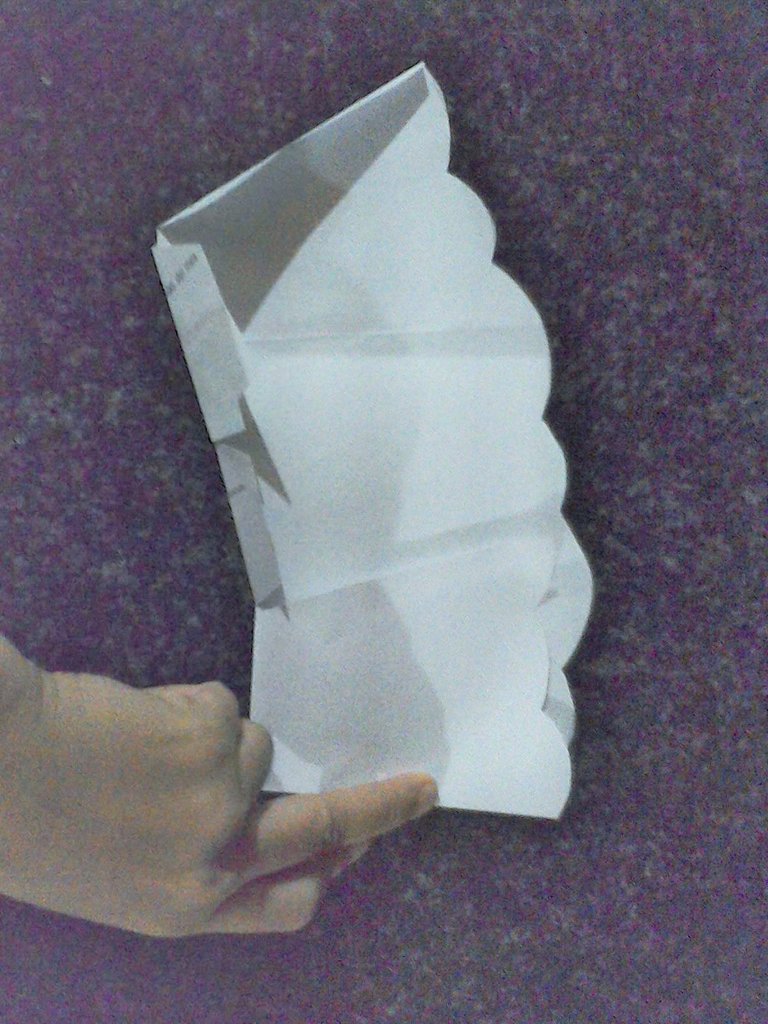
Y comenzamos a cerrar nuestra cajita haciendo un dobles en cada esquina donde vaya a doblar para cerrarla y de una vez pegando las pestañas que quedarán en la parte inferior
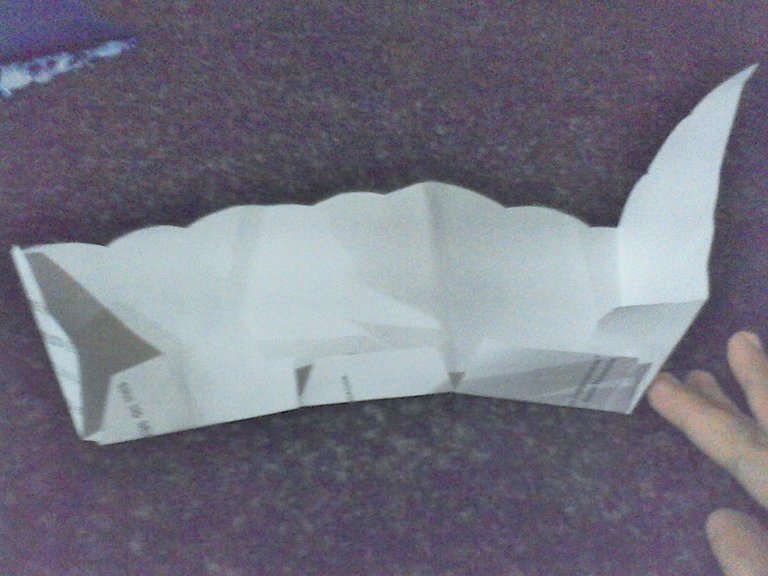
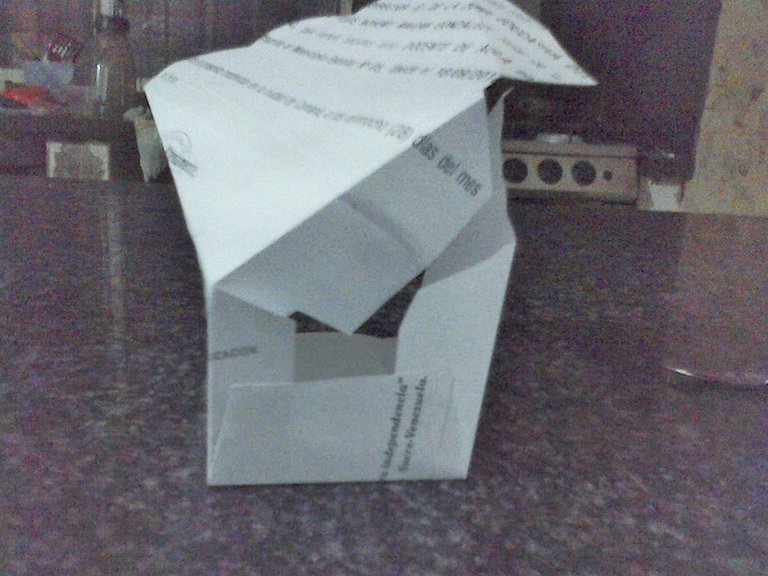
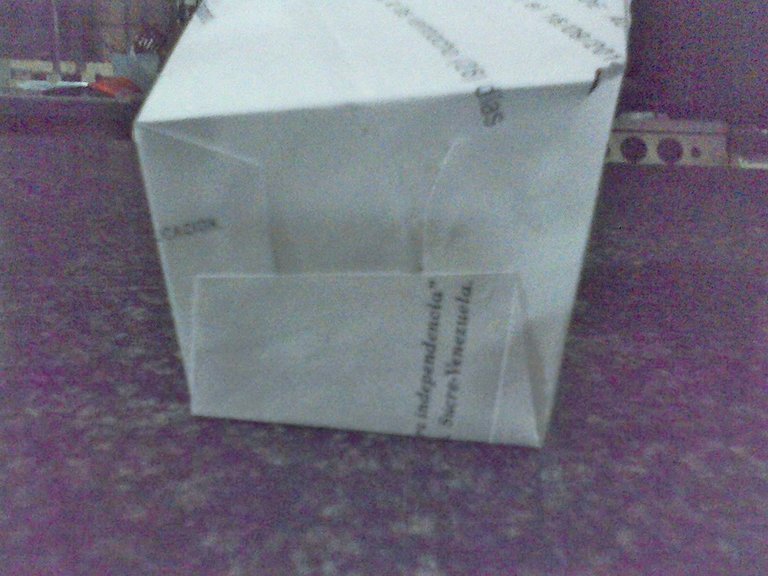
Y así quedará nuestra cajita
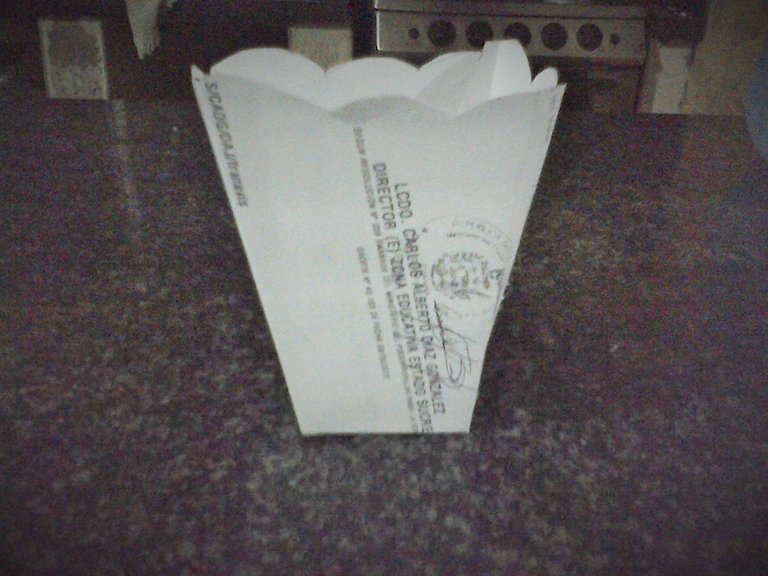
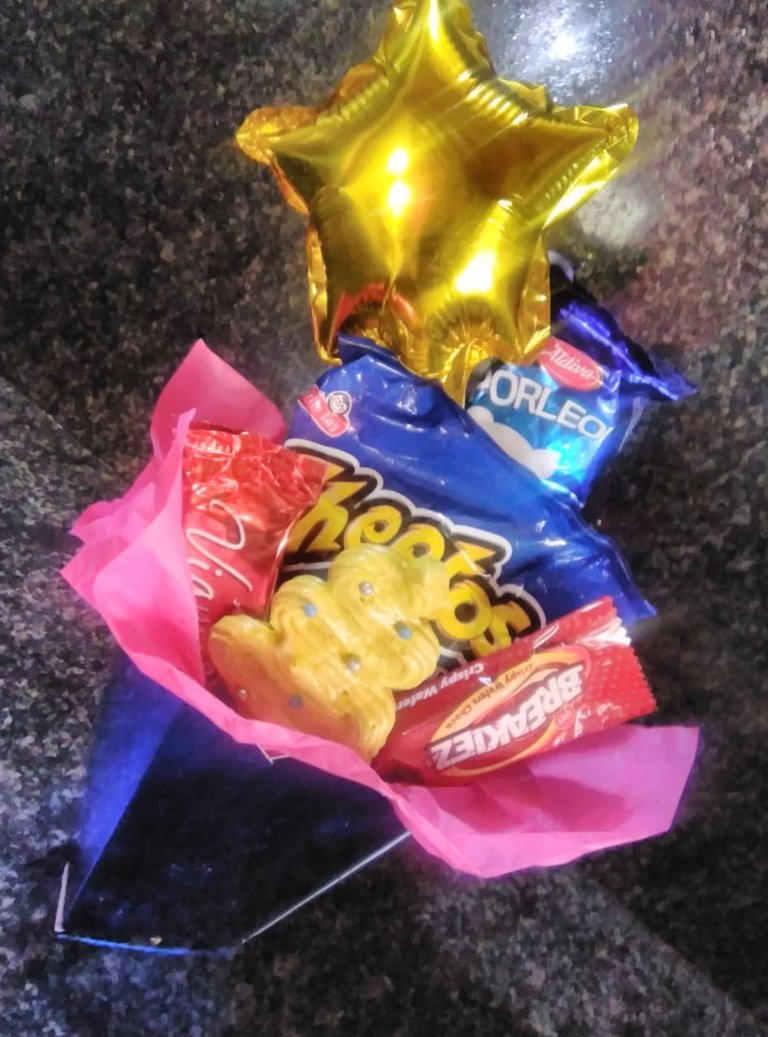
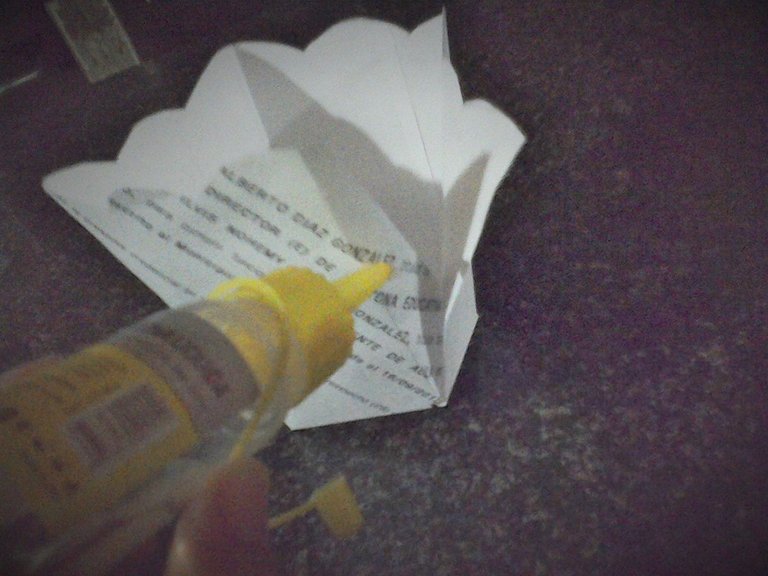
Aqui la que tengo ya lista en la cartulina color azul comenzamos a llenarla, le colocamos el papel de seda por dentro de forma que queden las puntas hacia arriba

Le colocamos los dulces y por último el globo
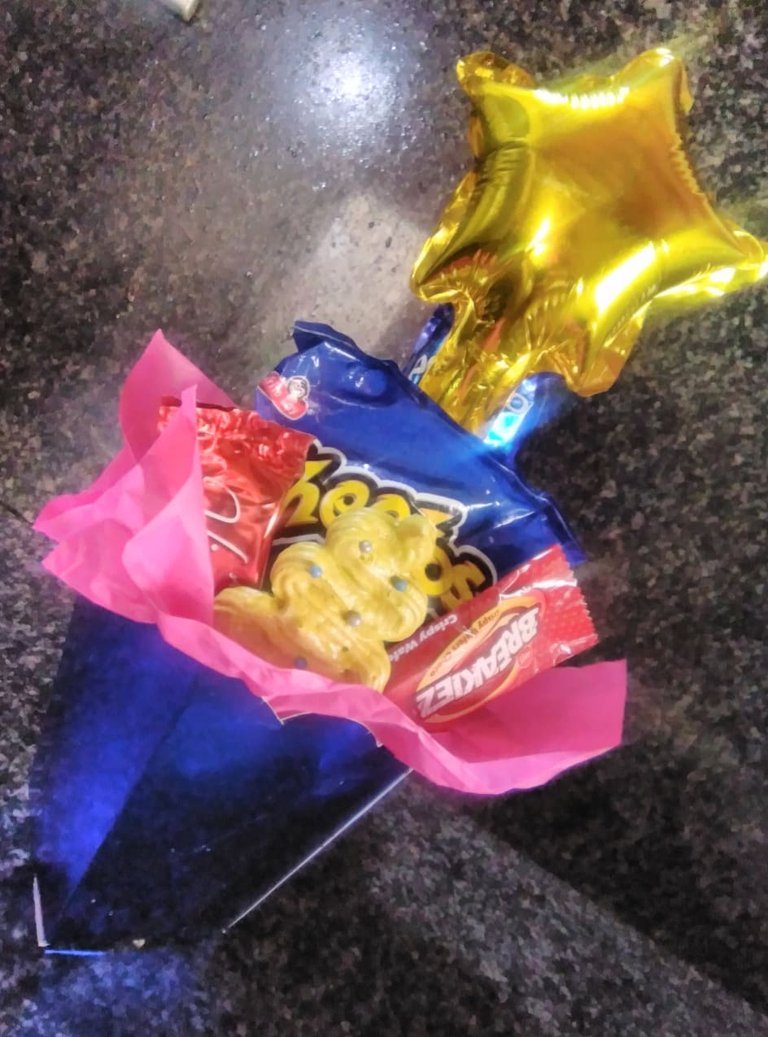
Asi queda nuestra cajita de detalle sorpresa para regalar en cualquier ocación. Muchas bendiciones, espero les haya gustado, gracias por leer.
Todas las fotos en este blog son de mi autoria. Traduccion al ingles hecha con DeepL.
IN
Hello hive @HiveDiy, God bless you, Today I want to show you the elaboration of a little box that will serve you to give a nice detail, it is very easy to elaborate, I already have the one that I will use armed, so I show you its elaboration with a template of this box model, let's start.
Materials:
1 cardboard of the color of your choice
Template to make the box
30x30 cm tissue paper of the color of your choice
golosinas
Silicon
Un globo de nuestra preferencia o según el motivo
Step by step:
This is the template for the box, after you have made and cut it out you fold all the tabs towards the face that will be inside like this:
And we begin to close our little box making a double in each corner where it will be folded to close it and at once gluing the tabs that will remain at the bottom.
And this is how our box will look like this
Here the one I have ready in the blue cardboard, we begin to fill it, we place the tissue paper inside so that the ends are facing upwards.
We place the candies and finally the balloon.
This is how our little surprise gift box looks like for any occasion. Many blessings, I hope you liked it, thanks for reading.
All the pictures in this blog are my authorship. English translation made with DeepL.