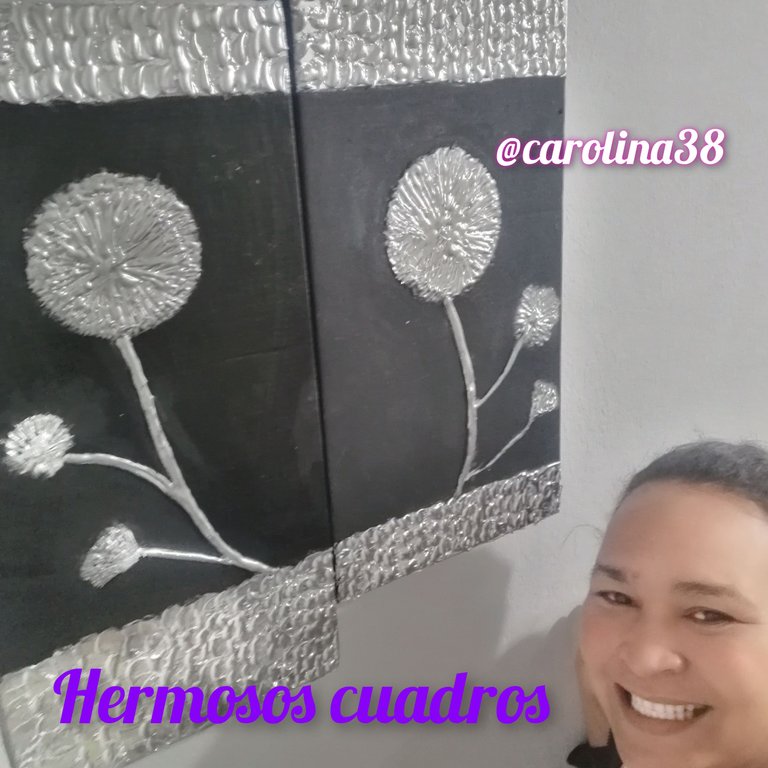
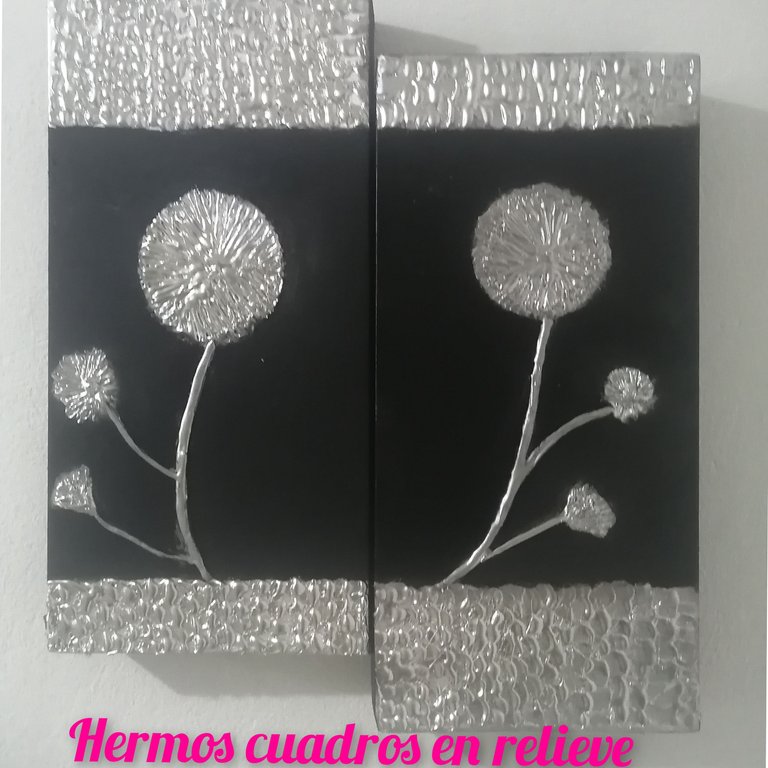
Buenos dias hermosa comunidad de hive diy dios me los bendiga, hoy vengo con la elaboración de unos lindos y hermosos cuadros en relieve hechos con material reciclado que puede utilizarse para embellecer nuestro hogar o habitaciones,tambien son ideales para regalar a personas especiales o familiares espero y les guste y puedan hacer.
Buscando en distintas paguinas encontre un trabajo en relieve que me gusto mucho pues no se me habia ocurrido que partiendo de una pistola de silicon podiamos hacer hermosos relieves en caton y en distintas superficies que te ayudaran a realizar hermosas creaciones,pensando en eso tome la idea y todavia me quedaban 2 cajas de las que utilizado en mi elaboracion anterior, pero no se preocupen si no tien ese tipo de cajas en un proximo post les mostrare como hacer con carton de caja y con carton 2 en kilo espero y les guste.
Good morning beautiful community of hive diy god bless me, today I come with the development of a cute and beautiful embossed pictures made with recycled material that can be used to beautify our home or rooms, they are also ideal for gifts to special people or family I hope you like it and can do.
Looking in different pages I found a work in relief that I liked a lot because I had not occurred to me that starting from a silicone gun could make beautiful reliefs in caton and on different surfaces that will help you make beautiful creations, thinking about that I took the idea and I still had 2 boxes that I used in my previous elaboration, but do not worry if you do not have such boxes in a future post I will show you how to do with cardboard box and cardboard 2 in kilo I hope you like it.
<\div>
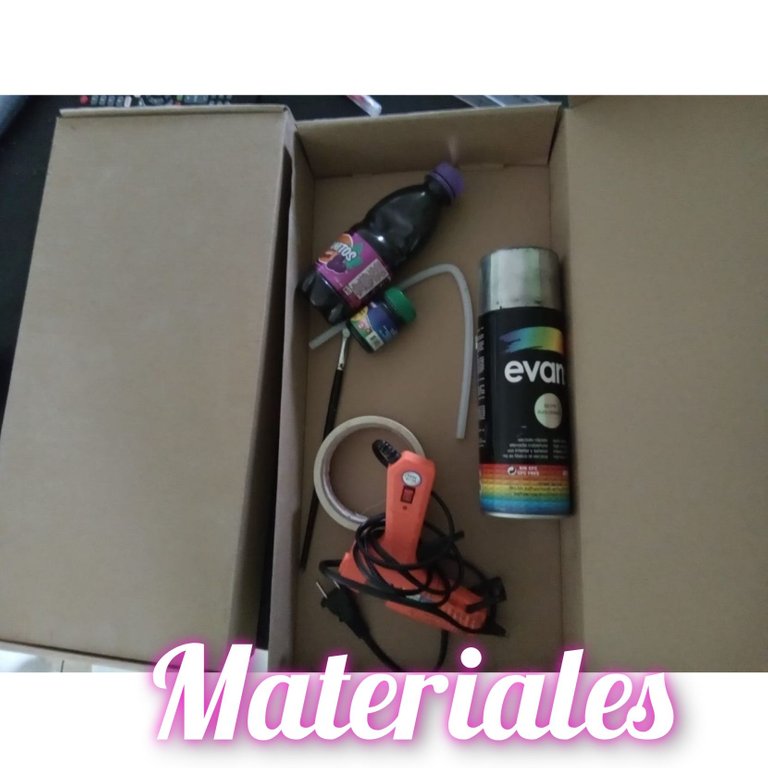
Materiales
_ pistola de silicon
_ 1 cuchara
_ patrones de círculo
_ pintura acrilica color negro
_ espray plateado
_ cajas de griferias vacias
_ mastic, o tirro
Materials
_ silicone gun
_ 1 spoon
_ circle patterns
_ black acrylic paint
_ silver spray
_ empty faucet boxes
_ mastic, or tyro
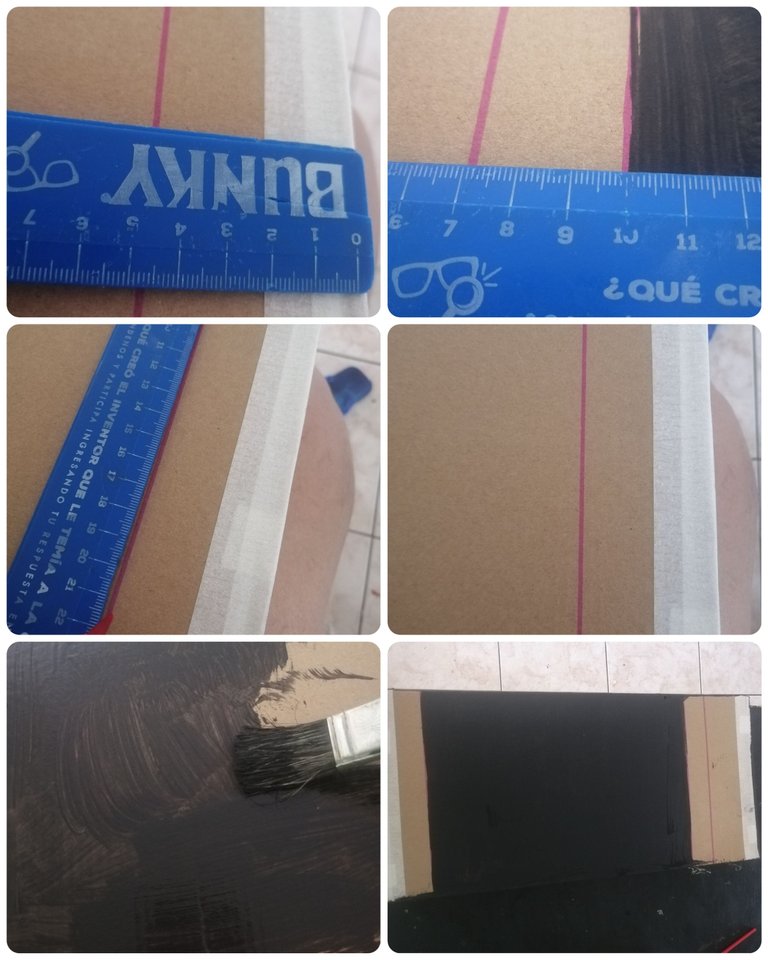
lo primero que haremos sera tomar las cajas y con el tirro sellamos las aberturas de los bordes y luego con la ayuda de una regla marcamos una linea en la parte superior de 10 cm y en la parte iferior marcamos una linea de 5cm con una brocha y con pintura negra pintamos las cajas en el centr y las dejamos secar.
the first thing we will do is to take the boxes and seal the openings of the edges with the strap and then with the help of a ruler we mark a line on the top of 10 cm and on the bottom we mark a line of 5cm with a brush and with black paint we paint the boxes in the center and let them dry.
despues de secos, tomamos las cajaa pintadas, la primera le marcamos un circulo de 10cm dejando una separación de 3cm de la linea de 10cm anteriormente marcada, la otra cala le hacemos lo mismo pero esta vez el circulo se hace en la parte de los 5 cm esto es para que al guindarlos se vean de forma lineal aun cuande esten uno mas alto que el otro.
After drying, we take the painted boxes, the first one we mark a circle of 10cm leaving a separation of 3cm from the line of 10cm previously marked, the other cove we do the same but this time the circle is made in the part of the 5cm this is so that when hanging them are seen in a linear way even when they are one higher than the other.
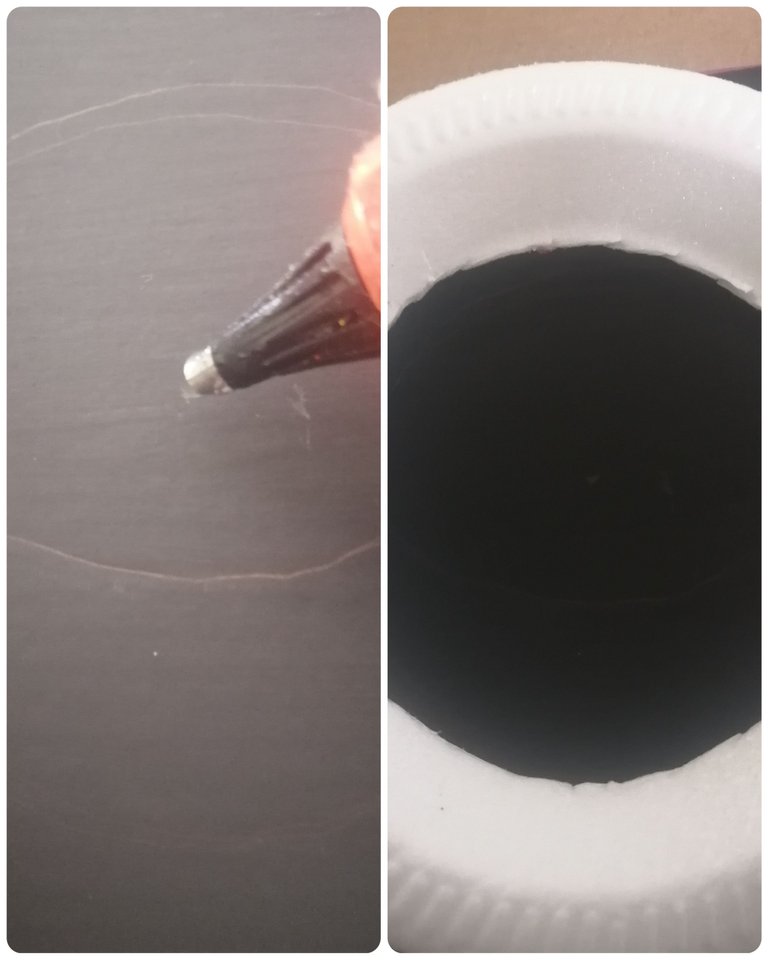
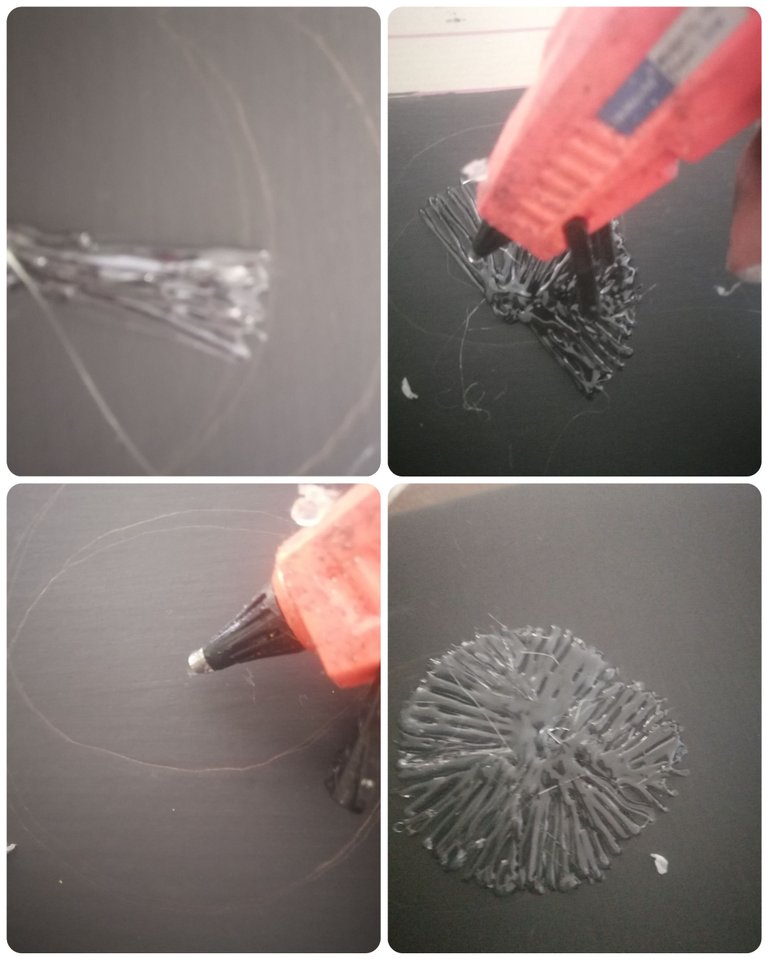
ahora partiendo del centro del circulo tomamos la pistola de silicon y hacemos linias desdebel centro hacia las puntas por todo el circulo.
Now starting from the center of the circle we take the silicone gun and make lines from the center to the tips all around the circle.
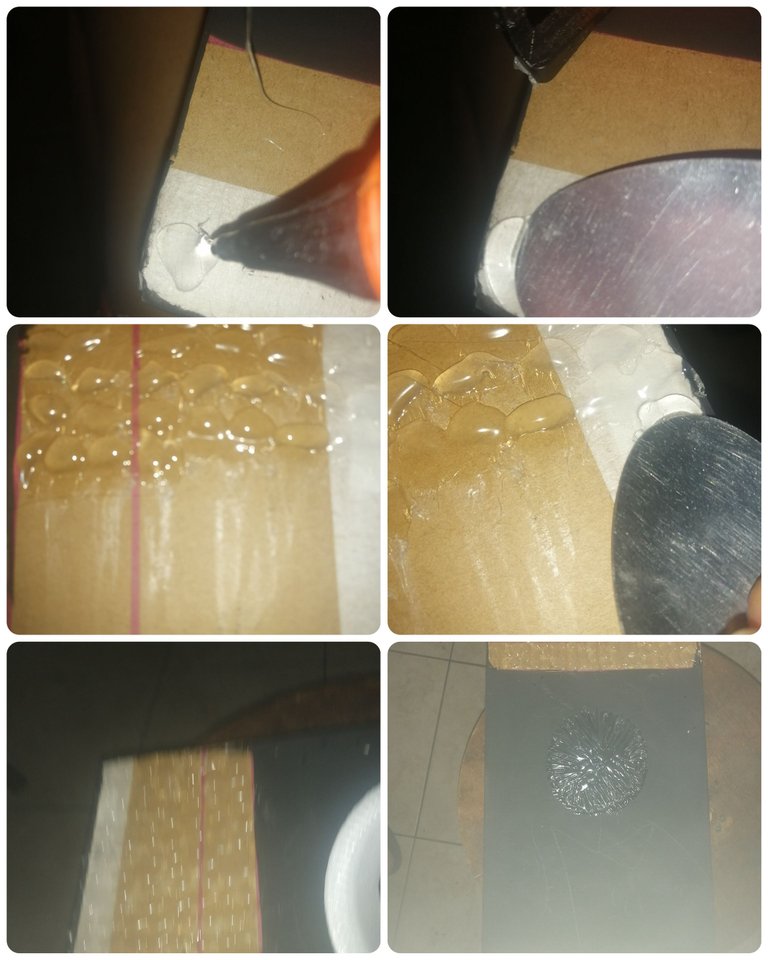
Ahora tomamos los espacios marcados de 10cm y 5cm, con ayuda de la pistola de silicon y la cuchara, colocamos gotas de silicon y la desplazamos hacia abajo con la cuchara poco apoco por todo los cuadros marcados con anterioridad.
Now we take the marked spaces of 10cm and 5cm, with the help of the silicone gun and the spoon, we put drops of silicone and move it down with the spoon little by little all over the previously marked squares.
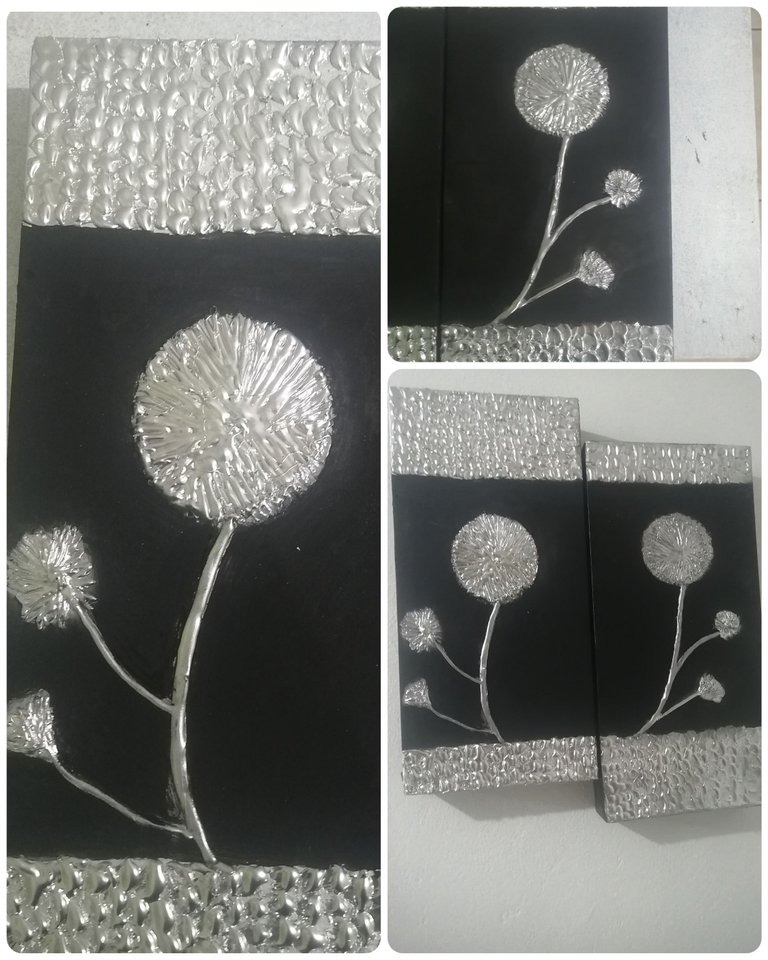
por ultimo tomamos una hoja y le hacemos y re ortamos un circulo de 10cm lo colocamos sobre el ccircculo antes realizado y luego con el espray plateado pintamos y luego ponemos la oja en los laterales y pintamos tambien con el espray. Despues le hamos lineas y formamos flores y los pintamos.
Con la pintura negra y un pincel borramos poco a poco las marcas de esprai que quedaron sobre la mism, para hacer un trabajo limpio y bonito.
Finally we take a leaf and we make and re ortamos a circle of 10cm we place it on the circle before made and then with the silver spray paint and then we put the eye on the sides and paint also with the spray. Then we make lines and form flowers and paint them.
With the black paint and a brush we erase little by little the marks of sprai that were left on the same, to make a clean and beautiful work.
Gracias por leer mis publicaciones dios me los bendiga hasta una próxima ocasiónespero y les guste
Esta manualidades e ideas son realizadas con ayuda de tutoriales vistos en la página de printeres pero no son totalmente iguales ya que los realizo a mi gusto.
Thank you for reading my publications God bless you until next timeI hope you like it.
These crafts and ideas are made with the help of tutorials seen in the printeres page but they are not totally the same since I make them to my taste.
This is beautiful thanks for sharing
Thank you
You’re welcome @carolina38
!PIZZA !LUV
@carolina38, @themyscira(1/1) sent you LUV. wallet | market | tools | discord | community | <>< daily
PIZZA Holders sent $PIZZA tips in this post's comments:
@themyscira(1/5) tipped @carolina38 (x1)
Please vote for pizza.witness!
Me encantan tus cuadros, porque de un material que puede convertirse en basura, logras darle un hermoso uso y por supuesto quien más gana es nuestro planeta. Mis felicitaciones!