Hola familia creativa! Un saludo a todos, espero este día sea próspero y sin dificultades.
Hoy vengo a compartir con ustedes una creación para para los besitos se trata de un bucherito o pañal de tela , ideal para secar la babita del bebé en una presentación muy cómoda de utilizar, además de que se ve más delicado a la hora de utilizarlo.
Realizar este tipo de costura me inspiró cuando iba a tener a mis hijos, uno siempre cuando está en esta etapa de embarazo por ejemplo a mi me gustaba crear lo que necesitaba para la llegada de ese bebé.
Por eso no dude en compartirlo con ustedes, es ideal para regalar en un baby shawer porque sería un regalo además de bonito económico porque se utilizan pocos materiales
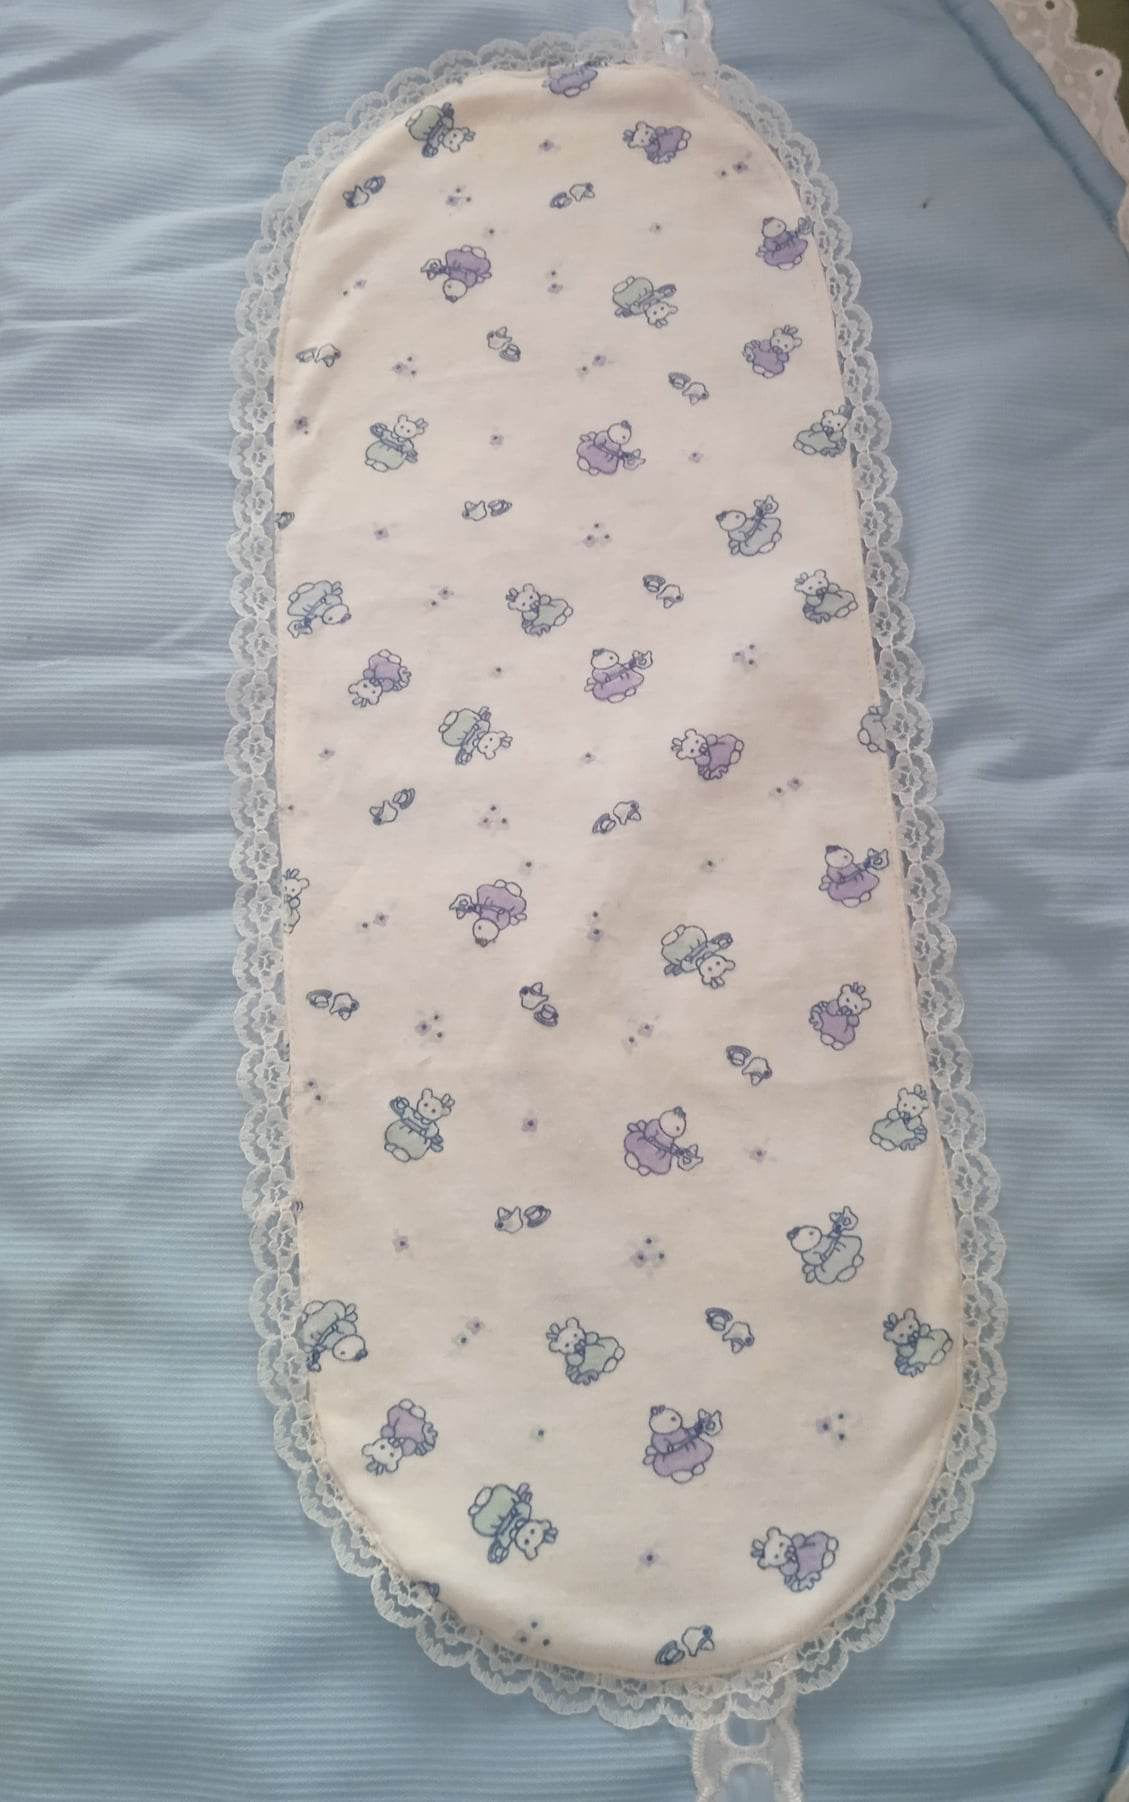
✍️Materiales para está confección
- Patrón realizado en cartón
- Tijera
- Tela de algodón
- Cinta
- Máquina de coser
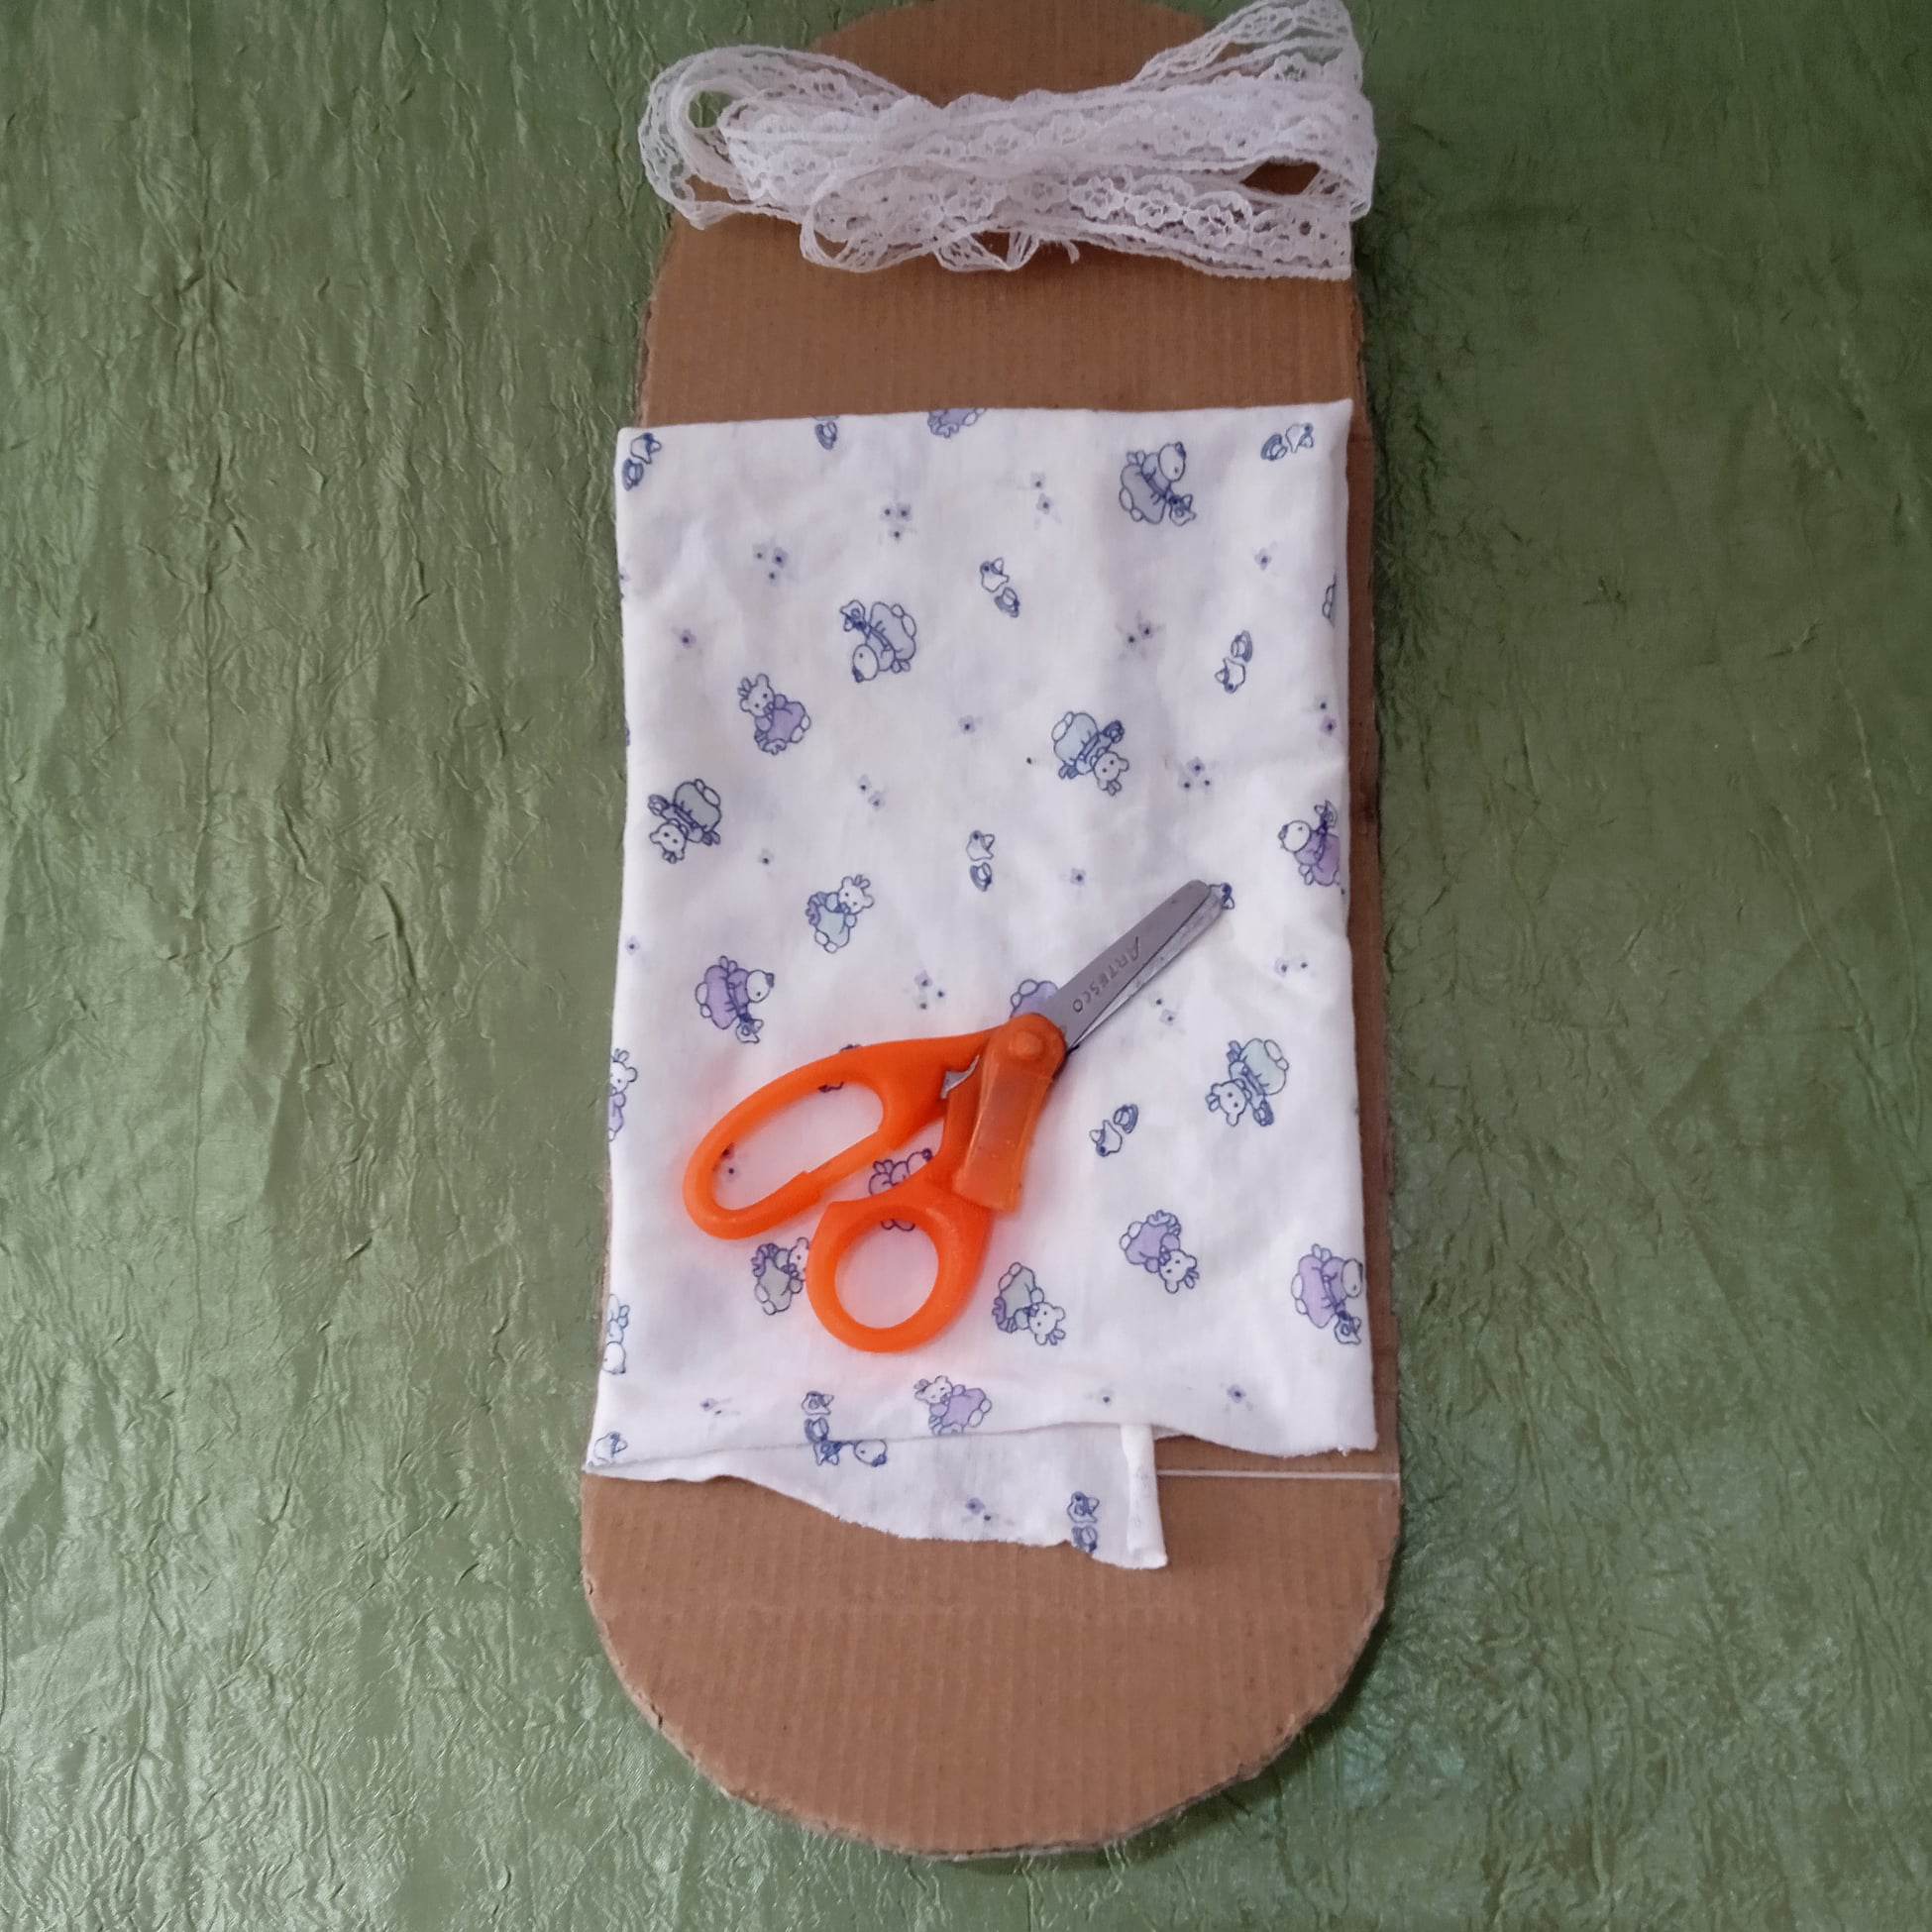
✍️Primer paso
Para realizar este bucherito o pañal escogí una tela de algodón con un estampado de muñequitos muy tiernos, la cuál coloque la tela al dobles para luego colocar encima el patrón que realice en cartón con una forma rectangular y ovalada a los lados, para continuar después marcando el patrón en la tela.
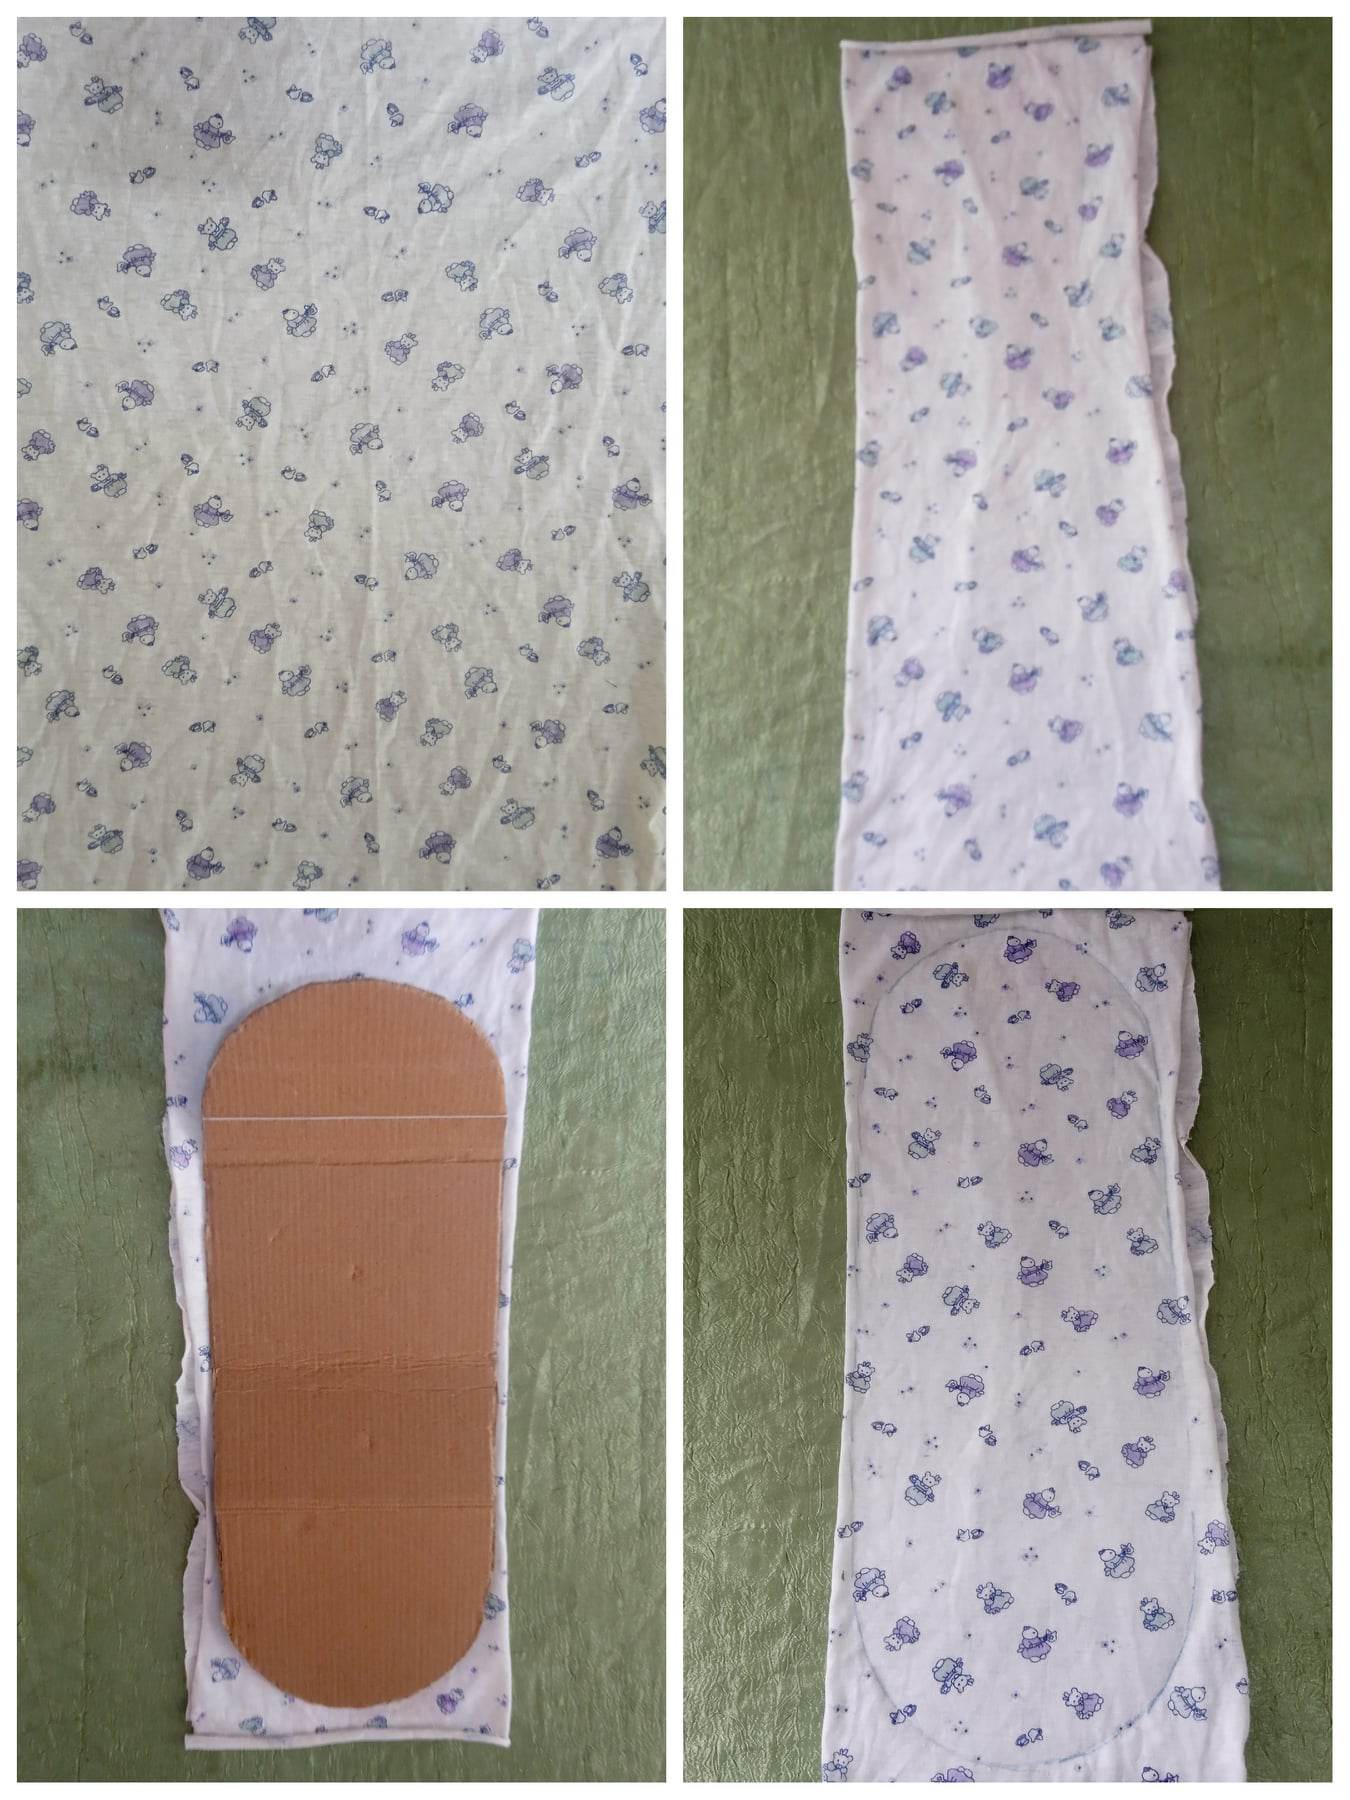
✍️Segundo paso
Continuamos y lo que hacemos es cortar la tela que ya hemos marcado y así obtenemos dos piezas iguales, luego con la cinta lo que hacemos es colocarla alrededor por la orilla de la tela.
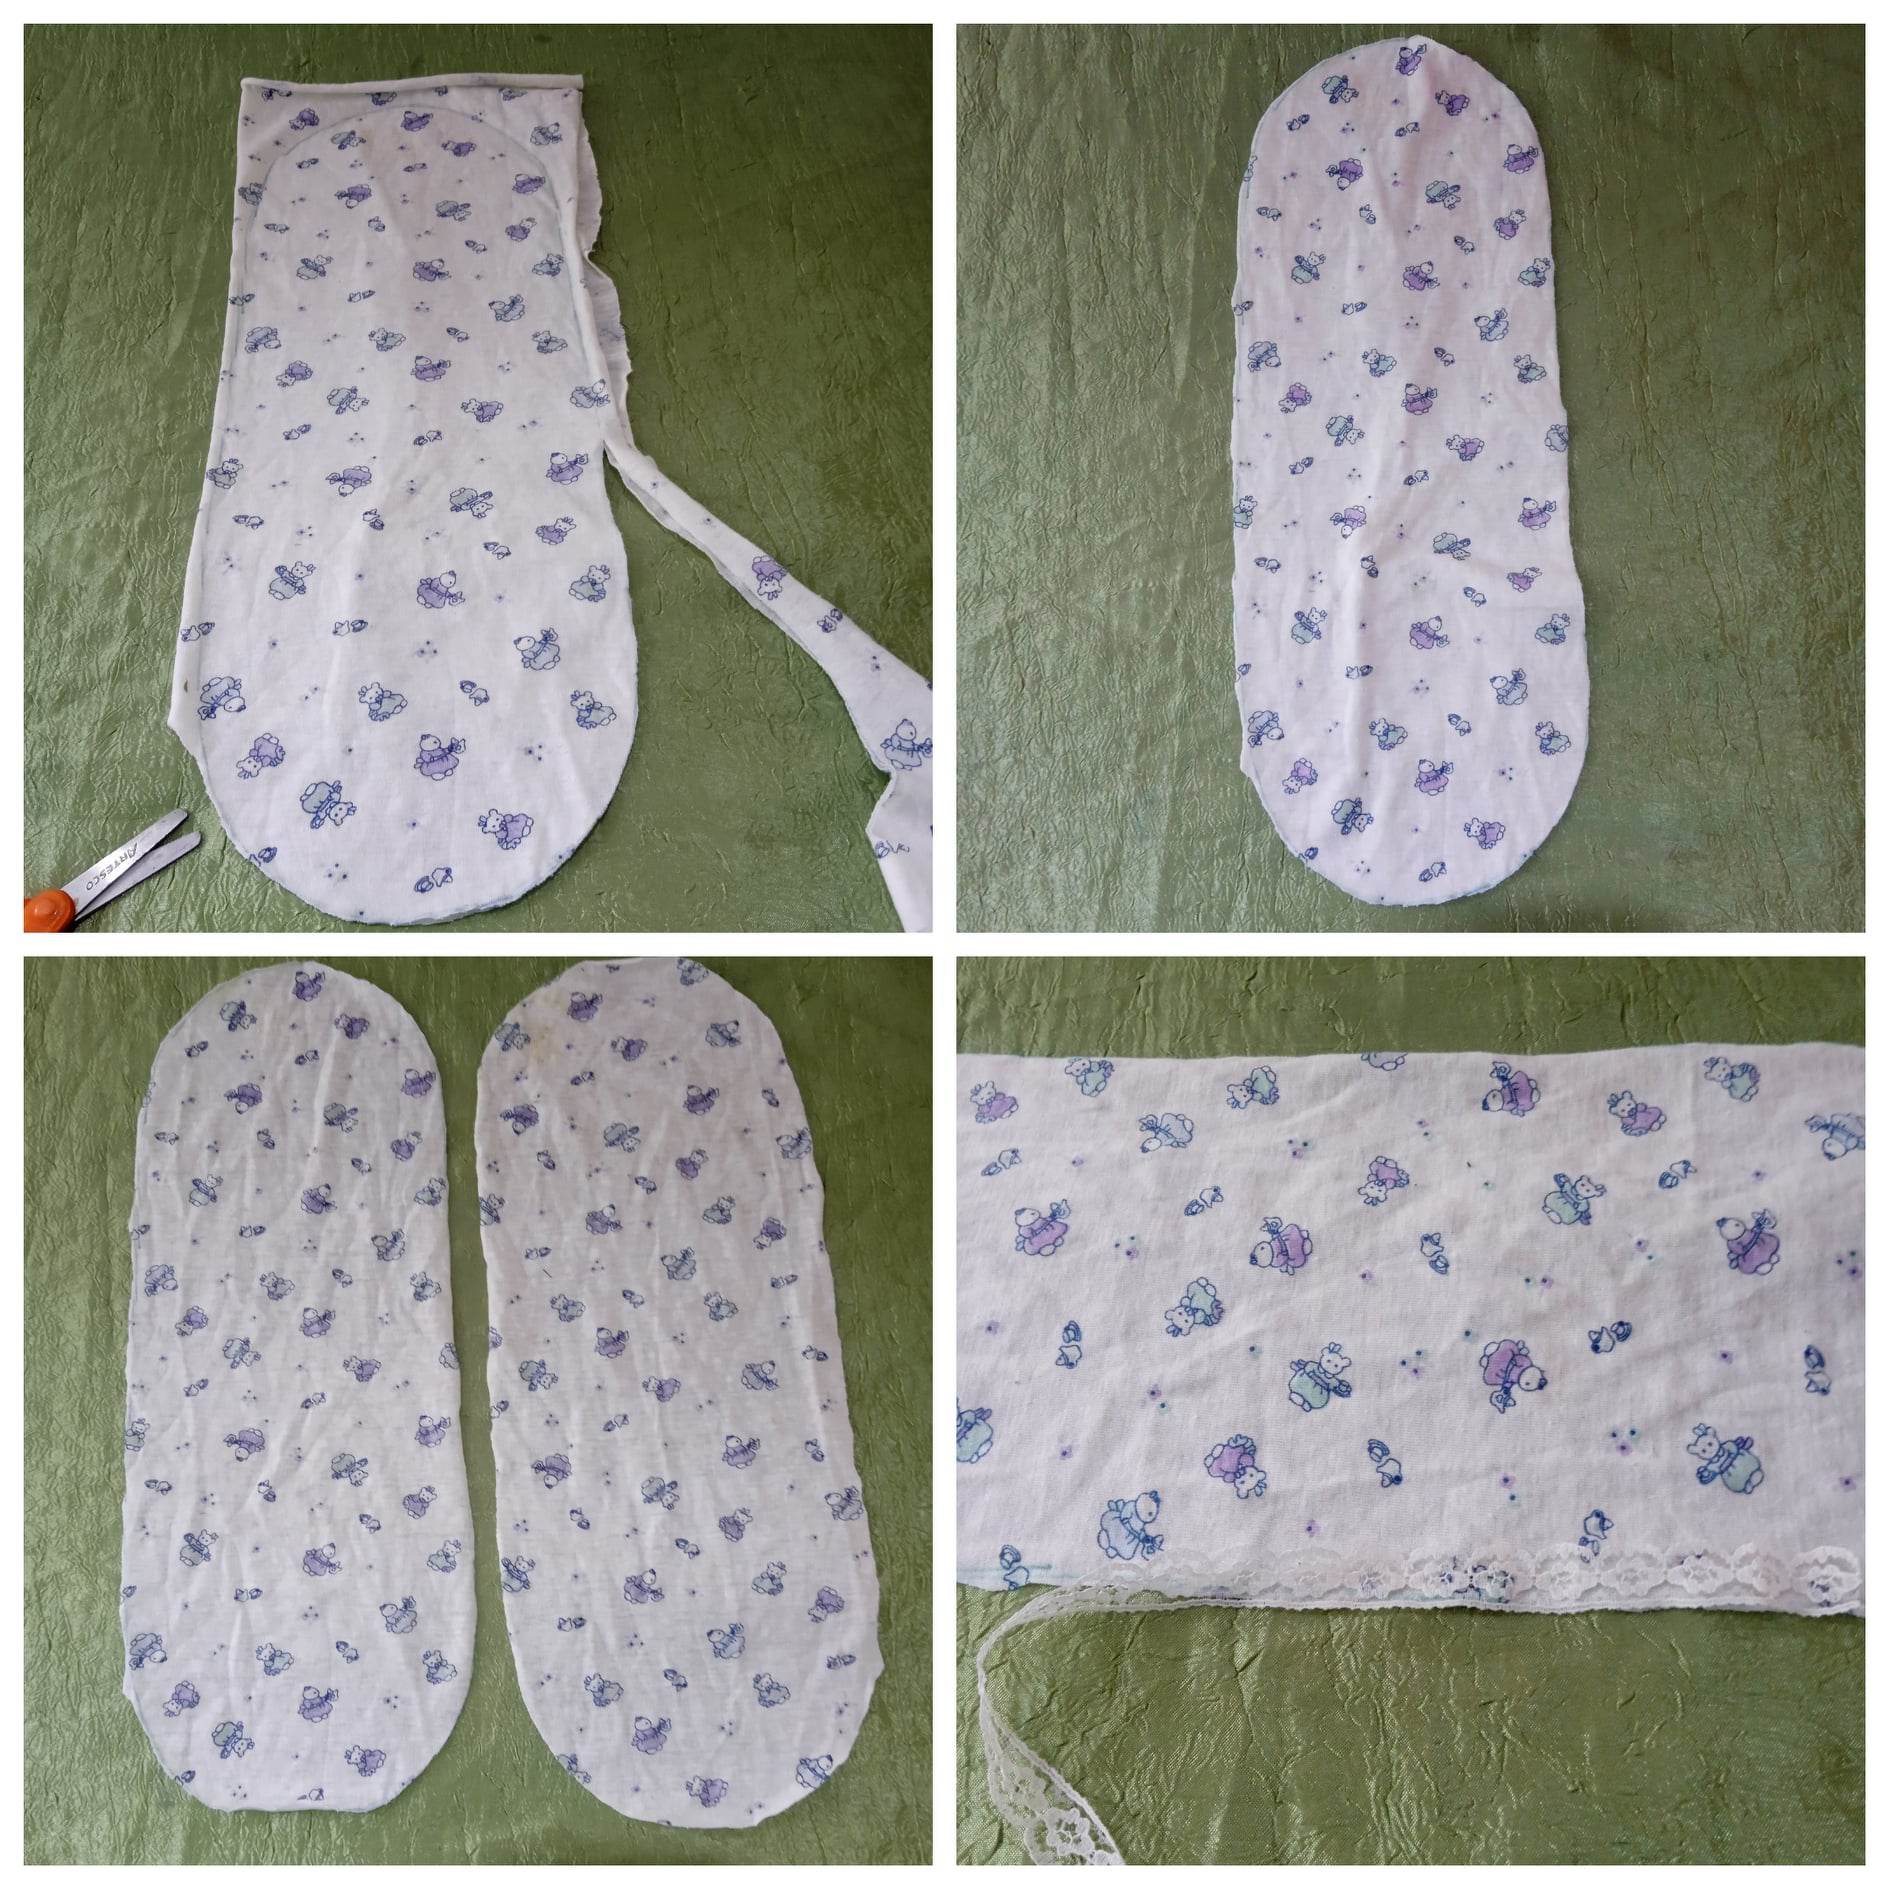
✍️Tercer paso
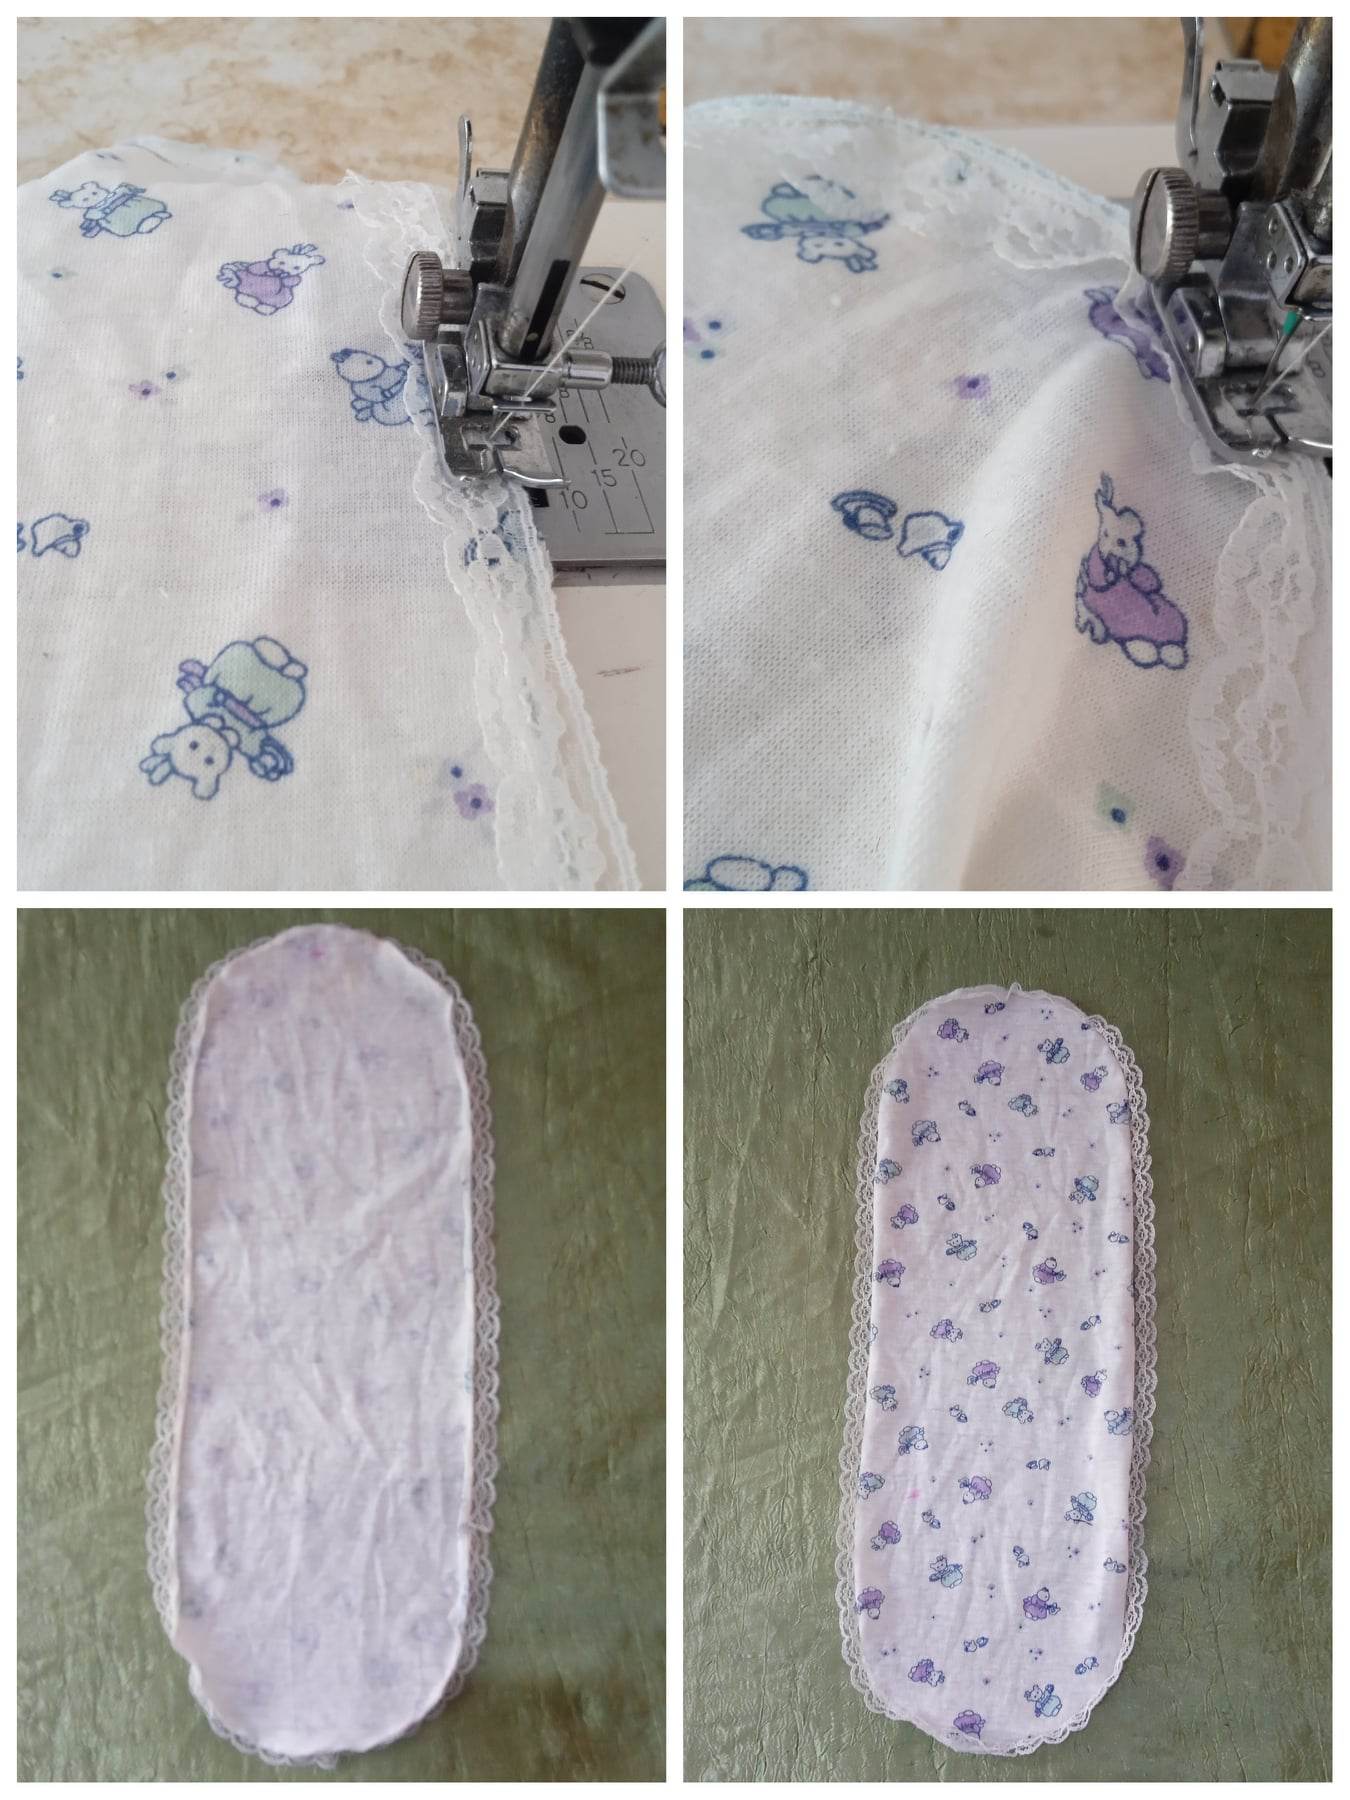
Aquí lo que toca realizar es pasar costura para así fijar la cinta en el pañal que nos servirá para que el bucherito se vea delicado con este borde.
✍️Cuarto paso
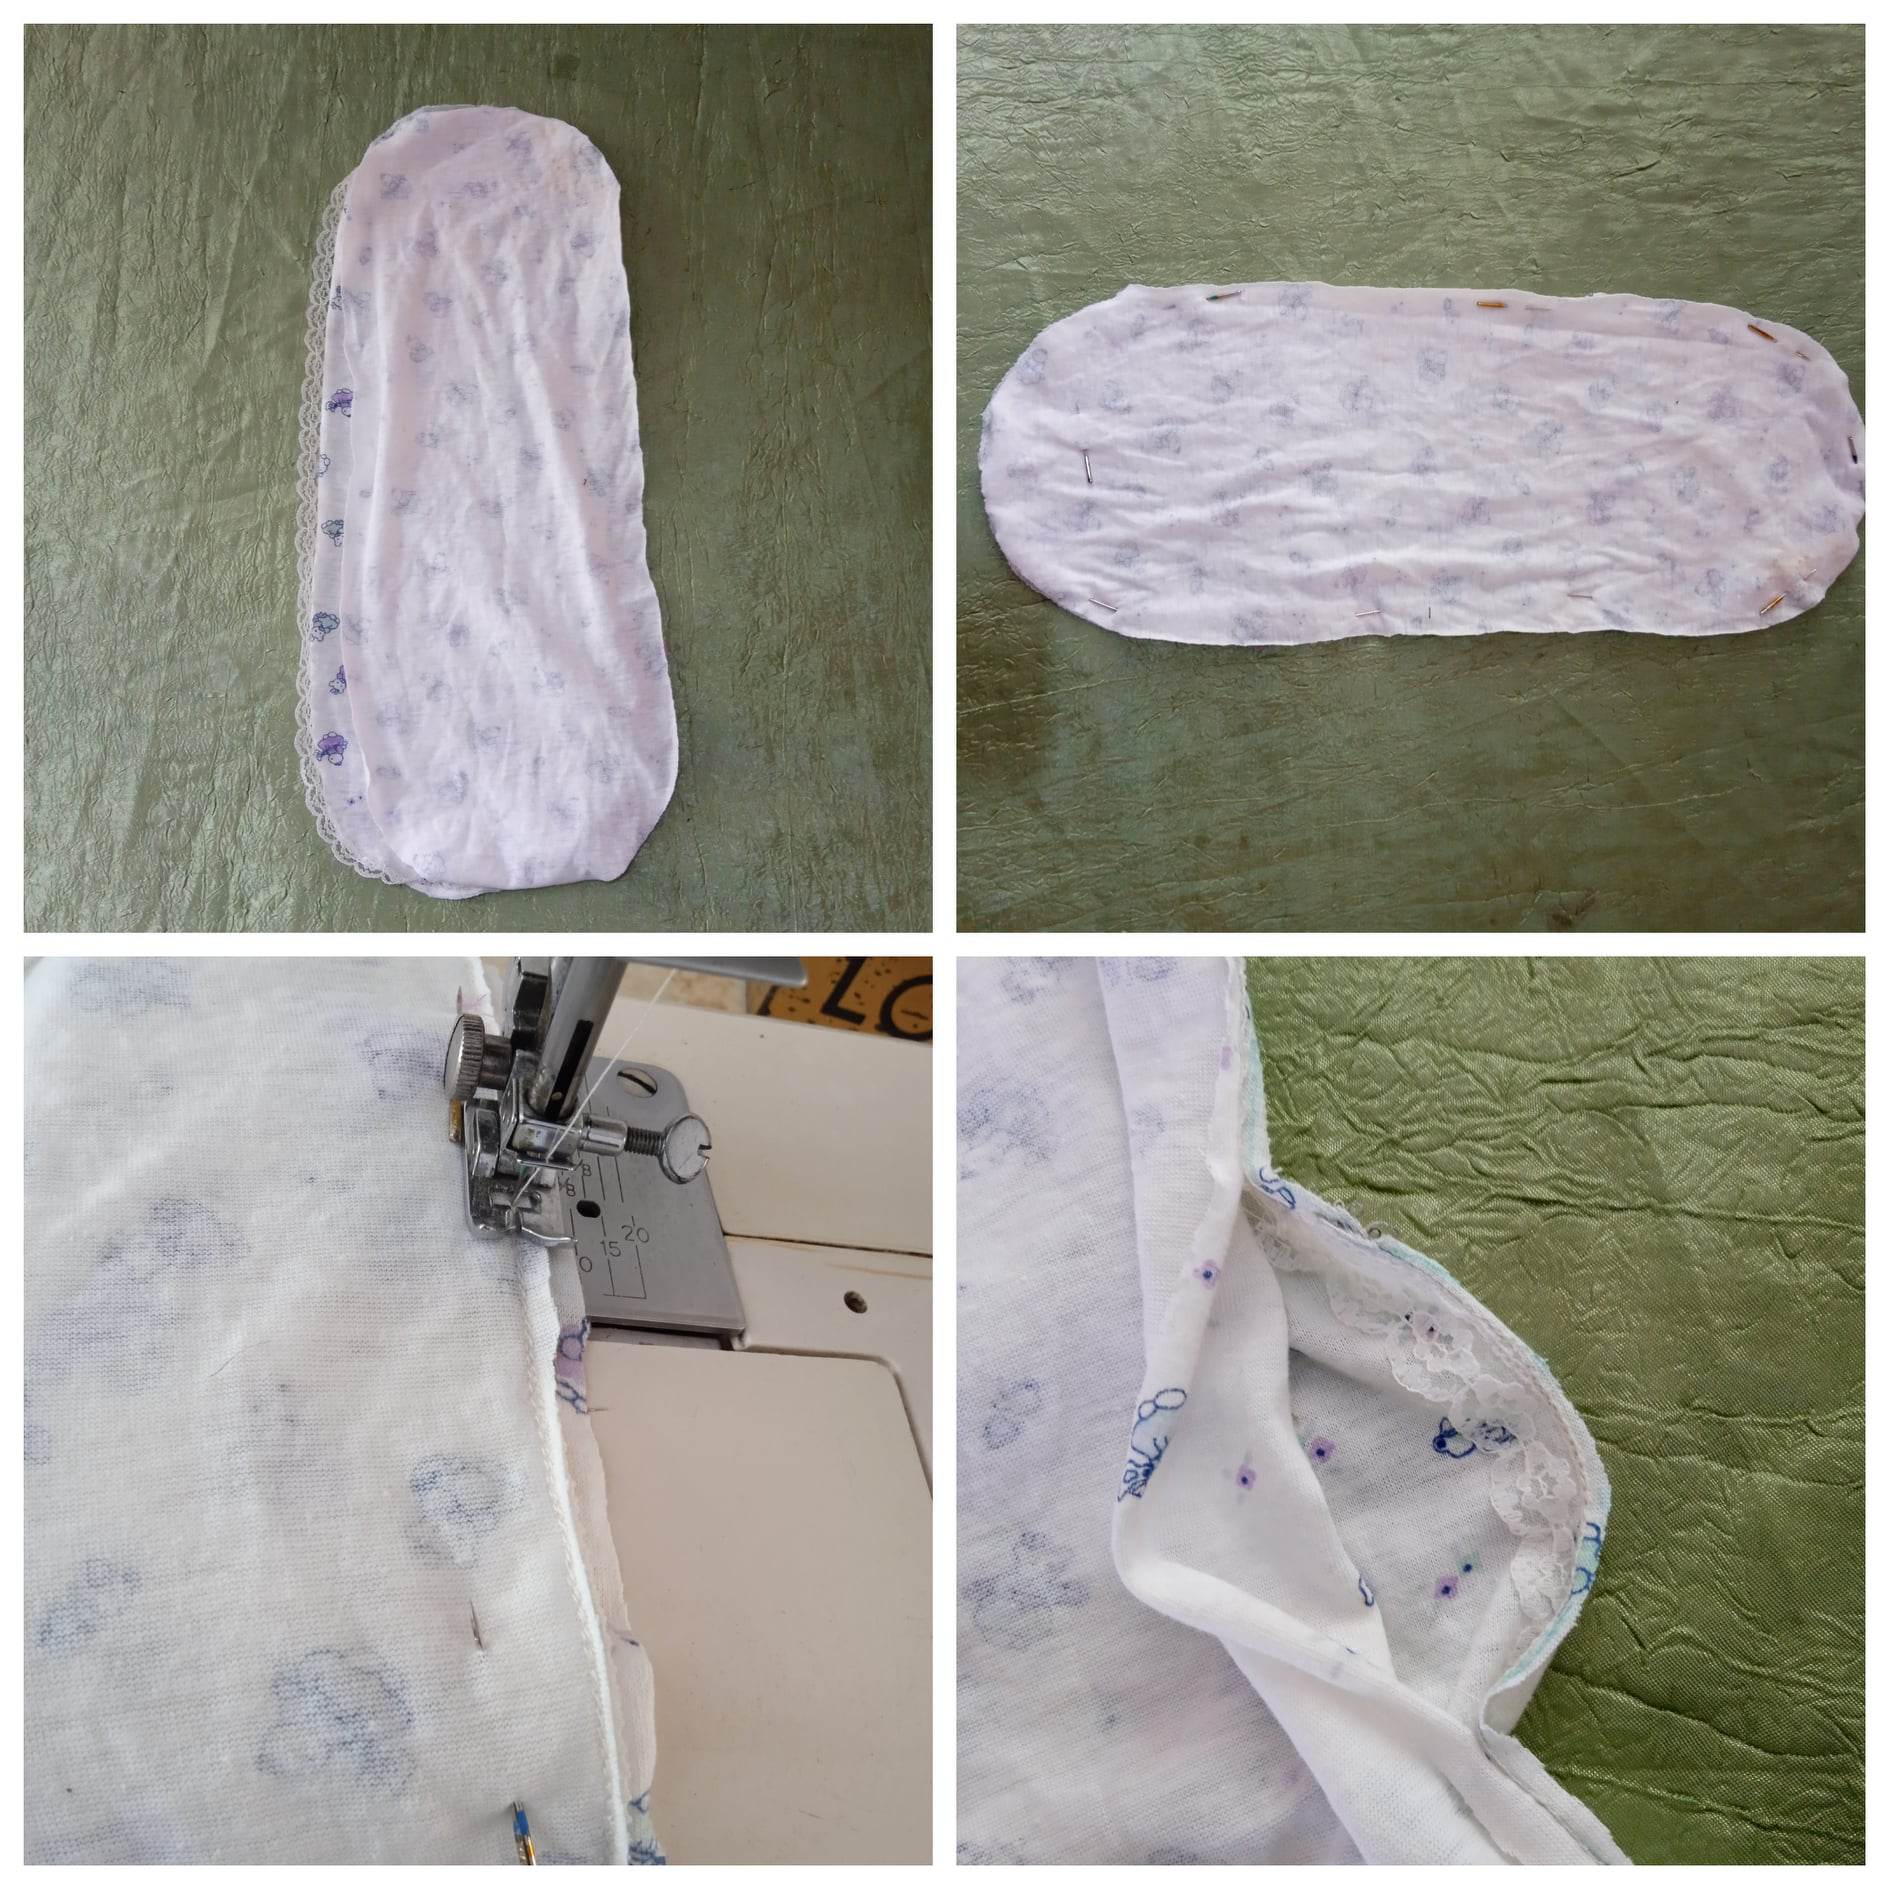
Ya quedan pocos paso para terminar nuestra costura y lo que hacemos es colocar una pieza encima de la otra para pasar nuevamente costura dejando una pequeña abertura.
✍️Quinto paso
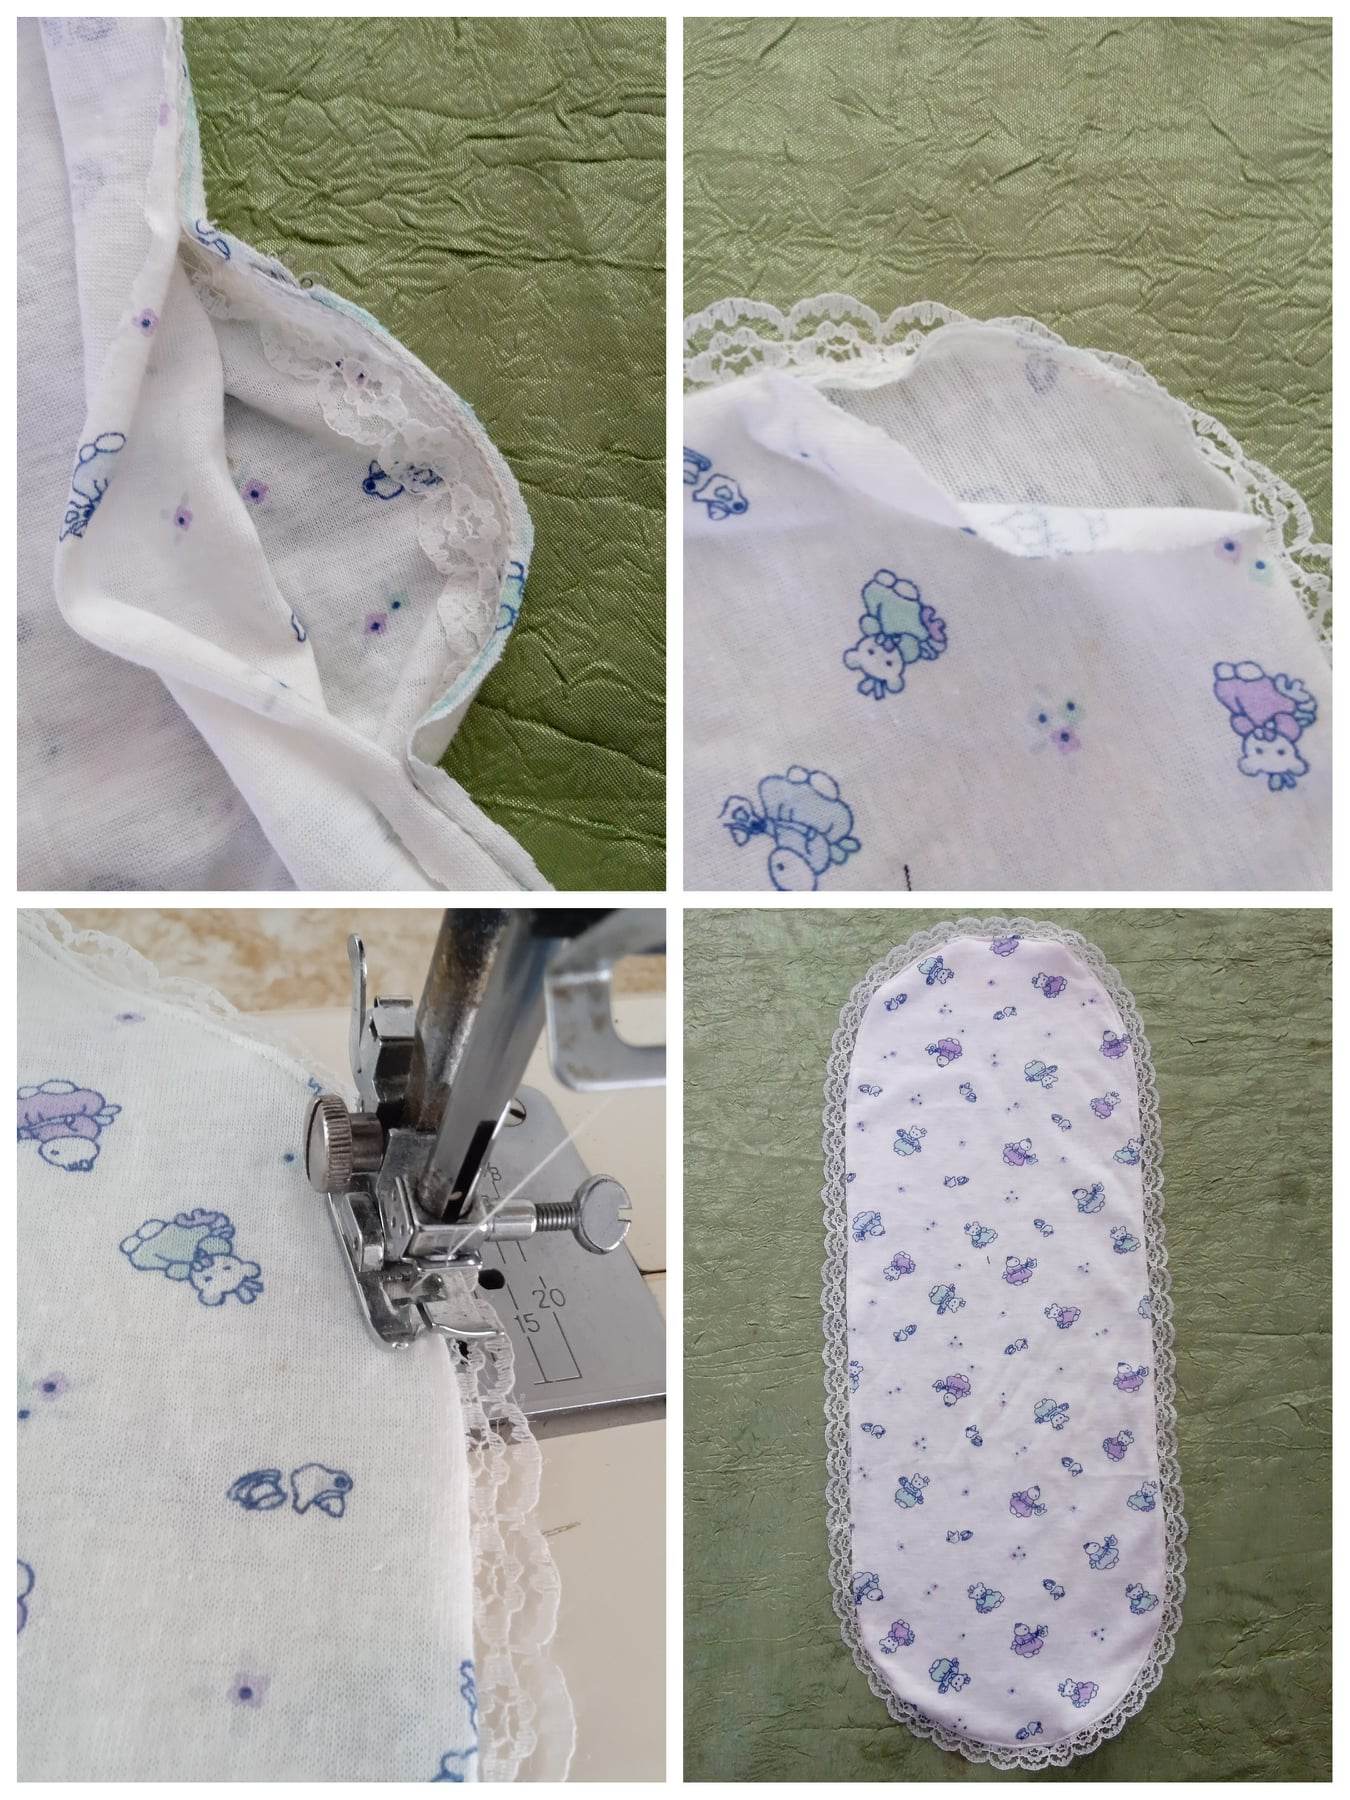
Para finalizar está linda creación, volteamos la tela por la abertura que dejamos y procedemos a pasar costura recta para cerrar y fijar la tela.
Ya con este paso queda terminada está pieza delicada para nuestros bebés.
⭐Amigos creativos son pasos sencillos para realizar este bucherito o pañal, ideal para llevar en la cartera, muy económico para regalar y dar ese obsequio para la llegada de ese bebé querido.
⭐Espero les sea útil está explicación detallada, me despido con la satisfacción de que si lo mejor de mi para realizar este proyecto.
⭐⭐Me despido con cariño @celeni

⭐⭐Bucherito
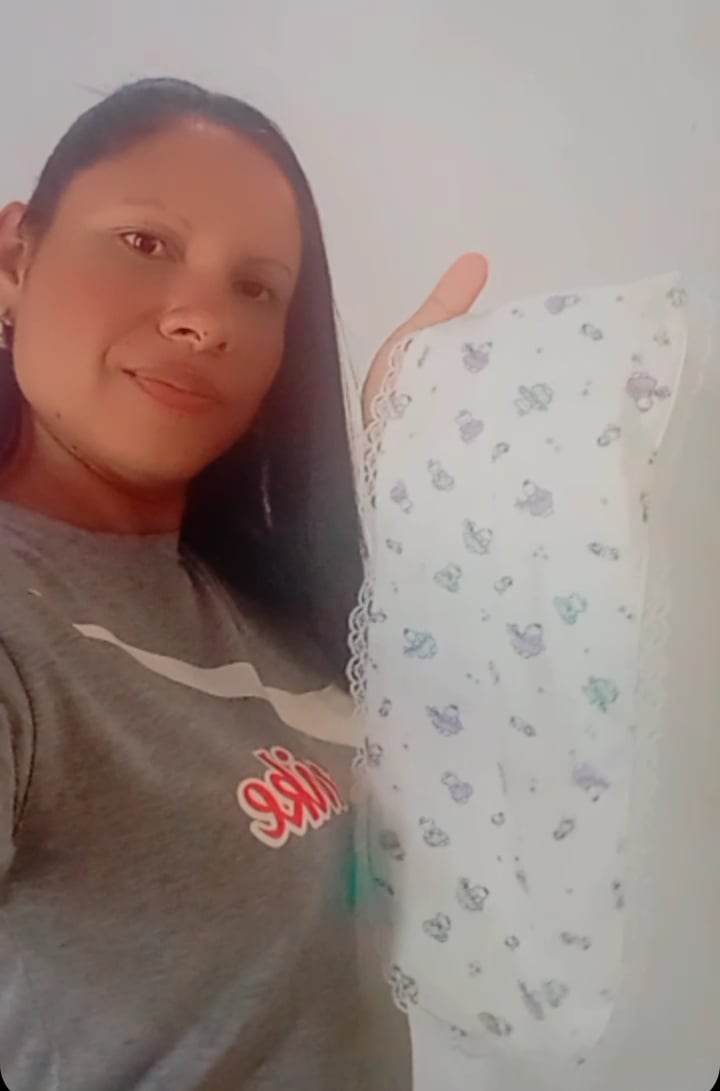
⭐⭐Todas las fotos fueron tomadas con mi teléfono Redmi 9
⭐⭐Espero muchas personas se una a esta aventura a crear
💥💥💥💥💥💥English💥💥💥💥💥
Hello creative family! Greetings to all, I hope this day is prosperous and without difficulties.
Today I come to share with you a creation for kisses, it is a bucherito or cloth diaper, ideal for drying the baby's drool in a presentation that is very comfortable to use, plus it looks more delicate when using it.
Doing this type of sewing inspired me when I was going to have my children, one always when at this stage of pregnancy, for example, I liked to create what I needed for the arrival of that baby.
That's why I don't hesitate to share it with you, it is ideal to give as a baby shawer because it would be a beautiful and economical gift because few materials are used.

✍️Materials for this preparation
- Pattern made of cardboard
- Scissors
- Cotton fabric
- Tape
-Sewing machine

✍️First step
To make this bucherito or diaper I chose a cotton fabric with a print of very cute little dolls, which I placed the fabric in doubles and then placed on top the pattern that I made on cardboard with a rectangular and oval shape on the sides, to continue marking afterwards. the pattern on the fabric.

✍️Second step
We continue and what we do is cut the fabric that we have already marked and thus obtain two equal pieces, then with the ribbon what we do is place it around the edge of the fabric.

✍️Third step
Here what we have to do is sew to fix the tape on the diaper, which will help us make the bucherito look delicate with this edge.

✍️Fourth step
There are only a few steps left to finish our sewing and what we do is place one piece on top of the other to pass the seam again, leaving a small opening.

✍️Fifth step
To finish this beautiful creation, we turn the fabric through the opening we left and proceed to sew a straight seam to close and secure the fabric.
With this step, this delicate piece for our babies is finished.

⭐Creative friends, these are simple steps to make this bucherito or diaper, ideal to carry in your purse, very economical to give as a gift and give that gift for the arrival of that beloved baby.
⭐I hope this detailed explanation is useful to you, I say goodbye with the satisfaction that I did my best to carry out this project.
💥💥I say goodbye with love @celeni

⭐⭐Bucherito

💥💥All photos were taken with the Redmi 9 phone
I hope many people join this adventure to create
It is beautiful and comfortable for the baby. Great work! Thank you for sharing this.
Gracias, los accesorios para bebes son mis preferidos para realizar y compartir
@celeni
https://leofinance.io/threads/view/hive-130560/re-leothreads-2kukzfkth
Congratulations @celeni! You have completed the following achievement on the Hive blockchain And have been rewarded with New badge(s)
Your next target is to reach 200 replies.
You can view your badges on your board and compare yourself to others in the Ranking
If you no longer want to receive notifications, reply to this comment with the word
STOPCheck out our last posts: