💥English Version
Creative friends, I hope you are well and that your day is a blessing for everyone.
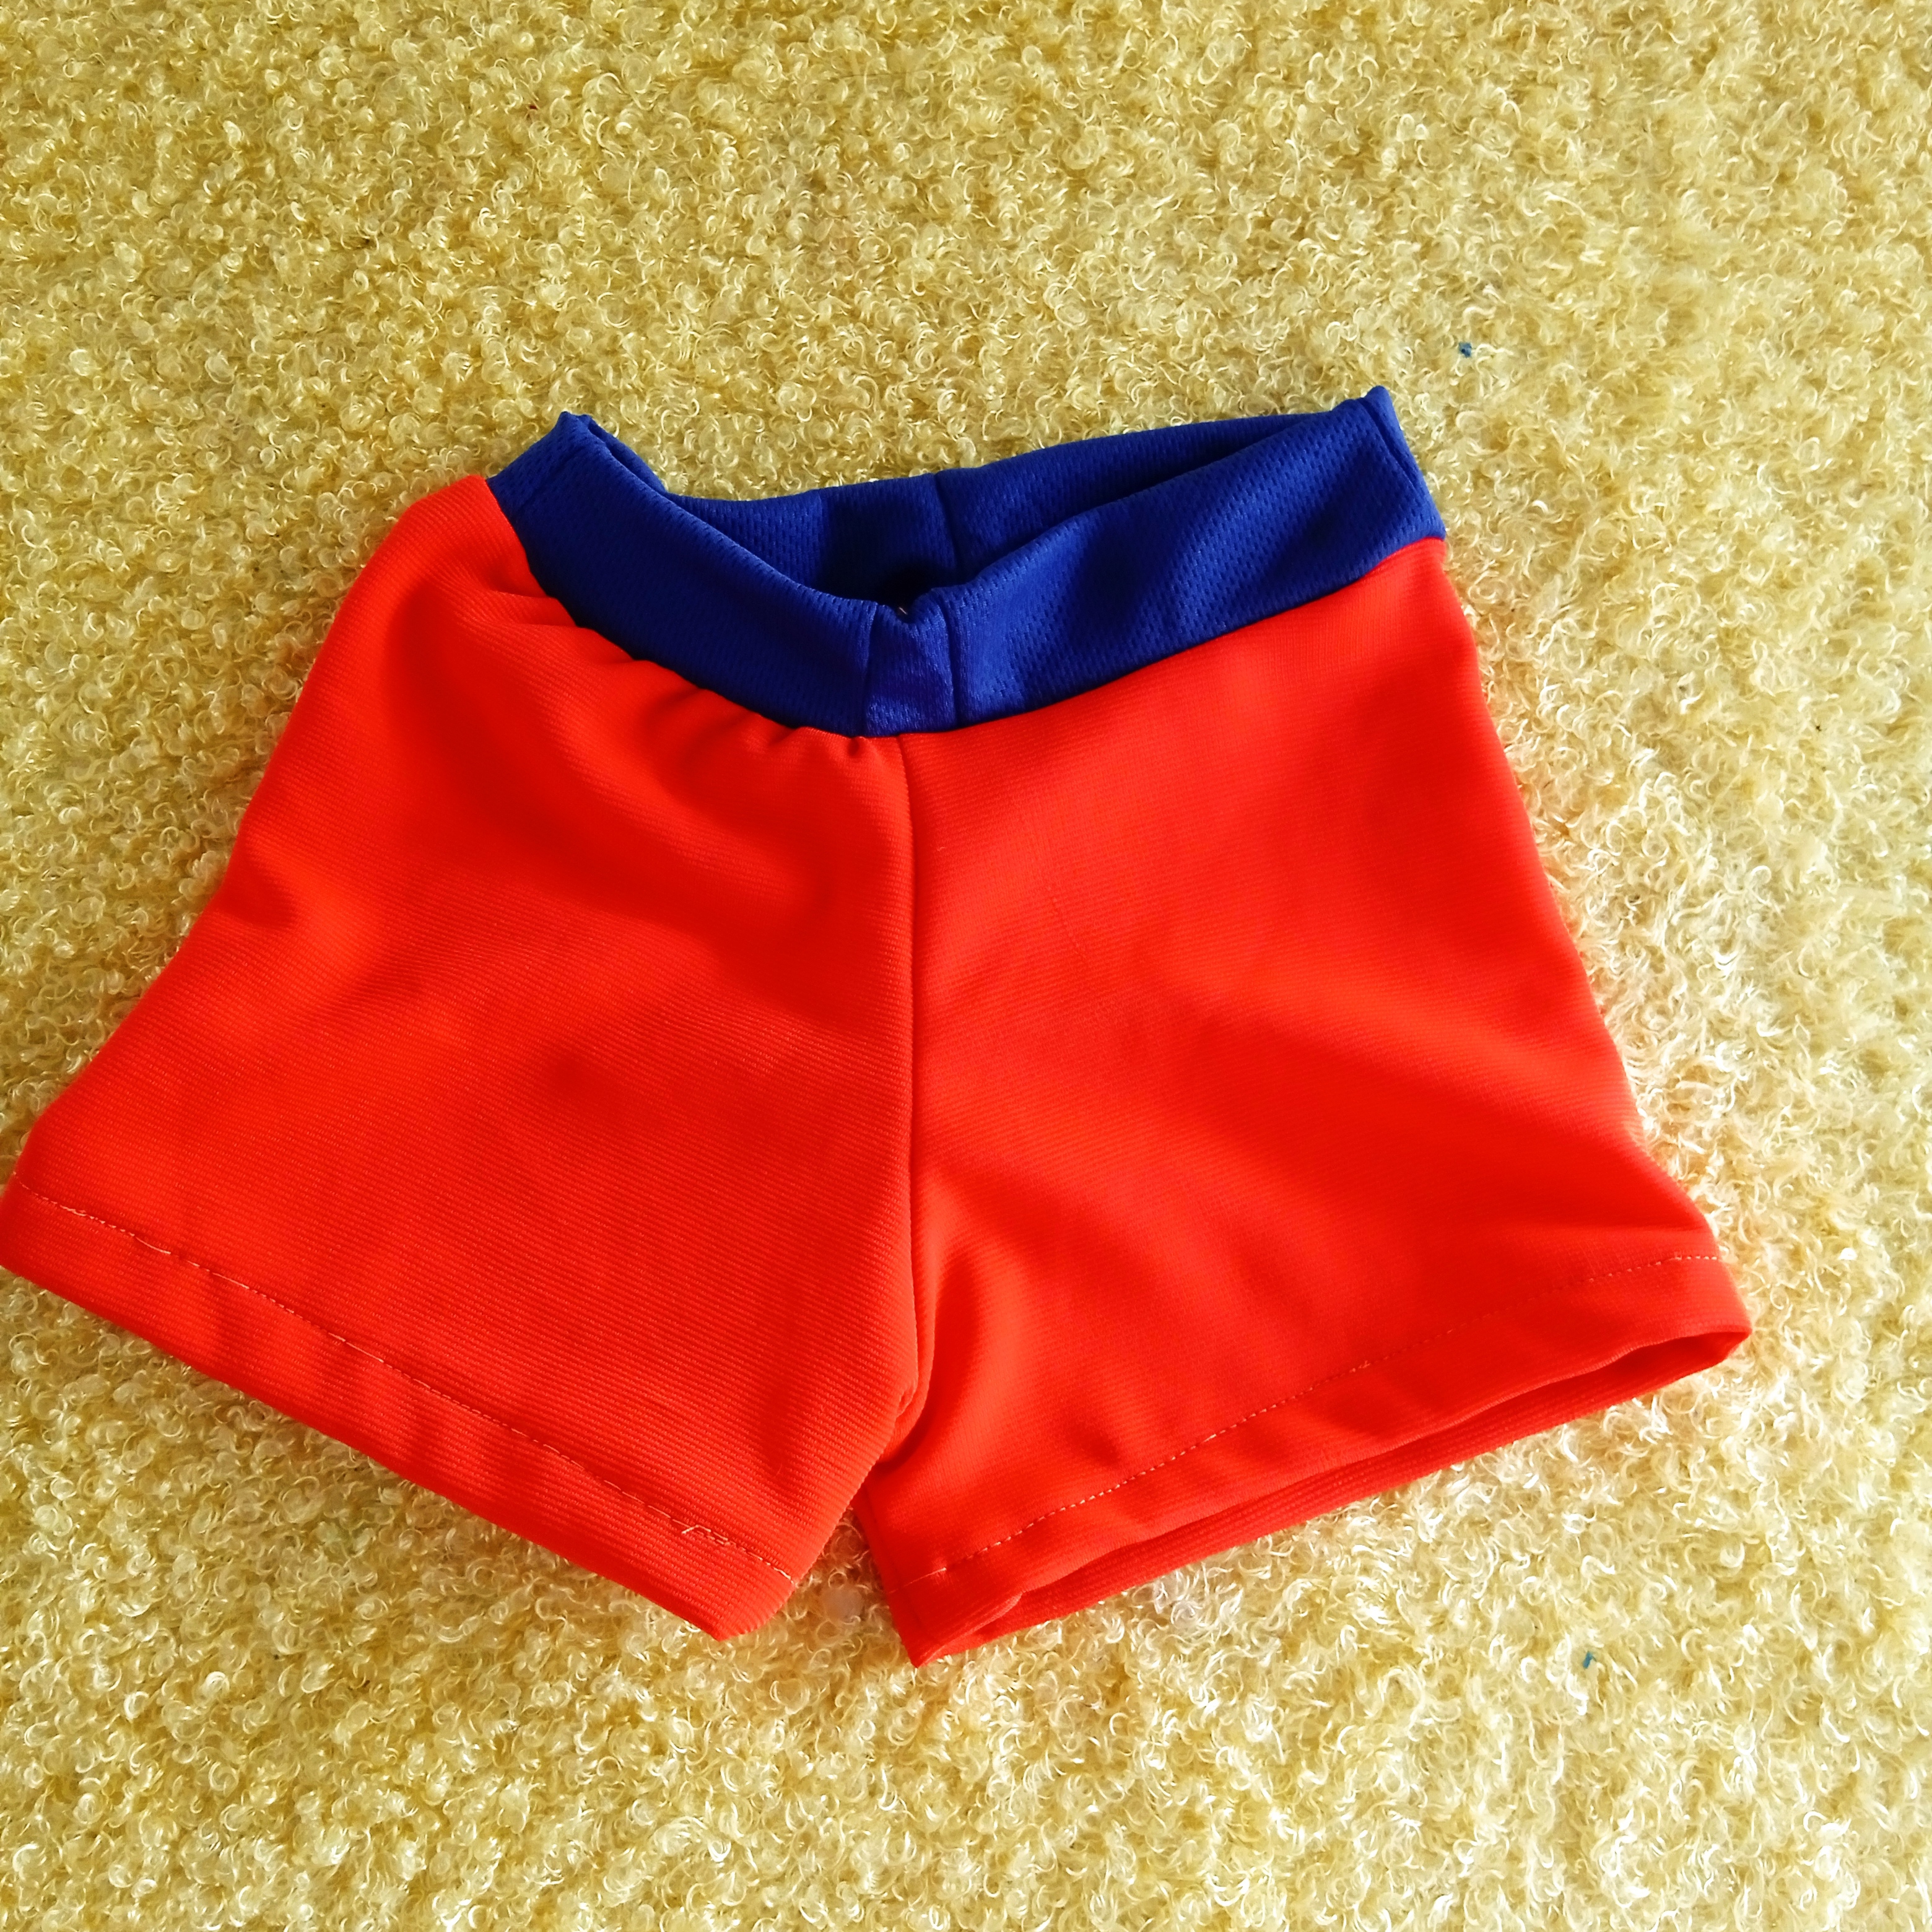
Checking a bag where I have some fabrics, I saw that I had some scraps that could be used to do some type of sewing with it, so I didn't hesitate to make a boxer briefs for my youngest son, since they are some scraps of flexible fabric suitable for My son really liked this type of clothing, and the combination of colors that I found. So I put hands to work.
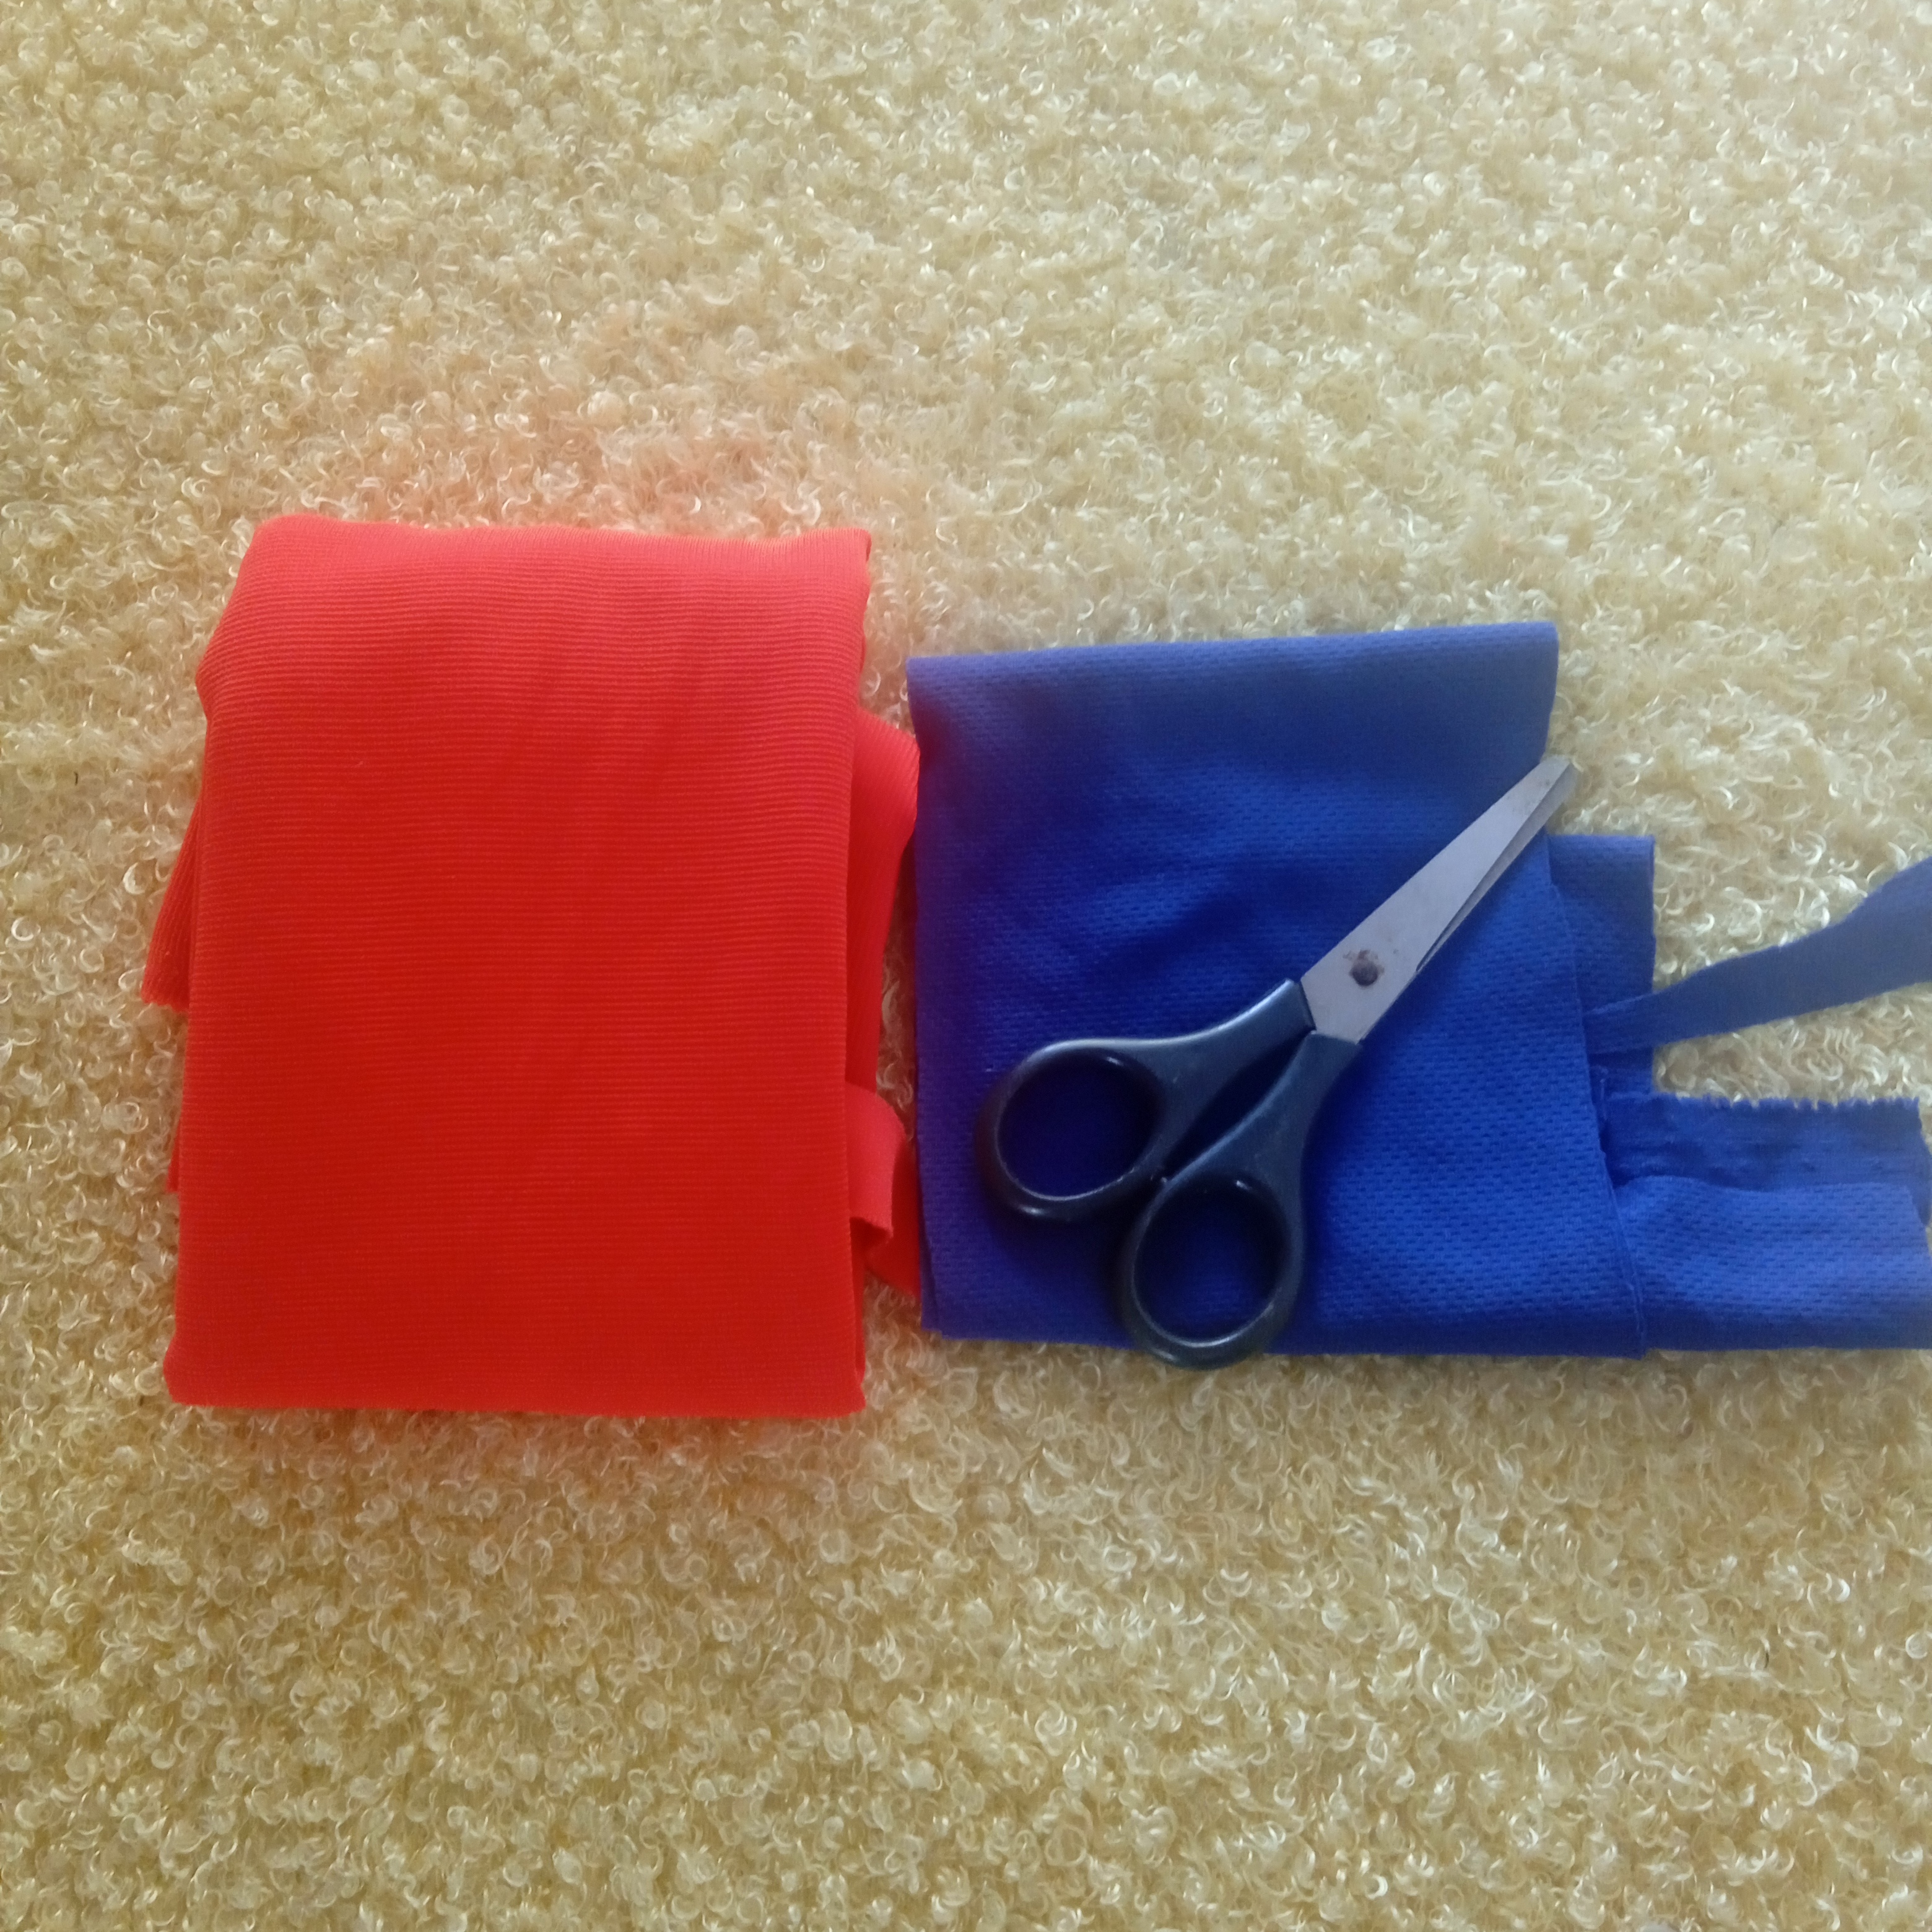
Para esta confección necesite:
- Retazos de tela flexible en color azul y - naranja
- Tijera
- Cinta métrica
- Máquina de coser
💥English Version
For this preparation you need:
- Scraps of flexible fabric in blue and orange
- Scissors
- Measuring tape
- Sewing machine
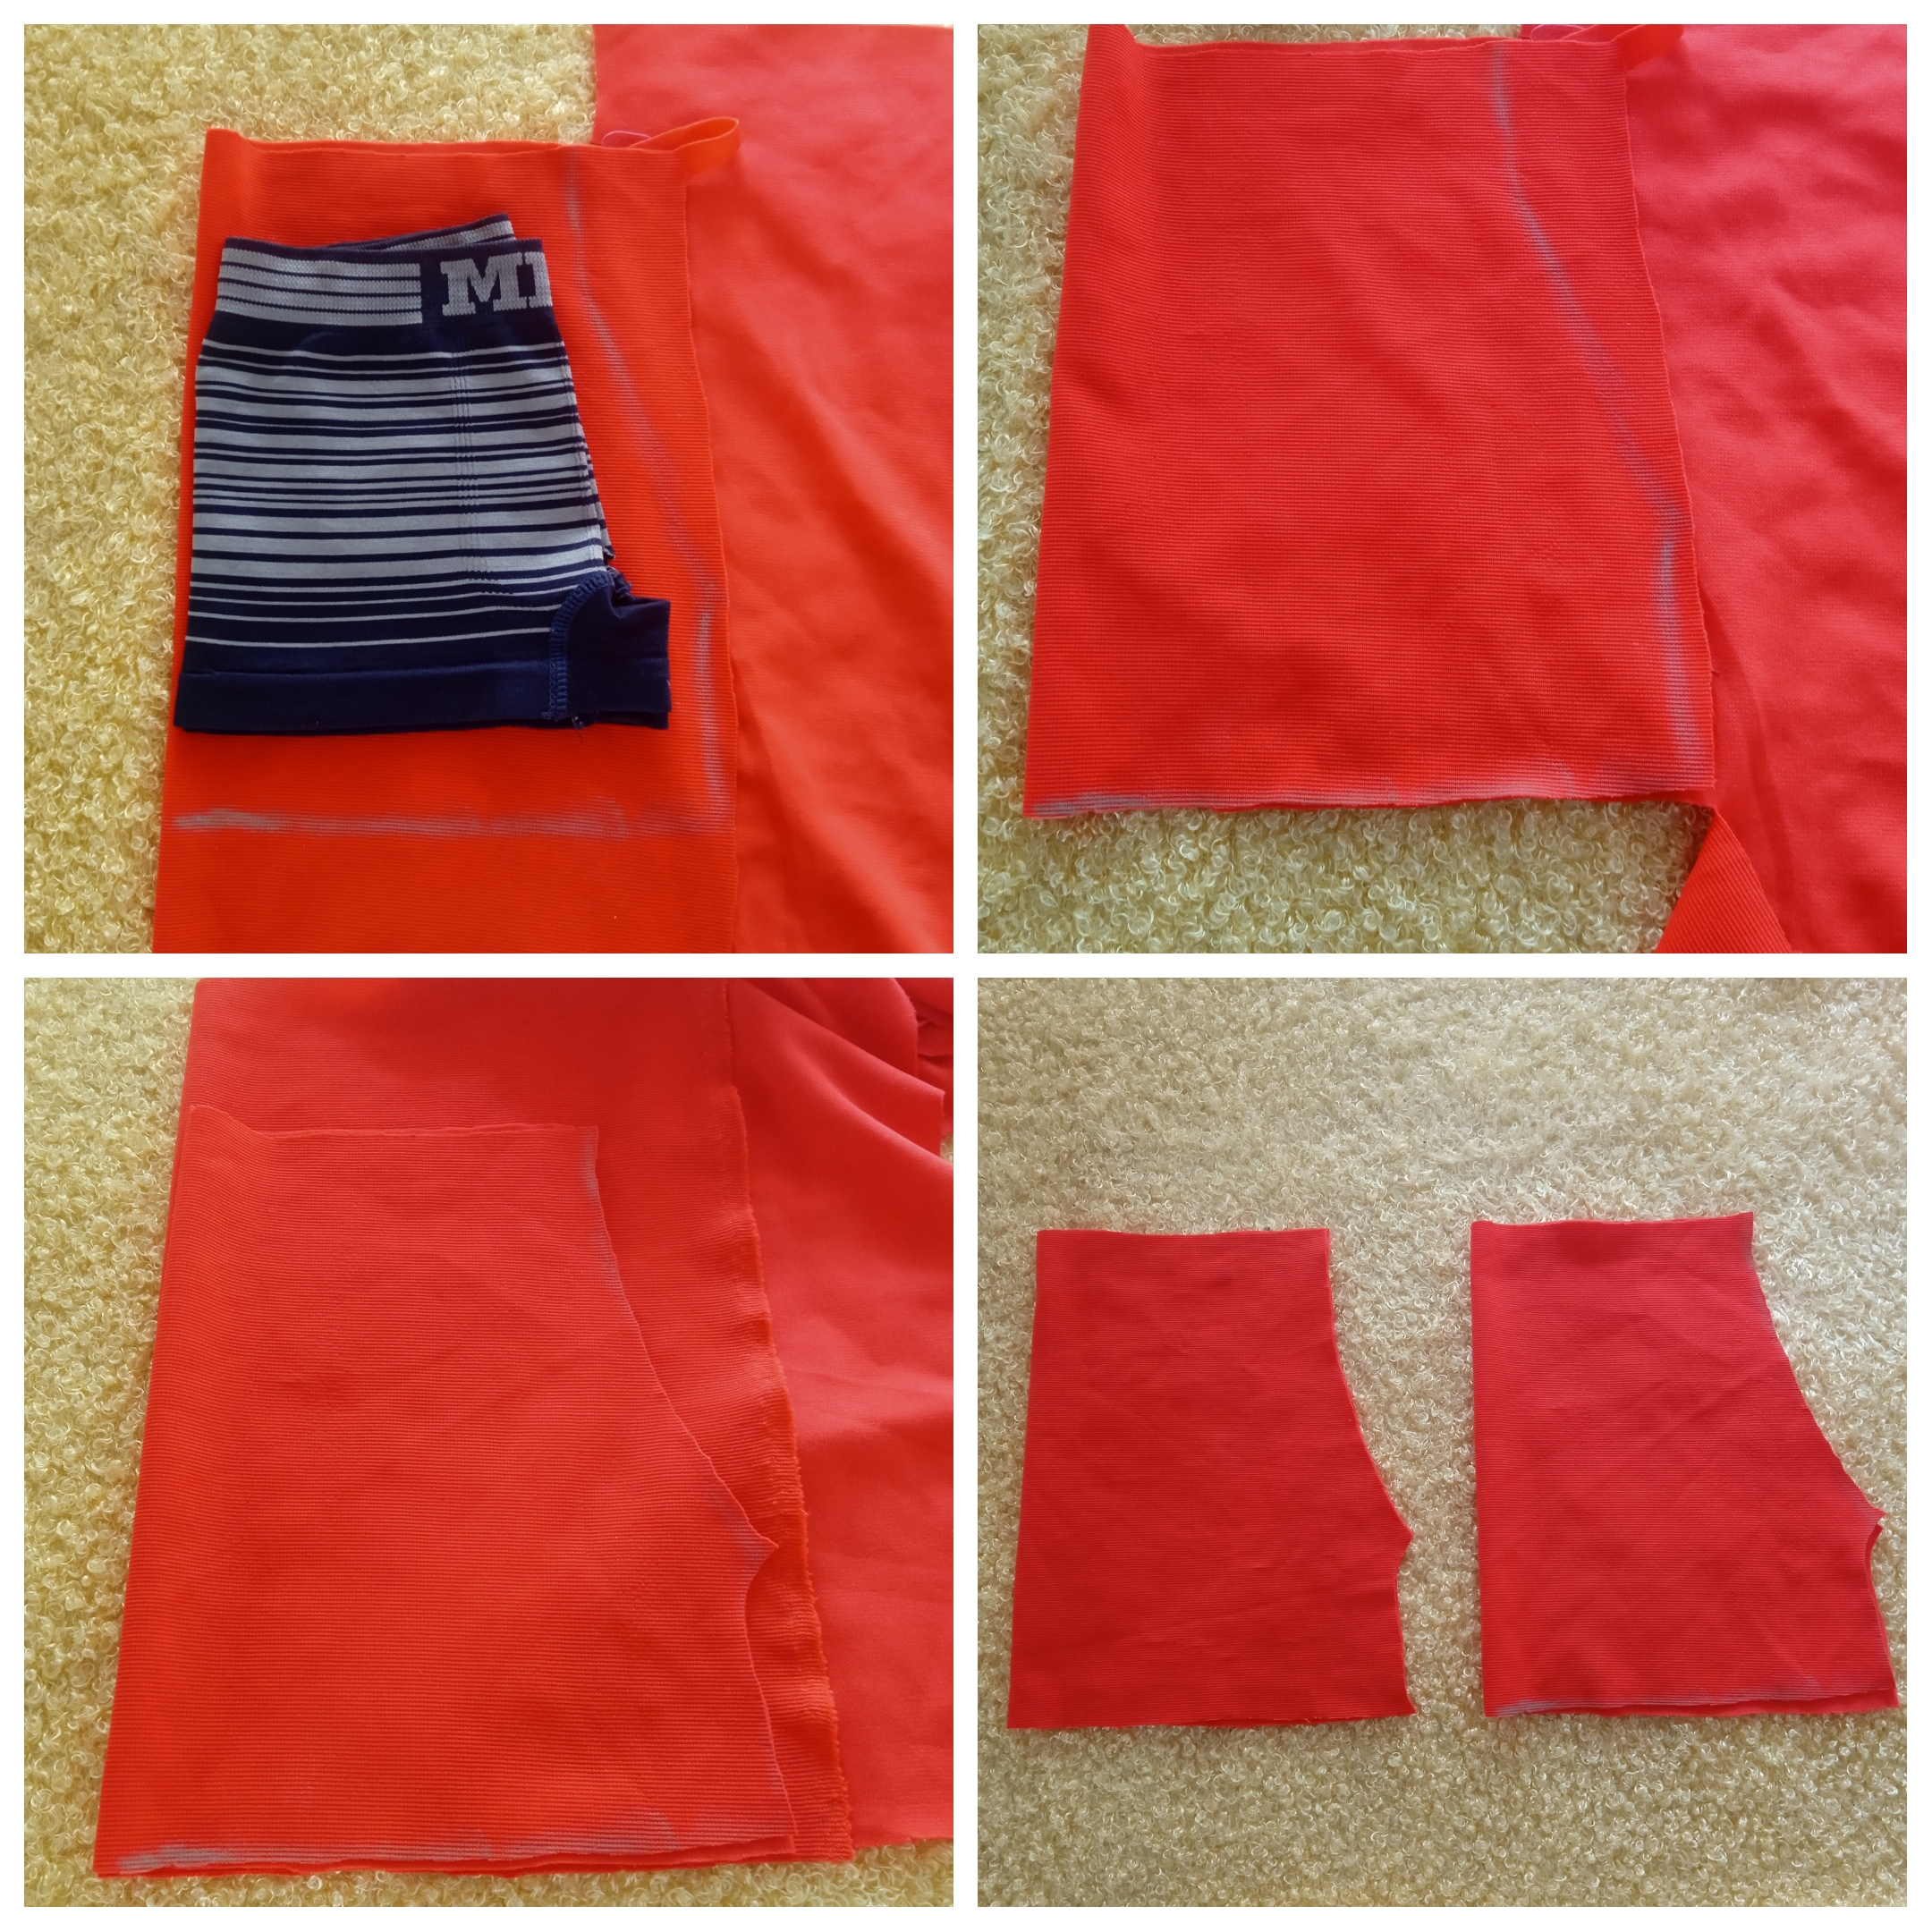
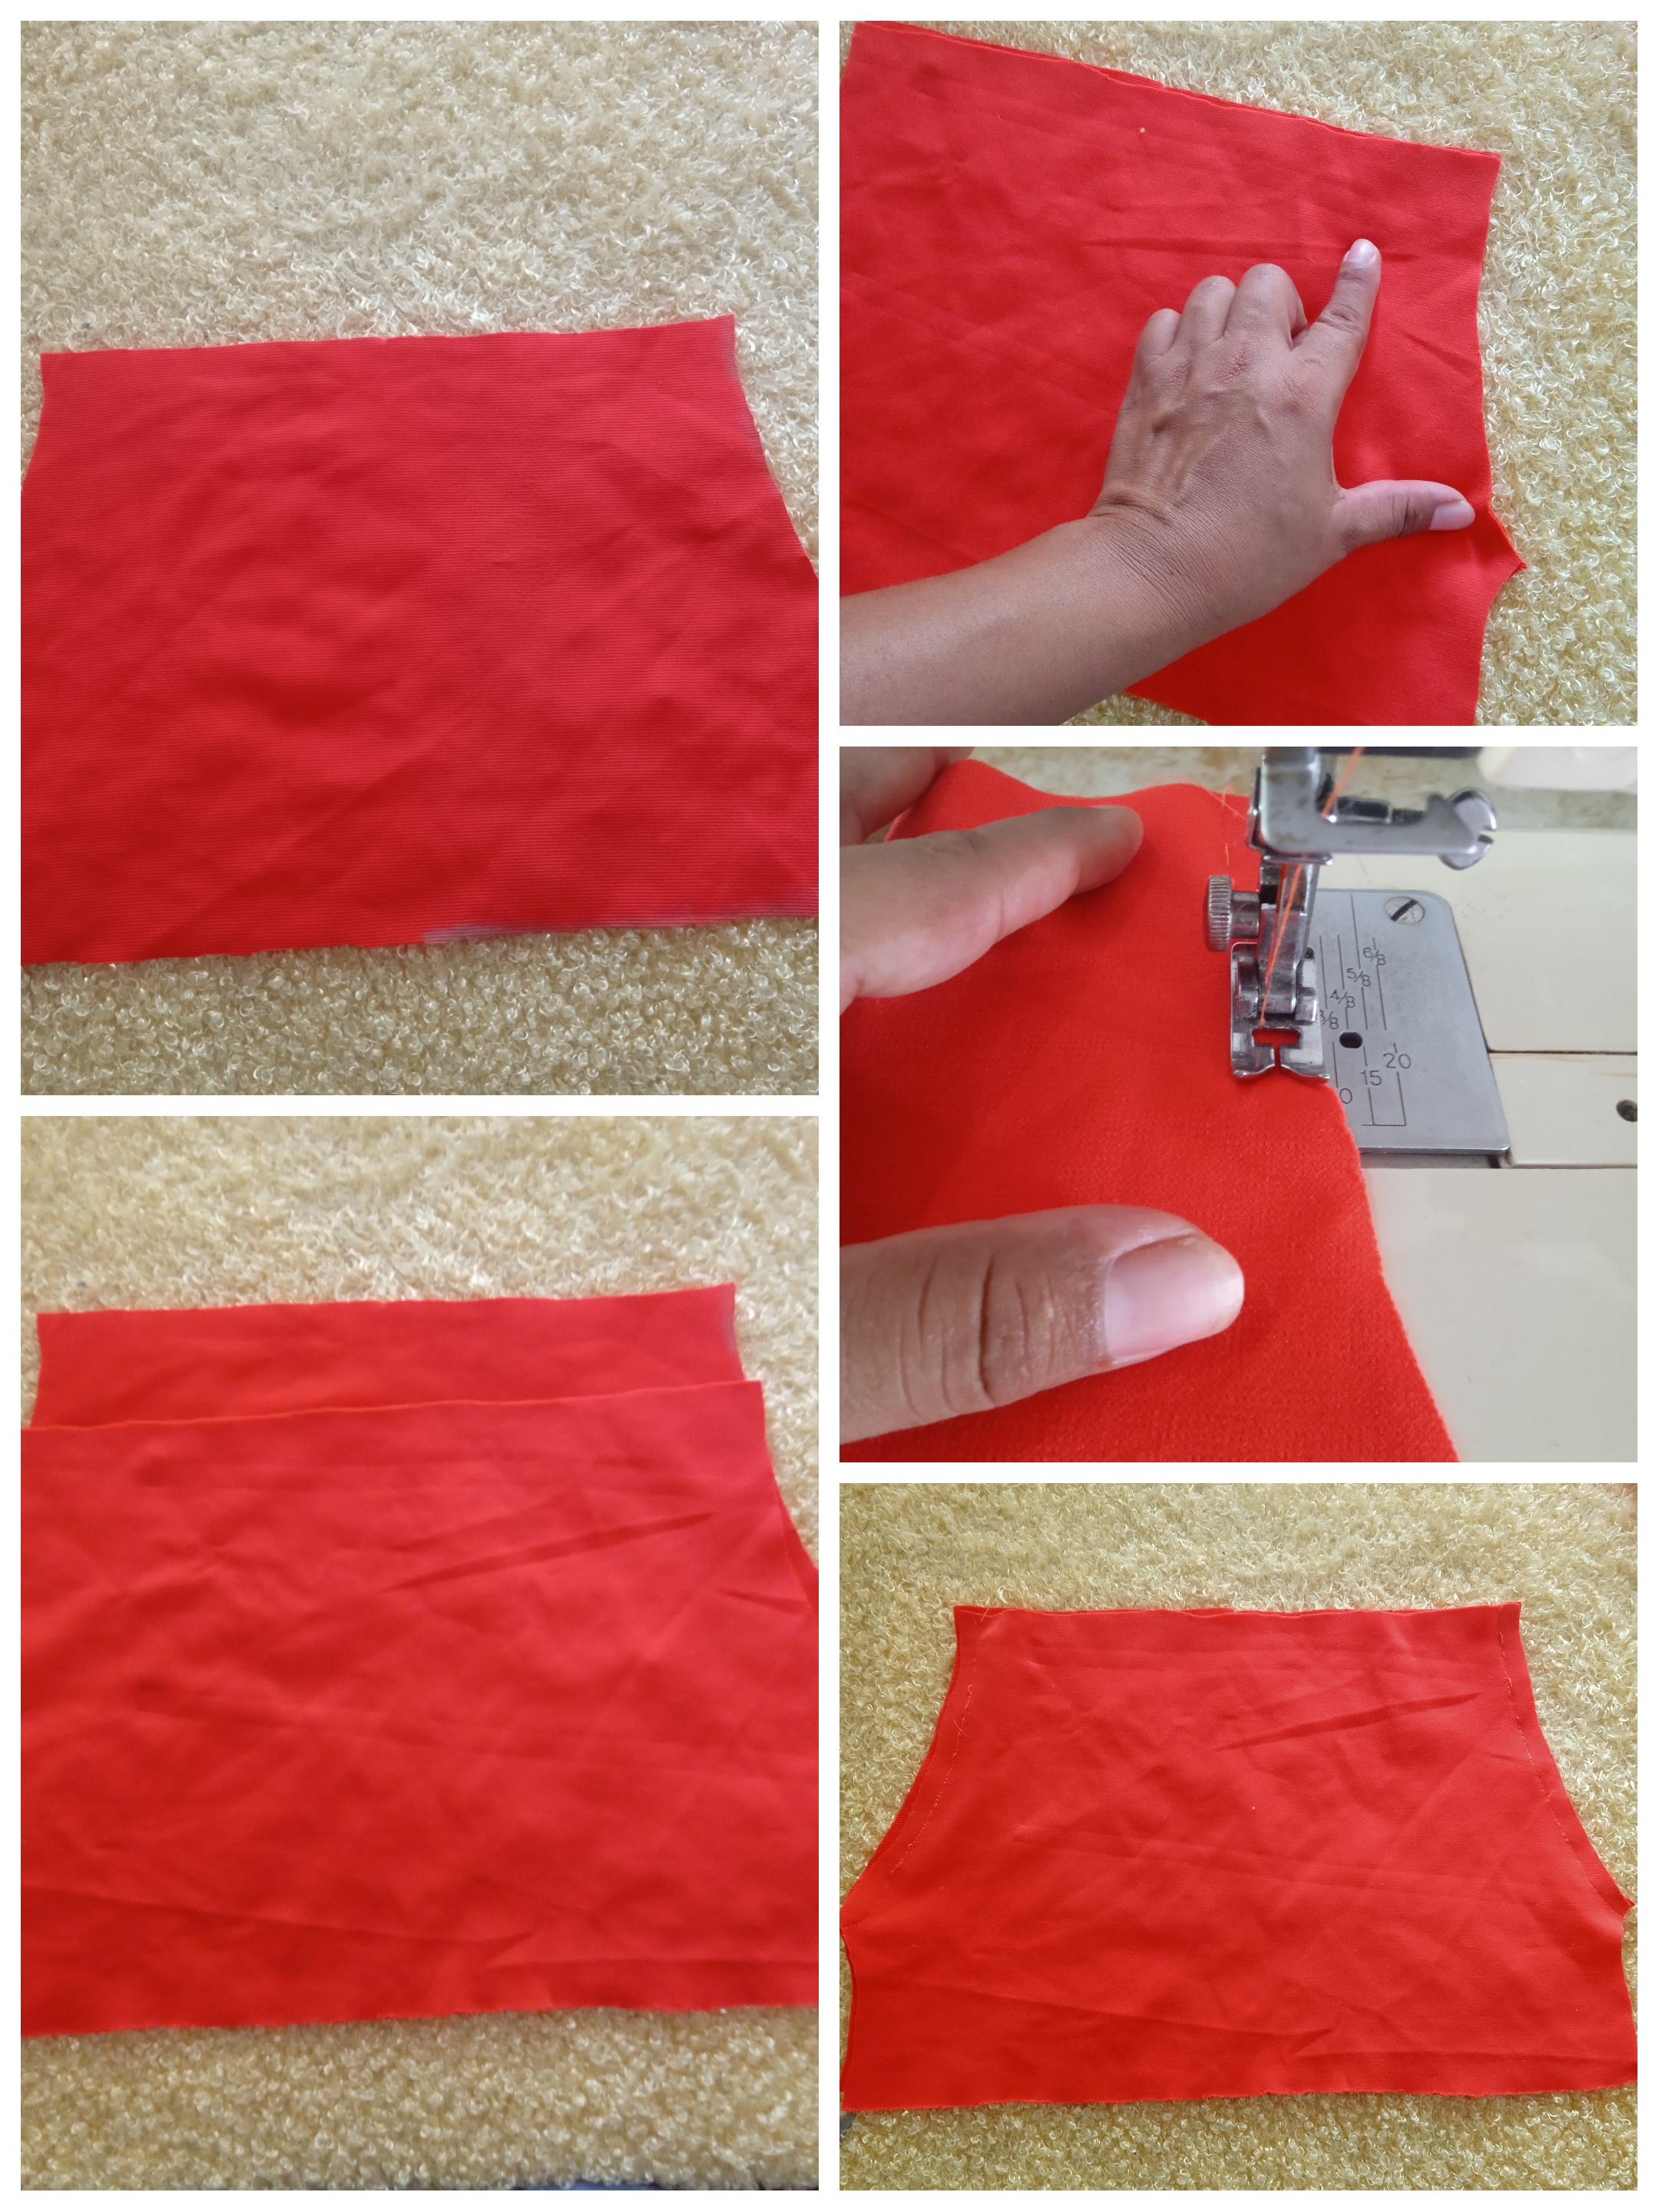
Para realizar este boxer de niño coloque uno de mi hijo como patrón, lo coloque al dobles encima de la tela flexible color naranja y marque con una tiza alrededor dejando 1 cm a los laterales y 2 cm en la parte de lo que va ser el ruedo para luego proceder a cortar, una vez cortada está pieza la utilice para cortar la otra y así obtener las dos piezas que necesito.
💥English Version
To make this boy's boxer, place one of my son's as a pattern, place it in doubles on top of the flexible orange fabric and mark with chalk around it, leaving 1 cm on the sides and 2 cm in the part of what will be the hem. and then proceed to cut, once this piece is cut I use it to cut the other and thus obtain the two pieces I need.
Ya que obtuve mis dos piezas iguales coloco una encima de la otra frente con frente y procedo a pasar costura en la parte que serían los laterales, inicio con una costura recta luego en la orilla le.paso ziczag
💥English Version
Since I got my two identical pieces, I place one on top of the other front to front and proceed to sew the part that would be the sides, I start with a straight seam then on the edge I ziczag.
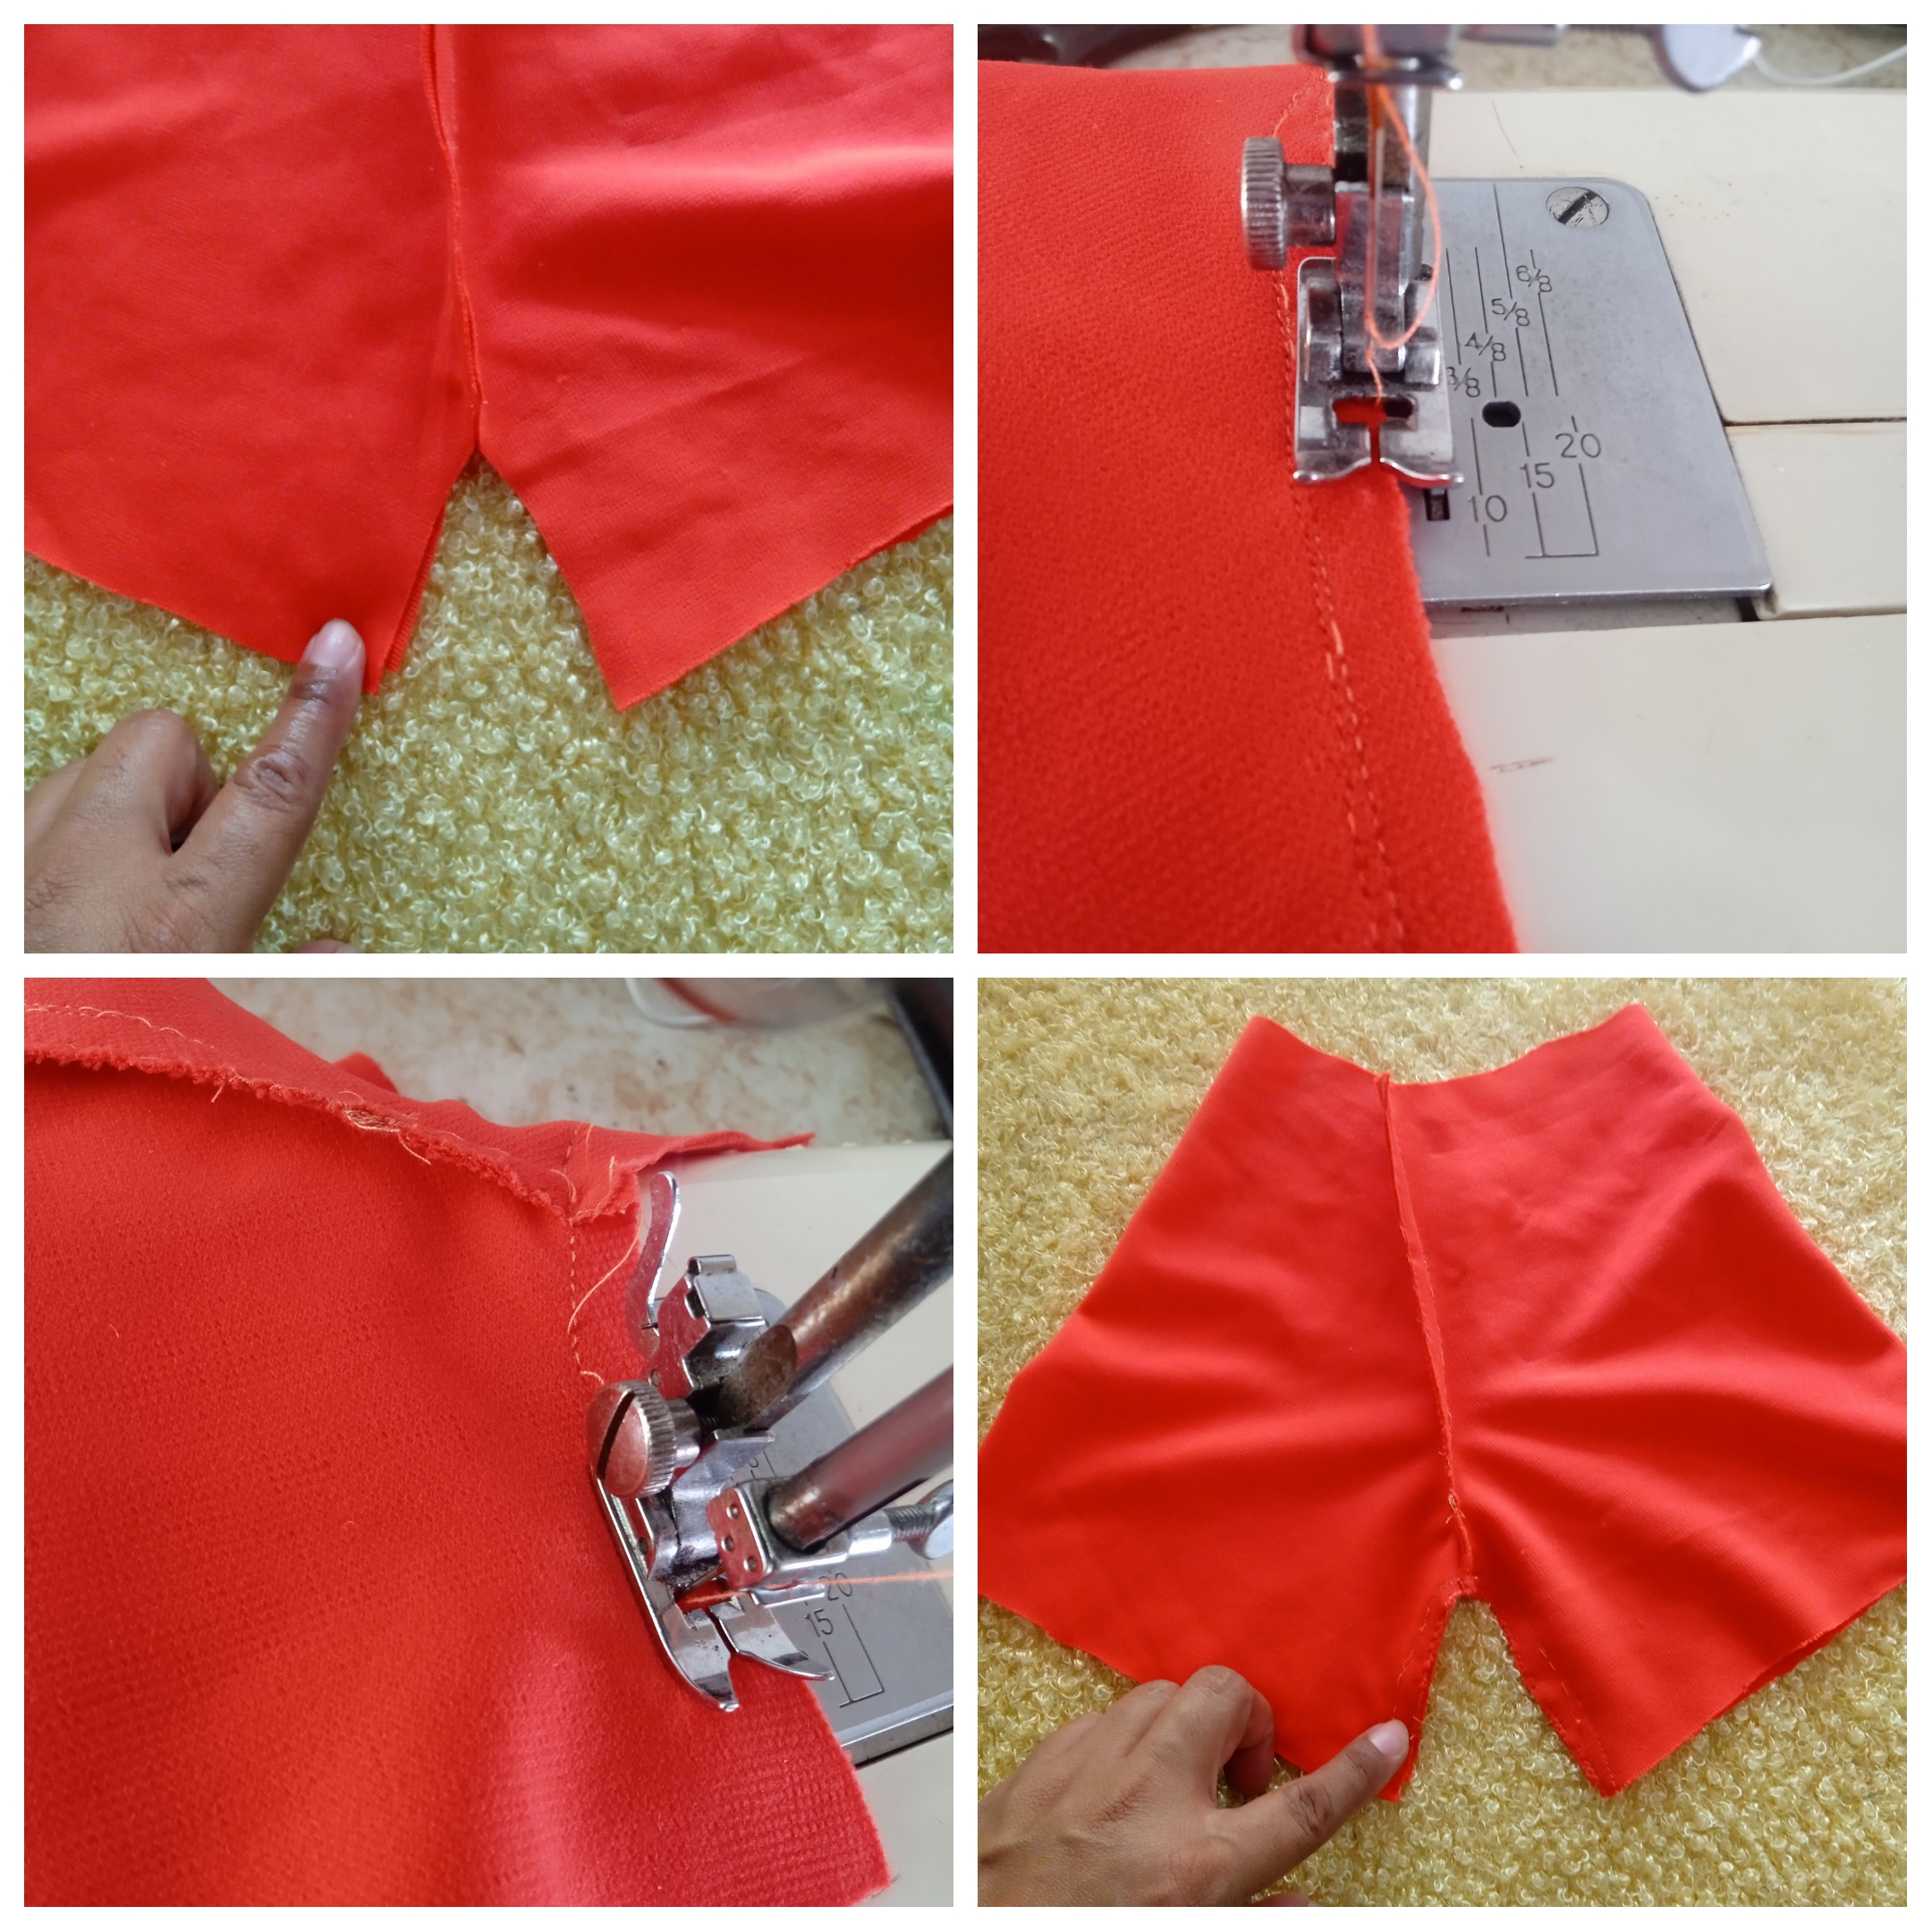
Ahora en este paso giramos nuestra pieza y lo que hacemos es pasar costura recta y luego ziczag por el entrepiernas.
💥English Version
Now in this step we turn our piece and what we do is sew a straight seam and then ziczag along the crotch.
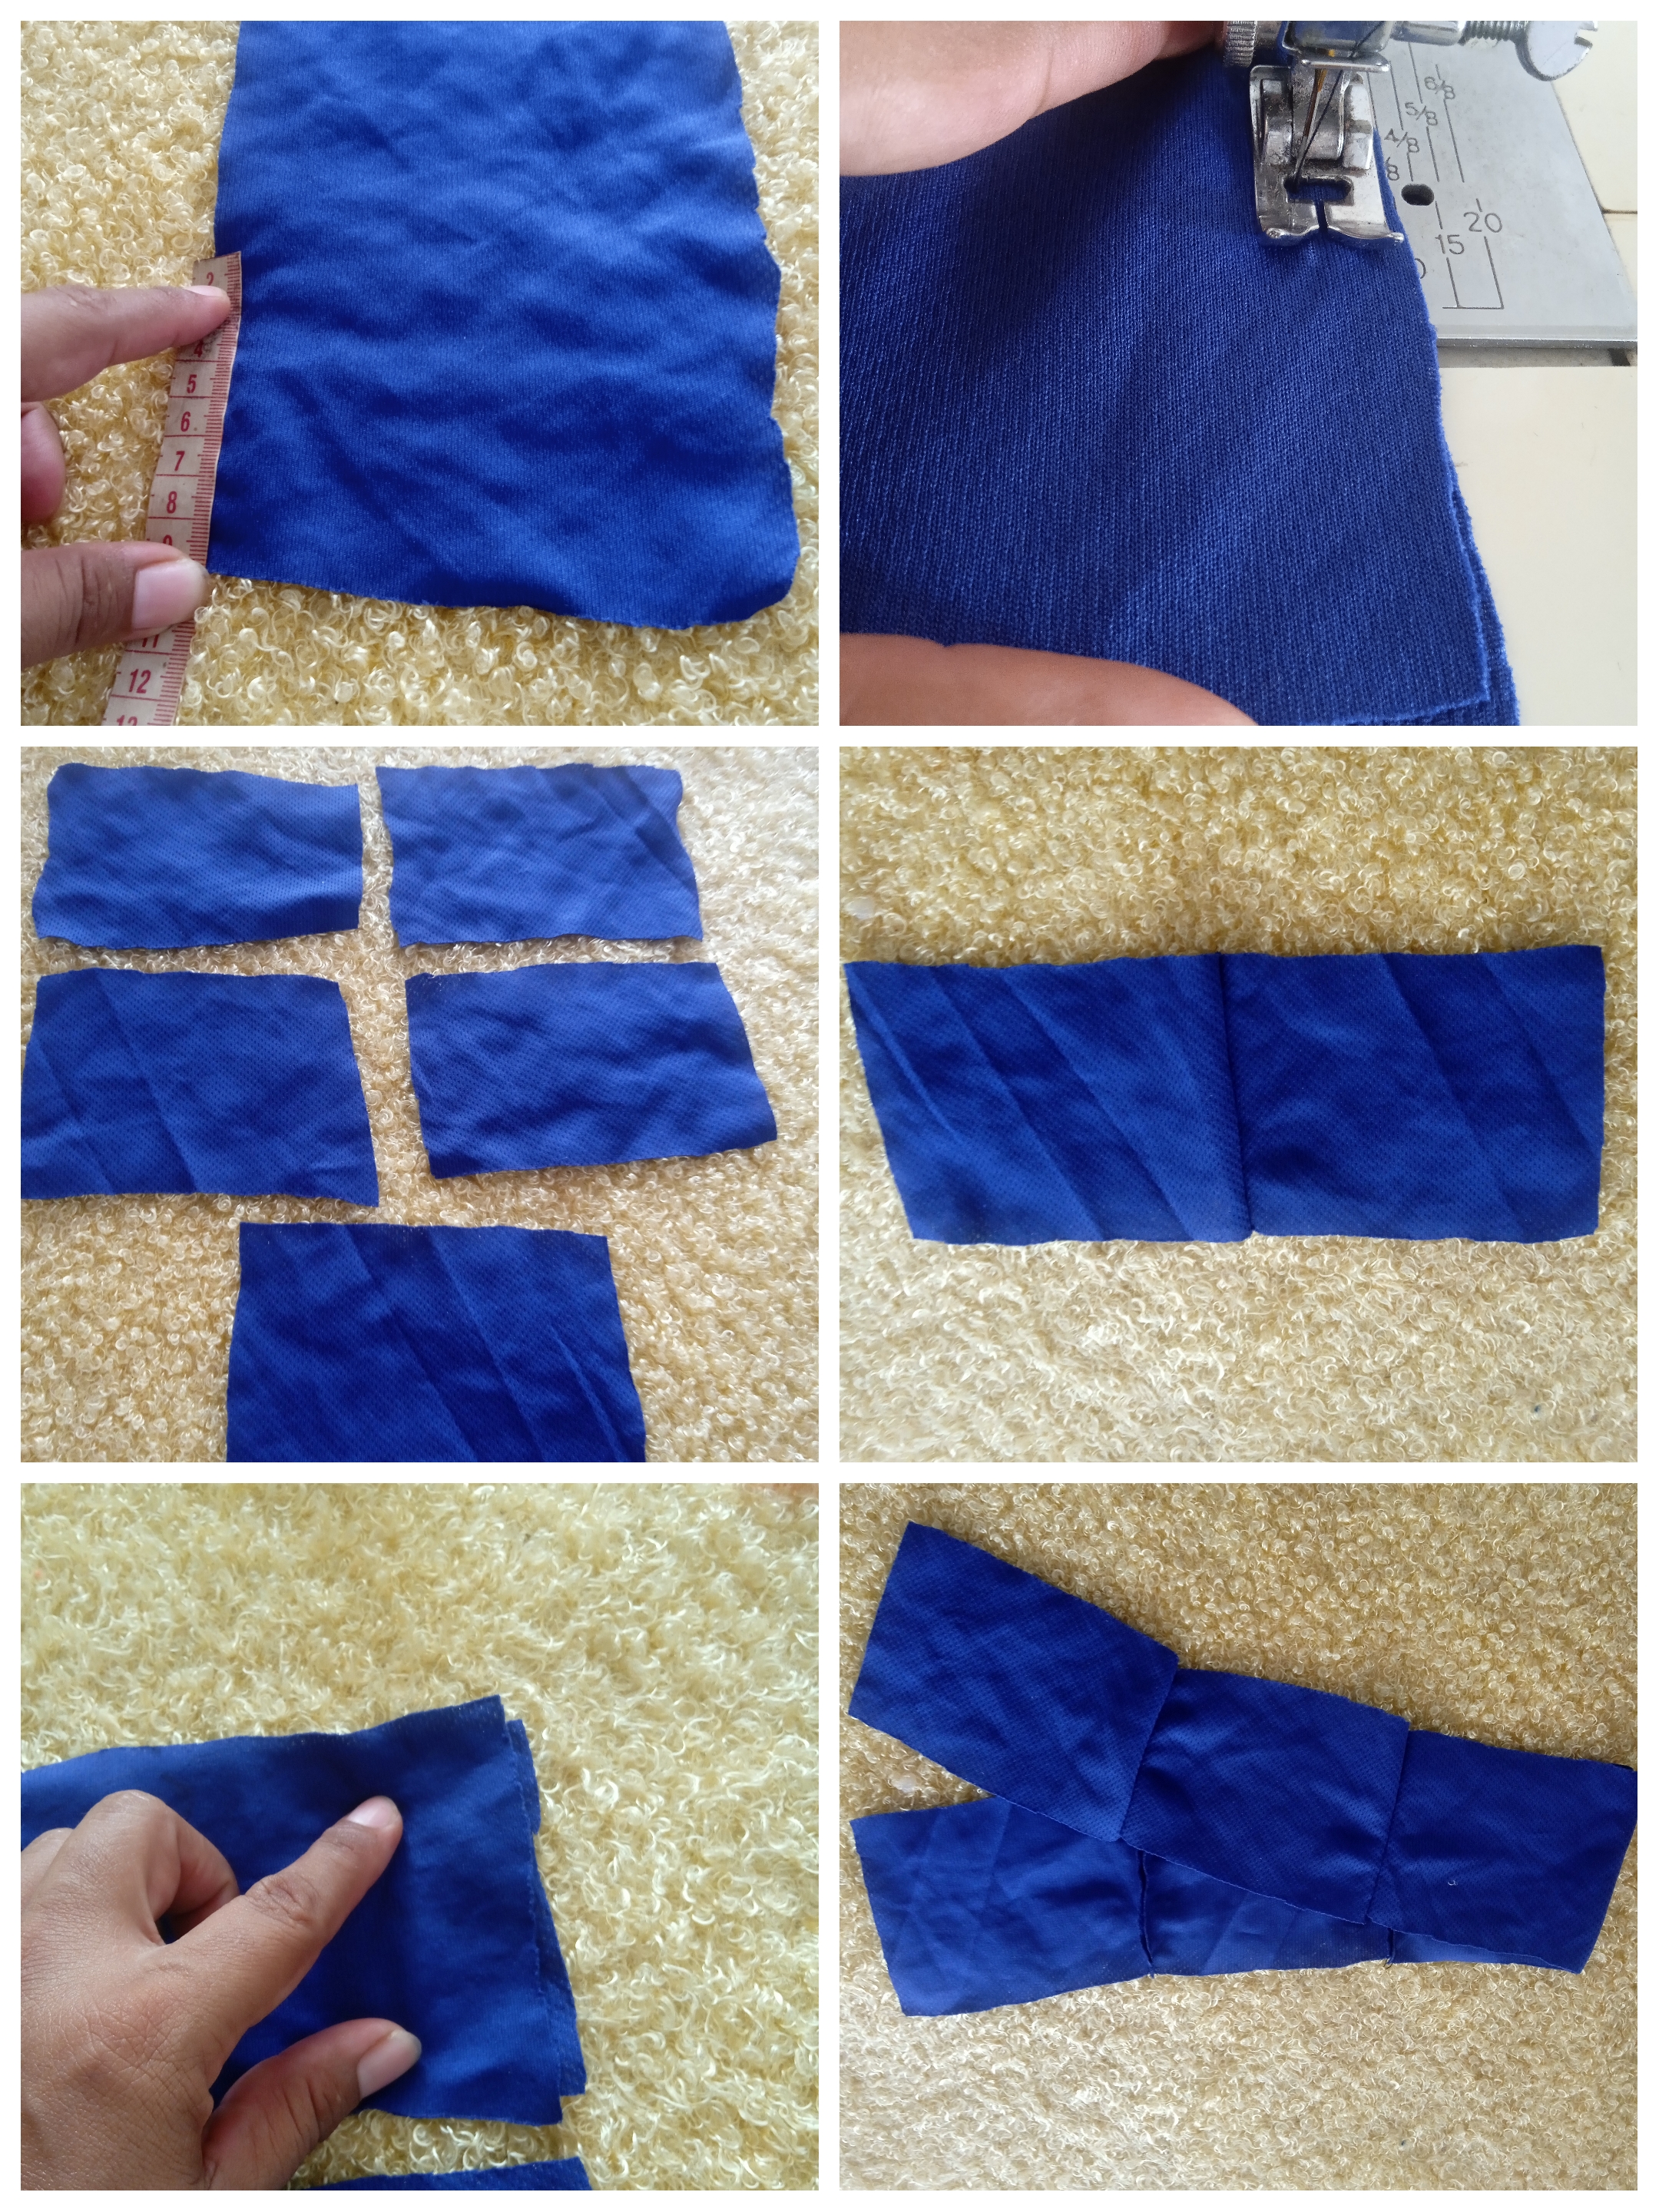
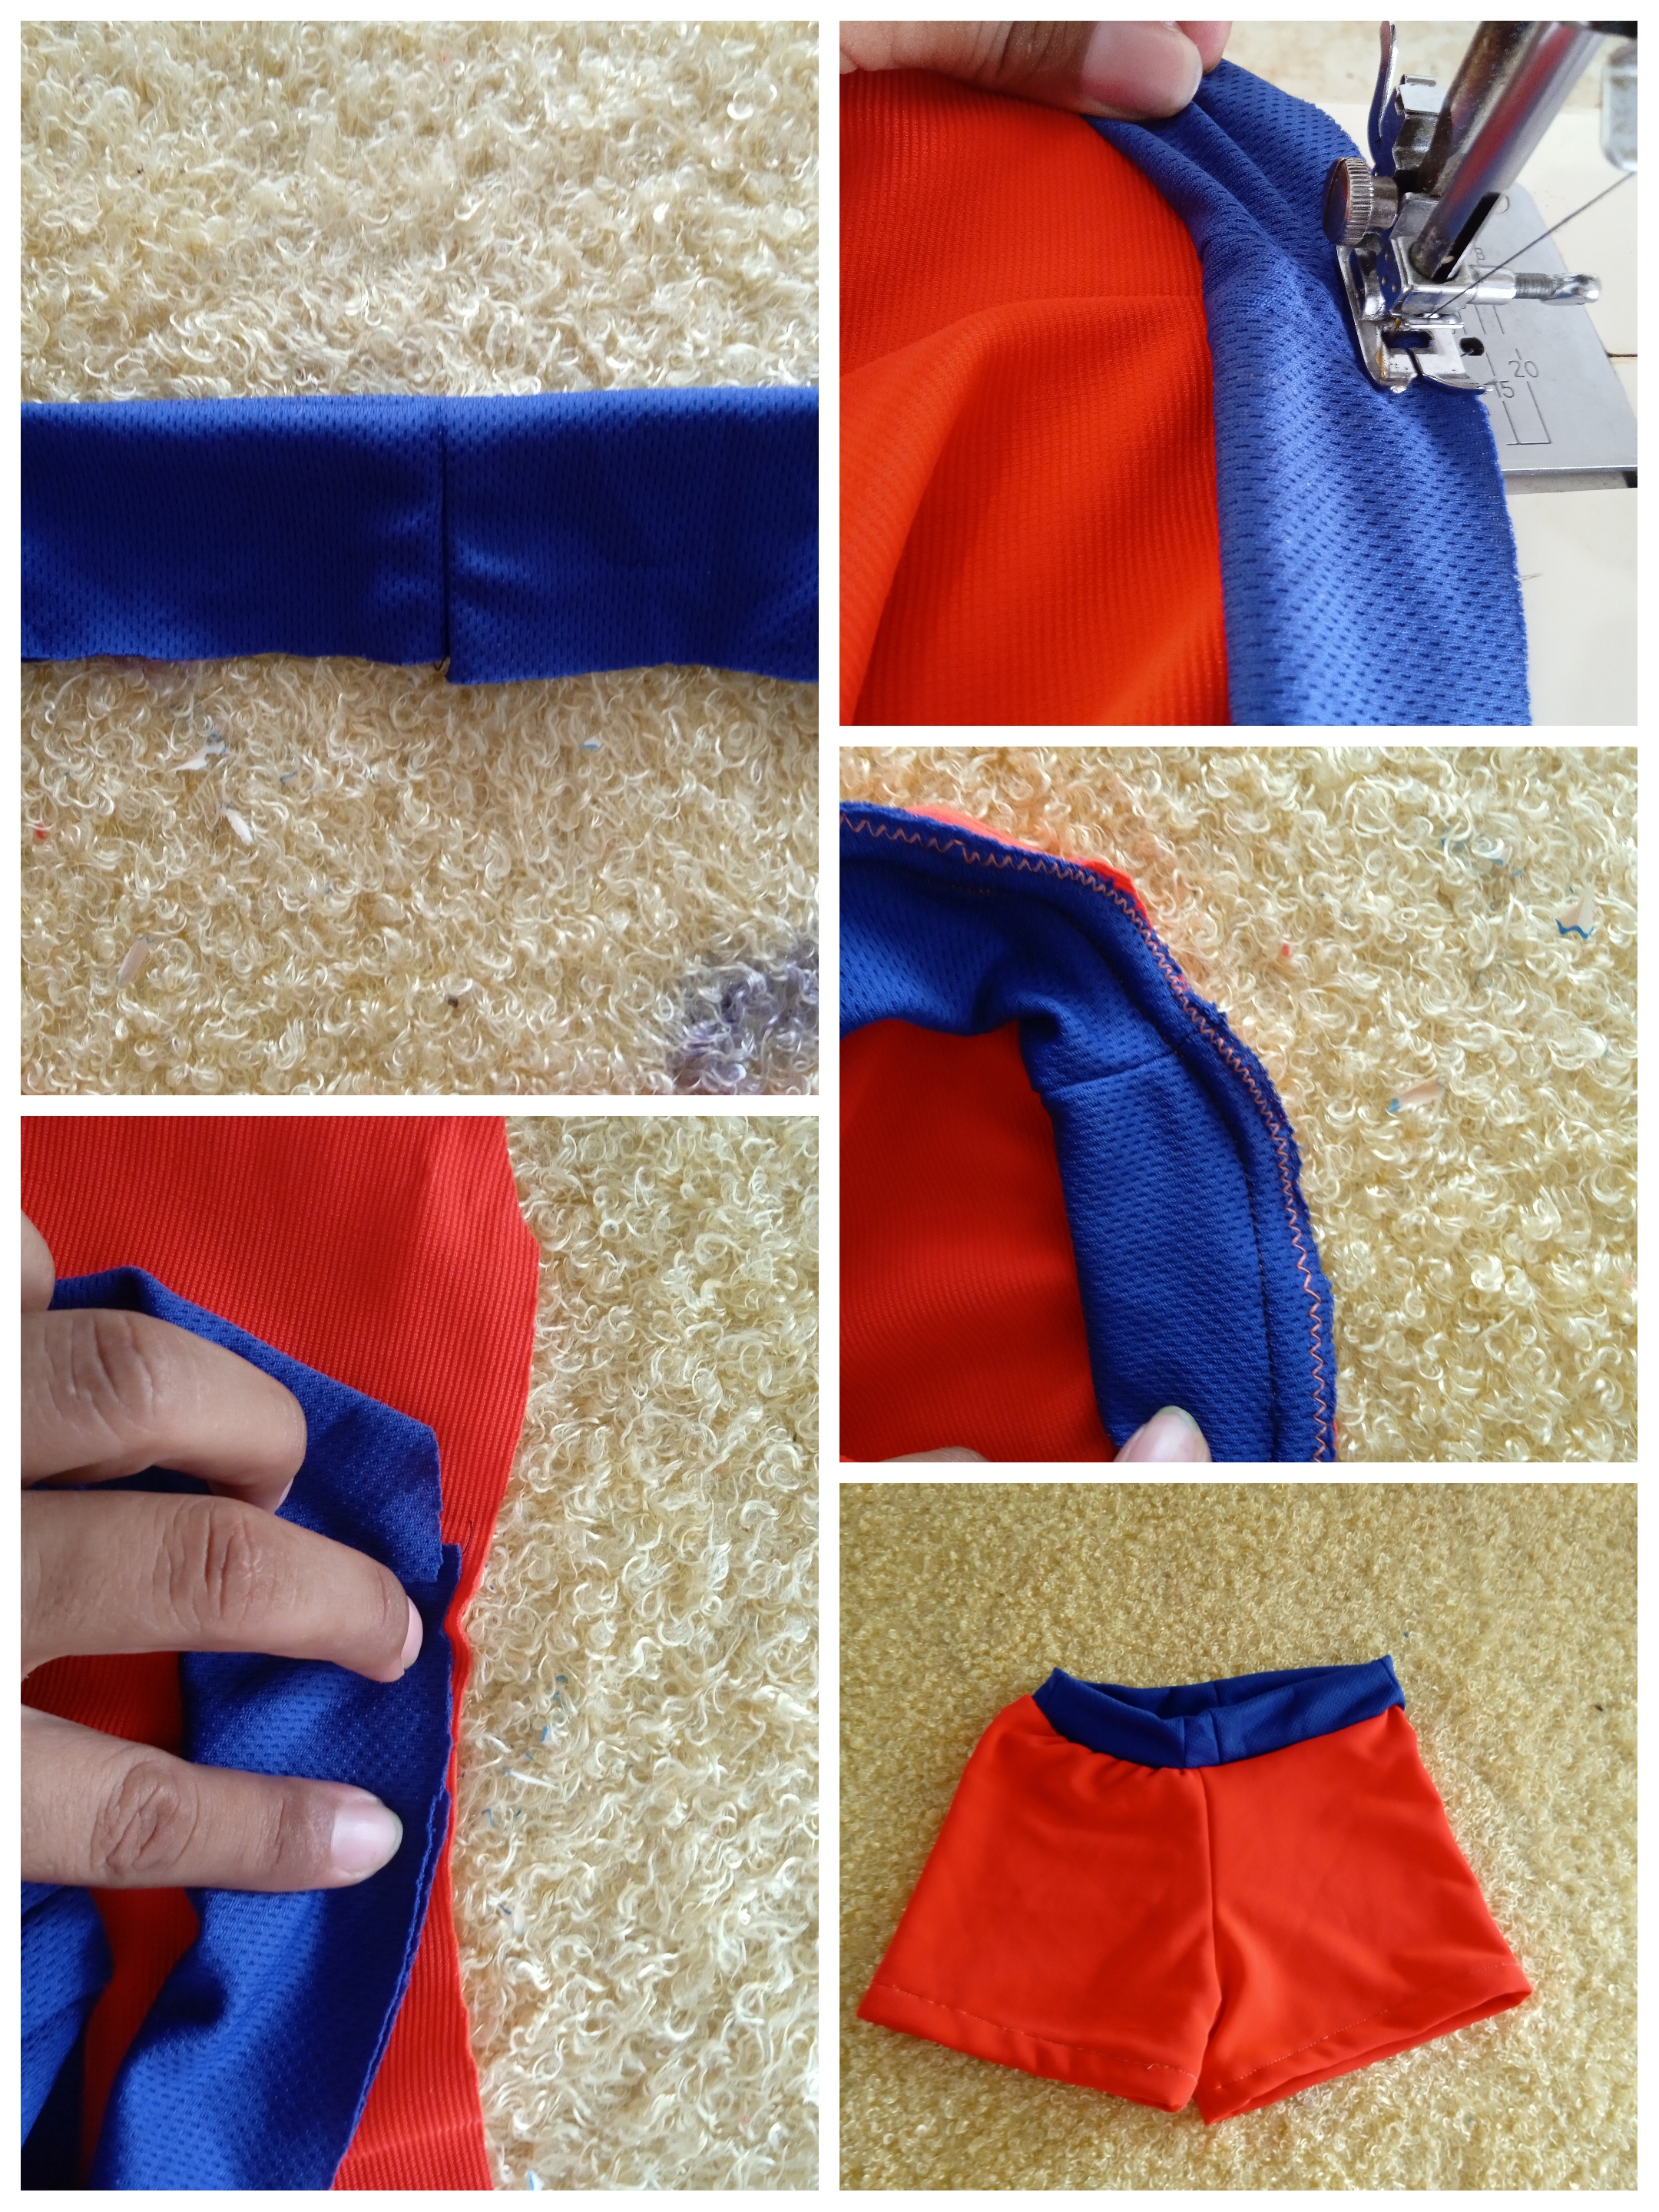
En esta parte vamos a realizar la pretina del boxer con el retazo de tela azúl, pero tuve que picar varios pedazos de tela por la parte que estira, cortando cuadros con una medida de 8 cm de ancho, procedo a unirlos usando la máquina con costura recta y así obtengo la pretina.
💥English Version
In this part we are going to make the waistband of the boxer with the scrap of blue fabric, but I had to cut several pieces of fabric on the part that stretches, cutting squares measuring 8 cm wide, I proceed to join them using the sewing machine straight and that's how I get the waistband.
Para sacar la parte frontal del boxer colocamos la pieza de lado y medimos centímetro y medio y vamos disminuyendo hacia el centro y procedemos a cortar, luego cerramos la pretina con costura recta y doblamos hacia adentro.
💥English Version
To remove the front part of the boxer, we place the piece on its side and measure a centimeter and a half and we decrease towards the center and we proceed to cut, then we close the waistband with a straight seam and fold inwards.
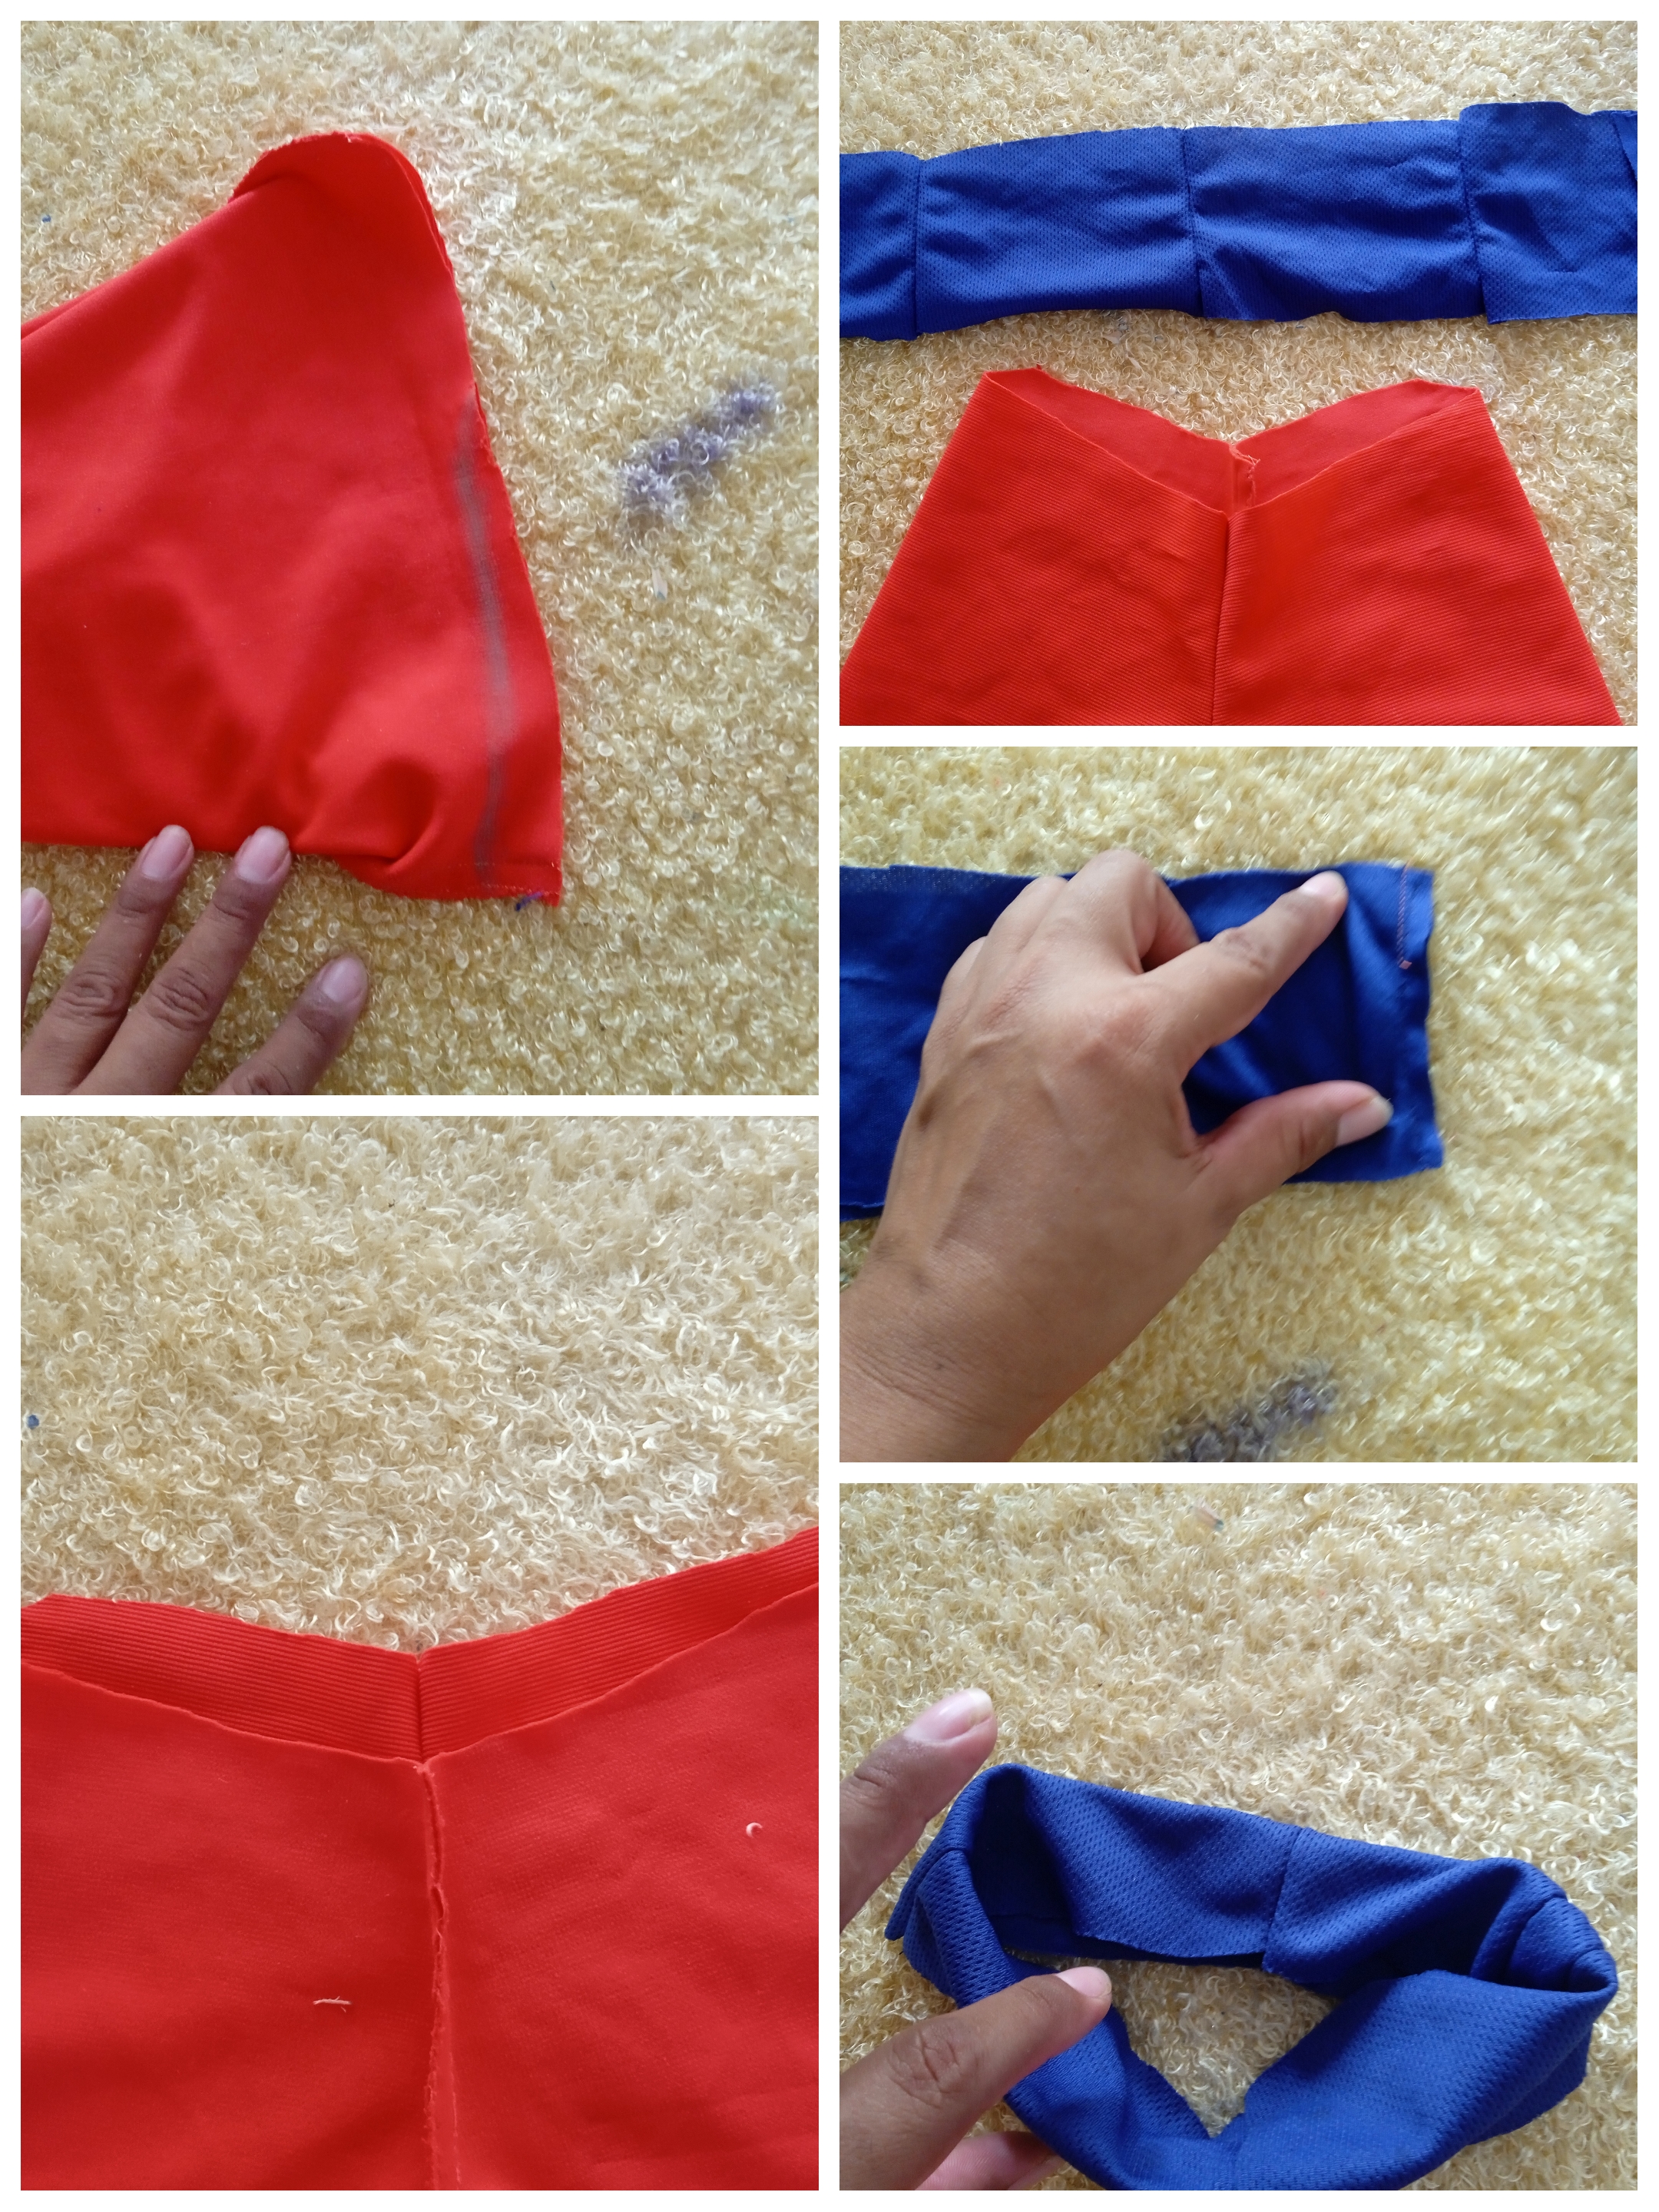
Vamos a realizar la parte del ruedo y doblamos un centímetro hacia adentro pasando también costura recta realizando este procedimiento en ambos lados.
💥English Version
We are going to make the hem part and fold it one centimeter inwards, also passing a straight seam, performing this procedure on both sides.
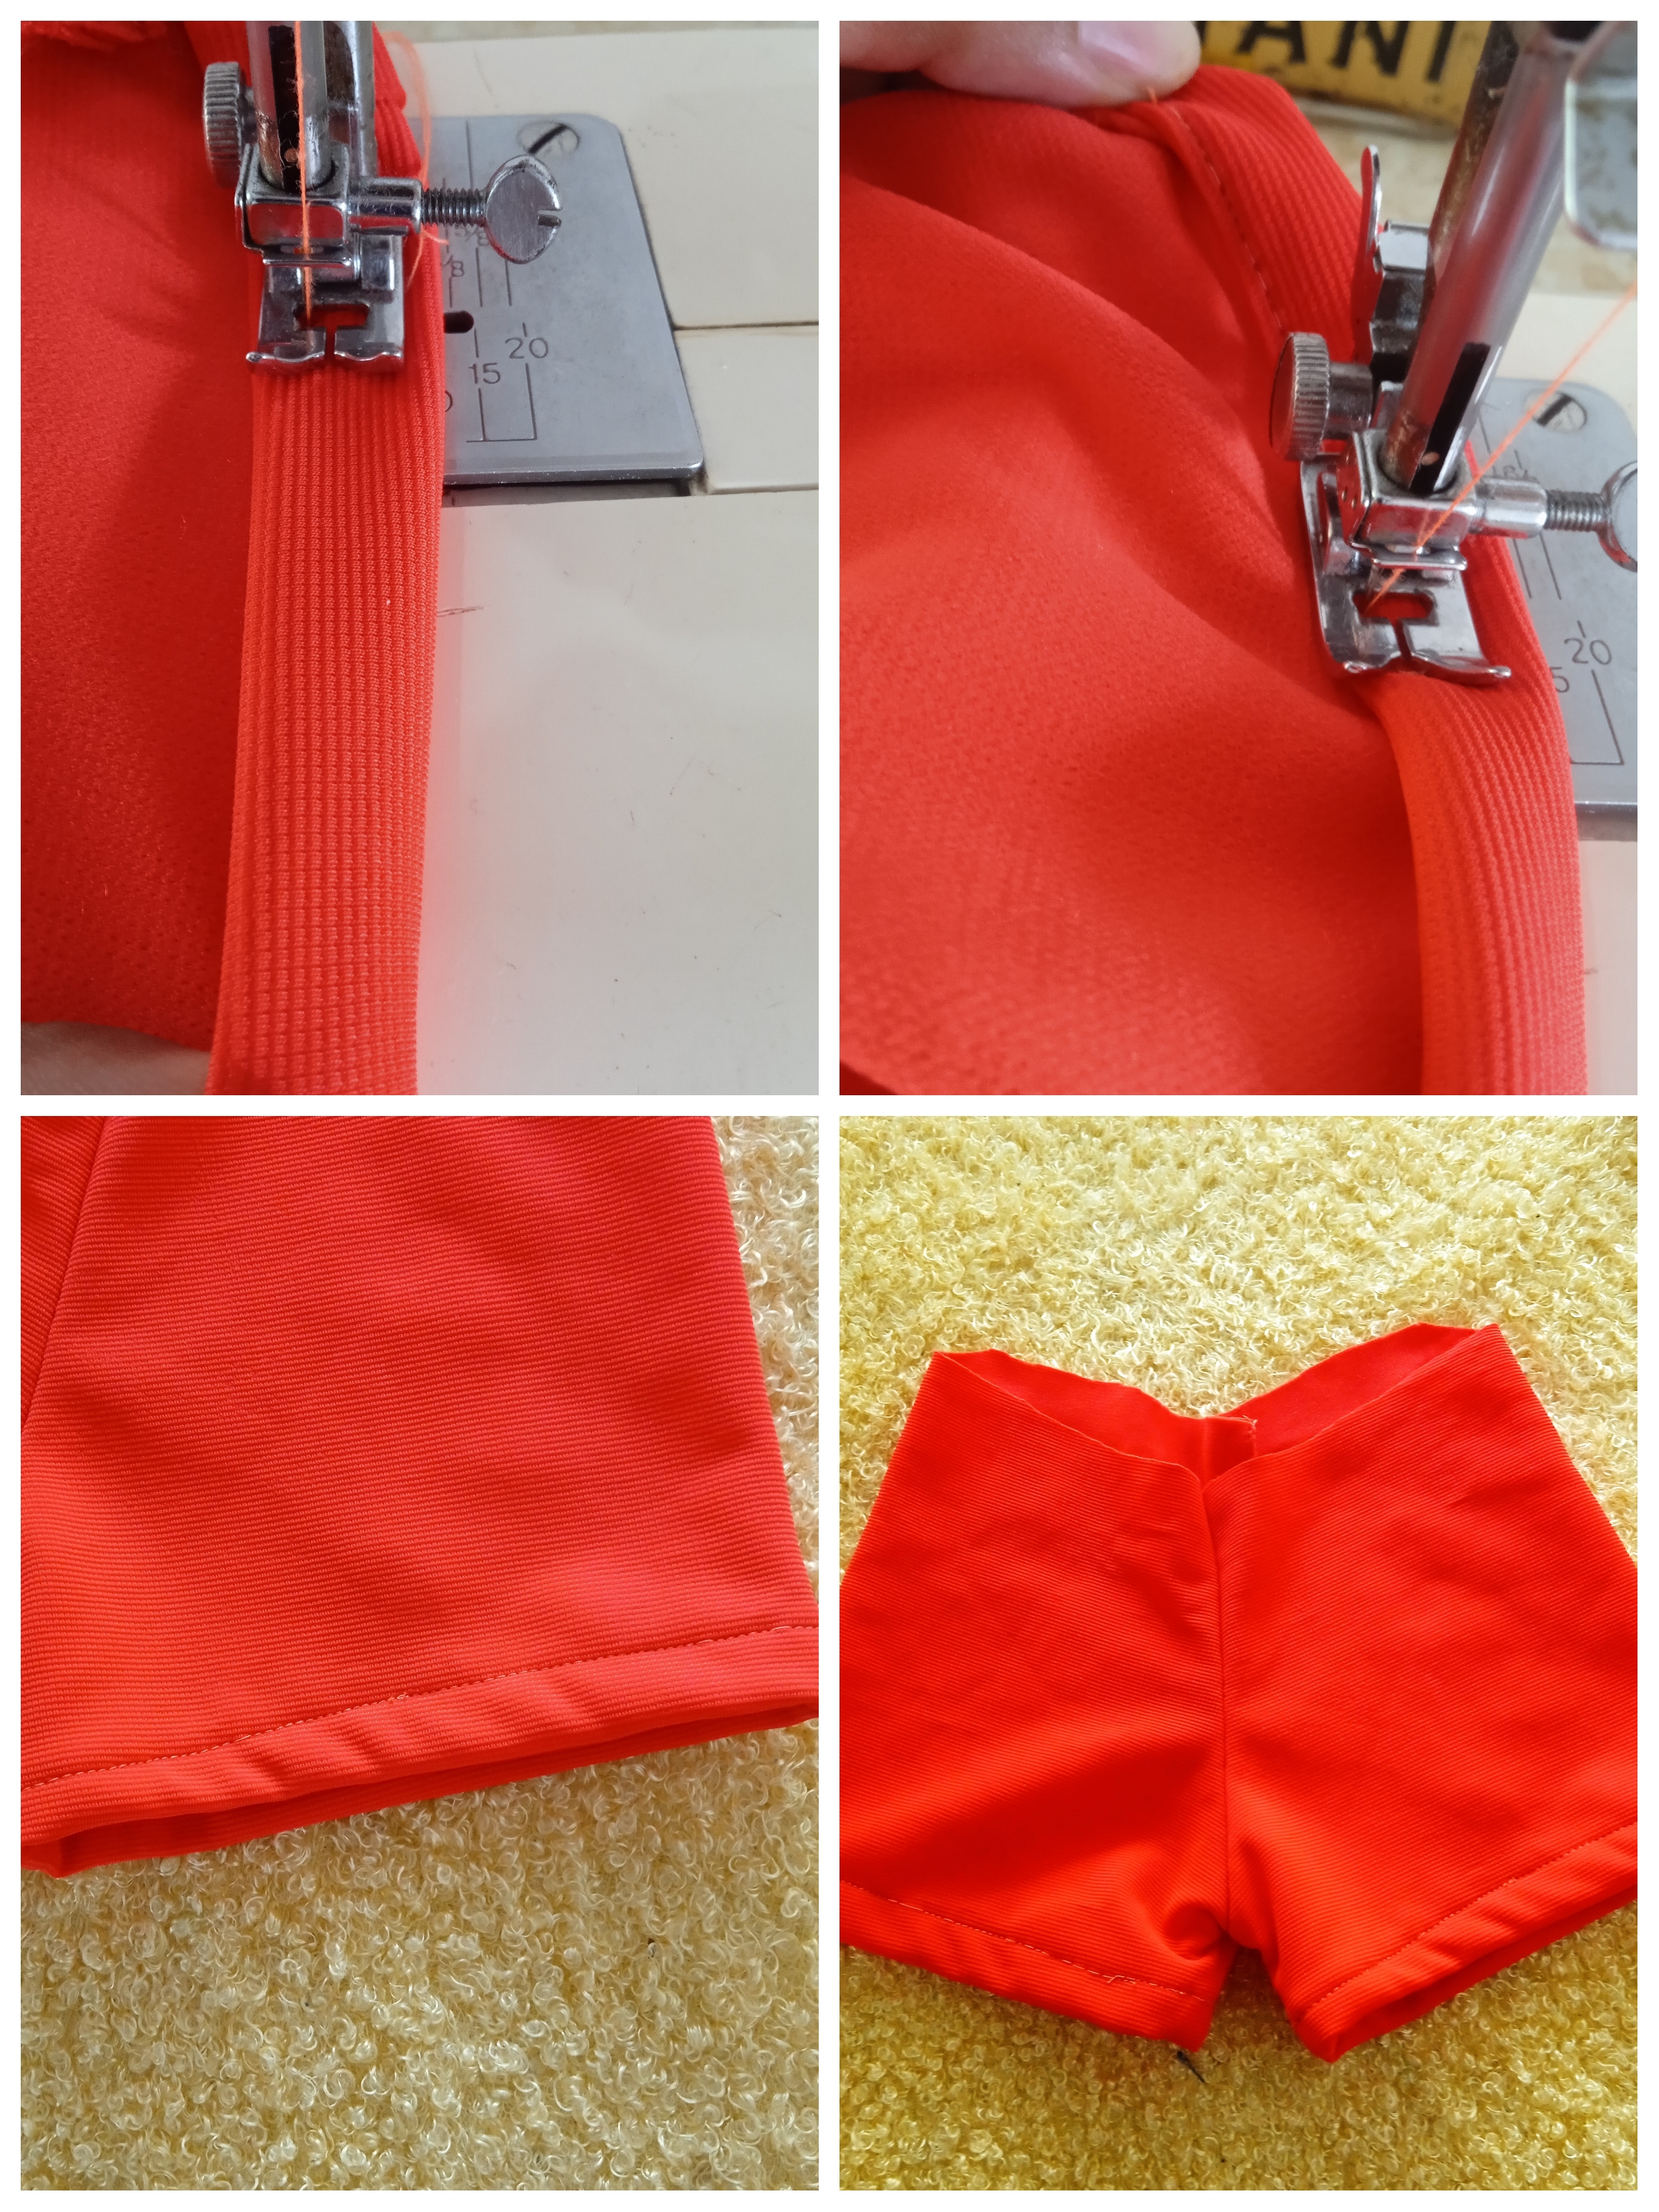
Solo nos falta colocar la pretina al boxer y primero fijamos en el centro, y luego en el centro de la parte de atrás una vez fijada la pretina procedemos a estirar y pasamos costura recta alrededor del boxer luego para terminar pasamos ziczag.
Así con puros retazos de tela obtenemos este boxer de niño, muy fácil de realizar y con pocos pasos.
💥English Version
We only need to attach the waistband to the boxer and first we fix it in the center, and then in the center of the back once the waistband is fixed we proceed to stretch and pass a straight seam around the boxer then to finish we zip.
So with just scraps of fabric we obtain this boy's boxer shorts, very easy to make and with just a few steps
Todas las fotos fueron tomadas con mi teléfono Redmi 9
Espero sea de su agrado mi proyecto realizado con esmero para el disfrute de todos ustedes, deseando siempre que abunde en ustedes la creatividad
Los espero en una próxima oportunidad.
Se despide con cariño @ celeni
💥English Version
All photos were taken with my Redmi 9 phone
I hope you like my project, made with care for the enjoyment of all of you, always wishing that creativity abounds in you.
I hope to see you next time.
Saying goodbye with love @ celeni
Así es amiga, hay que aprovechar al máximo todo, y de esos retazos siempre salen cosas buenas y bonitas, felicitaciones quedó muy bien, Dios te bendiga
Gracias, siempre buscando la manera deaprovechar los materiales que tenemos en casa .
Recordé a mi madre, ella tenía la costumbre de usar otro short como modelo, de ella aprendí eso, aunque nunca me quedan bien jajajaja, ella decía que el tiro era lo que me quedaba mal.
Yo aprendí con mi mama y una vecina que teniamos, a ellas les doy gracias por enseñarme. Quisiera tenerlas Serca para mejorar más
Congratulations @celeni! You have completed the following achievement on the Hive blockchain And have been rewarded with New badge(s)
Your next payout target is 250 HP.
The unit is Hive Power equivalent because post and comment rewards can be split into HP and HBD
You can view your badges on your board and compare yourself to others in the Ranking
If you no longer want to receive notifications, reply to this comment with the word
STOPTo support your work, I also upvoted your post!
Check out our last posts:
It's comfortable and looks great. When someone has creativity and skills, she can make awesome things. Thank you for sharing this.
@celeni "Gracias por compartir tu pasión con nosotros. Eres un verdadero artista del DIY."
https://inleo.io/threads/view/hive-130560/re-leothreads-mvdkkmm1
