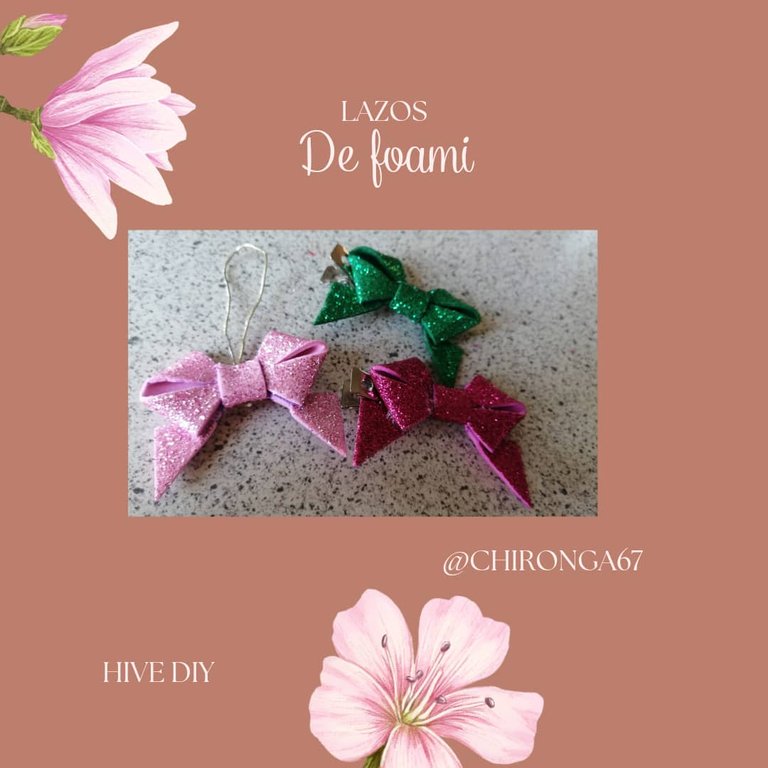

Hive diy espero hayan tenido un lindo día, hoy realice unos lindos lazos de foami escarchado, es increíble la versatilidad que tiene el foami todas las cosas hermosas que se puden hacer y lo lindas que quedan, cada vez hay más creatividad, día a día hay muchas cosas fáciles y sencillas de realizar para vender, regalar o sencillamente adornar nuestro hogar, desarrollemos nuestra creatividad y dejemos volar la imaginación para crear hermosos diseños y por que no? darle nuestro toque personal.Feliz noche amigos de esta hermosa comunidad de #Hive, como están mis queridos, amigos de esta hermosa comunidad de
Sin más que decir paso a los materiales y al paso a paso de estos lindos lazos.
Hive diy I hope you have had a nice day, today I made some nice frosted foami bows, it's amazing the versatility that has the foami all the beautiful things that can be done and how cute they are, there is more and more creativity, every day there are many easy and simple things to make to sell or give away or simply decorate our home, let's develop our creativity and let our imagination fly to create beautiful designs and why not? give it our personal touch.Happy evening friends of this beautiful community of #Hive, how are my dear friends of this beautiful community of
Without further ado, let's move on to the materials and the step by step of these beautiful bows.

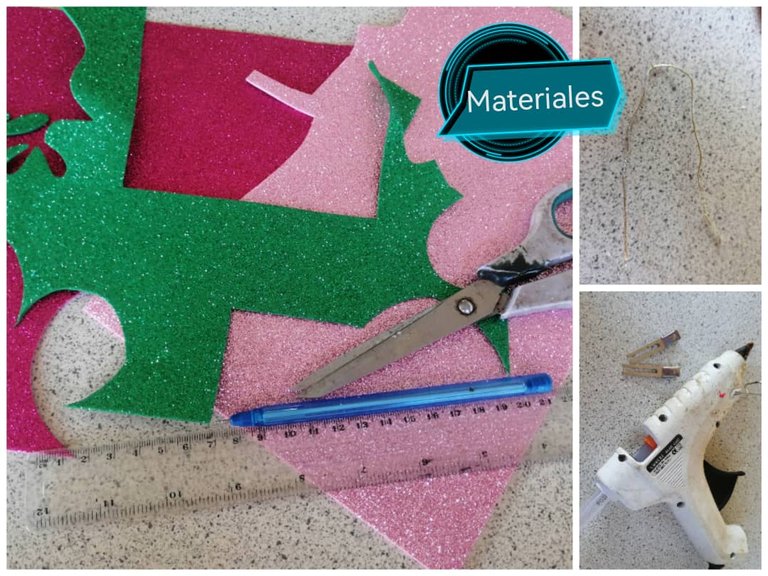
Foami rosado, fucsia y verde
Un pedacito de cordón
Tijera
Pistola de silicon
1 barra de silicon
1 regla
1 lapicero
2 pinzas
Pink, fuchsia and green Foami
A piece of string
Scissors
Silicone gun
1 silicone stick
1 ruler
1 pencil
2 tweezers

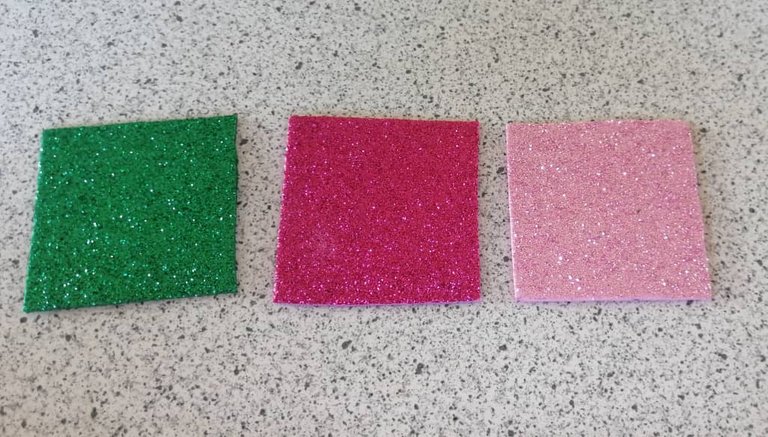
Comence por recortar 1 cuadrado de 5cmx5cm en cada foami y los recorte.
I started by cutting out 1 square of 5cmx5cm in each foami and cut them out.
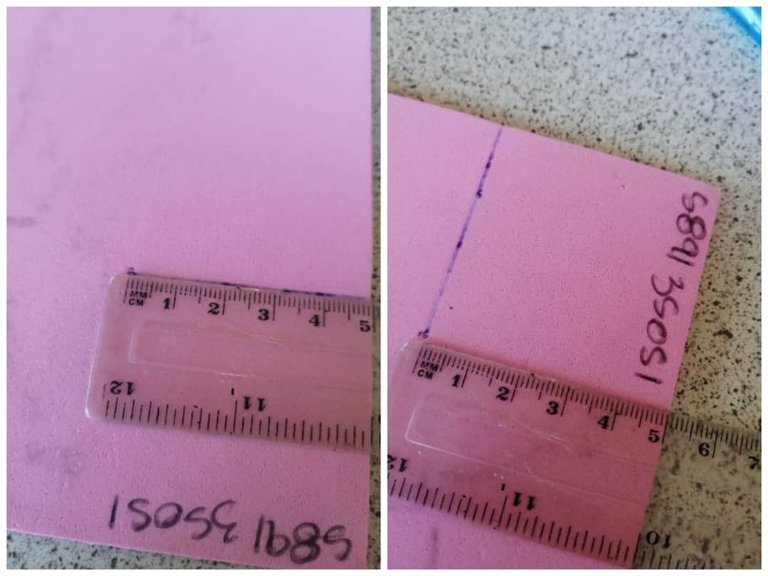
Luego con la regla por la parte de atrás del foami marque una raya de punta a punta de arriba abajo en diagonal, al marcar las 2 queda una equis(x).
Then with the ruler on the back of the foami mark a line from one end to the other from top to bottom diagonally, when marking the 2 lines there is an X (x).
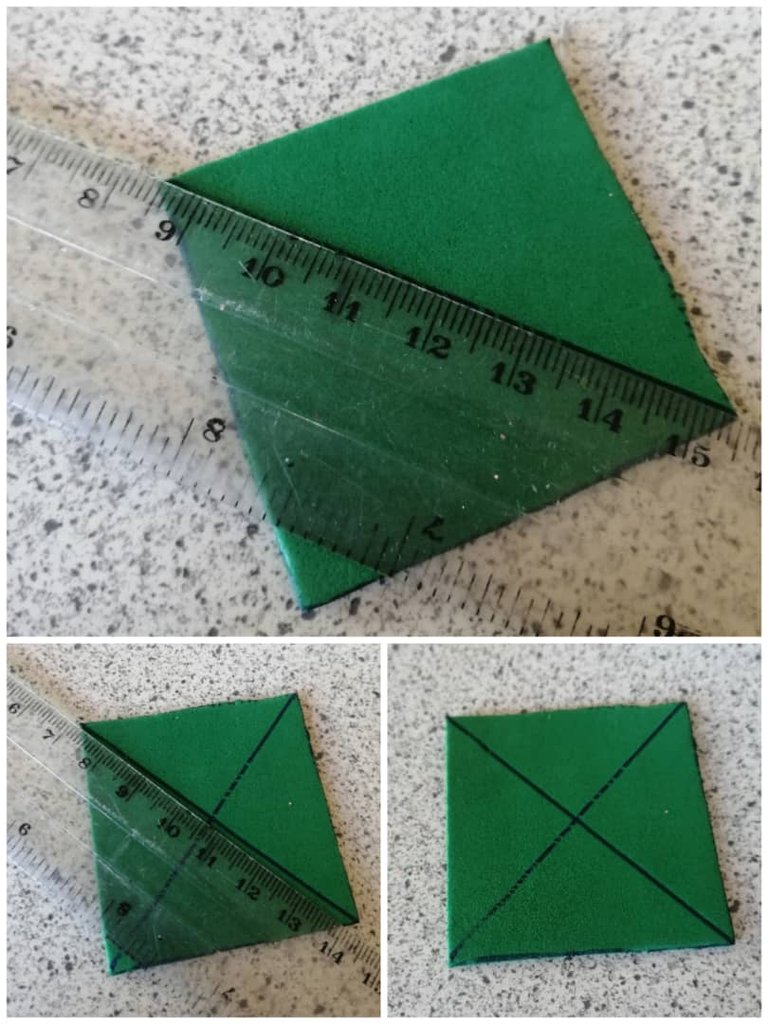
Después marque 2 líneas en horizontal, de arriba hacia abajo y queda así como muestro en la foto.
Then mark 2 lines horizontally, from top to bottom, as shown in the photo.
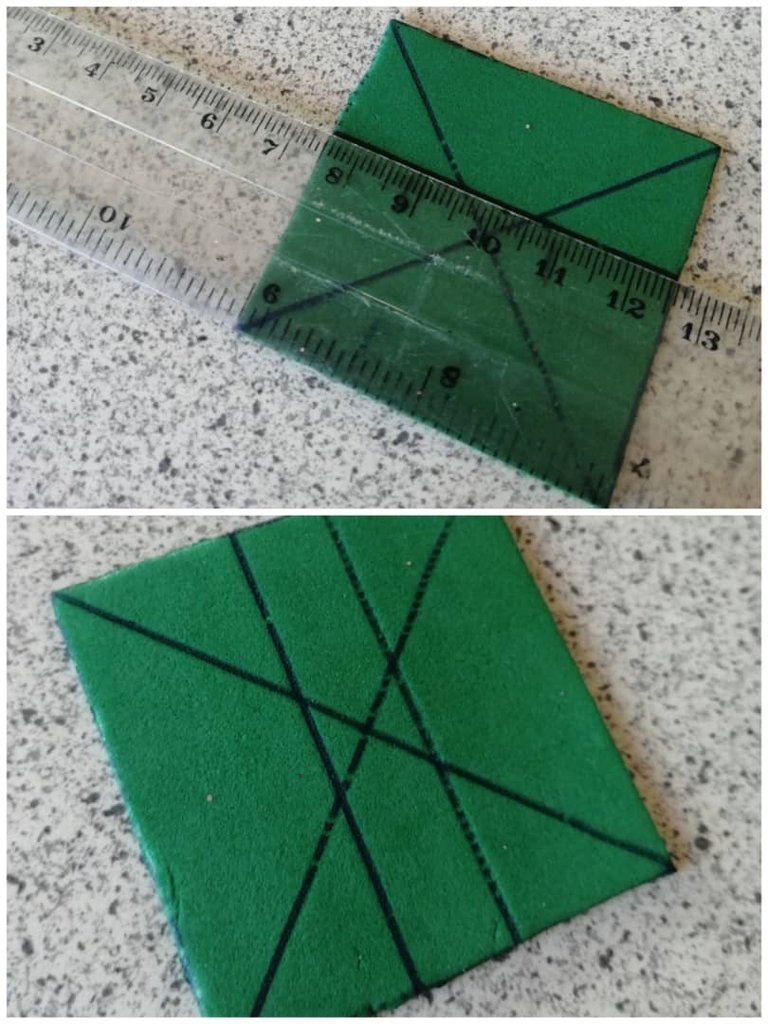
Luego recorte en la parte de arriba y queda en el medio como una tira. En la parte de abajo corto las líneas del medio y quedan unos triángulos.
Then I cut the top part and it remains in the middle as a strip. At the bottom I cut the lines in the middle and there are triangles.
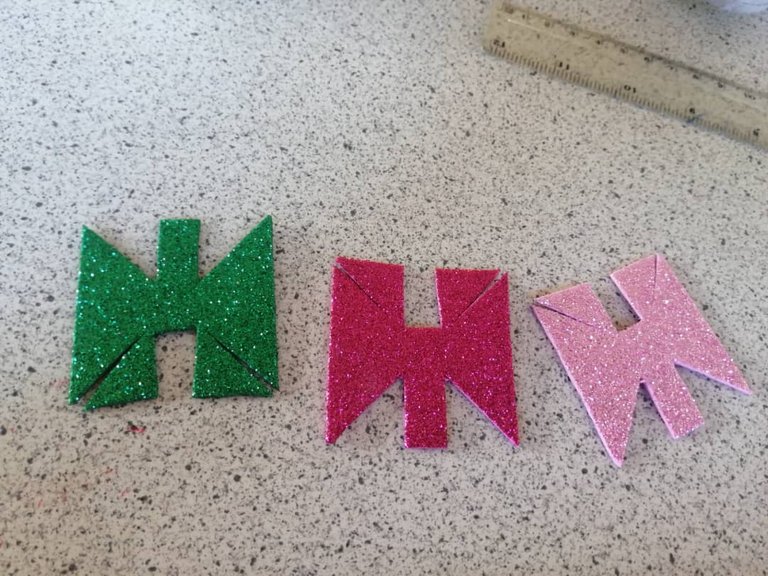
Armado del lazo
Echo en el medio en la parte de atrás silicon y agarro las 2 puntas del lado izquierdo y las llevo al medio y luego hago lo mismo con las puntas del lado derecho.
Loop assembly
I put silicon in the middle at the back and take the 2 ends of the left side and bring them to the middle and then do the same with the ends of the right side.
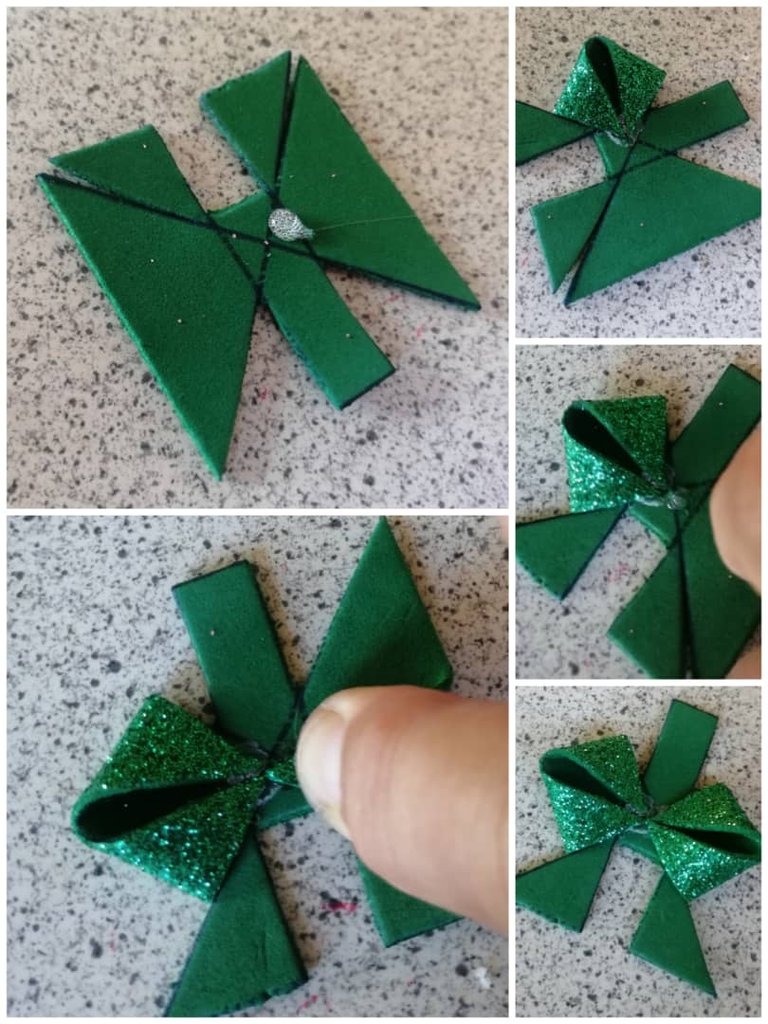
Luego con la tira que queda en el medio echo silicon en el medio del lazo por el lado derecho y paso la tira y lo pego en la parte de atrás y echo silicon para que no se despegue.
Then with the strip that is left in the middle I put silicone in the middle of the loop on the right side and pass the strip and glue it on the back and put silicone so that it does not come off.
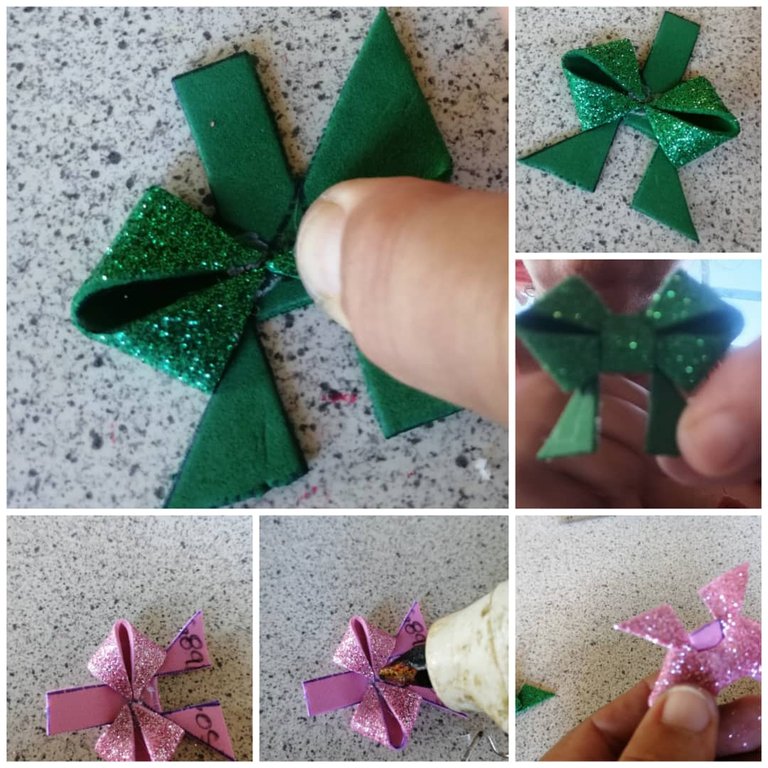
Luego los triángulos que quedan en la parte de atrás a uno lo giro a la derecha y el otro a la izquierda y lo pego en cada lado en la parte de atrás eso formara las puntas del lazo.
Then the triangles that are left on the back, I turn one to the right and the other to the left and glue it on each side on the back that will form the ends of the loop.
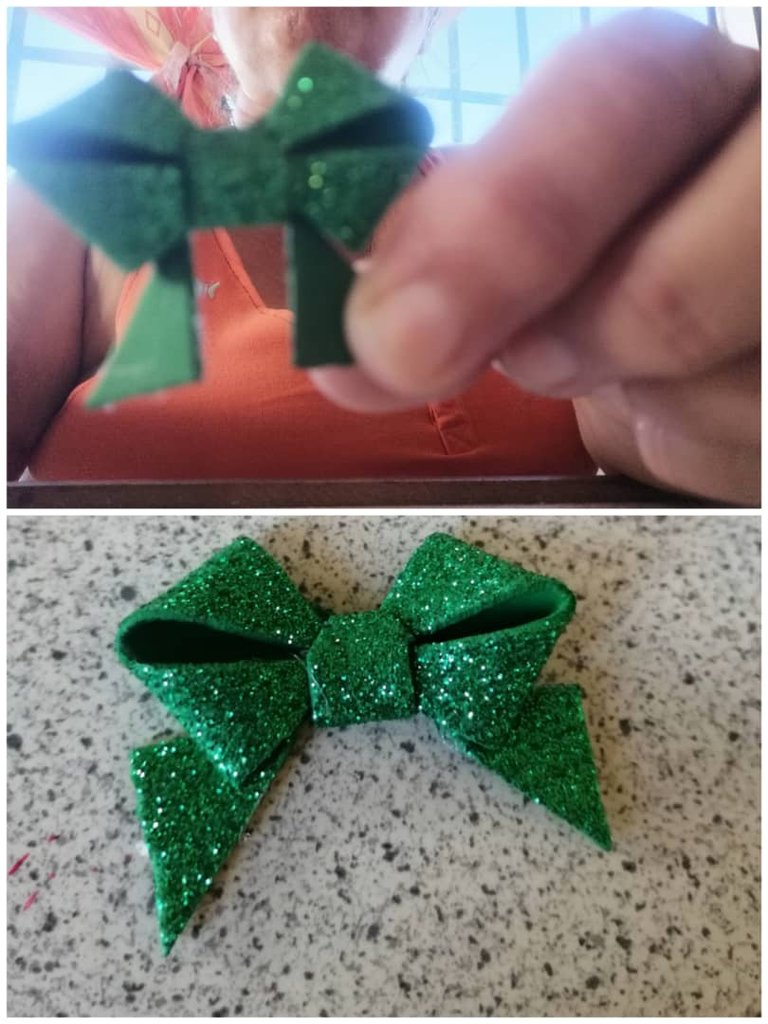
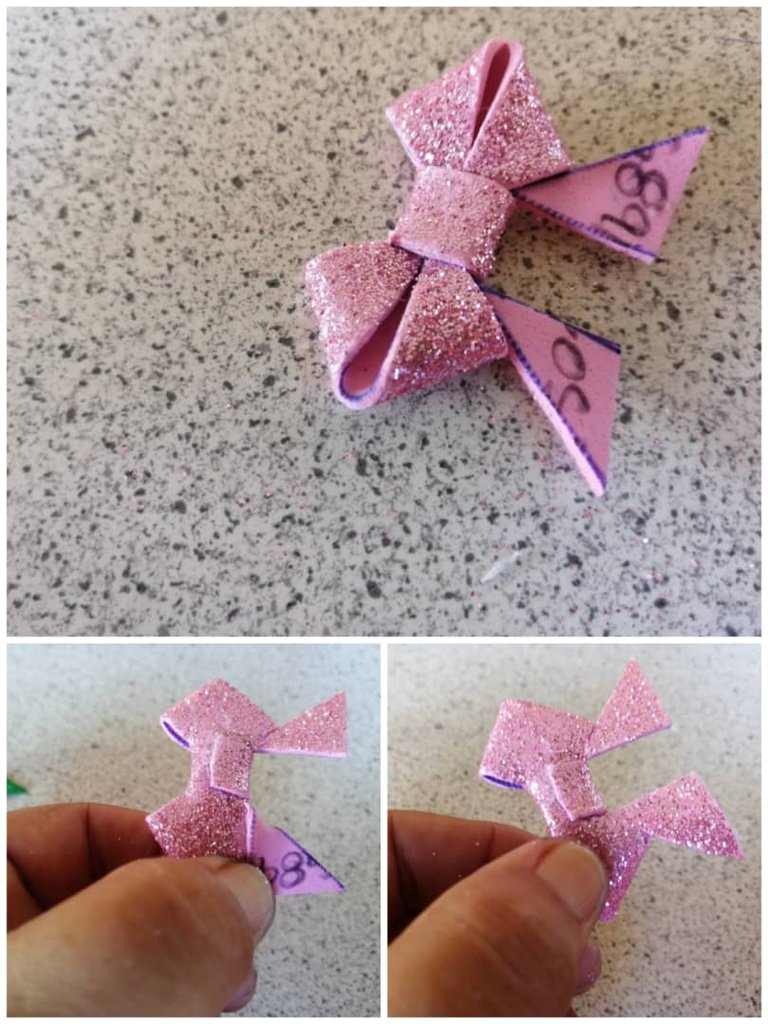
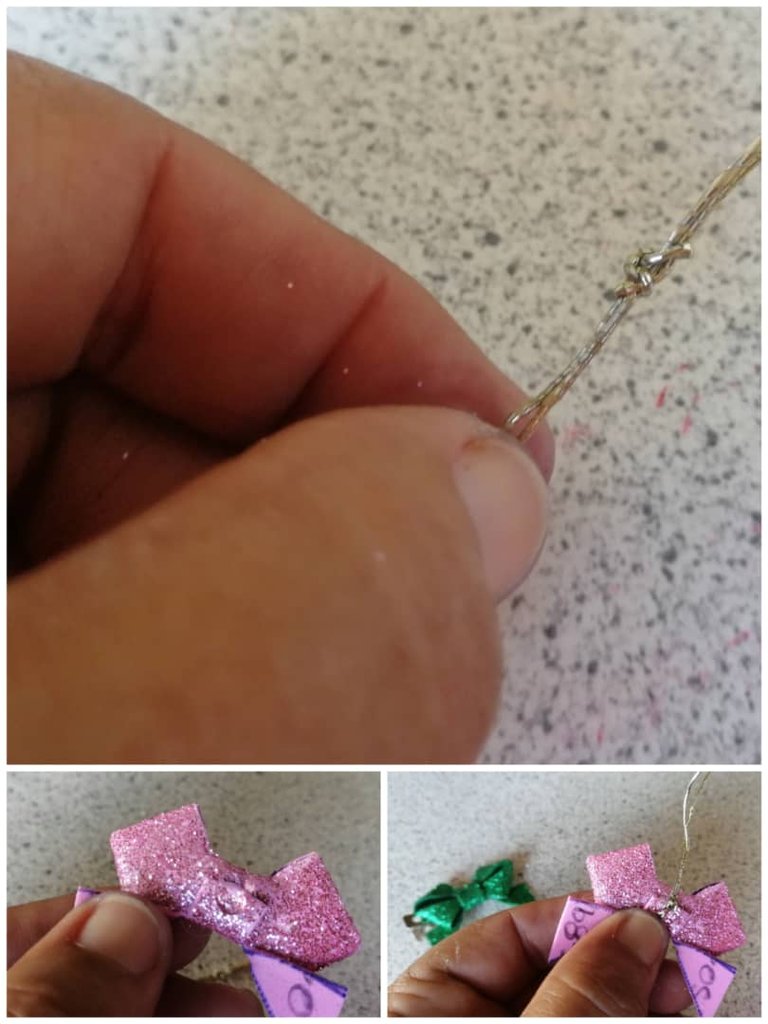
Luego agarro 10 cm de cordón lo doblo a la mitad, lo amarro en las puntas le echo silicon en el medio en la parte de atrás y le pego el cordón y los otros 2 lazos los pego en 2 pinzas para el cabello y ya estan listo nuestros 3 lazos.
Then I take 10 cm of cord, fold it in half, tie it at the ends, put silicone in the middle at the back and glue the cord and the other 2 loops I glue them in 2 hair clips and our 3 loops are ready.
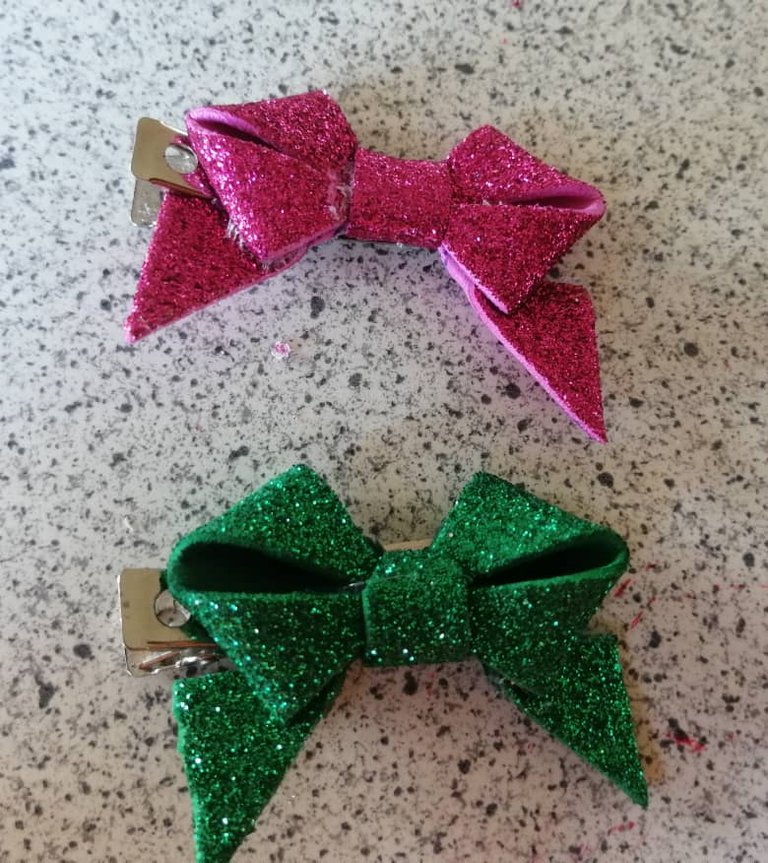
Espero entiendan bien mi paso a paso y puedan realizar estos lindos lazos.
Hasta aquí mi post de hoy espero les gusten estos hermosos lazitos hechos en foami y se animen a hacerlos para adornar el arbolito o hacer unos hermosos ganchitos para niñas, de verdad se ven muy lindos. Gracias por su visita y apoyo.
I hope you understand my step by step and can make these beautiful bows.
So far my post today I hope you like these beautiful bows made in foami and are encouraged to make them to decorate the tree or make some beautiful hooks for girls, they really look very nice. Thank you for your visit and support.
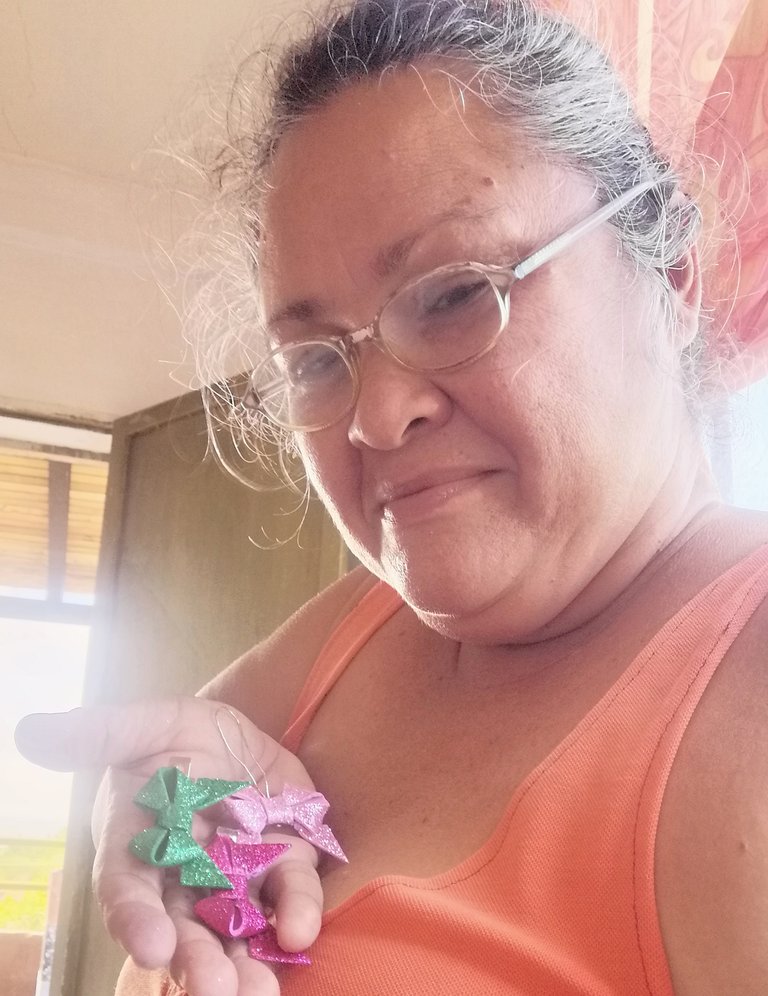
Las fotos aquí utilizadas fueron tomadas por mi con mi celular huawei mate lite20, use Deelp traductor, imagen editada en canva, separadores realizados en por mi en canva.
The photos used here were taken by me with my cell phone huawei mate lite20, use Deelp translator, image edited in canva, separators made by me in canva.
~~~ embed:1725333078128623762?t=5_t26BrUA1CLv89FW68Mlw&s=19 twitter metadata:Z29tZXpfcm9zaXJ5fHxodHRwczovL3R3aXR0ZXIuY29tL2dvbWV6X3Jvc2lyeS9zdGF0dXMvMTcyNTMzMzA3ODEyODYyMzc2Mnw= ~~~
it's so amazing.. cool 🥰🥰
Thank you 🤗❤️