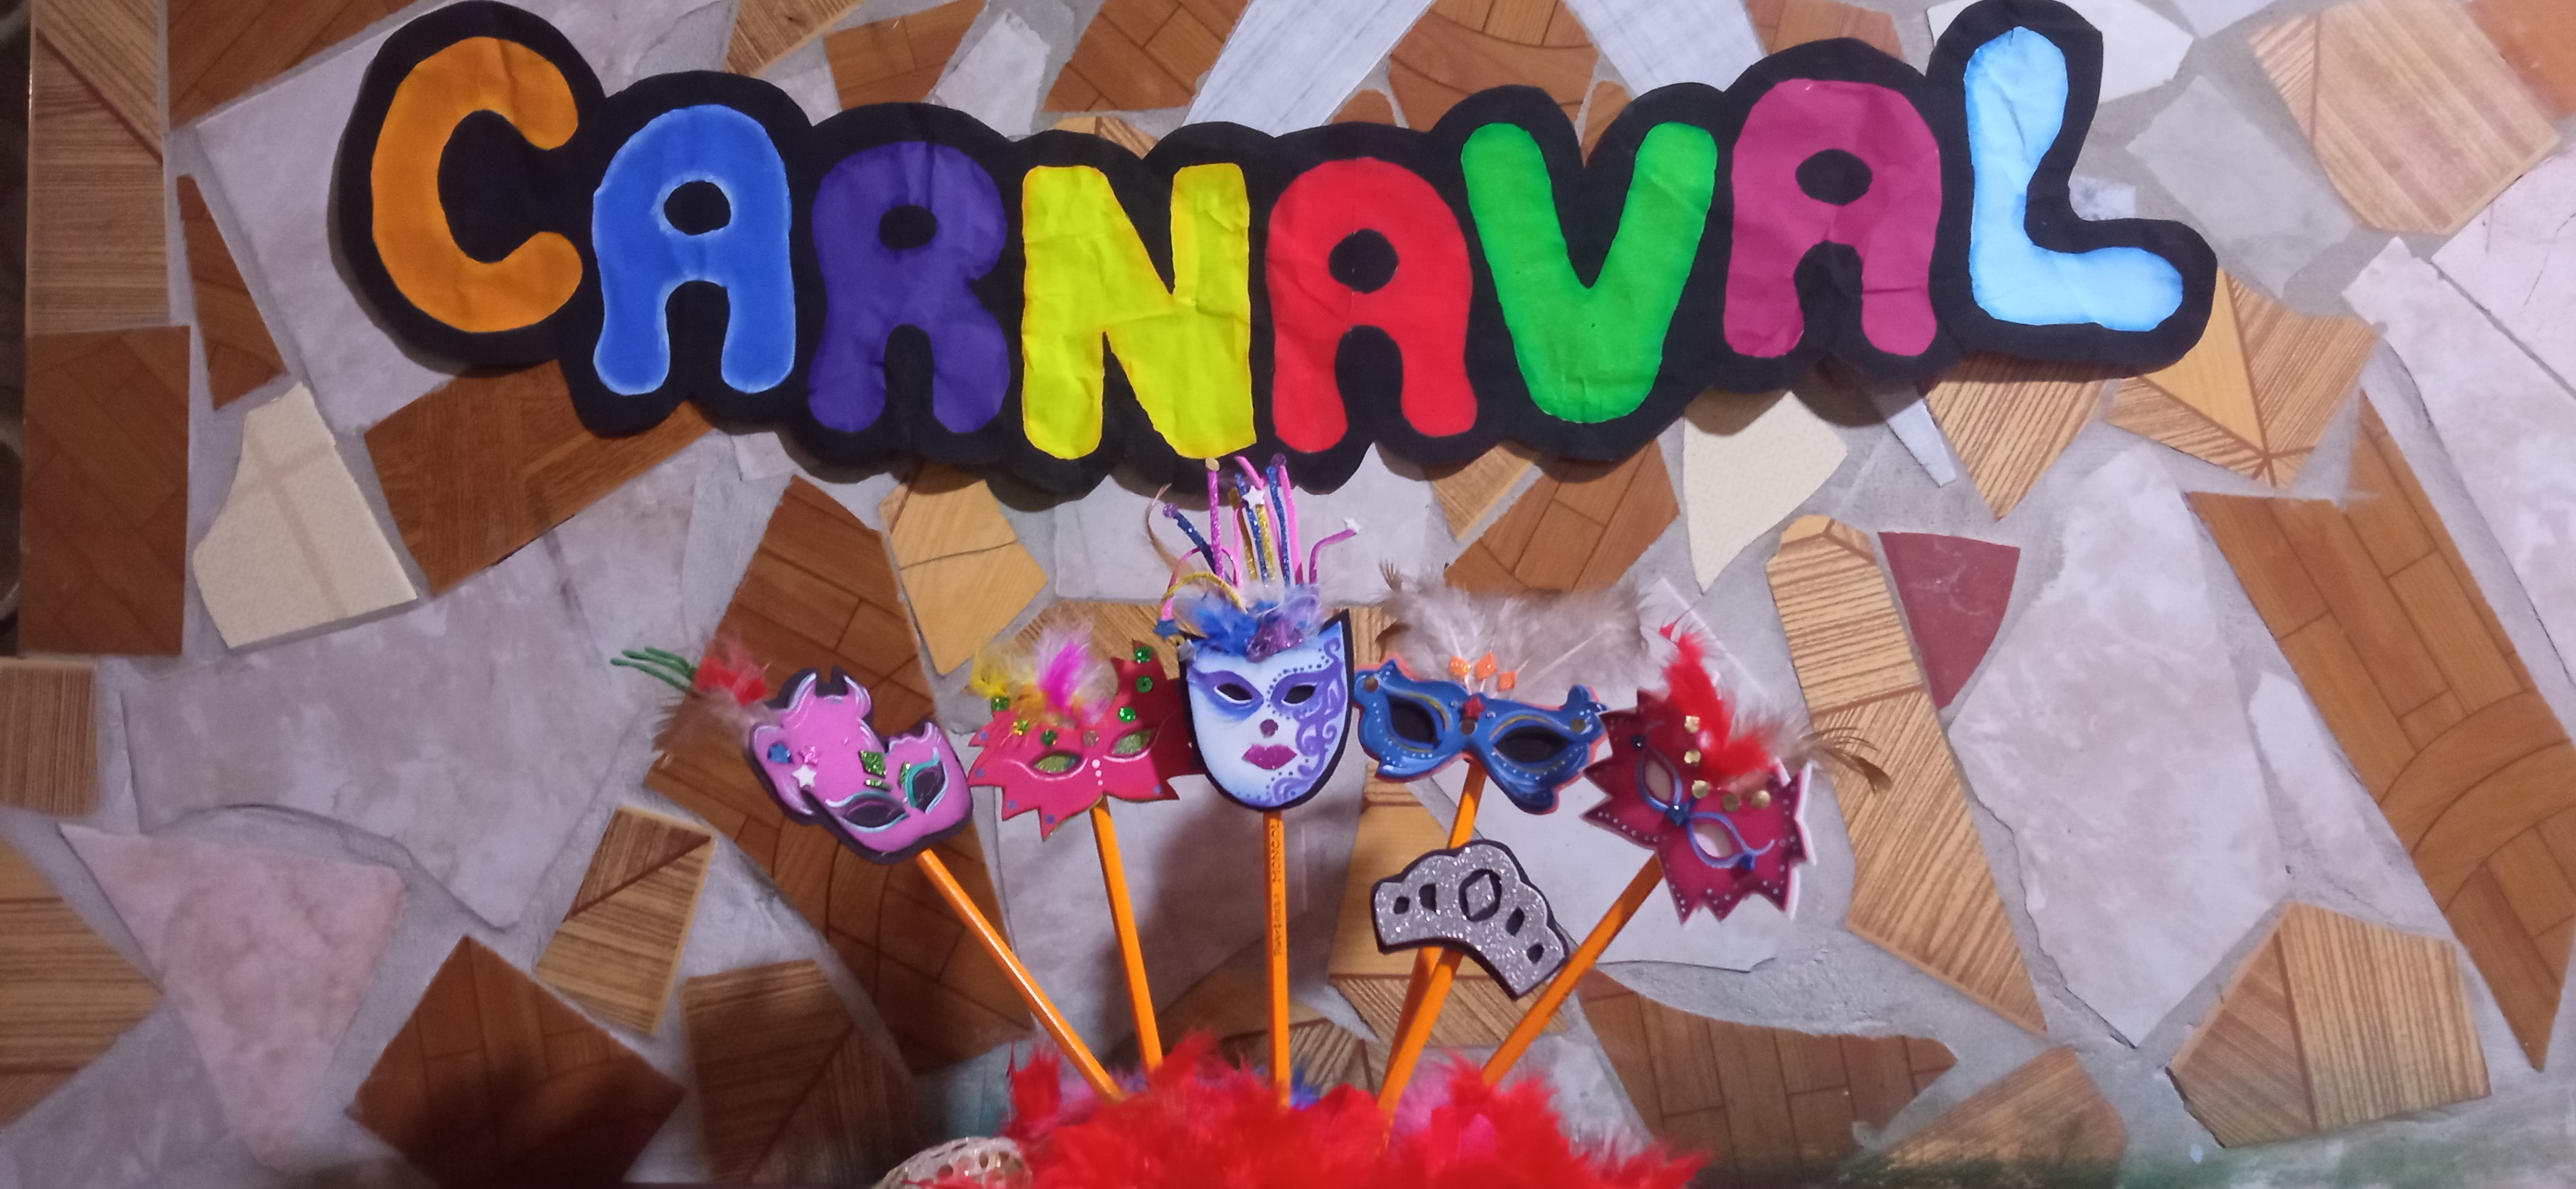
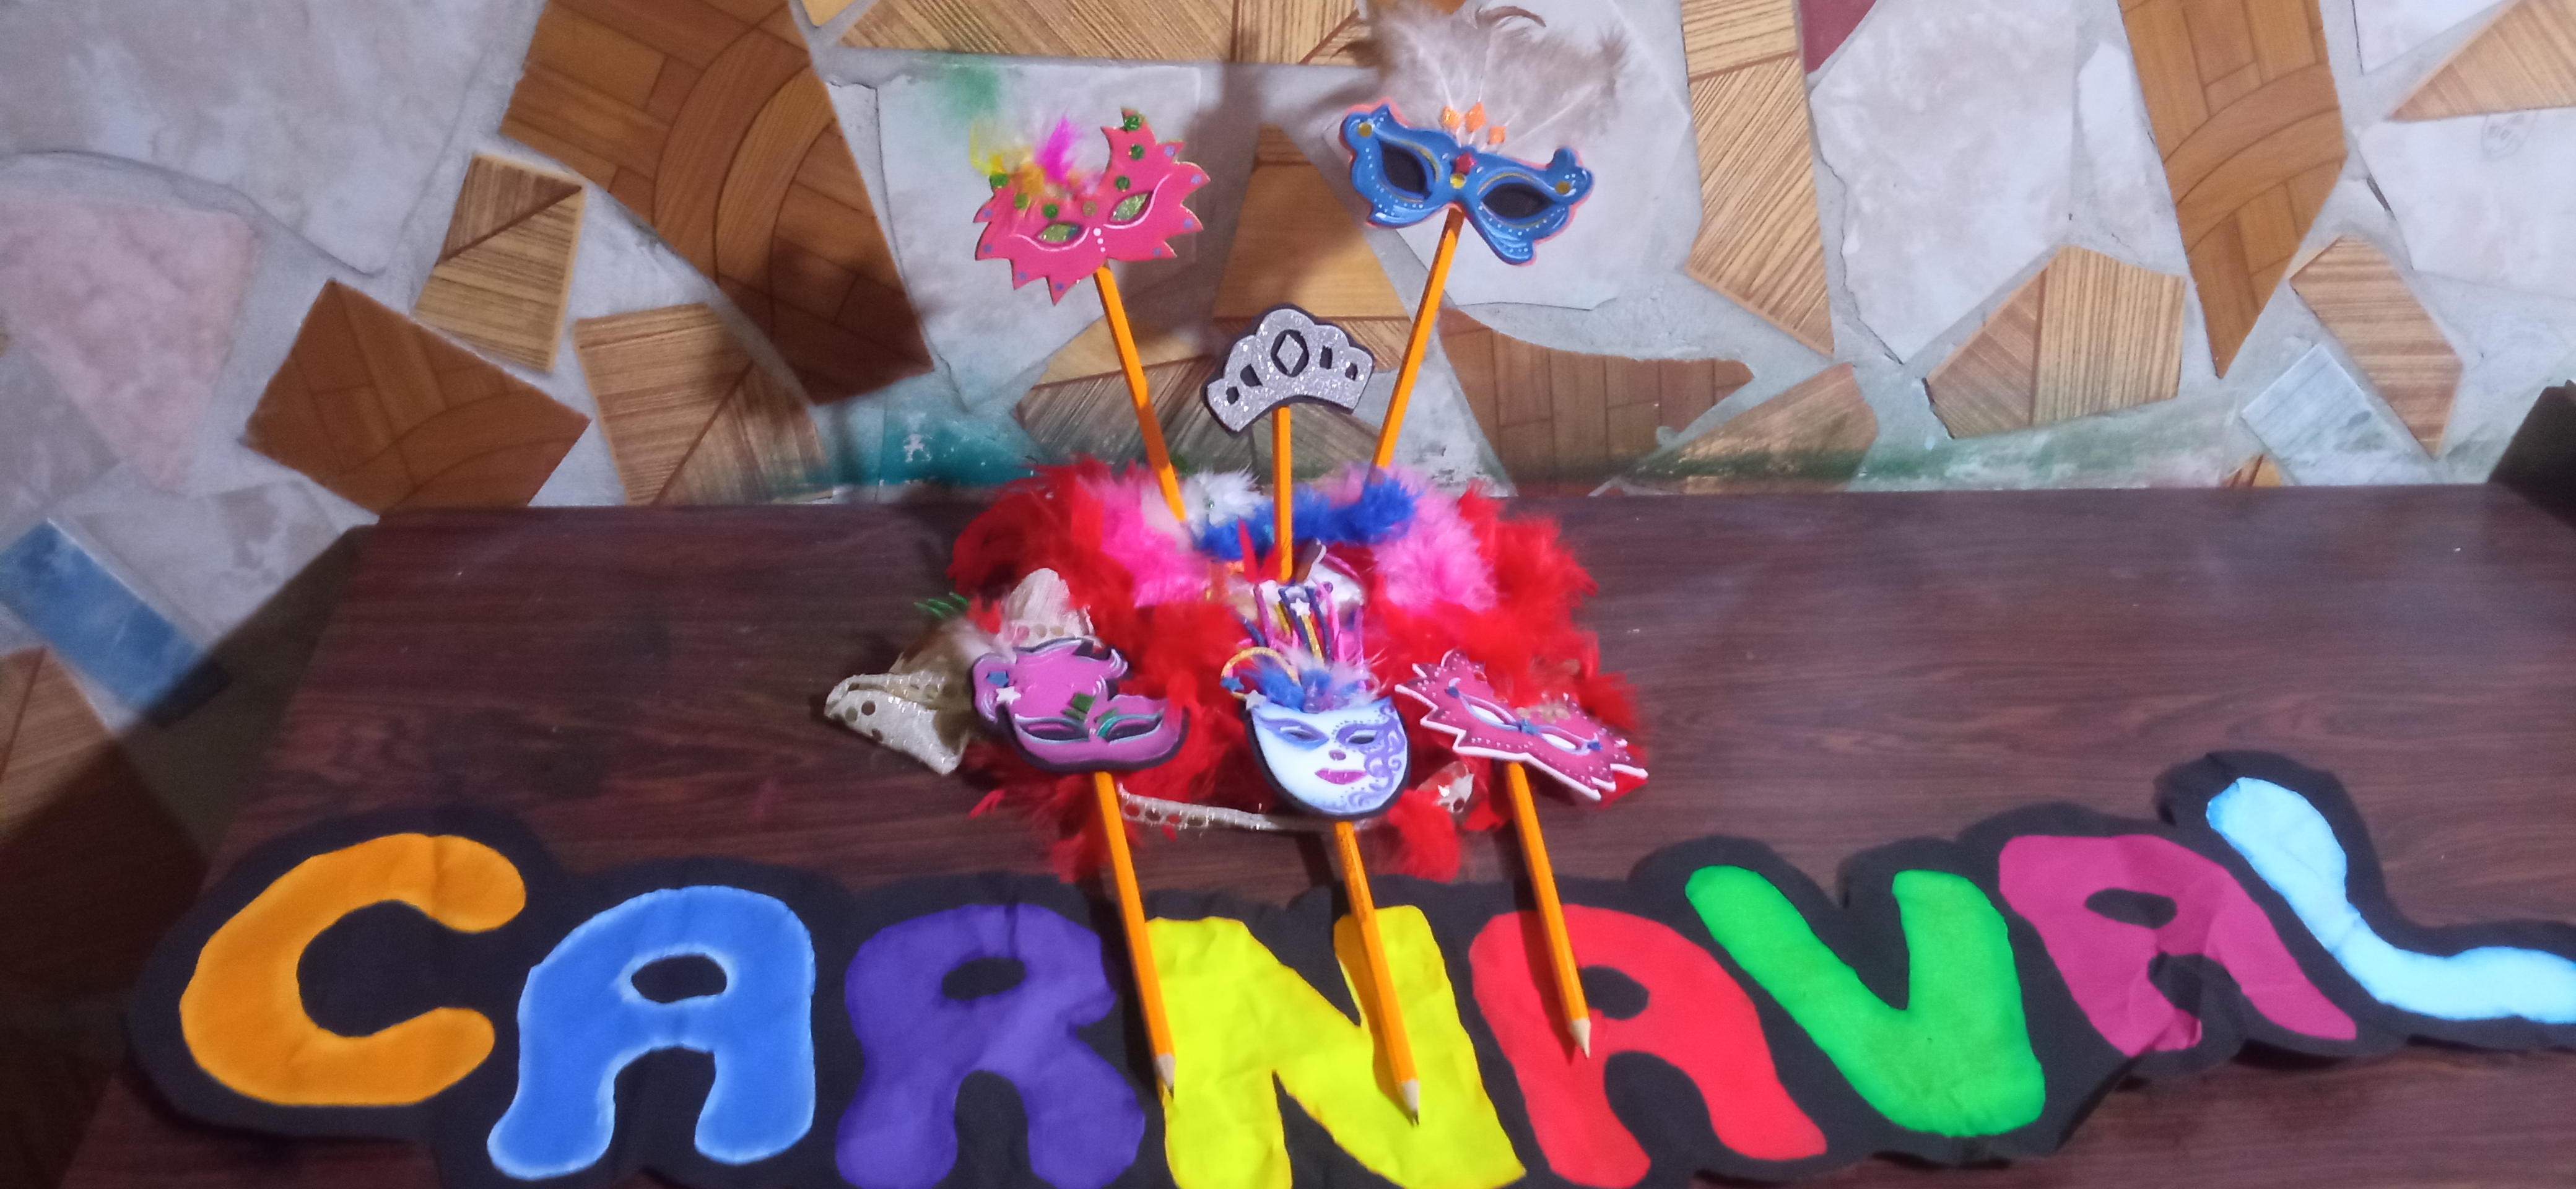
Happy and blessed day to all my beautiful people of Hive!!! I hope you are well and enjoy very good health, after a few days of absence for health reasons I bring you this wonderful gift idea for this carnival. It is a mini masks that will decorate your pencils and pens, your folders, the door of your fridge, desk, etc.. In short, the use you want to give them is personalized. I decided to make them and decorate some pencils to give them as gifts to my friends, they are easy and simple to make.
Materiales:
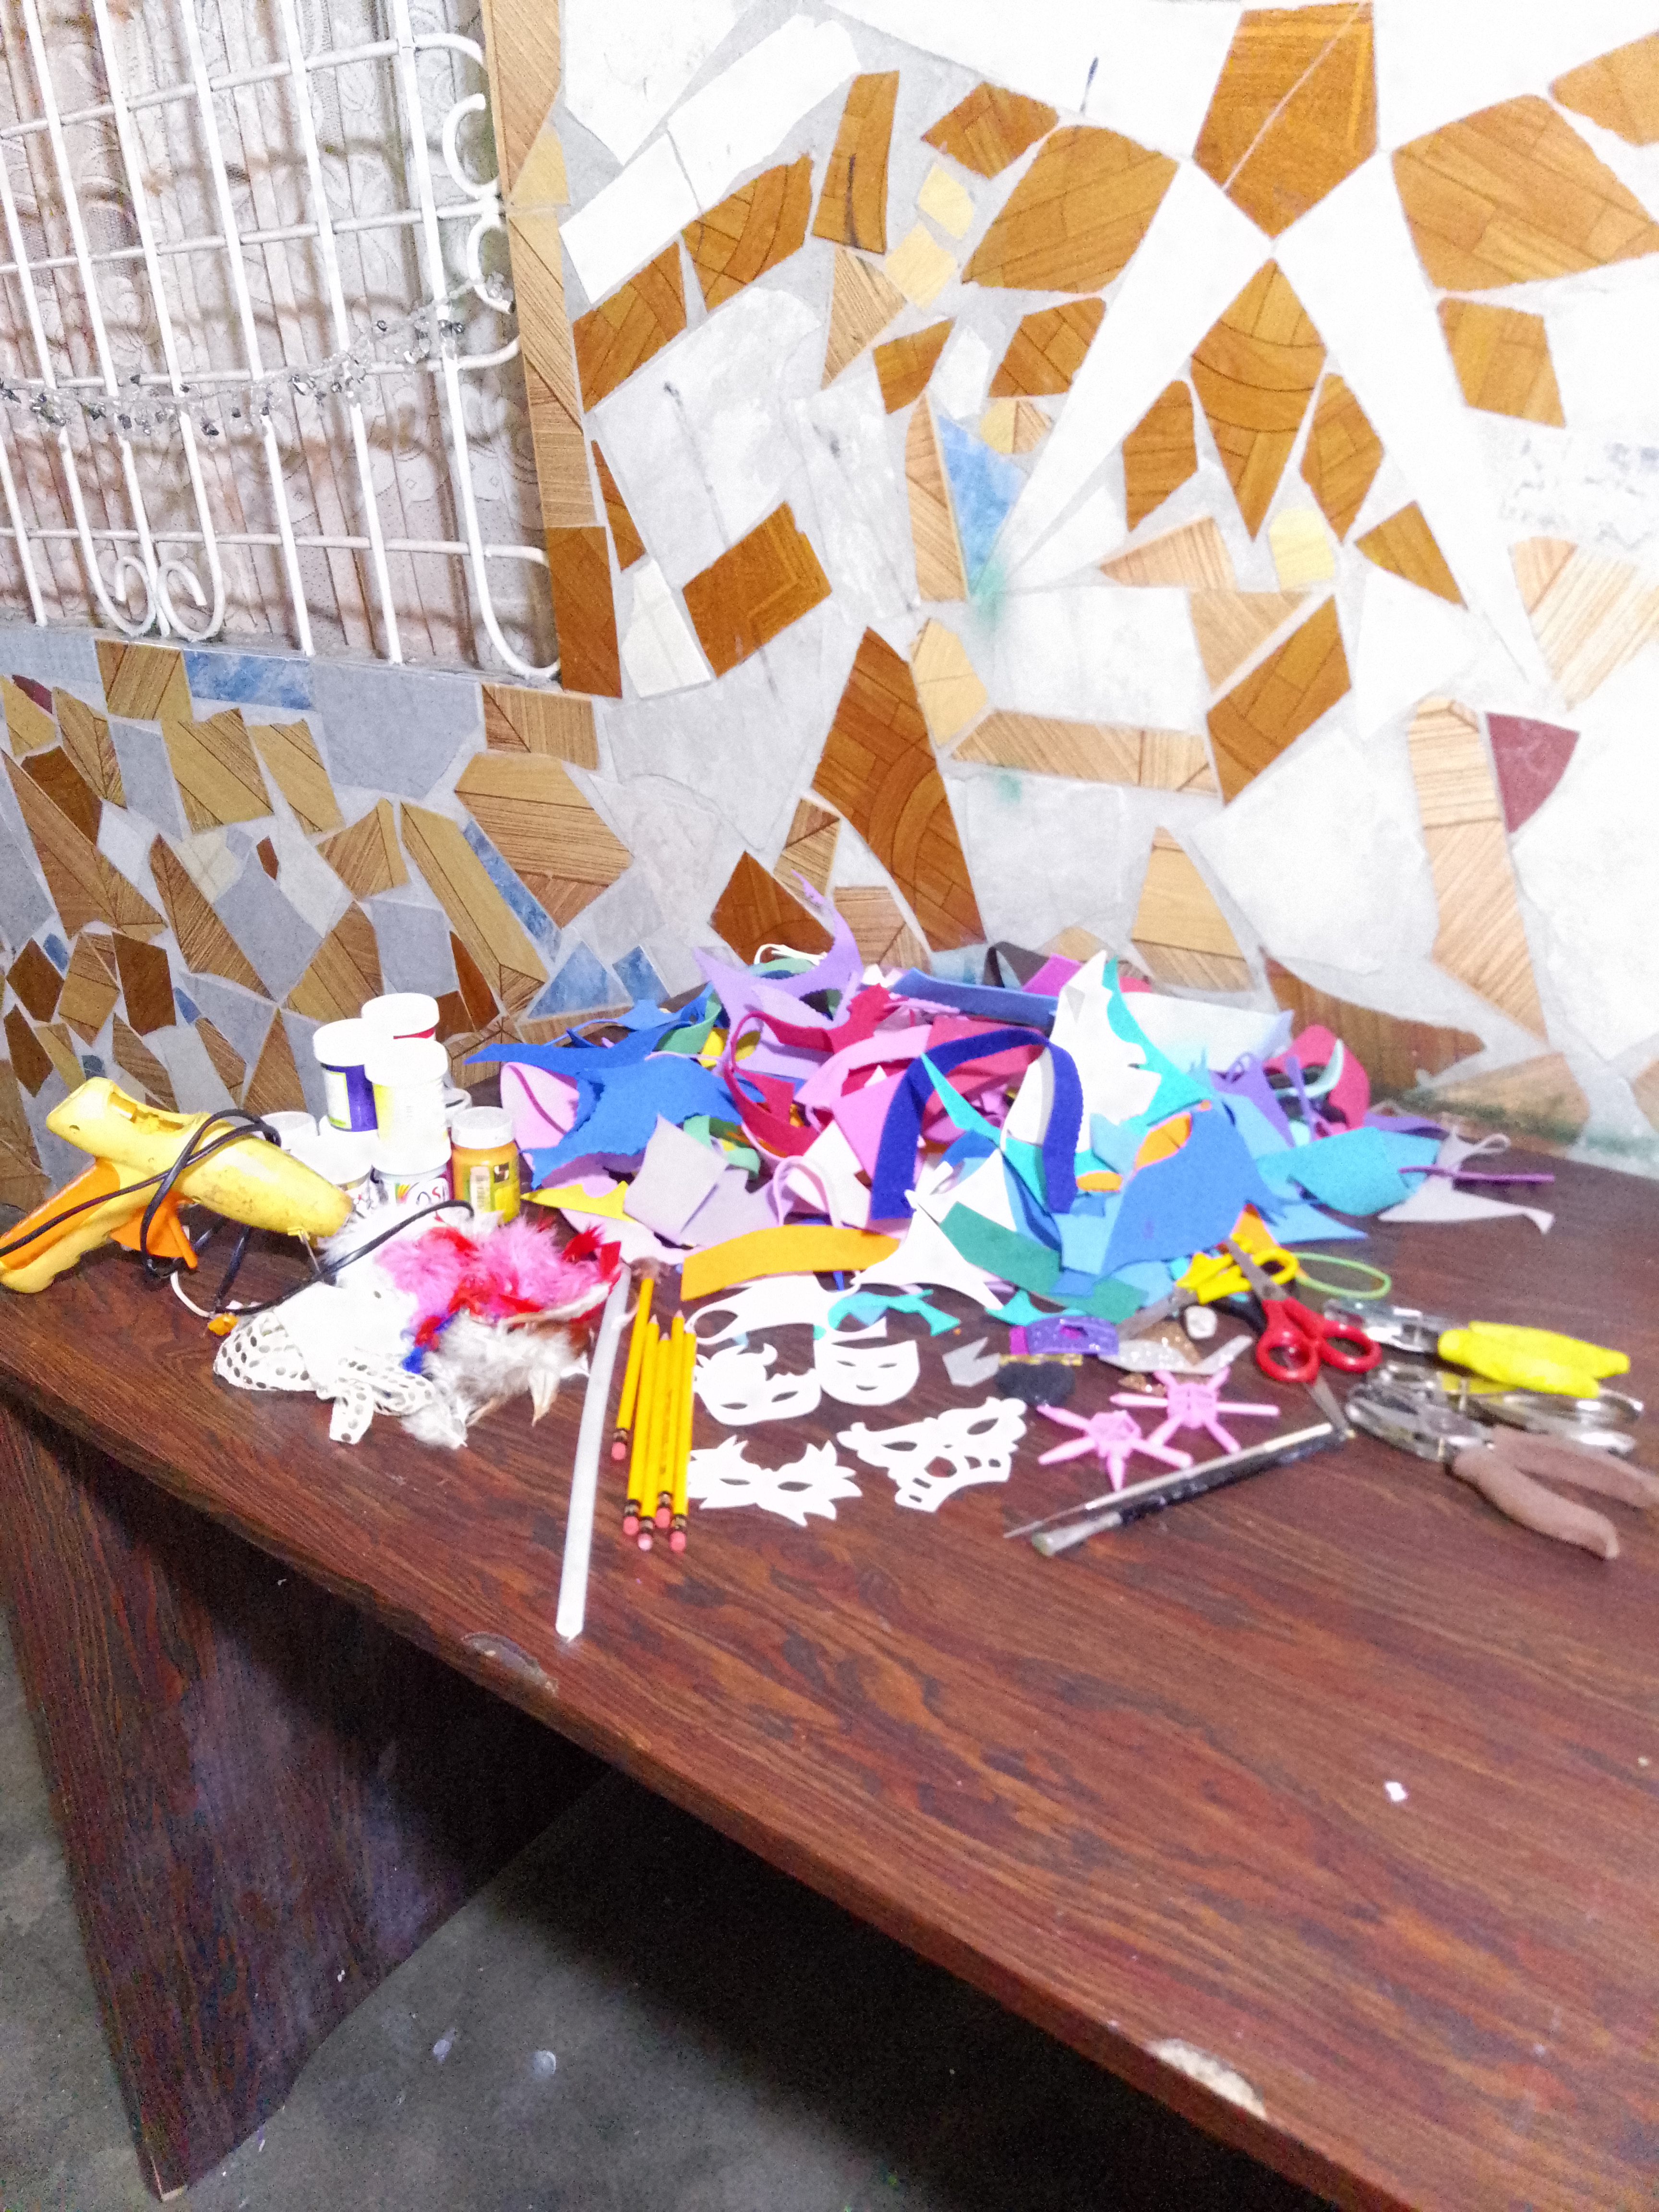
- Recortes de foami de diferente colores.
- Patrones de máscaras pequeños.
- Lápiz.
- Pistola de Silicón.
- Barra de silicón.
- Silicón al frío.
- Tijeras.
- Lápices de grafito.
- Plumas de gallina.
- Marabu rojo,azul,rosado y blanco.
- Recorte de tela de lentejuelas.
- perforadoras de estrellas y corazón.
- Pinturas al frío de diferentes colores.
- Pincel angular 3/4 y linner 1.
- La mitad de una hojilla.
Materials:
- Foami cutouts of different colors.
- Small mask patterns.
- Pencil.
- Silicone gun.
- Silicone stick.
- Cold silicone.
- Scissors.
- Graphite pencils.
- Chicken feathers.
- Red, blue, pink and white marabou.
- Sequin fabric cutout.
- Star and heart punches.
- Cold paints of different colors.
- Angled brush 3/4 and linner 1.
- Half of a leaf blade.

Paso 1:
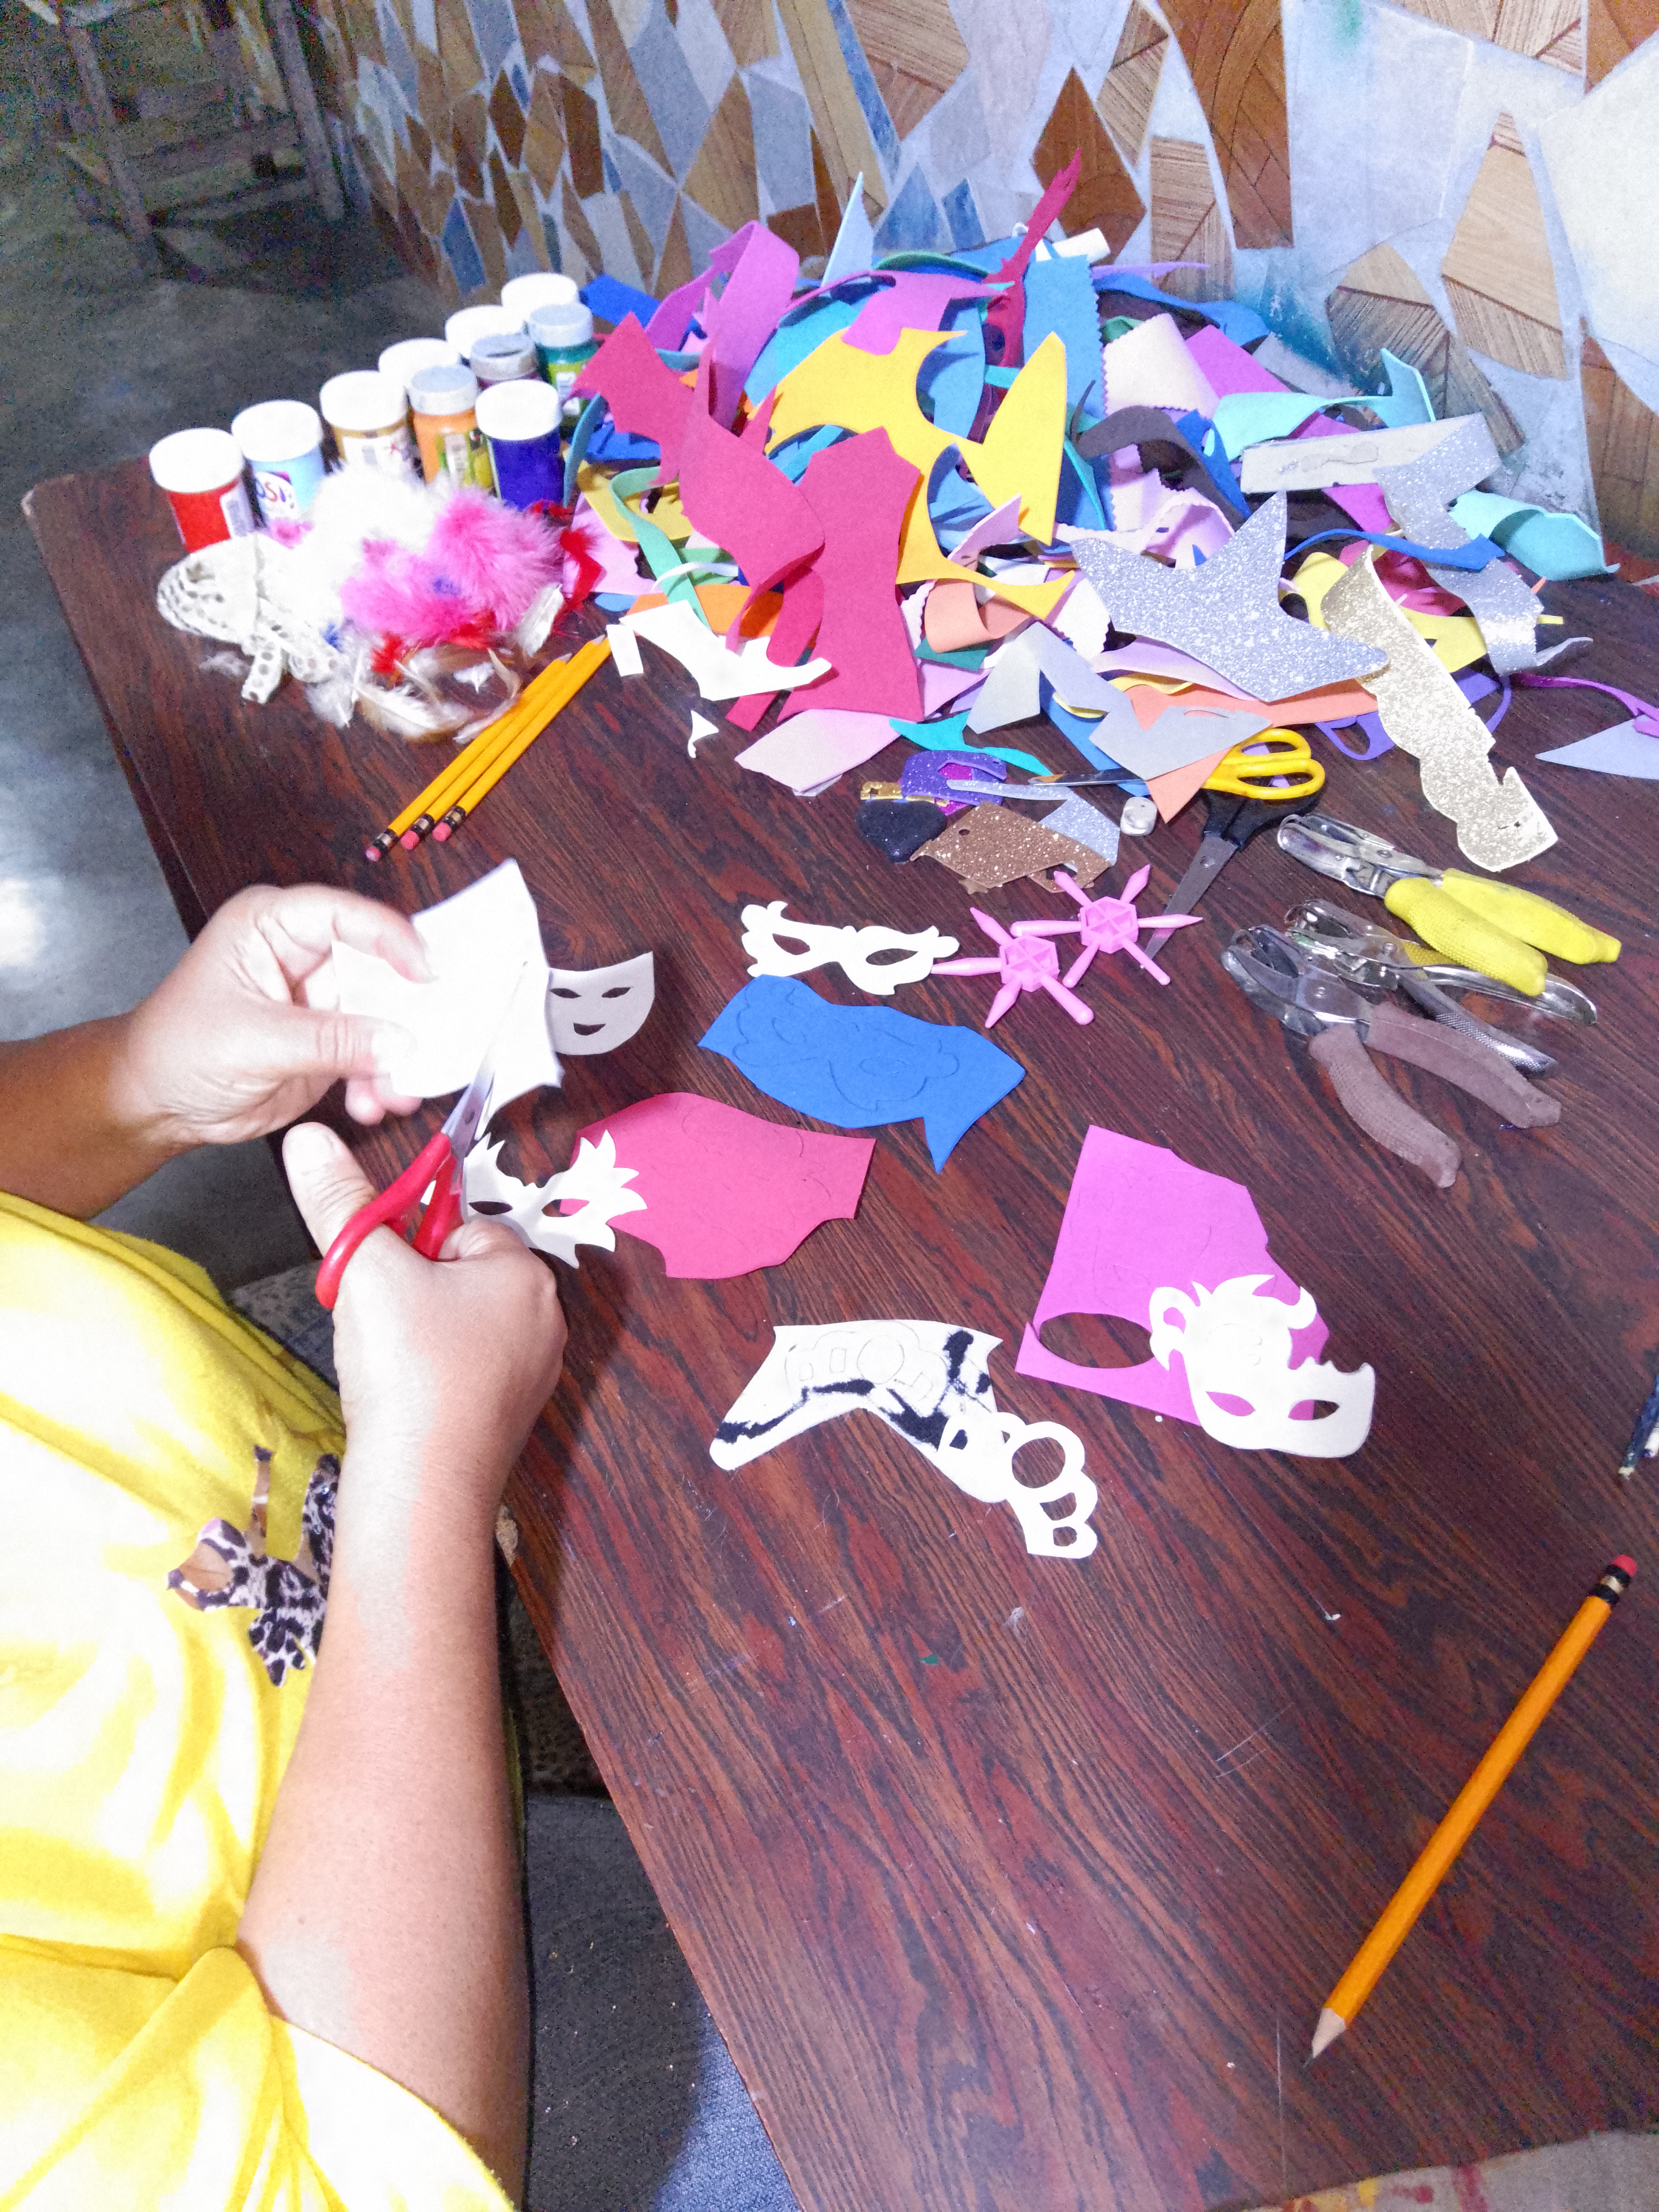
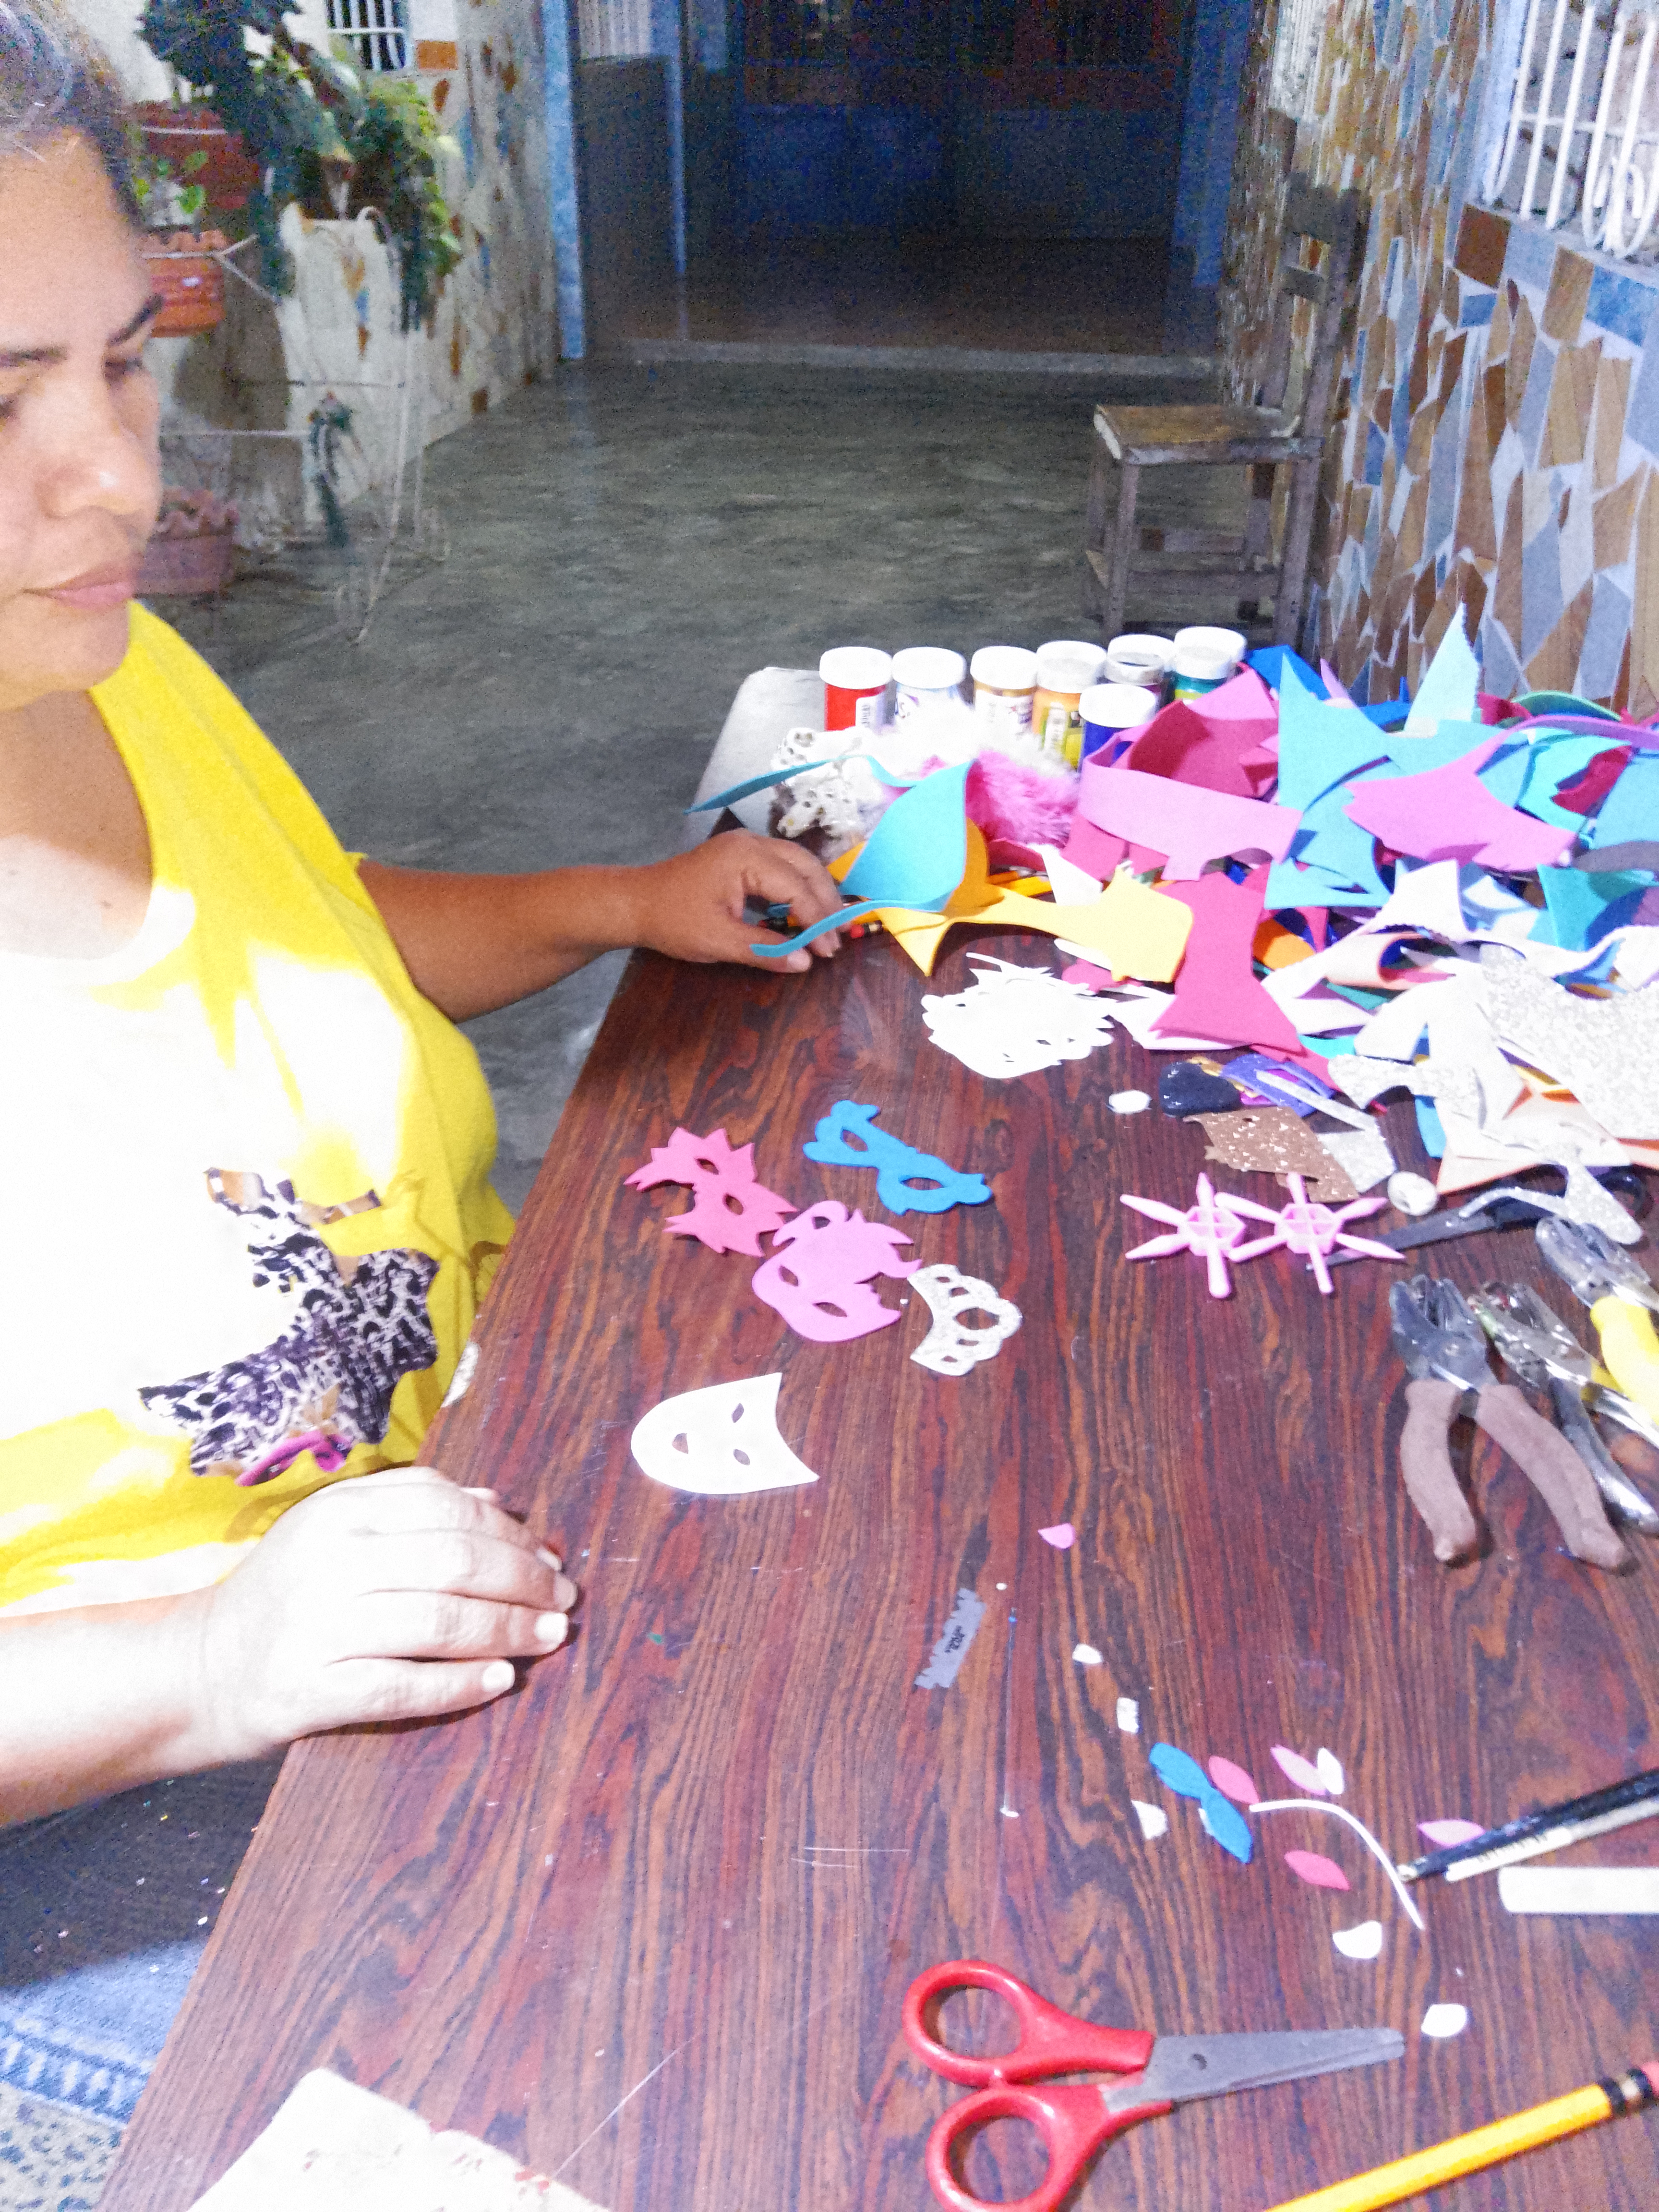
Coloqué sobre los retazos de foami los patrones de las mini máscaras. Con el lápiz transferi el diseño al foami y recorte con ayuda de un trozo de hojilla los ojos. Luego con silicón al frío peque la mascarita sobre otro foami de un color que lo contraste y recorté nuevamente con tijera.
Step 1:
I placed on the foami scraps the patterns of the mini masks. With the pencil I transferred the design to the foami and cut out the eyes with the help of a piece of paper. Then with cold silicone I cut the mask on another foami of a contrasting color and cut it out again with scissors.
Paso 2:
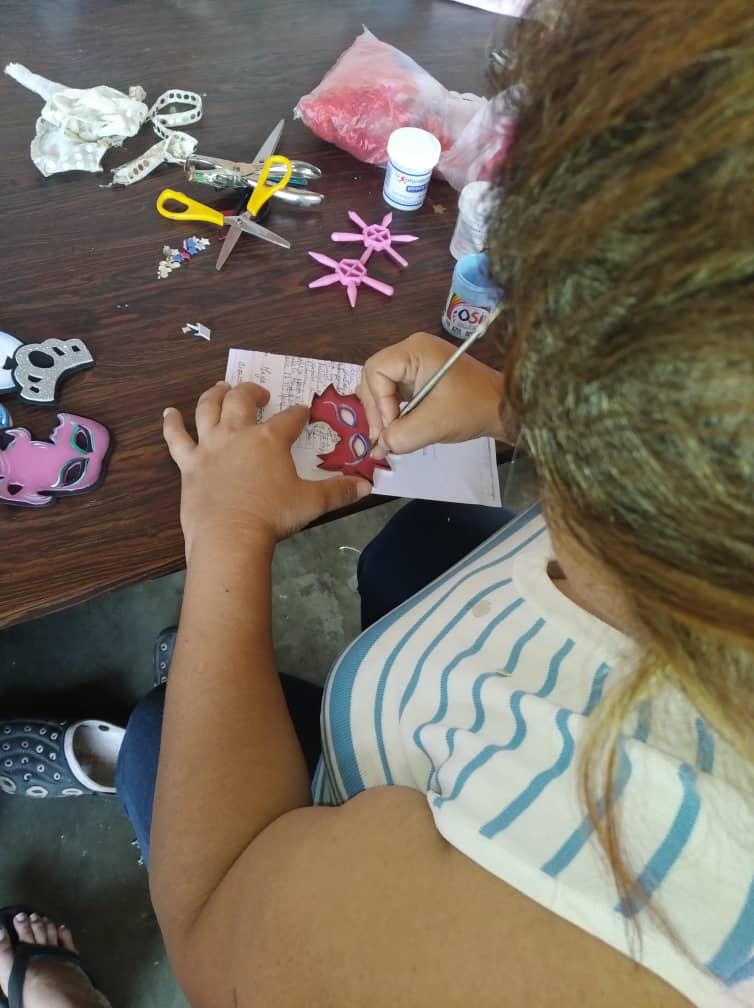
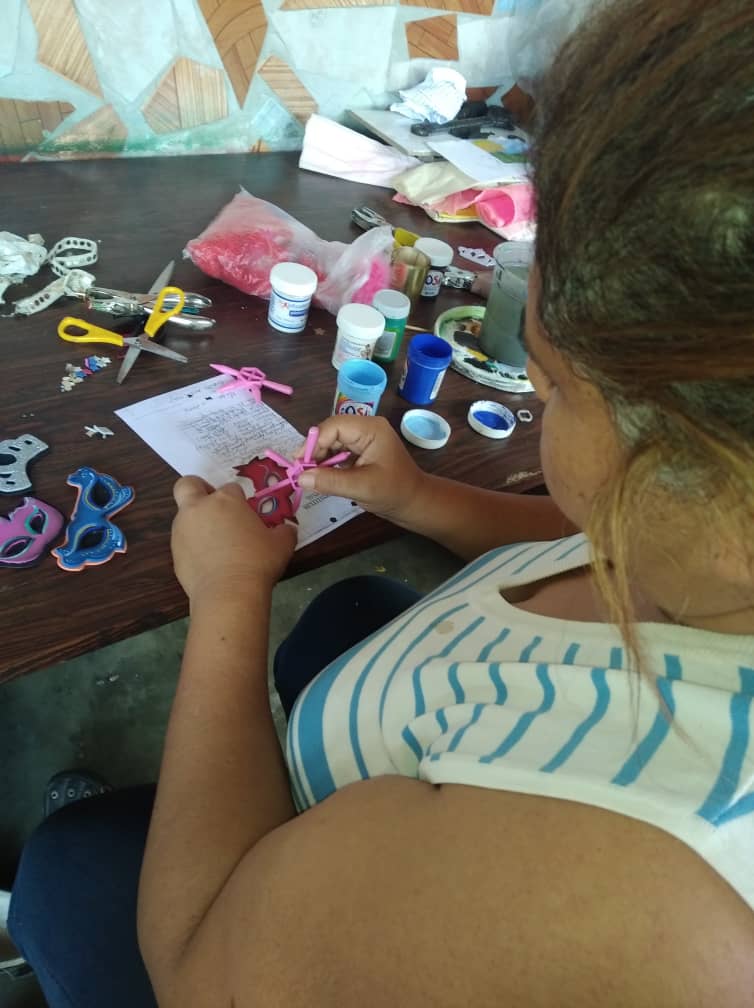
Con el pincel angular 3/4 difumine con negro las másaras y difumine con azul el rostro del arlequin.Con el pincel linner 1 delinie con negro primeramente los ojos,luego aplique los otros colores para darle más realce a los ojos y realice arabescos alrededor de las máscaritas para adornarlas y que ponerlas bien pintorescas.
Step 2:
With the 3/4 angled brush blur with black the masks and blur with blue the face of the harlequin.With the linner brush 1 outline with black first the eyes,then apply the other colors to give more enhancement to the eyes and make arabesques around the masks to decorate them and make them colorful.
Paso 3:
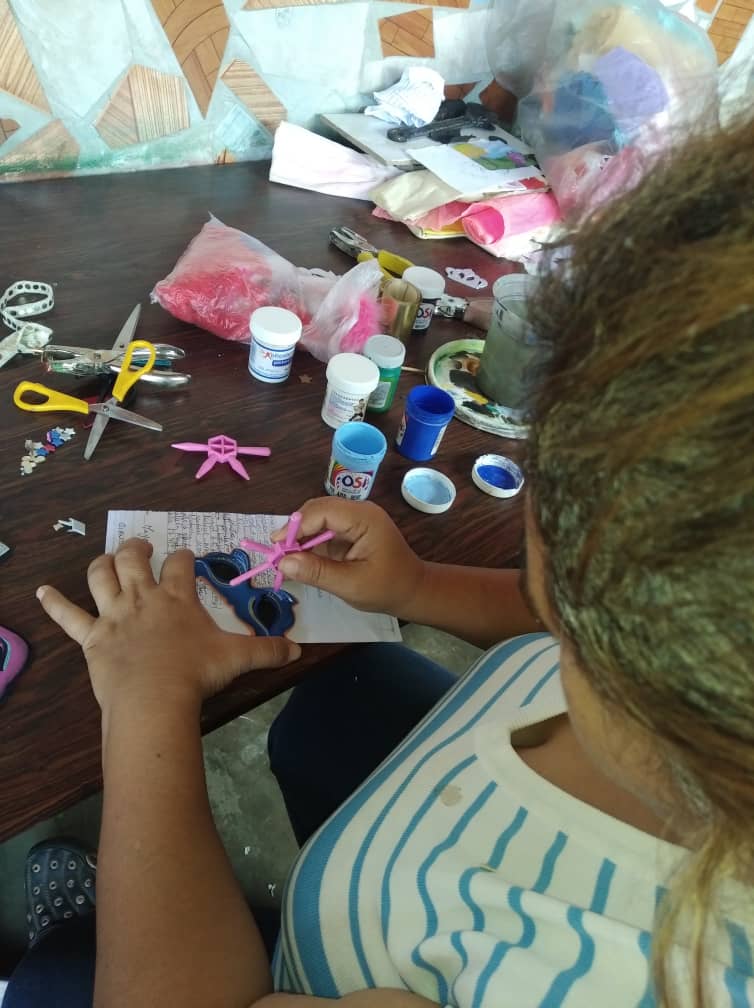
Con los perforadores de estrellas, corazón y los foami escarchado saque estrellas y corazones para adornar las máscaras y con la tijera corte pequeños pedacitos de foami escarchado.Con la tela de lentejuelas saque pequeñas lentejuelas para darle brillo a las máscaritas. Con los pintapuntos le hice punticos para darle luz.
Step 3:
With the star and heart punches and the frosted foami cut out stars and hearts to decorate the masks and with the scissors cut small pieces of frosted foami and with the sequin fabric cut out small sequins to give sparkle to the masks. With the dots I made dots to give it light.
Paso 4:
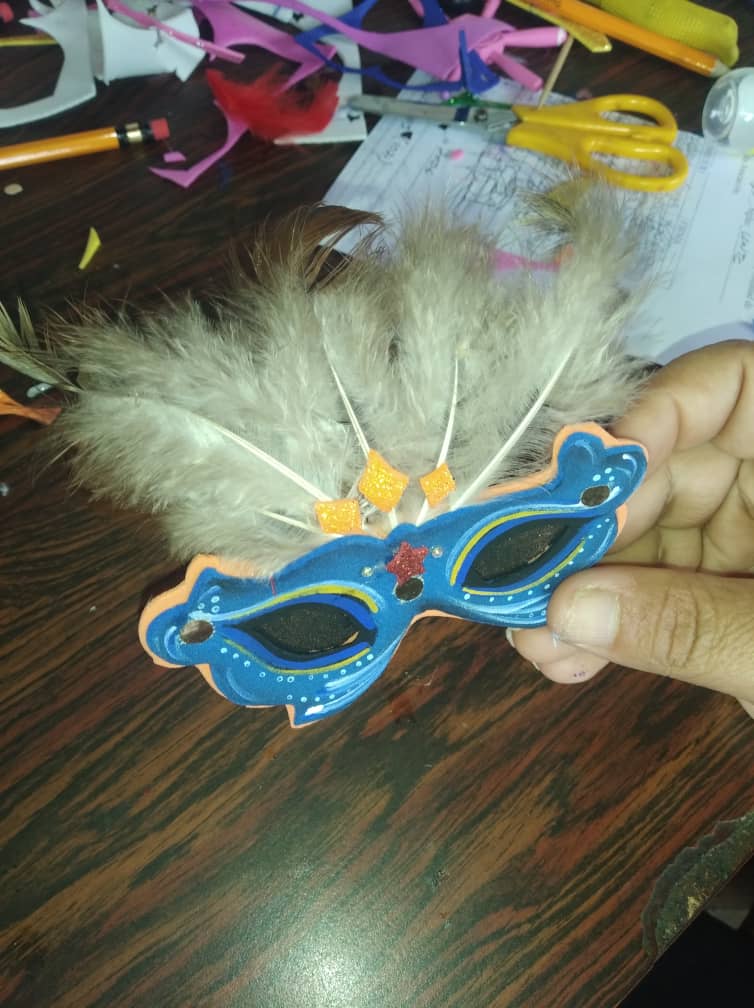
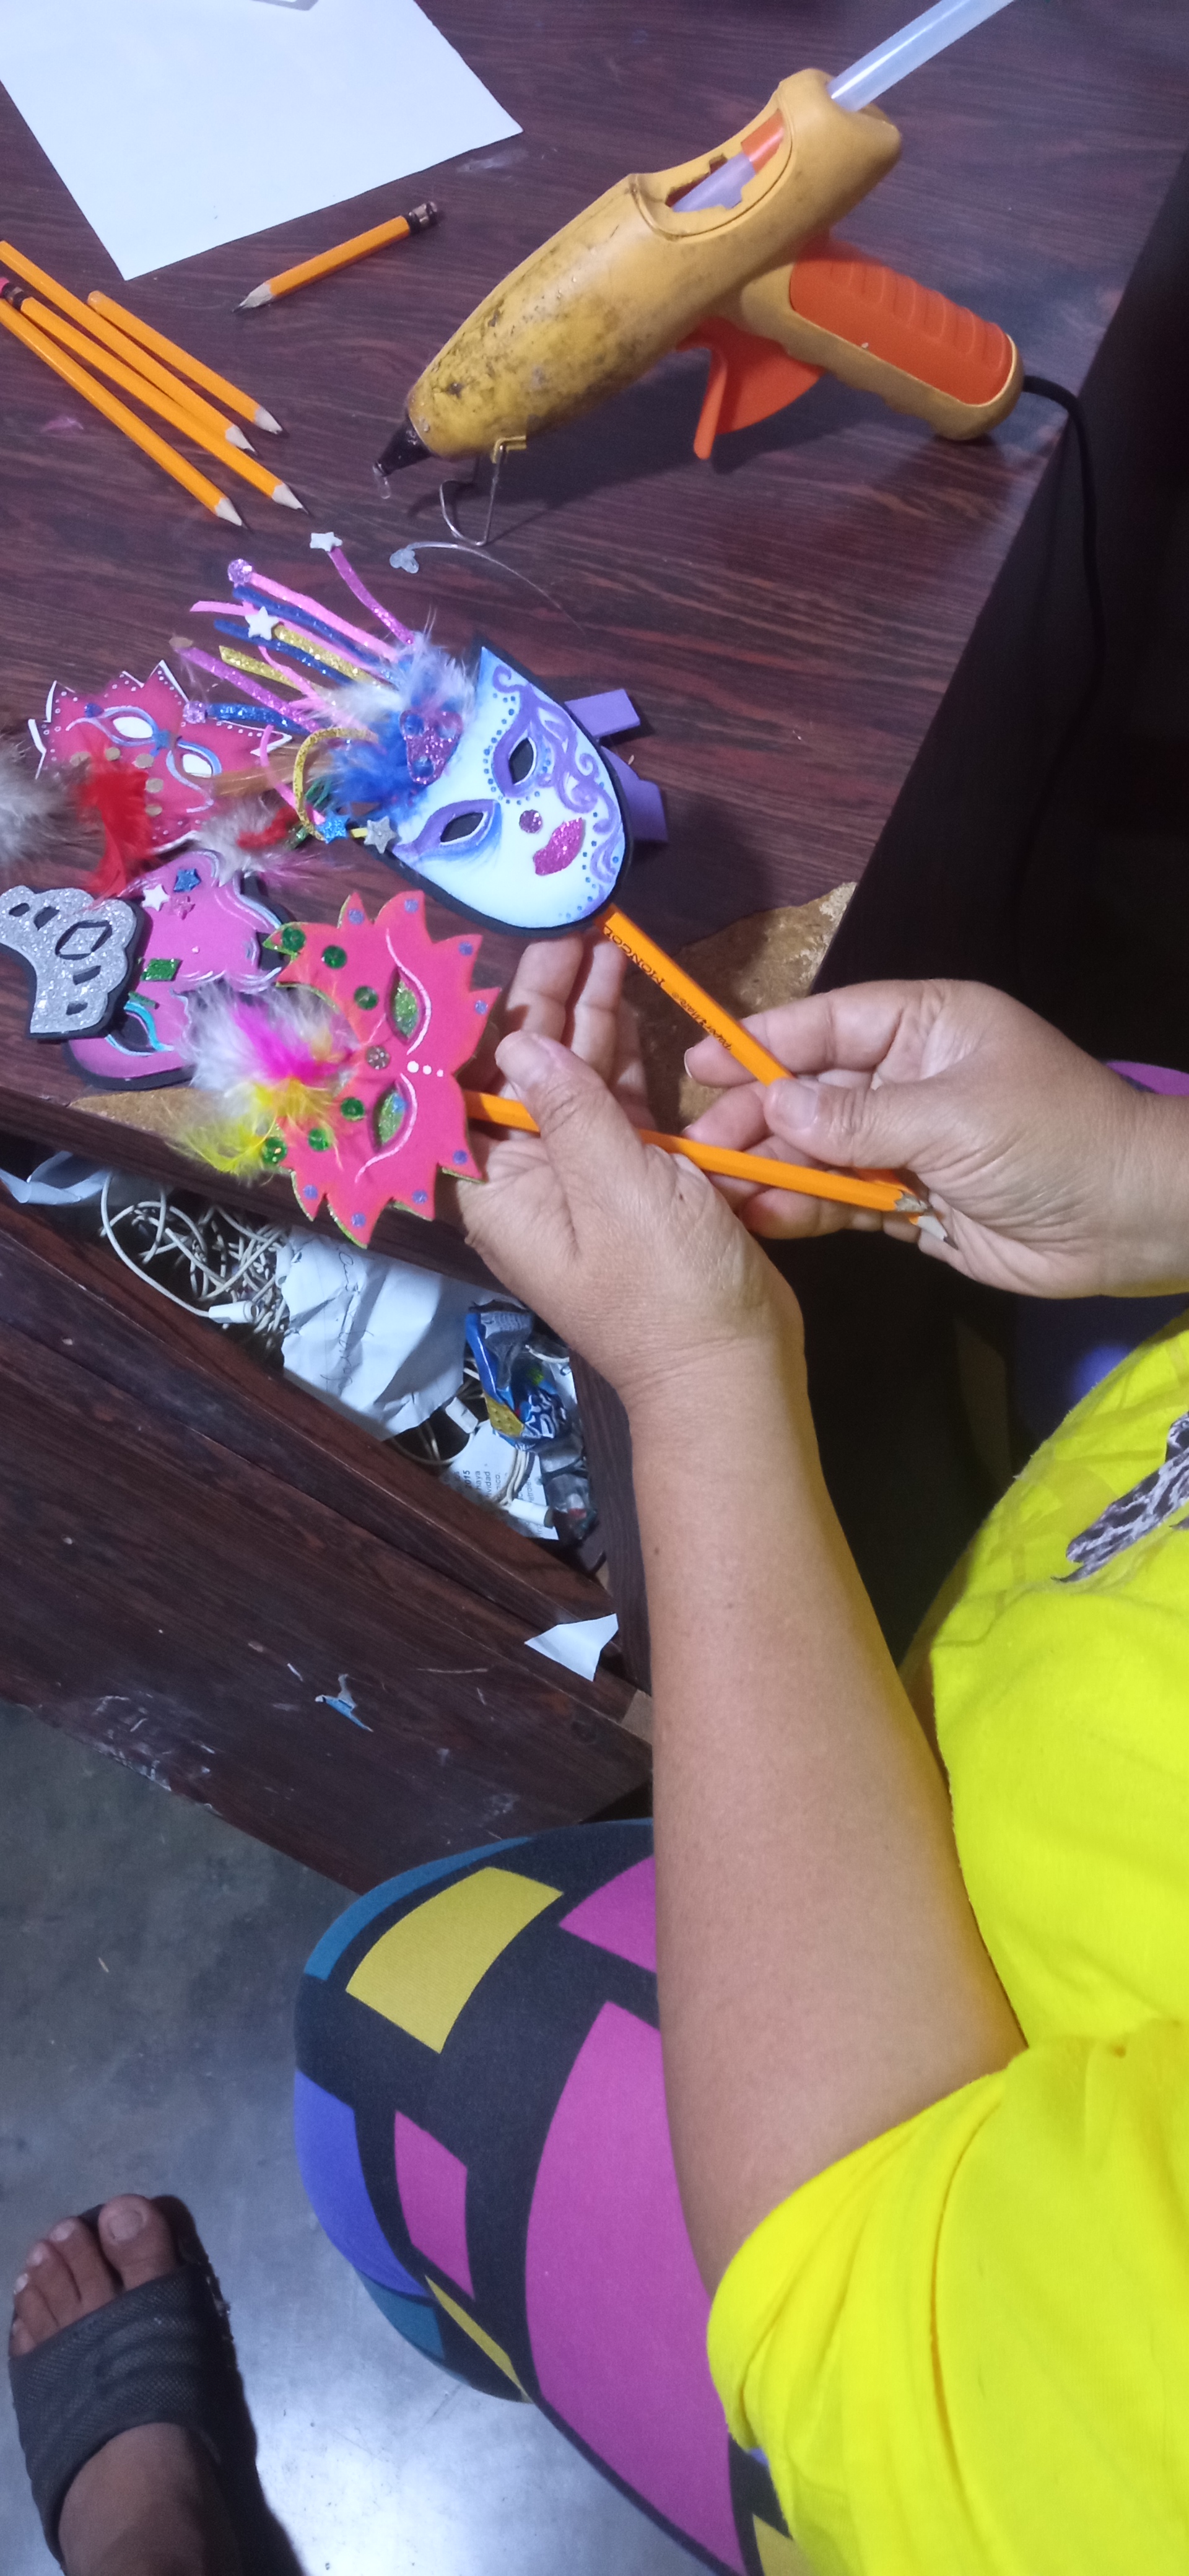
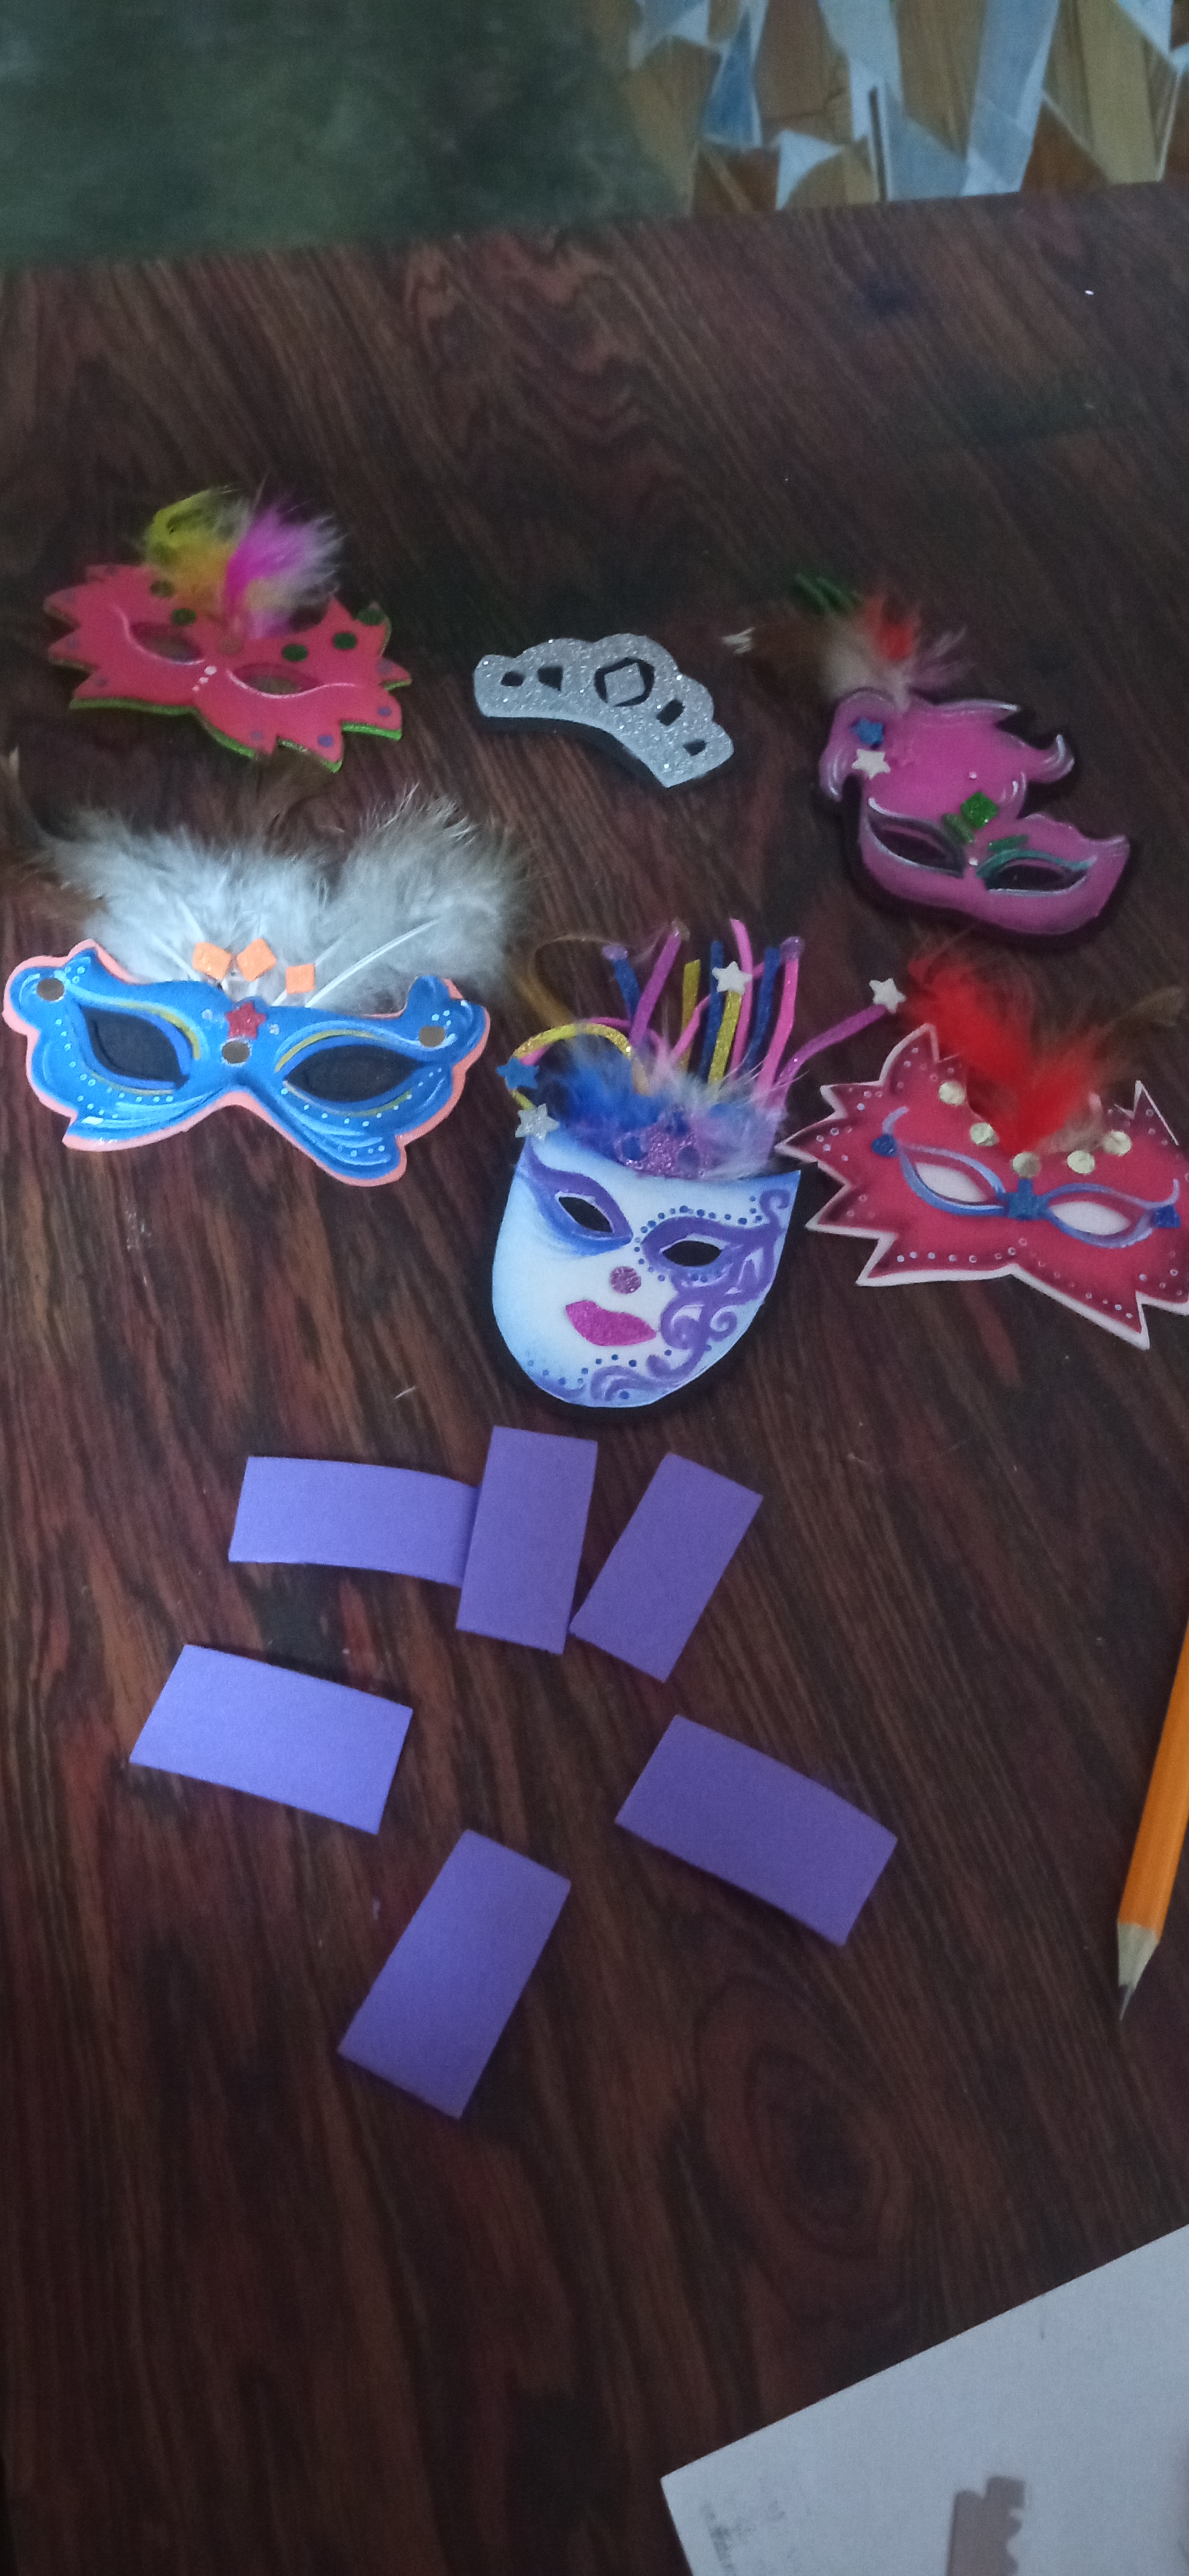
Una vez maquilladas las mascaritas adorné con lentejuelas, con estrellas y figuritas de foami escarchado y adorné con marabú y plumas de gallinas que tenía previamente lavadas las mascaritas. Finalmente, corté seis tiriras de foami y tomé los lápices uno por uno enrollé la tira de foami por donde esta el borrador y lo pegué con silicón caliente y pegué la mascarita.
Step 4:
Once the masks were made up, I decorated them with sequins, stars and frosted foami figurines and decorated the masks with marabou and chicken feathers that I had previously washed. Finally, I cut six strips of foami and took the pencils one by one, rolled the foami strip where the eraser is and glued it with hot silicone and glued the mask.
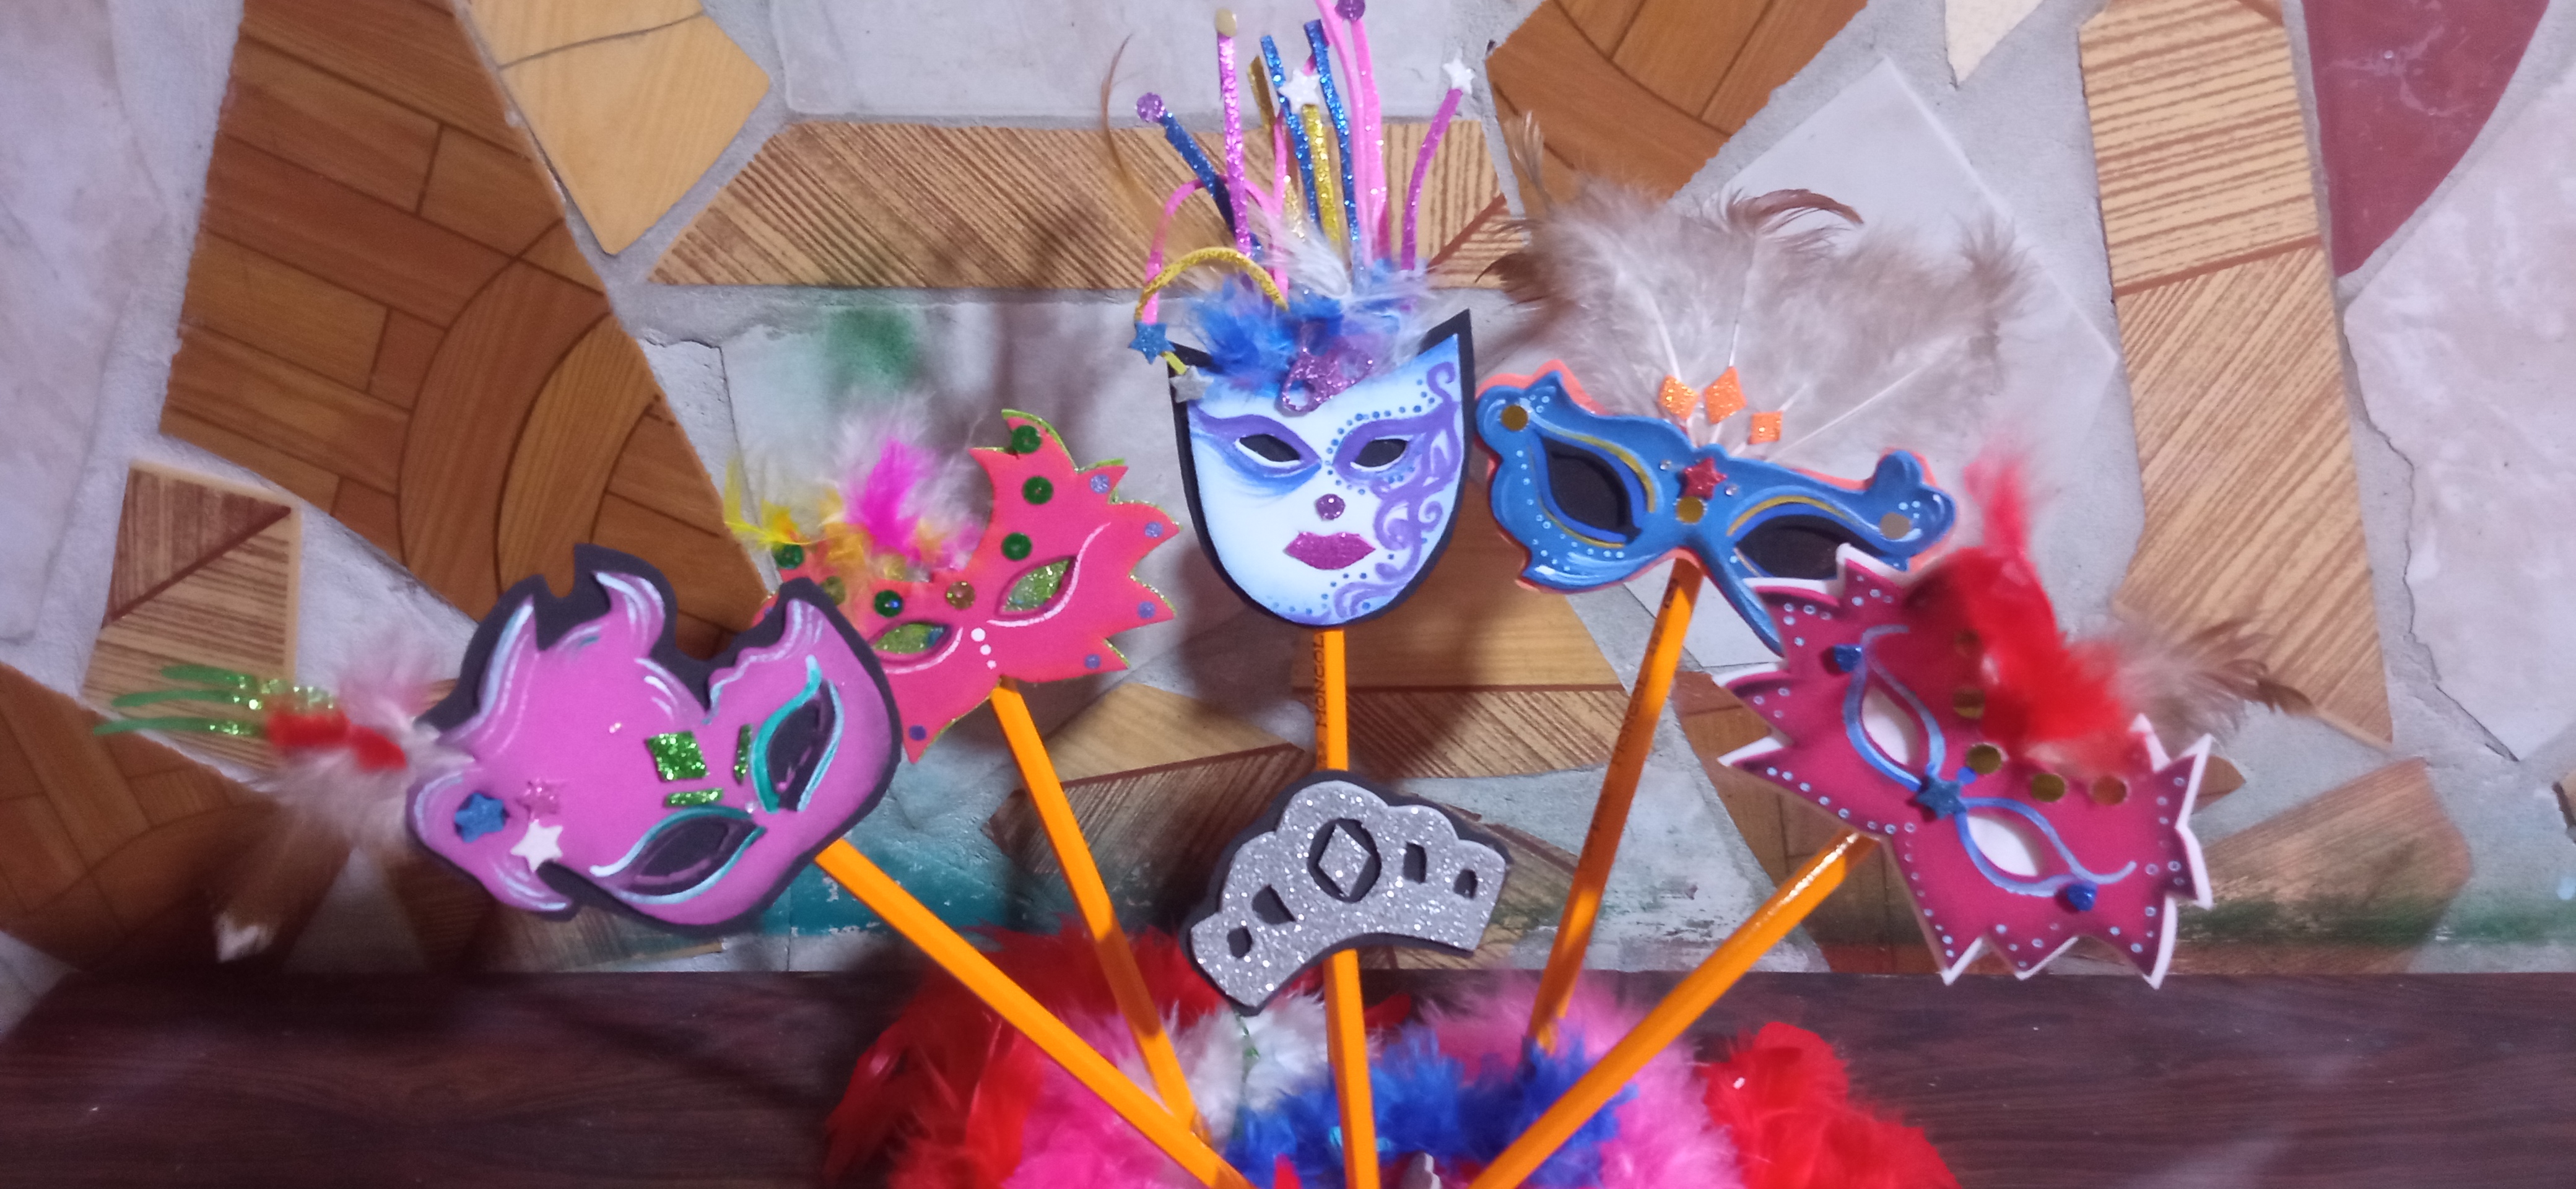
Y como pueden ver son muy fáciles y sencillas de hacer quedan preciosas idel para regalar en estos carnavales a nuestras amistades y familiares. Espero que les haya gustado.Se les quiere mucho. Gracias por leer mi post.Realicé La traducción del texto con el Traductor Deepl.com.
And as you can see, they are very easy and simple to make, they are beautiful and ideal to give to our friends and family during carnival time. I hope you liked them and I love them very much. Thank you for reading my post. I made the translation of the text with Deepl.com Translator.