Hello my beautiful people of Hive diy.may God's blessing always be with us.today I want to share with you all this tutorial on how to make these souvenir hats. My son's friend Franklin asked me to make him about 20 hats that will serve as souvenirs for the opening of his new tattoo shop that will be this weekend but he wanted two sample hats in advance.so I took a pattern of a standard size that he provided me for males and one for females.I hope you like it I thought it was a very original idea for a sourvenir.
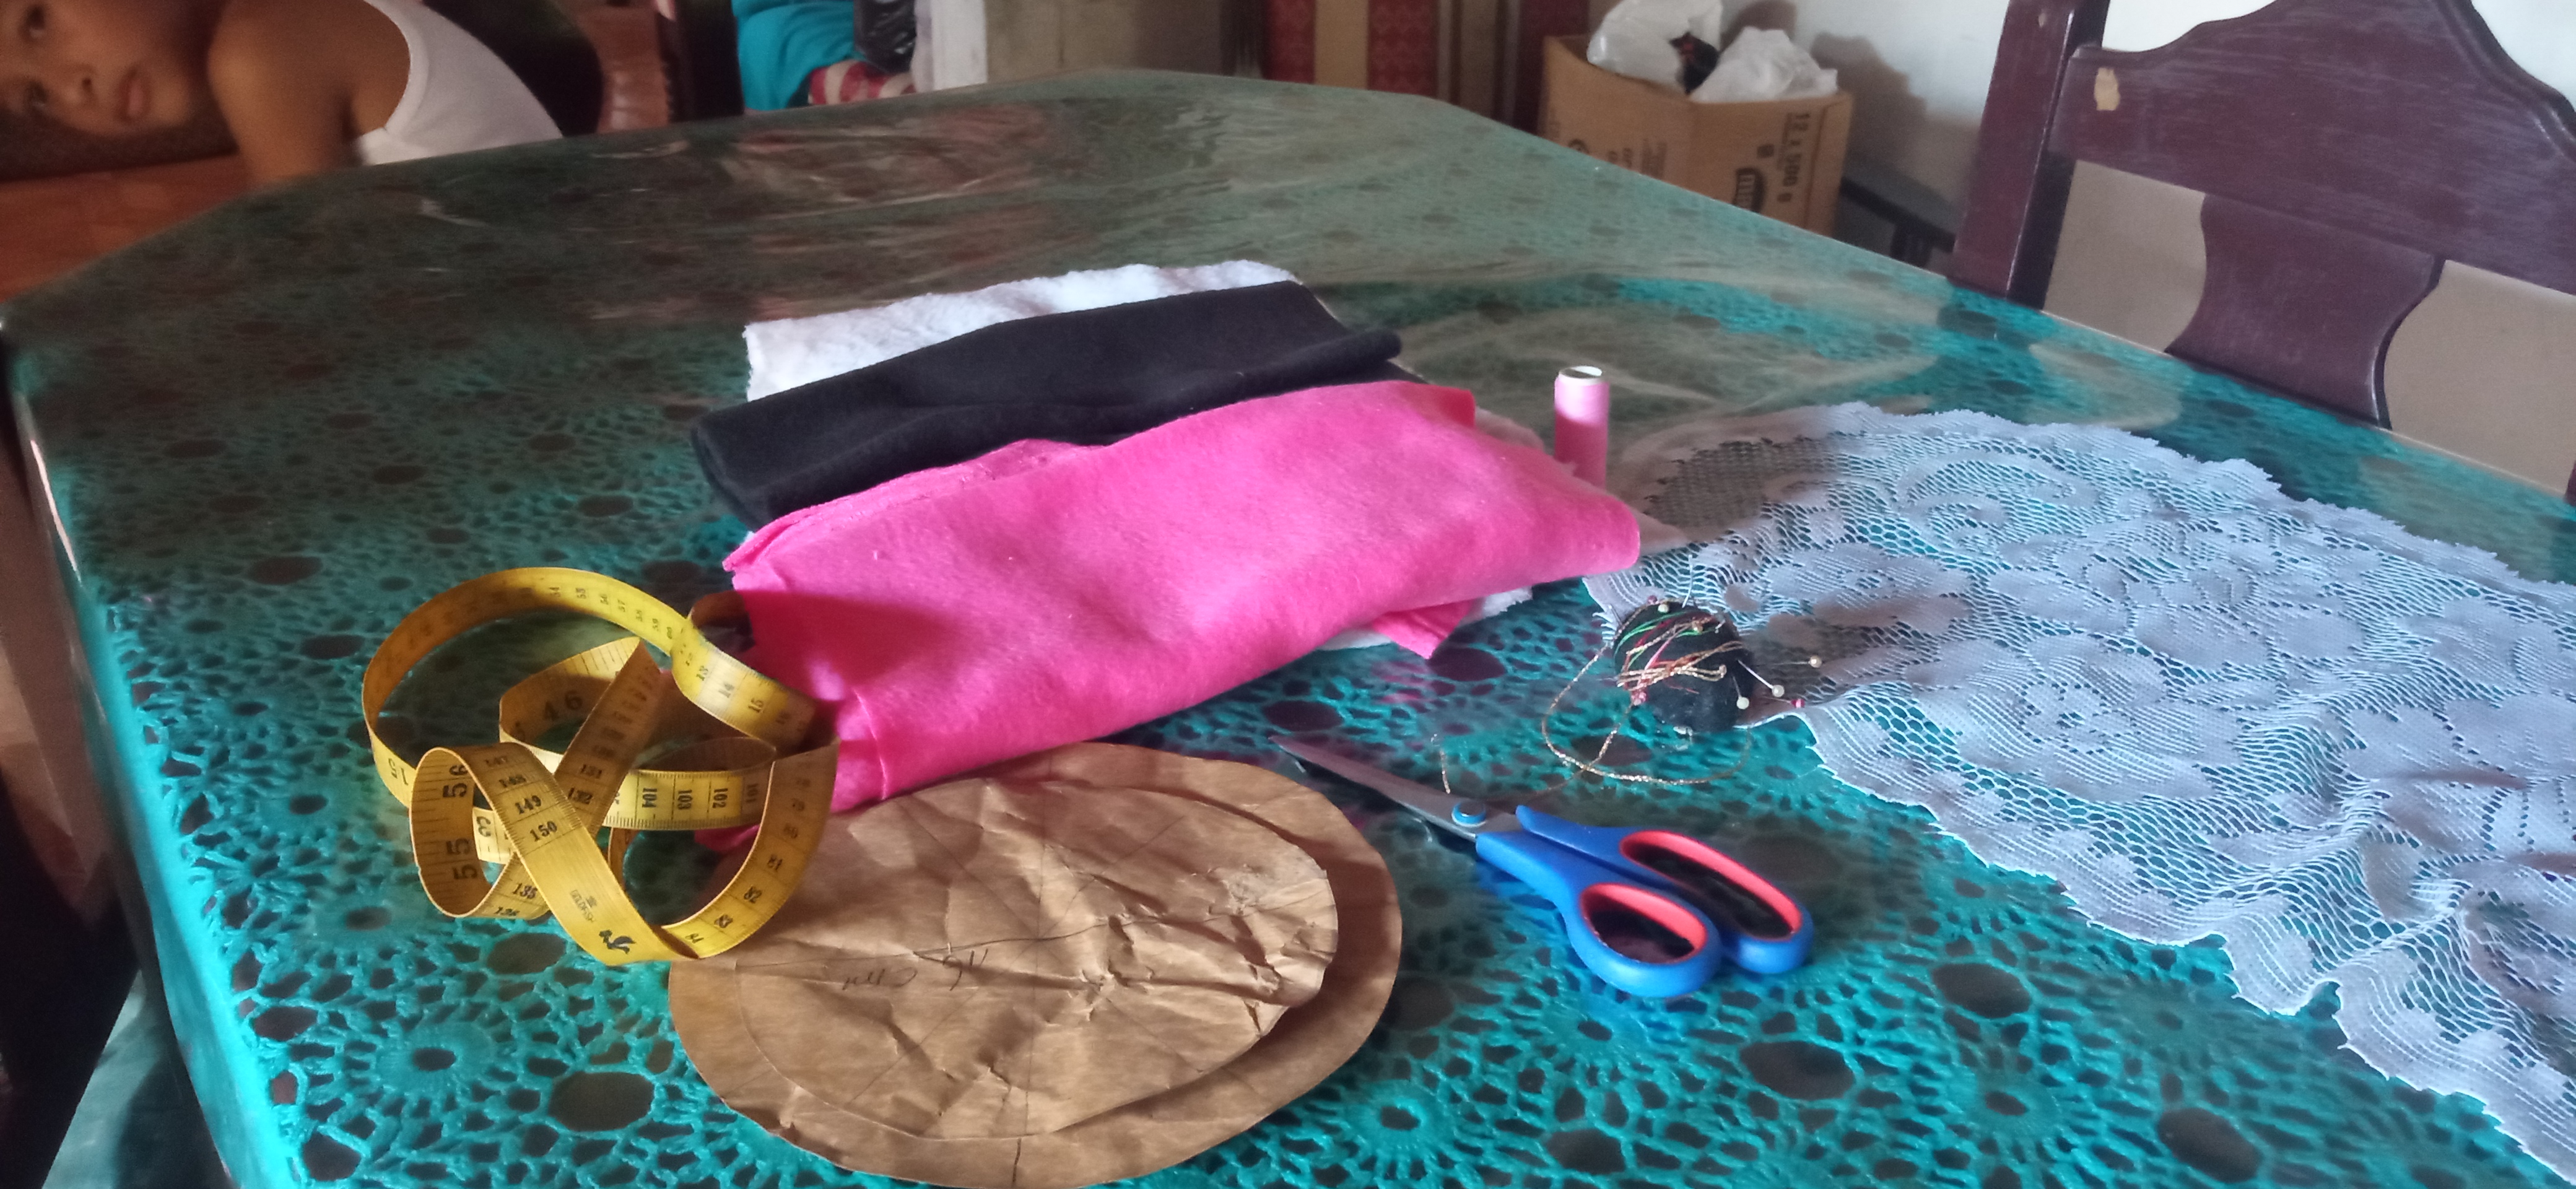
Los materiales que utilice fueron:
- 1/4 de Metro de Manta polar negra y rosado.
- 1/4 de Metro de tela peluche blanca.
- Hilos y agujas para coser.
- Tijera.
- Patrones.
- Alfileres.
- Cinta métrica.
The materials I used were:
- 1/4 yard of black and pink fleece blanket.
- 1/4 yard of white plush fabric.
- Thread and sewing needles.
- Scissors.
- Patterns.
- Pins.
- Tape measure.
Paso 1:
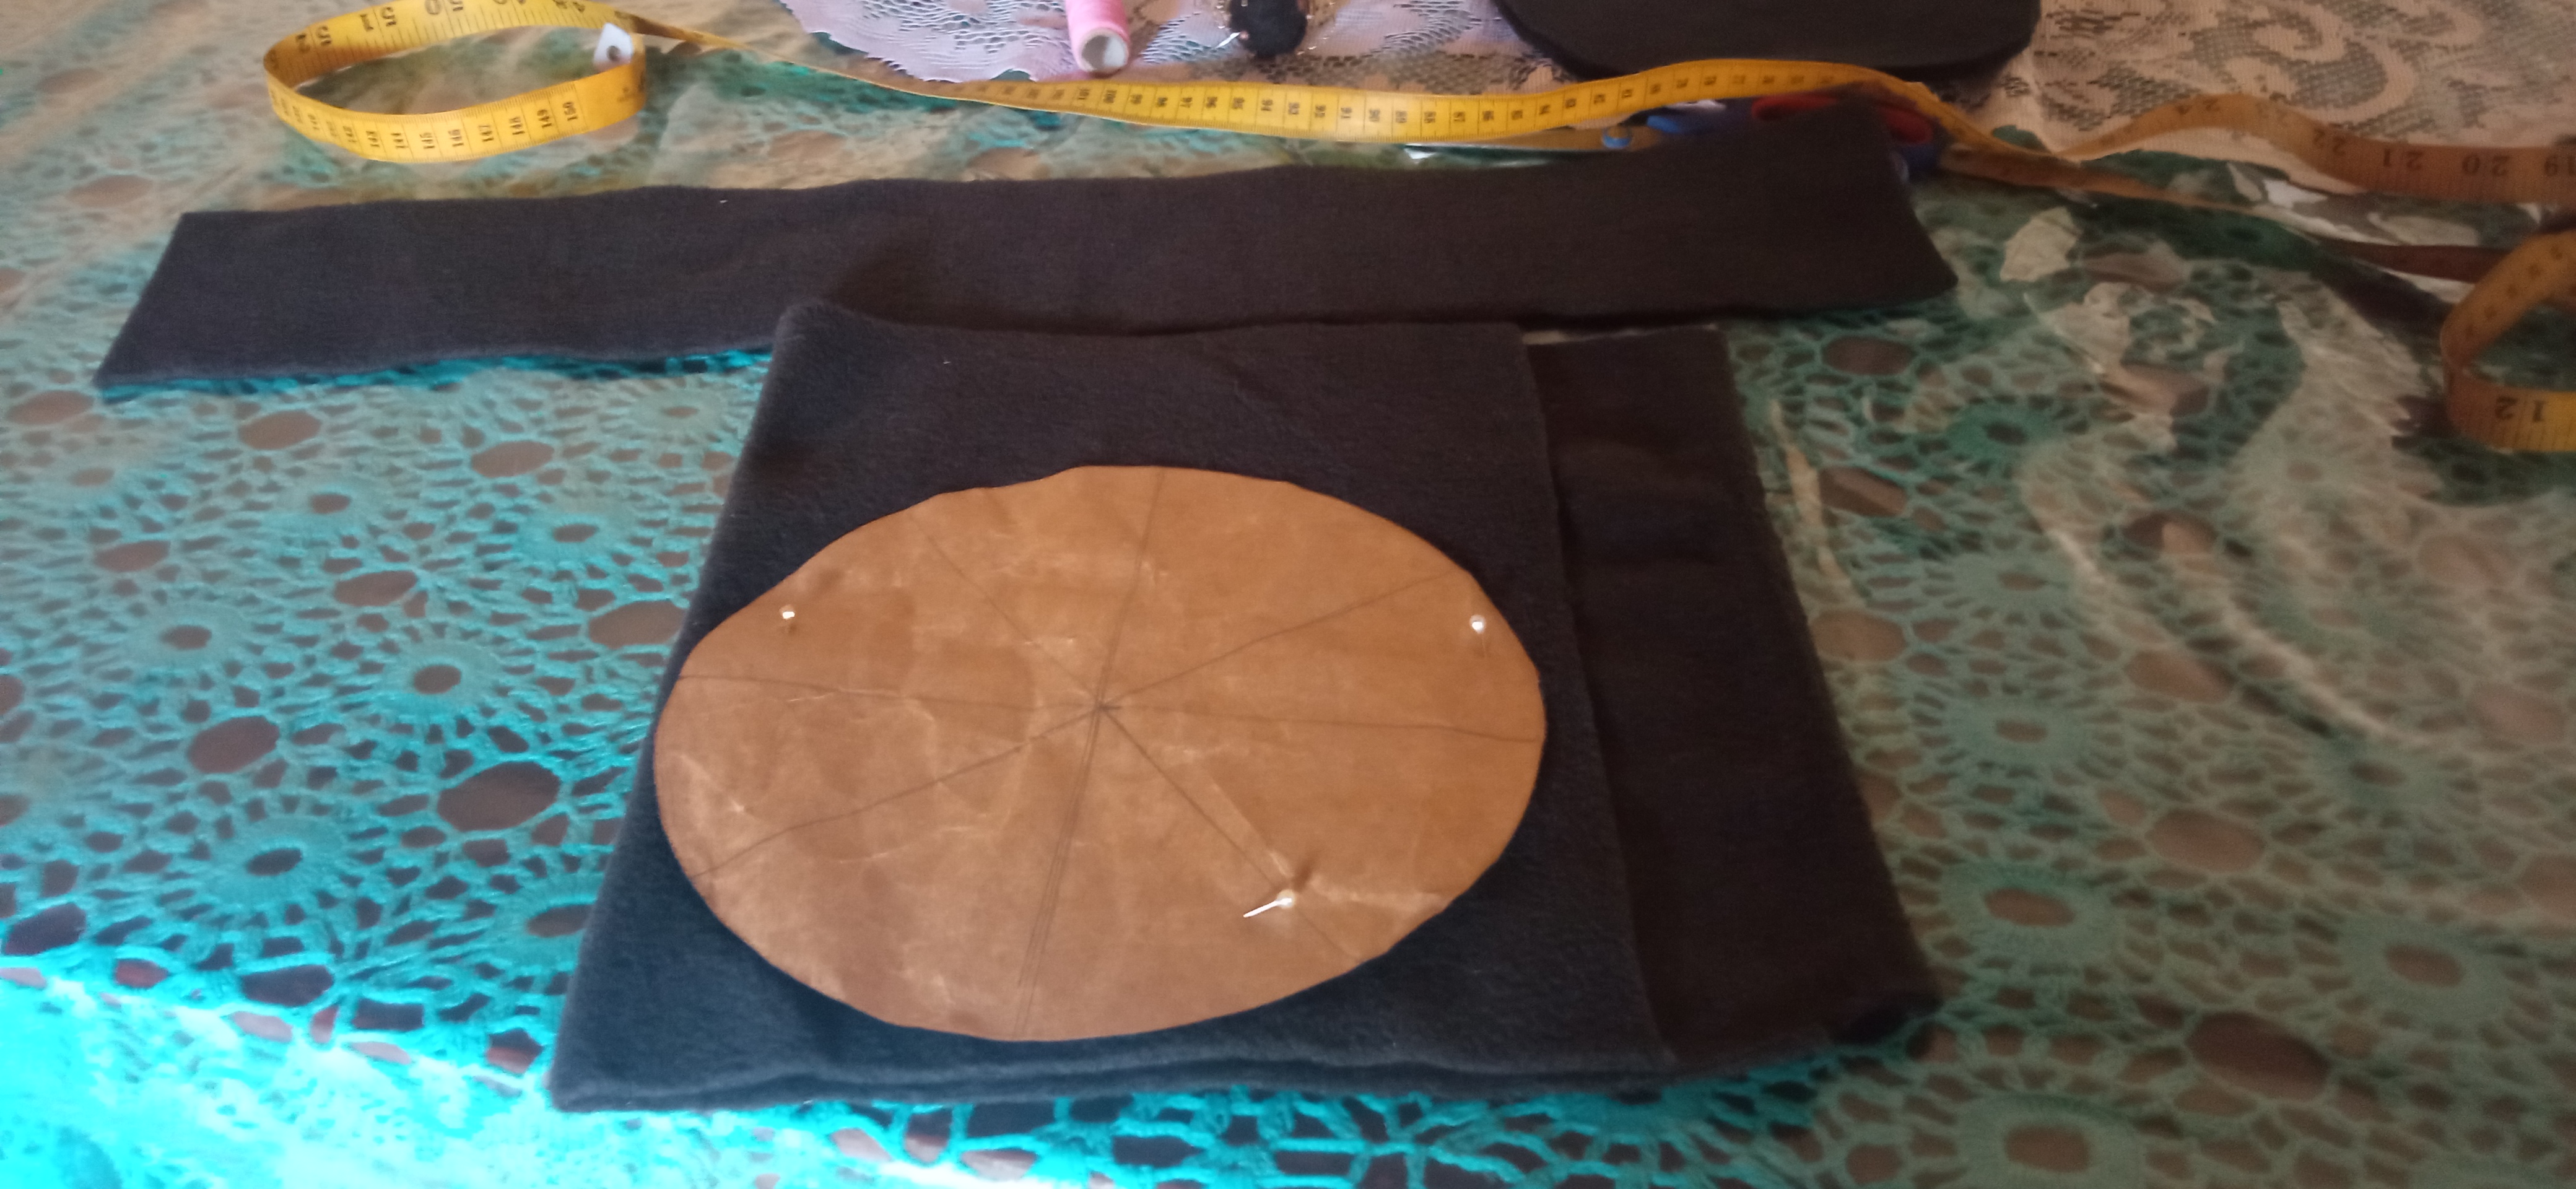
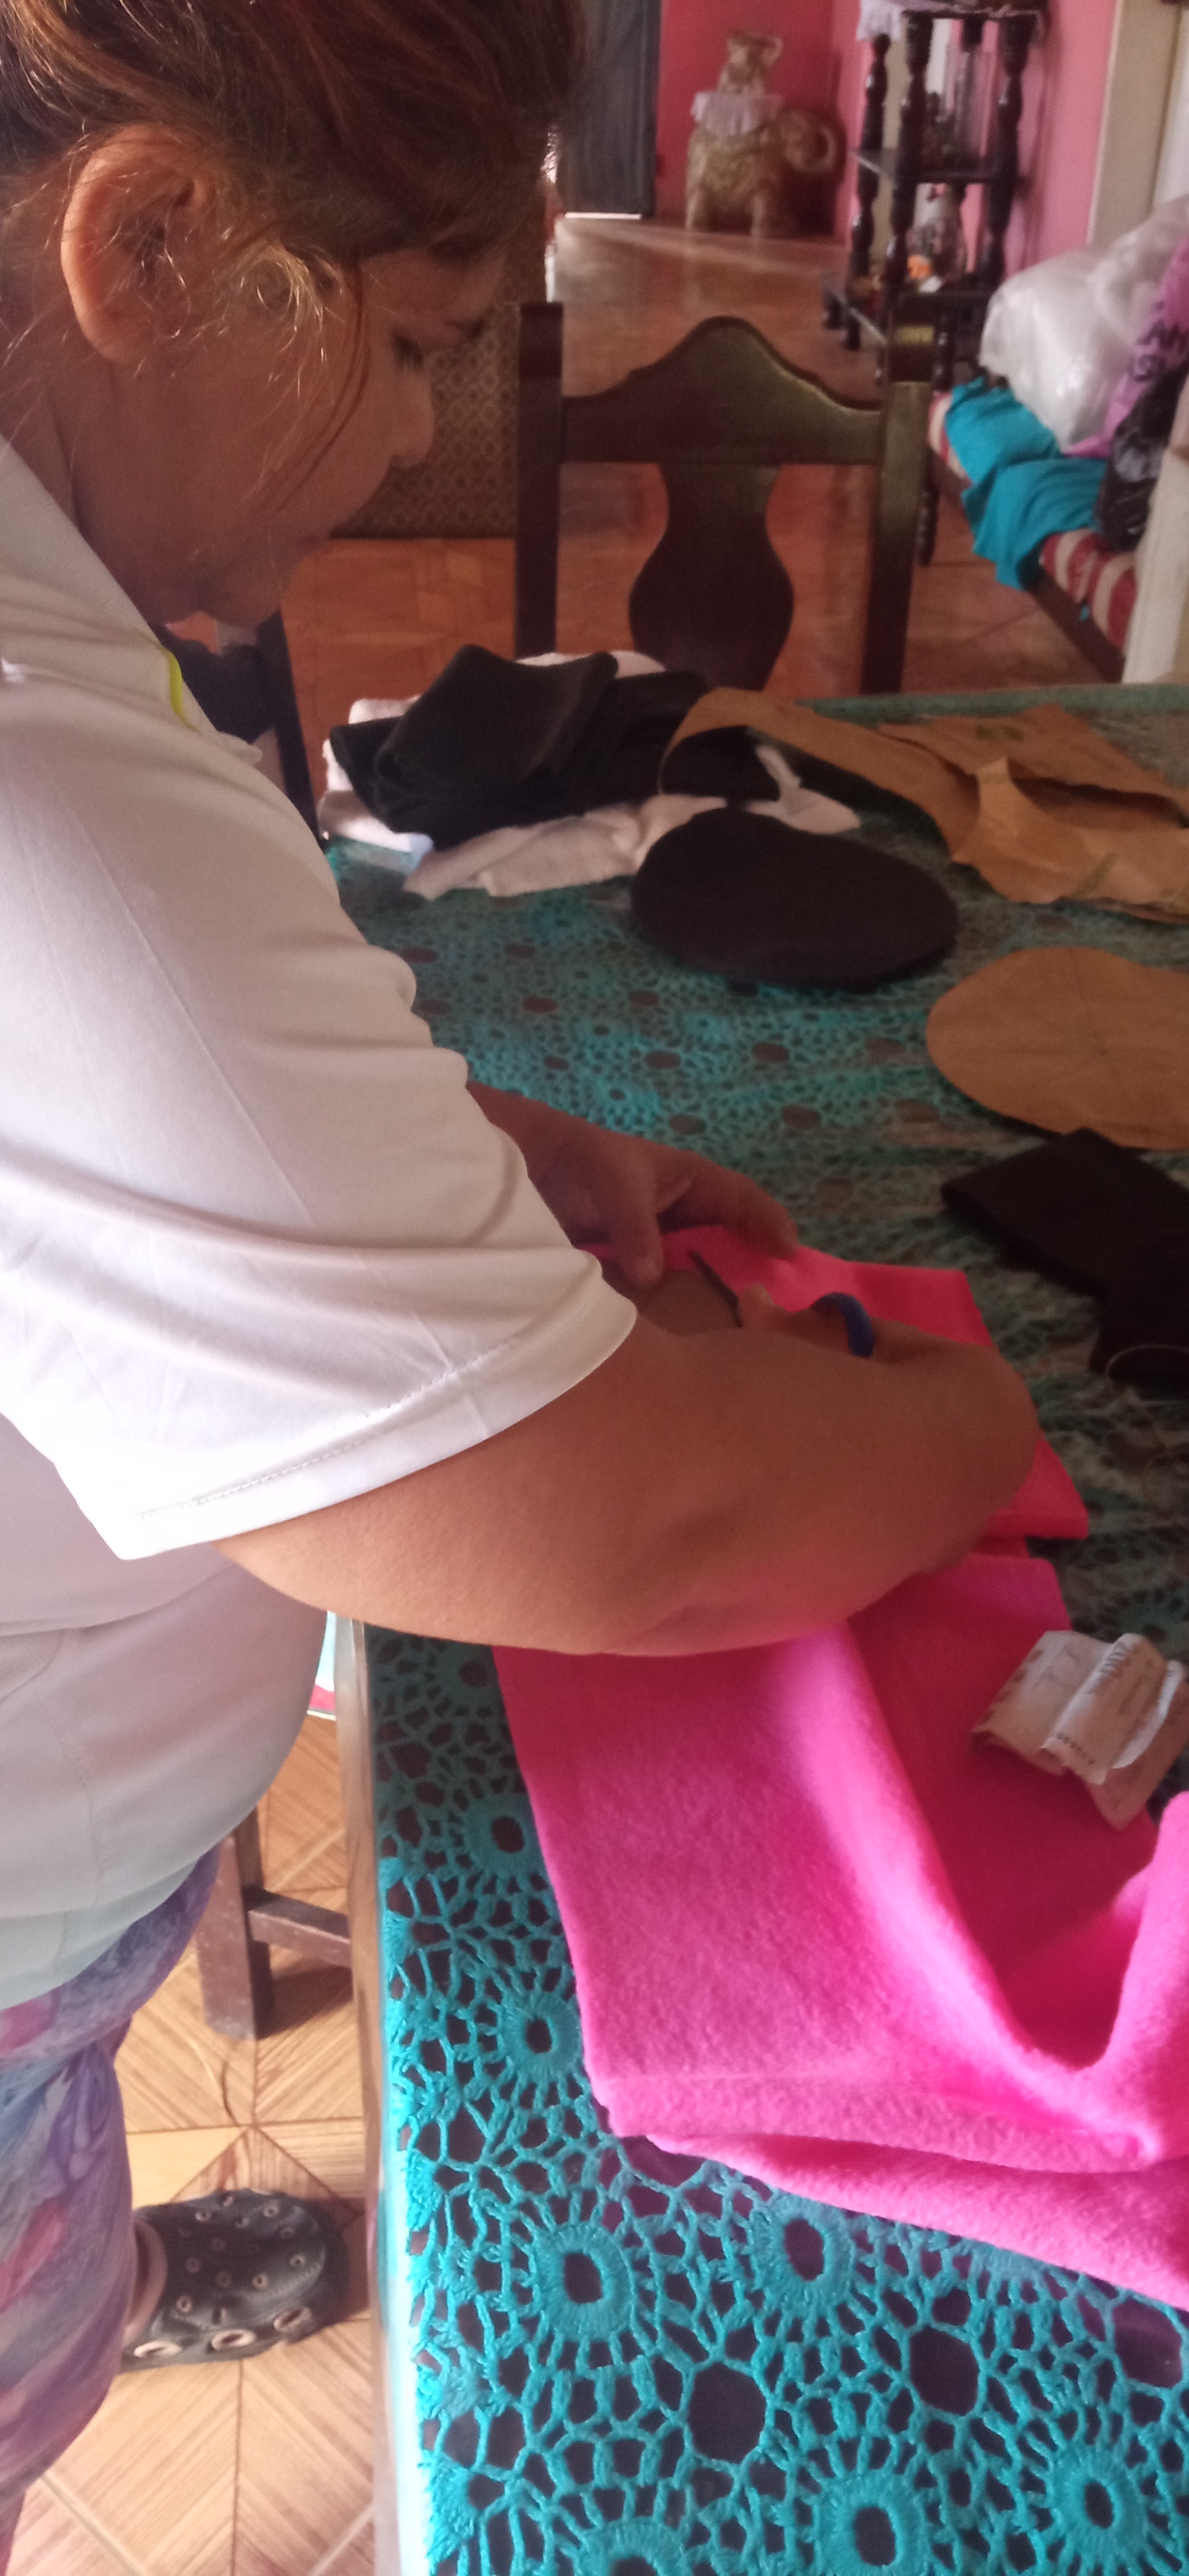
Corte una tira rectángula de 57 centímetro de largo por 10 centimetro de alto (para el varón) y un pieza redonda de 20 centímetro de díametro en mata polar negra.Para la hembra,corté una tira rectángula de 54 centímetro de largo por 7 centimetro de alto y un pieza redonda de 16 centímetro de díametro en mata polar rosada y cosí amabas piezas para unirlas.
Step 1:
I cut a rectangle strip 57 centimeters long by 10 centimeters high (for the male) and a round piece 20 centimeters in diameter in black fleece and for the female, I cut a rectangle strip 54 centimeters long by 7 centimeters high and a round piece 16 centimeters in diameter in pink fleece and sewed both pieces together.
Paso 2:
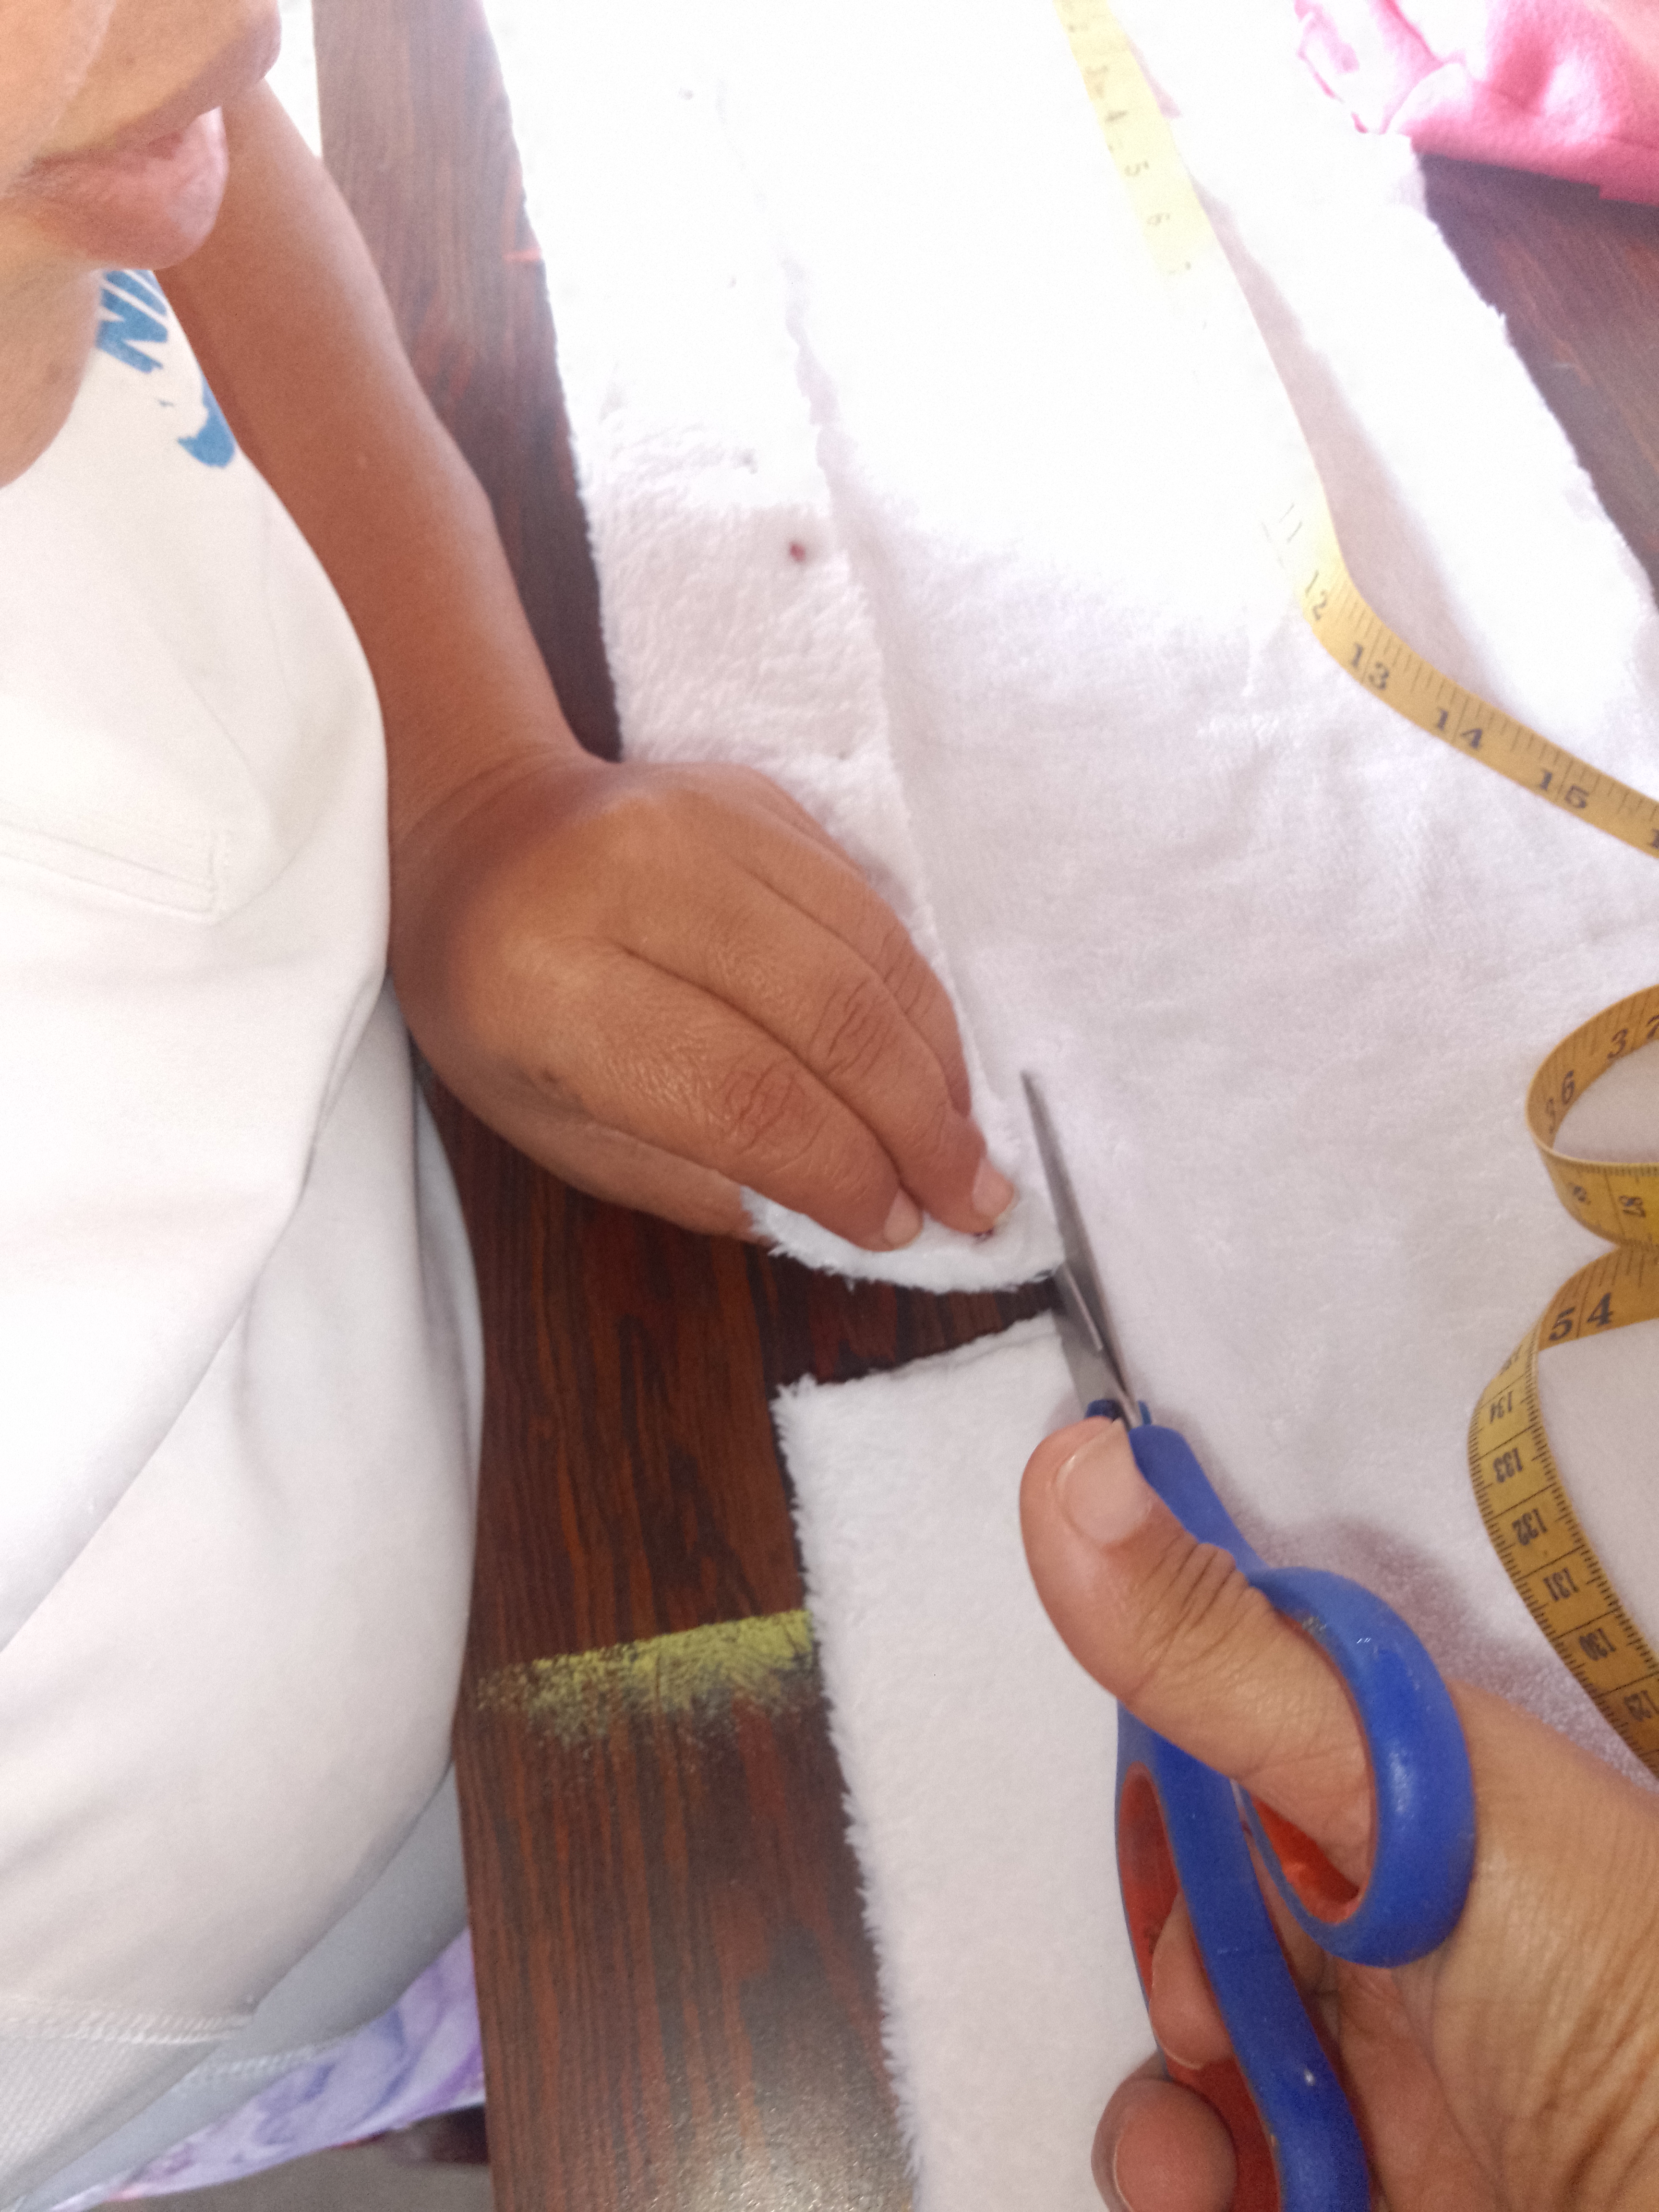
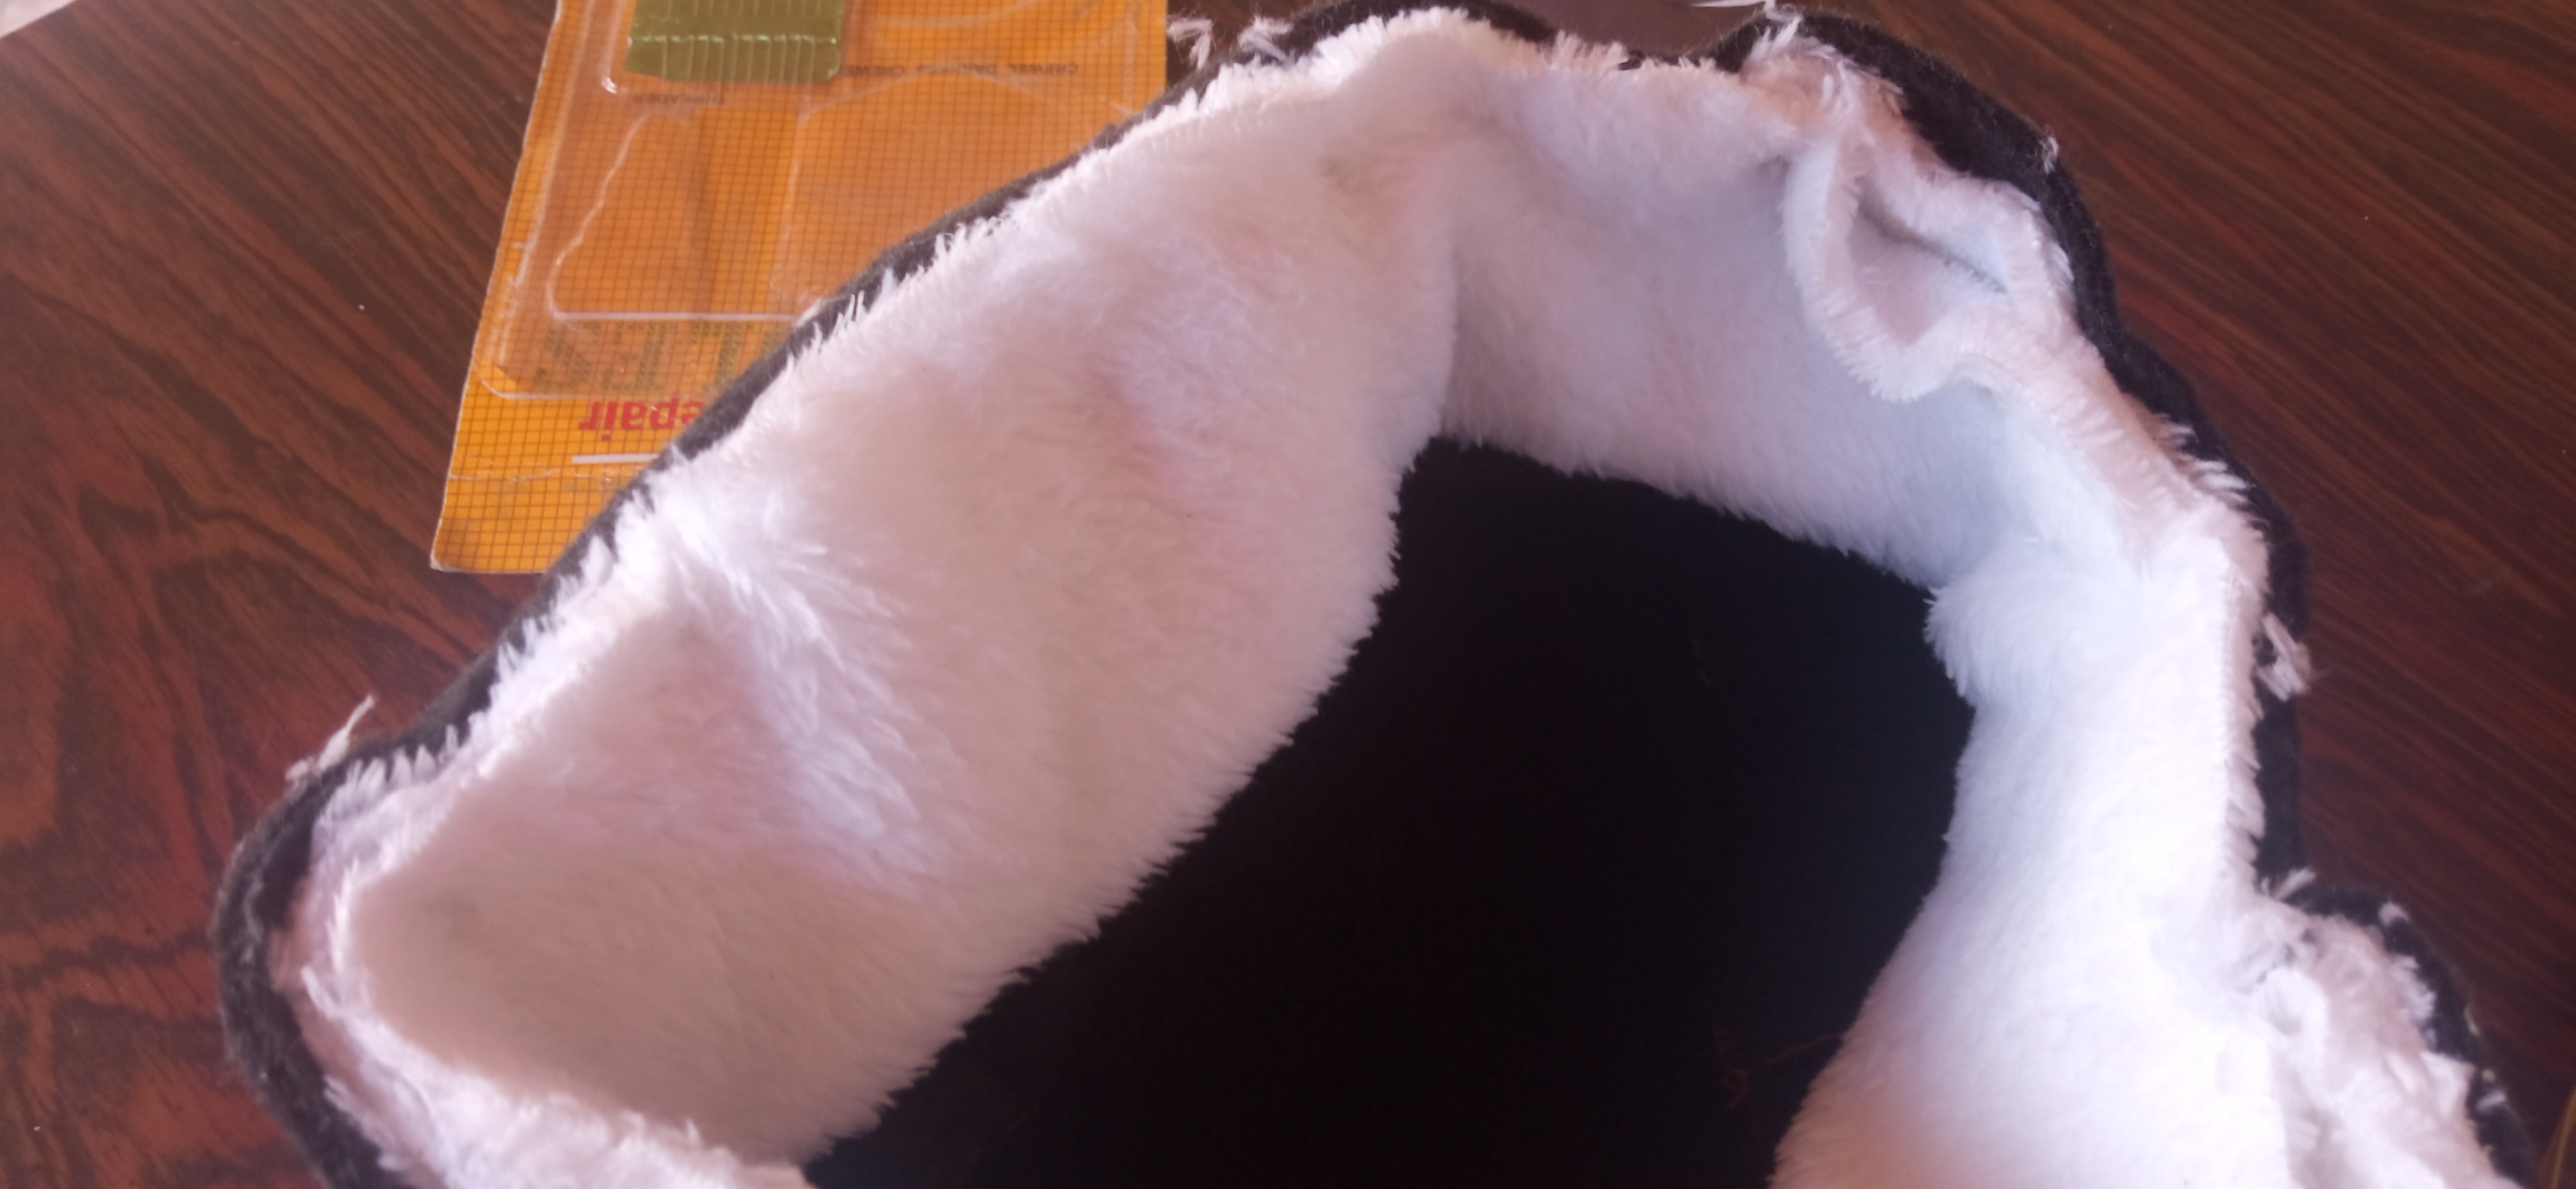
Una vez listas ambos gorros. Corté dos tiras rectángulares de tela de peluche blanca de 57 centímetros de largo por 5 centimetros de alto para el varón y de 54 centimetro de largo por 5 centimetros de alto para la hembra y los sujete con alfileres para coserlos.
Step 2:
Once both hats were ready. I cut two rectangular strips of white plush fabric 57 centimeters long by 5 centimeters high for the male and 54 centimeters long by 5 centimeters high for the female and pinned them to sew them together.
Paso 3:
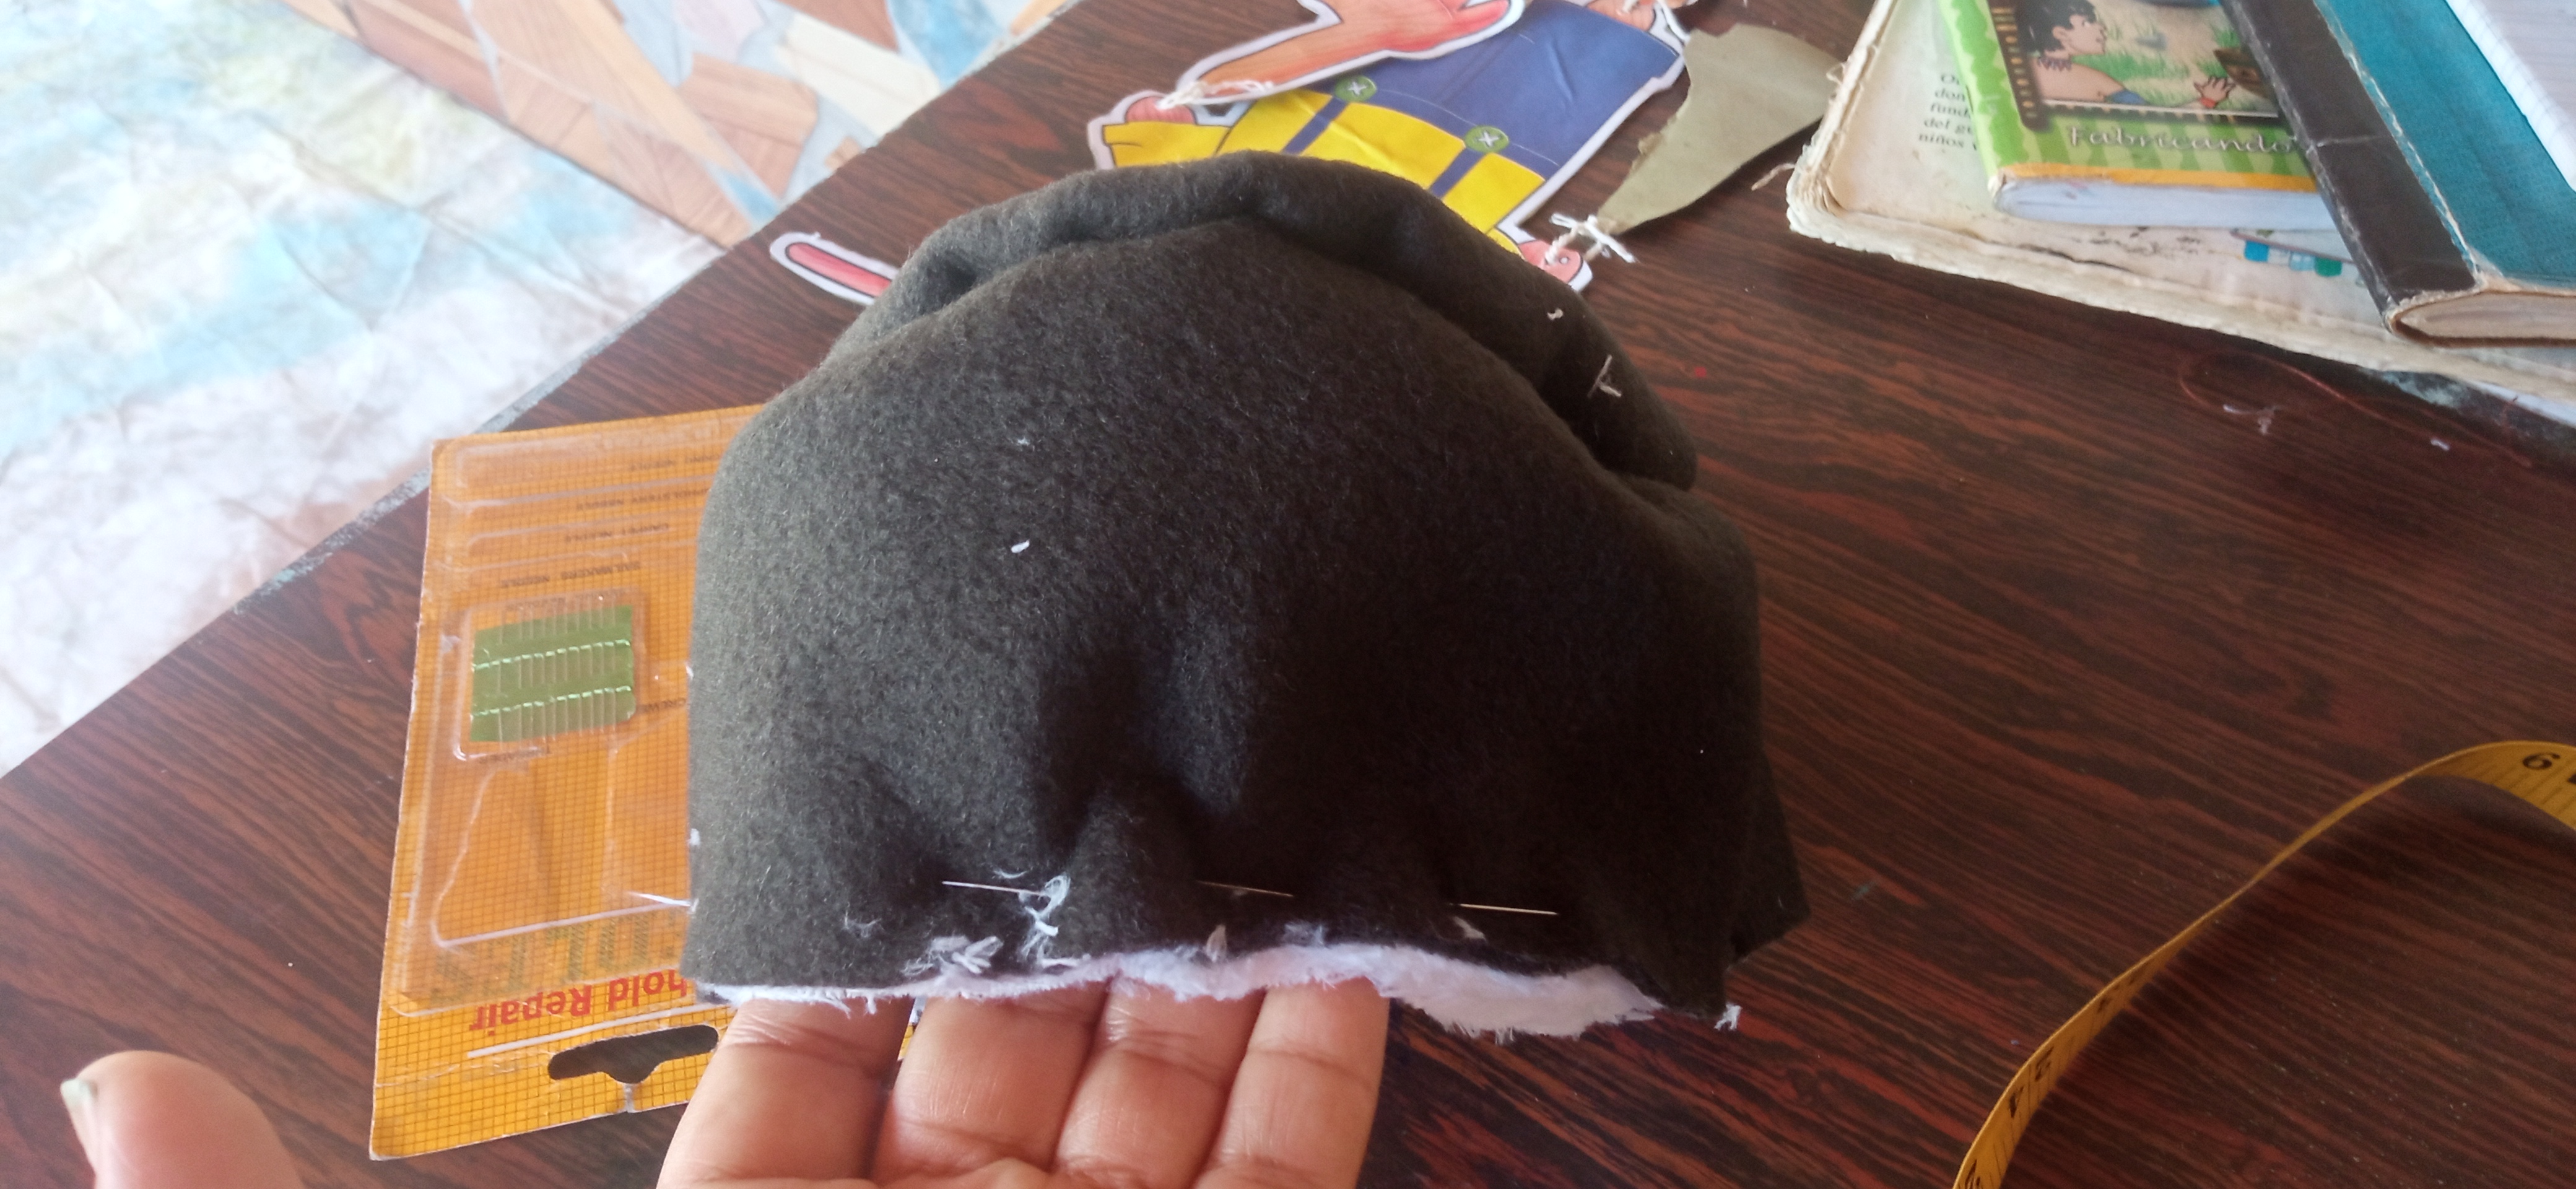
Con ayuda de los alfileres sujete la tira rectángular a la pieza redonda para coserla.
Step 3:
Using the pins attach the rectangle strip to the round piece to sew it.
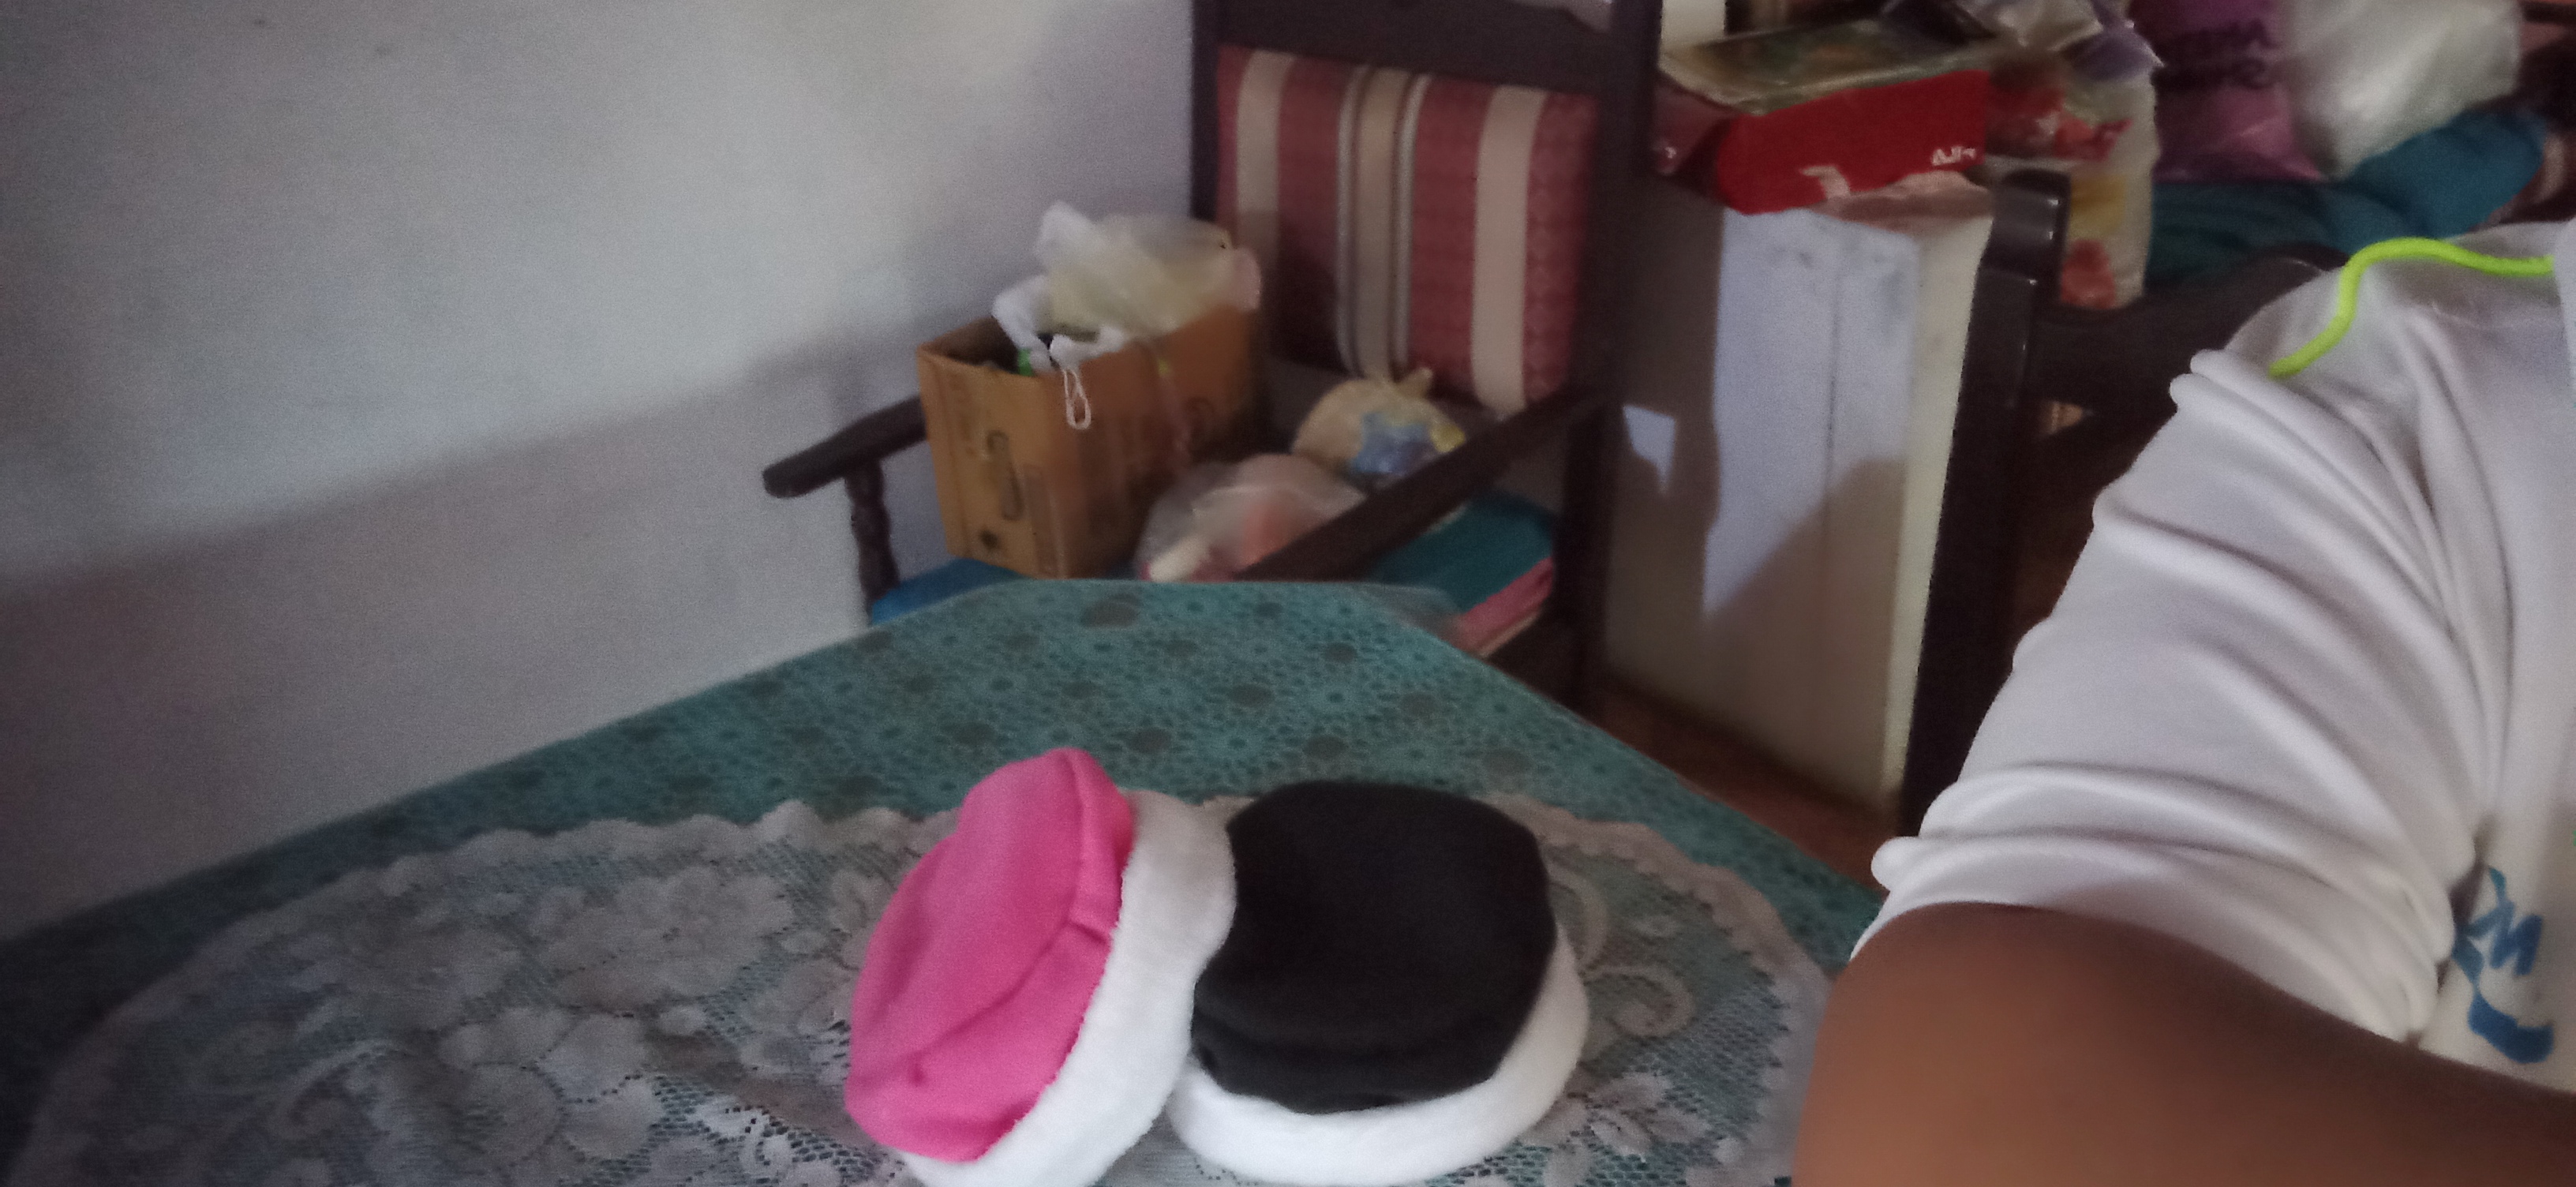
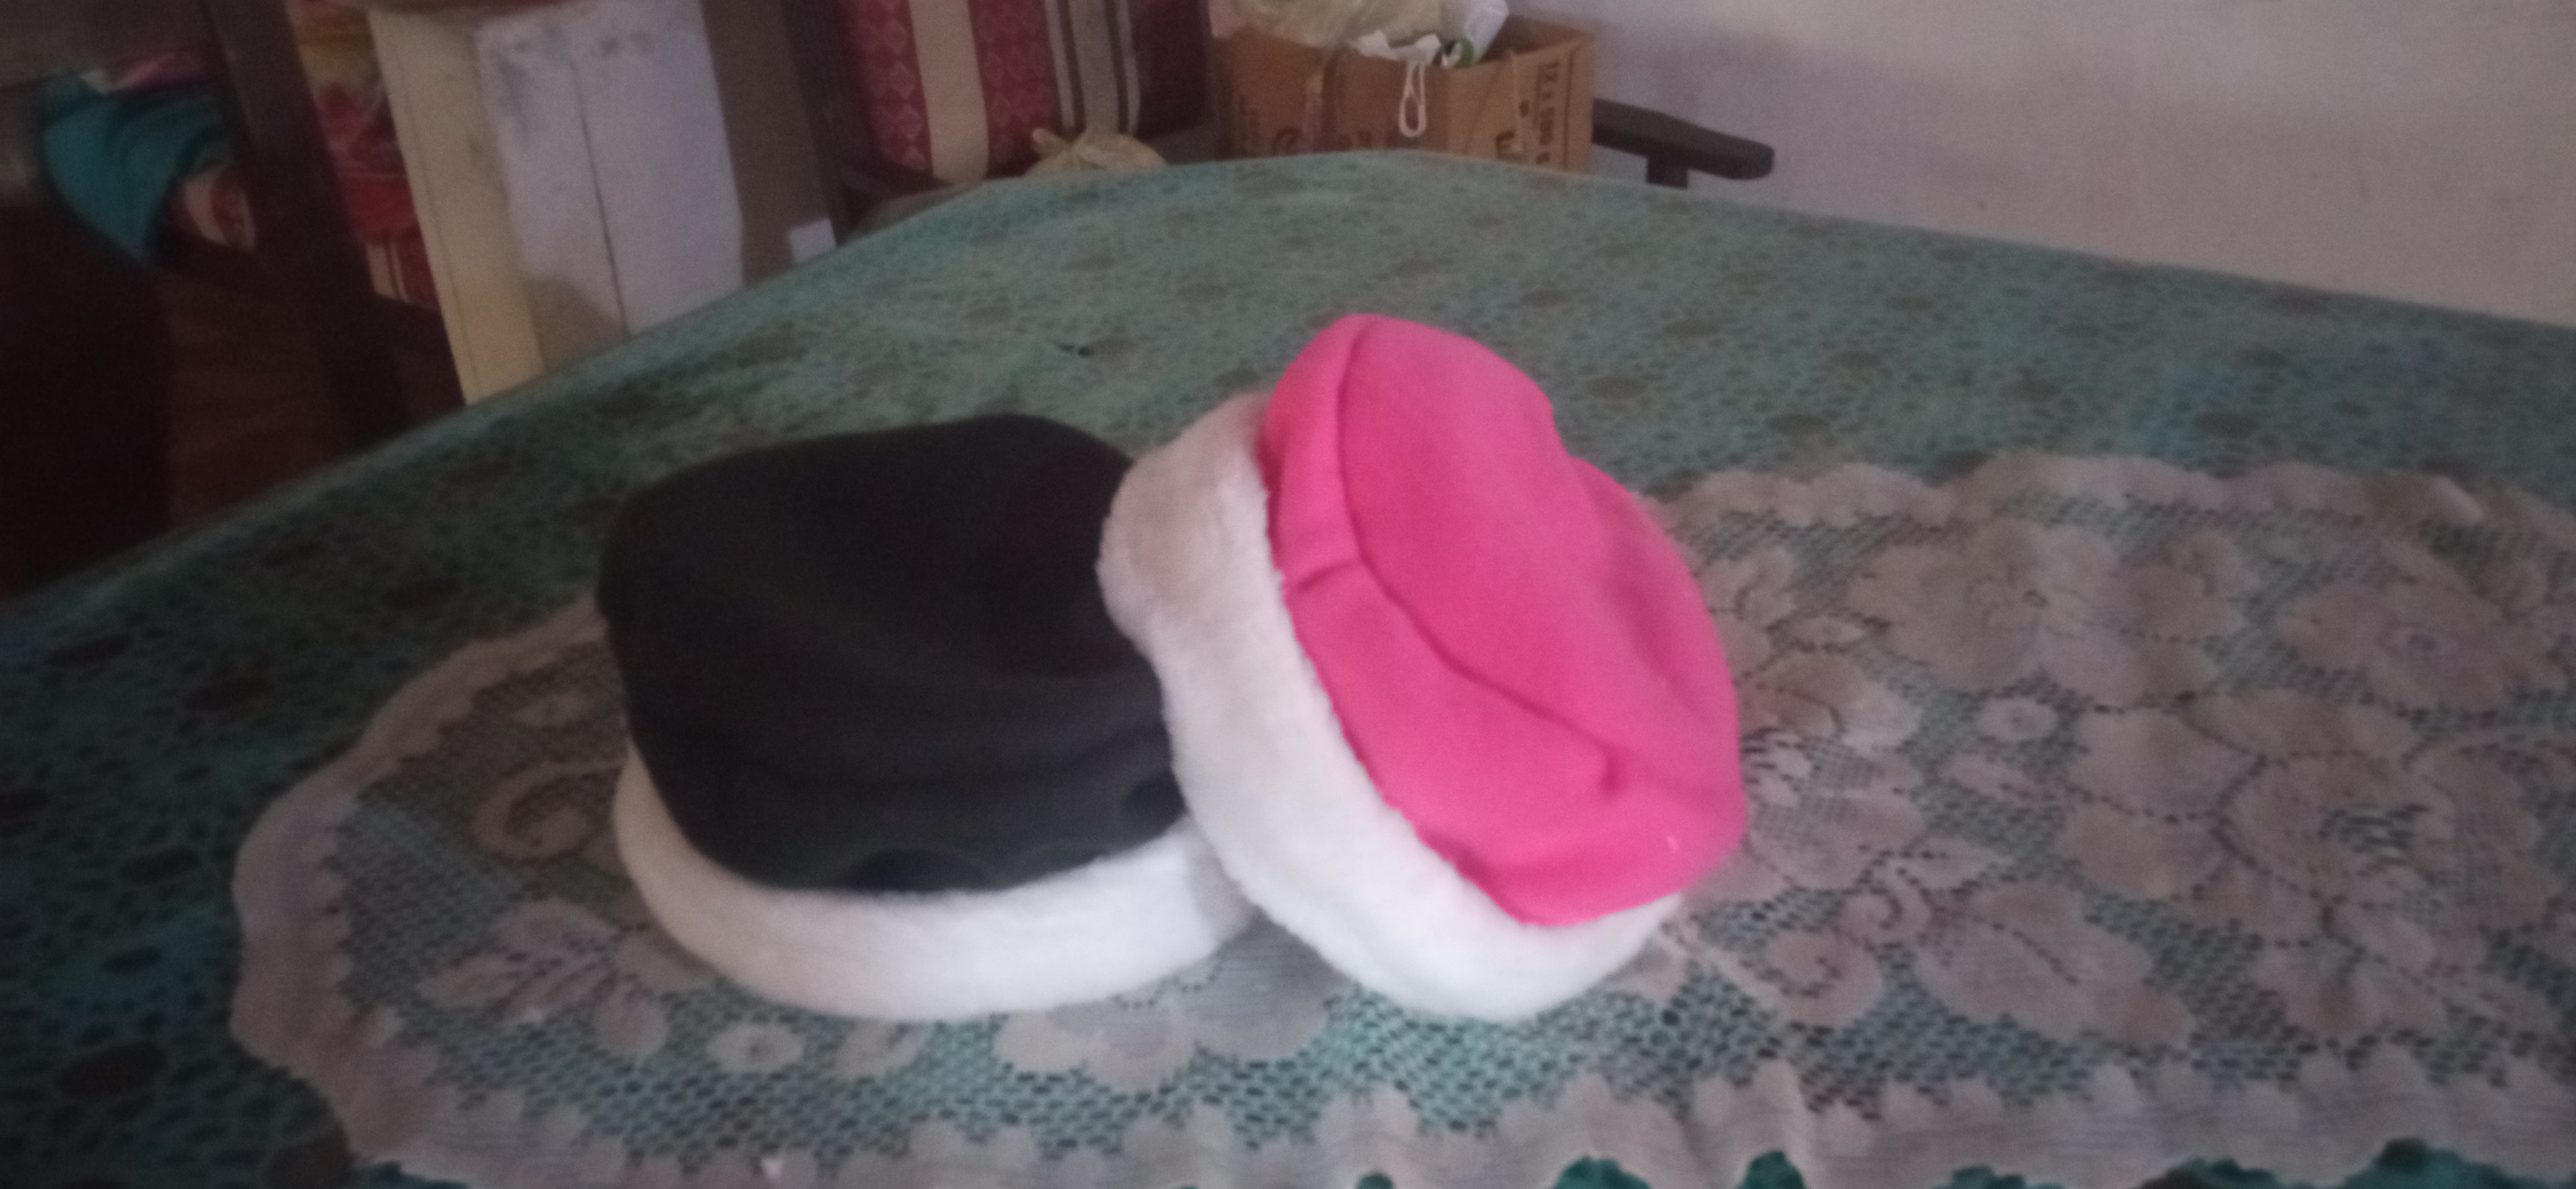
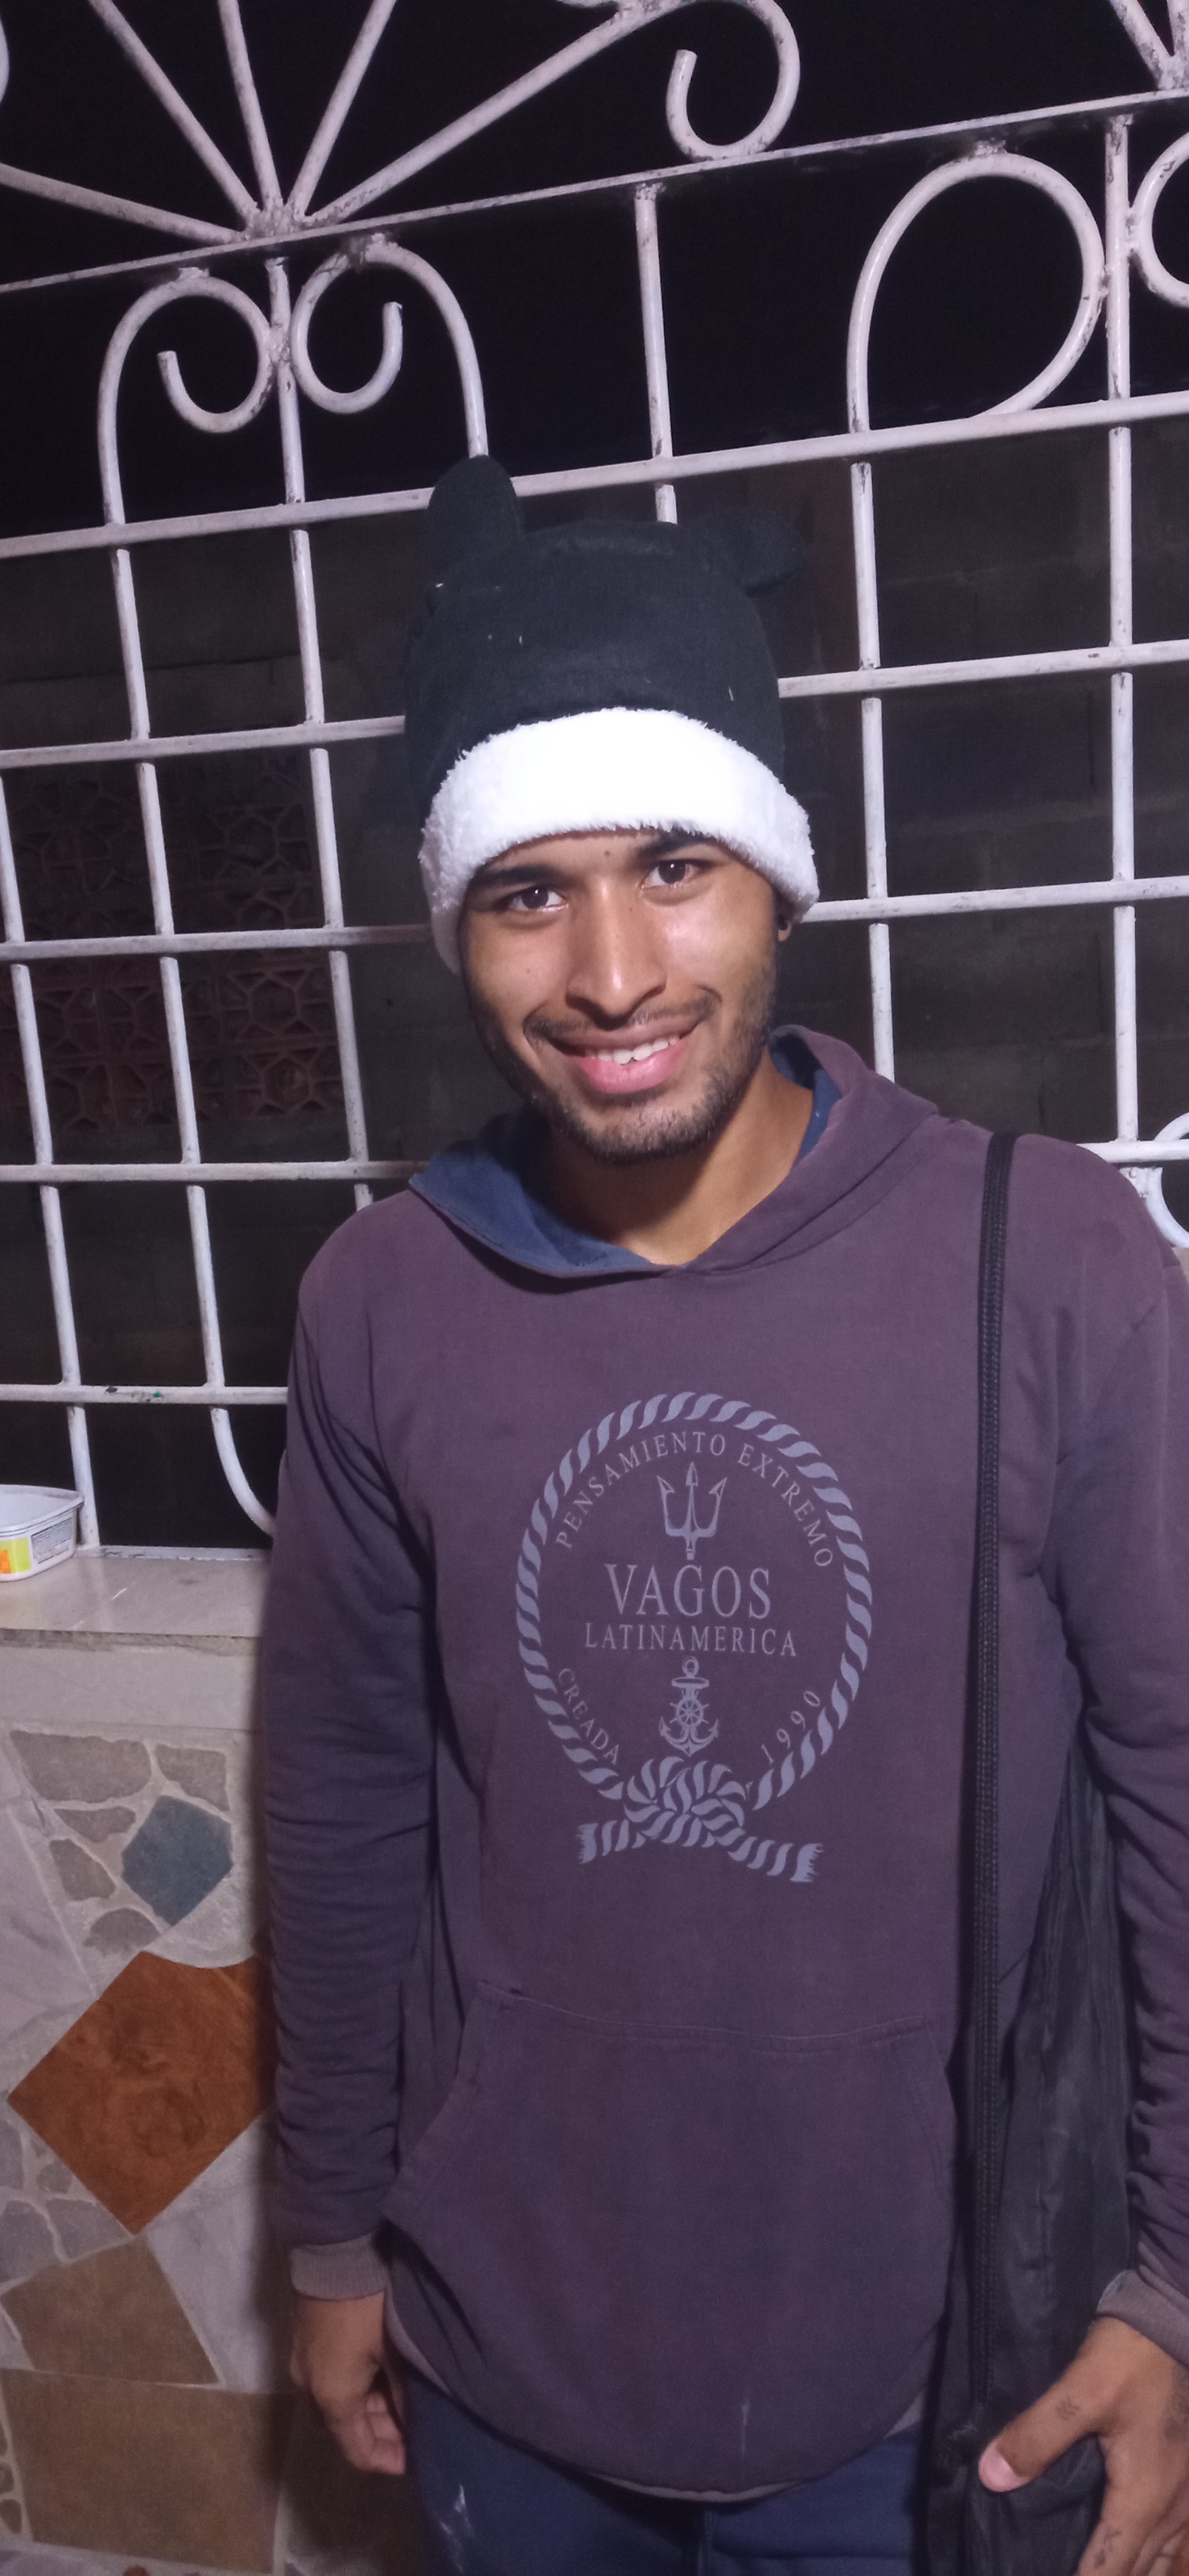
Y así quedarón las dos muestras que el amigo de mi hijo solicito. Debo decirle amigos que él quedó muy facinado con su gorro negro que de repente inventó de colocarle dos orejitas. Esto fue de verdad de último minuto. Así que tuve que cortarle un par de orejitas y coserlas en la parte superior del gorro-Jajaja !!! pero no se veían nada mal solo que las orejitas para su cabezota quedaron muy pequeñas jajaja !!!.
And that's how the two samples that my son's friend requested turned out. I must tell you my friends that he was very pleased with his black hat that he suddenly invented to put two little ears on it. This was really last minute. So I had to cut off a couple of ears and sew them on the top of the hat-Hahaha!!! but they didn't look bad at all just the ears for his big head were too small hahaha!!!.
Bueno amigos espero que les haya gustado. Gracias por leer mi publicación.Para la traducción del texto utilice el Traductor Deepl.com. Se les quiere mucho hasta otra nueva publicación.
Well friends I hope you liked it. Thank you for reading my publication, I used Deepl.com Translator for the translation of the text. You are very much loved until another new publication.
Congratulations @claire23! You have completed the following achievement on the Hive blockchain and have been rewarded with new badge(s):
Your next target is to reach 1500 upvotes.
You can view your badges on your board and compare yourself to others in the Ranking
If you no longer want to receive notifications, reply to this comment with the word
STOPCheck out the last post from @hivebuzz:
Support the HiveBuzz project. Vote for our proposal!