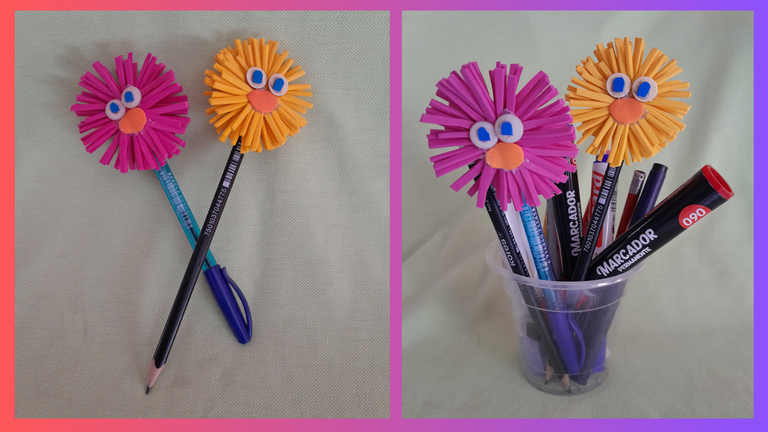
Hello my beautiful people, thankful to God for allowing me to be here sharing with you my new craft, a cute foami pompom to decorate the pencils, it is very easy to make and the kids will love it. My daughter liked it, I hope you do too. Here is the material to use.
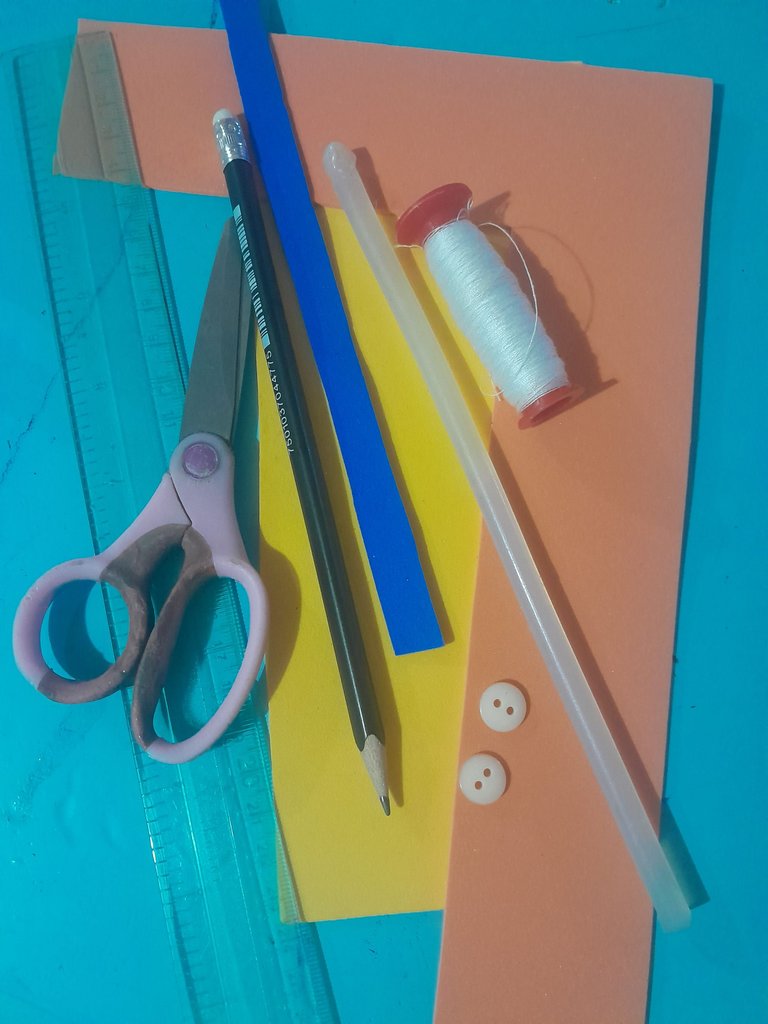
Español:
Materiales:
- Foami naranjado, amarillo, y azul.
- 2 botones.
- Hilo.
- Silicon.
- Lápiz.
- Tijera.
- Regla.
English:
Materials:
- Orange, yellow, and blue Foami.
- 2 buttons.
- Thread.
- Silicon.
- Pencil.
- Scissors.
- Ruler.

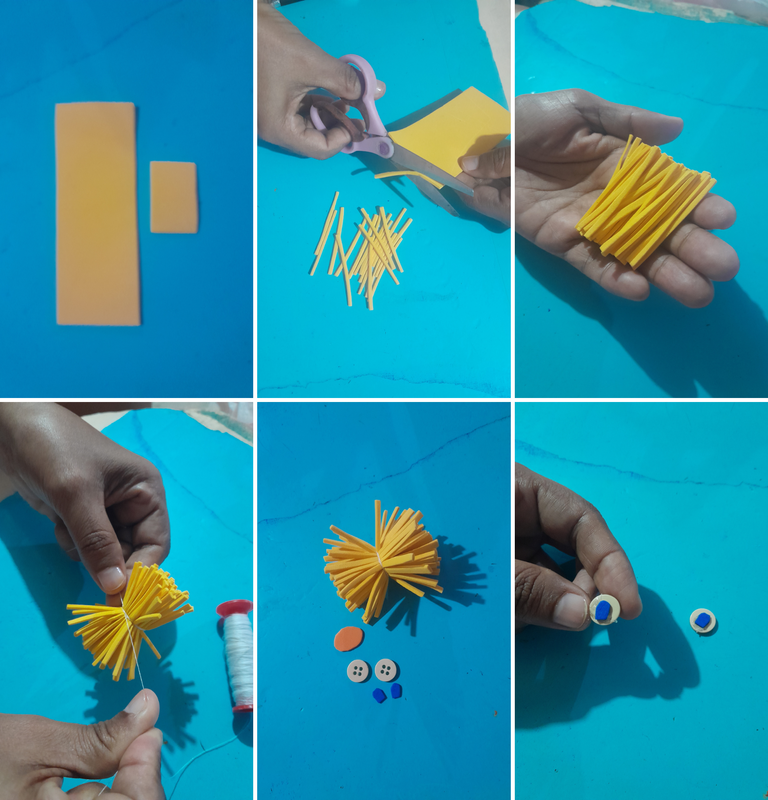
Español:
Paso 1:
- Comienzo recortando 2 piezas de foami amarillo, de 15 x 6 cm y 5 x 3 cm, luego con la tijera recorto con mucho cuidado tiras delgadas del foami de 15 x 6, la ordeno y hago un amarre dándole varias vueltas con el hilo a la mitad de las tiras de foami. Recorto el foami naranjado un pequeño círculo en forma de óvalo y dos pedacitos del azul para pegarlo a los botones , que vendrían siendo los ojos.
English:
Step 1:
- I start cutting 2 pieces of yellow foami, of 15 x 6 cm and 5 x 3 cm, then with the scissors I cut very carefully thin strips of foami of 15 x 6, I order it and I make a tie giving several turns with the thread to half of the foami strips. I cut out a small circle in the shape of an oval from the orange foami and two small pieces of blue foami to glue to the buttons, which would be the eyes.

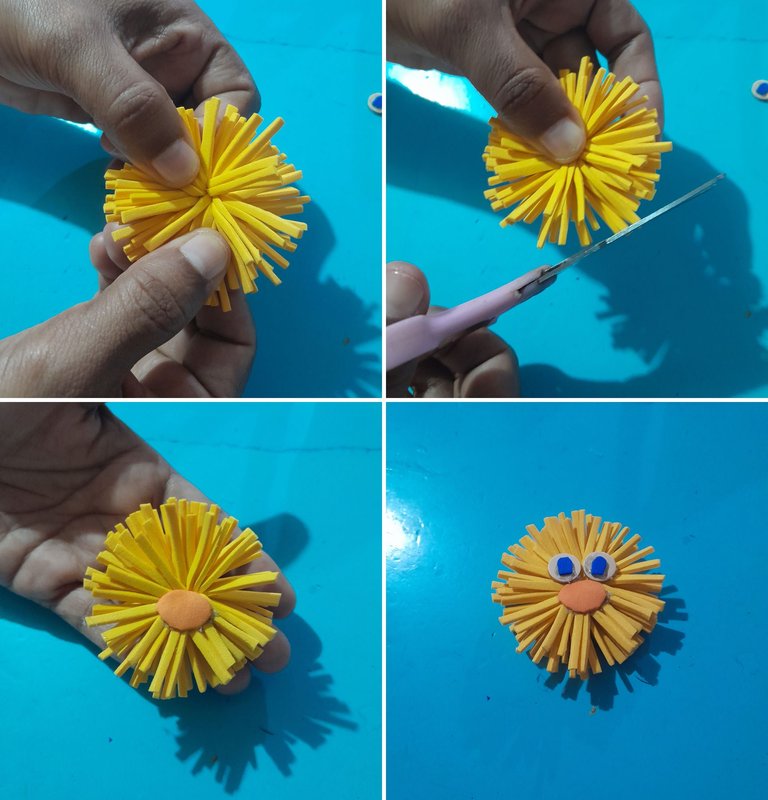
Español:
Paso 2:
- Abrimos en el centro del amarre en ambos lados con la ayuda de nuestros dedos, tratamos de aplastar con los dedos lo más que podamos para que agarre la forma como de flor, luego recortamos las puntas que están más largas, y procedemos a pegar la nariz y los ojos.
English:
Step 2:
- We open the center of the tie on both sides with the help of our fingers, we try to flatten with our fingers as much as we can so that it takes the shape of a flower, then we cut the tips that are longer, and proceed to glue the nose and eyes.

Español:
Paso 3:
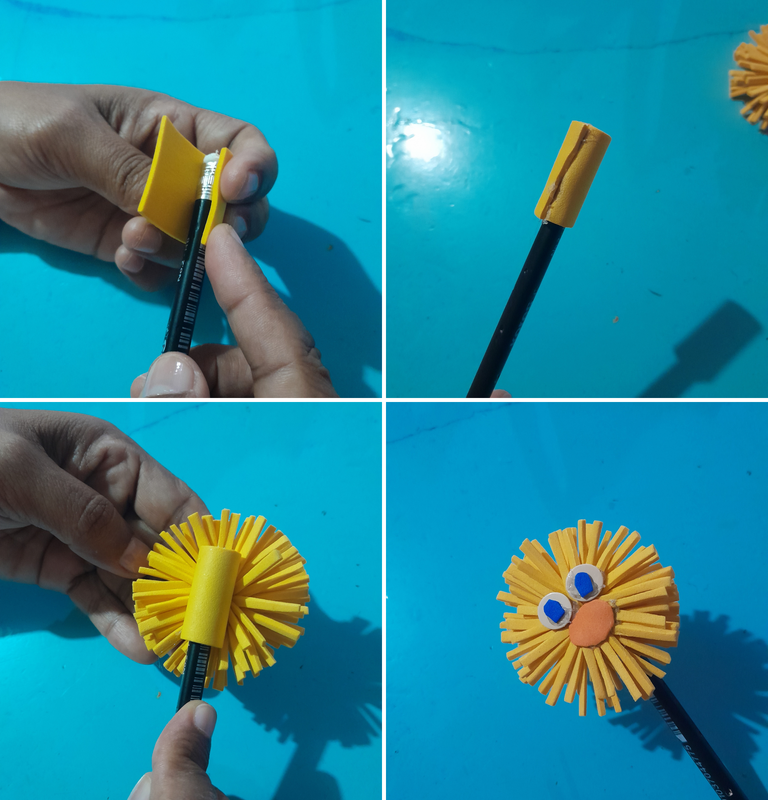
- Ahora vamos a utilizar el otro pedacito de foamide 5 x 3 cm colocandolo en la parte superior del lápiz, le damos la vuelta y pegamos con silicon caliente, luego lo volvemos a pegar, pero en la parte de atrás de nuestro diseño.
English:
Step 3:
- Now we are going to use the other piece of foamide 5 x 3 cm by placing it on top of the pencil, turn it over and glue it with hot glue, then glue it again, but on the back of our design.

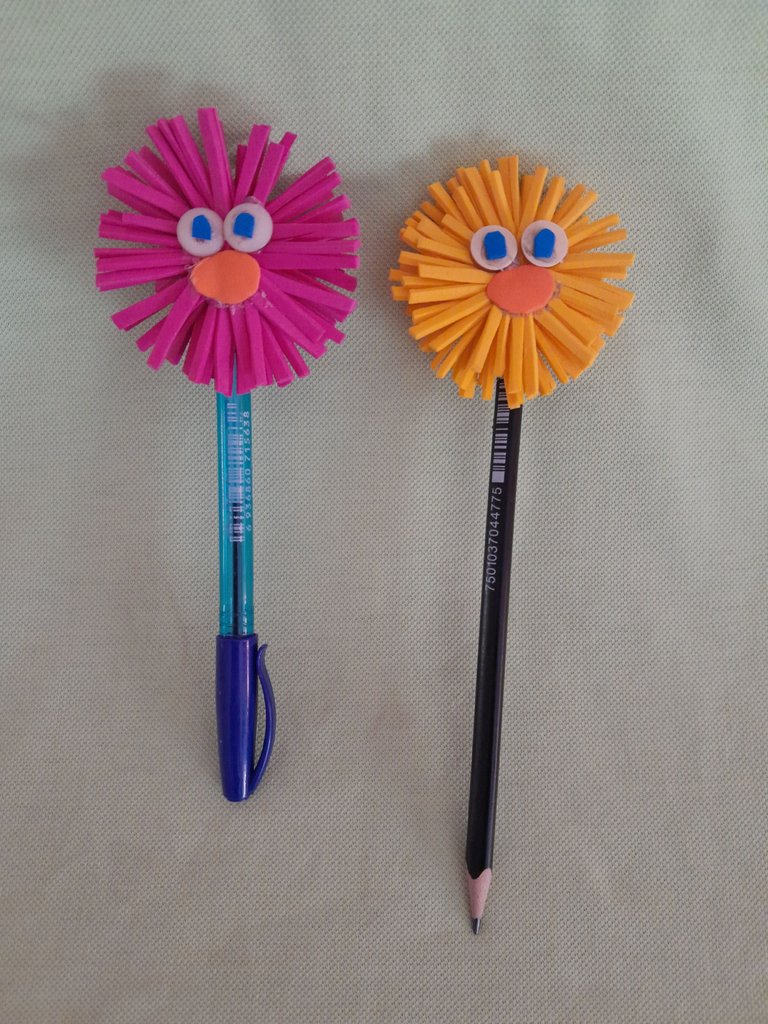
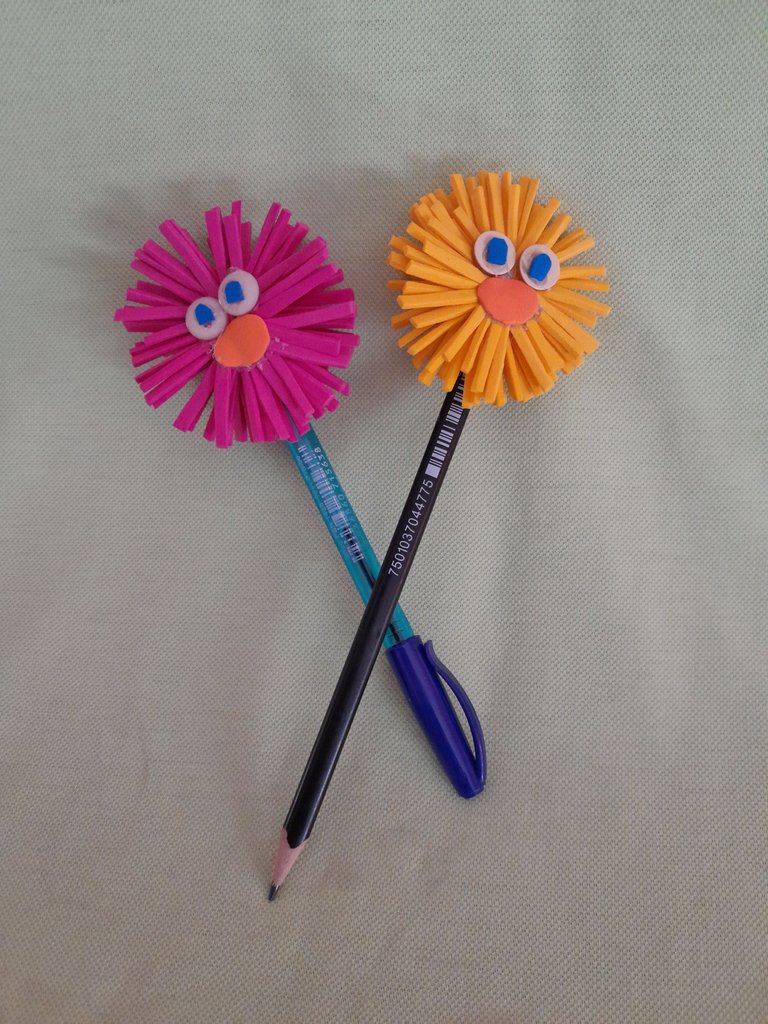
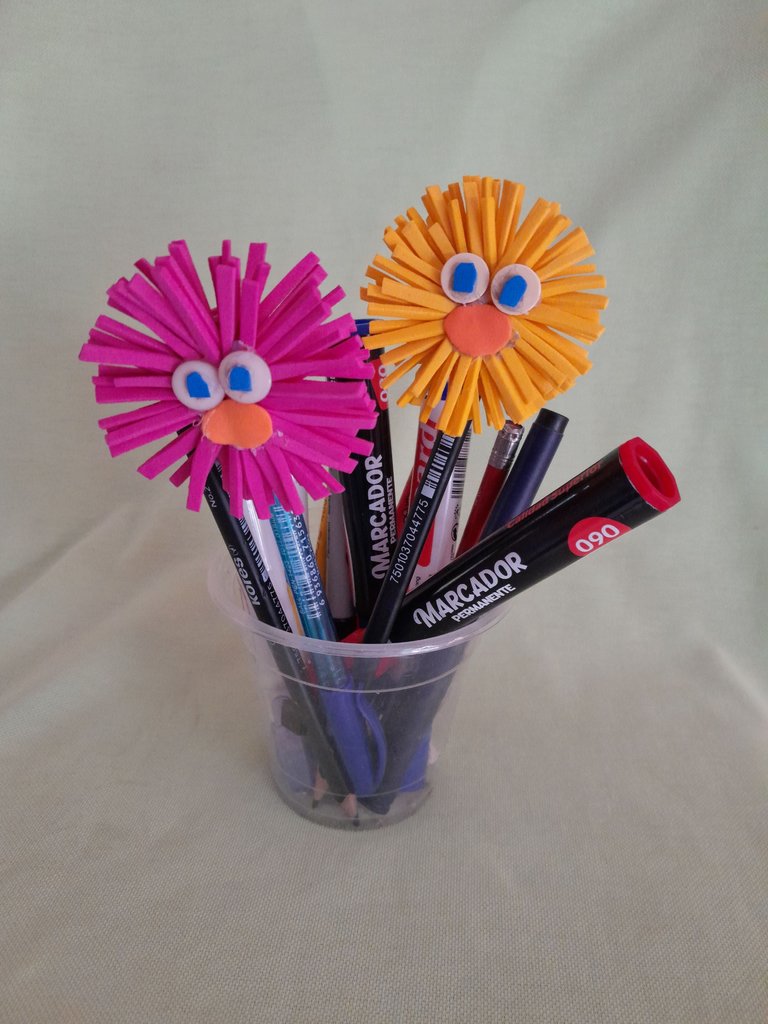
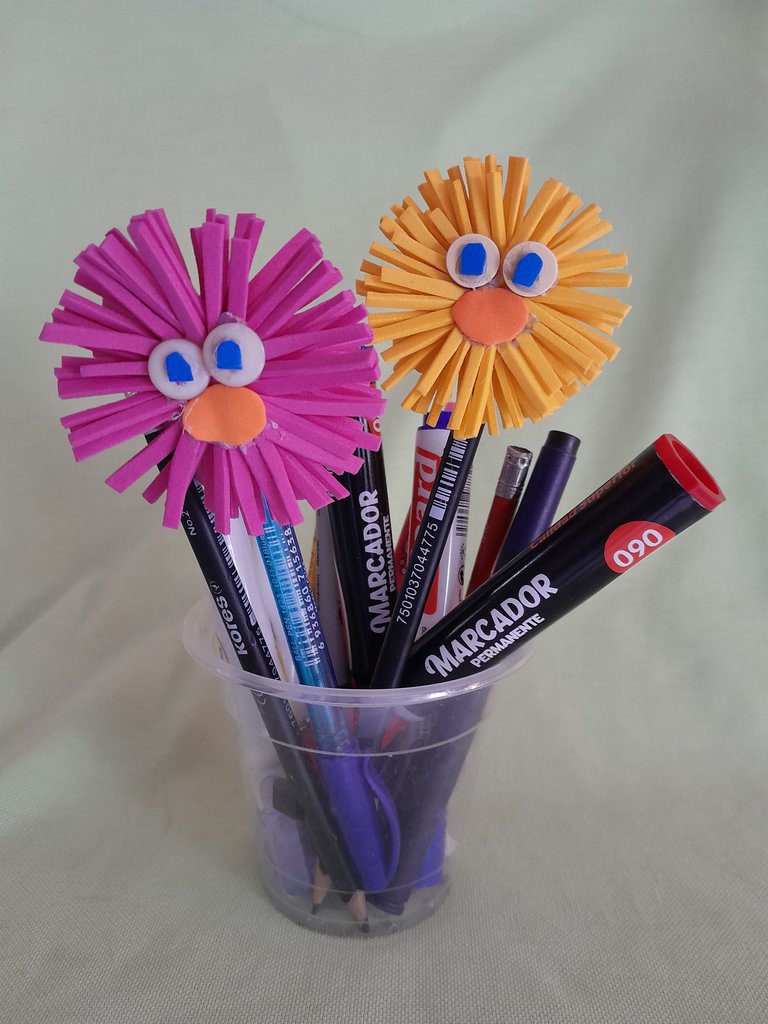
Mi resultado final, saludos.
My final result, best regards.
Todas las fotos son de mi autoría y editadas con Canva.
All the photos were taken by me and edited with Canva.
WOW! It looks amazing. And it shows your creativity and skills. Great job! Keep it up!
thank you.
!DIY
!discovery 30
This post was shared and voted inside the discord by the curators team of discovery-it
Join our Community and follow our Curation Trail
Discovery-it is also a Witness, vote for us here
Delegate to us for passive income. Check our 80% fee-back Program
thank you, greetings and blessings.
Muy lindo @coromoto20
Gracias por tu comentario, saludos.
Yo los hacía de niña pero con estambre y al poco tiempo se ponían feos. Con el foami, de seguro se mantienen lindos por mucho más tiempo.
Quedaron geniales!
gracias, es cierto con el foami quedan en buen estado por mas tiempo, saludos.