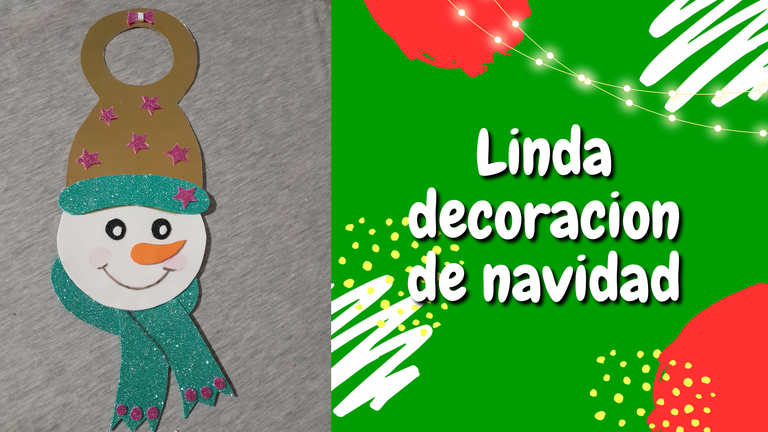
Greetings my dear friends, I hope you are well and full of good vibes, my beautiful people of Hive diy we continue with the Christmas motivation, I will share a decoration for the door locks I hope you like it, let's see.
Español:
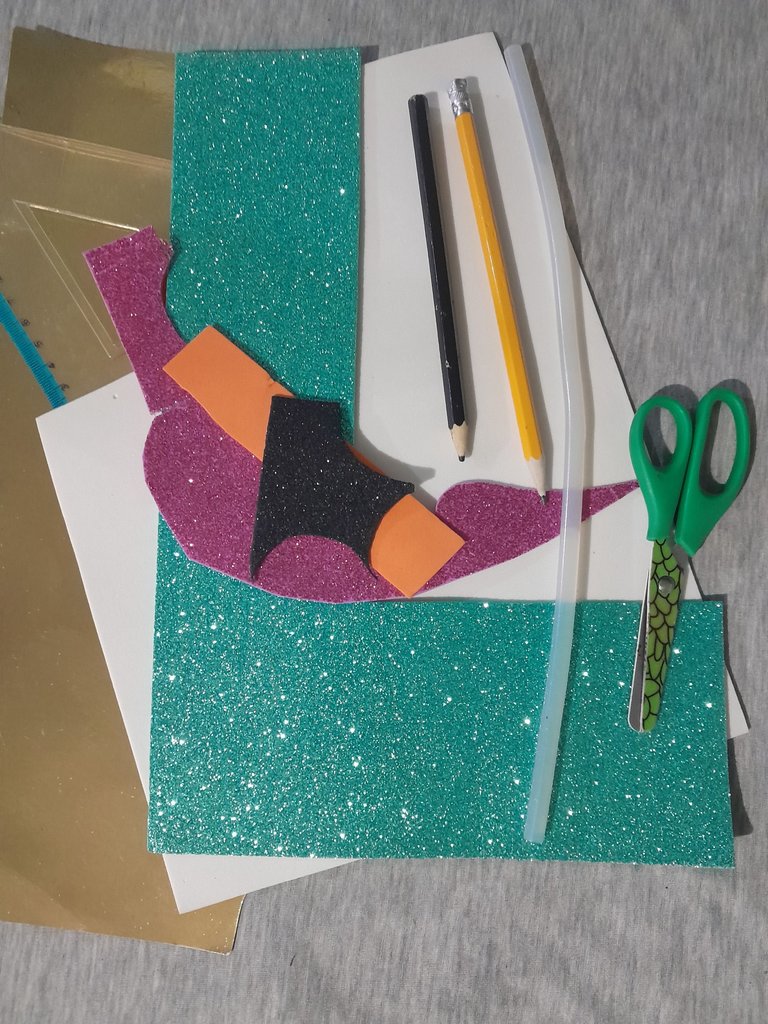
Materiales:
- Foami blanco, verde, negro, naranjado, y fucsia.
- Cartulina laminada color dorado.
- Silicon.
- Lápiz.
- Regla.
- Tijera.
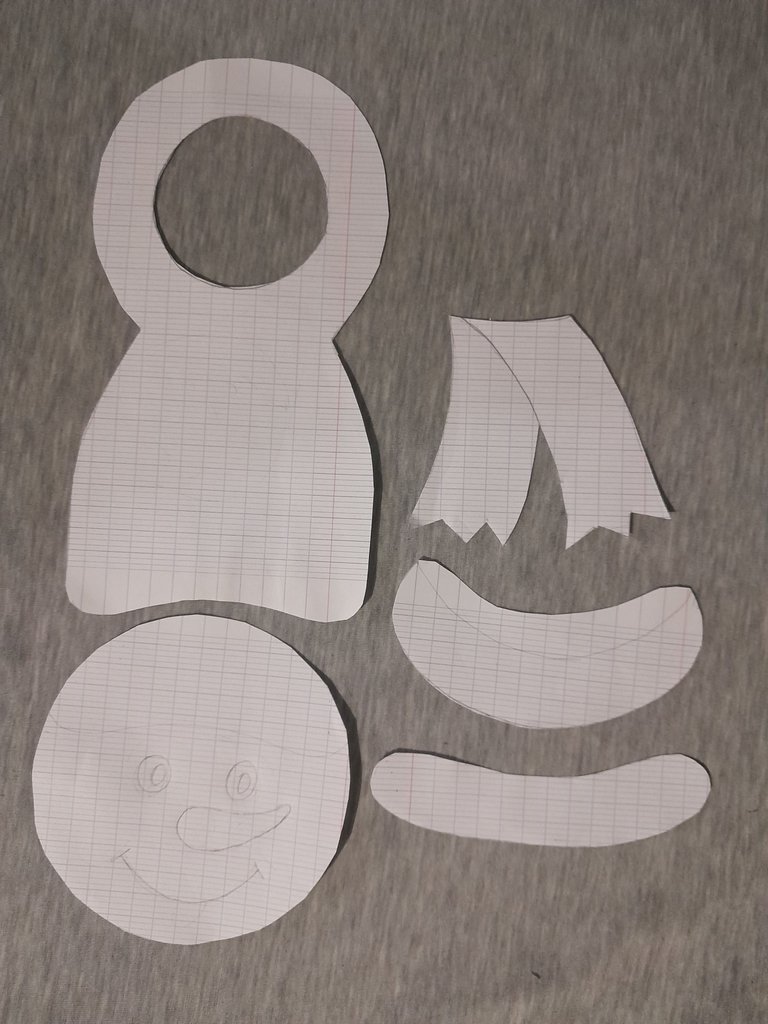
- El patrón dibujado y recortado en papel.
English:
Materials:
- White, green, black, orange and fuchsia foami.
- Gold-colored laminated cardboard.
- Silicon.
- Pencil.
- Ruler.
- Scissors.
- Pattern drawn and cut out on paper.

Español:
Paso 1:
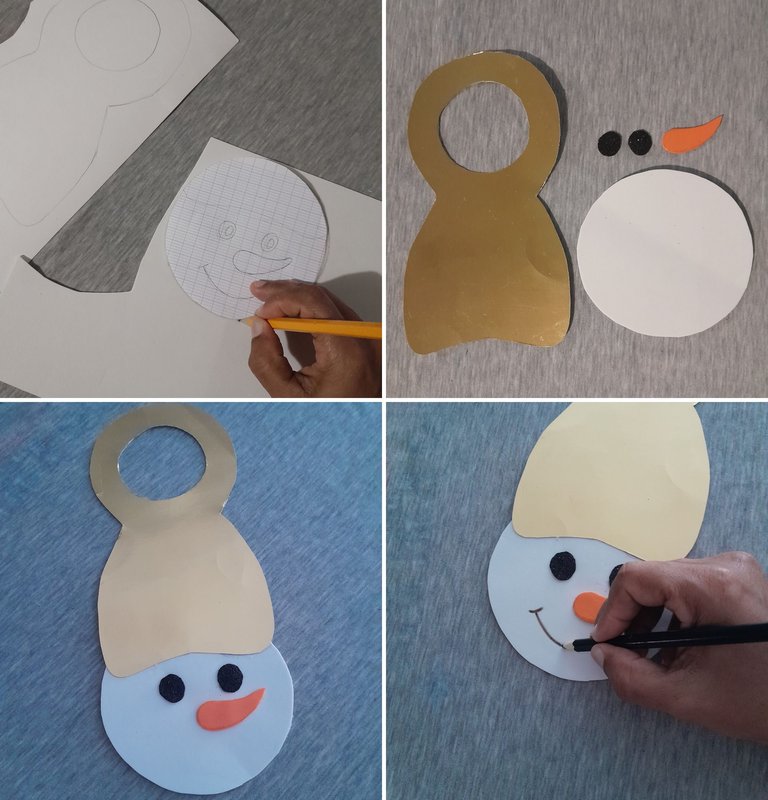
- Comenzamos dibujando los patrones, el gorro en la cartulina dorada, el círculo que vendría siendo la cara del muñeco de nieve en el foami blanco, y los ojos y la nariz con foami negro, y naranjado, luego recortamos y pegamos con silicon caliente, después con el lápiz color negro mojando la punta con un poquito de agua pintamos la boca.
English:
Step 1:
- We started drawing the patterns, the hat in the golden cardboard, the circle that would be the face of the snowman in the white foami, and the eyes and nose with black and orange foami, then we cut and glued with hot silicon, then with the black pencil wetting the tip with a little water we painted the mouth.

Español:
Paso 2:
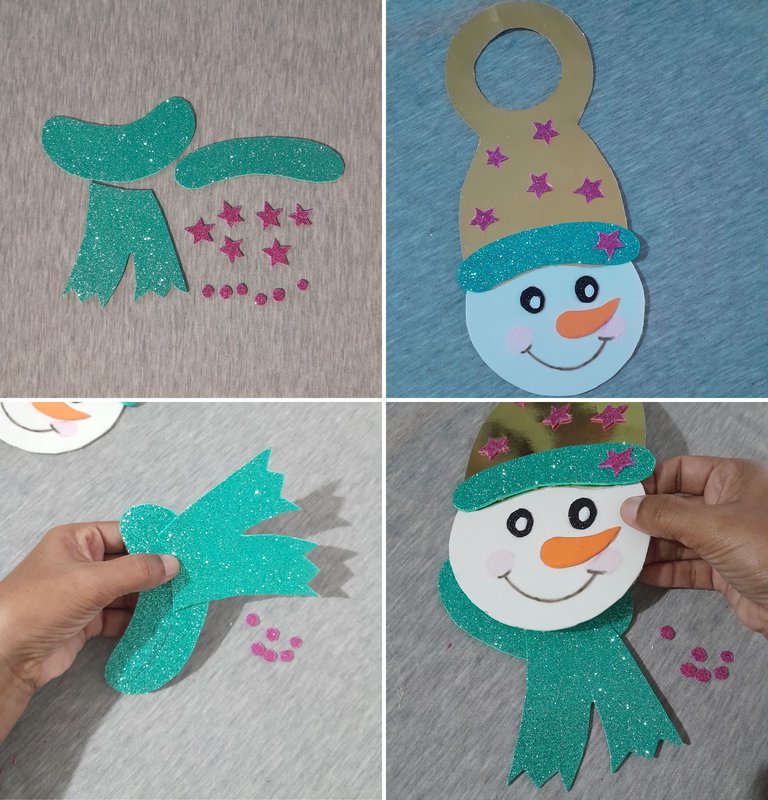
- Aquí continuamos, marcando y recortando con la ayuda del patrón, la bufanda y el contorno de la parte de abajo del gorro con el foami verde, también dibujamos y recortamos en el foami fucsia 6 estrellas y 6 círculos pequeños, para decorar el gorro y la bufanda. Luego comienzo a pegar así como lo muestro en las fotos.
English:
Step 2:
- Here we continue, marking and cutting with the help of the pattern, the scarf and the outline of the bottom of the hat with the green foami, we also draw and cut in the fuchsia foami 6 stars and 6 small circles, to decorate the hat and scarf. Then I start gluing as shown in the pictures.

Español:
Paso 3:
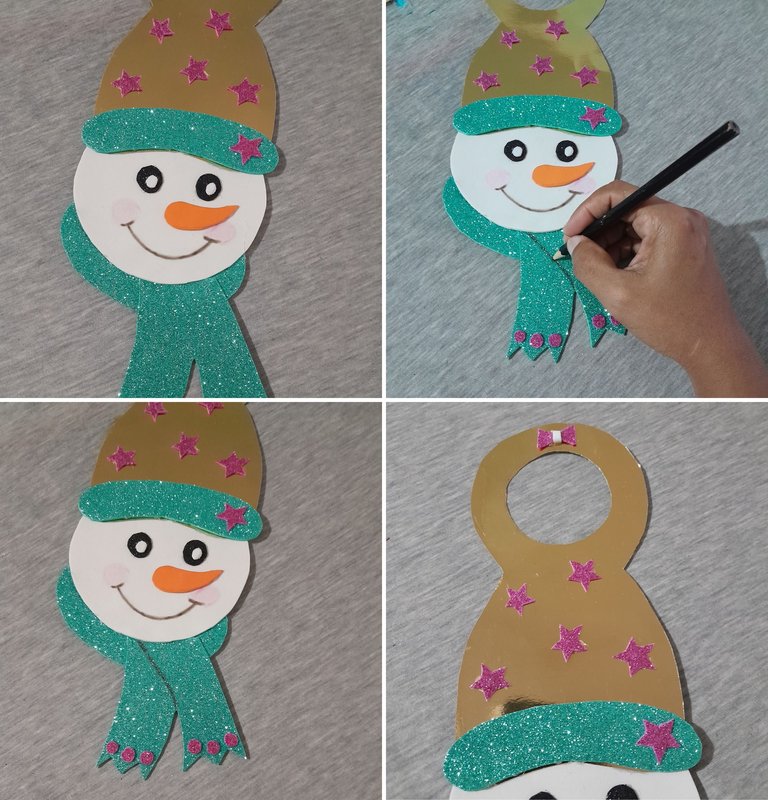
- Después procedo a marcar con el lápiz color negro una raya, para la división de la bufanda, y para terminar hacemos un lazito fucsia y lo pegamos en la parte superior del gorro.
English:
Step 3:
- Then I proceed to mark with the black pencil a stripe, for the division of the scarf, and finally we make a little fuchsia ribbon and glue it on the top of the hat.

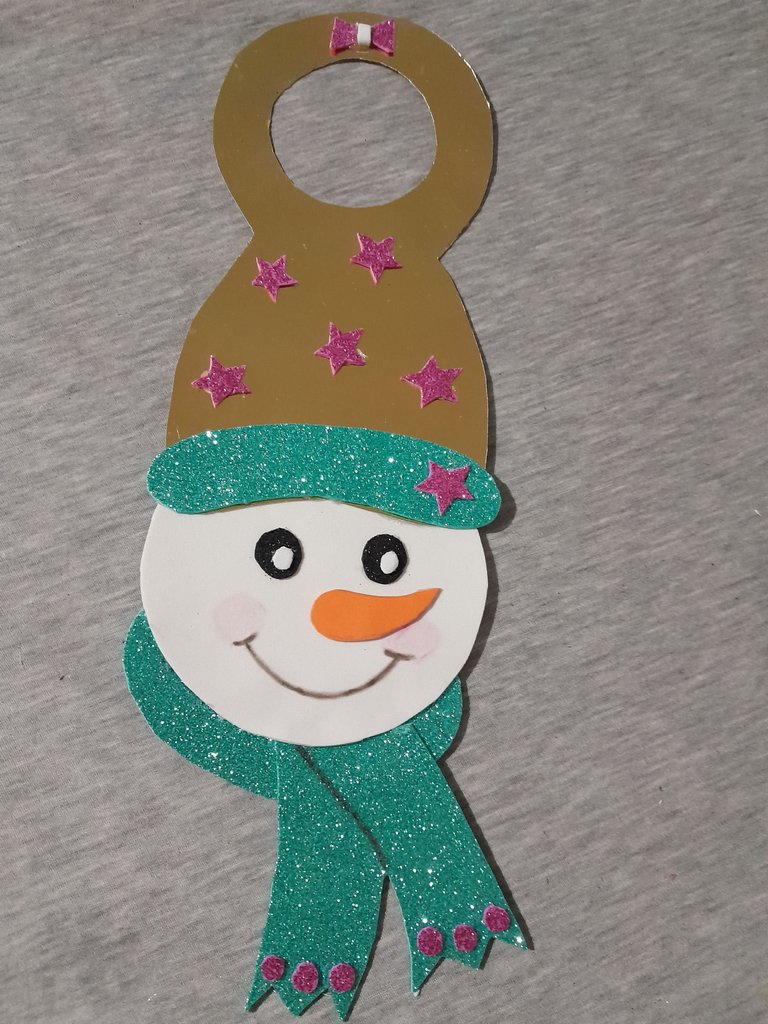
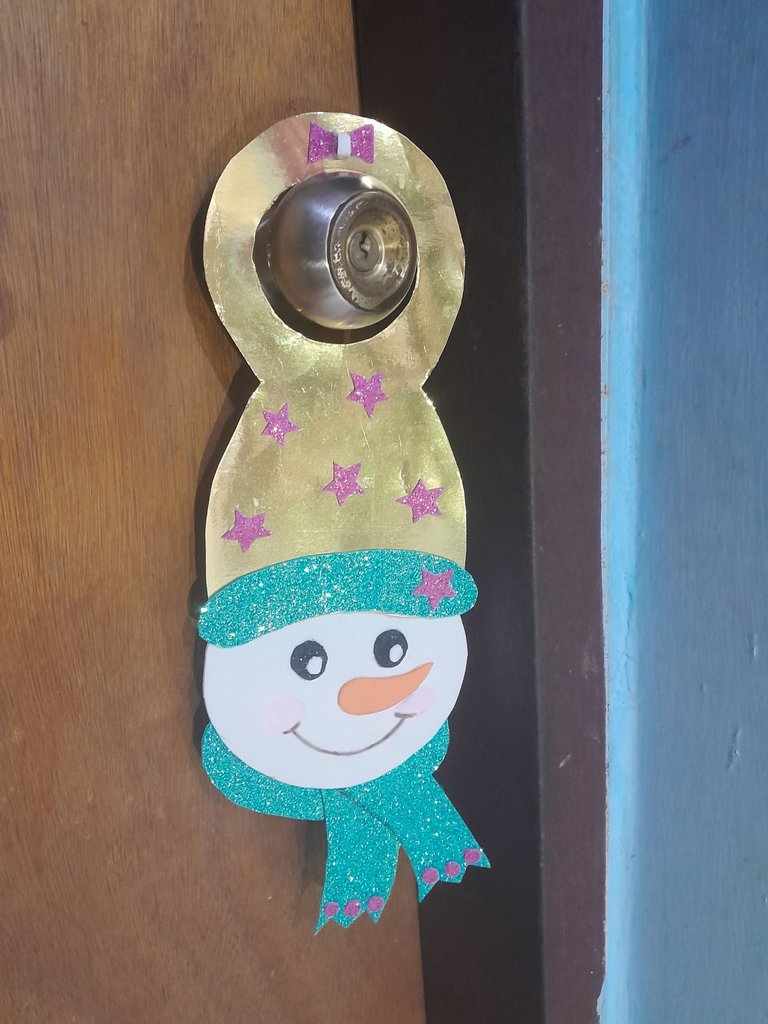
Así quedo mi resultado final, espero les haya gustado.
This is my final result, I hope you liked it.
Todas las fotos son de mi autoría y editadas con Canva.
All the photos were taken by me and edited with Canva.
Es una idea ¡PRECIOSA! realmente el resultado está excelente y me encantan los colores utilizados. Gracias por compartir esta idea tan práctica y bonita.
Muchas gracias por tu comentario, saludos.
Ay que bonito te quedó amiga, dios bendiga tu creatividad. Bendiciones.
Gracias, igual para ti muchas bendiciones.
It makes the door lock more beautiful. Nice work. Love it!