Español:
Materiales:
- Cartulina.
- Cinta plástica color fucsia.
- Cinta adhesiva transparente(Celoven).
- 1 bolsita plástica transparente.
- Pistola de silicon.
- Lápiz.
- Tijera.
- Regla.
English:
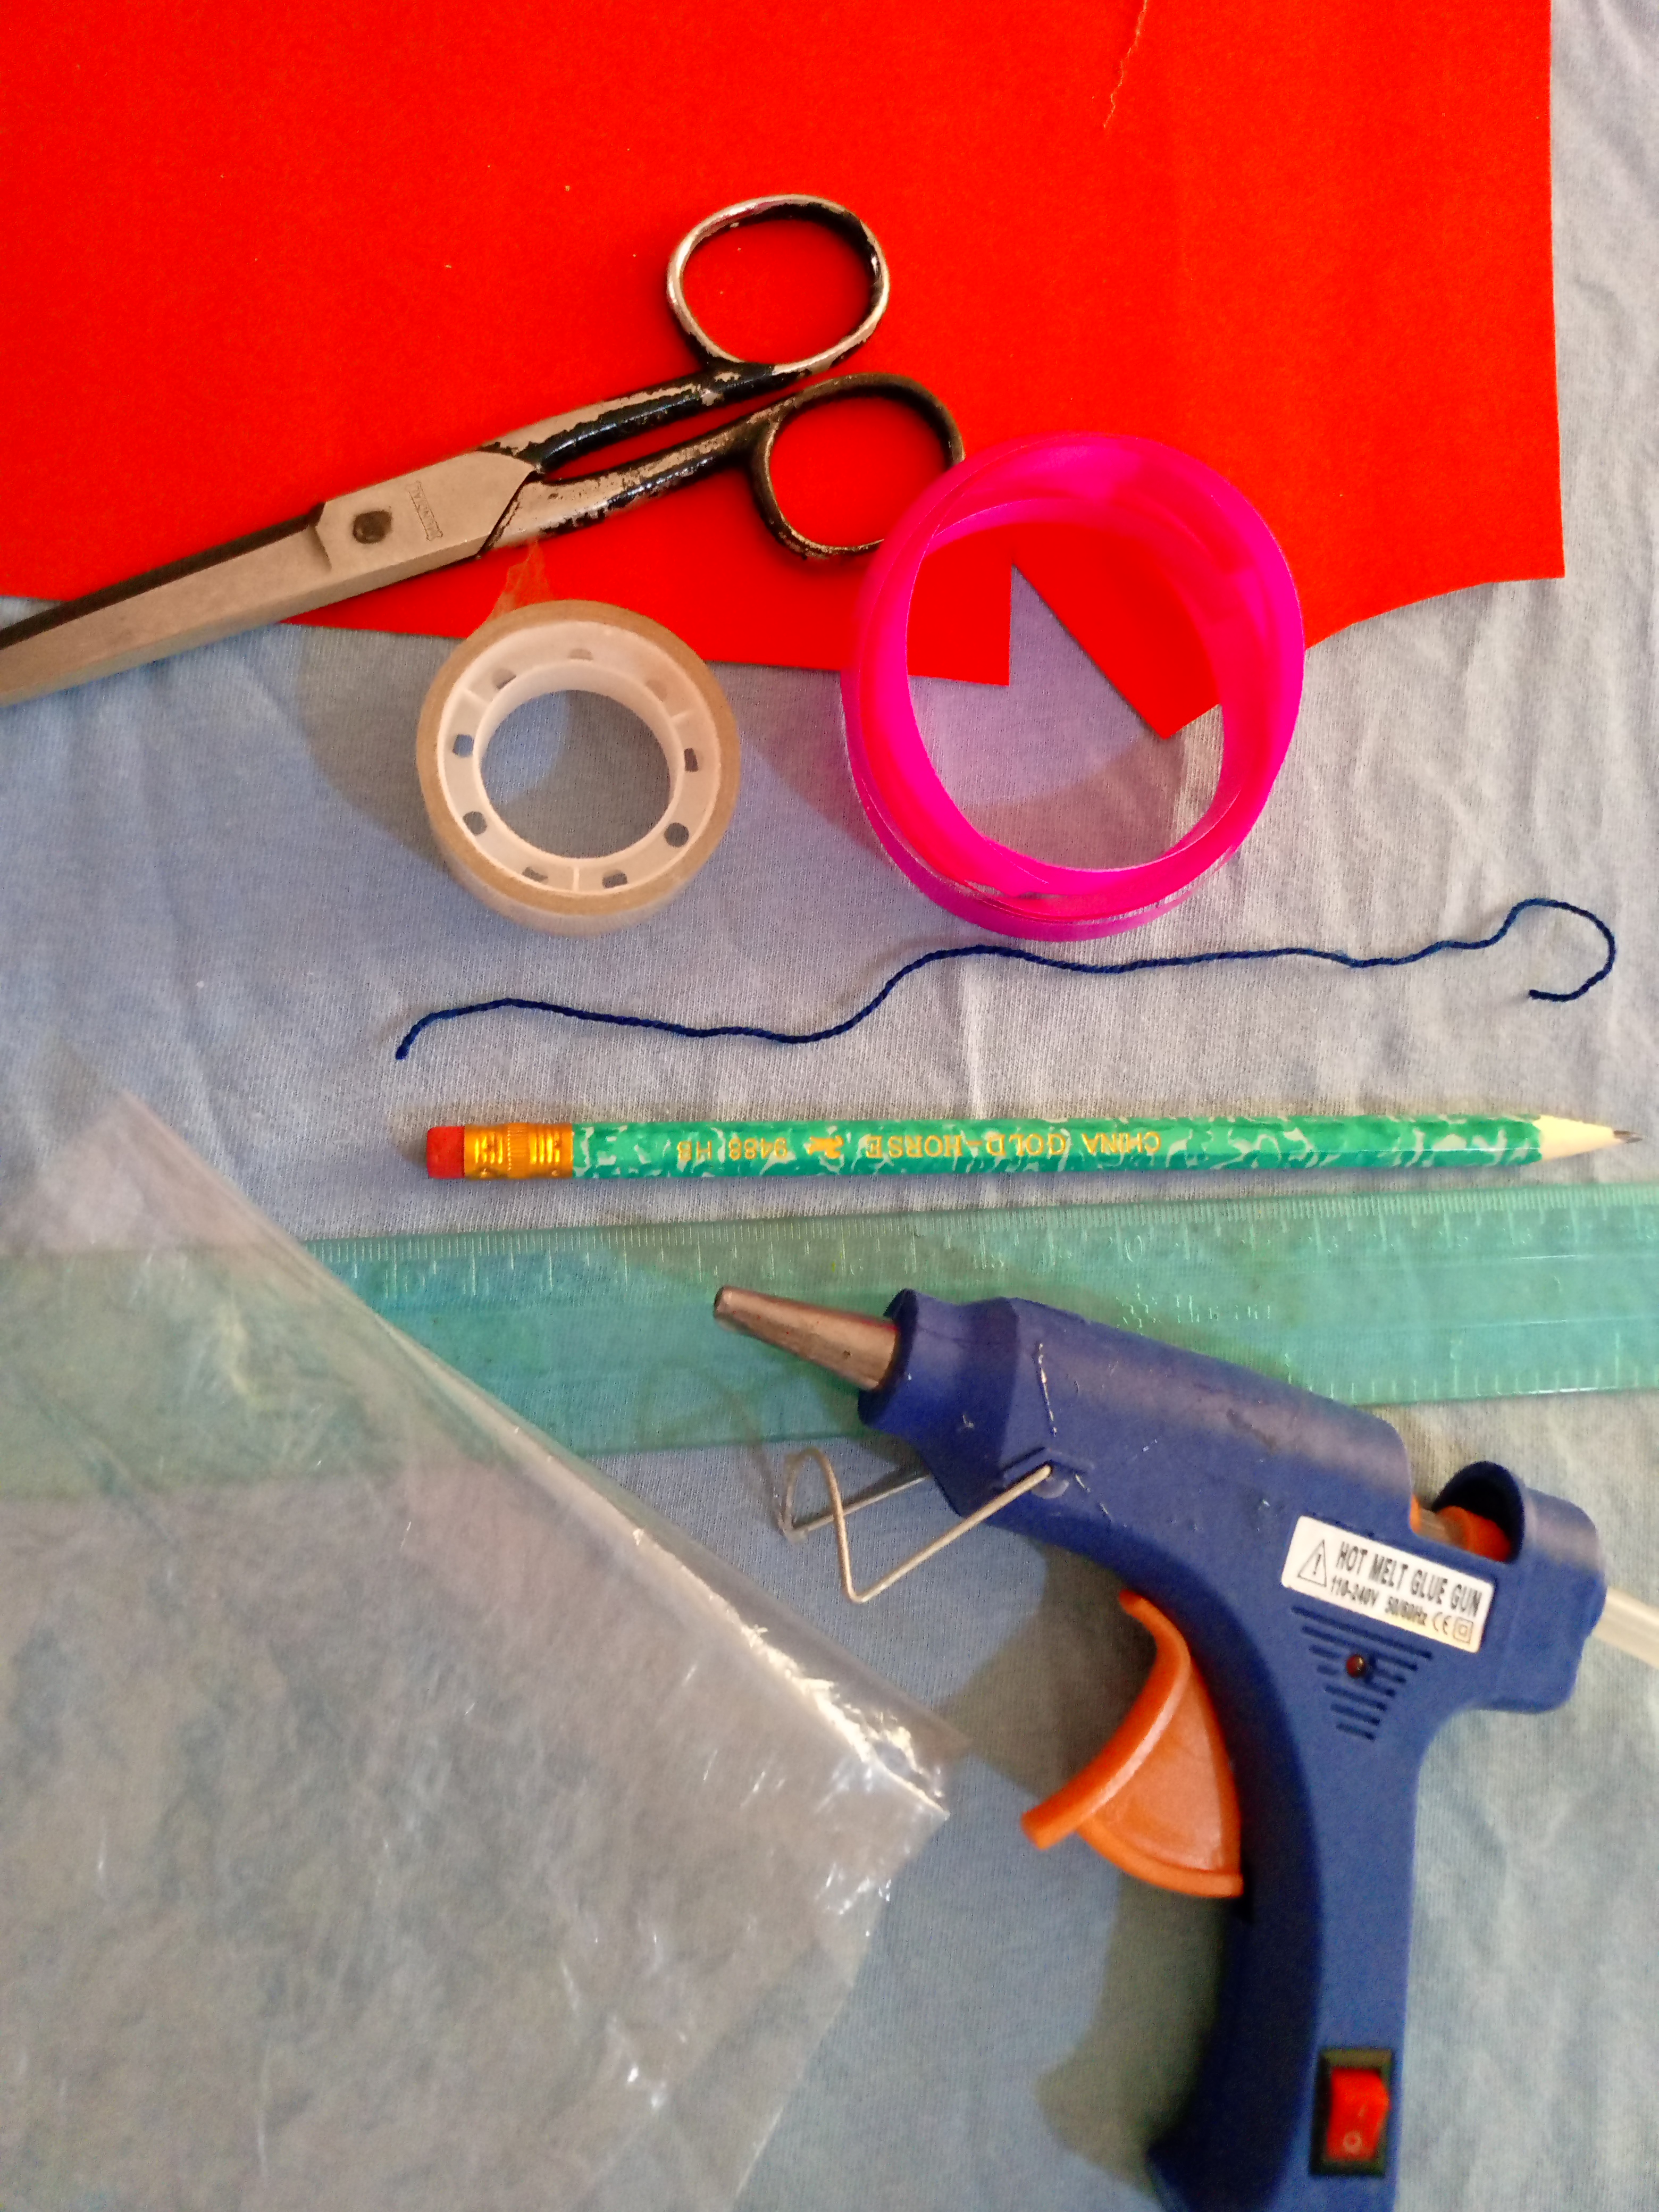
Materials:
- Cardboard.
- Fuchsia colored plastic tape.
- Transparent adhesive tape (Celoven).
- 1 transparent plastic bag.
- Silicone gun.
- Pencil.
- Scissors.
- Ruler.
.png)
Español:
Paso 1:
- Marcamos y recortamos un rectángulo de cartulina de 15 x 9 cm, le colocamos silicon caliente por el borde del lado de los 9 cm, y lo pegamos a la otra punta en forma triangular haciendo la figura de un cono, luego con la tijera cortamos la punta sobrante quedando nuestro cono como una barquilla.
English:
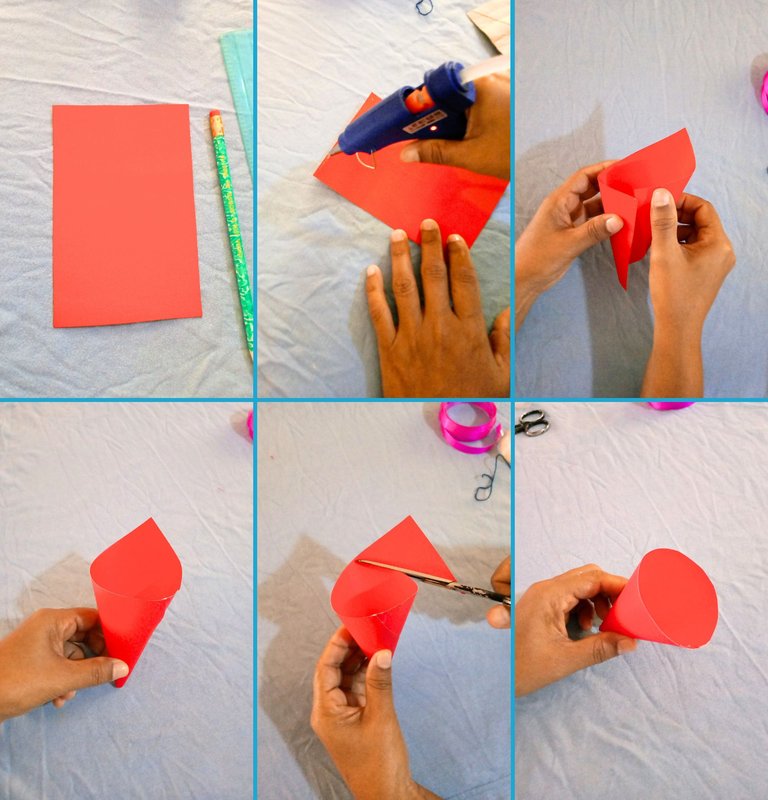
Step 1:
- We mark and cut a rectangle of cardboard of 15 x 9 cm, we put hot silicone on the edge of the side of 9 cm, and glue it to the other end in a triangular shape making the figure of a cone, then with the scissors we cut the excess tip leaving our cone as a waffle.
Español:
Paso 2:
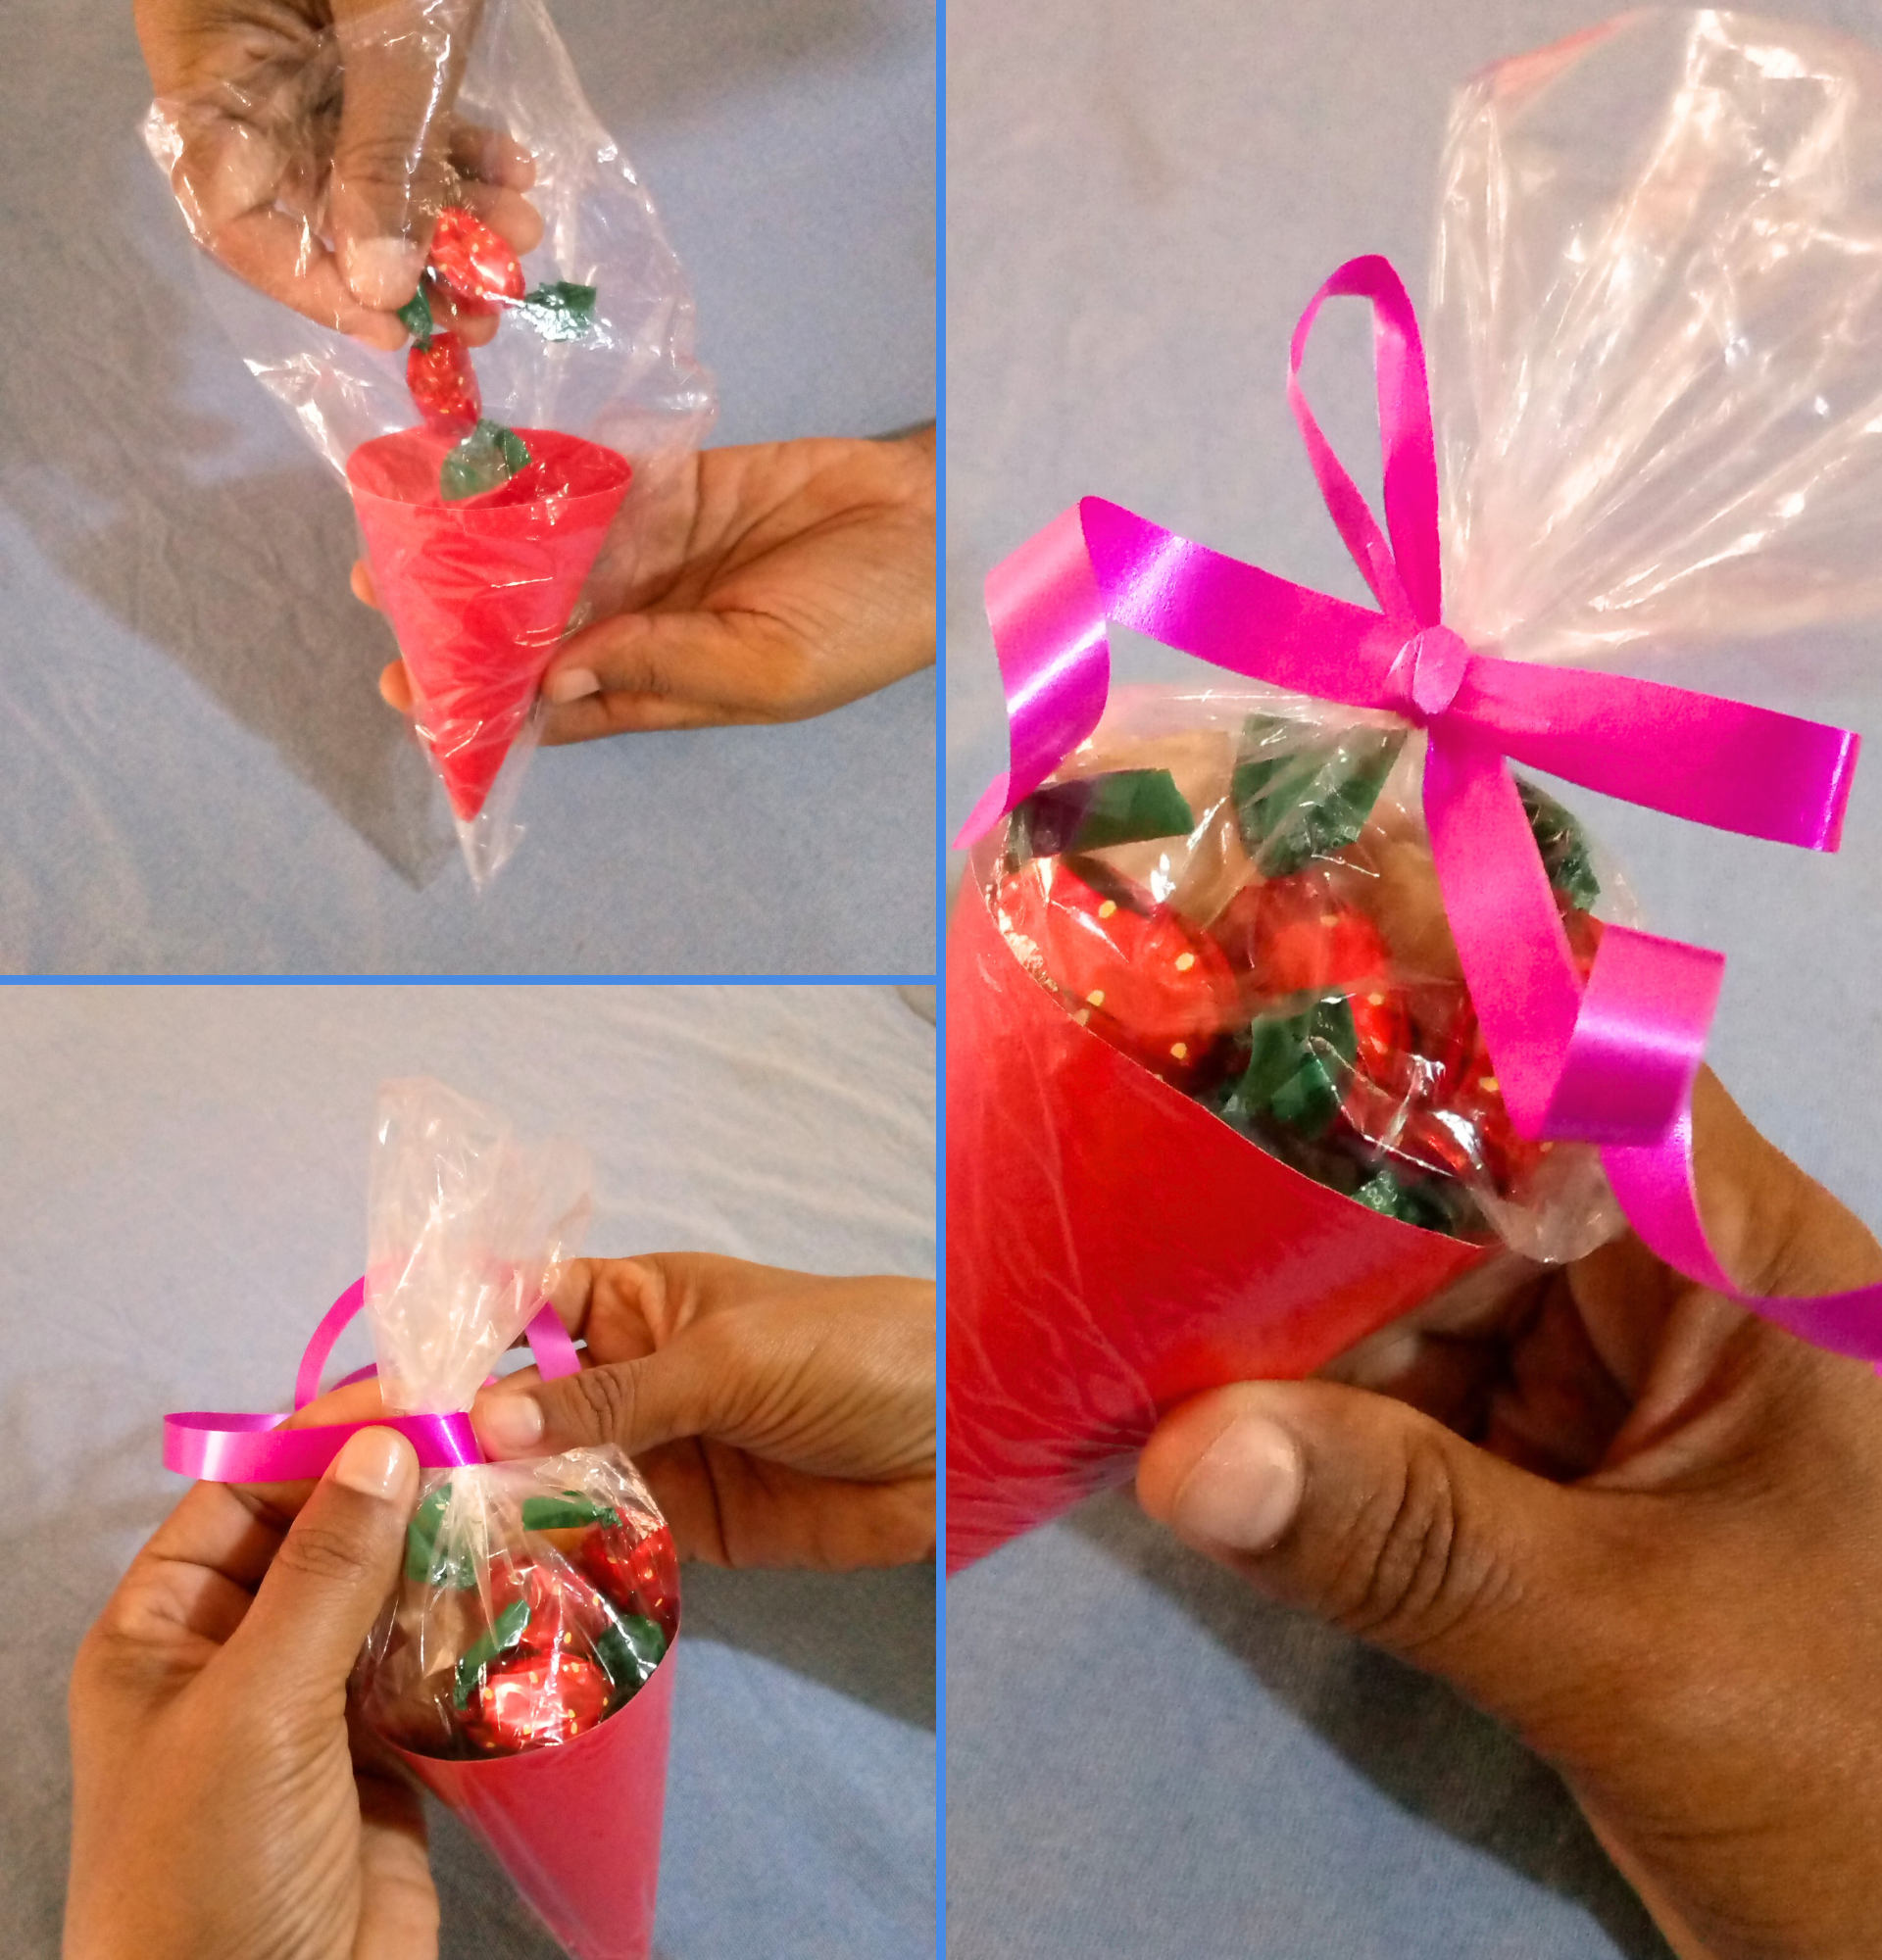
- Ahora introducimos el cono dentro de la bolsita plástica por una de las puntas, cortamos un pedacito de celoven, y procedo a doblar la otra punta de la bolsa pegándola con el pedacito de celoven.
English:
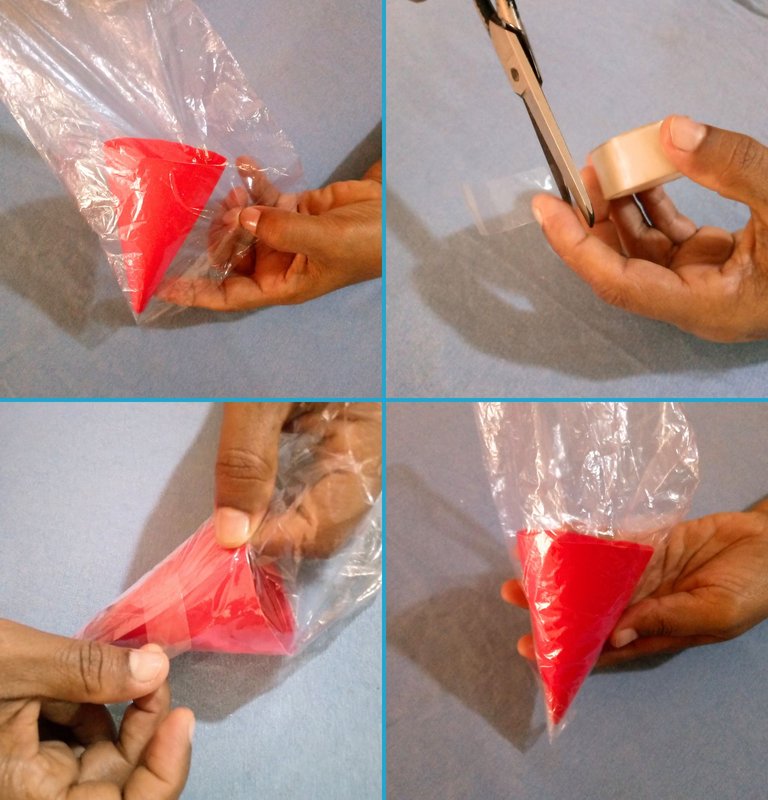
Step 2:
- Now we introduce the cone inside the plastic bag at one end, cut a small piece of cellophane, and proceed to fold the other end of the bag, gluing it with the piece of cellophane.
Español:
Paso 3:
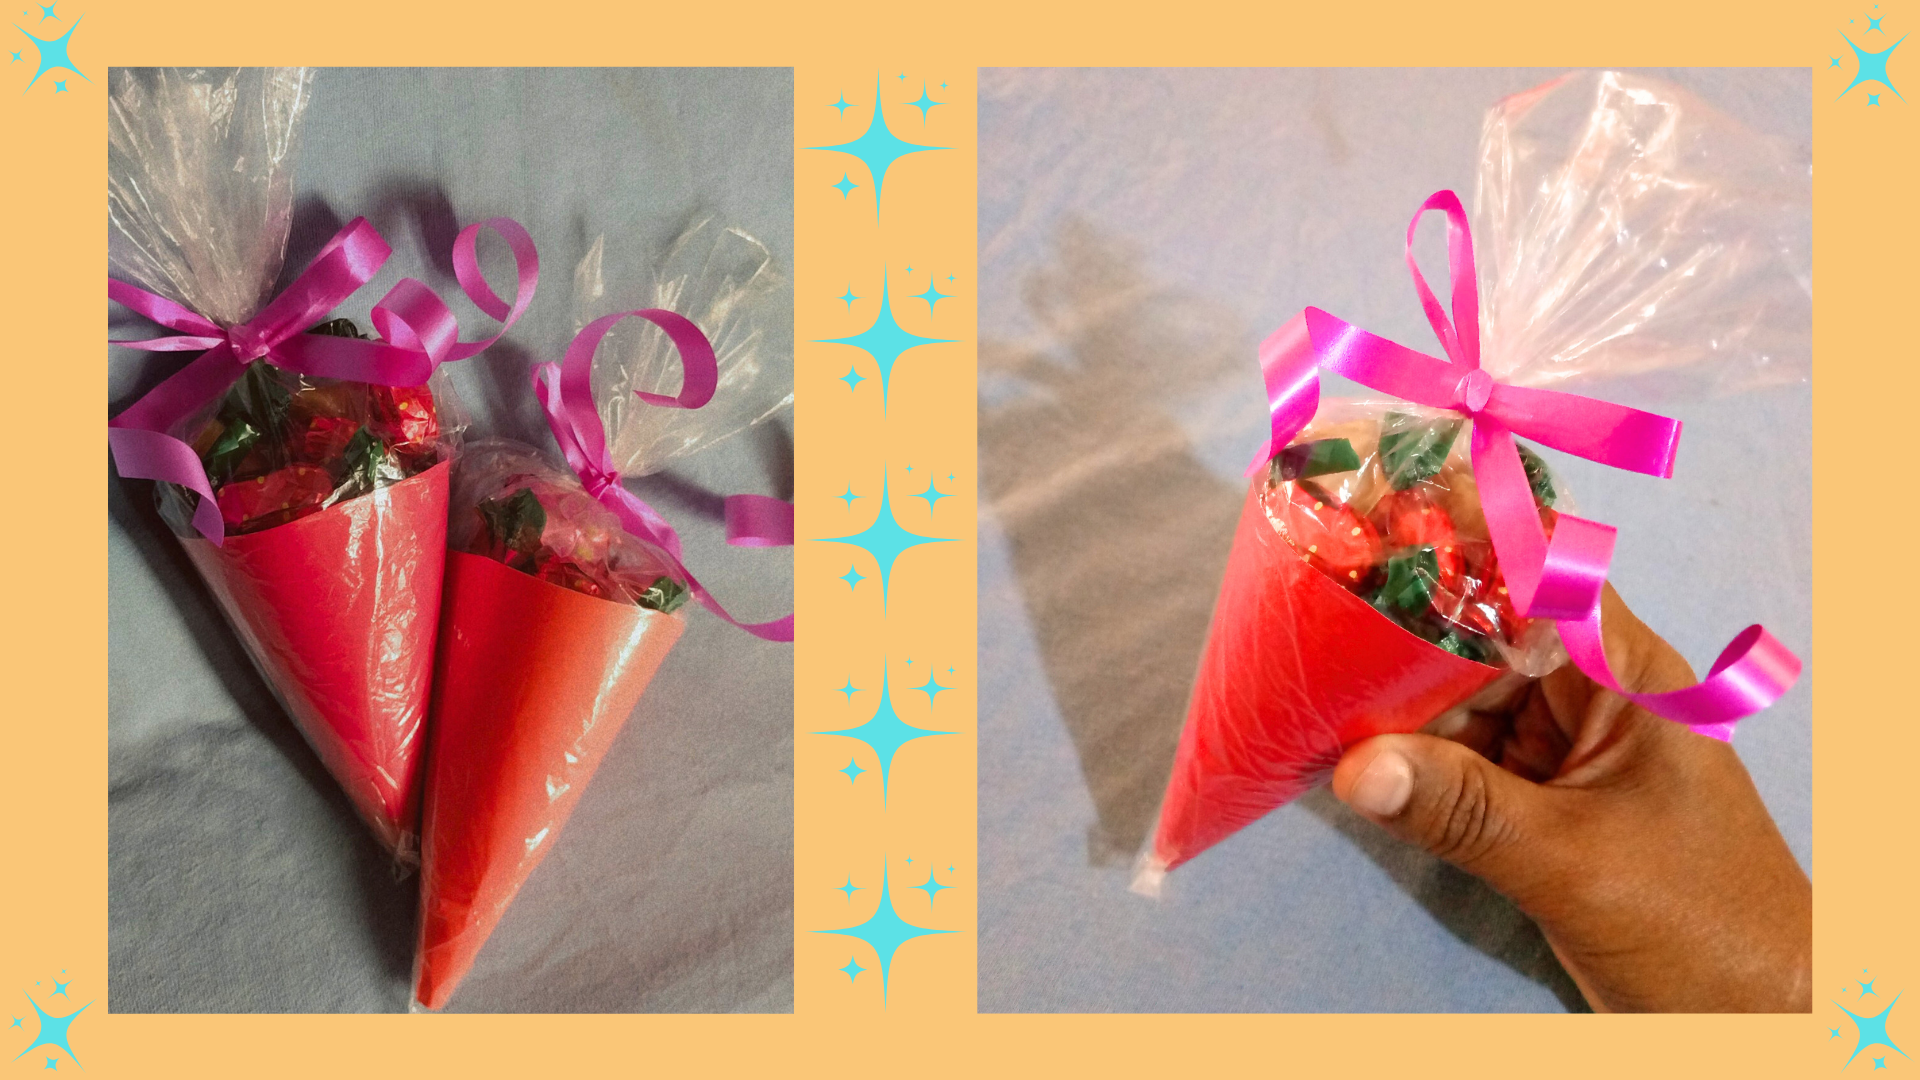
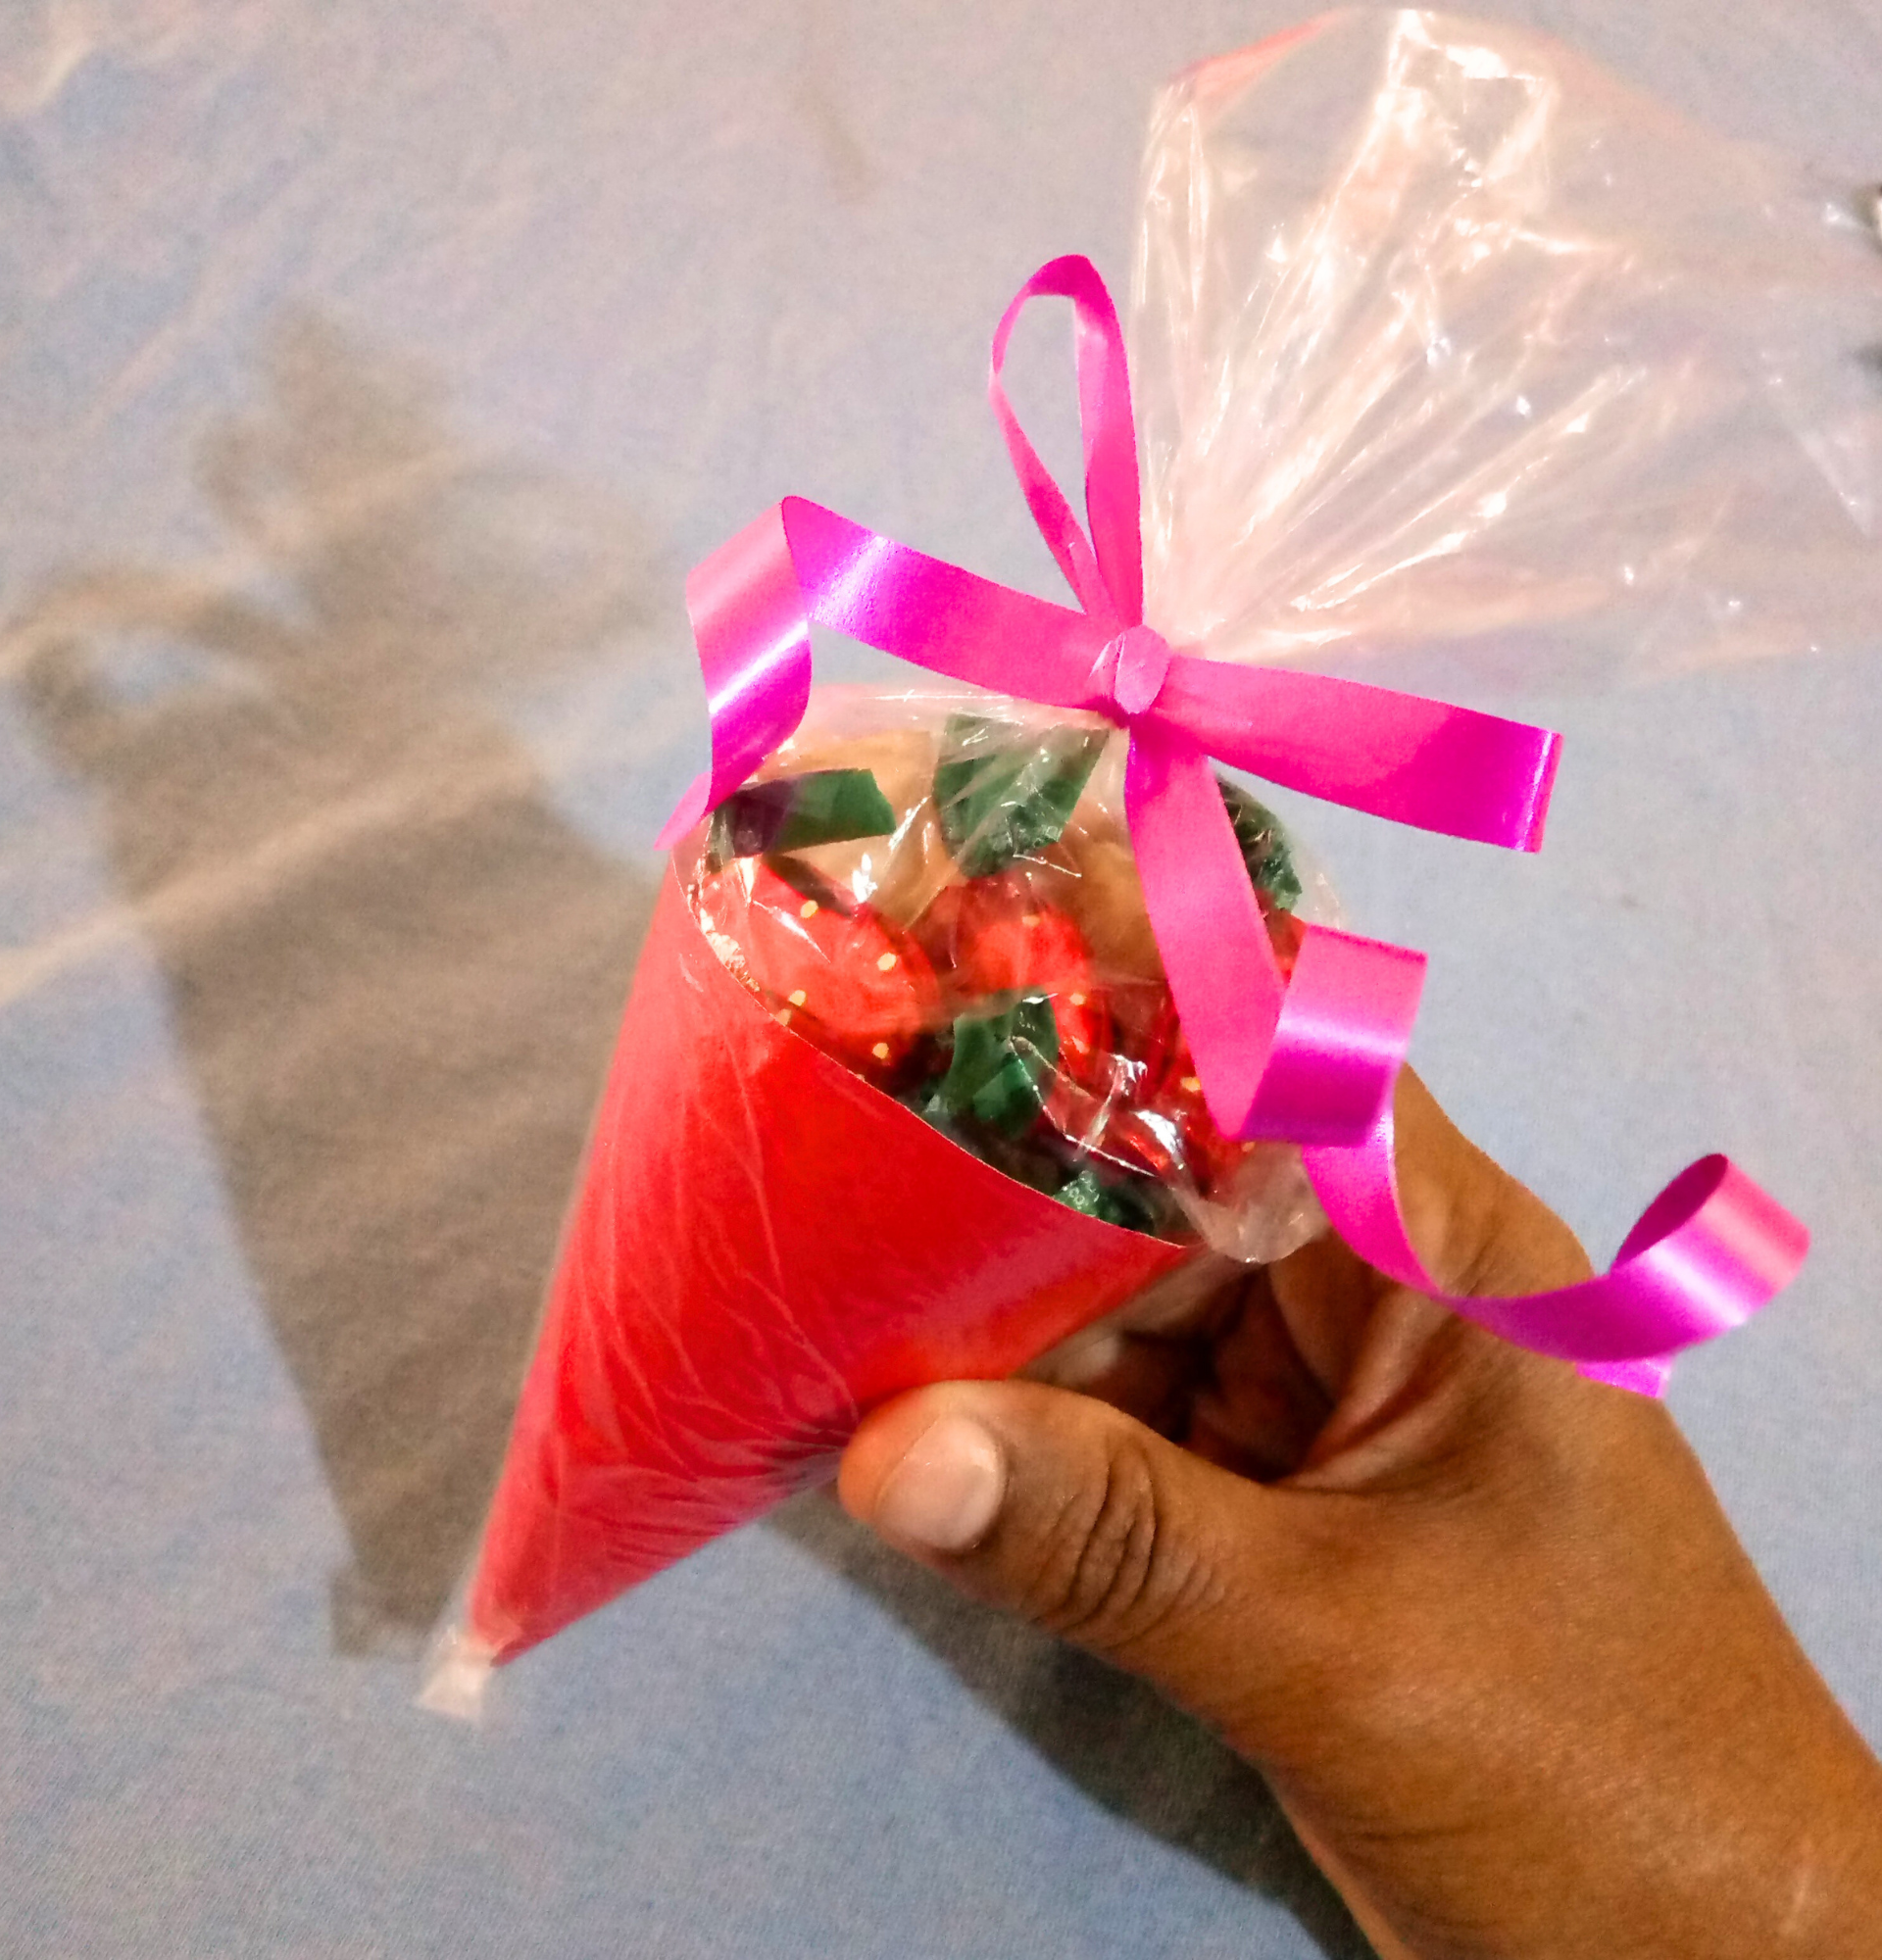
- En este último paso, rellenamos el cono de dulces o golosinas, luego amarramos con la cinta fucsia un lazo, el sobrante de la bolsa , obteniendo nuestra barquilla rellena de dulces, y así regalar un lindo obsequio.
English:
Step 3:
- In this last step, we fill the cone with candies or sweets, then we tie a bow with the fuchsia ribbon, the leftover of the bag, obtaining our candy-filled basket, and thus give a nice gift.
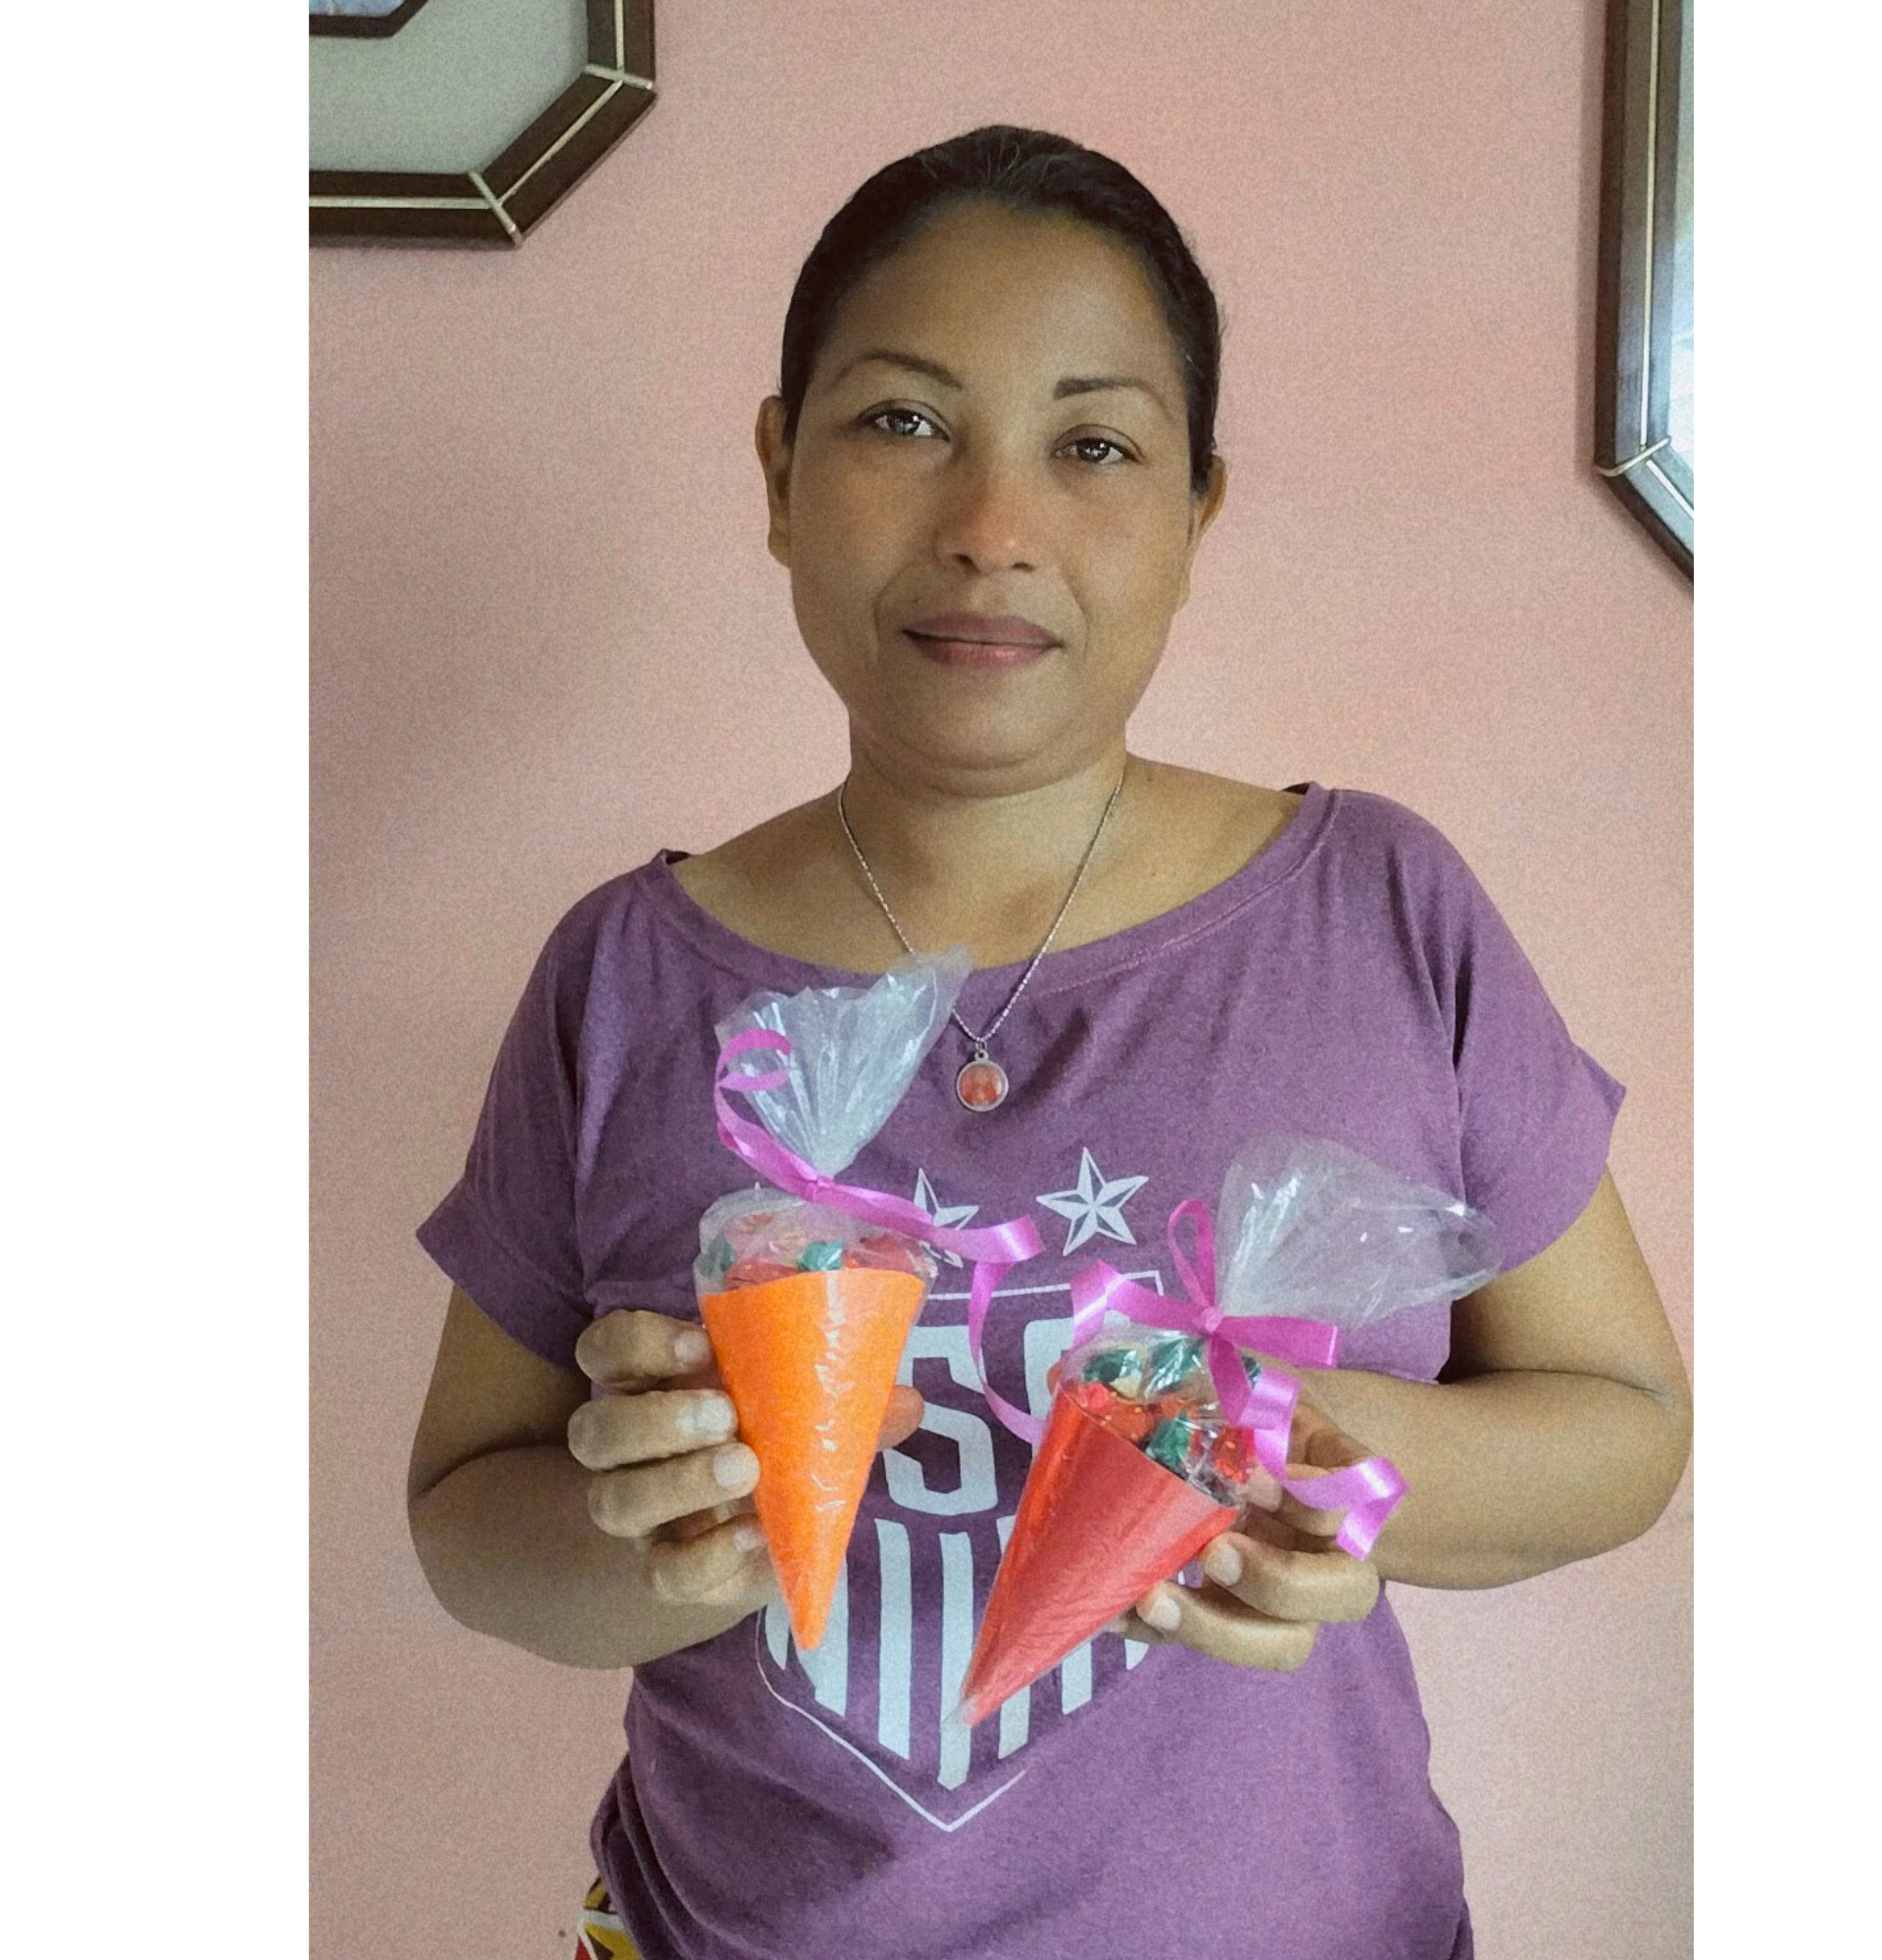
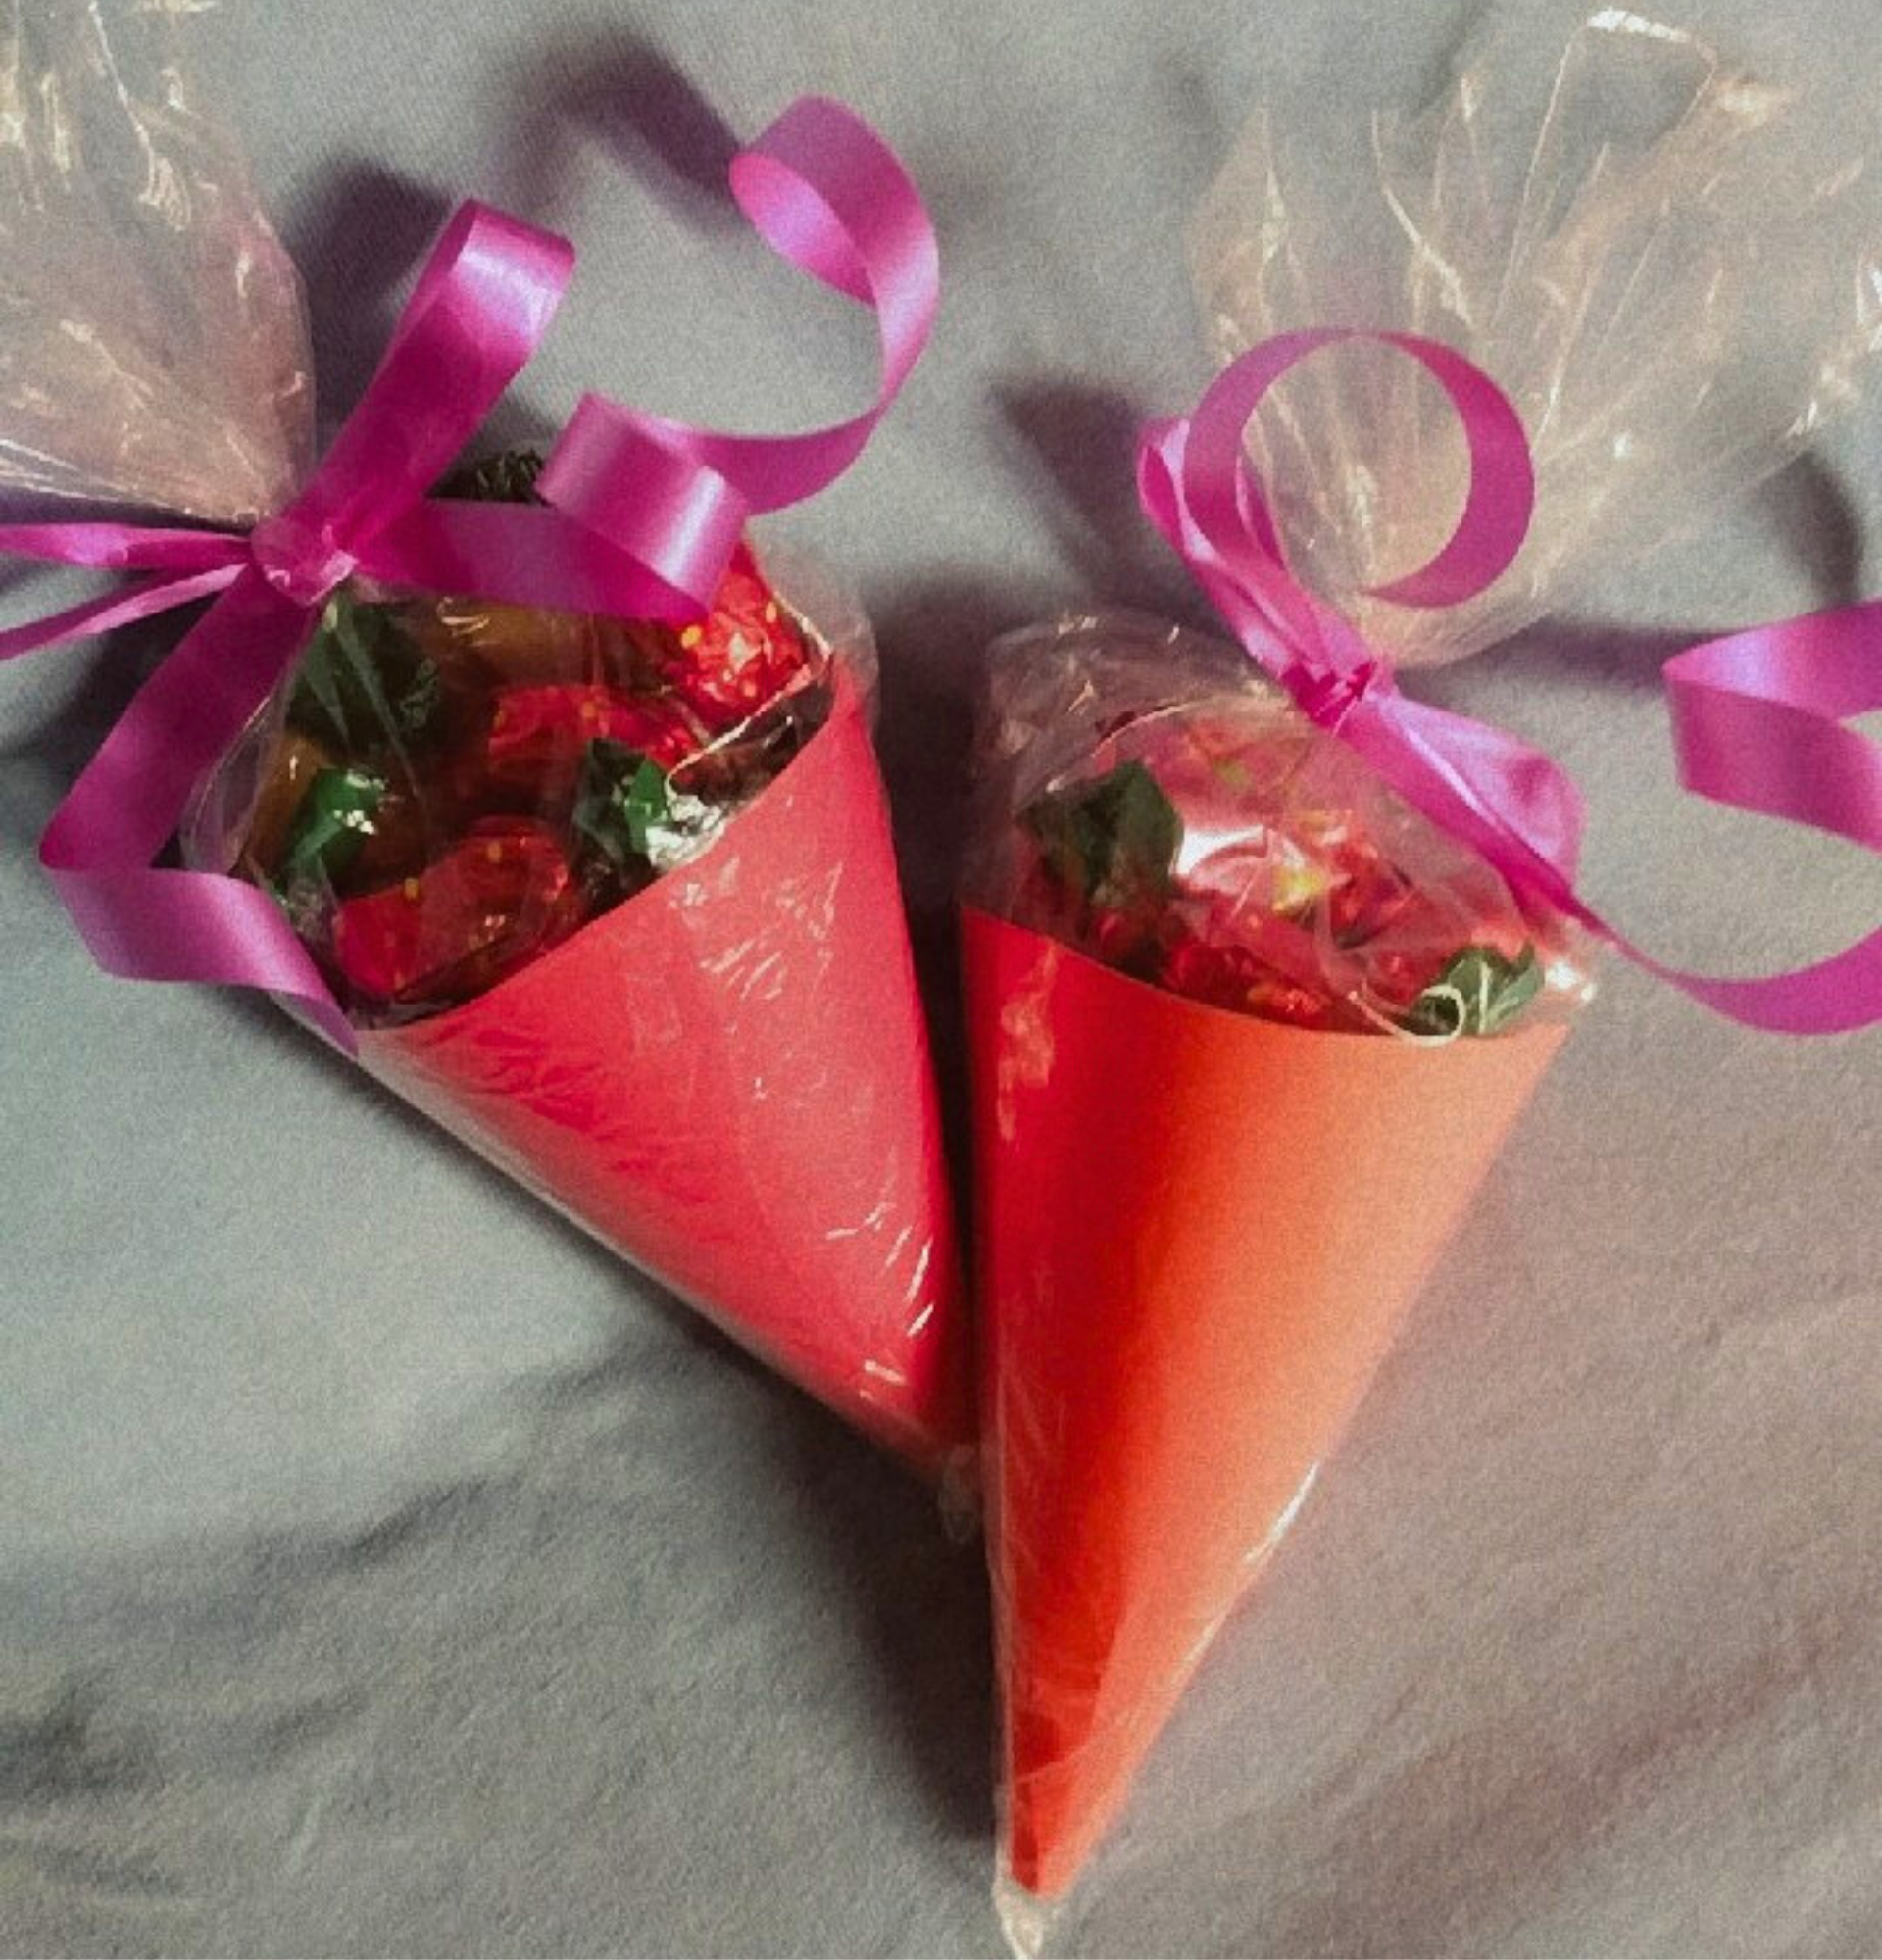
Mi resultado final, gracias por visitar mi blog.
My final result, thanks for visiting my blog.
.png)
.png)
.png)
Me gusta es una idea fácil y económica pero a la vez bonita 😉 gracias por el tutorial 🤗
Muchas gracias, saludos y bendiciones.
This is such a beautiful gift that can be given to our loved ones. Fantastic job friend and thanks for sharing.