Saludos a la comunidad de @hivediy, chicas y chicos artesanos, estoy por aquí para traerles un personaje de Skibidi Toilet llamado Big Speakerman Basados en la SERIE DE SKIBIDI TOILET creando por : DaFuqBoom , la cual es una de las series favoritas de mi hijo.
Por otra parte y atendiendo al llamado de la Comunidad de @hivediy Un mensaje para Diana, deseo otorgar el 50% de las recompensas de este post a nuestra querida amiga artesana @chacald.dcymt, un granito de arena de mi parte por la pronta recuperación de su bebé.
Durante el mes de diciembre mi hijo me recordó que le había prometido que lo ayudaría a realizar el personaje de Big Speakerman cuando tuviese algún tiempo libre en mi trabajo y por eso aproveché las vacaciones decembrinas y utilicé alguno de esos días para elaborar dicho personaje junto con él. Para la elaboración de dicho personaje utilizamos la técnica de papercraft.
Sinceramente no tenía ni idea de dicha técnica y mucho menos de los personajes de la Serie de Skibidi Toilet, pero mi hijo quien está más familiarizado con la serie y con las diferentes técnicas que se utilizan para elaborar personajes me guió muy cuidadosamente, enseñandome cosas que a estas alturas de mi vida no manejaba.
Una vez instruida por este niño de 9 años, el paso siguiente fue buscar información para elaborar el personaje utilizando la ténica del papercraft.
En esta ocasión mi hijo me dijo que había un youtuber que realizaba tutoriales para hacer estos personajes utilizando la técnica de papercraft, aquí les dejo el
link
por si se animan a realizar este tipo de creaciones, desde ya les digo que necesitaran mucha paciencia y tiempo.
El video de youtube que usé como referencia me ayudó mucho, les recomiendo si lo van a ver se fijen mucho en los detalles, a mí particularmente se me difucultó hacer las articulaciones; ya que, se necesita más esmero y mucha dedicación porque son más complejas de hacer, no me quedaron 100% bien pero por lo menos hice el intento.
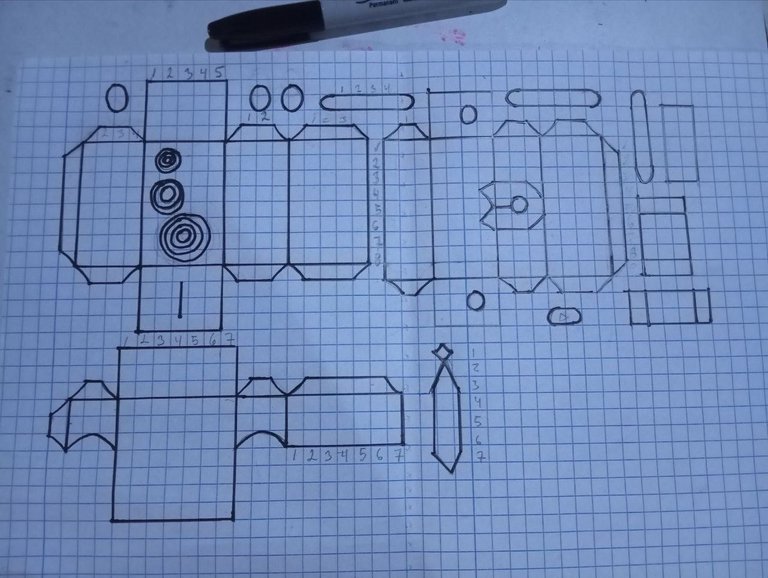
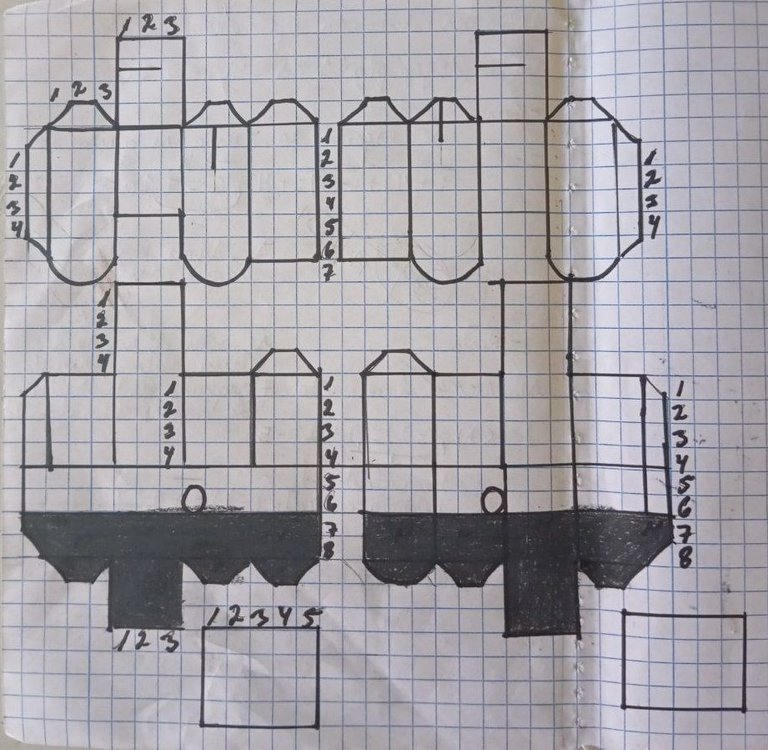
Trataré de mostrarles el paso a paso que realicé, es preciso decirles que no lo hicimos de una vez, es un trabajo que nos tomó varios días. Primero realizar las plantillas, dibujarlas, recortarlas, pegarlas, doblarlas y armarlas, fue todo un proceso que hicimos poco a poco, era nuestra primera vez haciendo este tipo de trabajos, así que disculpen la falta de práctica, lo hicimos lo mejor que pudimos.
MATERIALES
- Hojas cuadriculadas
- Lápiz
- Borrador
- Regla
- Marcador negro
- Tijera
- Cartulina
- Pega blanca
- Silicón
- Silicon líquido
- Pega instantánea (fuerte)
- Yesquero
- Cinta Plástica grande
PASO A PASO
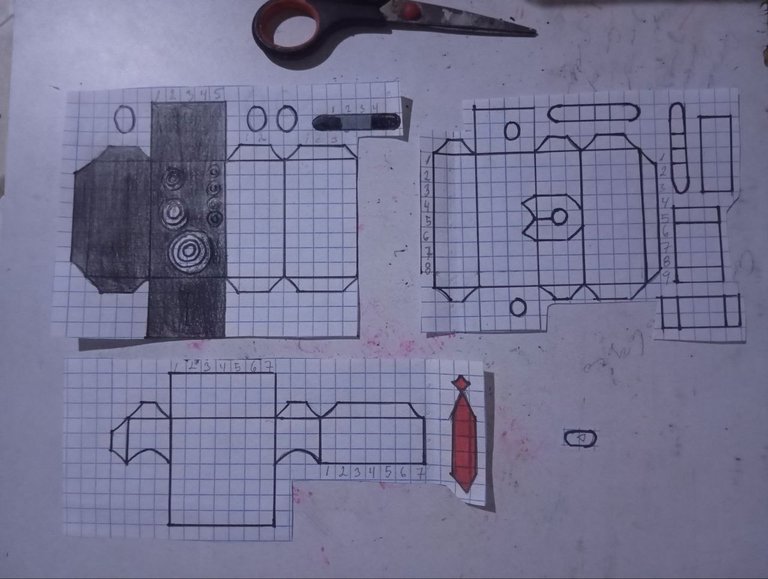
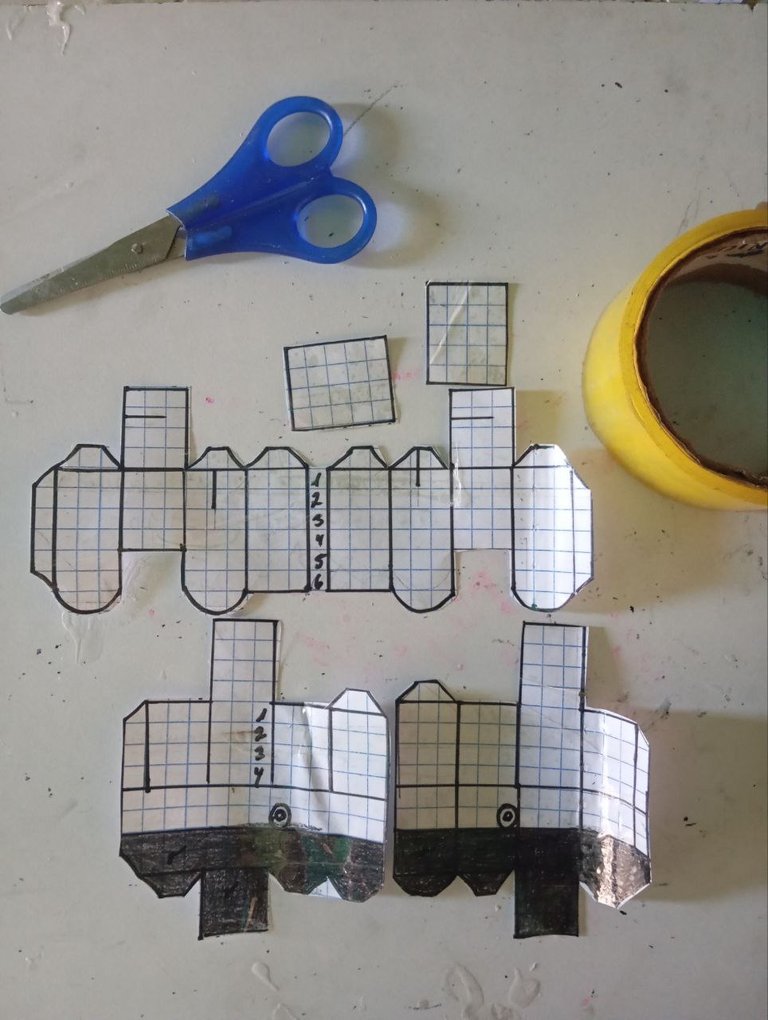
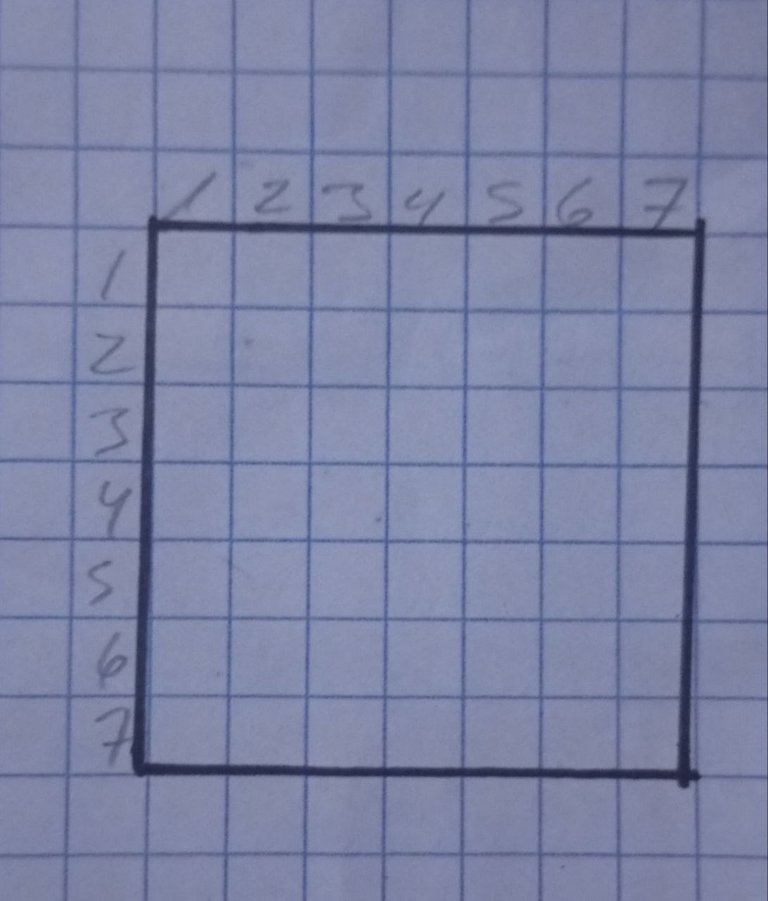
- Hacemos las plantillas
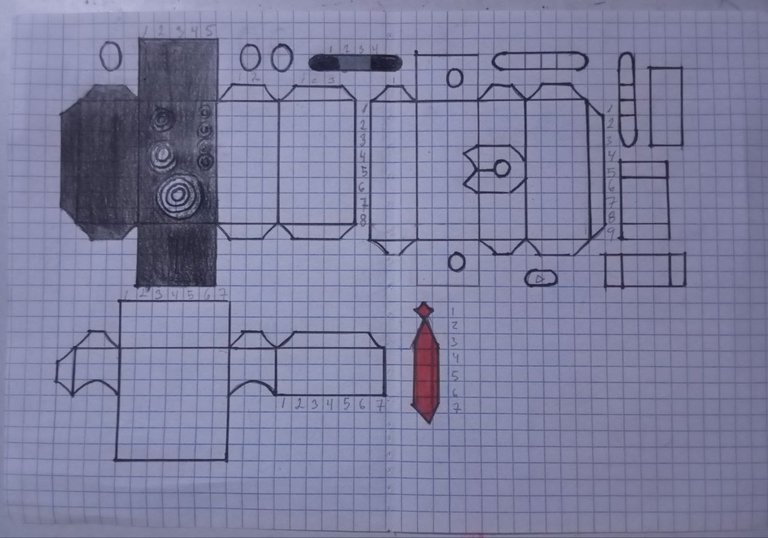
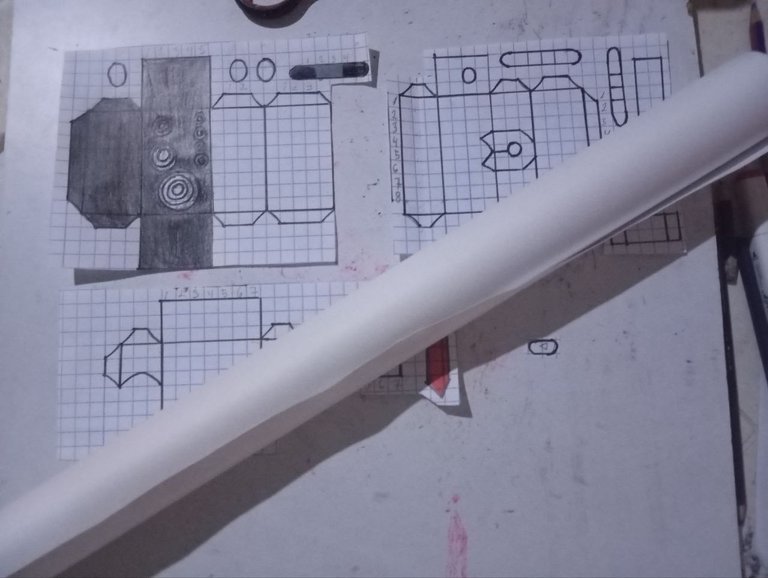
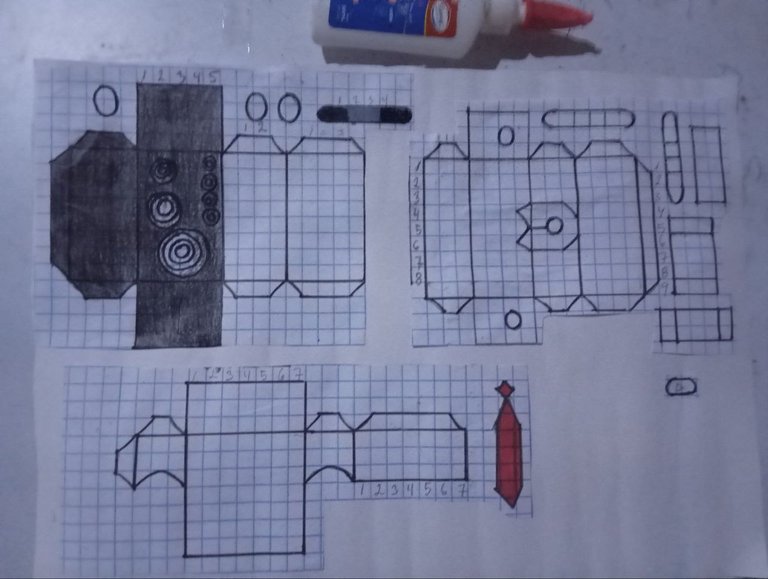
- Pintamos
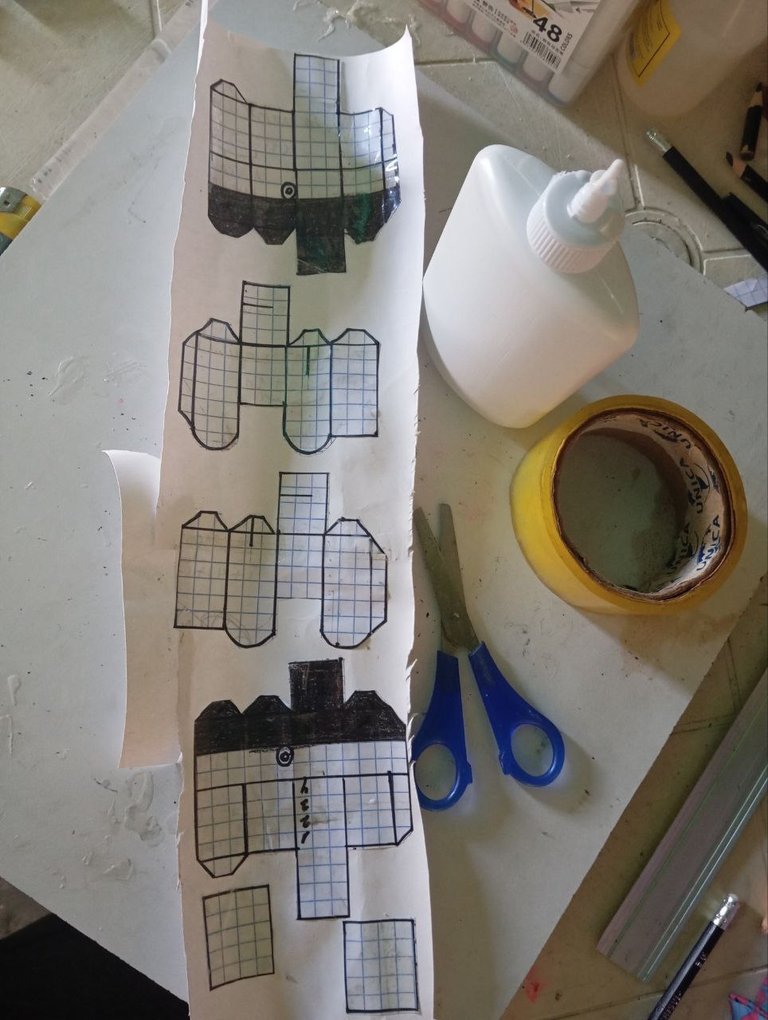
- Pegamos en cartulina, esperamos que se seque.
 |  |
|---|
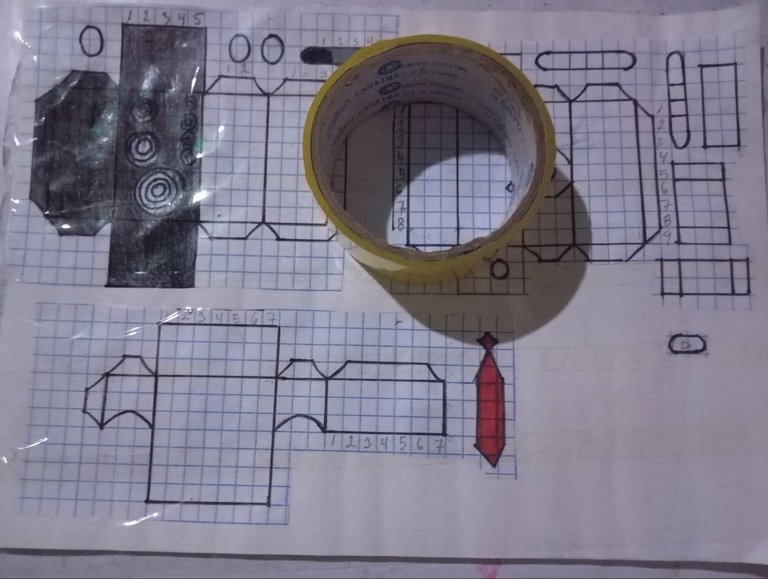
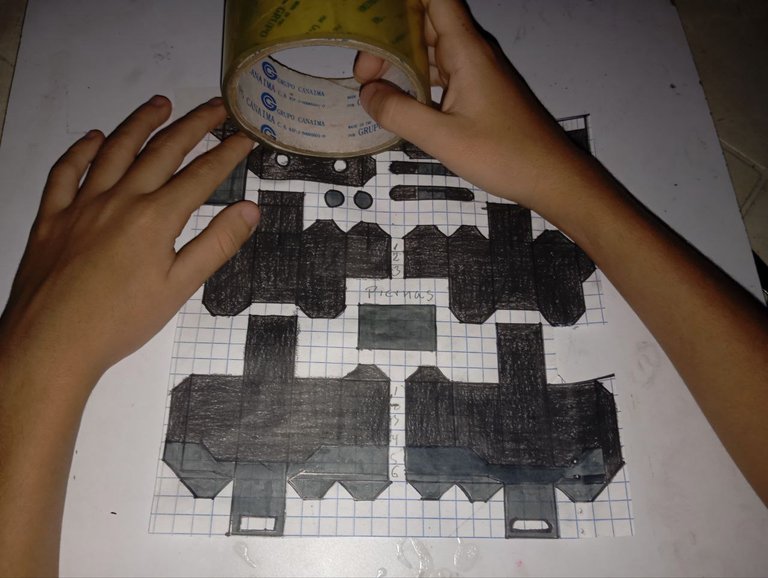
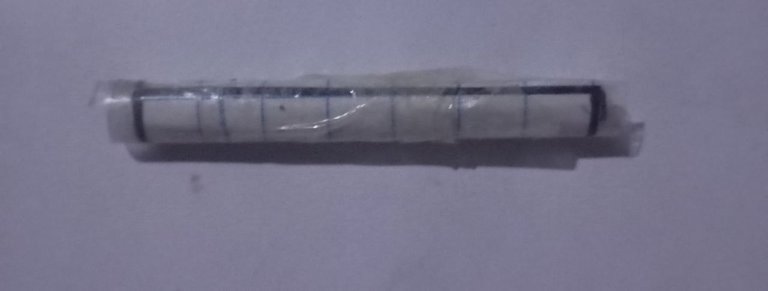
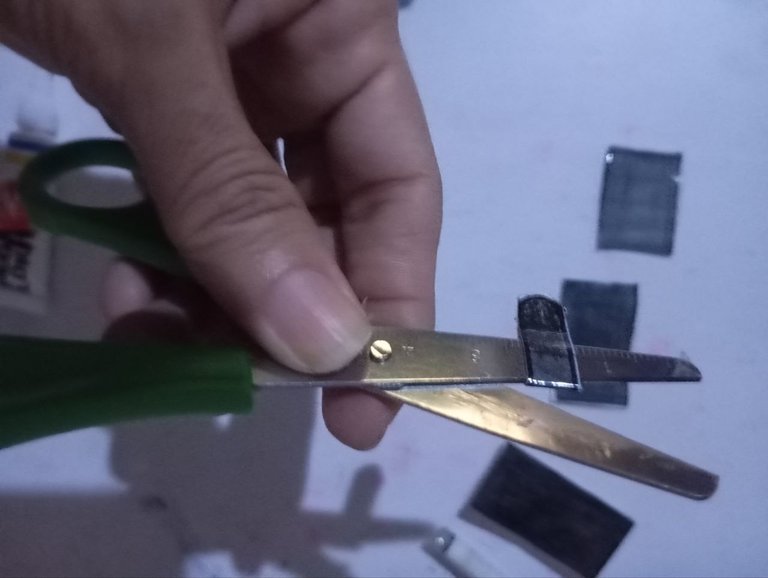
- Colocamos la cinta plástica
- Recortamos (Es mejor pegar en cartulina y después recotarlo para no hacer doble trabajo como lo hicimos mi hijo y yo que recortamos primero y luego pegamos en cartulina.)
- Hacemos el mismo procedimiento con todas las otras dos plantillas.
 |  |
|---|
 |  |
|---|
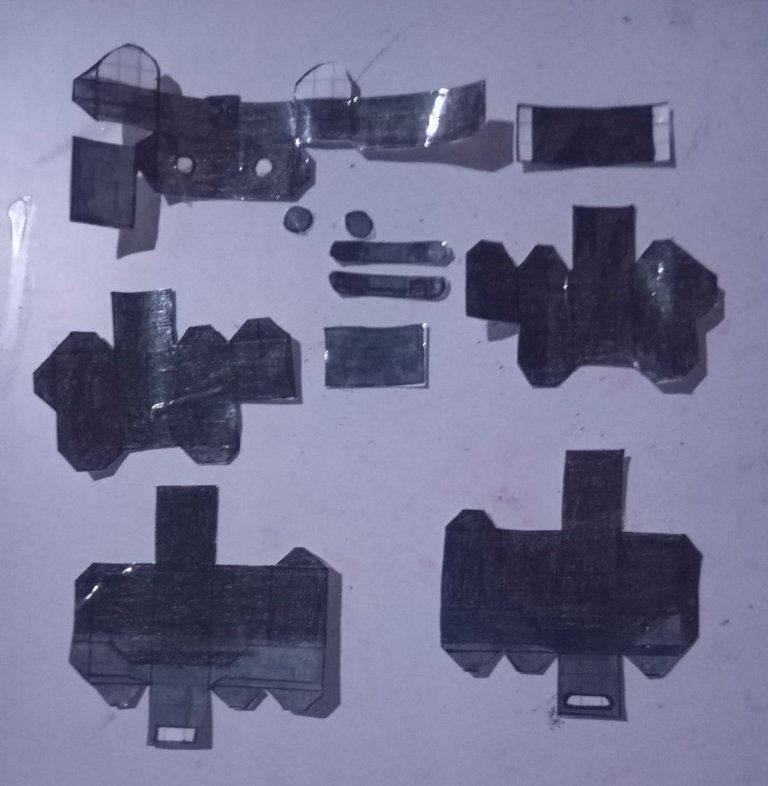
- Con las piezas ya recortadas, procedemos a doblarlas por cada una de las rayas que dibujamos (una por una con sumo cuidado)
- Procedemos a armar la figura
 |  |
|---|
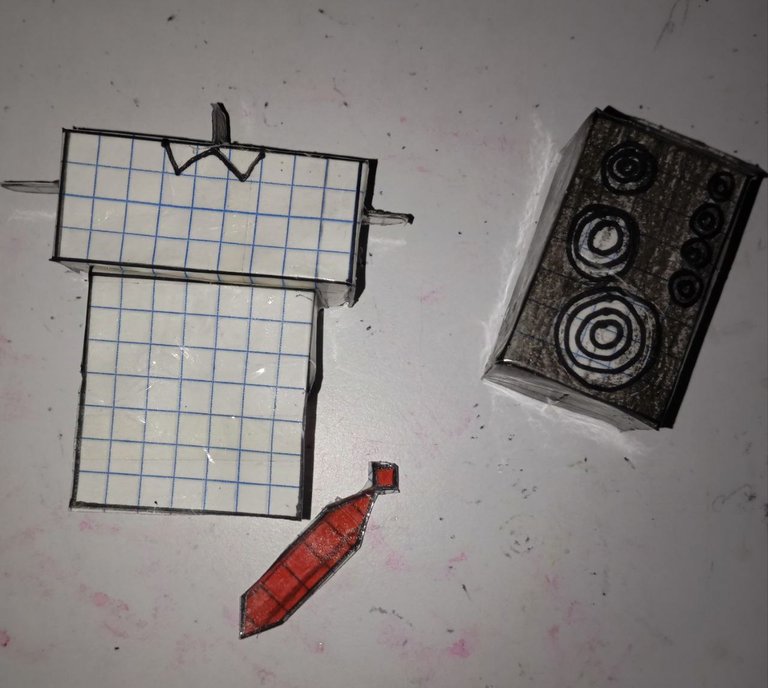
Aqui teenemos torso y cabeza, con su hermosa corbata roja.

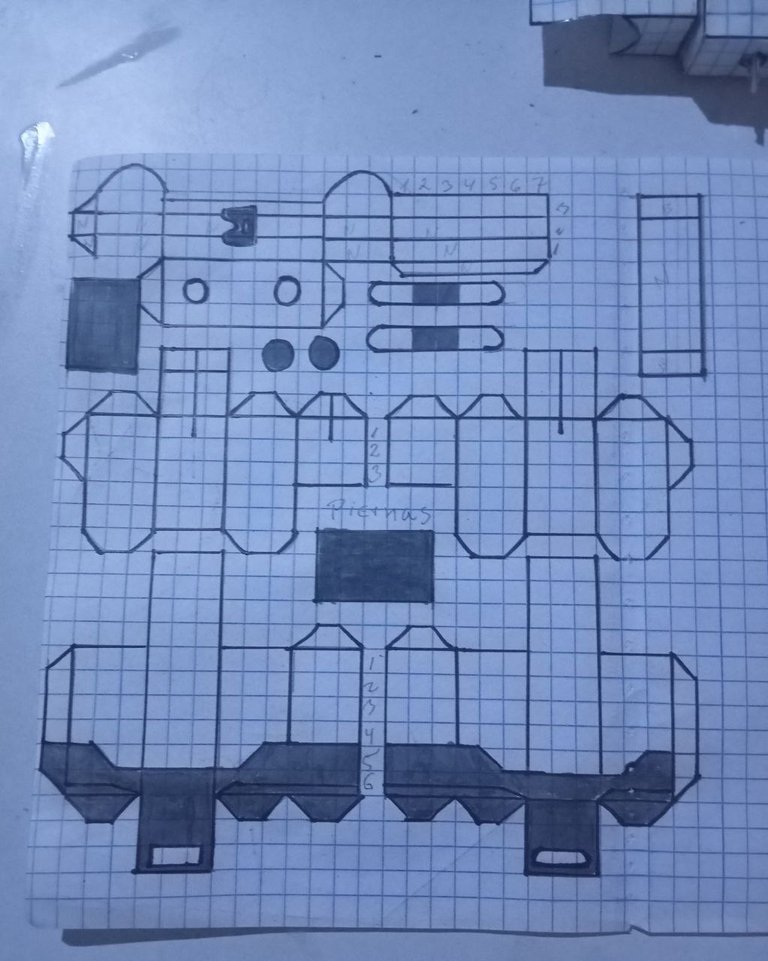
- De la misma forma hacemos el procedimiento conn la plantilla número 2 y la tres, en esta; sin embargo, están las articulaciones, arriba les dejé el link del video de youtube, donde les explicaran mas detalladamente.
Plantilla 2 y 3
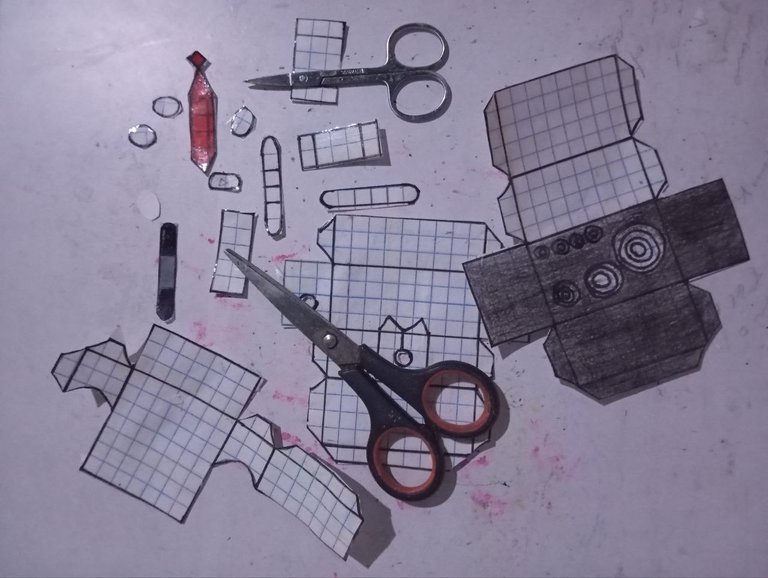
- Comenzamos con :
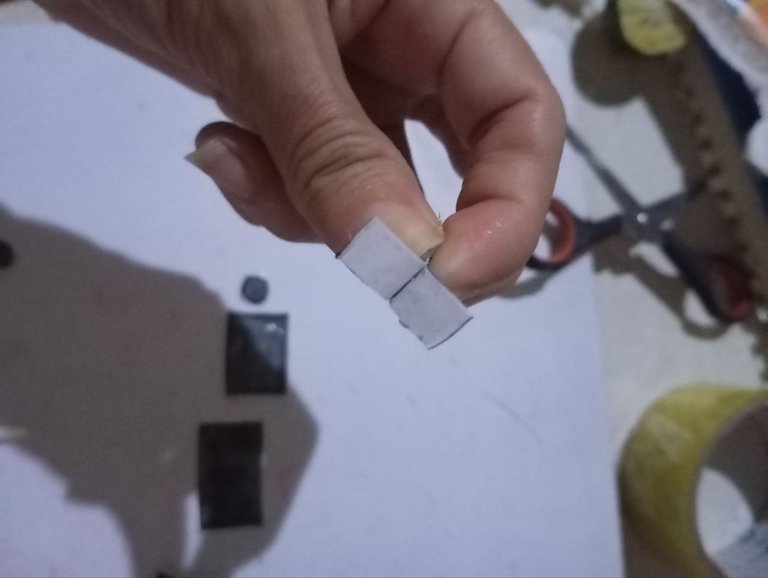
Las figuras cuadradas las enrollamos porque serán la conexión entre las extremidades; es decir, como una especie de puente.
 |  |
|---|
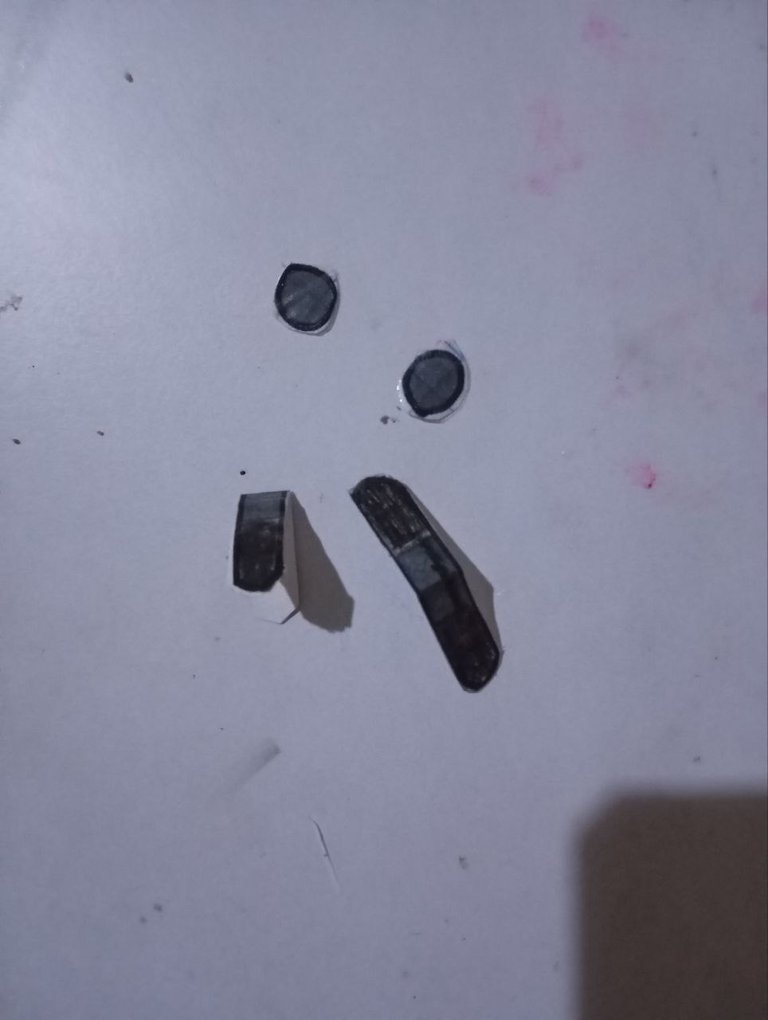
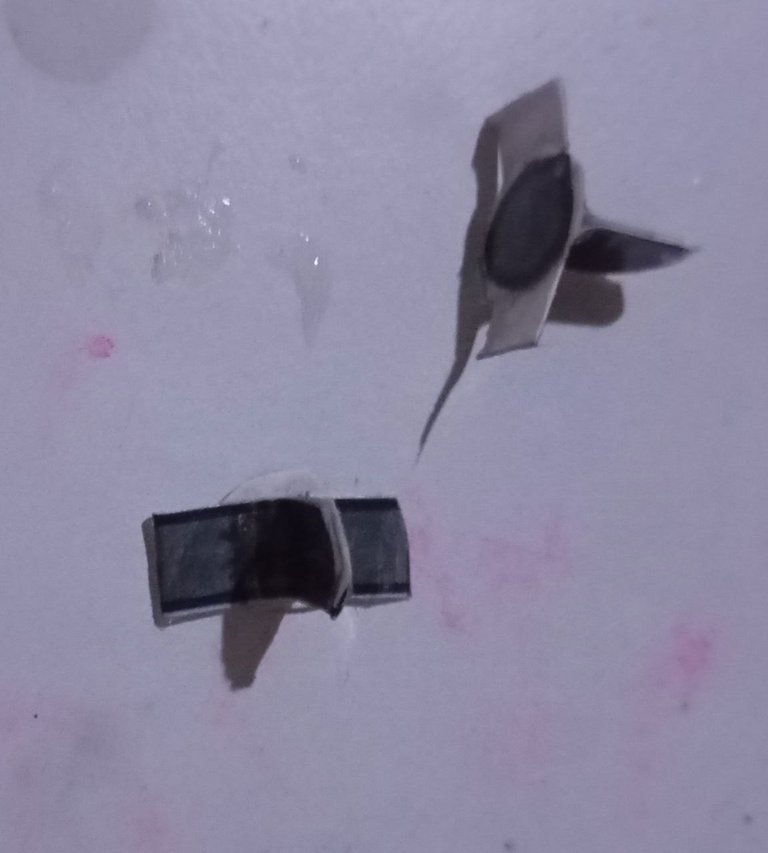
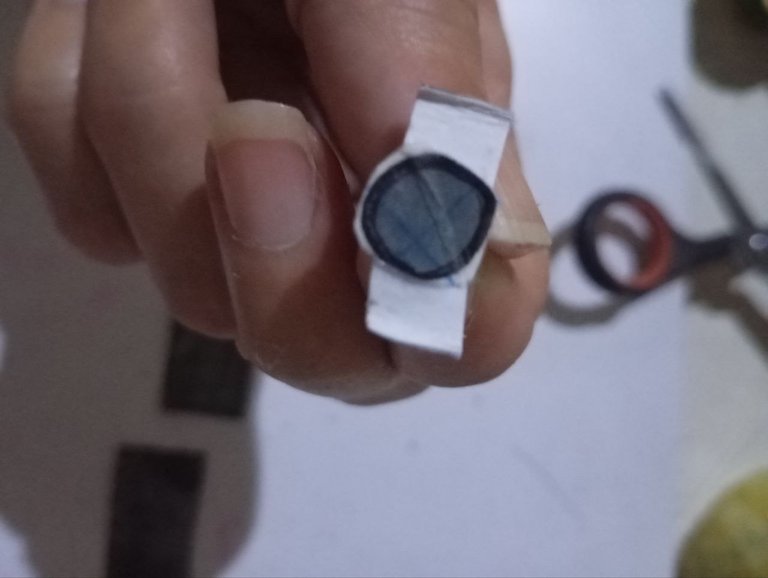
- Recortamos las piezas pequeñas, que vendrían siendo las articulaciones (para mejor detalles vean el video de youtube)
 |  |
|---|
 |  |
|---|
 |  |
|---|
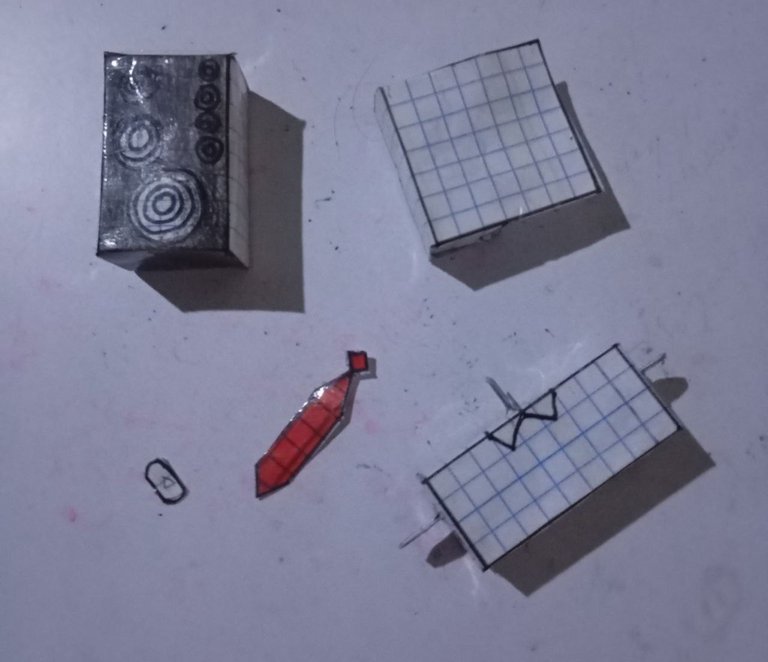
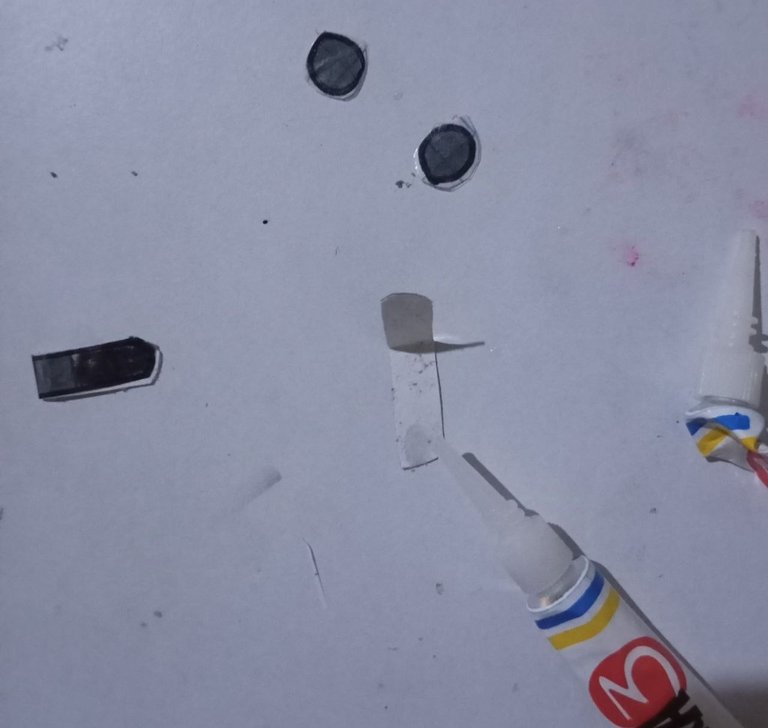
- Ahora procedemos a doblar las piezas y armarla
Colocamos las articulaciones a la primera pieza
 |  |
|---|
- Le colocamos la pieza que enrollamos para convertirla en un tubo
- La colocamos en el torso
- Procedemos a armar las piernas
 |  |
|---|
- Realizamos el mismo procedimiento con la plantilla 3 para armar los brazos
Doblamos las piezas, realizamos las articulaciones con mucho cuidado, hacemos dos tubos con la pieza cuadrada y armamos los brazos.
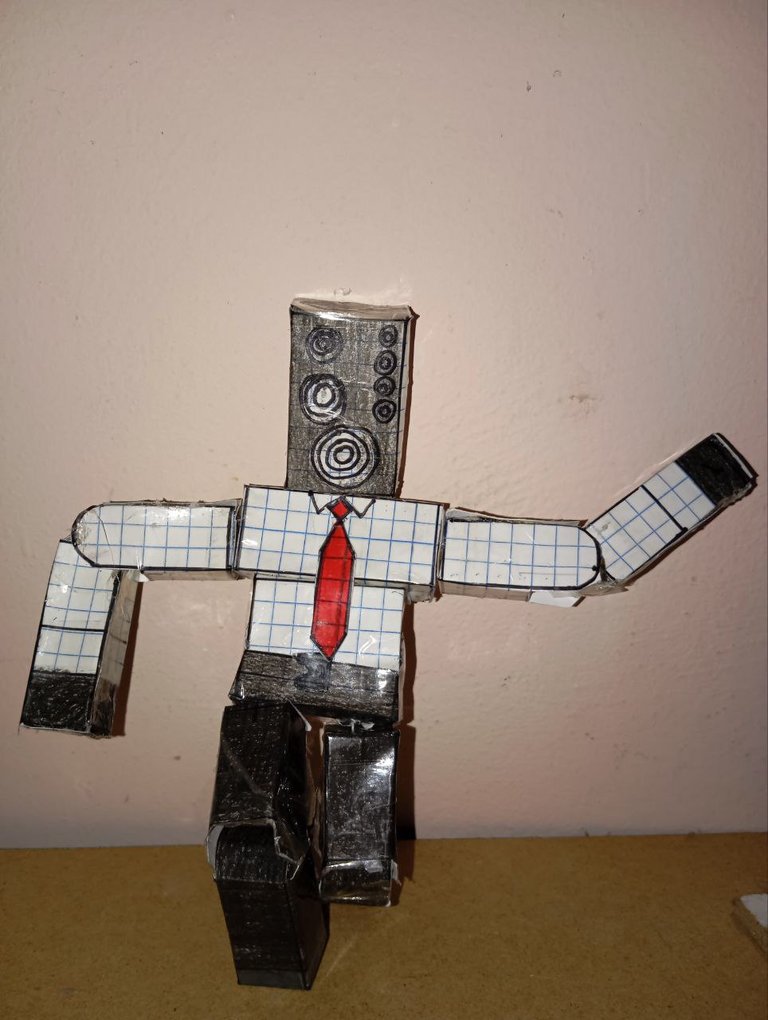
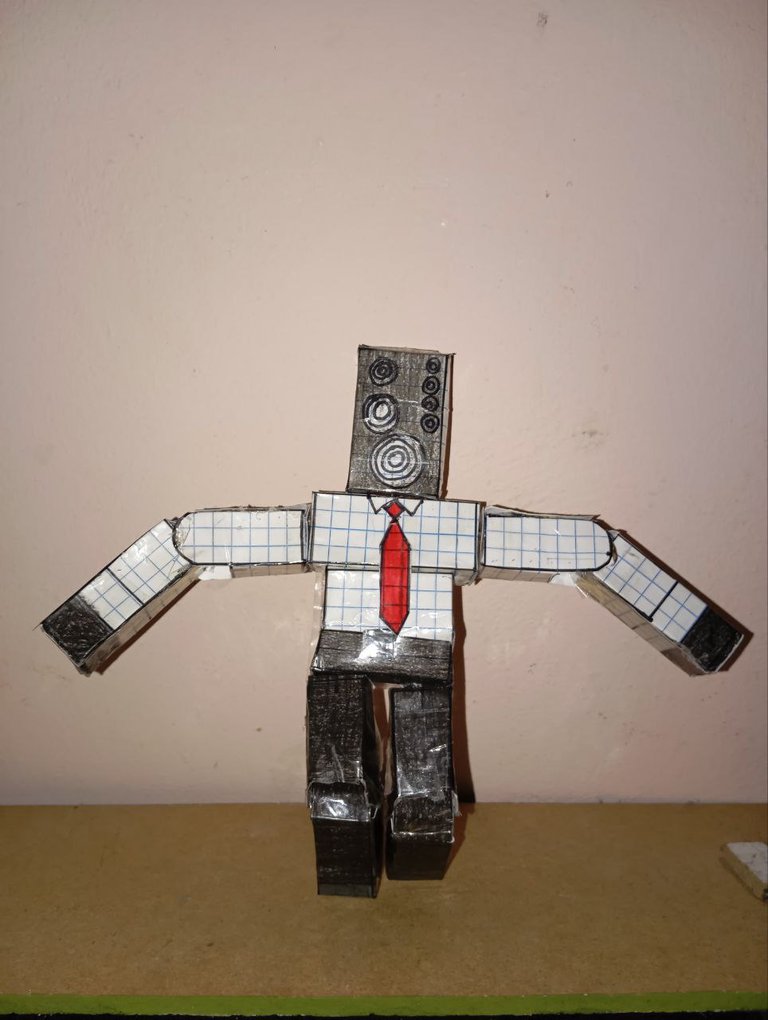
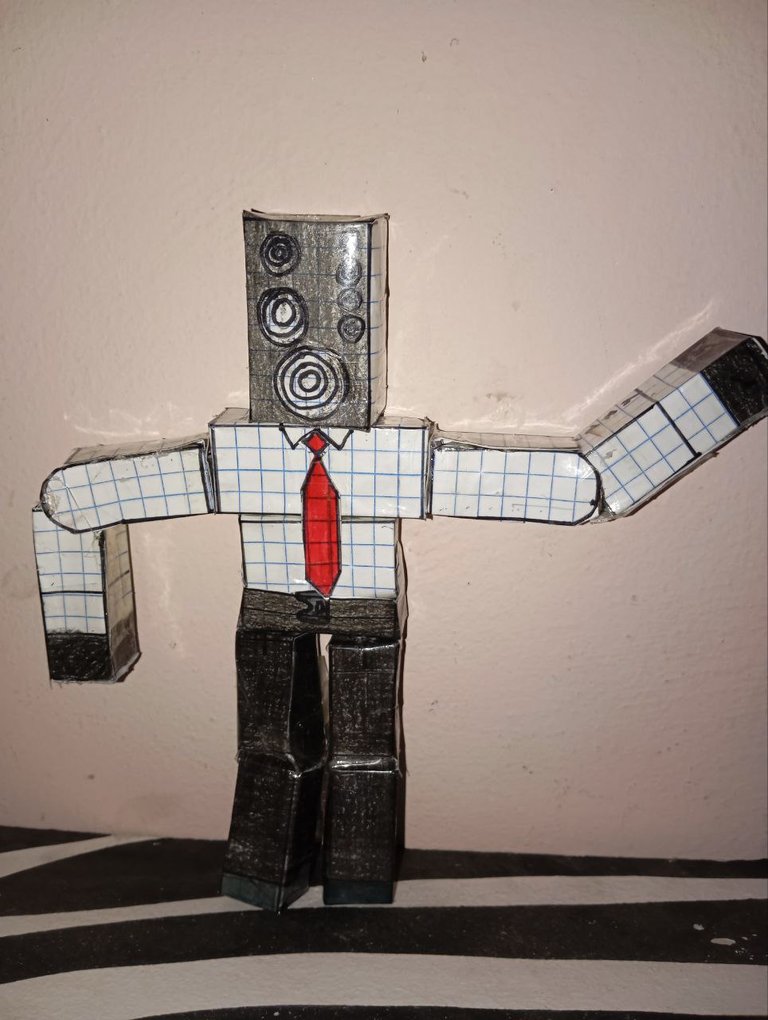
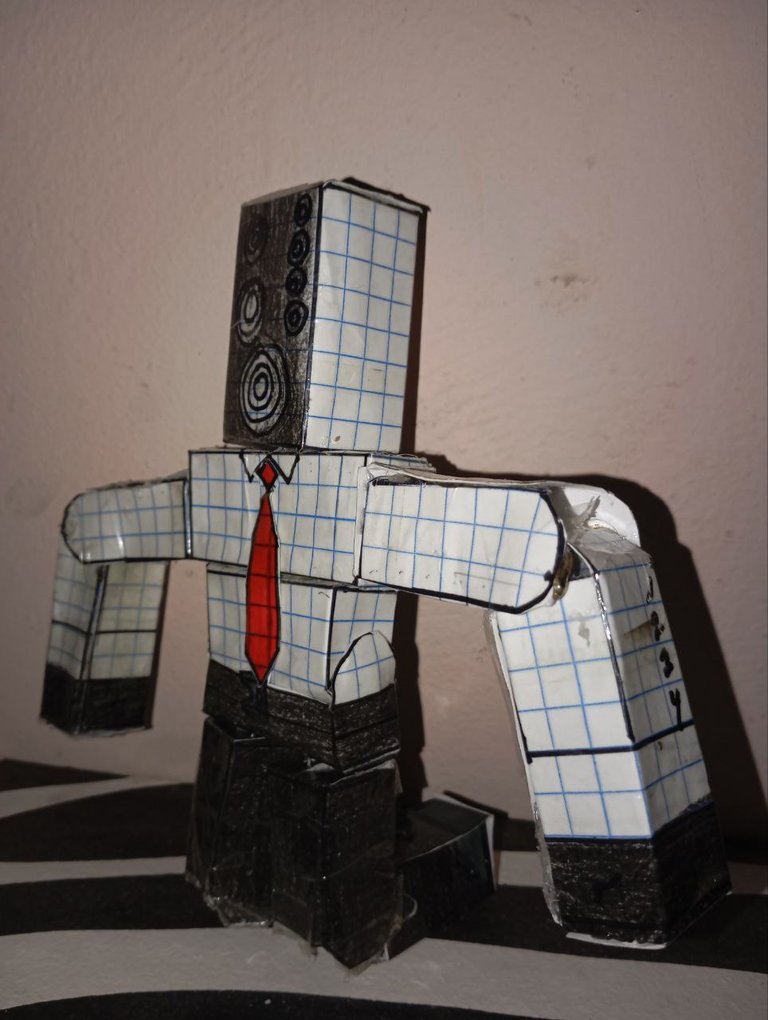
Los colocamos en el Big Speakerman y miren como queda nuestra figura
Es nuestra primera figura realizada en papercraft, estamos muy felices y orgullosos.
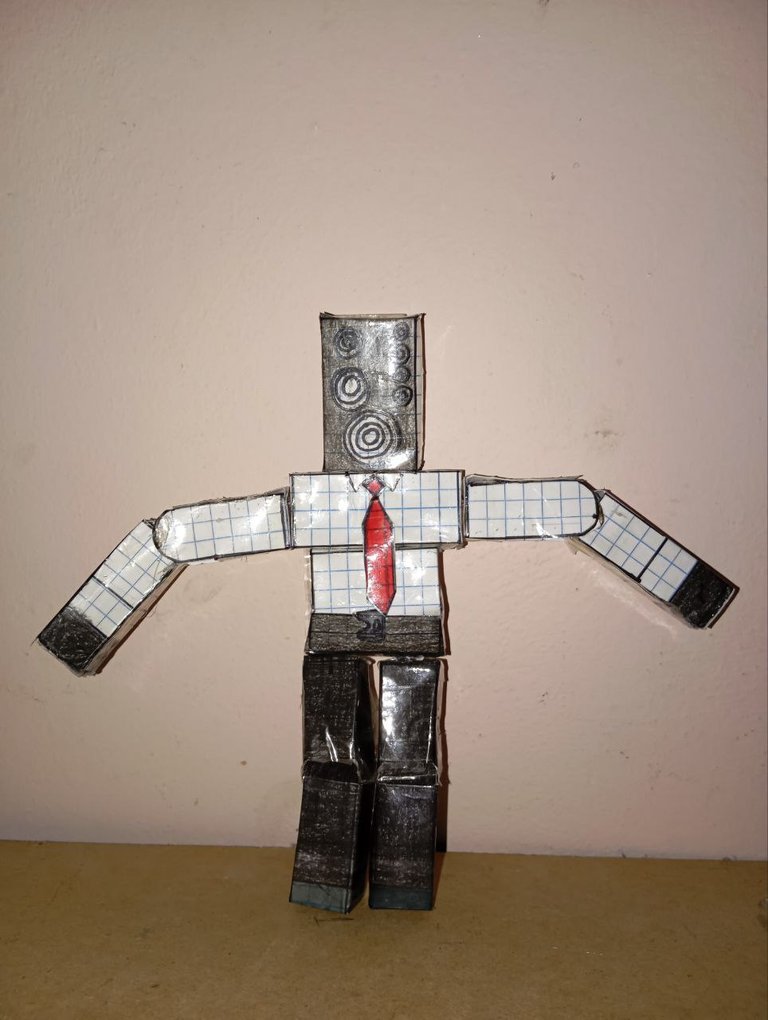
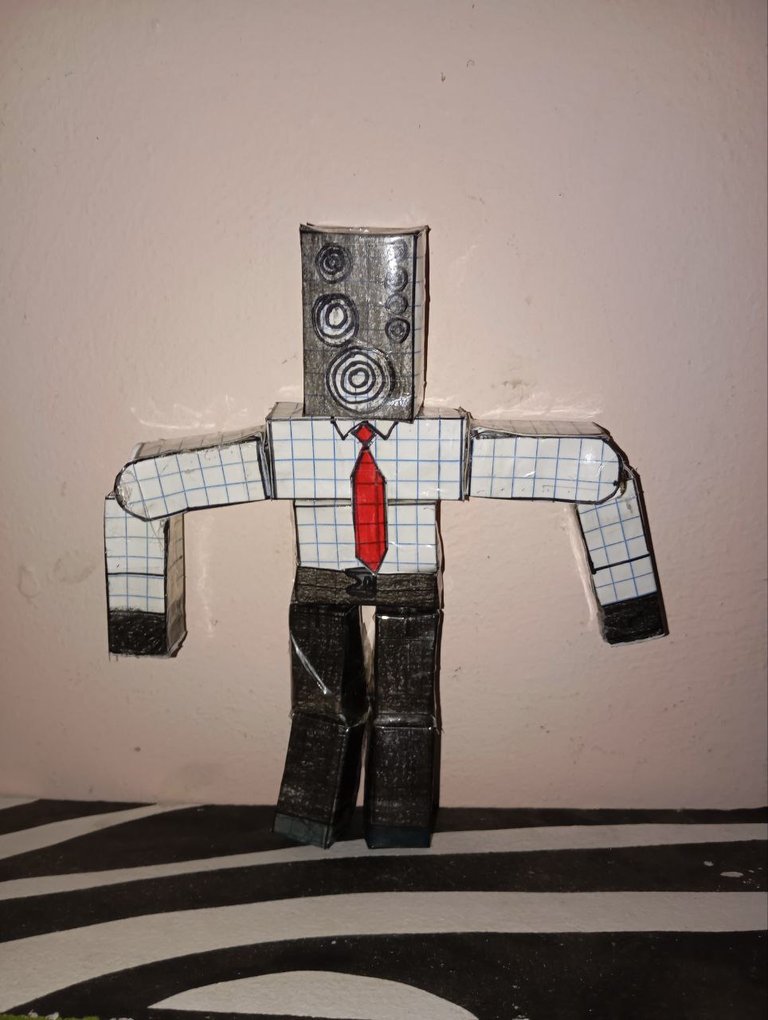
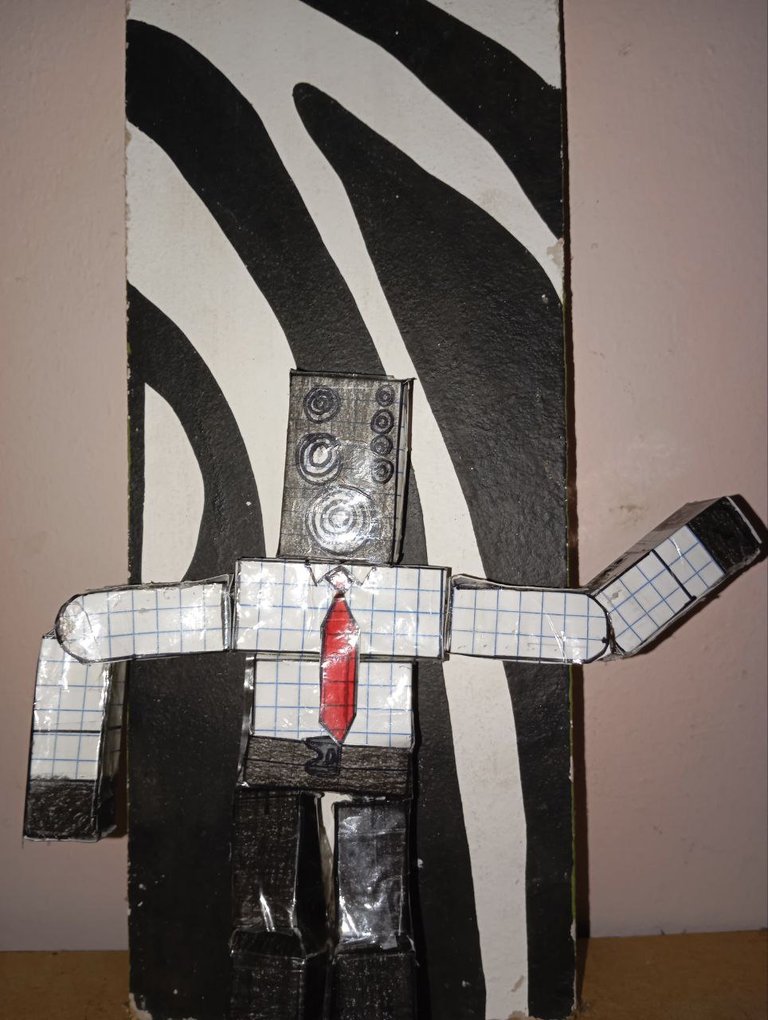
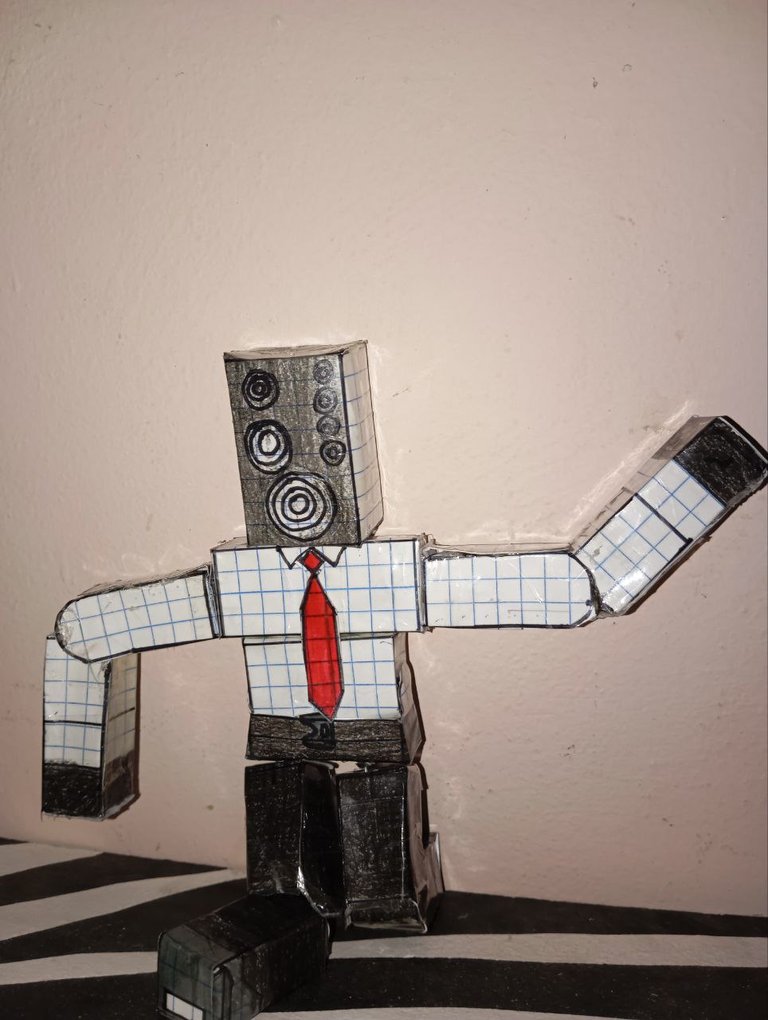
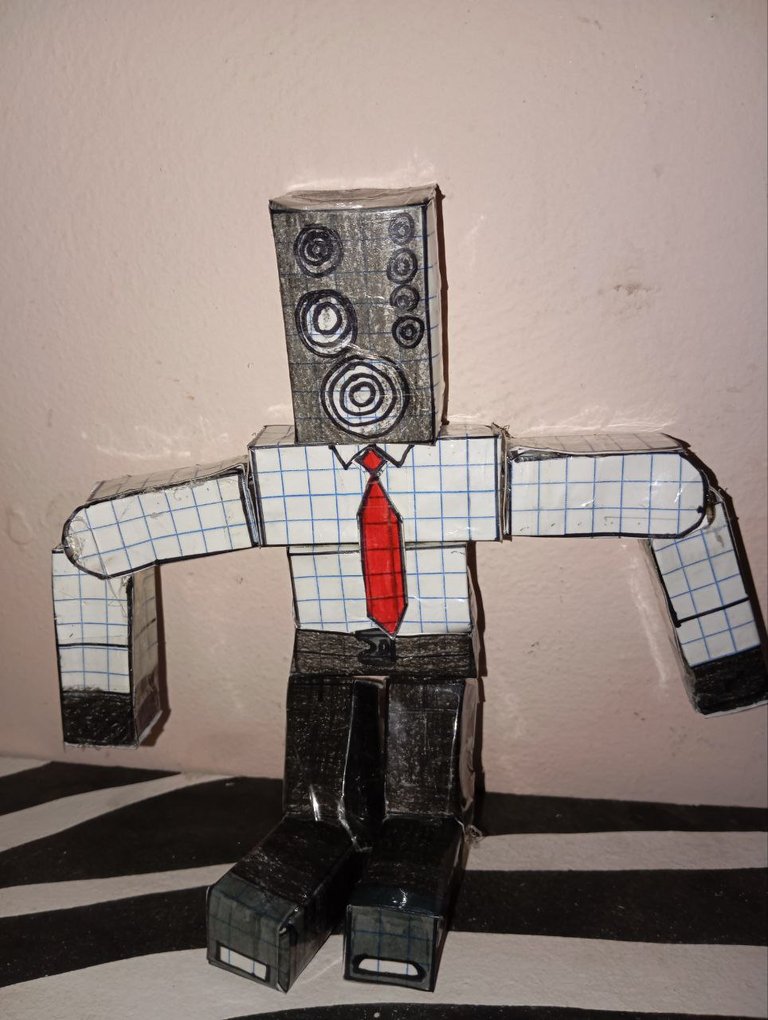
Mi hijo estaba tan feliz que le tomó una sesión de fotos.
 |  |  |
|---|
 |  |  |
|---|
 |  |  |  |
|---|
Créditos:
Fotos tomadas con mi celular Honor X6
Miniatura editada en Kinemaster
Traducido y formateado con Hive Translator Logos de la Comunidad de @hivediy por @noakmilo.
English
Greetings to the @hivediy community, artisan girls and boys, I'm here to bring you a Skibidi Toilet character called Big Speakerman Based on the SKIBIDI TOILET SERIES created by: DaFuqBoom, which is one of my son's favorite series.
On the other hand and responding to the call of the @hivediy Community A message for Diana, I wish to give 50% of the rewards of this post to our dear artisan friend @chacald.dcymt, a grain of sand on my part for the speedy recovery of her baby.
During the month of December my son reminded me that I had promised him that I would help him make the Big Speakerman character when I had some free time at work and so I took advantage of the December holidays and used some of those days to make said character with him. To make said character we used the papercraft technique.
I honestly had no idea about this technique and even less about the characters from the Skibidi Toilet Series, but my son, who is more familiar with the series and the different techniques used to create characters, guided me very carefully, teaching me things that at this point in my life I didn't know.
Once instructed by this 9-year-old boy, the next step was to look for information to create the character using the papercraft technique.
On this occasion, my son told me that there was a youtuber who made tutorials to make these characters using the papercraft technique, here is the link.
If you are encouraged to make this type of creations, I tell you right now that you will need a lot of patience and time.
The YouTube video that I used as a reference helped me a lot, I recommend that if you are going to watch it, pay close attention to the details. I particularly had a hard time making the joints; since it requires more care and a lot of dedication because they are more complex to make, they did not turn out 100% right but at least I tried.
I will try to show you the step by step that I did, it is necessary to tell you that we did not do it all at once, it is a job that took us several days. First, making the templates, drawing them, cutting them out, gluing them, folding them and assembling them, was a whole process that we did little by little, it was our first time doing this type of work, so excuse the lack of practice, we did it the best we could.
MATERIALS
- Squared paper
- Pencil
- Eraser
- Ruler
- Black marker
- Scissors
- Cardboard
- White glue
- Silicone
- Liquid silicone
- Instant glue (strong)
- Tinderbox
- Large plastic tape
STEP BY STEP
- Making the templates
- We paint
- We glue on cardboard, we wait for it to dry.
| |
|---|
- We put the plastic tape
- We cut it out (It is better to stick it on cardboard and then cut it out so as not to do double work like my son and I did, we cut it out first and then glue it on cardboard.)
- We do the same procedure with all the other two templates.
| |
|---|---|
| |
| - | - |
- With the pieces already cut out, we proceed to fold them along each of the lines we drew (one by one with great care)
- We proceed to assemble the figure
| |
|---|
Here we have the torso and head, with its beautiful red tie.
- In the same way we do the procedure with template number 2 and three, in this one; however, there are the joints, above I left you the link to the youtube video, where they will explain in more detail.
Template 2 and 3
- We start with:
We roll up the square figures because they will be the connection between the limbs; that is, like a kind of bridge.
| |
|---|
- We cut out the small pieces, which would be the joints (for better details see the YouTube video)
| |
|---|
| |
|---|
| |
|---|
- Now we proceed to fold the pieces and assemble them
We place the joints on the first piece
| |
|---|
- We place the piece that we rolled to turn it into a tube
- We place it on the torso
- We proceed to assemble the legs
| |
|---|
- We carry out the same procedure with template 3 to assemble the arms
We fold the pieces, make the joints very carefully, make two tubes with the square piece and assemble the arms.
We put them on the Big Speakerman and look how our figure looks
This is our first papercraft figure, we are very happy and proud.
My son was so happy that he took a photo shoot of him.
| | |
|---|
| | |
|---|
| | | |
|---|
Credits:
Photos taken with my Honor X6 cell phone
Edited thumbnail on Kinemaster
Translated and formatted with Hive Translator Community Logos by @hivediy by @noakmilo.
Posted Using INLEO
No conocía ese personaje 😲, quedó muy lindo y diferente (por el acabado).
Cada aporte va sumando 🙌🏽✨. Yo tengo solo un post para esta semana pendiente. Pero el lunes organizo mi aporte 💜
Yo tampoco lo conocía, gracias @helicreamarket saludos
This post was shared and voted inside the discord by the curators team of discovery-it
Join our Community and follow our Curation Trail
Discovery-it is also a Witness, vote for us here
Delegate to us for passive income. Check our 80% fee-back Program
Gracias
Jajaja sé cuales son. Quedó genial. Seguro le gustará.
!discovery 30
Si, le encantó, juega comunmente con su muñeco de papel Big Speakerman...gracias, saludos
From Venezuela, our witness drives decentralization and the adoption of Web3 technology, creating opportunities for the local community and contributing to the global ecosystem. // Desde Venezuela, nuestro testigo impulsa la descentralización y la adopción de la tecnología Web3, generando oportunidades para la comunidad local y contribuyendo al ecosistema global.
Sigue, contacta y se parte del testigo en: // Follow, contact and be part of the witness in:
Gracias
Muchísimas gracias
A nice gesture that you made with your son as part of the initiative to raise funds for your friend Diana. A nice gesture and a nice gesture. God bless you.
Gracias, un pequeño aporte. Saludos
Excelente que creatividad @cositav quedaron muy bien esos personajes felicitaciones🎉 y aplausos 👏 para ti y tu hijo, Bendiciones 🙏
Gracias por ese lindo comentario, Amén Amén, bendiciones
View or trade
LOHtokens.@cositav, You have received 1.0000 LOH for posting in Ladies of Hive. We believe that you should be rewarded for the time and effort spent in creating articles. The goal is to encourage token holders to accumulate and hodl LOH tokens over a long period of time.
Gracias
@cositav Saludos espectacular, cada vez haces mejor las manualidades, bello ,,un fuerte abrazo
Gracias cayiiiiii un abrazo
Seriously, I don't know who Big Speakerman is, but this mother-son collaboration turned out great. Besides being a very nice gesture by a friend.
Have a great week, @cositav.
Una bonita manualidad, cada día mejoras @cositav , ese acompañamiento estuvo genial, quiero ver más robot de ese tipo.