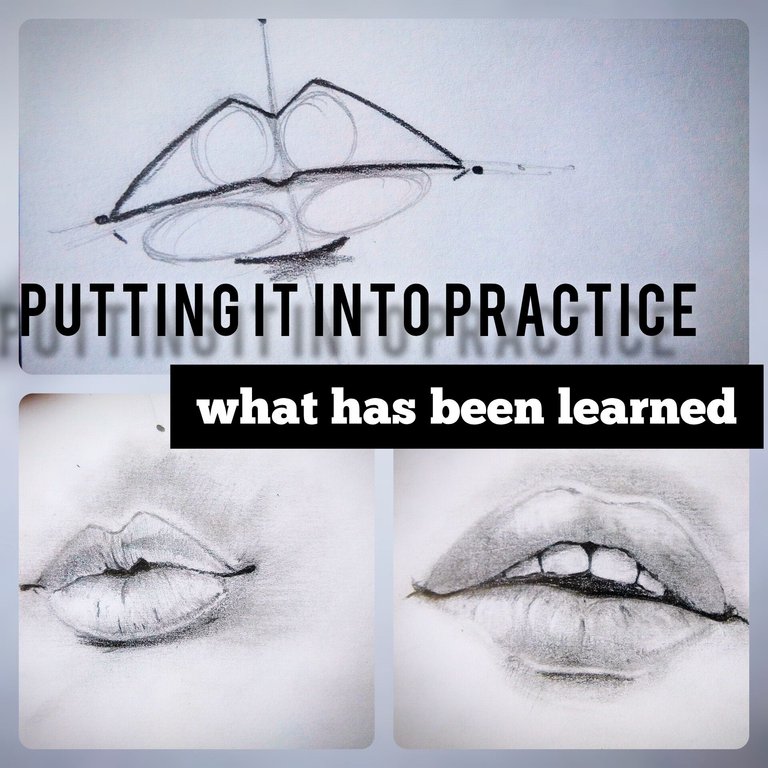
Hola, comunidadhiveDiy, para los que no me conocen, soy cristhenos; espero que todos se encuentren muy bien el día de hoy. En esta ocasión les presento una recopilación de mis anteriores post en donde estaremos llevando a la práctica todos esos métodos aprendidos para dibujar los ojos, nariz y boca. Pero para aquellos artistas que no hayan tenido la oportunidad de ver mis anteriores post, no se preocupen; de igual manera estaré dando una explicación corta de las estructuras de estos métodos. Sin más nada que agregar, los dejo abajo con el procedimiento.
procedure/Procedimiento
Para lograr este nivel de tonalidad con el lápiz, necesitaremos los siguientes materiales:
Lápiz H, HB2, 2B, 4B, 6B, 8B y un lápiz F, todo esto fue lo que utilicé para lograr esa tonalidad, pero todo esto es opcional; con simplemente un lápiz HB2 ya es más que suficiente.
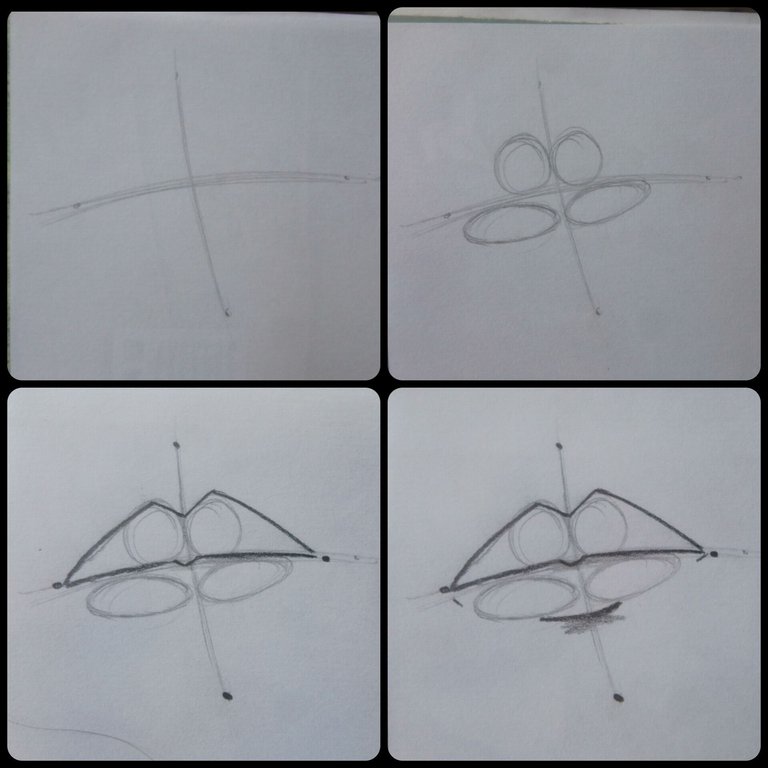
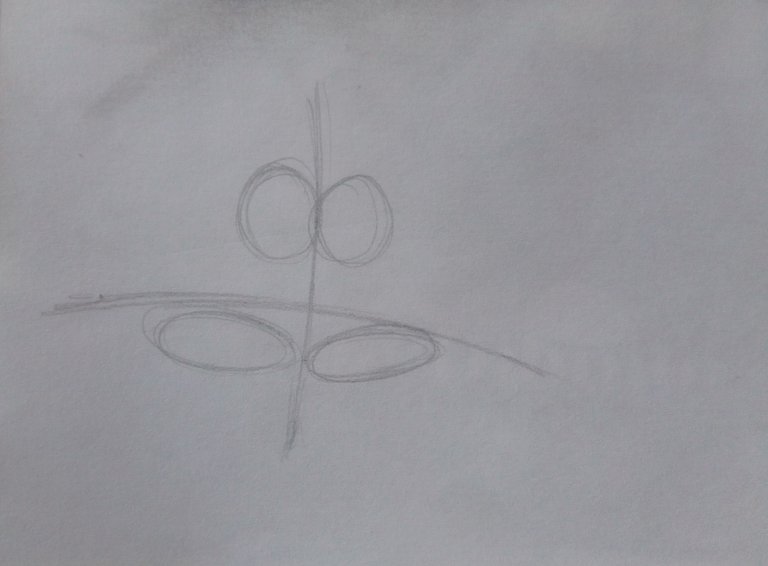
Con el primer método con el que vamos a empezar será el de los labios. Este procedimiento es bastante sencillo de dominar. Lo único que tenemos que hacer será lo siguiente:
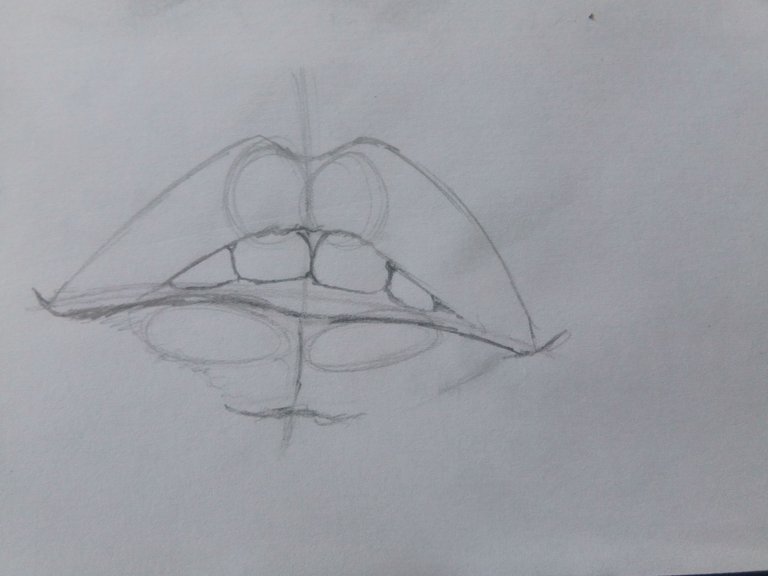
Lo primero que trazaremos será una cruz; el ángulo y el tamaño pueden variar dependiendo de cómo queremos dibujar nuestro labio. Lo segundo que haremos será dibujar dos círculos en la parte de arriba de la línea divisora de la cruz. Al igual que al principio, esto puede variar dependiendo del ángulo en el que estará orientado nuestro labio. Ya para finalizar, vamos a dibujar dos óvalos en la parte inferior de la línea divisora de la cruz. Es una técnica super sencilla en donde los círculos representan los labios anteriores y los óvalos la parte inferior, y la línea divisora será la separación entre estas dos partes. Ahora pasemos a la práctica.
Siempre he tenido la creencia de que la mejor forma de aprender o dominar algo en esta vida es a través del ensayo y error, pero la verdad es que hace falta una ayuda, la cual yo creo que es la teoría.
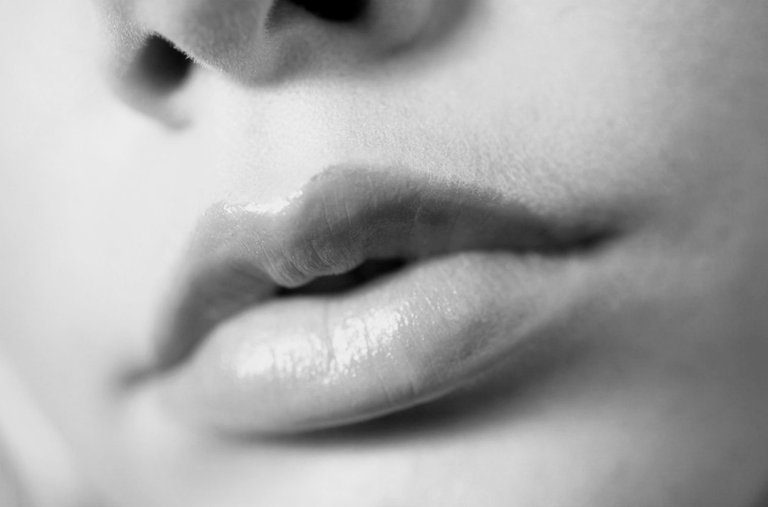
En el siguiente dibujo utilicé esta imagen como referencia. Un consejo que les doy si van a dibujar simplemente con blanco y negro es pasar la imagen con un filtro blanco y negro; facilita demasiado a la hora de sombreadar nuestro dibujo. Al igual que en el principio del post, vamos a llevar lo aprendido a la práctica, y es que este método nos sirve demasiado como estructura inicial para luego ir desarrollando el resto del dibujo.
Una vez tengamos toda la estructura dibujada con el lápiz H, luego borramos toda la estructura con el fin de remarcar solo las partes que serán más llamativas que el resto. Con la ayuda del lápiz 2B vamos a darle un poco de forma, dando sombras en las áreas más oscuras. Una vez tengamos todas las zonas ya oscurecidas, vamos a agregar algunas líneas de expresión con la ayuda del lápiz F; son esas pequeñas líneas que tienen los labios para darle un toque más de realismo. Ya para finalizar le damos un poco más de oscuridad a esas zonas con la ayuda del lápiz 6B y le damos algunas sombras alrededor para darle un toque más natural.
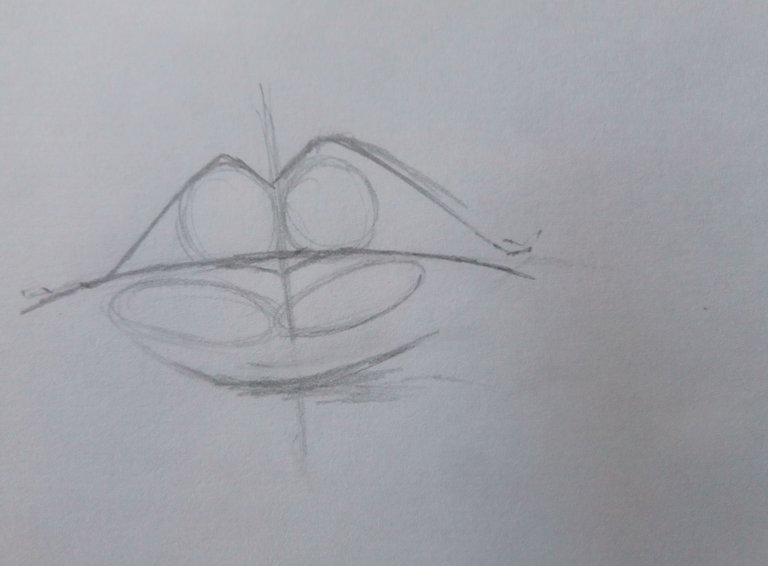
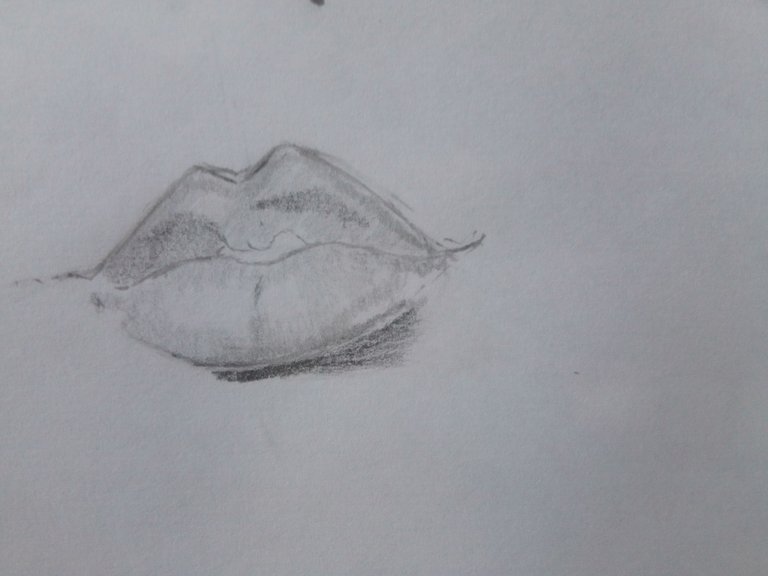
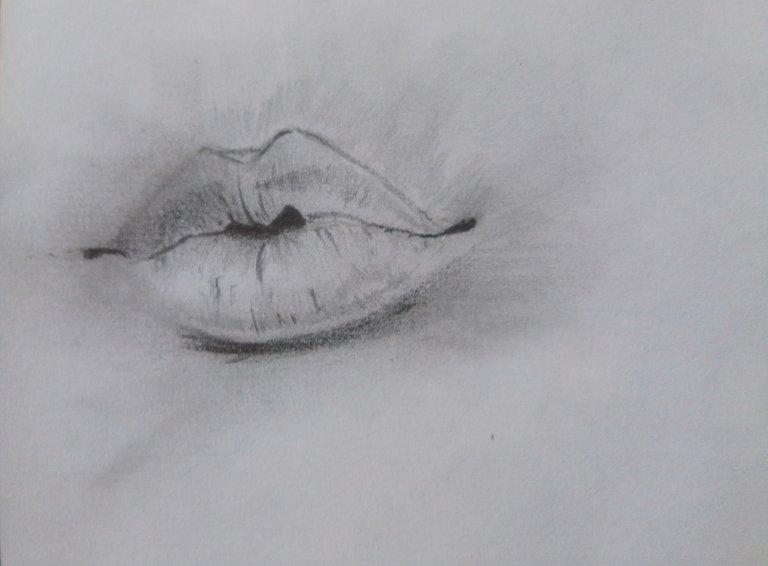
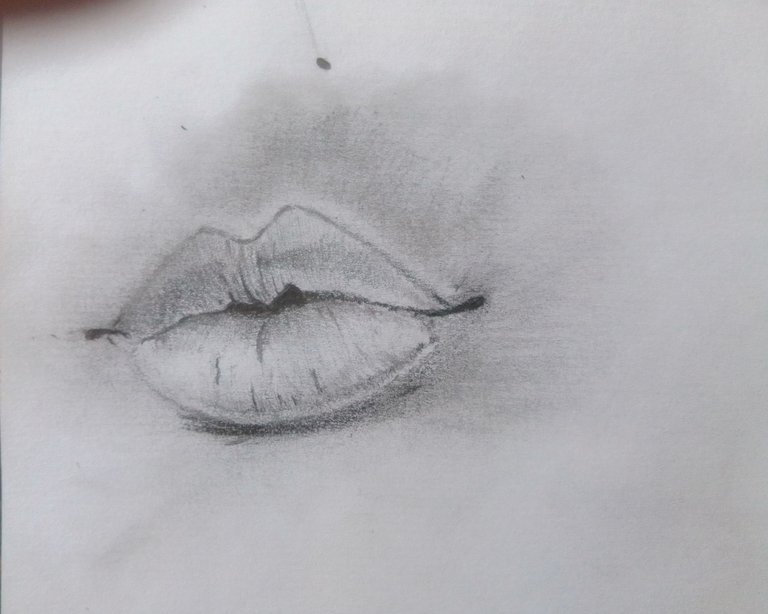
La siguiente imagen me interesó bastante en la posición en la que estaba. Al igual que con el anterior, vamos a trazar primero toda la estructura. Ya después de tener una figura clara de que queremos transmitir, borramos y remarcamos todo con el HB 2. Si nos percatamos bien, los labios inferiores no los remarqué del todo; ya más adelante les explicaré por qué. Con el lápiz H pasamos unas pequeñas sombras a todo el dibujo para tener diferencias de capa de tonalidad. Luego podemos sombrear solo los labios de arriba. Con la borra del lápiz, borré la línea de los labios de arriba para jugar un poco con la luz. Con el 4B vamos a remarcar toda la zona oscura de adentro de la boca y parte de las encías visibles en los dientes.
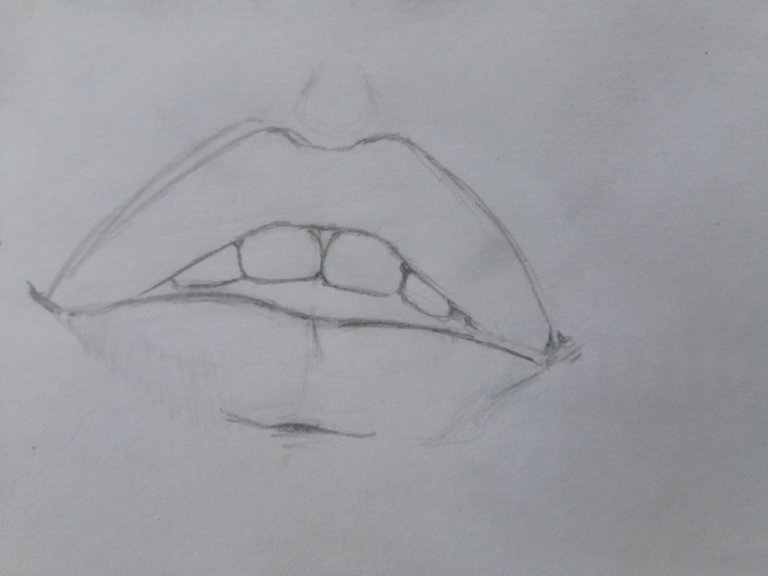
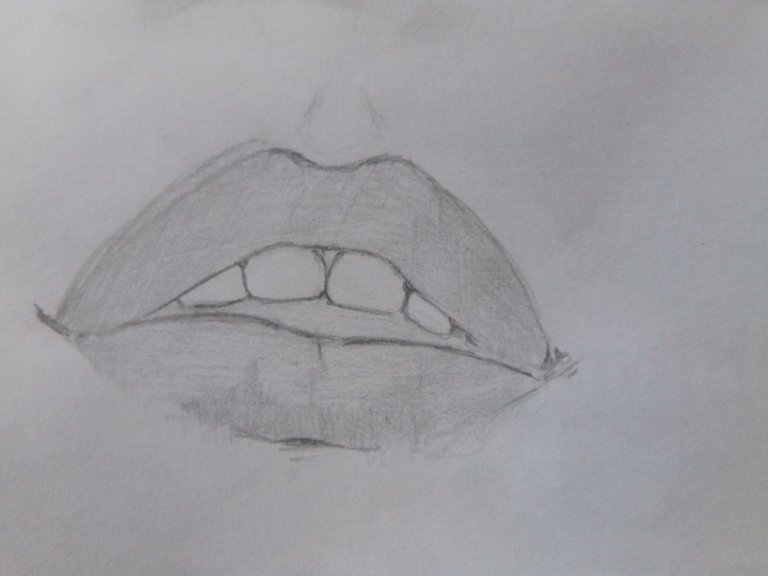
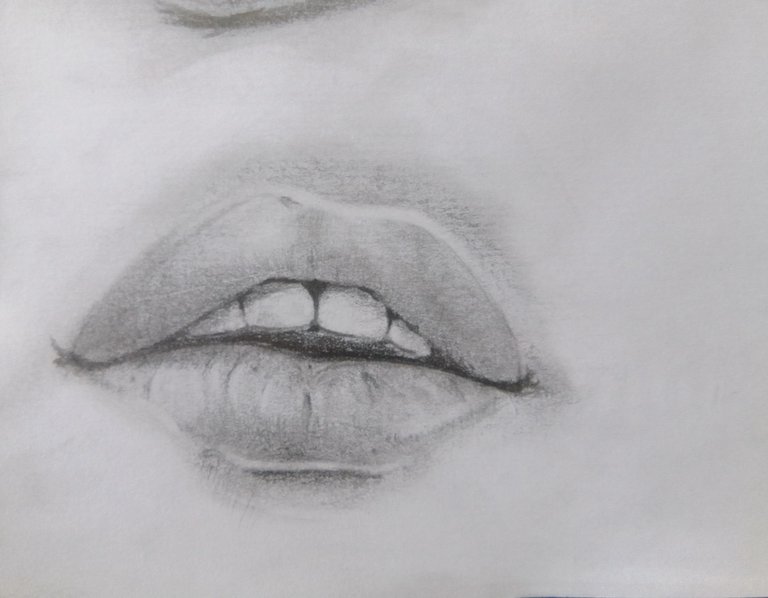
Recuerdan que les dije que no tracé la línea de los labios inferiores, vean por qué. Sombreamos con el dedo los labios inferiores y trazamos una línea con la borra para utilizar la luz como líneas imaginarias para dar ese toque más natural. Para los dientes, un consejo que les doy es sombrearlos con el lápiz H para que no queden tan blancos y de esta manera podamos darles algo de luz. Ya si quieren darle más realismo con el lápiz F, pueden darle algunas líneas de expresión y listo.

Espero que le haya gustado mucho. Sin más que decir, nos vemos hasta el siguiente post.
All photos except those used for reference were taken with my Yezz art 2 pro phone.
Todas las fotos excepto las utilizadas como referencia fueron tomadas con mi teléfono Yezz art 2 pro.
*Links de las imágenes utilizadas como referencia /Links to the images used as reference👇
Congratulations @cristhenos! You have completed the following achievement on the Hive blockchain And have been rewarded with New badge(s)
Your next target is to reach 400 upvotes.
You can view your badges on your board and compare yourself to others in the Ranking
If you no longer want to receive notifications, reply to this comment with the word
STOP