#17 ✍️Testing shading methods: flattening./✍️Probando métodos de sombreado: achurado.[ESP/ENG]

in Hive Diy2 months ago (edited)

InShot_20250203_225329563.jpg

Hello hive Diy community I hope everyone is very well today and have had a great weekend that this new beginning of the month is full of blessings and fruitful experiences for all users who give life to the hive ecosystem and especially to the hive Diy community. This time while I was sliding through the tiktok platform I came to my video on shading techniques which caught my attention so I set out on a mission to investigate a little more on the subject and thanks to that is that in this post and in the following ones I will be talking a little about each shading technique that as in all my posts I will be giving some points that I consider key with each technique and as always the theory for then the practice, so stay tuned that in this post we will talk about the shading.

Hola comunidad de hive Diy espero todos se encuentren muy el dia de hoy y hayan tenido un excelente fin de semana que este nuevo inicio de mes este lleno de bendiciones y de experiencias fructíferas para todos los usuarios que dan vida al ecosistema hive y sobre todo a la comunidad de hive Diy. En esta ocasión mientras me deslizaba por la plataforma de tiktok llego a mi video sobre técnicas de sombreado el cual me llamo bastante la atención por lo cual me puse en la misión de investigar poco mas sobre el tema y gracias a eso es que en este post y en los siguientes estaré hablando un poco sobre cada de técnica de sombreado que al igual que en todos mis post estaré dando algunos puntos que considero clave con cada técnica y como siempre la teoría para después la practica, asi que quédate que en este post hablaremos sobre el achurado.


Shading is a fundamental technique in artistic drawing that consists of adding line, dots or repeated patterns in specific areas of an illustration to create effects of shadow, texture and volume.

El achurado es una técnica fundamental en el dibujo artístico que consiste en agregar línea, puntos o patrones repetidos en áreas especificas de una ilustración para crear efectos de sombra, textura y volumen.


IMG_20250131_123818_HDR.jpg

There are also some more advanced techniques with this style such as the following:

También existen algunas técnicas un poco mas avanzadas con este estilo como lo son las siguientes:


Cross hatching: this technique consists of drawing crossed lines in opposite directions to create more dense and textured shading. As I am very new to cross hatching in general I will try to give you as always an example so you can get an idea of how this style works.

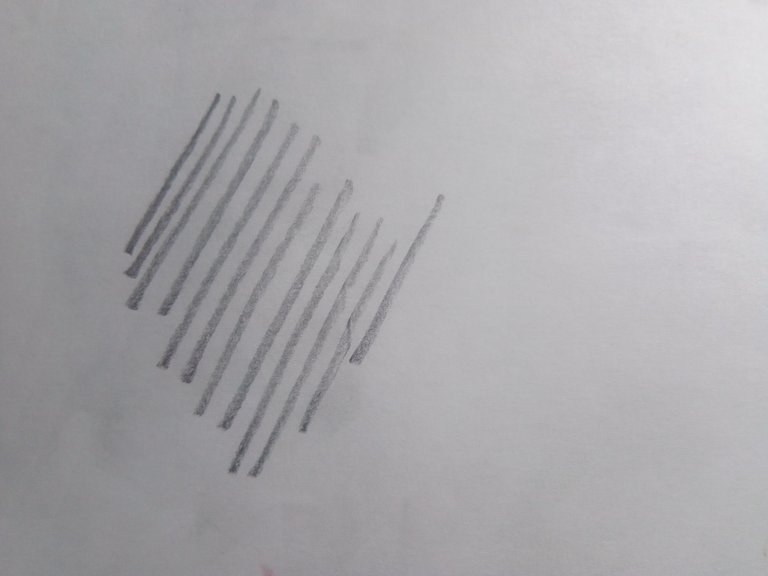
Achurado cruzado: esta técnica consiste trazar líneas cruzadas en direcciones opuestas para crear sombreados mas densos y texturizados. Como soy muy primerizo con el achurado en forma general estaré tratando de dejarle como siempre un ejemplo para que se puedan hacer una idea de como funciona este estilo.


IMG_20250131_121503_HDR.jpg

IMG_20250131_122838_HDR.jpg


As you can see in the image above the square is textured only with lines the more lines you add to the drawing the more shadows you will be giving it.

Como pueden observar en la imagen de arriba el cuadrado esta texturizado solamente con líneas mientras mas capaz de líneas le agregues el dibujo mas sombras le estarás dando.


There is also contouring: This consists of following the contour lines of an object with contouring lines to highlight its shape and volume. By adjusting the direction and density of the lines according to the shape of the object, a more realistic three-dimensional effect is achieved. Ideal for portraits and human figures, where the aim is to highlight features and facial shapes.

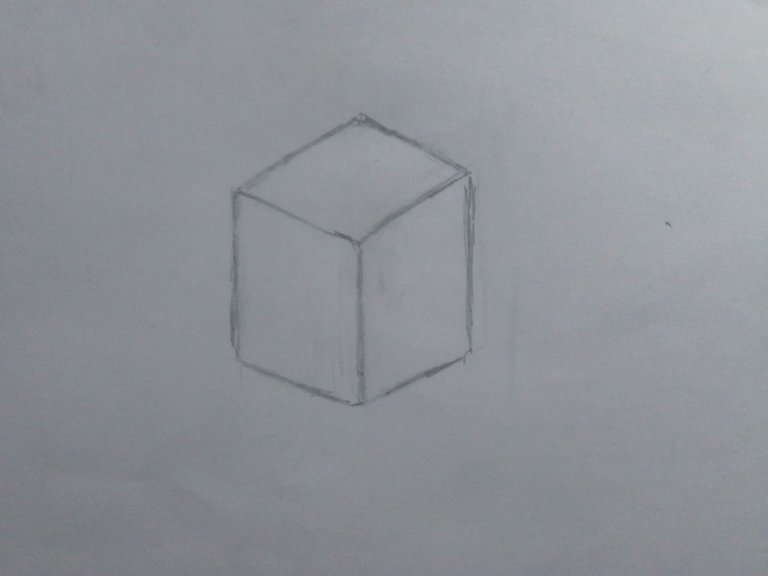
También esta el achurado contouring: Consiste en seguir las líneas de contorno de un objeto con líneas de achurado para resaltar su forma y volumen. Al ajustar la dirección y la densidad de las líneas según la forma del objeto, se logra un efecto tridimensional más realista.ideal para retratos y figuras humanas, donde se busca resaltar los rasgos y las formas faciales.


And as the last technique of this post, not to make it so long, is the Smooth Shading technique: It uses circular or smooth sweeping movements to create soft shading and gradual transitions between light and shadow. This technique is ideal for depicting rounded shapes and objects with smooth surfaces, such as fruit, clouds or human skin. By blurring the edges of the shadows, an effect of softness and realism is achieved in the drawing.

An example is with this sphere I drew where, instead of using straight lines, I applied slightly rounded lines.

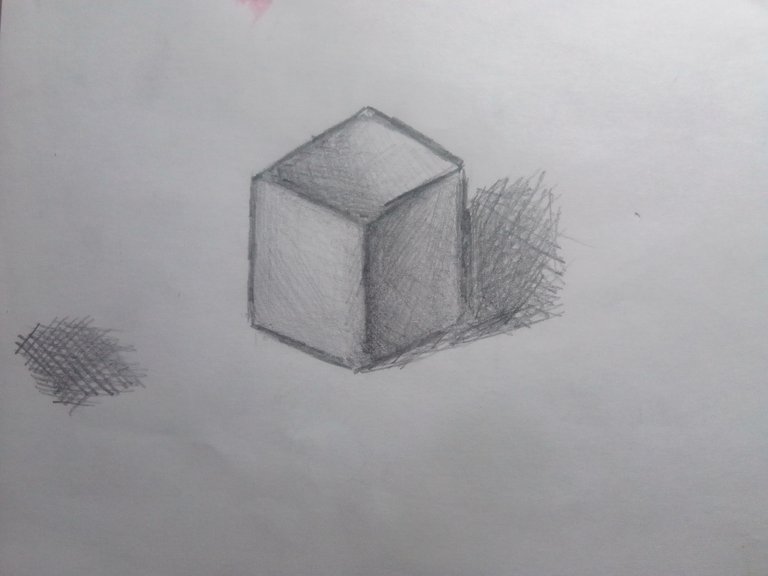
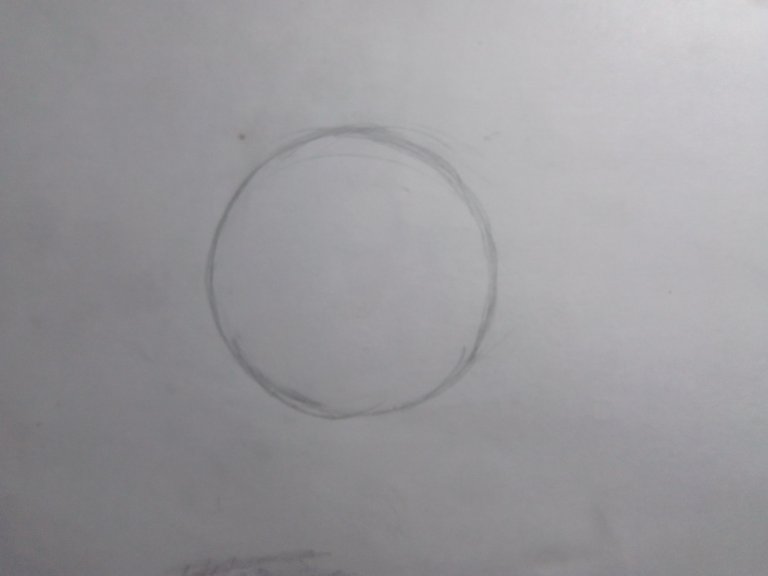
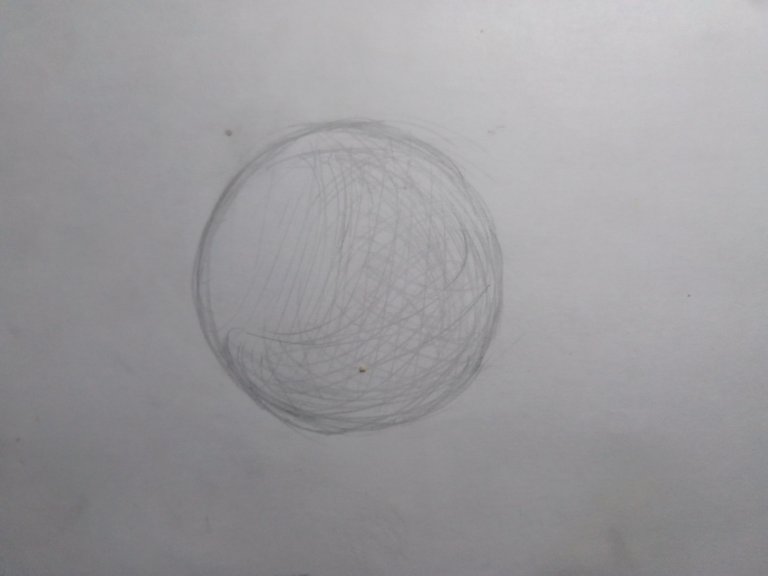
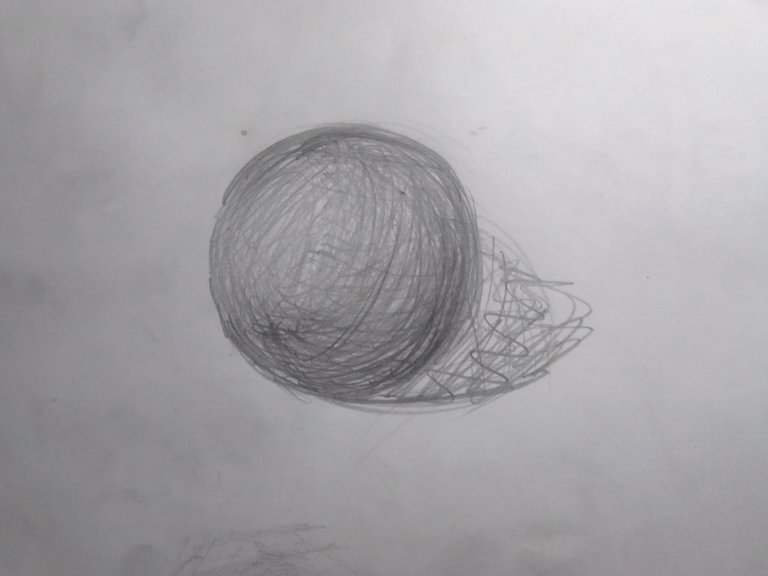
Y como última técnica de este post, para no hacerlo tan largo, es la de Achurado Esfumado: Utiliza movimientos circulares o de barrido suave para crear sombreados suaves y transiciones graduales entre luces y sombras. Esta técnica es ideal para representar formas redondeadas y objetos con superficies suaves, como frutas, nubes o piel humana. Al difuminar los bordes de las sombras, se logra un efecto de suavidad y realismo en el dibujo.

Un ejemplo es con esta esfera que dibujé donde, en vez de utilizar líneas rectas, apliqué líneas un poco redondeadas.


IMG_20250201_222656_HDR.jpg

IMG_20250201_222900_HDR~2.jpg

IMG_20250201_223310_HDR.jpg

Now that we know what this drawing technique consists of, let's move on to the practice.For the following drawing, use this image as a reference:

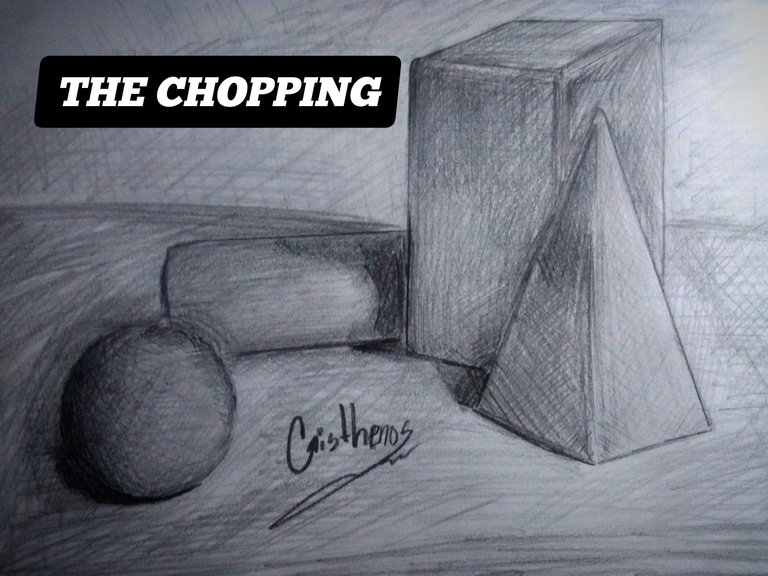
Ya teniendo en cuenta en qué consiste esta técnica de dibujo, pasemos a la práctica.Para el siguiente dibujo, utilice esta imagen como referencia:


formas-geometricas_01_1200px~2.jpg


The first thing I did was to draw all the figures with the help of a ruler to give it that professional touch.

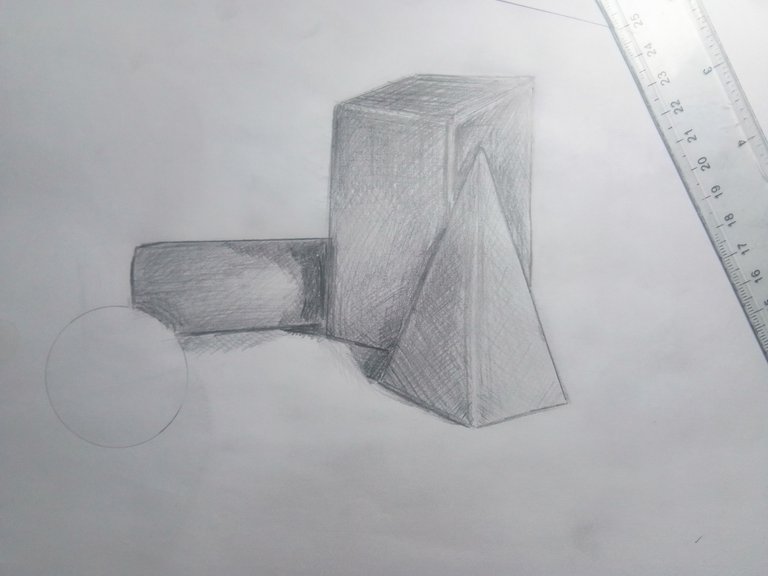
Lo primero que hice fue dibujar todas las figuras con ayuda de una regla para darle ese toque profesional.


IMG_20250201_224305_HDR~2.jpg

With all the structure done, we moved on to the flattening. The first figure I started with was the triangle. One mistake I noticed was that, when I started with an H pencil and when I moved to a darker tone, I could not get the feeling that it was flattened, so my recommendation is to use strong tones like a 4B and upwards, since we can control the tone with these types of pencils depending on the pressure we apply.

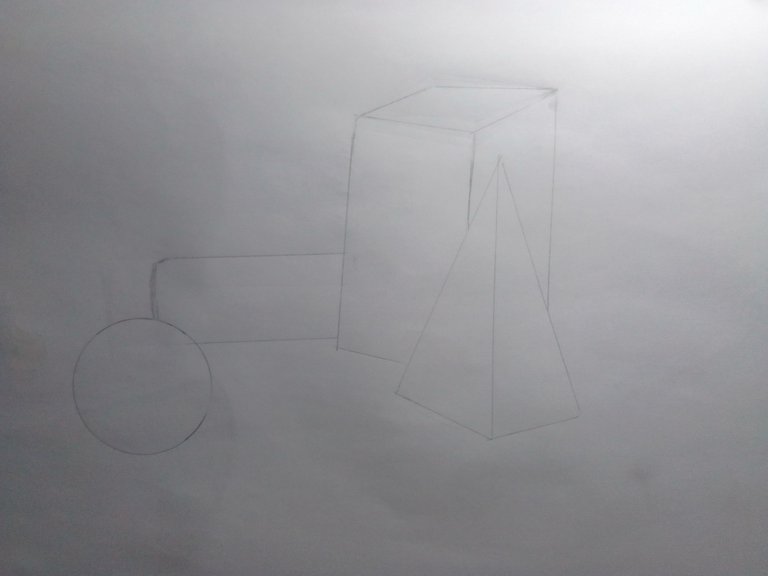
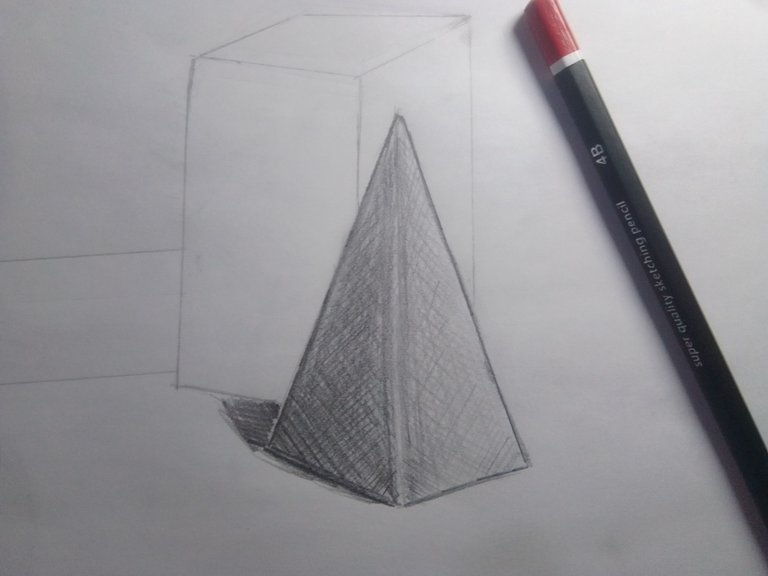
Ya con toda la estructura realizada, pasamos al achurado. La primera figura con la cual empecé fue el triángulo. Un error que noté fue que, al empezar con un lápiz H y al momento de pasar con un tono más oscuro, no lograba dar esa sensación de que era achurado, así que mi recomendación es utilizar tonos fuertes como un 4B en adelante, ya que recordemos que podemos controlar la tonalidad con estos tipos de lápices dependiendo de la presión que le apliquemos.


IMG_20250202_114223_HDR~2.jpg

As I progressed, I noticed many errors, such as that the surface above the rectangle was too dark compared to the rest of the geometric body, so it did not generate that feeling of light in that area.

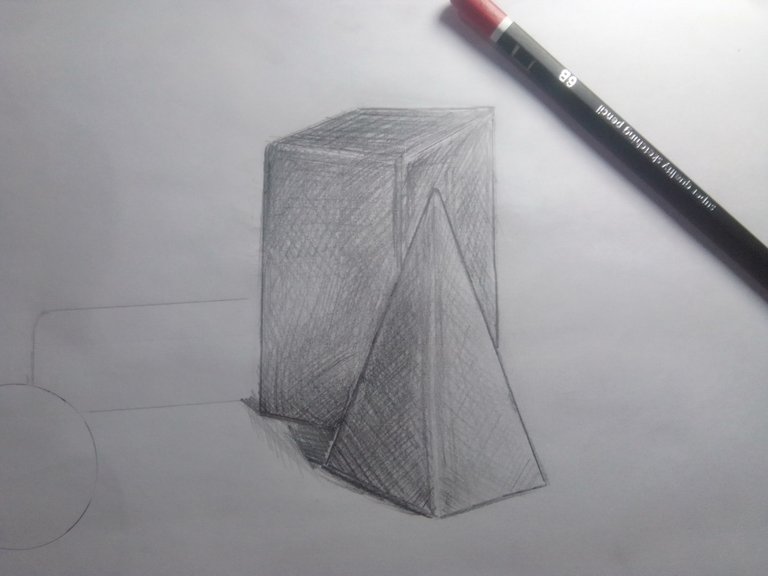
Conforme fui avanzando, noté muchos errores, como que la superficie arriba del rectángulo estaba demasiado oscura en comparación con el resto del cuerpo geométrico, por lo cual no generaba esa sensación de luz en esa área.


IMG_20250202_115228_HDR~2.jpg

For the cylinder, it is advisable to make lines in only one direction, which I would recommend from left to right or vice versa, and if we have shadows as in this case, we can vary the direction of the lines.

Para el cilindro, lo recomendable es hacer líneas en una sola dirección, lo cual recomendaría de izquierda a derecha o viceversa, y si tenemos sombras como en este caso, sí podemos variar la dirección de las líneas.


IMG_20250202_120245_HDR.jpg

For the sphere, the trick is to make the lines from left to right, but varying the angles, that is, a little more inclined than the rest and always start with the part with more light and then move on to the shadows and that's it.

Ya para la esfera, el truco está en hacer las líneas de izquierda a derecha, pero ir variando los ángulos, es decir, un poco más inclinadas que el resto y siempre empezar por la parte con más luz para después pasar a las sombras y listo.


IMG_20250202_121511_HDR.jpg

IMG_20250202_123303_HDR~2.jpg

Thank you very much for getting this far. To be honest, it didn't look very professional, but the important thing is the effort and to use these experiences as lessons for new projects. That was all for today; I hope you liked it. With nothing more to conclude, see you until the next post.

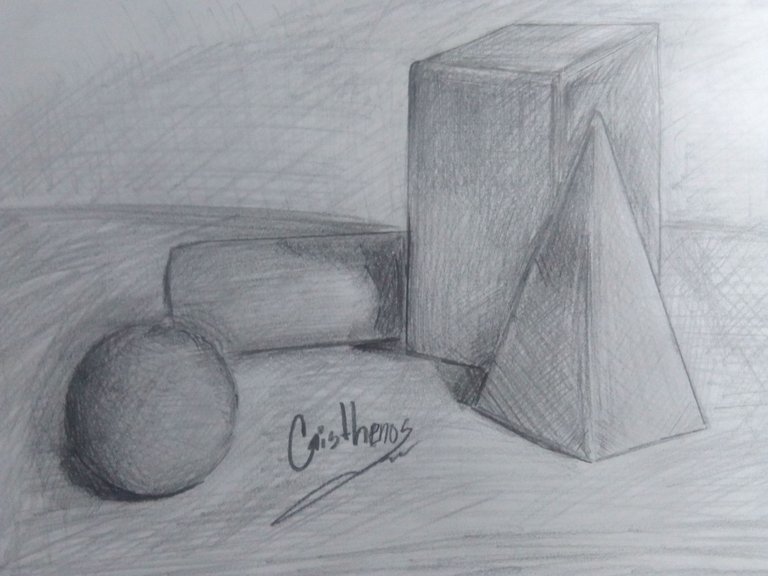
Muchas gracias por llegar hasta aquí. Siendo sincero, no quedó muy profesional, pero lo importante es el esfuerzo y utilizar esas experiencias como enseñanzas para nuevos proyectos. Esto fue todo por el día de hoy; espero le haya gustado. Sin más nada que concluir, nos vemos hasta el siguiente post.


link de la imagenes utilizadas en este post/link to the images used in this post👇

todas las fotos fueron tomadas con mi telefono Yezz art 2 pro/all photos were taken with my Yezz art 2 pro phone.

Las fotos editadas en este post fueron gracias a la aplicación para móviles InShot./ The photos edited in this post were thanks to the mobile application InShot.


Traducción
Translation

Muchas gracias por leer mi publicación!
Thank you very much for reading my post!
Redes Sociales
Social Network


20241010_221758.jpg


Sort:  

Great job where you show us step by step shading techniques, a very useful publication, thanks for leaving us your step by step.

Thanks for sharing your experience with us!
TIBLogo

You have been curated on behalf of Inner Blocks: a community encouraging first hand content, and each individual living their best life. Come join the Inner Blocks Community , and check out @innerblocks! #lifehappening

Loading...

Congratulations @cristhenos! You have completed the following achievement on the Hive blockchain And have been rewarded with New badge(s)

You received more than 3500 upvotes.
Your next target is to reach 3750 upvotes.

You can view your badges on your board and compare yourself to others in the Ranking
If you no longer want to receive notifications, reply to this comment with the word STOP

Check out our last posts:

Our Hive Power Delegations to the January PUM Winners
Feedback from the February Hive Power Up Day
Hive Power Up Month Challenge - January 2025 Winners List