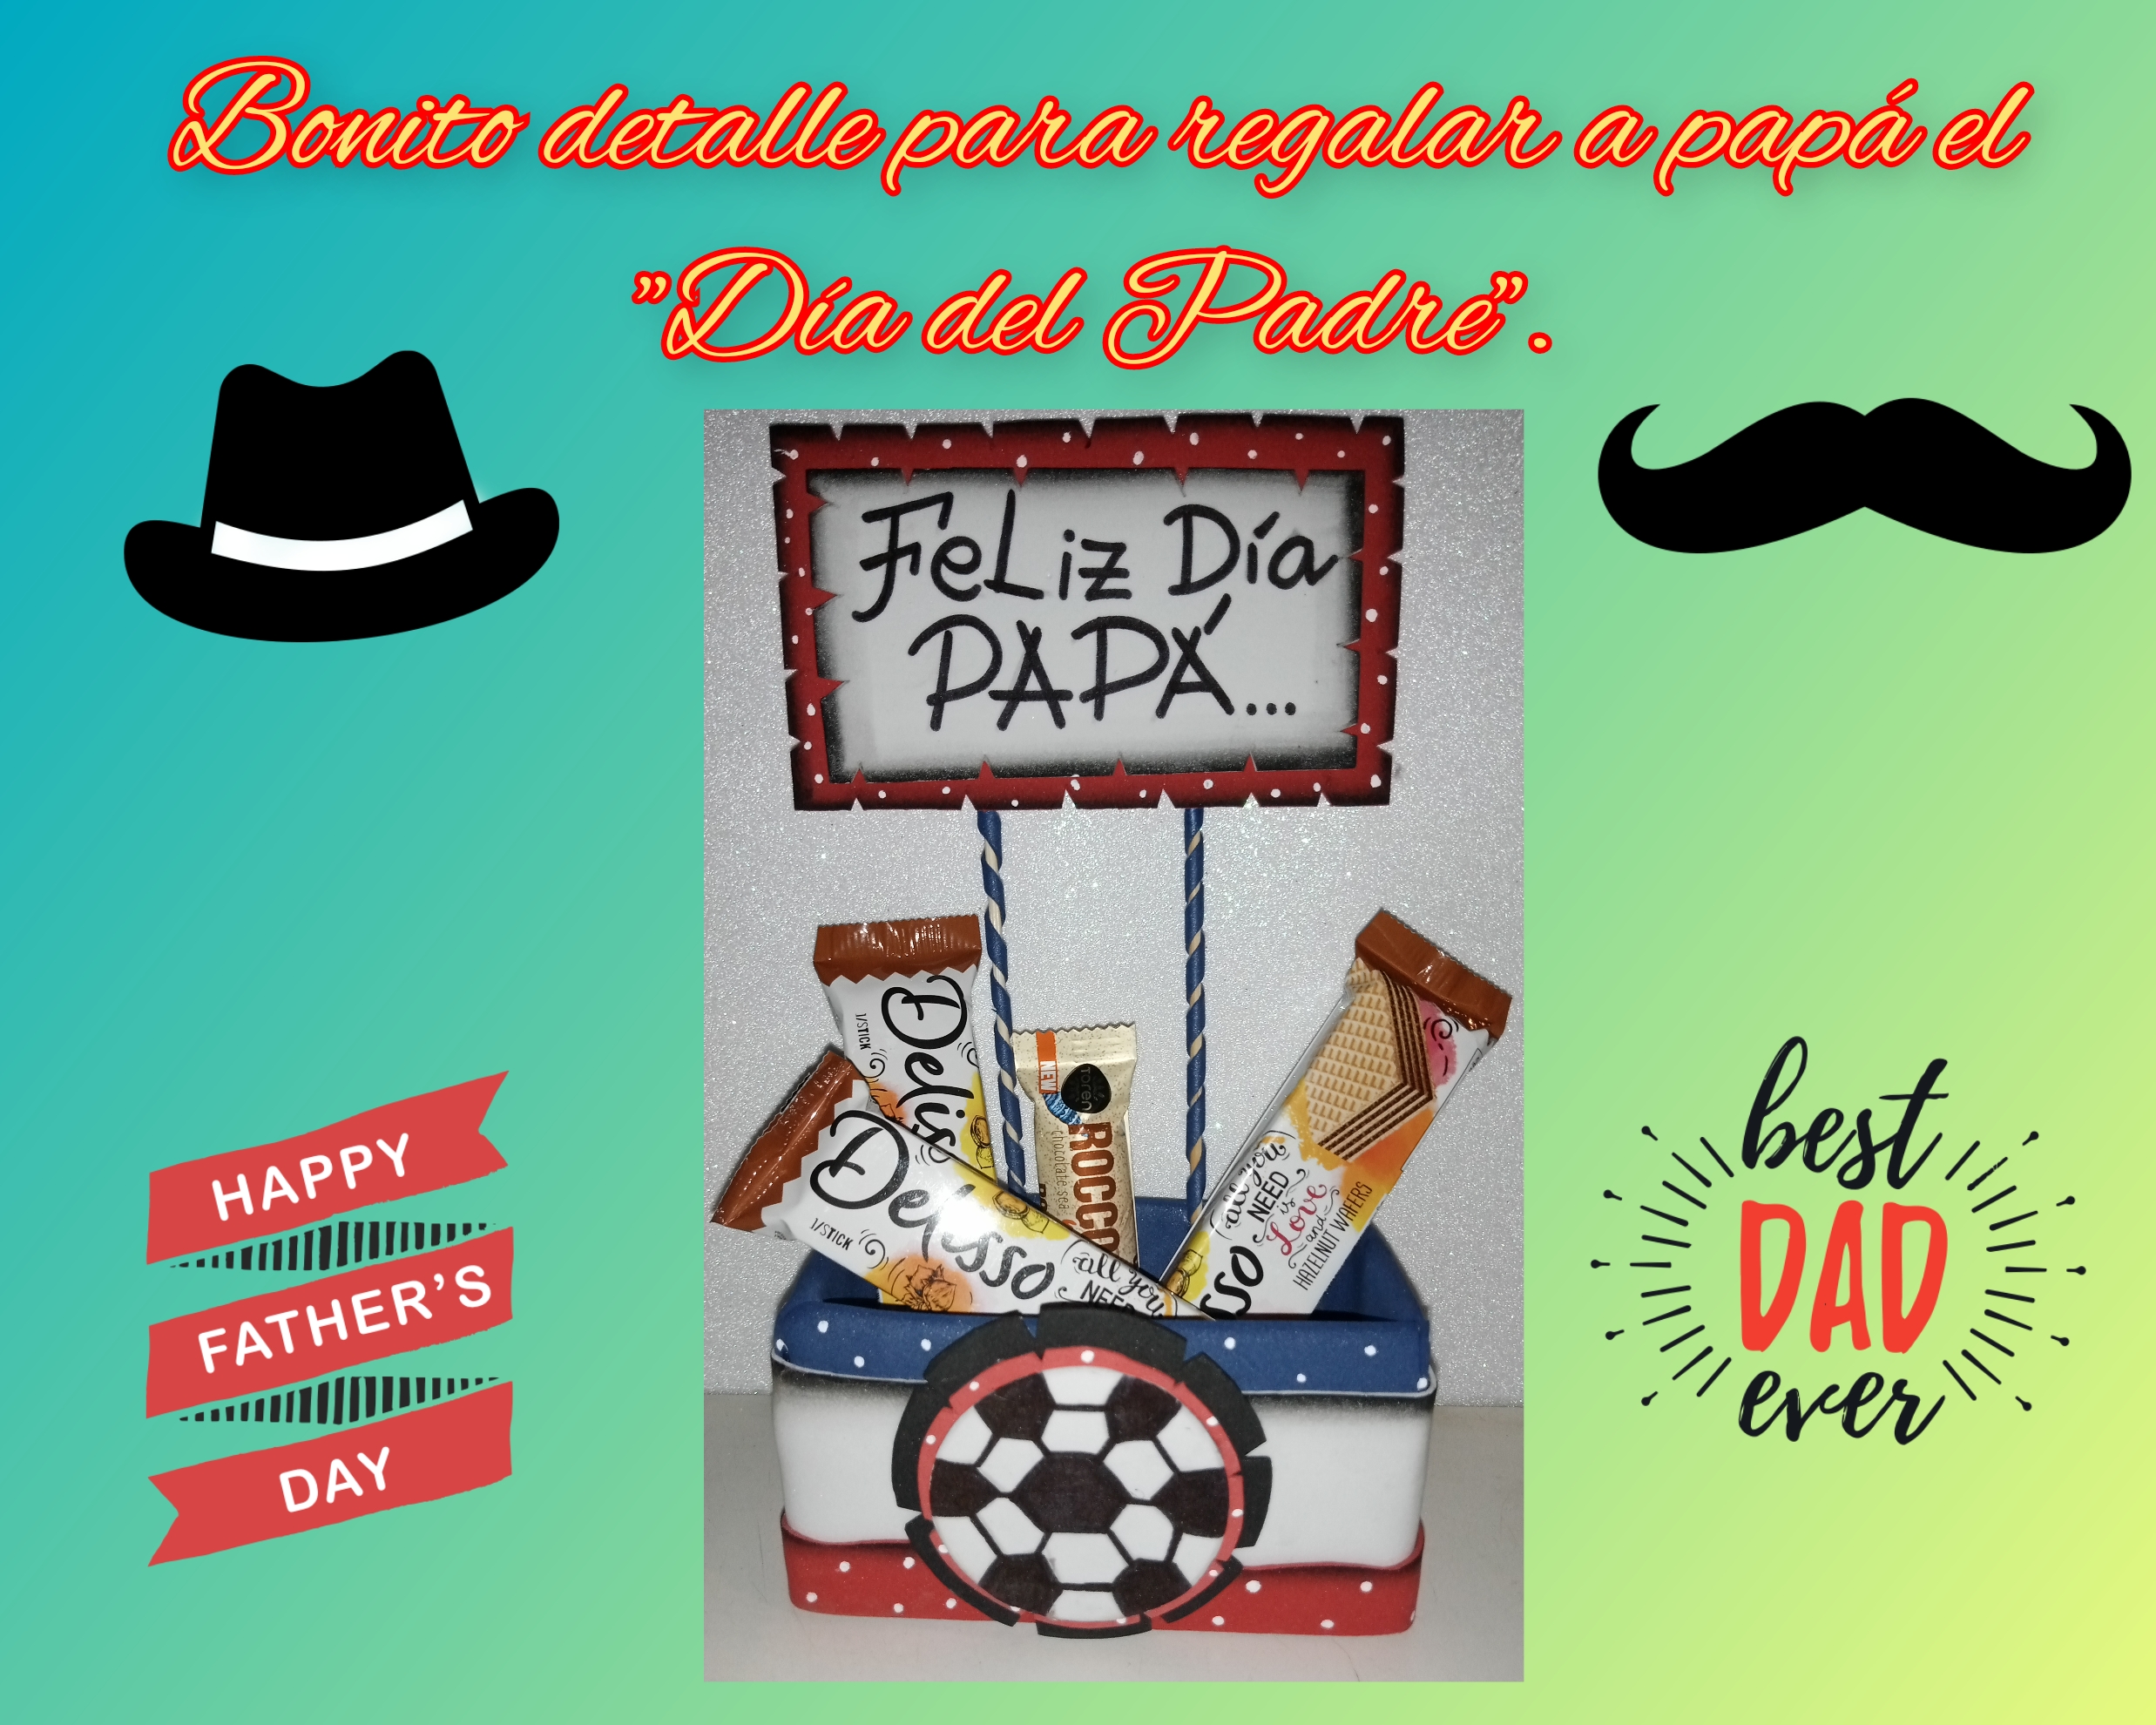
Muy buenos días, amigos creativos que formamos esta comunidad Hivediy, deseándoles que estén muy bien, que es lo más importante, reciban de mi parte un saludo virtual y Dios los bendiga a todos. Hoy les voy a mostrar mi de hoy se trata de elaborar un bonito detalle para regalar a papa el "DÍA DEL PADRE", es un detalle elaborado con material reciclable y también con otros materiales que son muy económicos y muy fácil de conseguir, ya les voy a mostrar este divertido paso a paso, seguro les va a gustar y les va a hacer de mucha utilidad, comencemos el paso a paso.
Good morning creative friends who make up this Hivediy community, wishing you are very well, which is the most important thing, receive a virtual greeting from me and God bless you all. Today I am going to show you my today is about making a nice detail to give to dad on "FATHER'S DAY", it is a detail made with recyclable material and also with other materials that are very cheap and very easy to get, I already I'm going to show you this fun step by step, I'm sure you'll like it and it will be very useful, let's start the step by step.
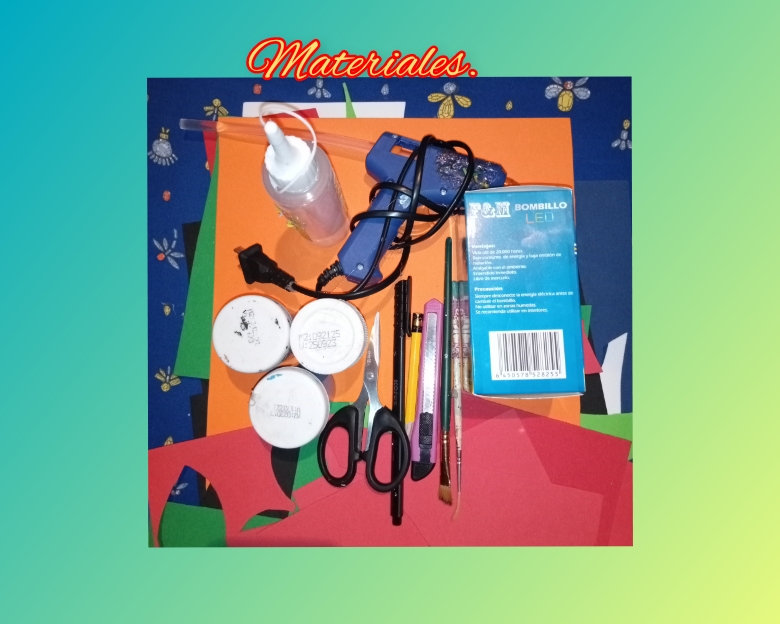
Para elaborar este bonito detalle vamos a utilizar los siguientes materiales y herramientas.
*1 caja de uso reciclable.
*Retazos de foamis de varios colores y diferentes texturas.
*1 tijera.
*1 lápiz.
*Pinturas al frío y pinceles.
*Marcadores punta gruesa.
*1 cutter.
*Silicona líquida.
*Pistola de silicona caliente.
*2 palillos de altura.
To make this beautiful detail we are going to use the following materials and tools.
*1 recyclable use box.
*Pieces of foamis of various colors and different textures.
*1 scissors.
*1 pencil.
*Cold paints and brushes.
*Thick tip pens.
*1 cutter.
*Liquid silicone.
*Hot glue gun.
*2 poles high.
Let's start with the step by step.
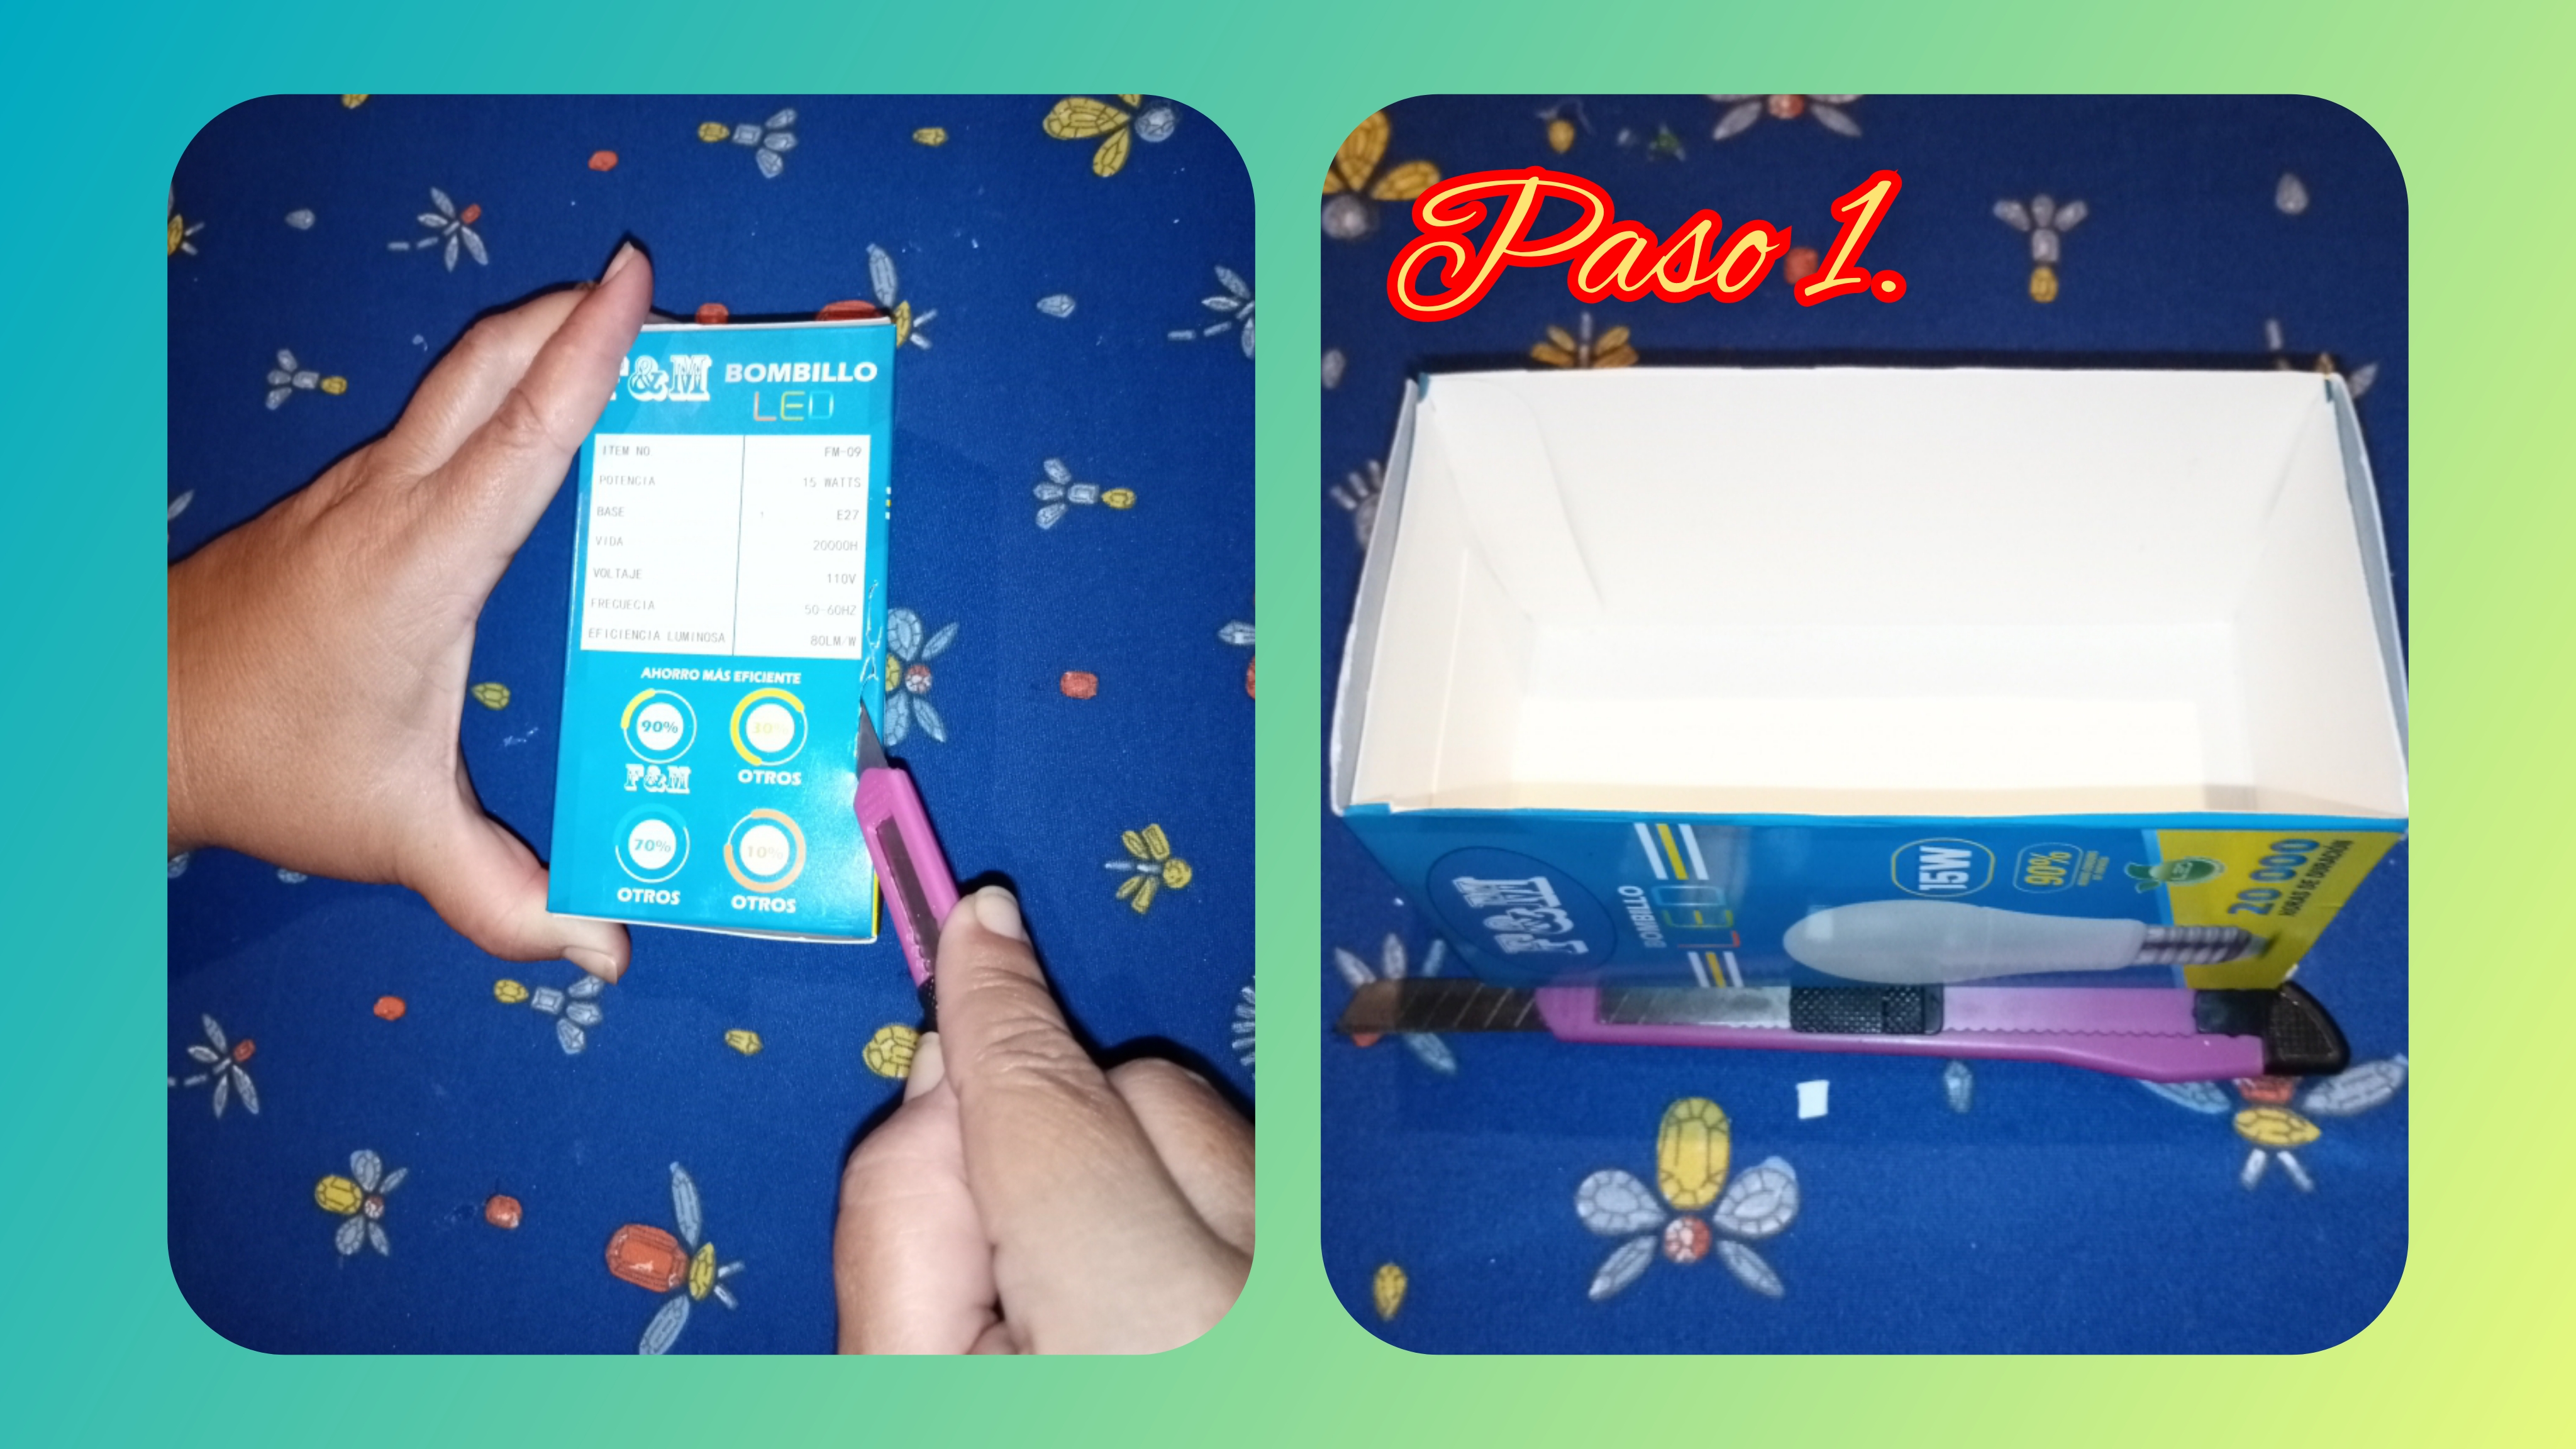
Step 1. To start making this beautiful detail for FATHER'S DAY, the first thing we are going to do is take a recyclable box and with the help of a cutter, we cut it from the top so that it is uncovered.

Step 2. After cutting the upper part, we take a blue foami with a soft texture and with the help of scissors we cut a thick strip, and with hot silicone we cover the inside of the box that we are going to use. to continue preparing the details for FATHER'S DAY.
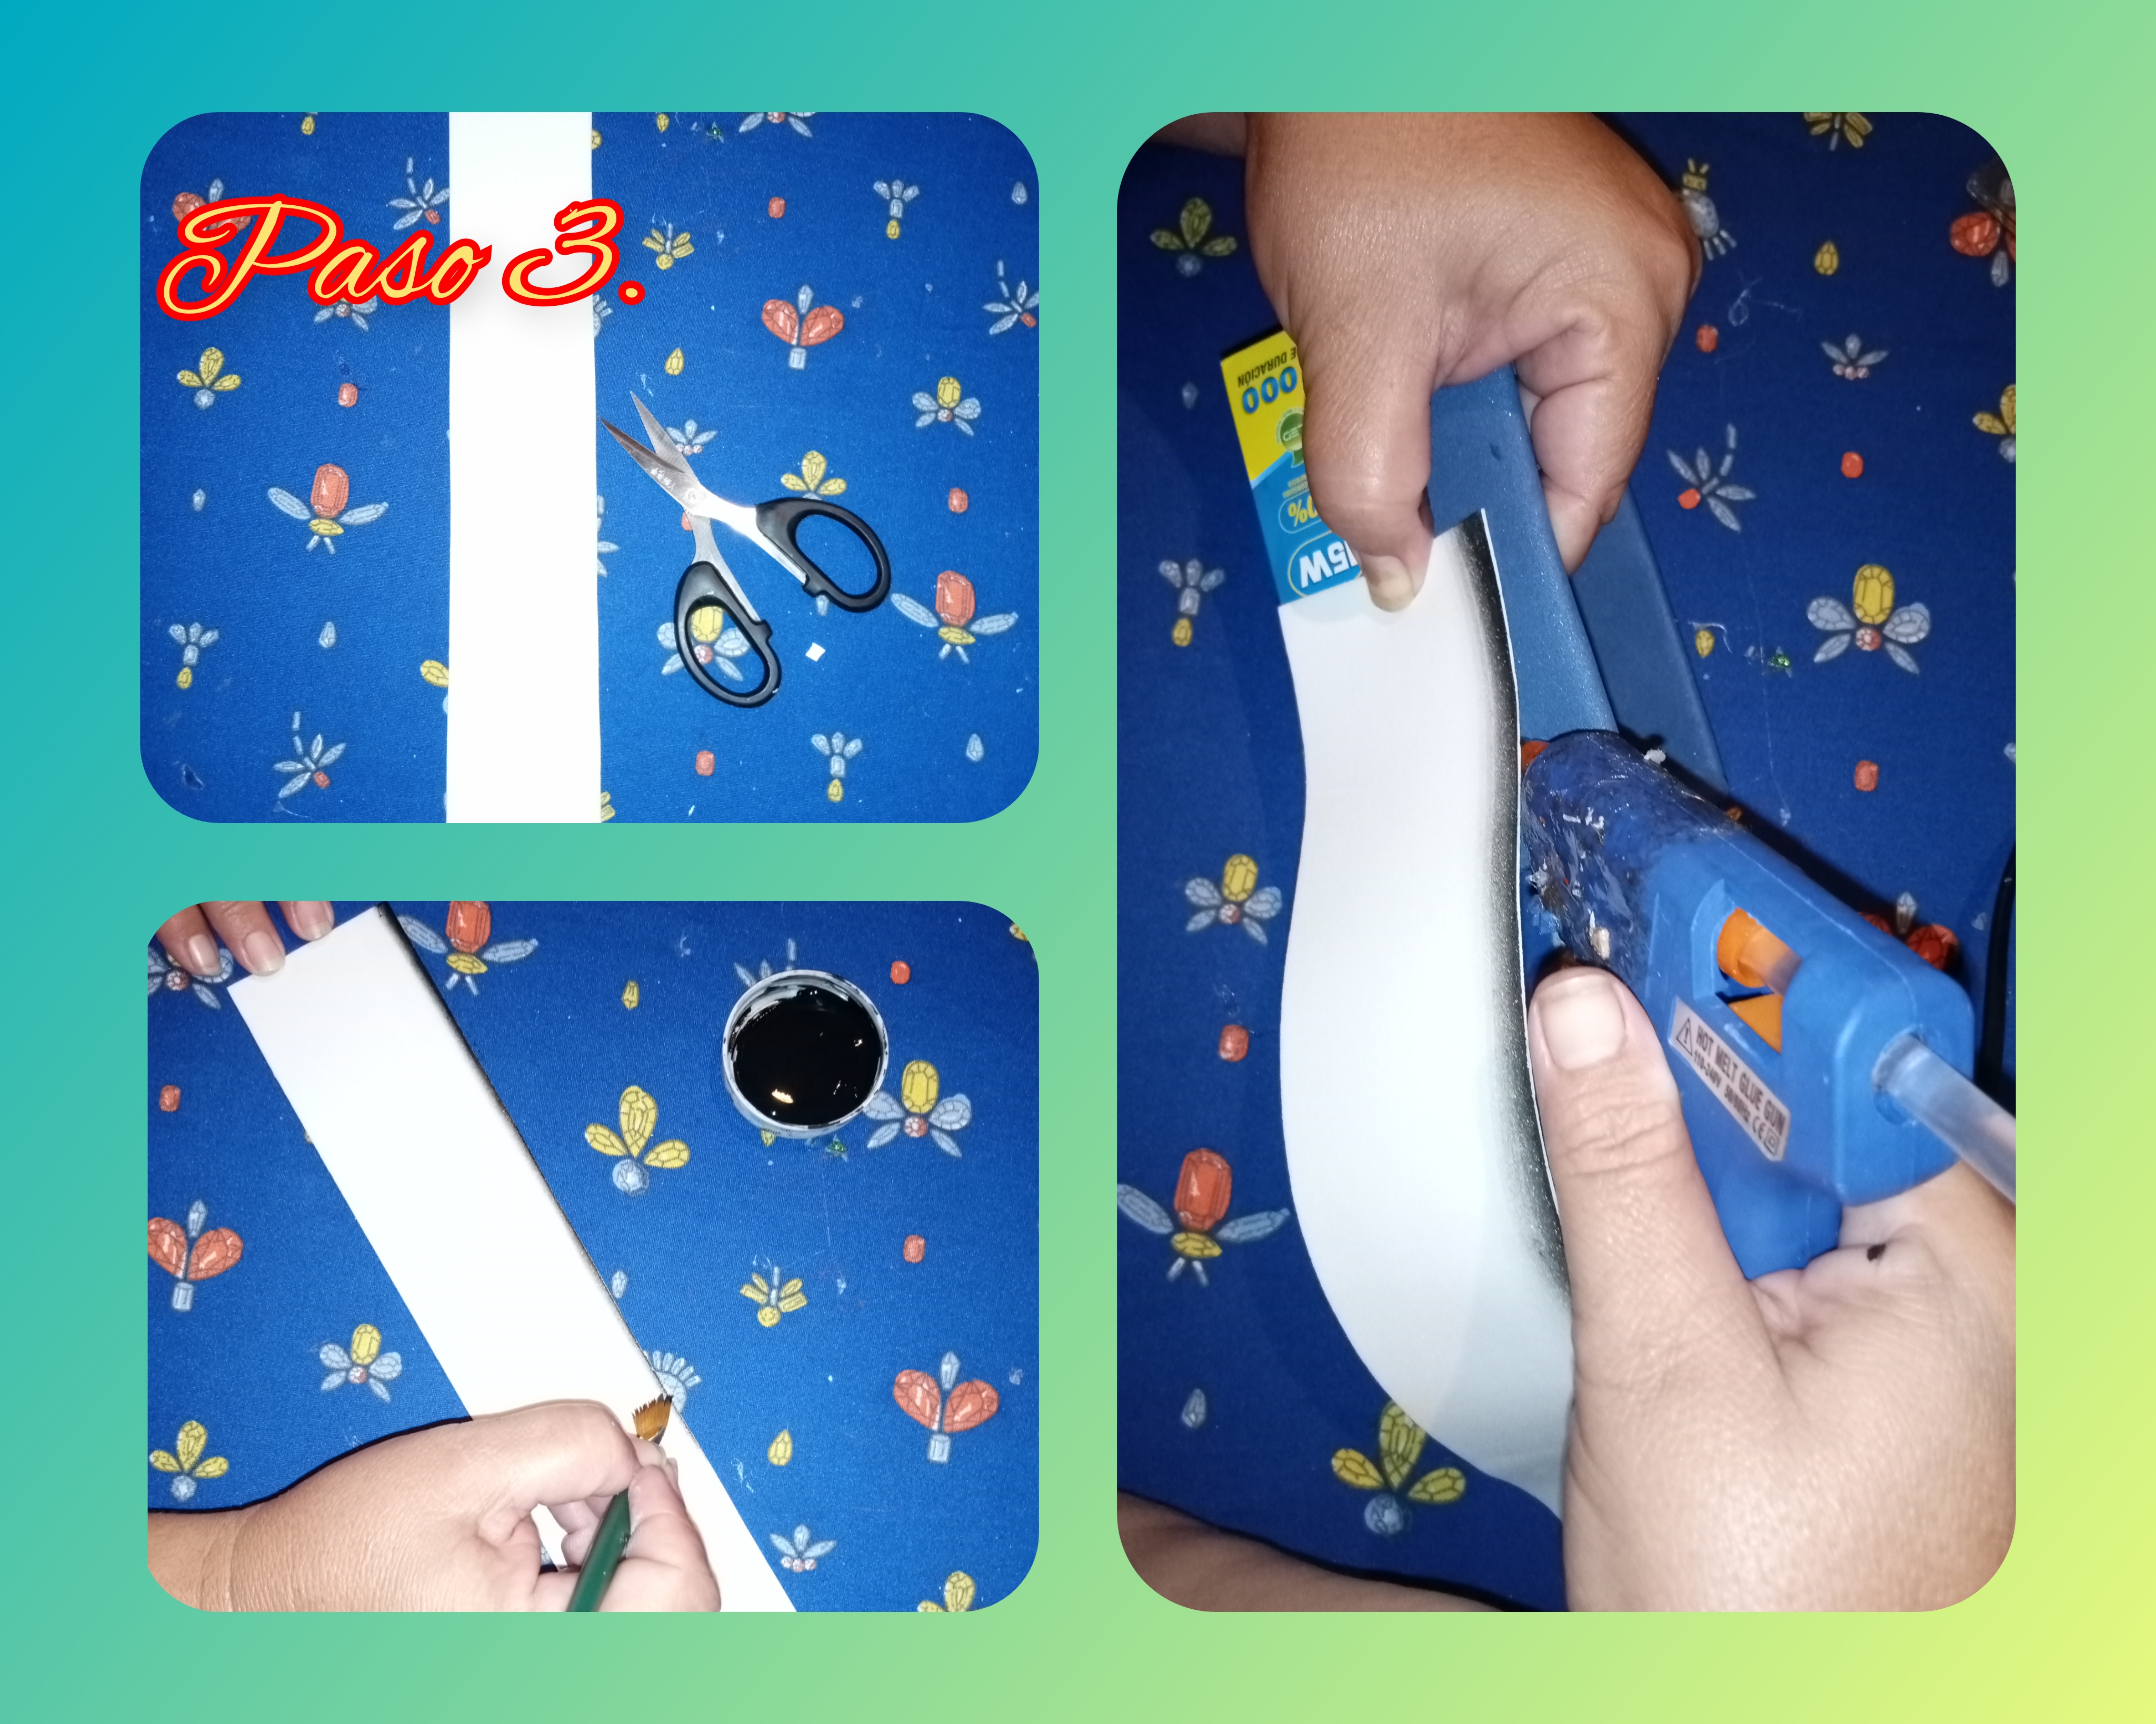
Step 3. Now in this step we are going to take a white foami with a soft texture, and we are going to cut a thick strip, then with black paint, an angular brush and a little water we begin to blur the edge, in this way way: we take the angular brush and wet it in a little water, then in the paint, we unload it so that the paint is not so watery and finally we pass it along the edge of the foami, leaving the piece in the shade, and to finish with hot silicone we stick it in the center of the box, see the images.

Step 4. In this step I show you how the box turned out already covered with foami, both inside and out.

Step 5. Now is this step, we take red foami with a smooth texture, and we cut 2.5 centimeter strips and then with black paint, a little water and an angular brush and we blur them in the same way as in step 3, and to finish we stick it with hot silicone on the bottom of the box, see the images.
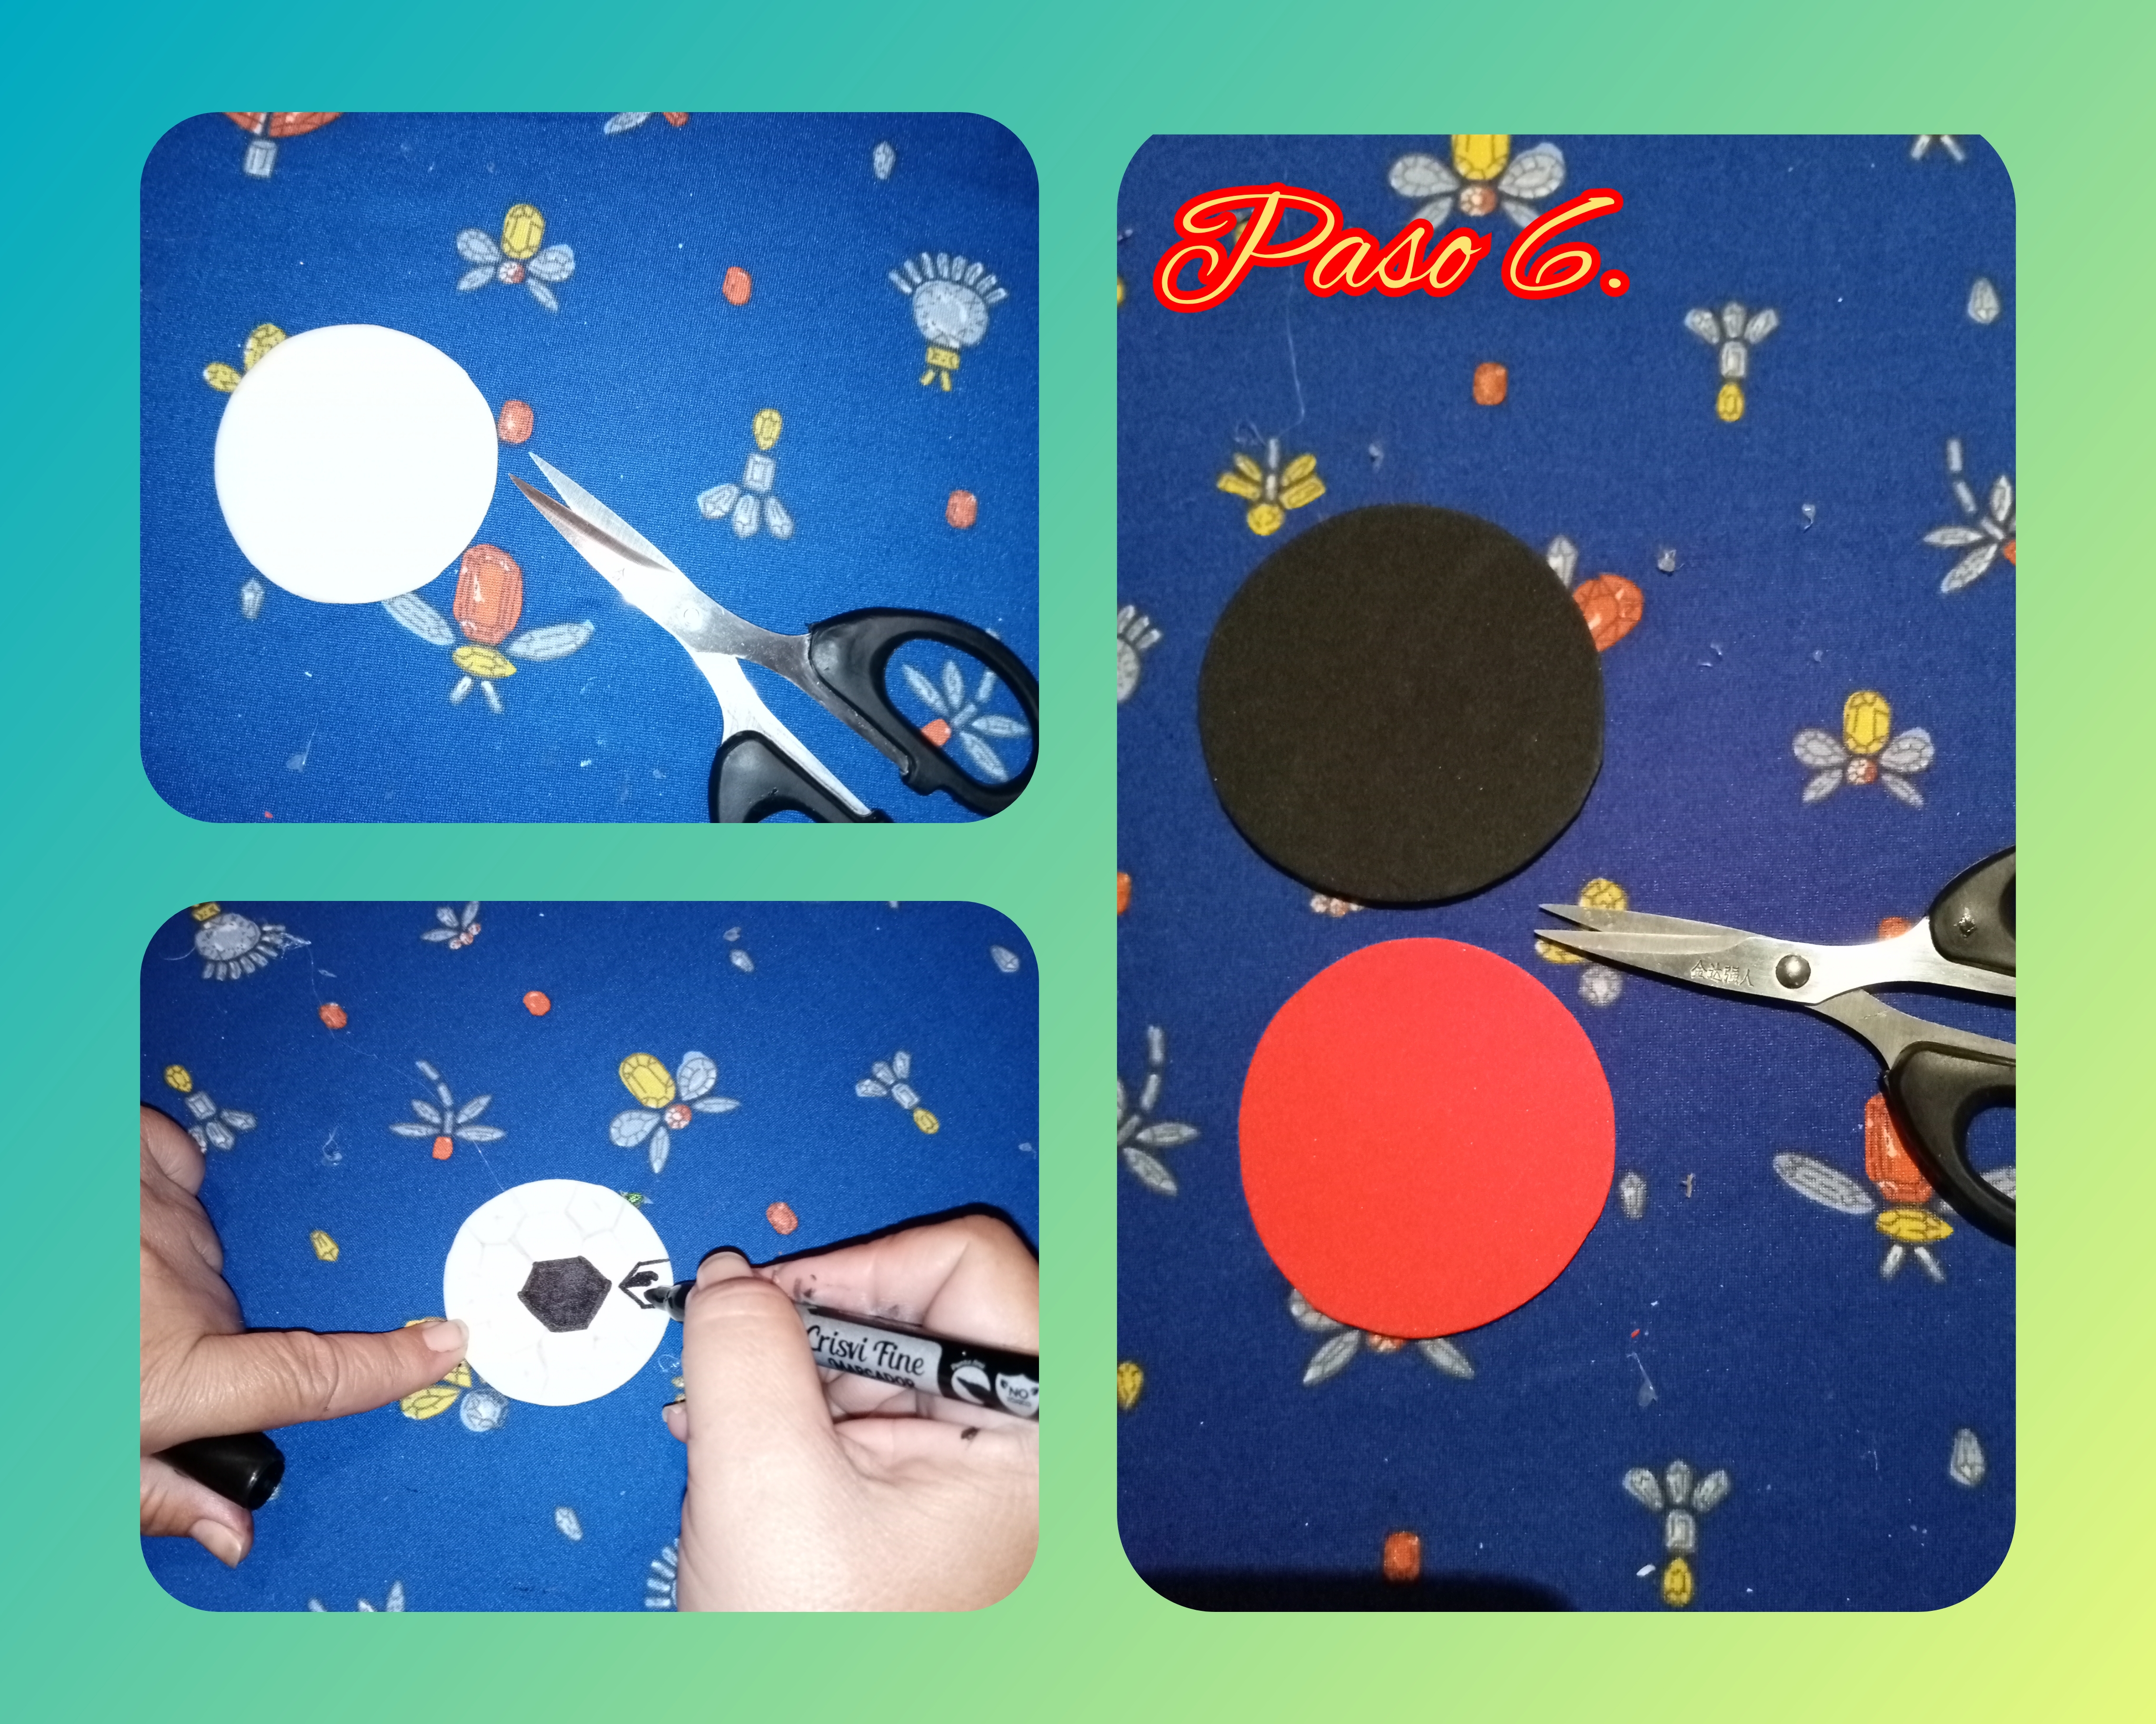
Step 6. Now in this step we cut out a circle of white foami with a smooth texture, then we draw the soccer ball and then with a thick-tipped marker we paint it, and to finish we cut out two circles of foami again, but in this case they are red and black.

Step 7. In this step we are going to show you why we cut the two circles, in the red circle with hot silicone we glue the soccer ball and in it we remove fringes around the edge with the tip of the scissors, we join the two foamis the red and the black together with the figure of the soccer ball and to finish we stick it on the front of the box as decoration,
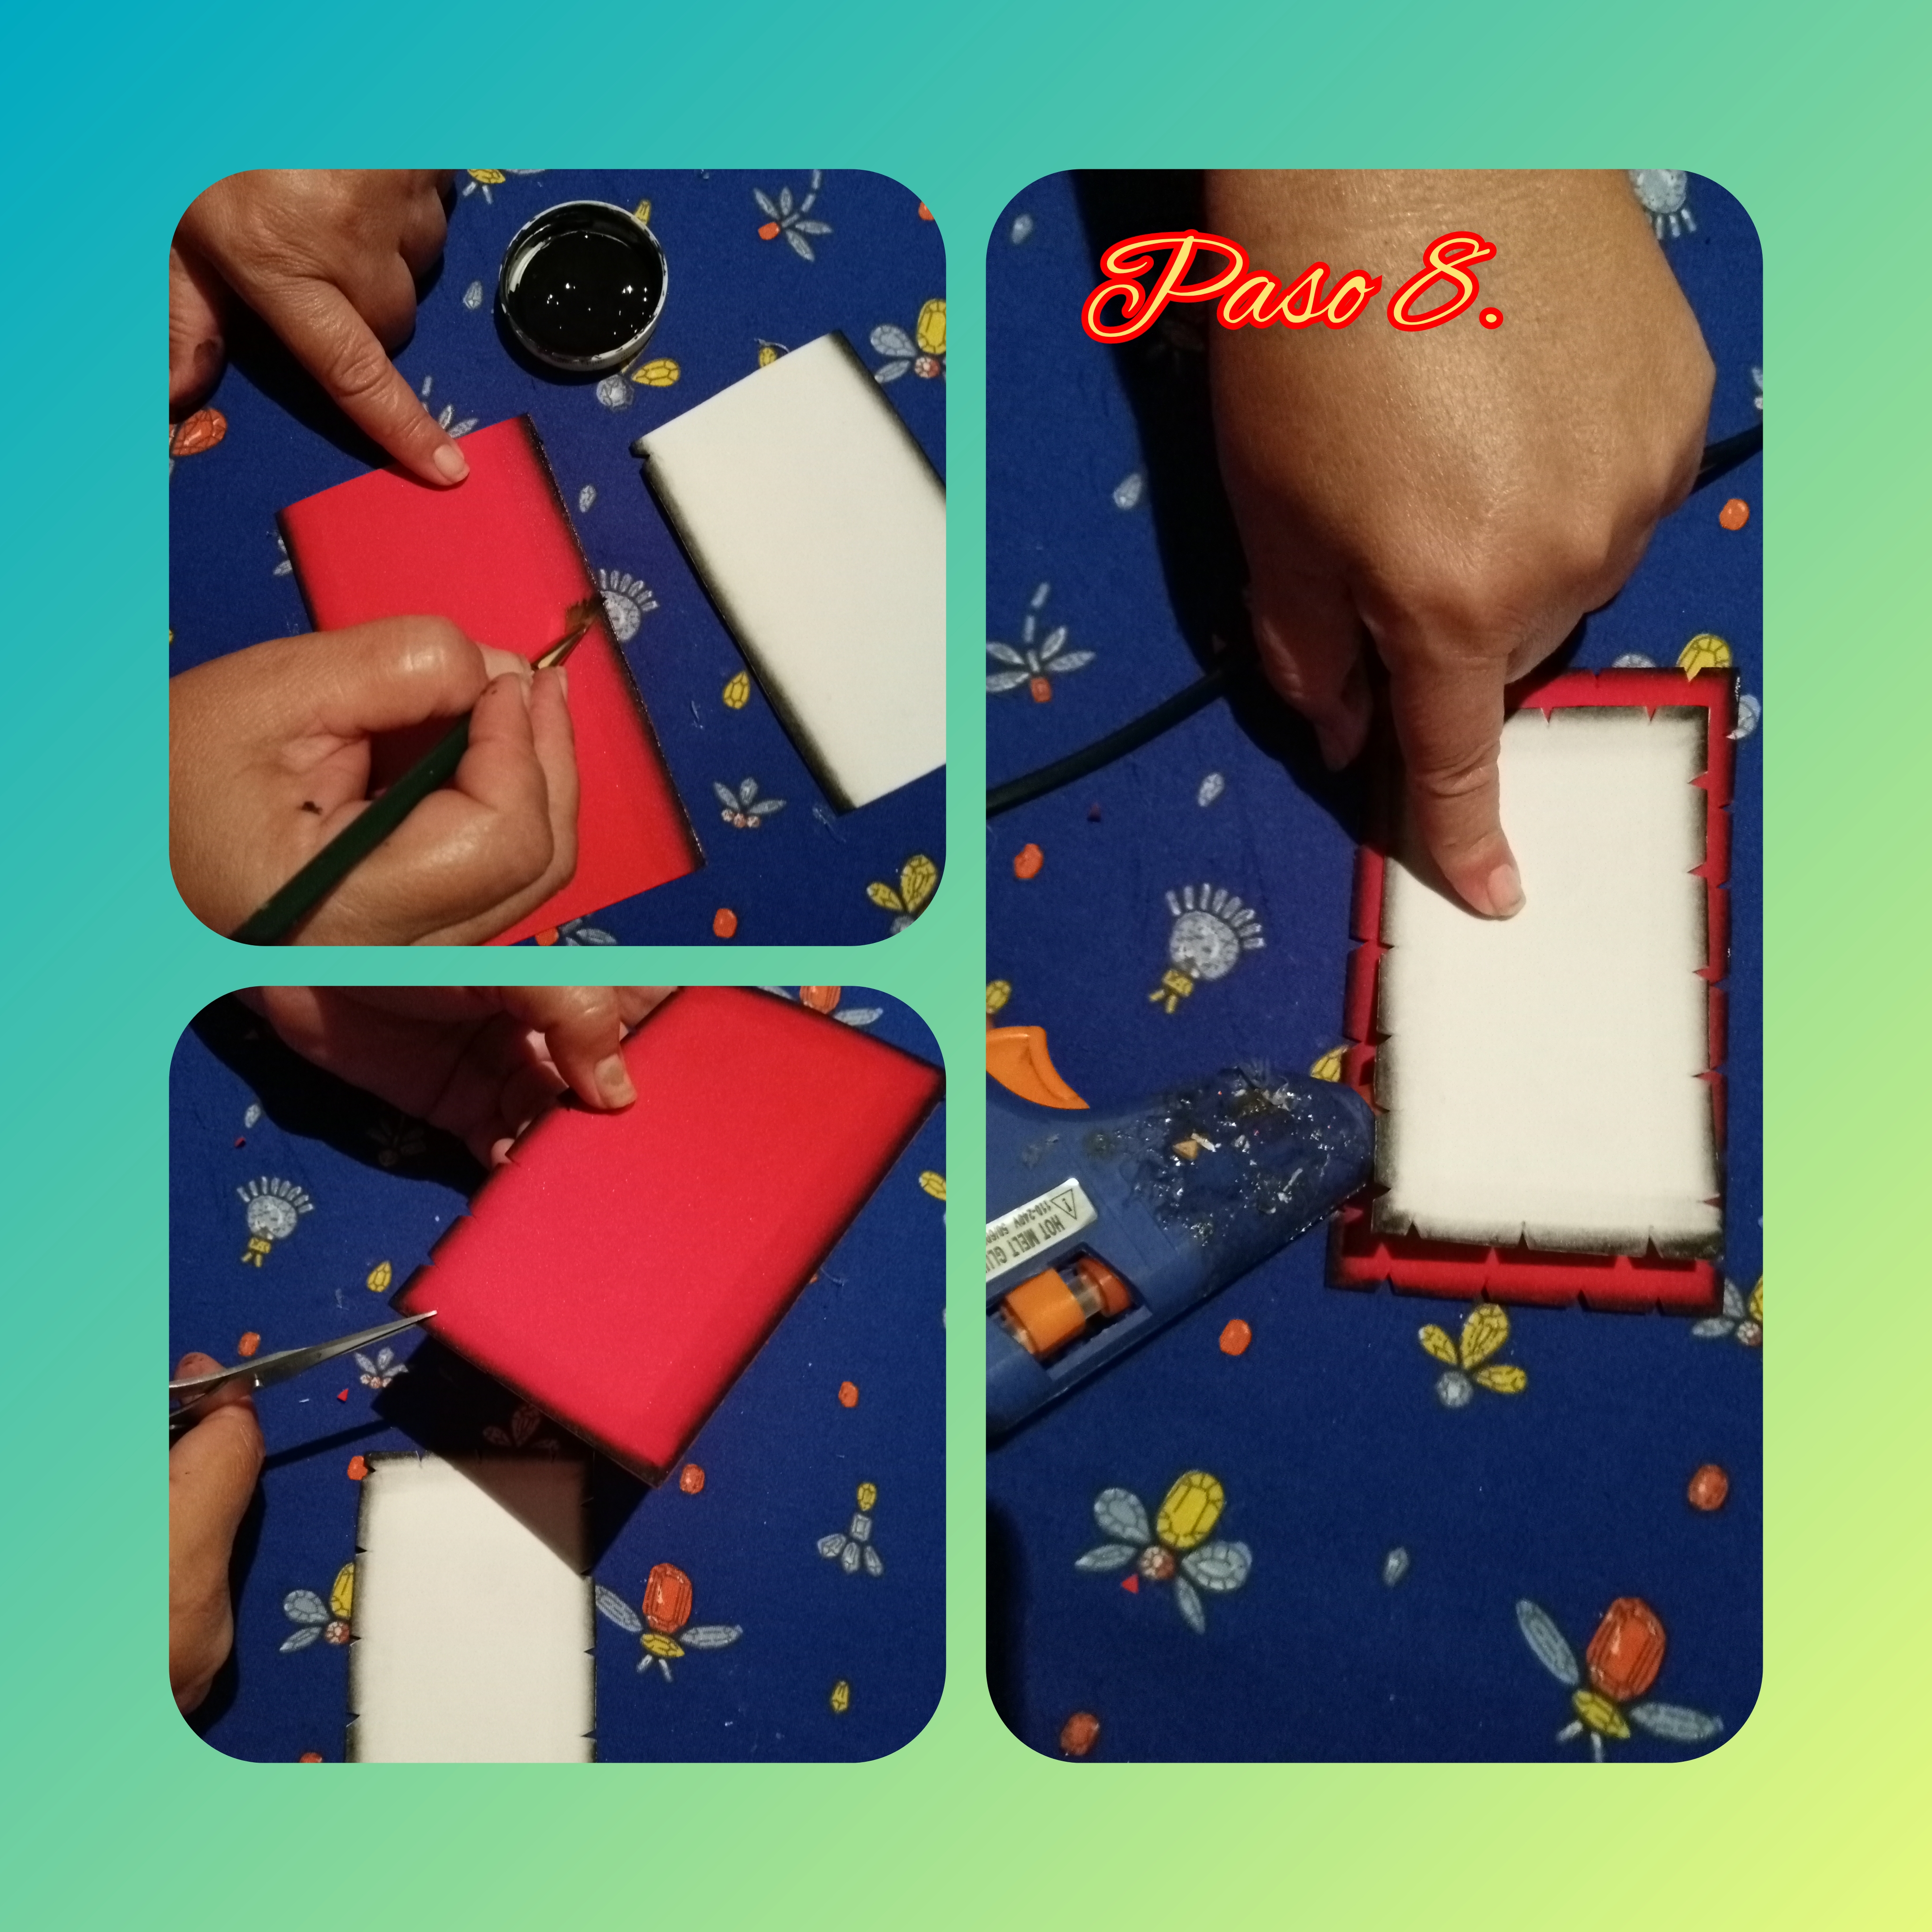
Step 8. In this step, with the scissors we cut two rectangles, one small and one large, from black and red foami, then with the tip of the scissors we remove the fringes and mix them with black paint, a little water and an angular brush and then with hot silicone we join the two rectangles and to finish with a medium tip marker, we write the phrase "HAPPY DAD'S DAY.

Step 9. Cut strips of blue foami 1 centimeter wide, and cover the 2 height sticks.
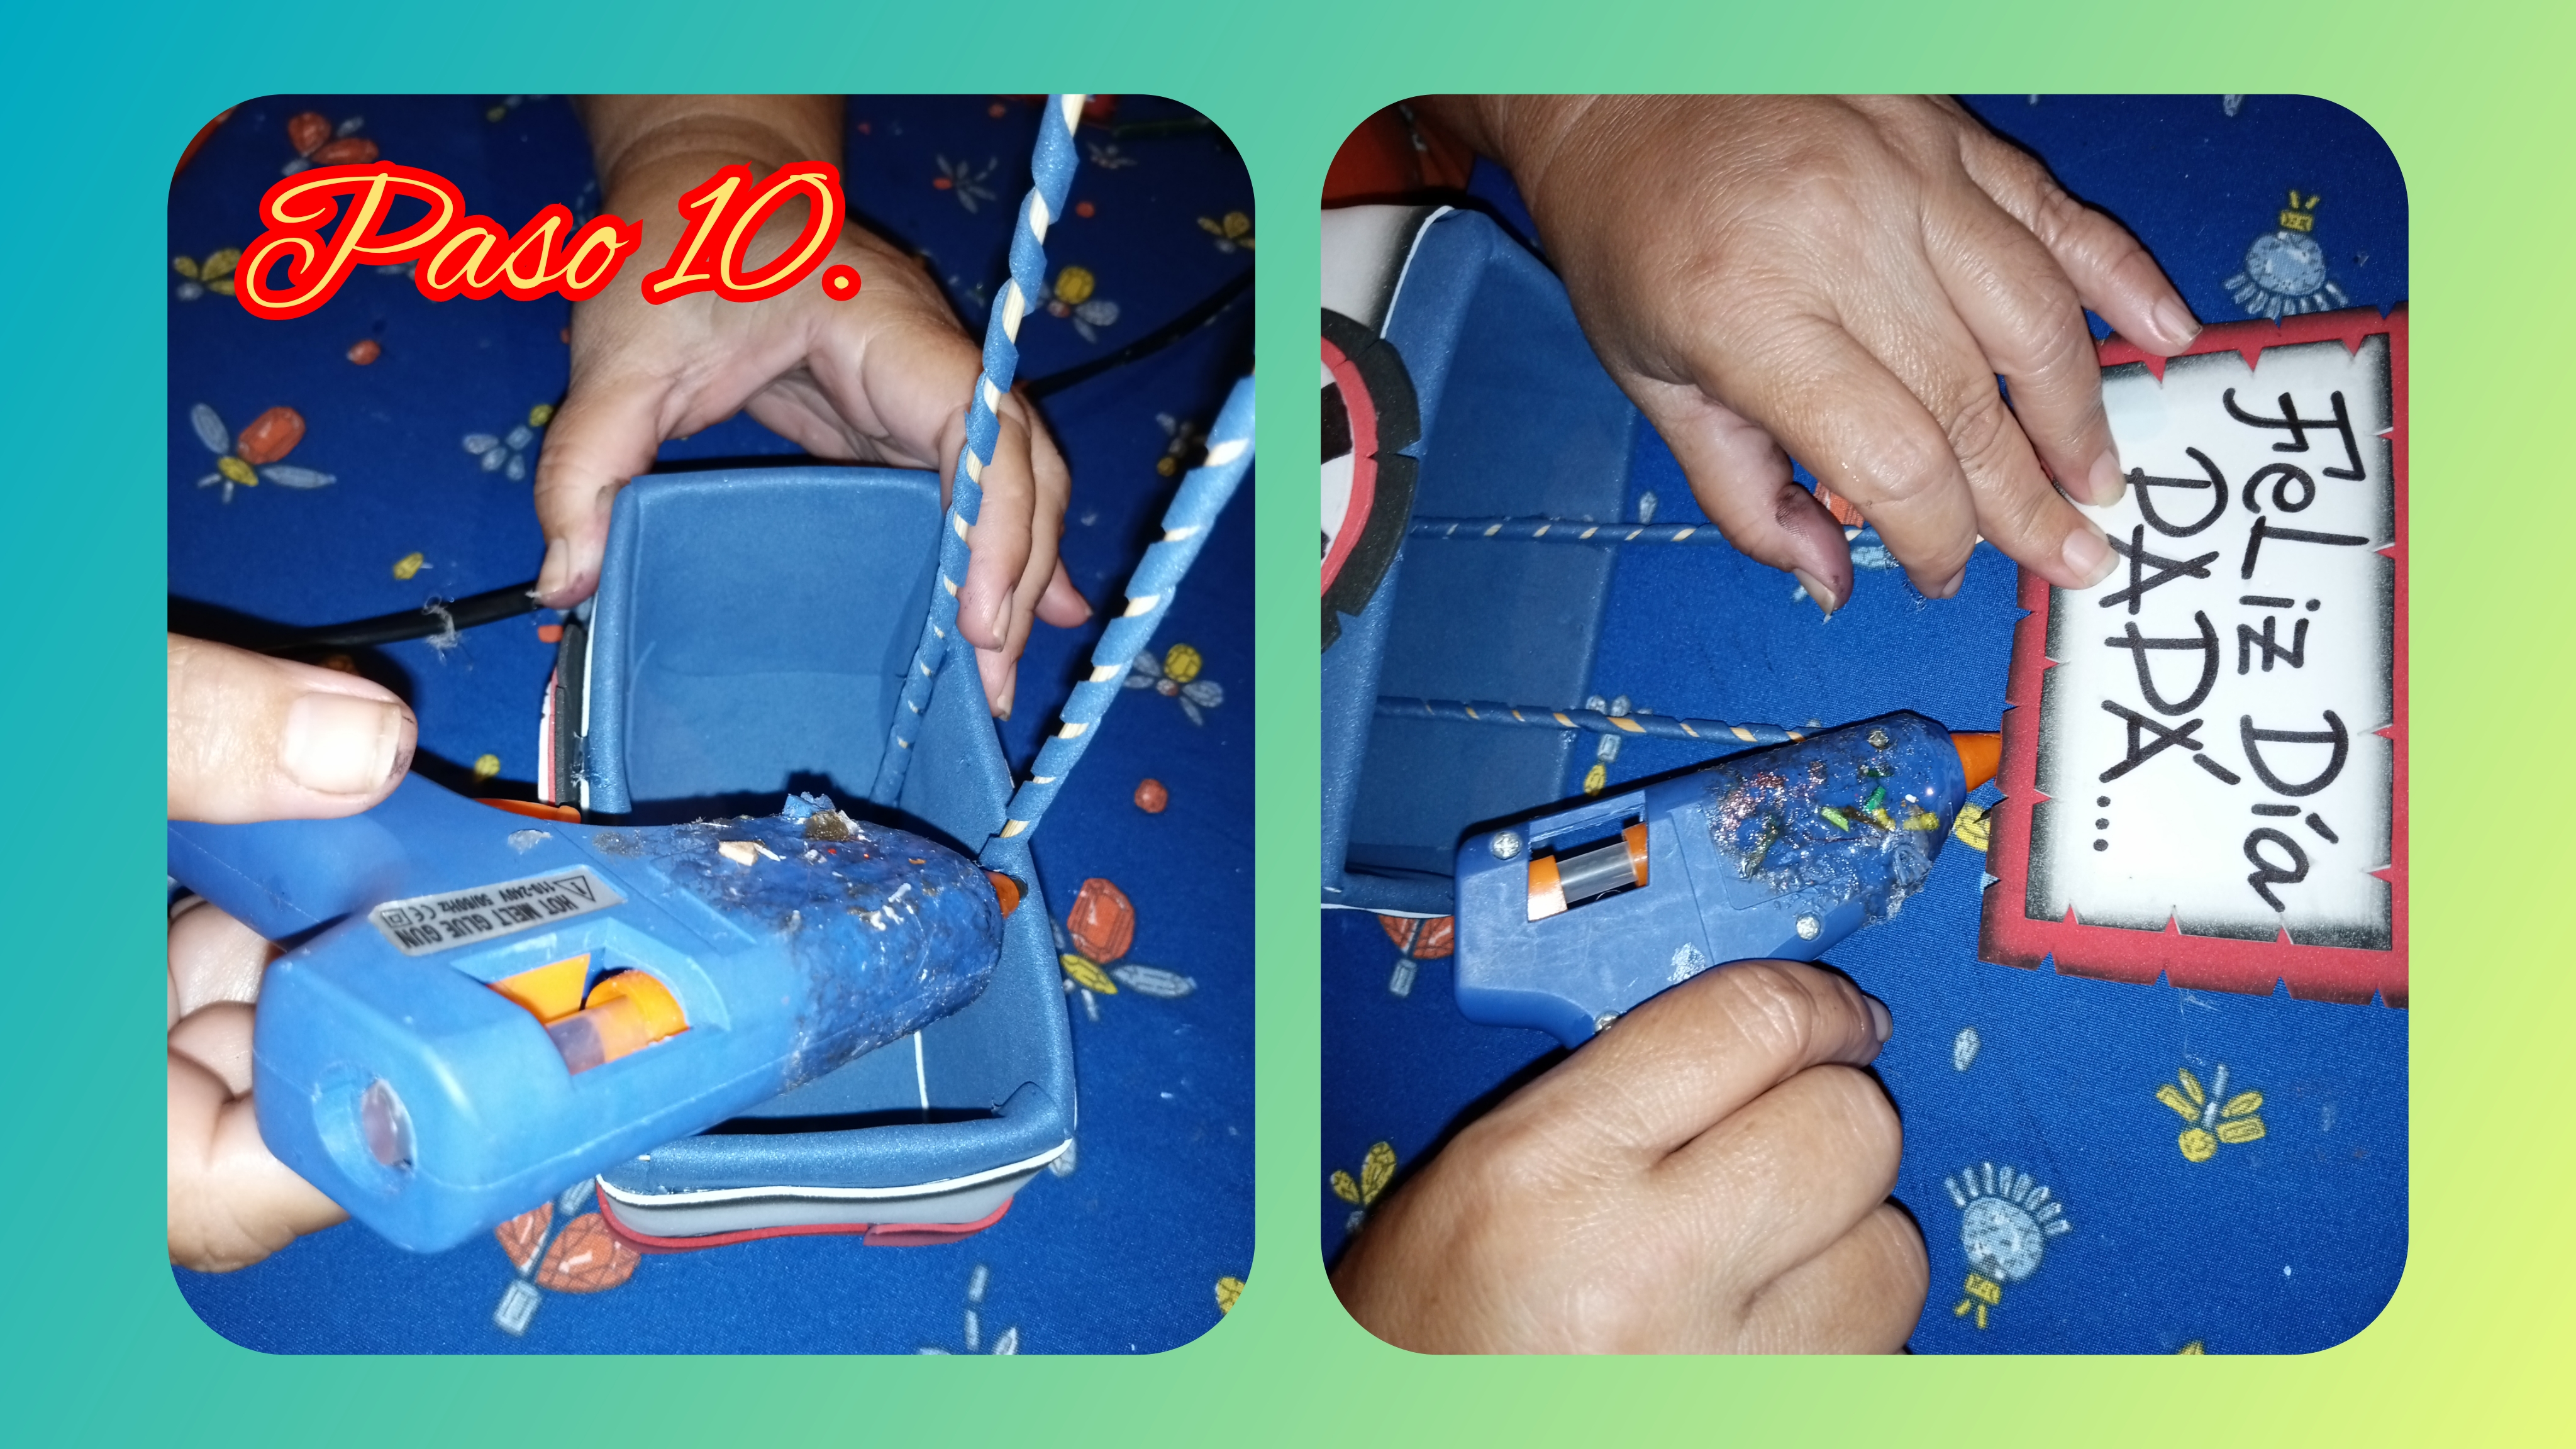
Step 10. And to finish all the steps, now with hot silicone we join the two pieces, the box and the sign where the phrase "HAPPY DAD'S DAY" goes.
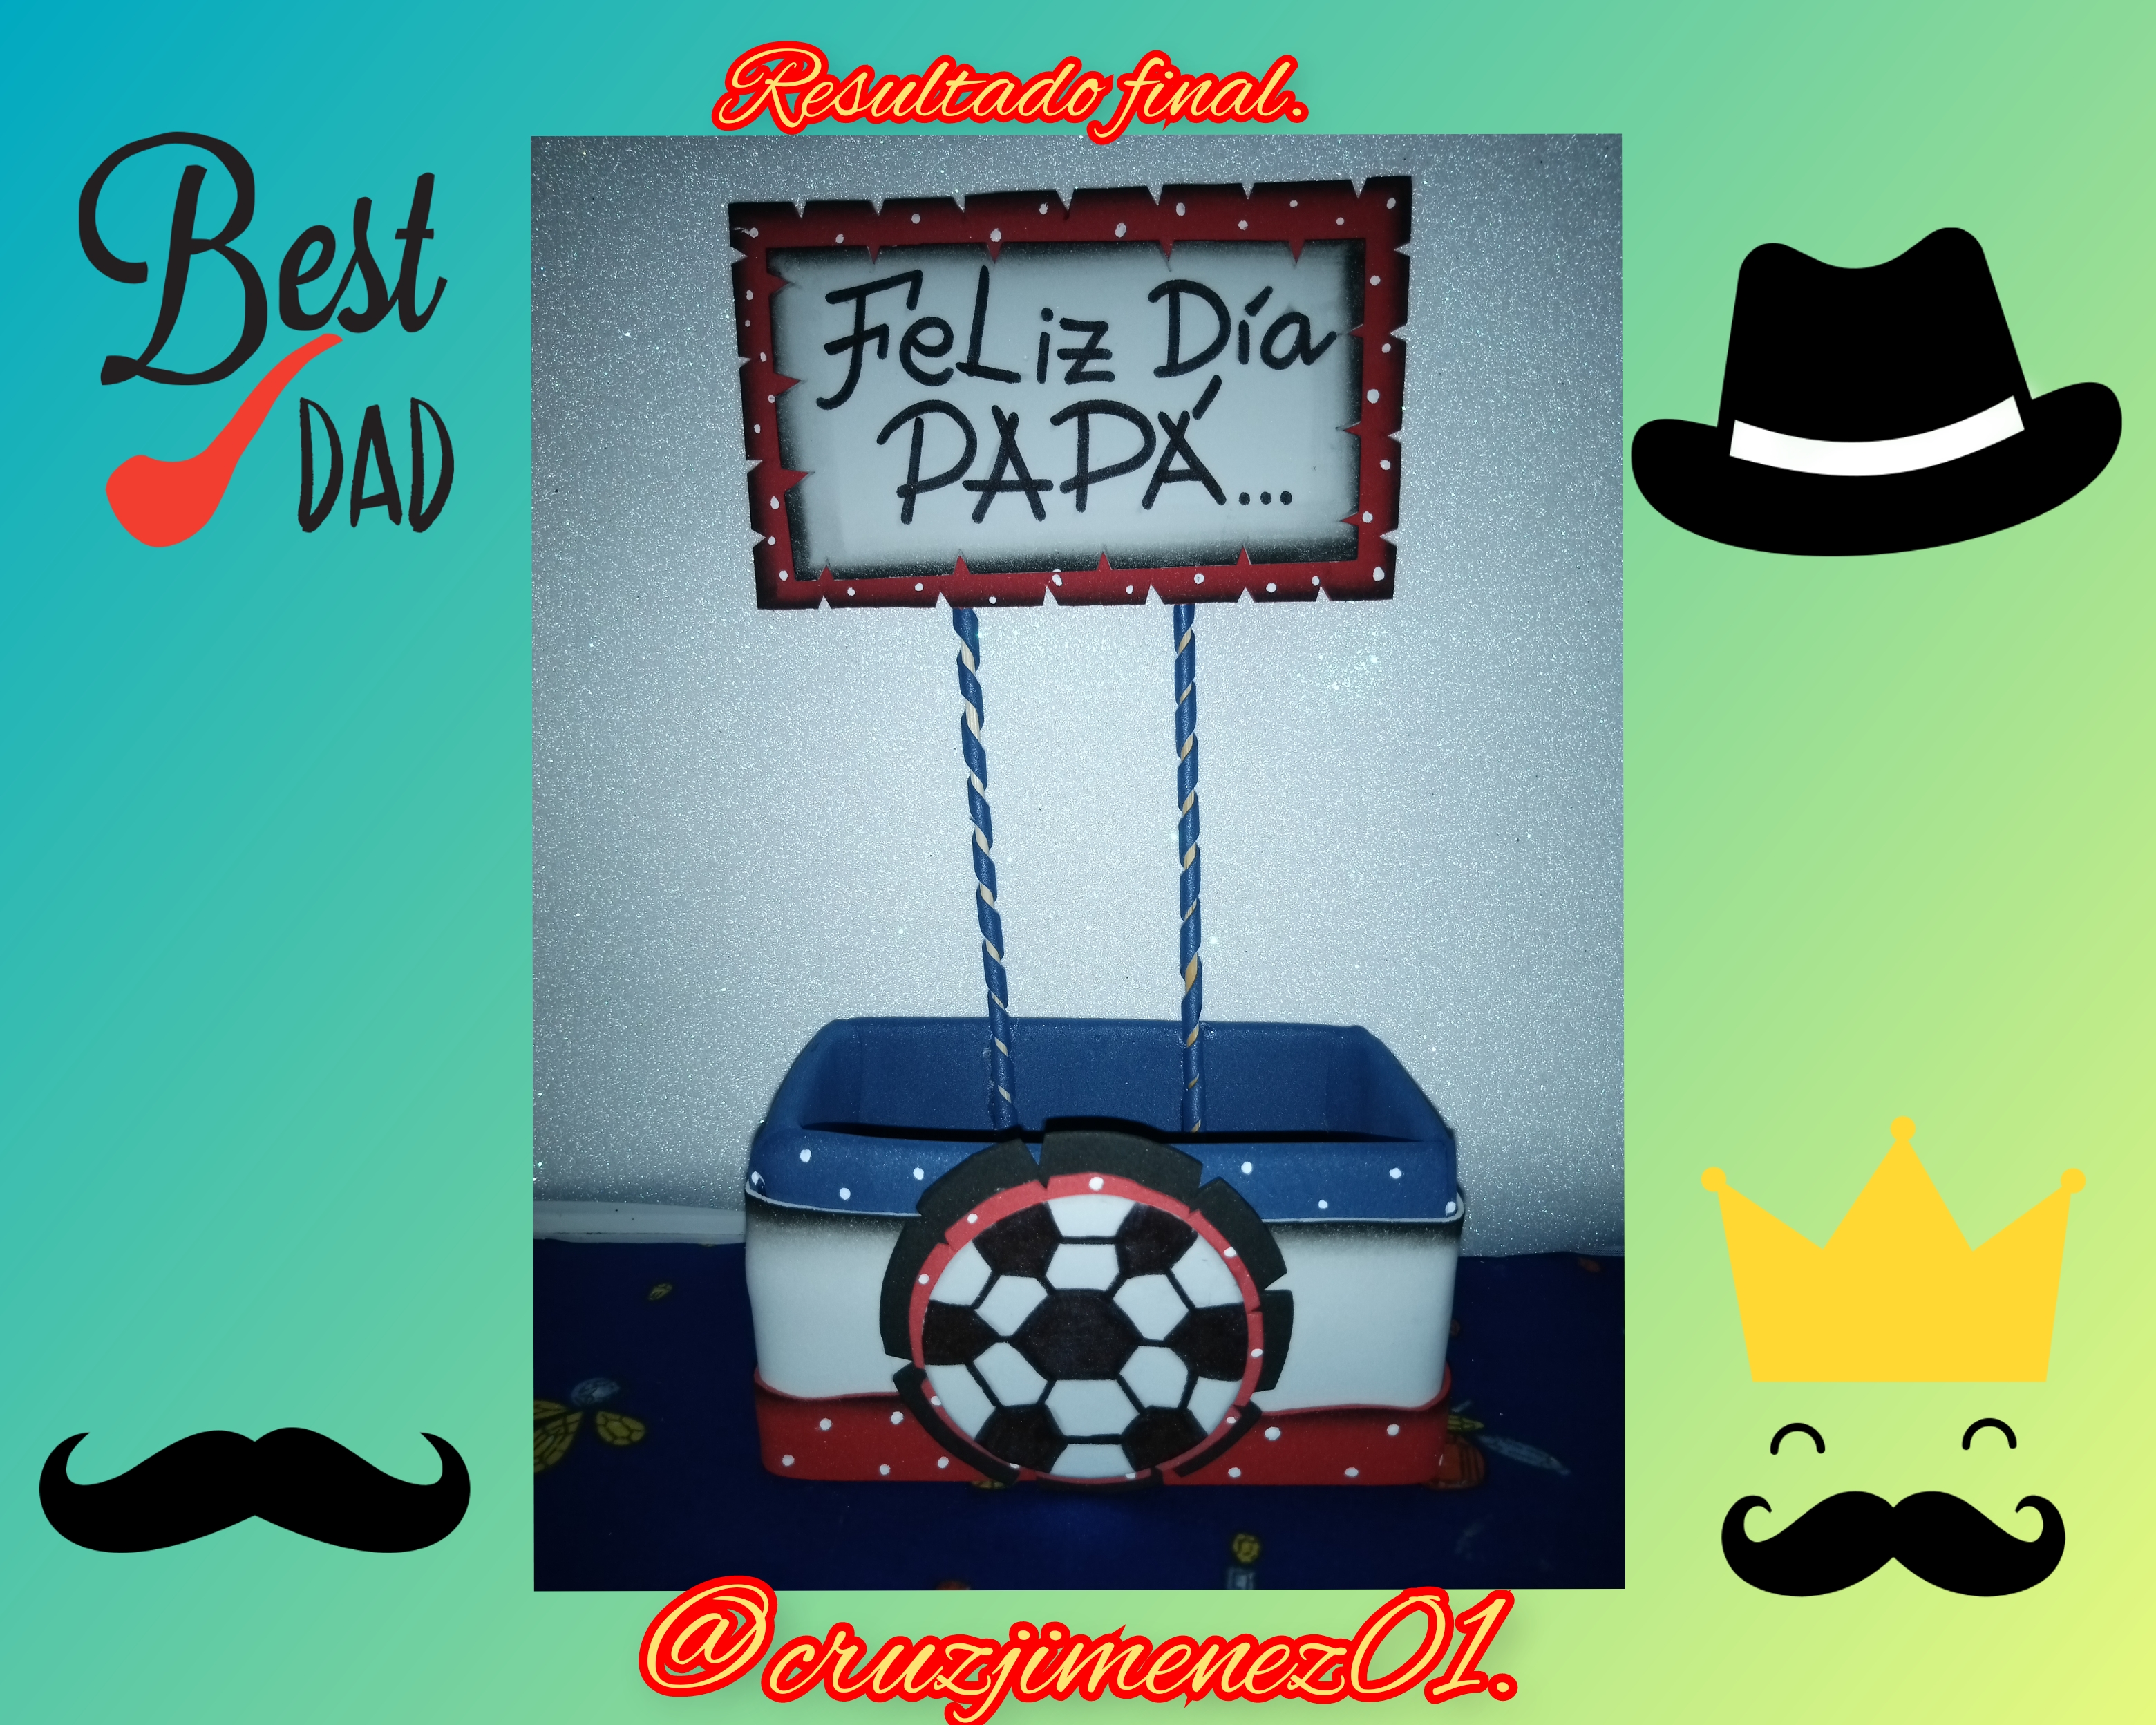
Now that all the steps have been completed, this is the result, a nice detail to give to dad on "FATHER'S DAY", ideal to place whatever you prefer, in this case I put sweets on it, thanks for visiting my blog, See you soon with another creative idea. GOD BLESS YOU ALL. See you later.
Las fotos fueron tomadas con mi teléfono androide, TECNO SPARK 6 GO y editadas con la aplicación Gridart.
The photos were taken with my android phone, TECNO SPARK 6 GO and edited with the Gridart app.
A creative piece of work.