Hola, buenas tardes a todos mis amigos creativos de esta hermosa y apreciada comunidad Hive blog, espero se encuentren muy bien que es lo mas importante, Dios los bendiga a todos y reciban de mi parte un fuerte abrazo. Hoy mi proyecto es mostrarle a elaborar un dulcero, con material reciclable y esta muy bonito para obsequiarselo a esa persona muy especial e importante, para ustedes en este dia de "San Valentin" que se celebra el 14 de este mes de febrero. Espero les guste. Acontinuacion les muestro el paso a paso.
Hello good afternoon to all my creative friends of this beautiful and appreciated Hive blog community, I hope you are very well, which is the most important thing, God bless you all and receive a big hug from me. Today my project is to show you how to make a candy box, with recyclable material and it is very nice to give it to that special and important person, for you on this "Valentine's Day" that is celebrated on February 14. like. Here I show you the step by step.
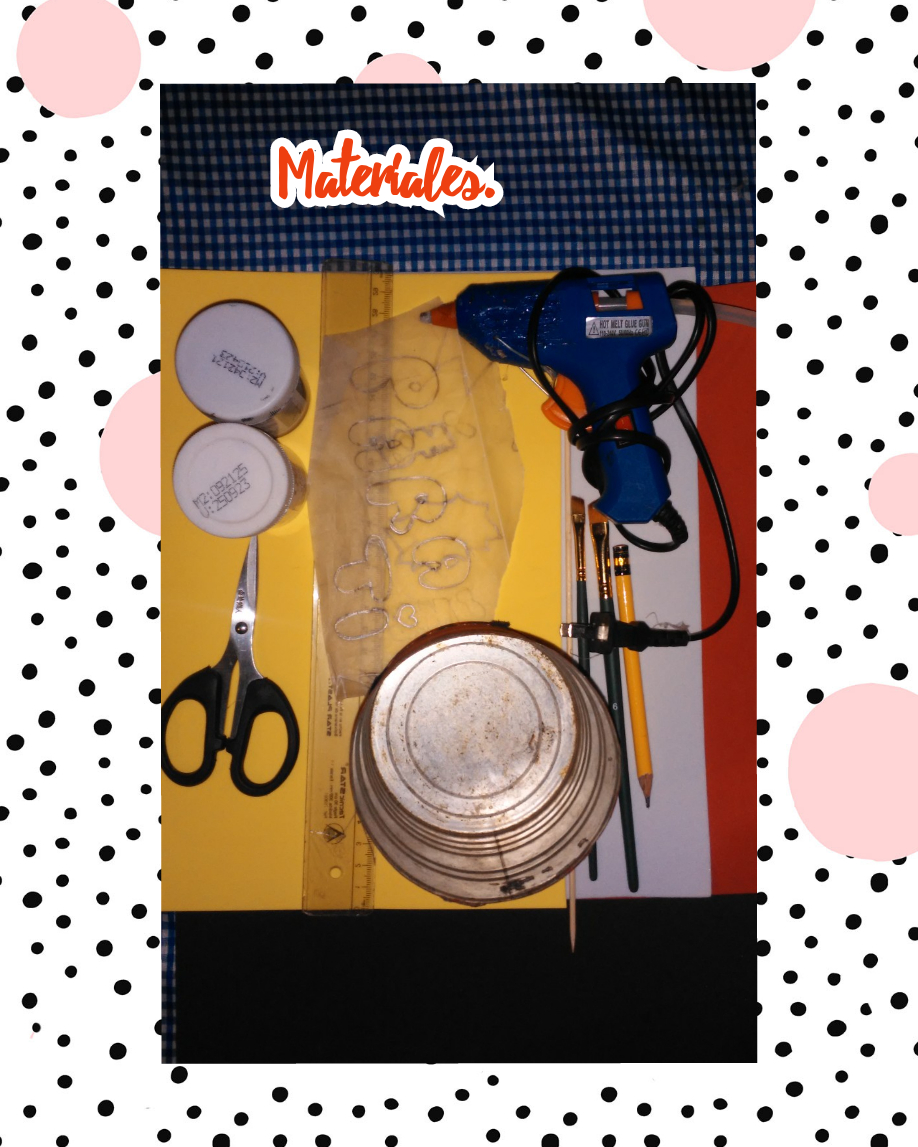
Para elaborar este bonito dulcero, vamos a utilizar los siguientes materiales:
*Una lata de leche reciclable.
*Foami de colores amarillo, negro, rojo y blanco.
*Patron con la frase "PARA TI".
*Pinturas al frio colores negra y blanca.
*Pinceles angular.
*Tijera.
*Lapiz.
*Palillo de altura.
*Regla.
*Pistola de silicon caliente.
To make this beautiful candy box, we are going to use the following materials:
*A recyclable milk can.
*Foam in yellow, black, red and white colors.
*Pattern with the phrase "FOR YOU".
- Black and white cold paints.
*Angular brushes.- Scissor.
*Pencil.- Height stick.
*Rule.- Hot silicone gun.
We begin with the elaboration of this beautiful confectioner.
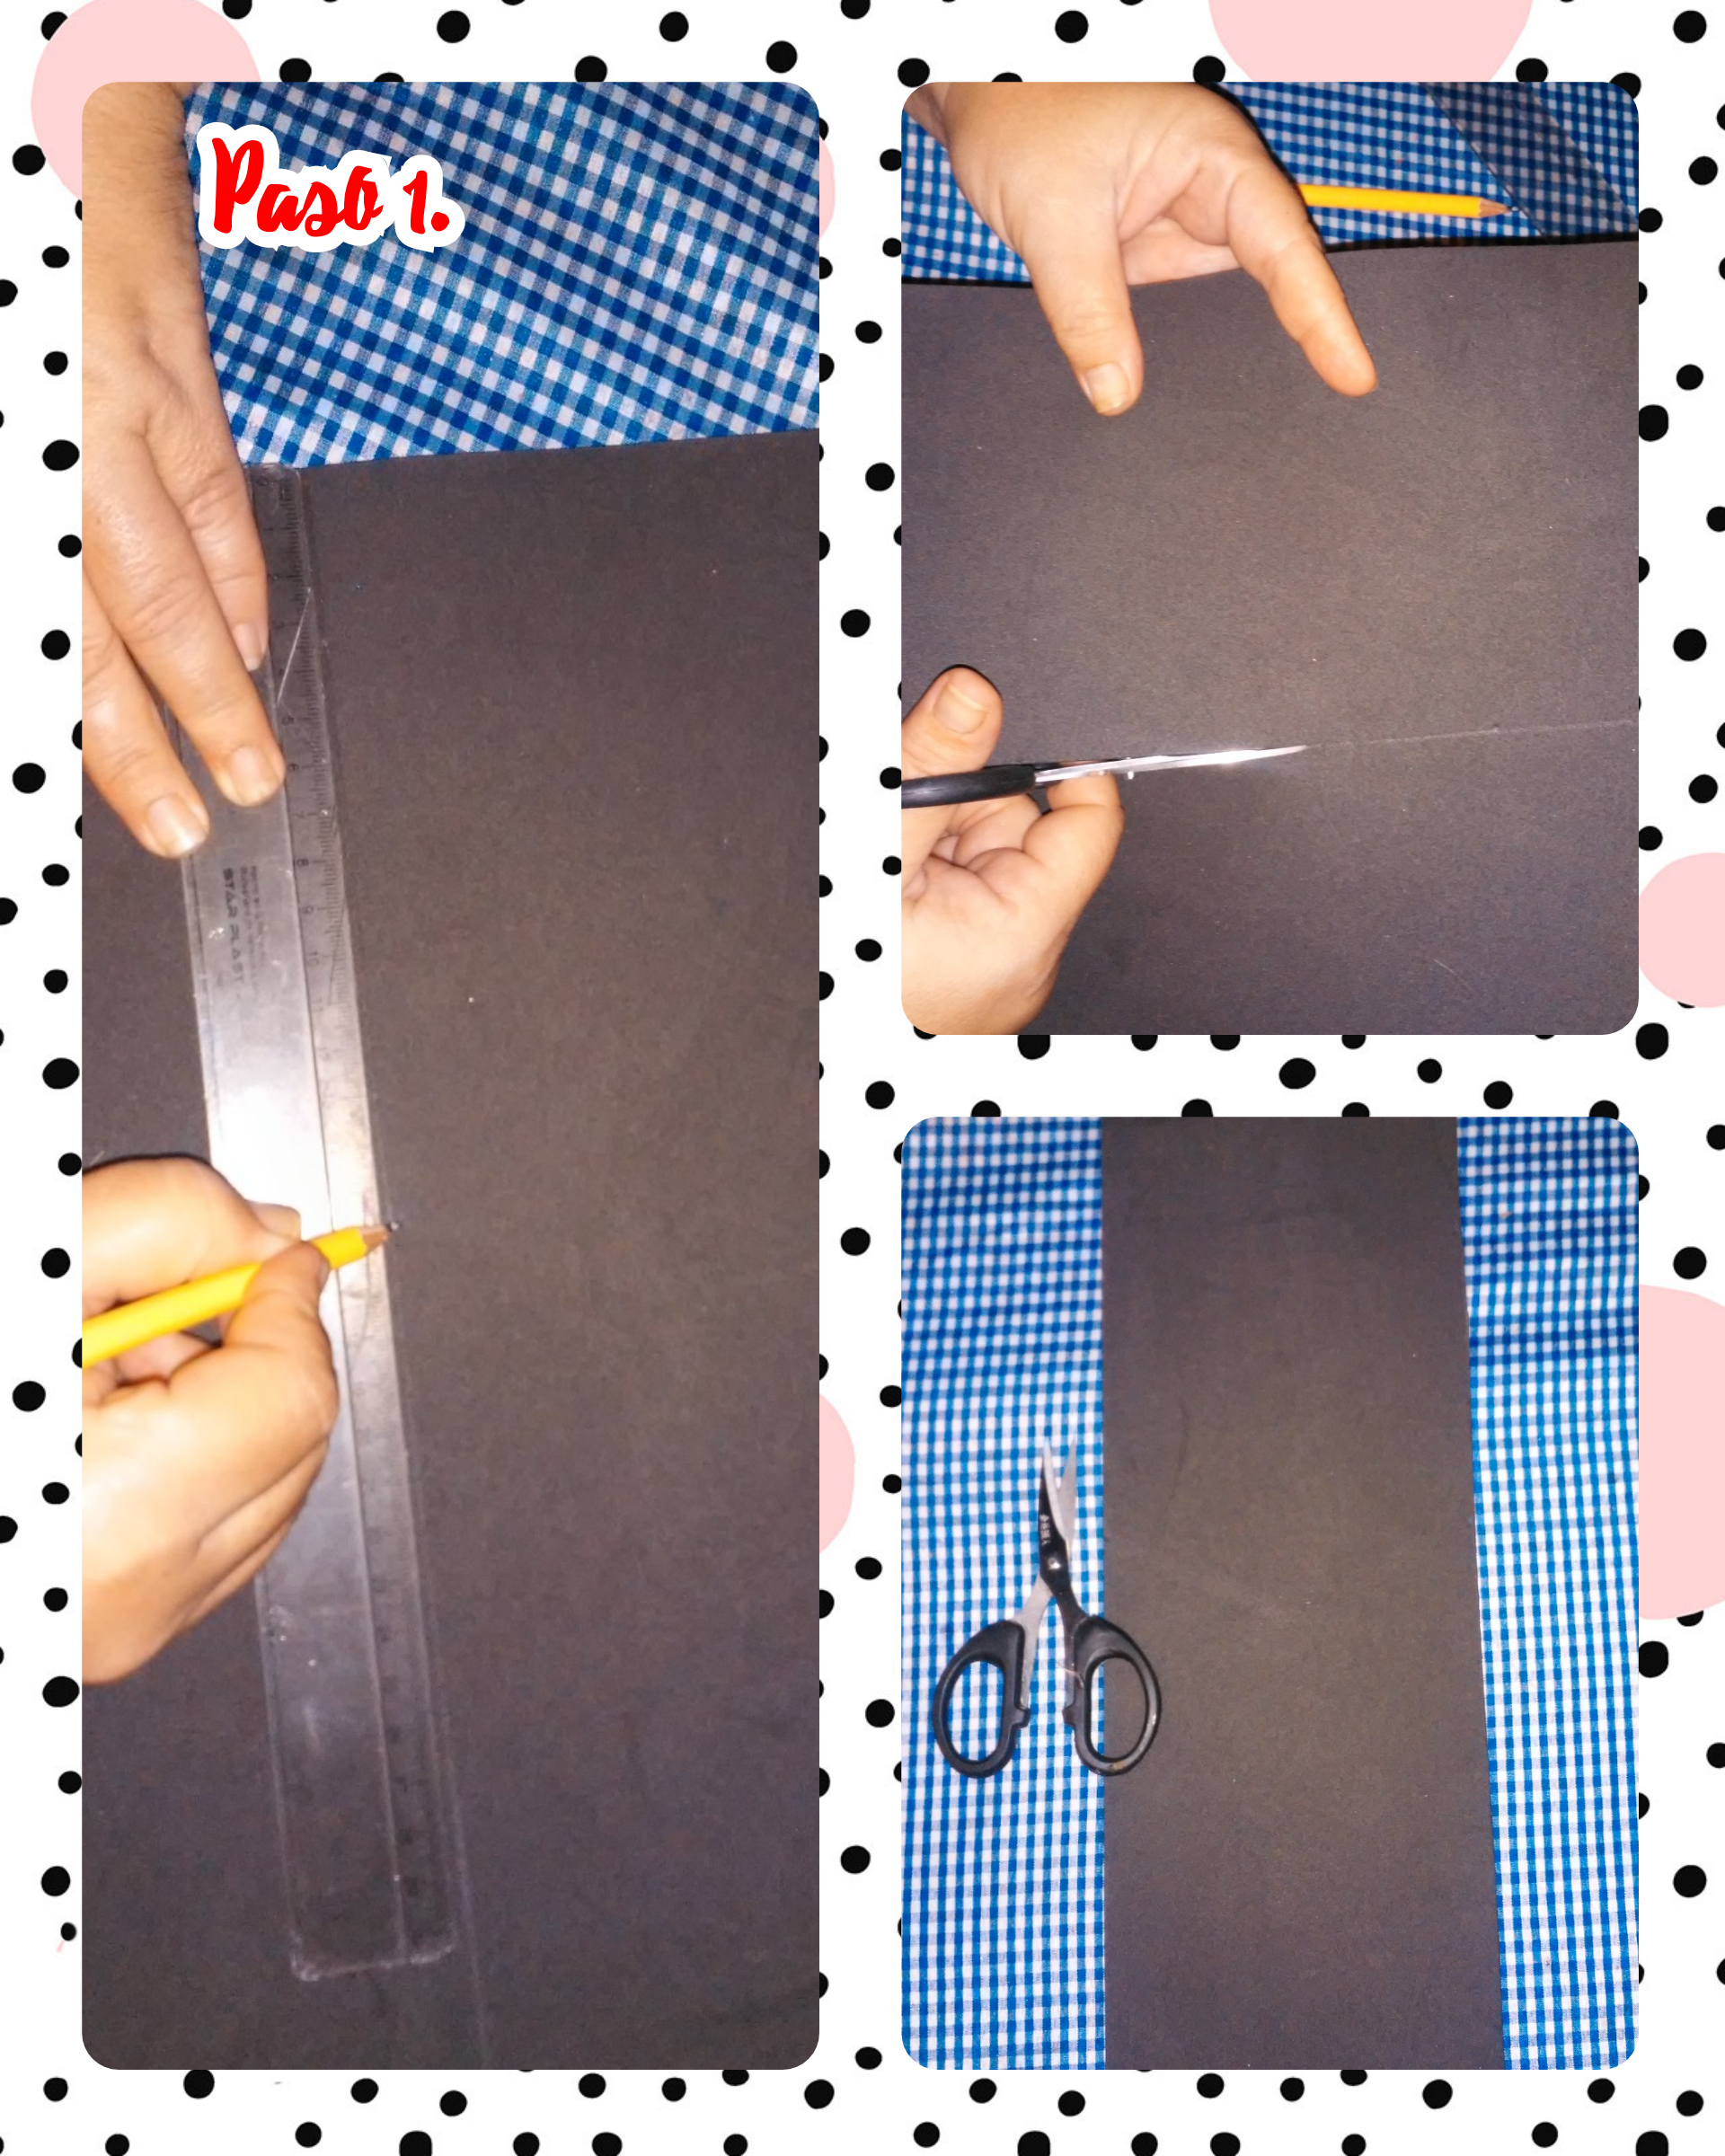
Step 1. On a black foami, mark the measurements 13cm wide by 23cm long, then cut as shown in the images.
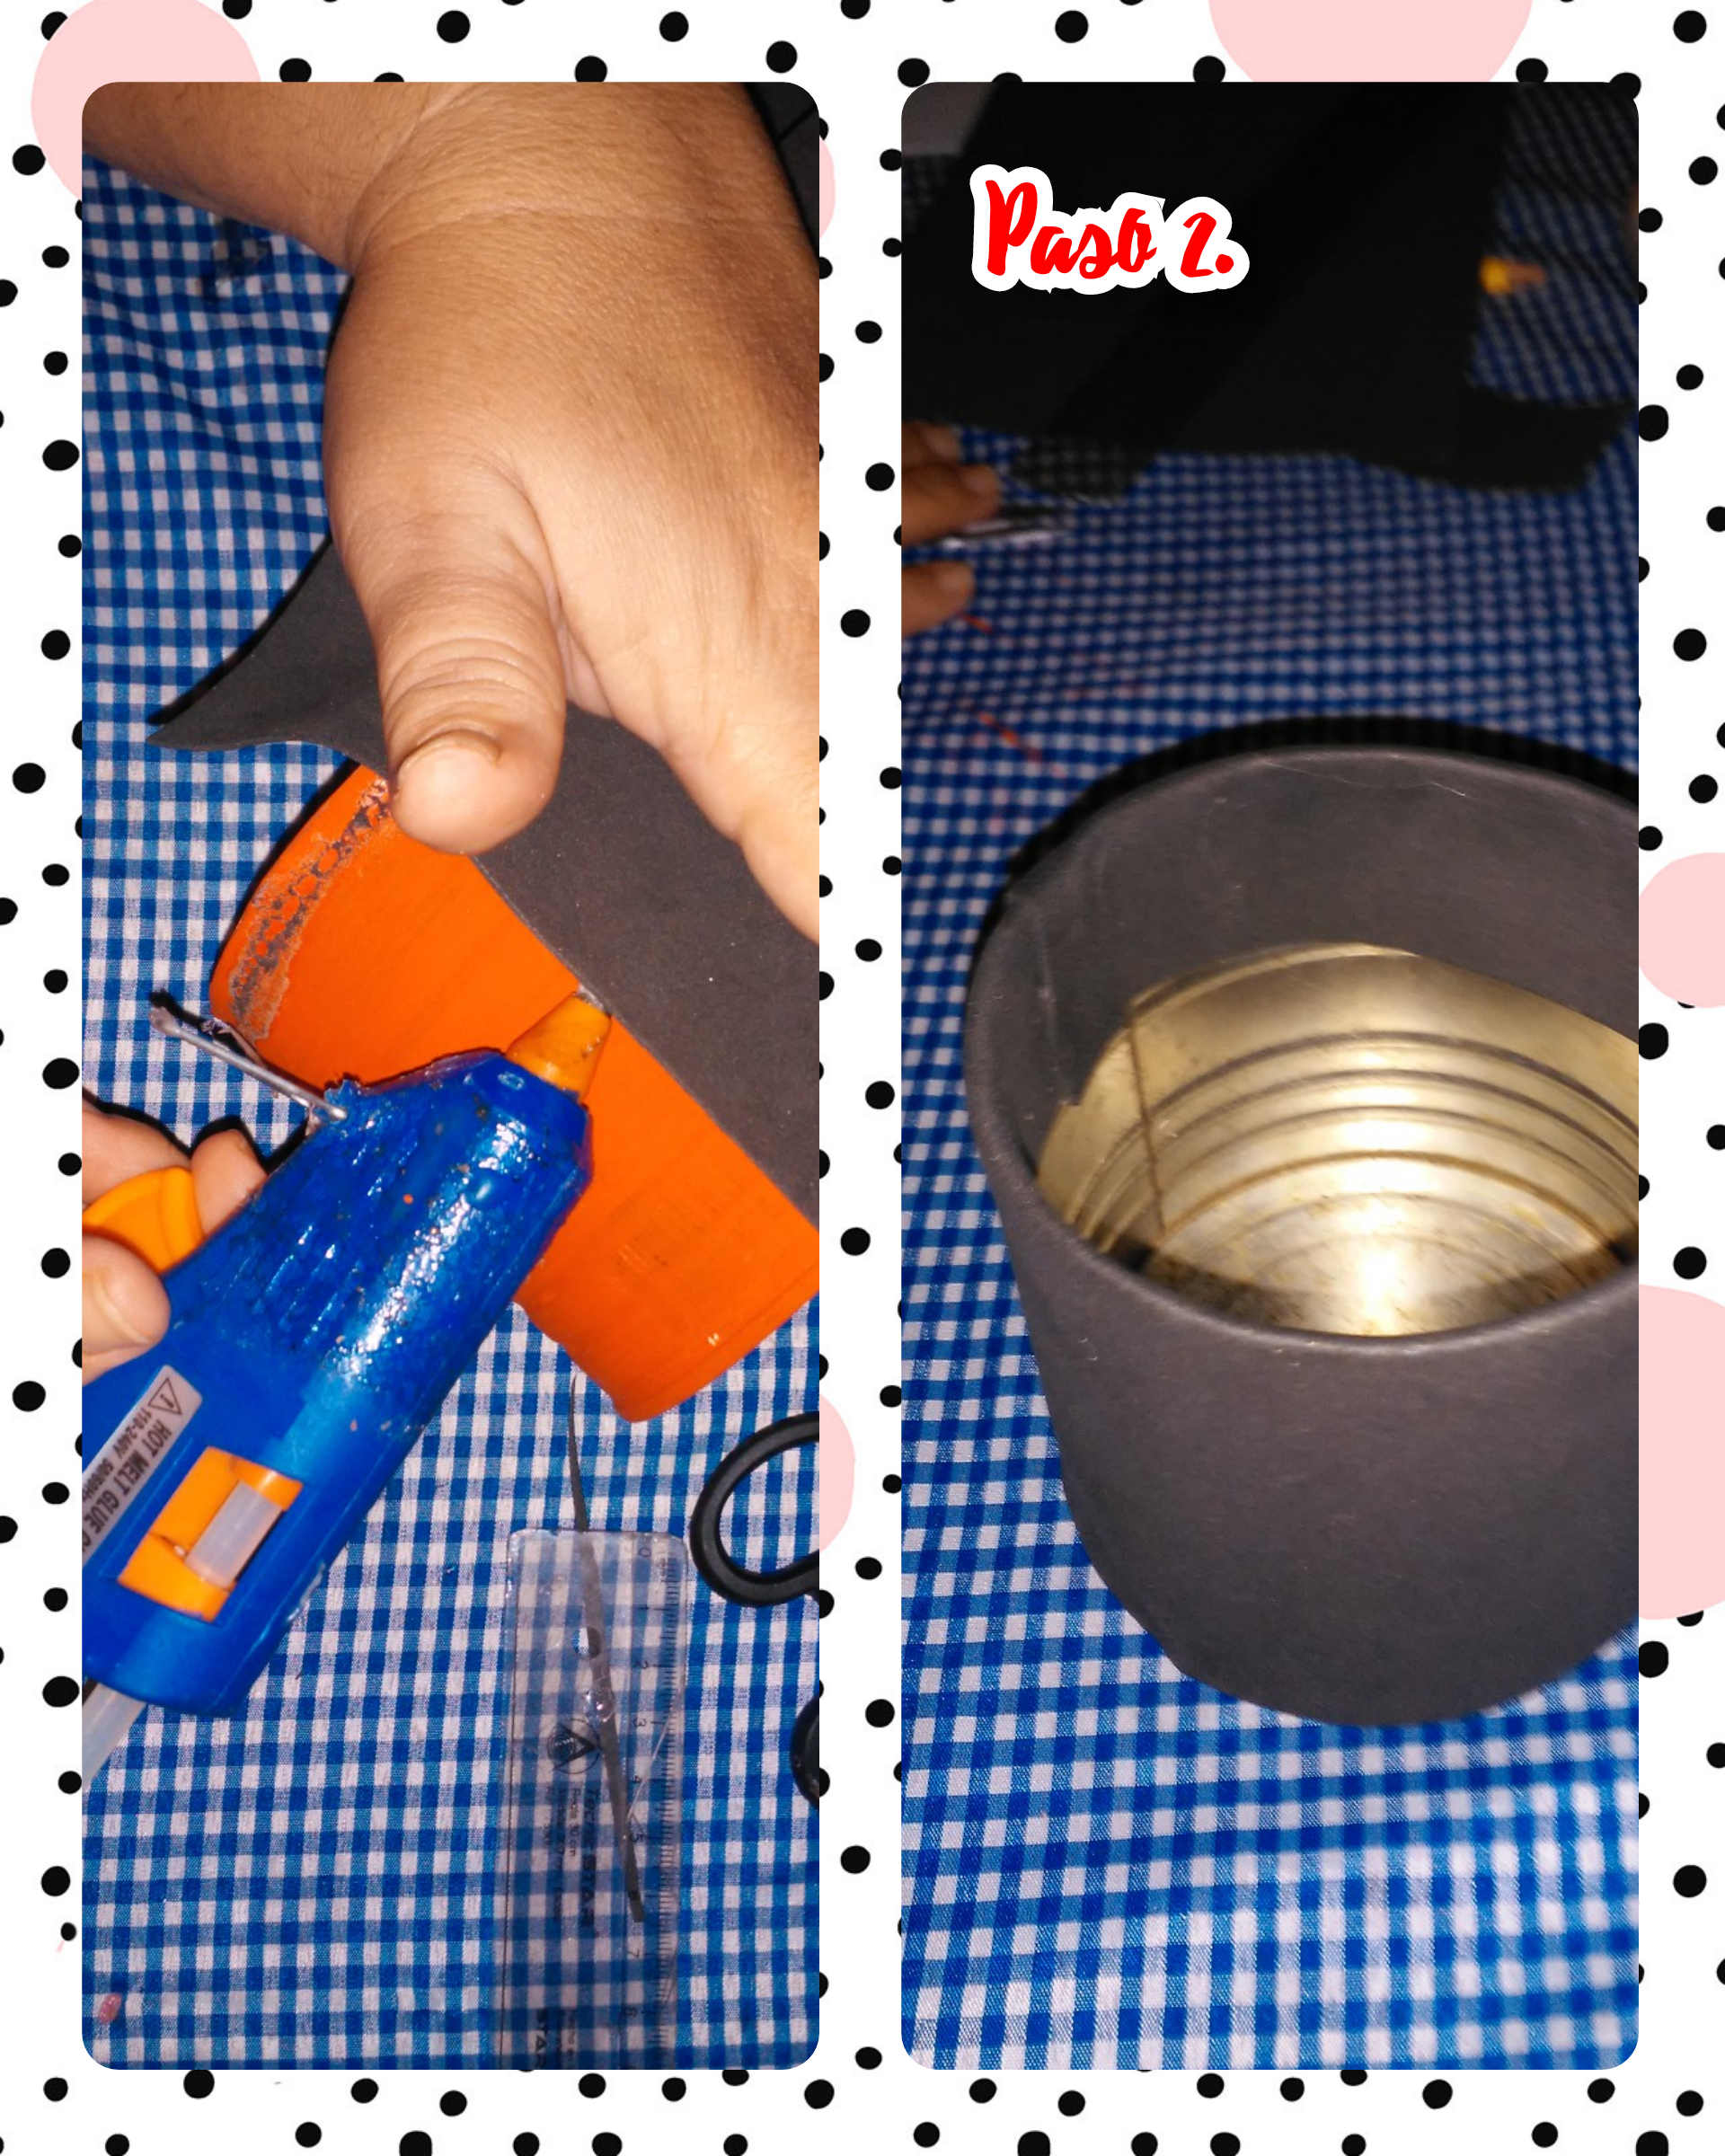
Step 2. We line the can with the black foami, already cut, and glue it with hot silicone so that it sticks well.
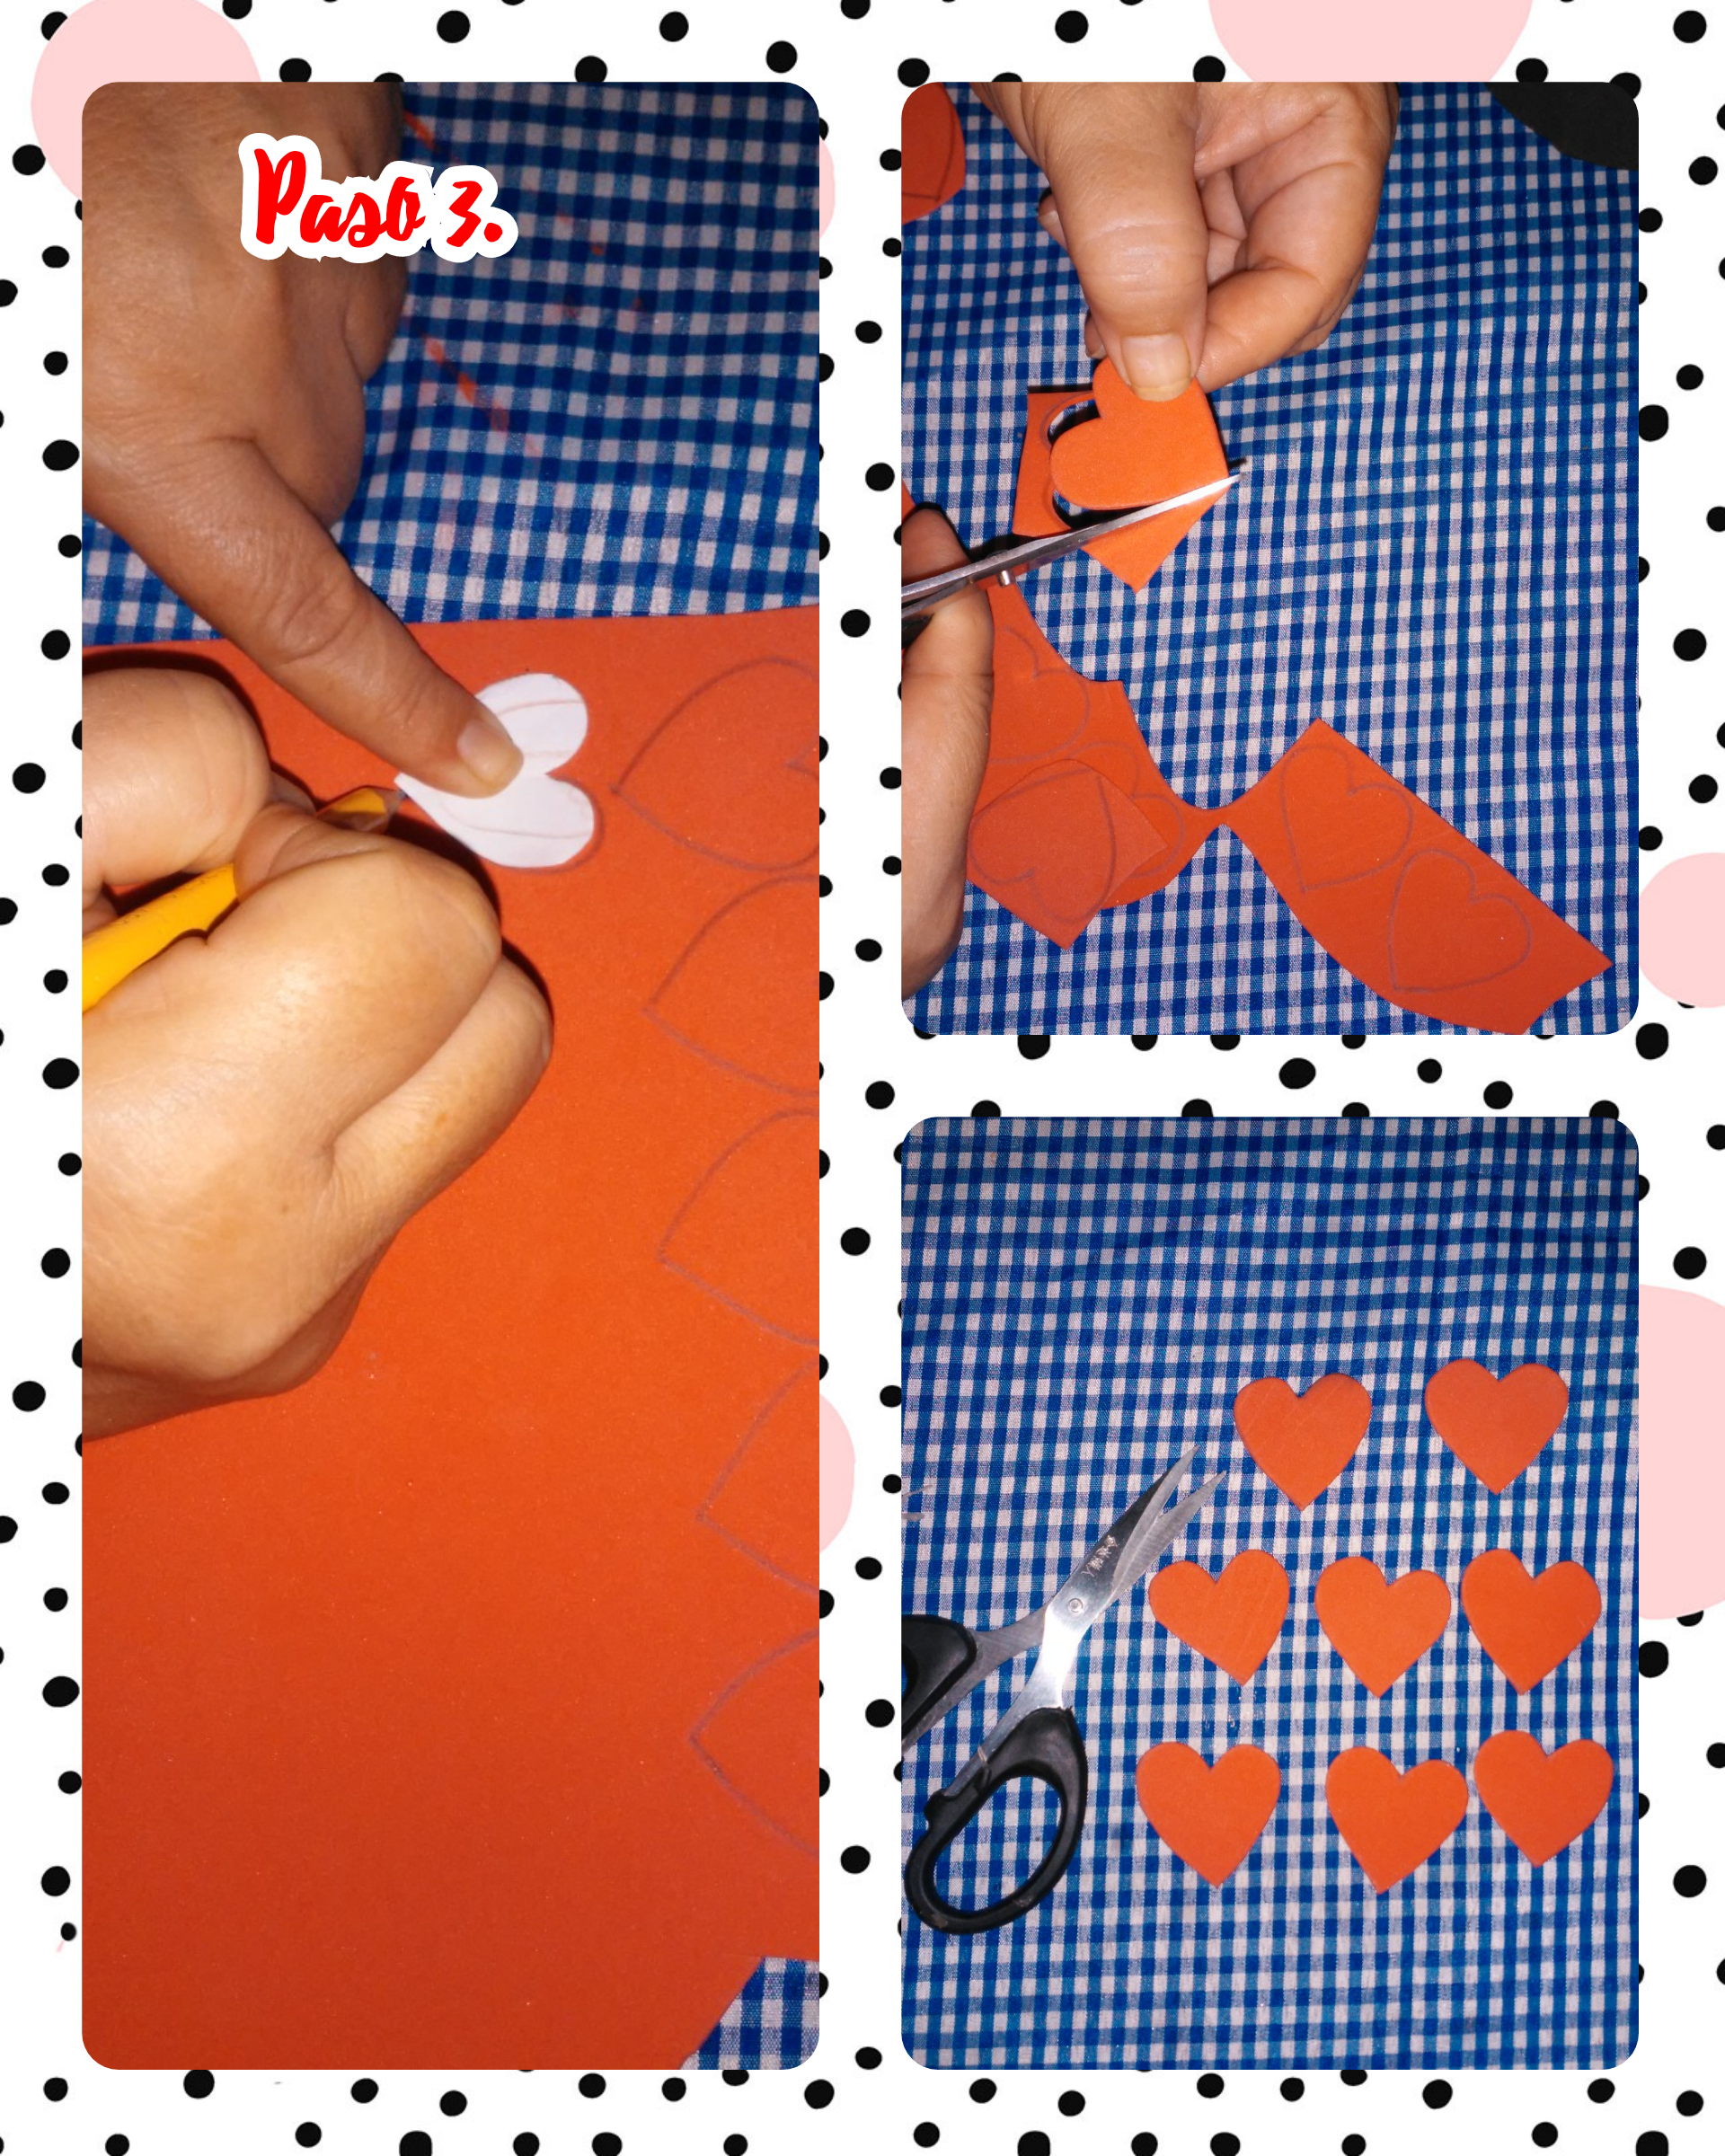
Step 3. On a red foami, and the figure of a paper heart, we mark hearts of a single size and then cut them out, as seen in the images.
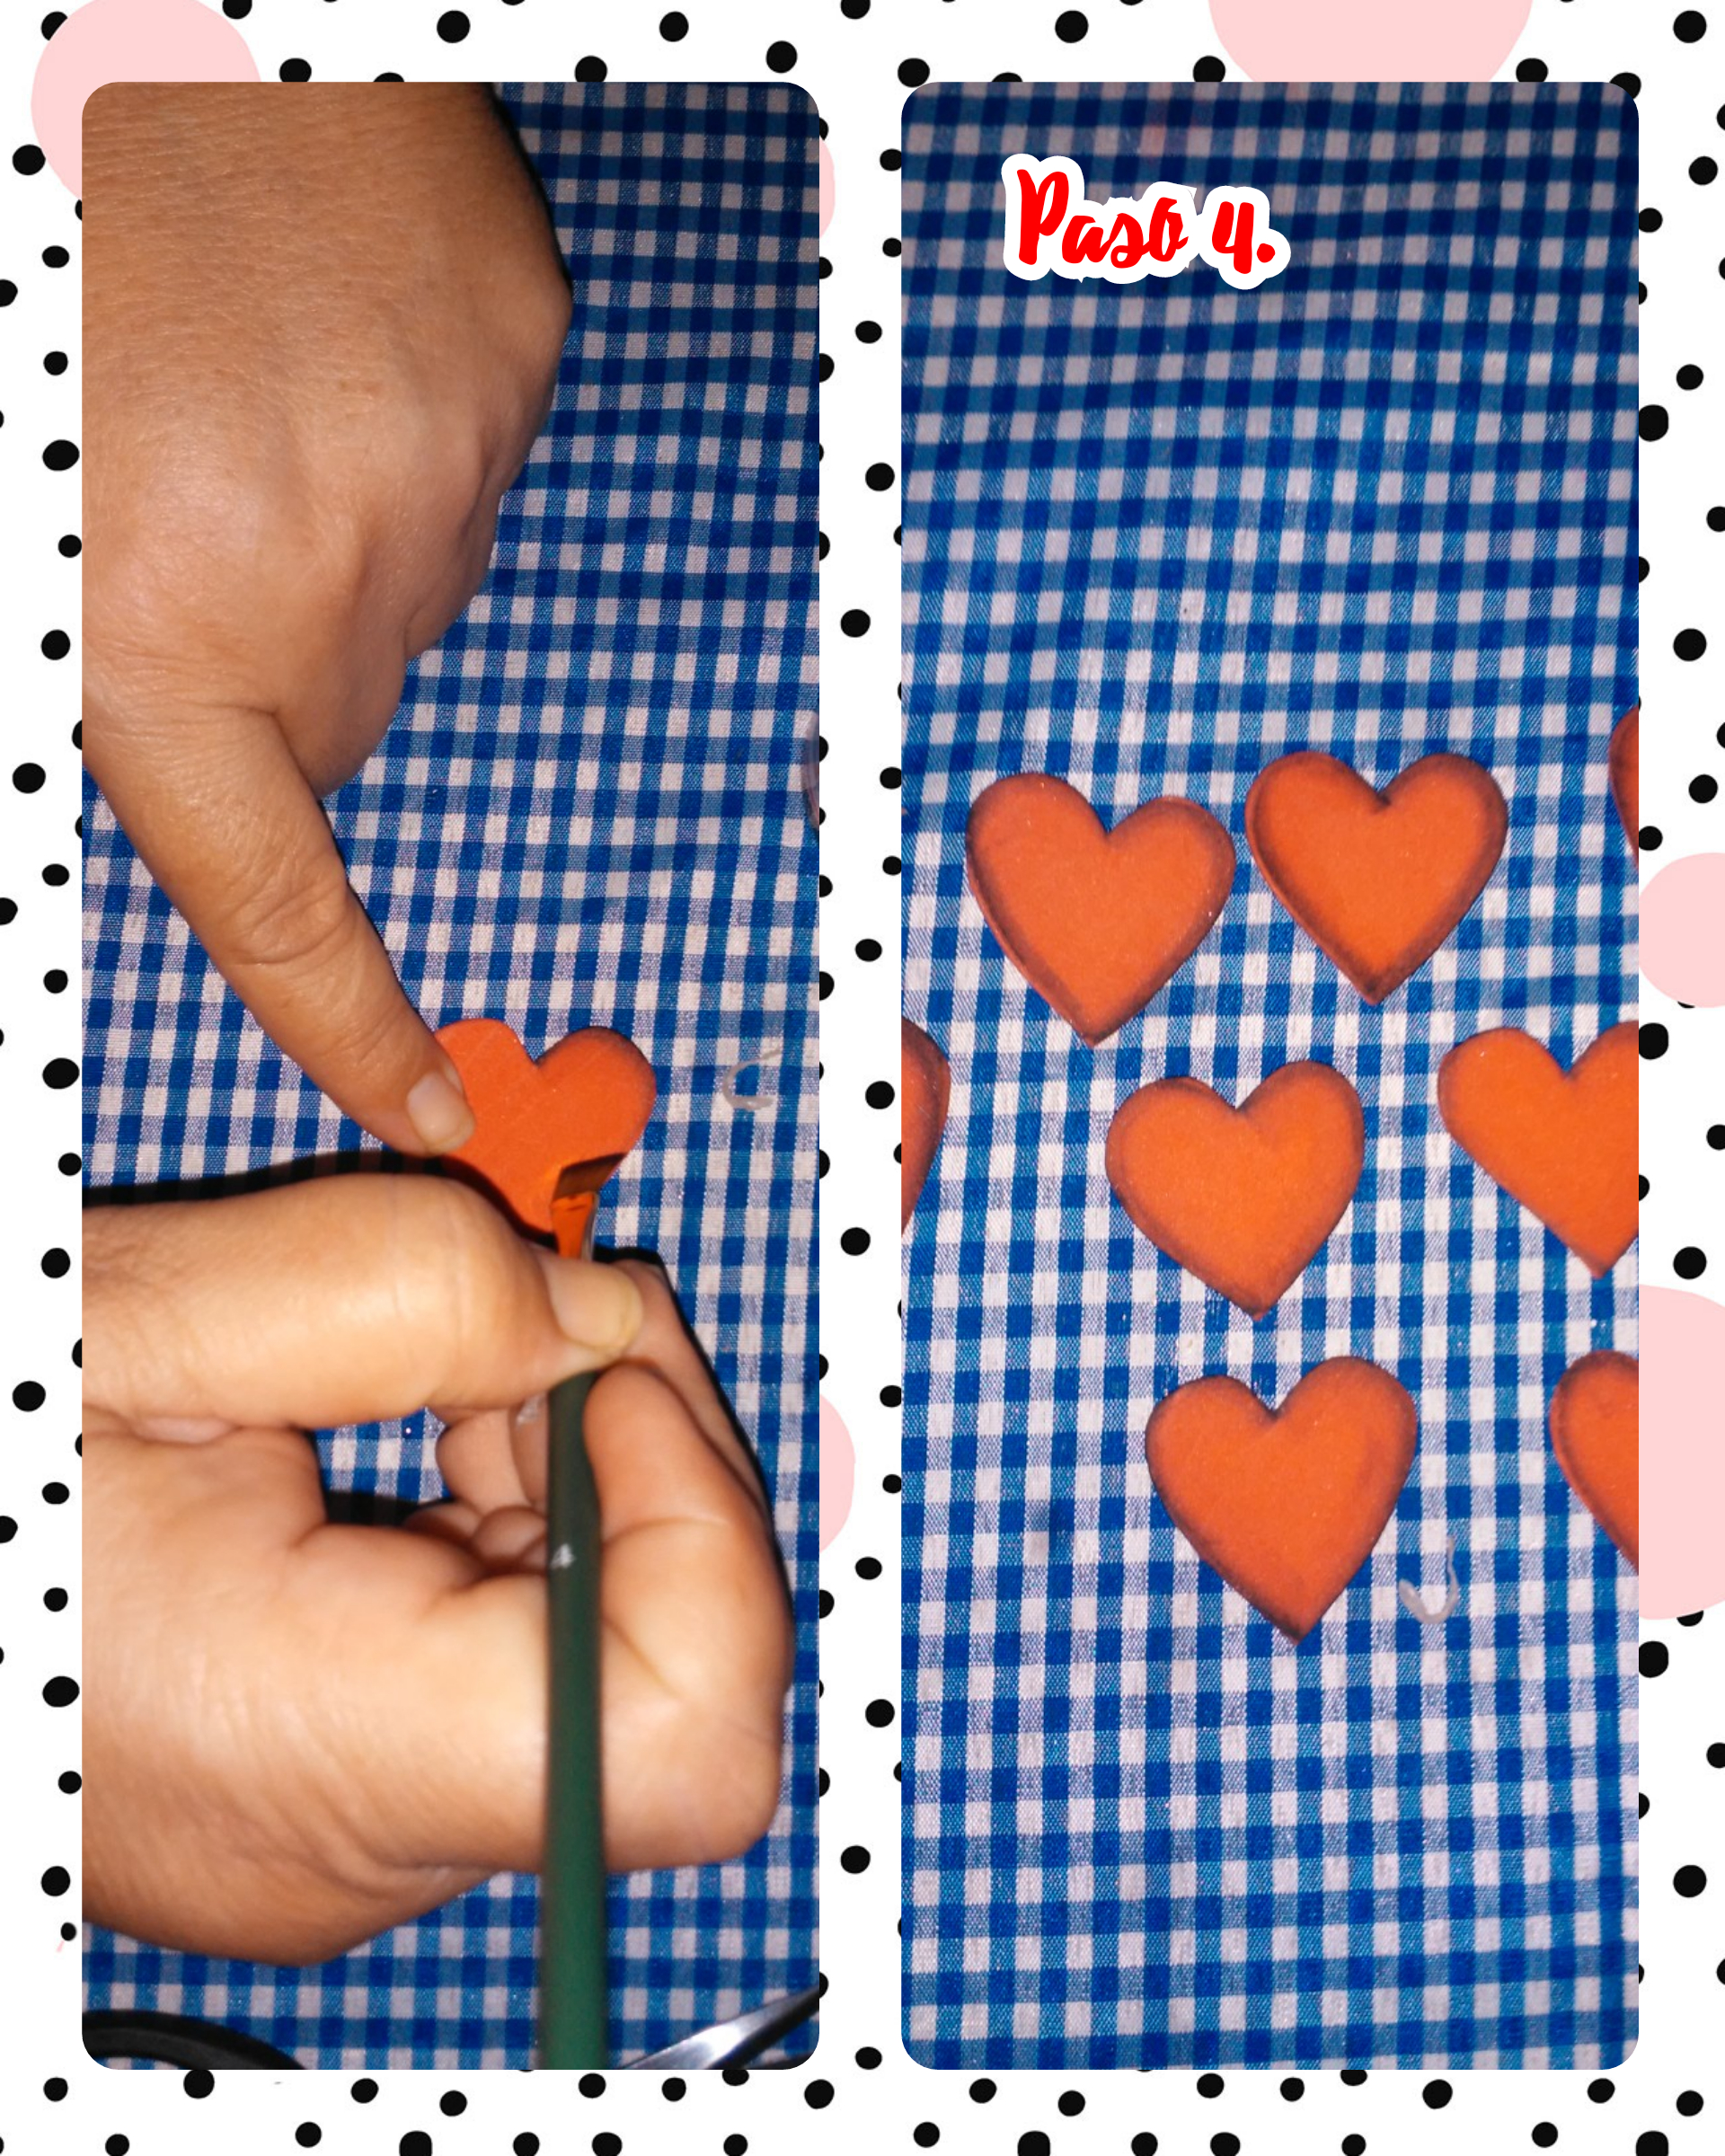
Step 4. With an angled brush and a black paint, we wet the brush with paint at the tip and start to blur the edge of all the hearts, and they will be as they are in the images.
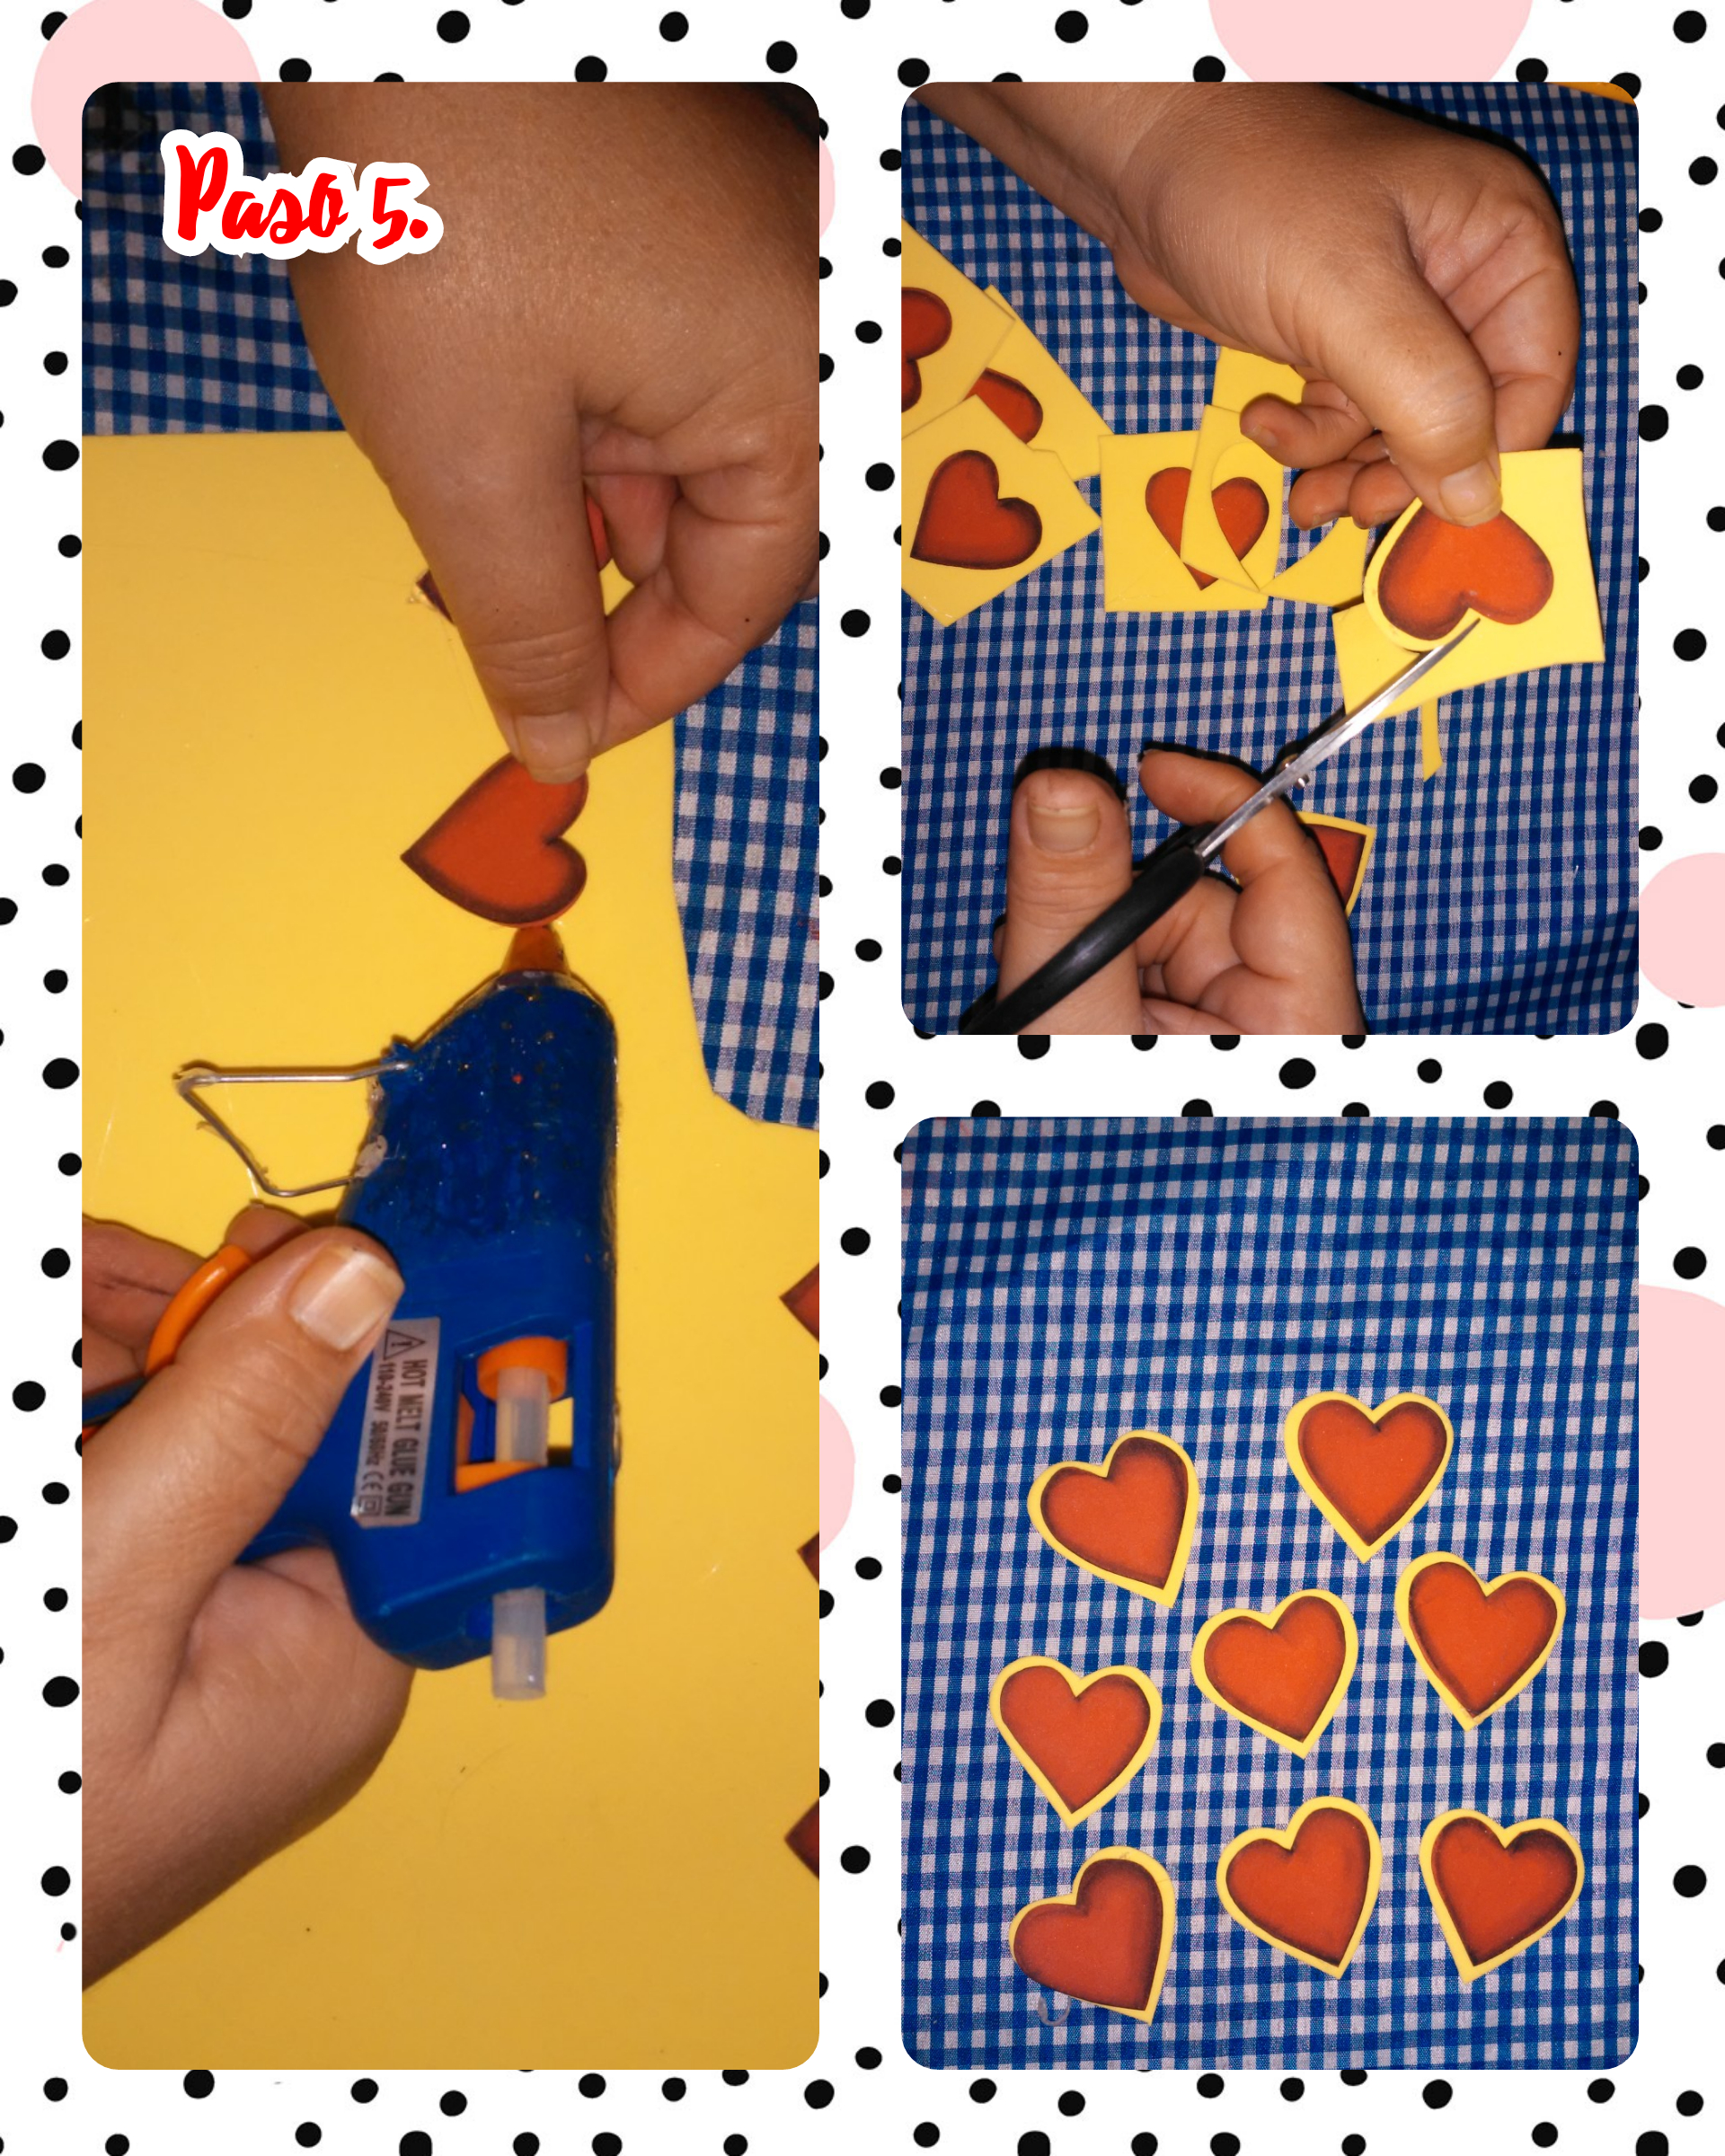
Step 5. We stick all the hearts, in a yellow foami with hot silicone and then we cut it leaving half a centimeter of distance on the edge.
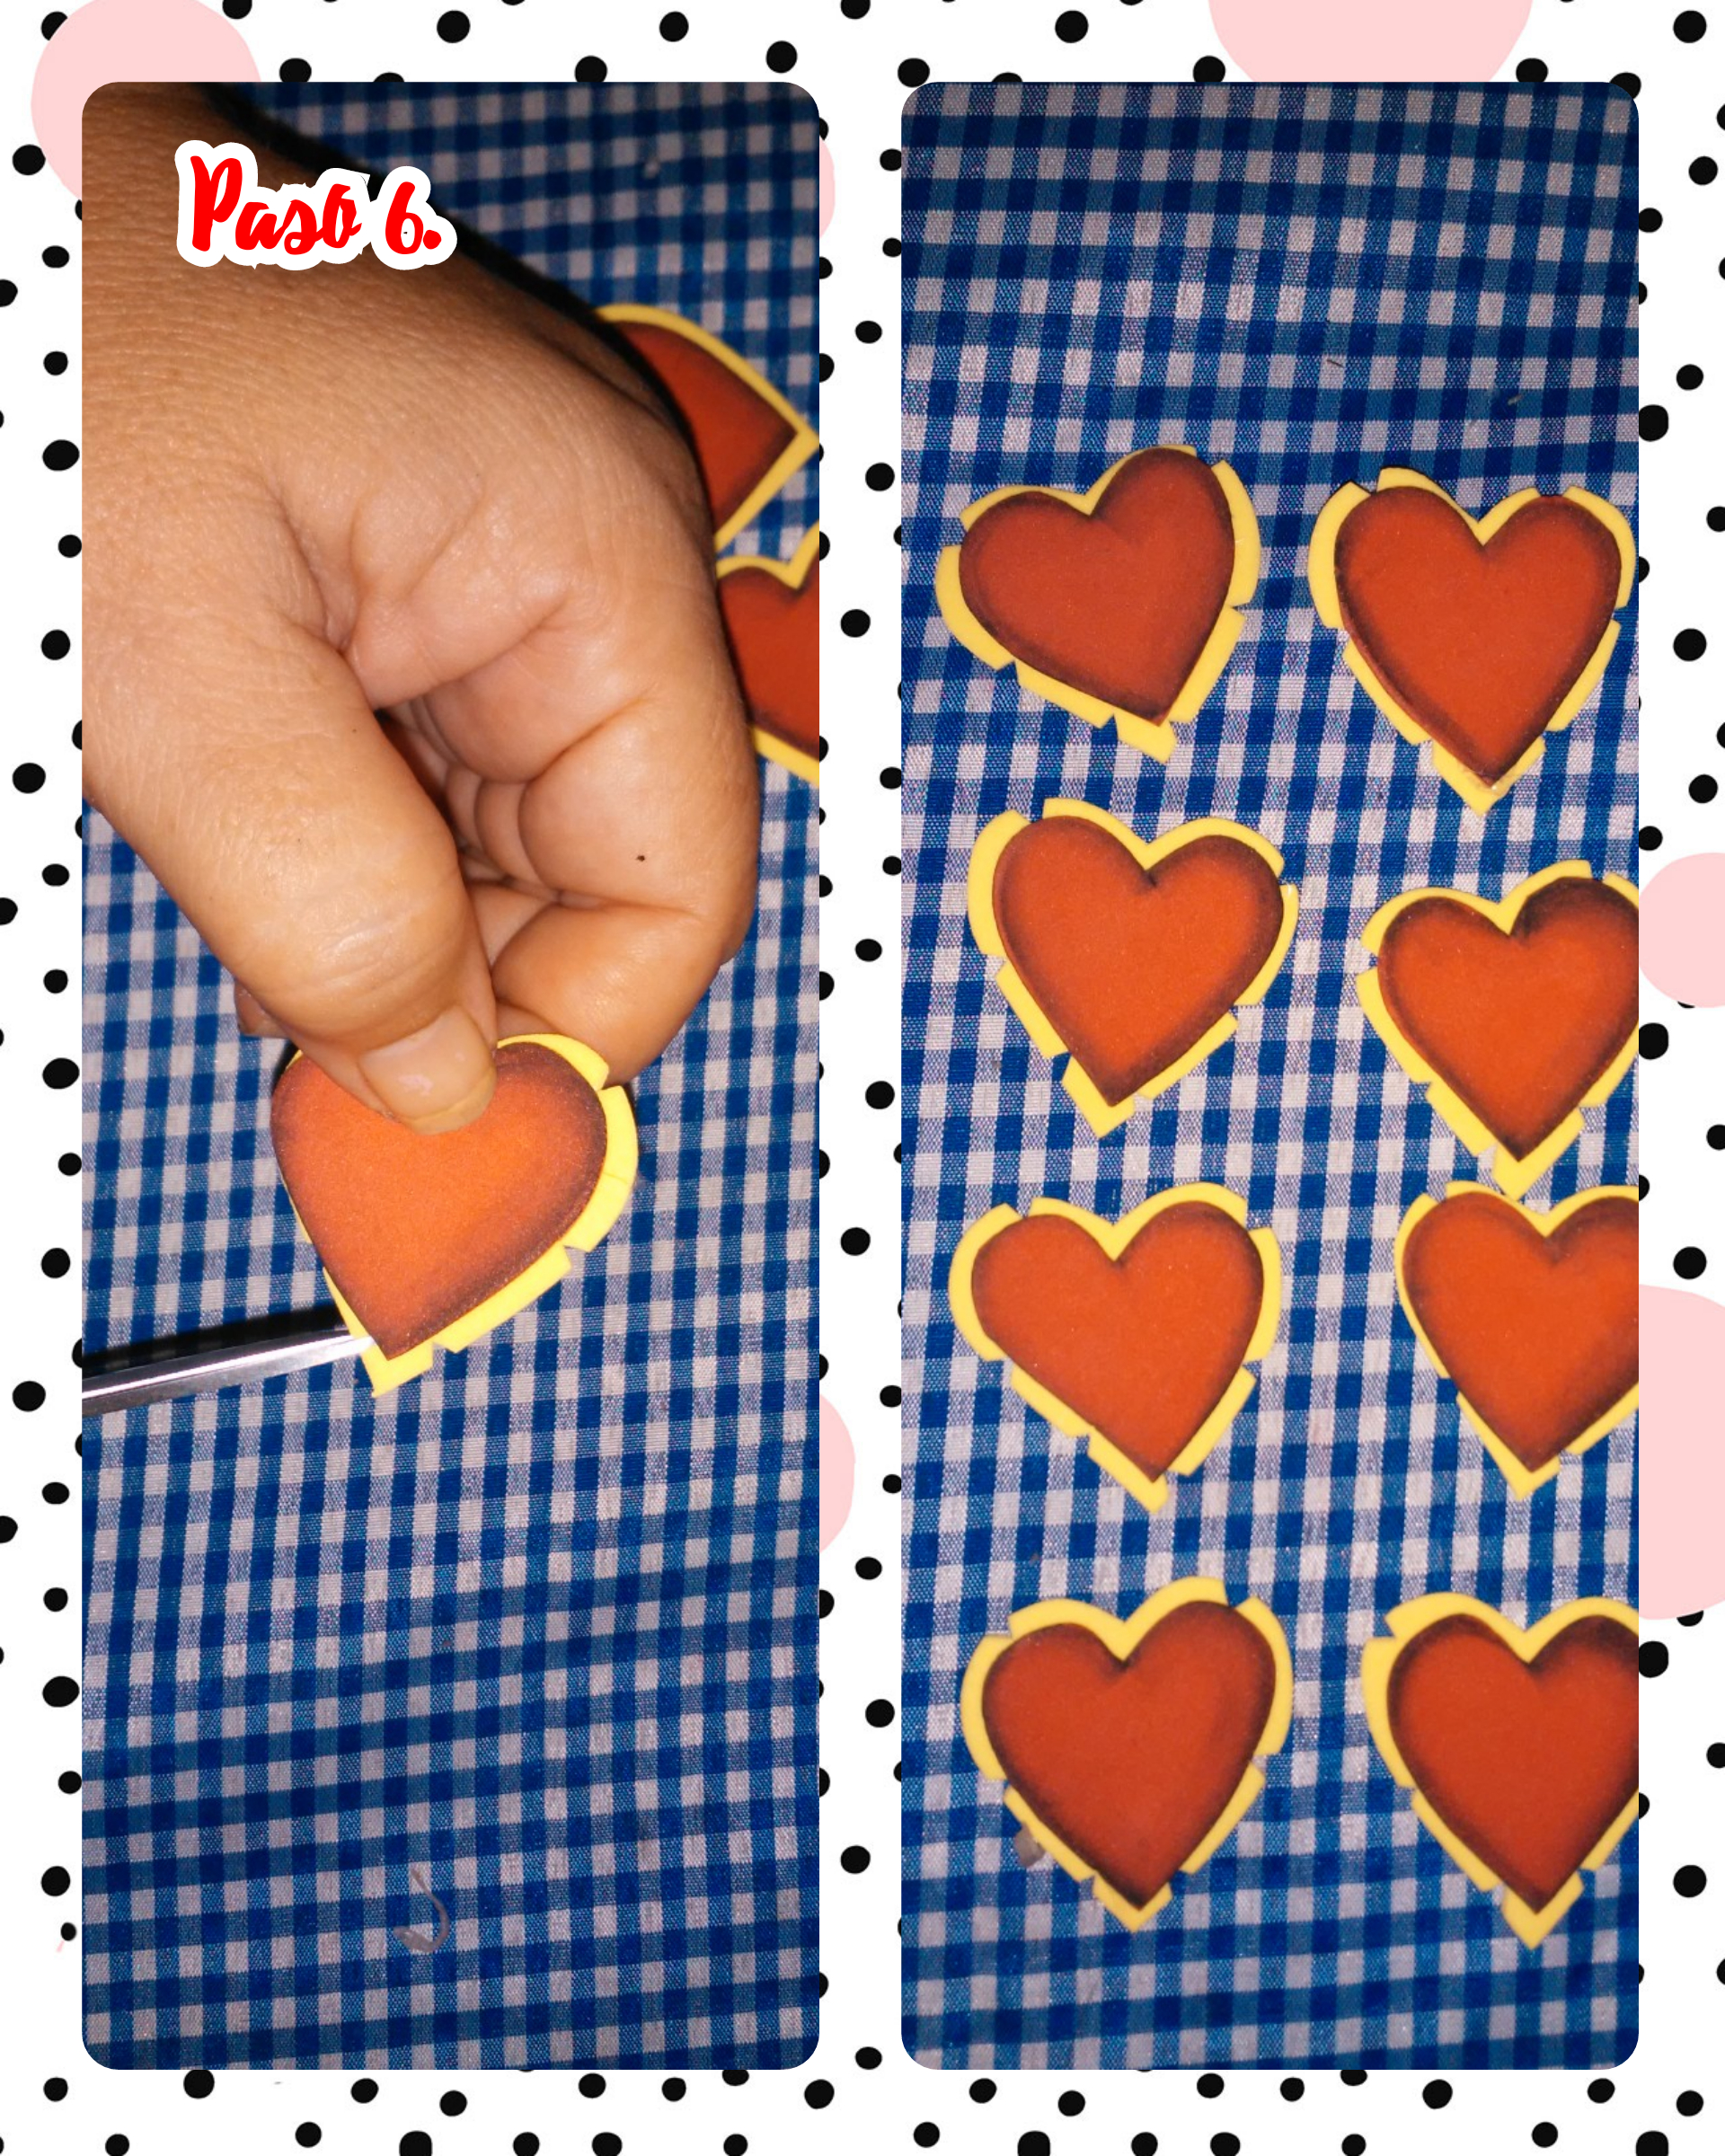
Step 6. With the tip of the scissors, fringe the hearts all around the edge. As shown in the images.
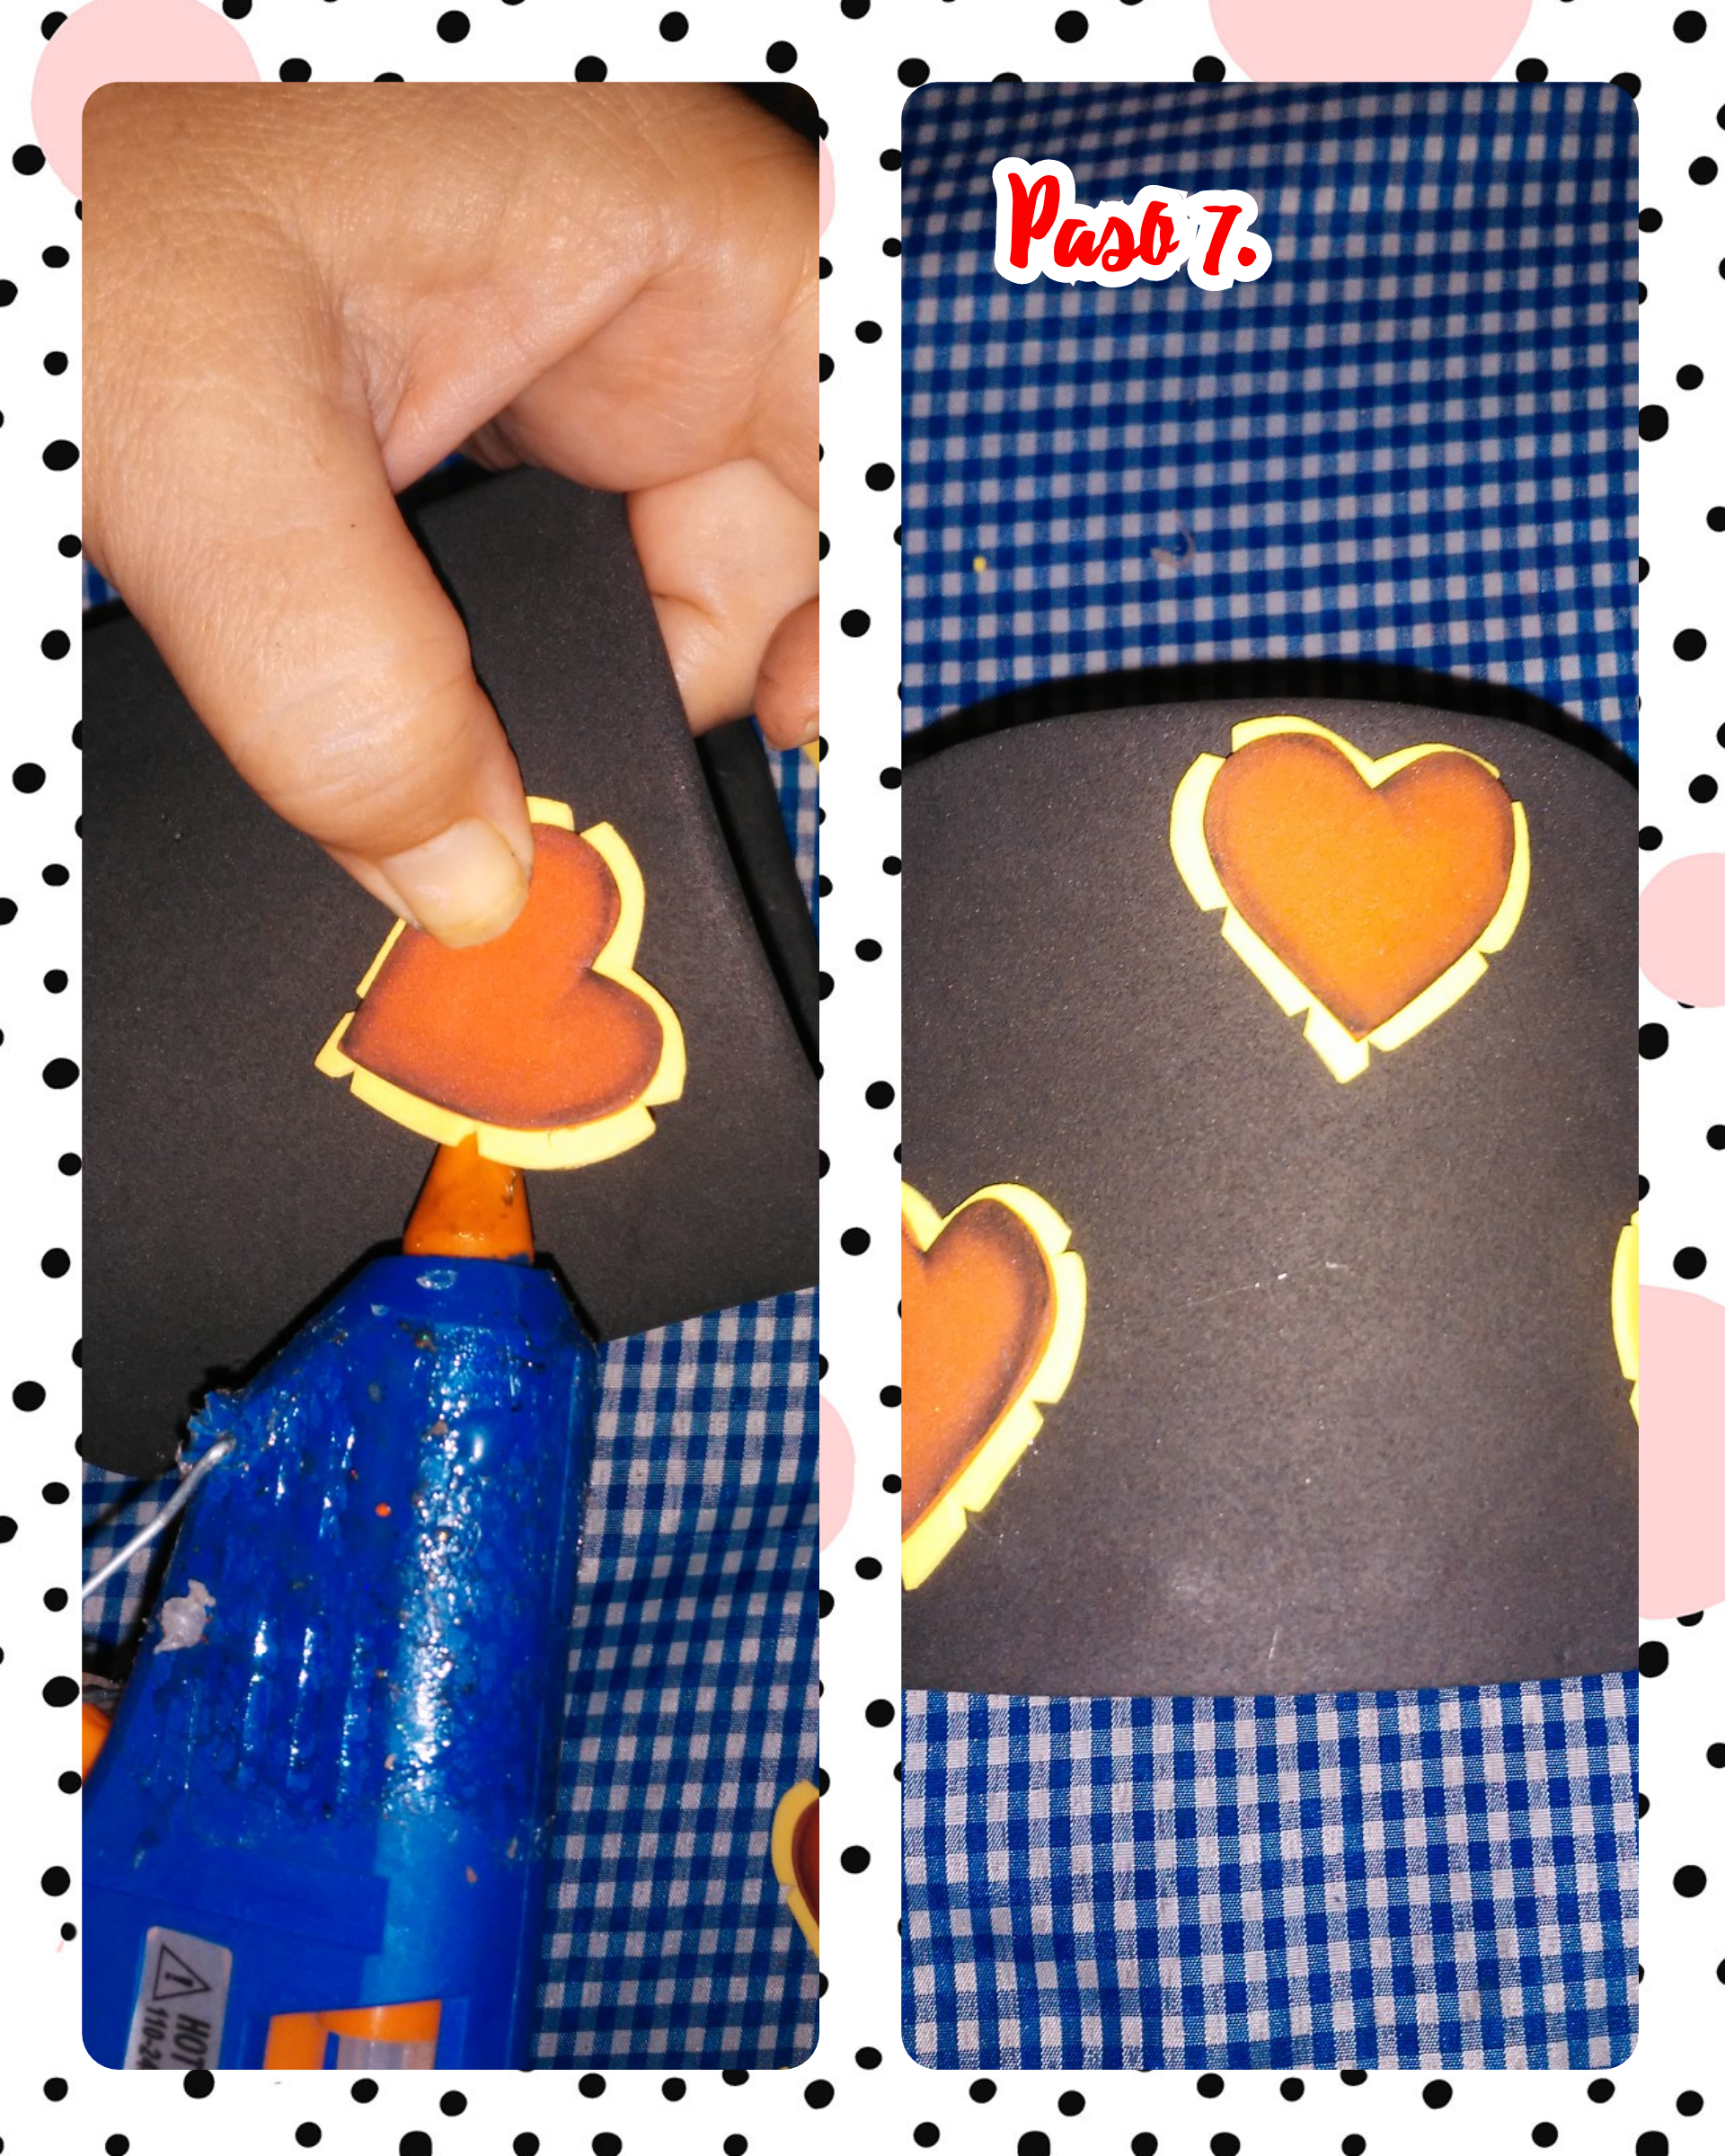
Step 7. We glue the hearts with hot silicone all over the recyclable can to decorate it and make it look like candy.
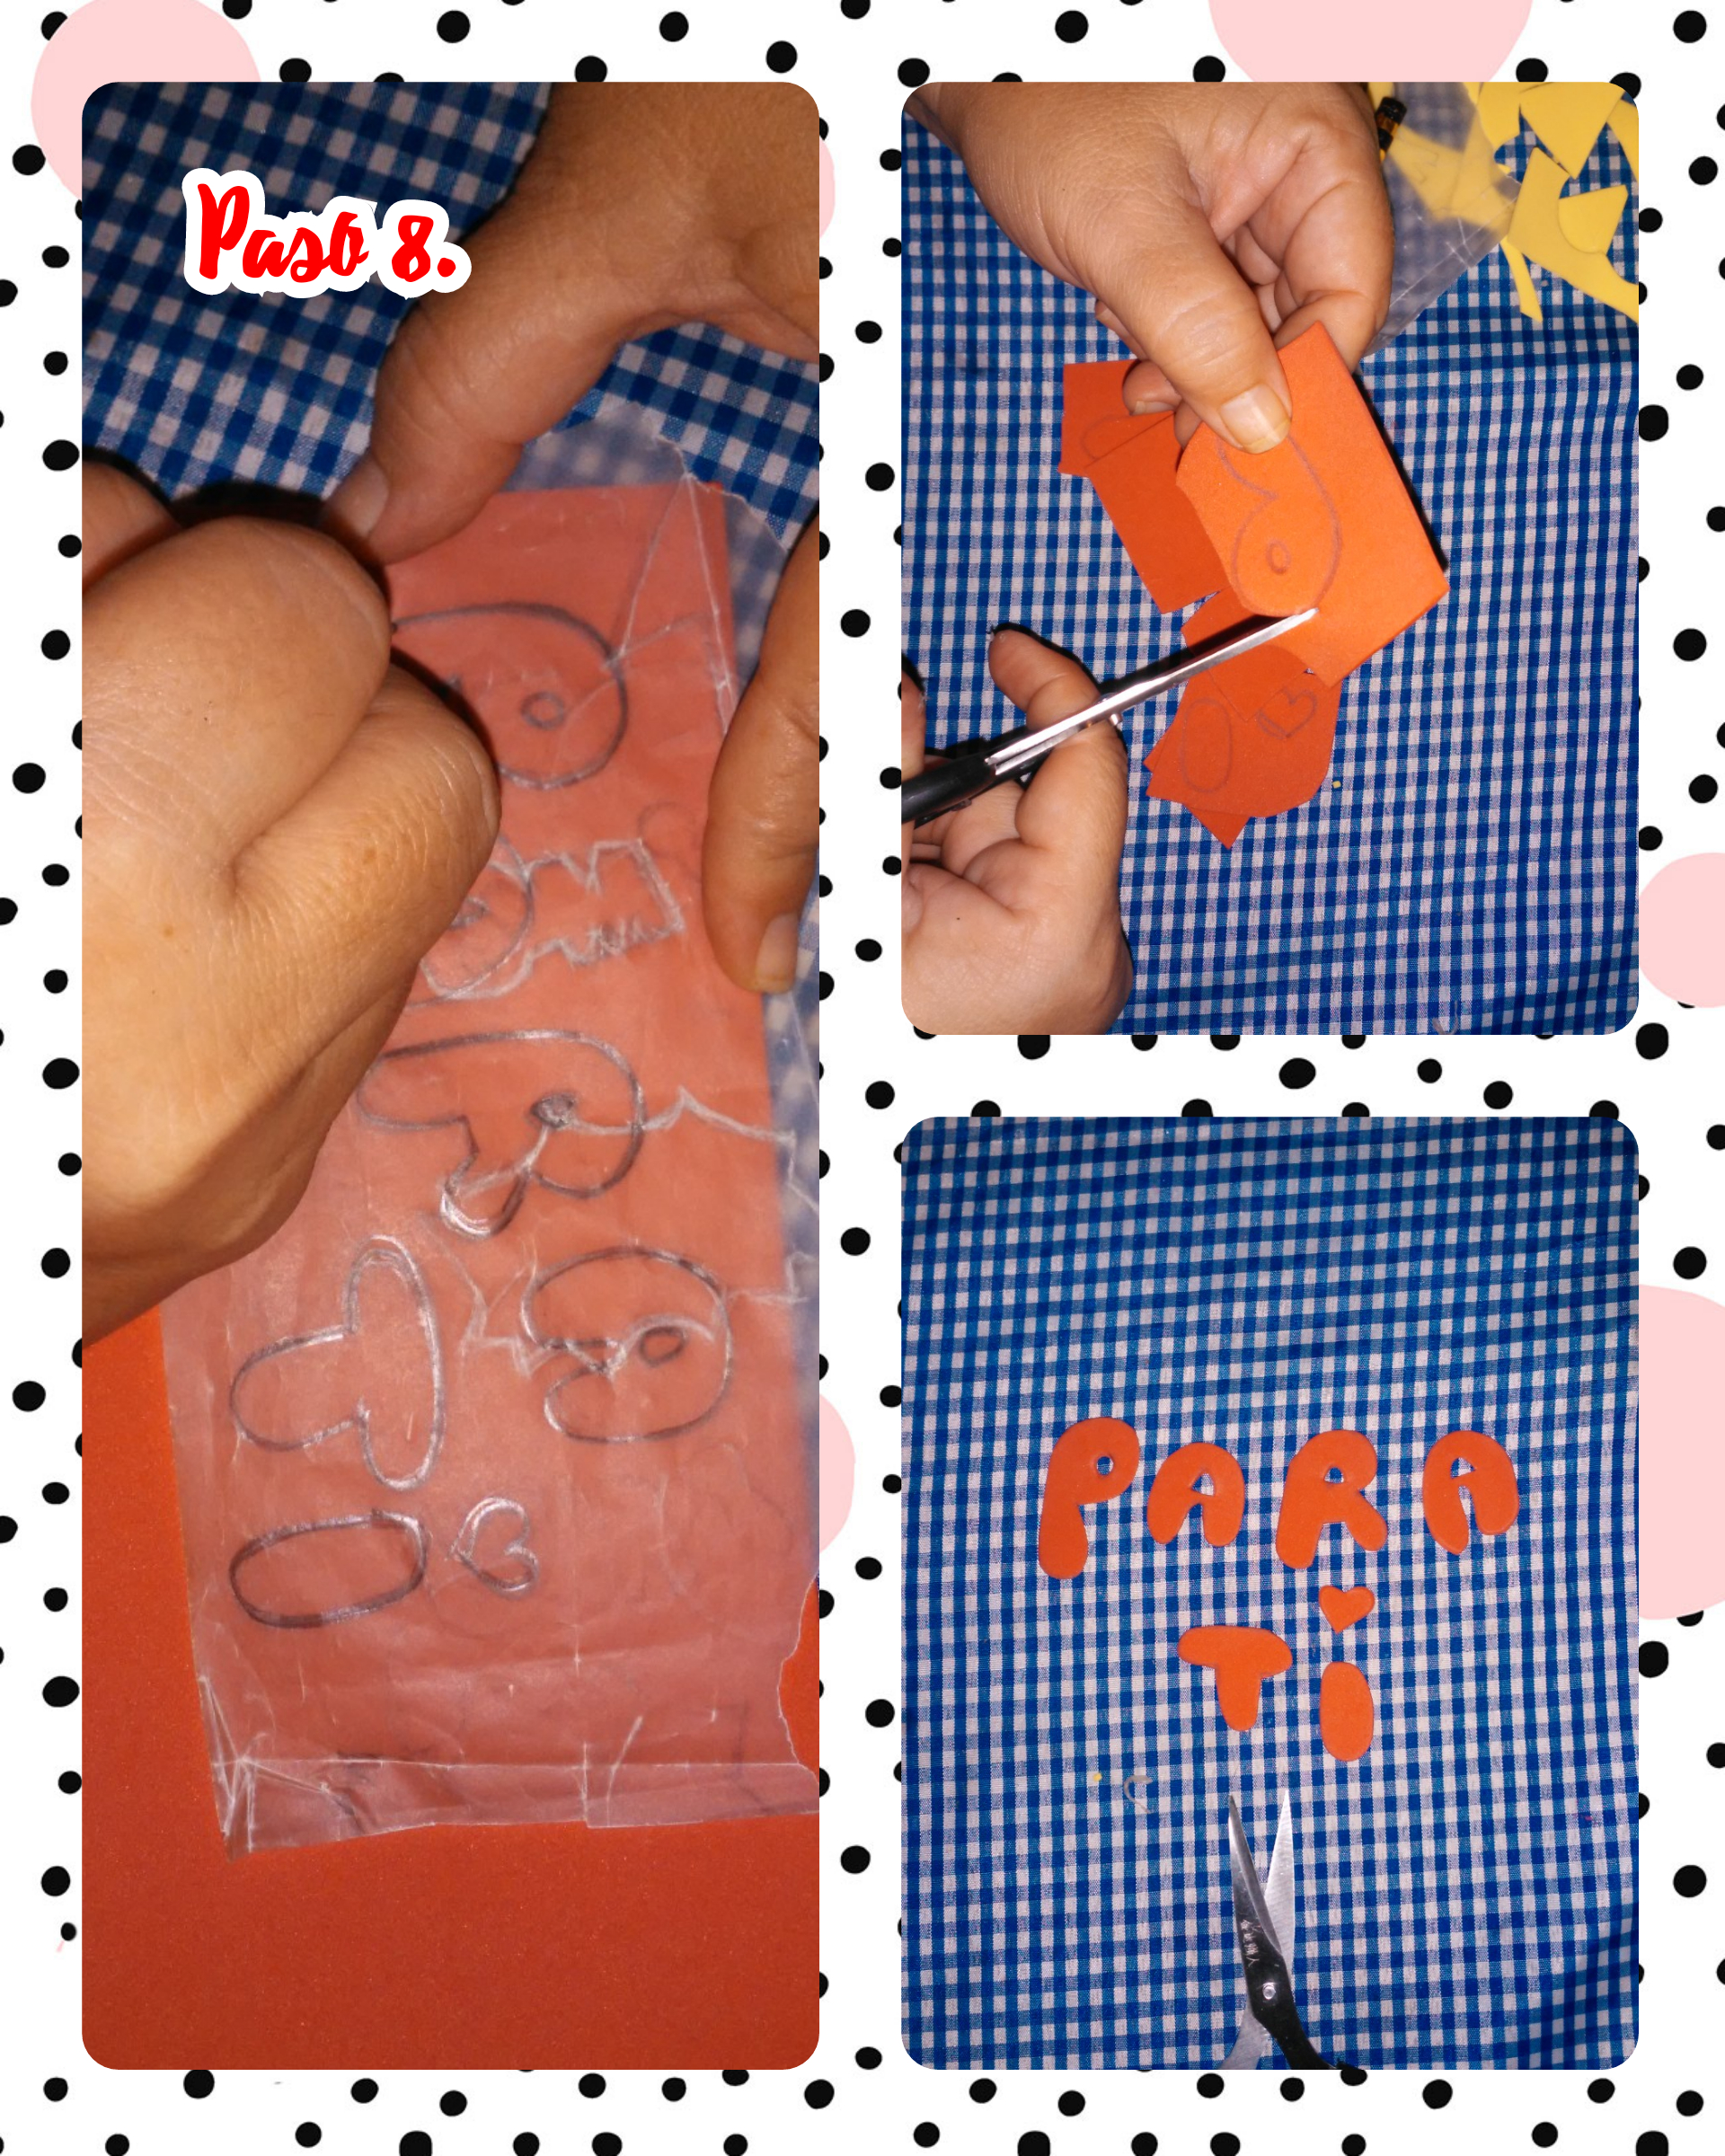
Step 8. With the pattern we have, we mark on a red foami, the phrase "FOR YOU" and then we cut it out. Look at the images.
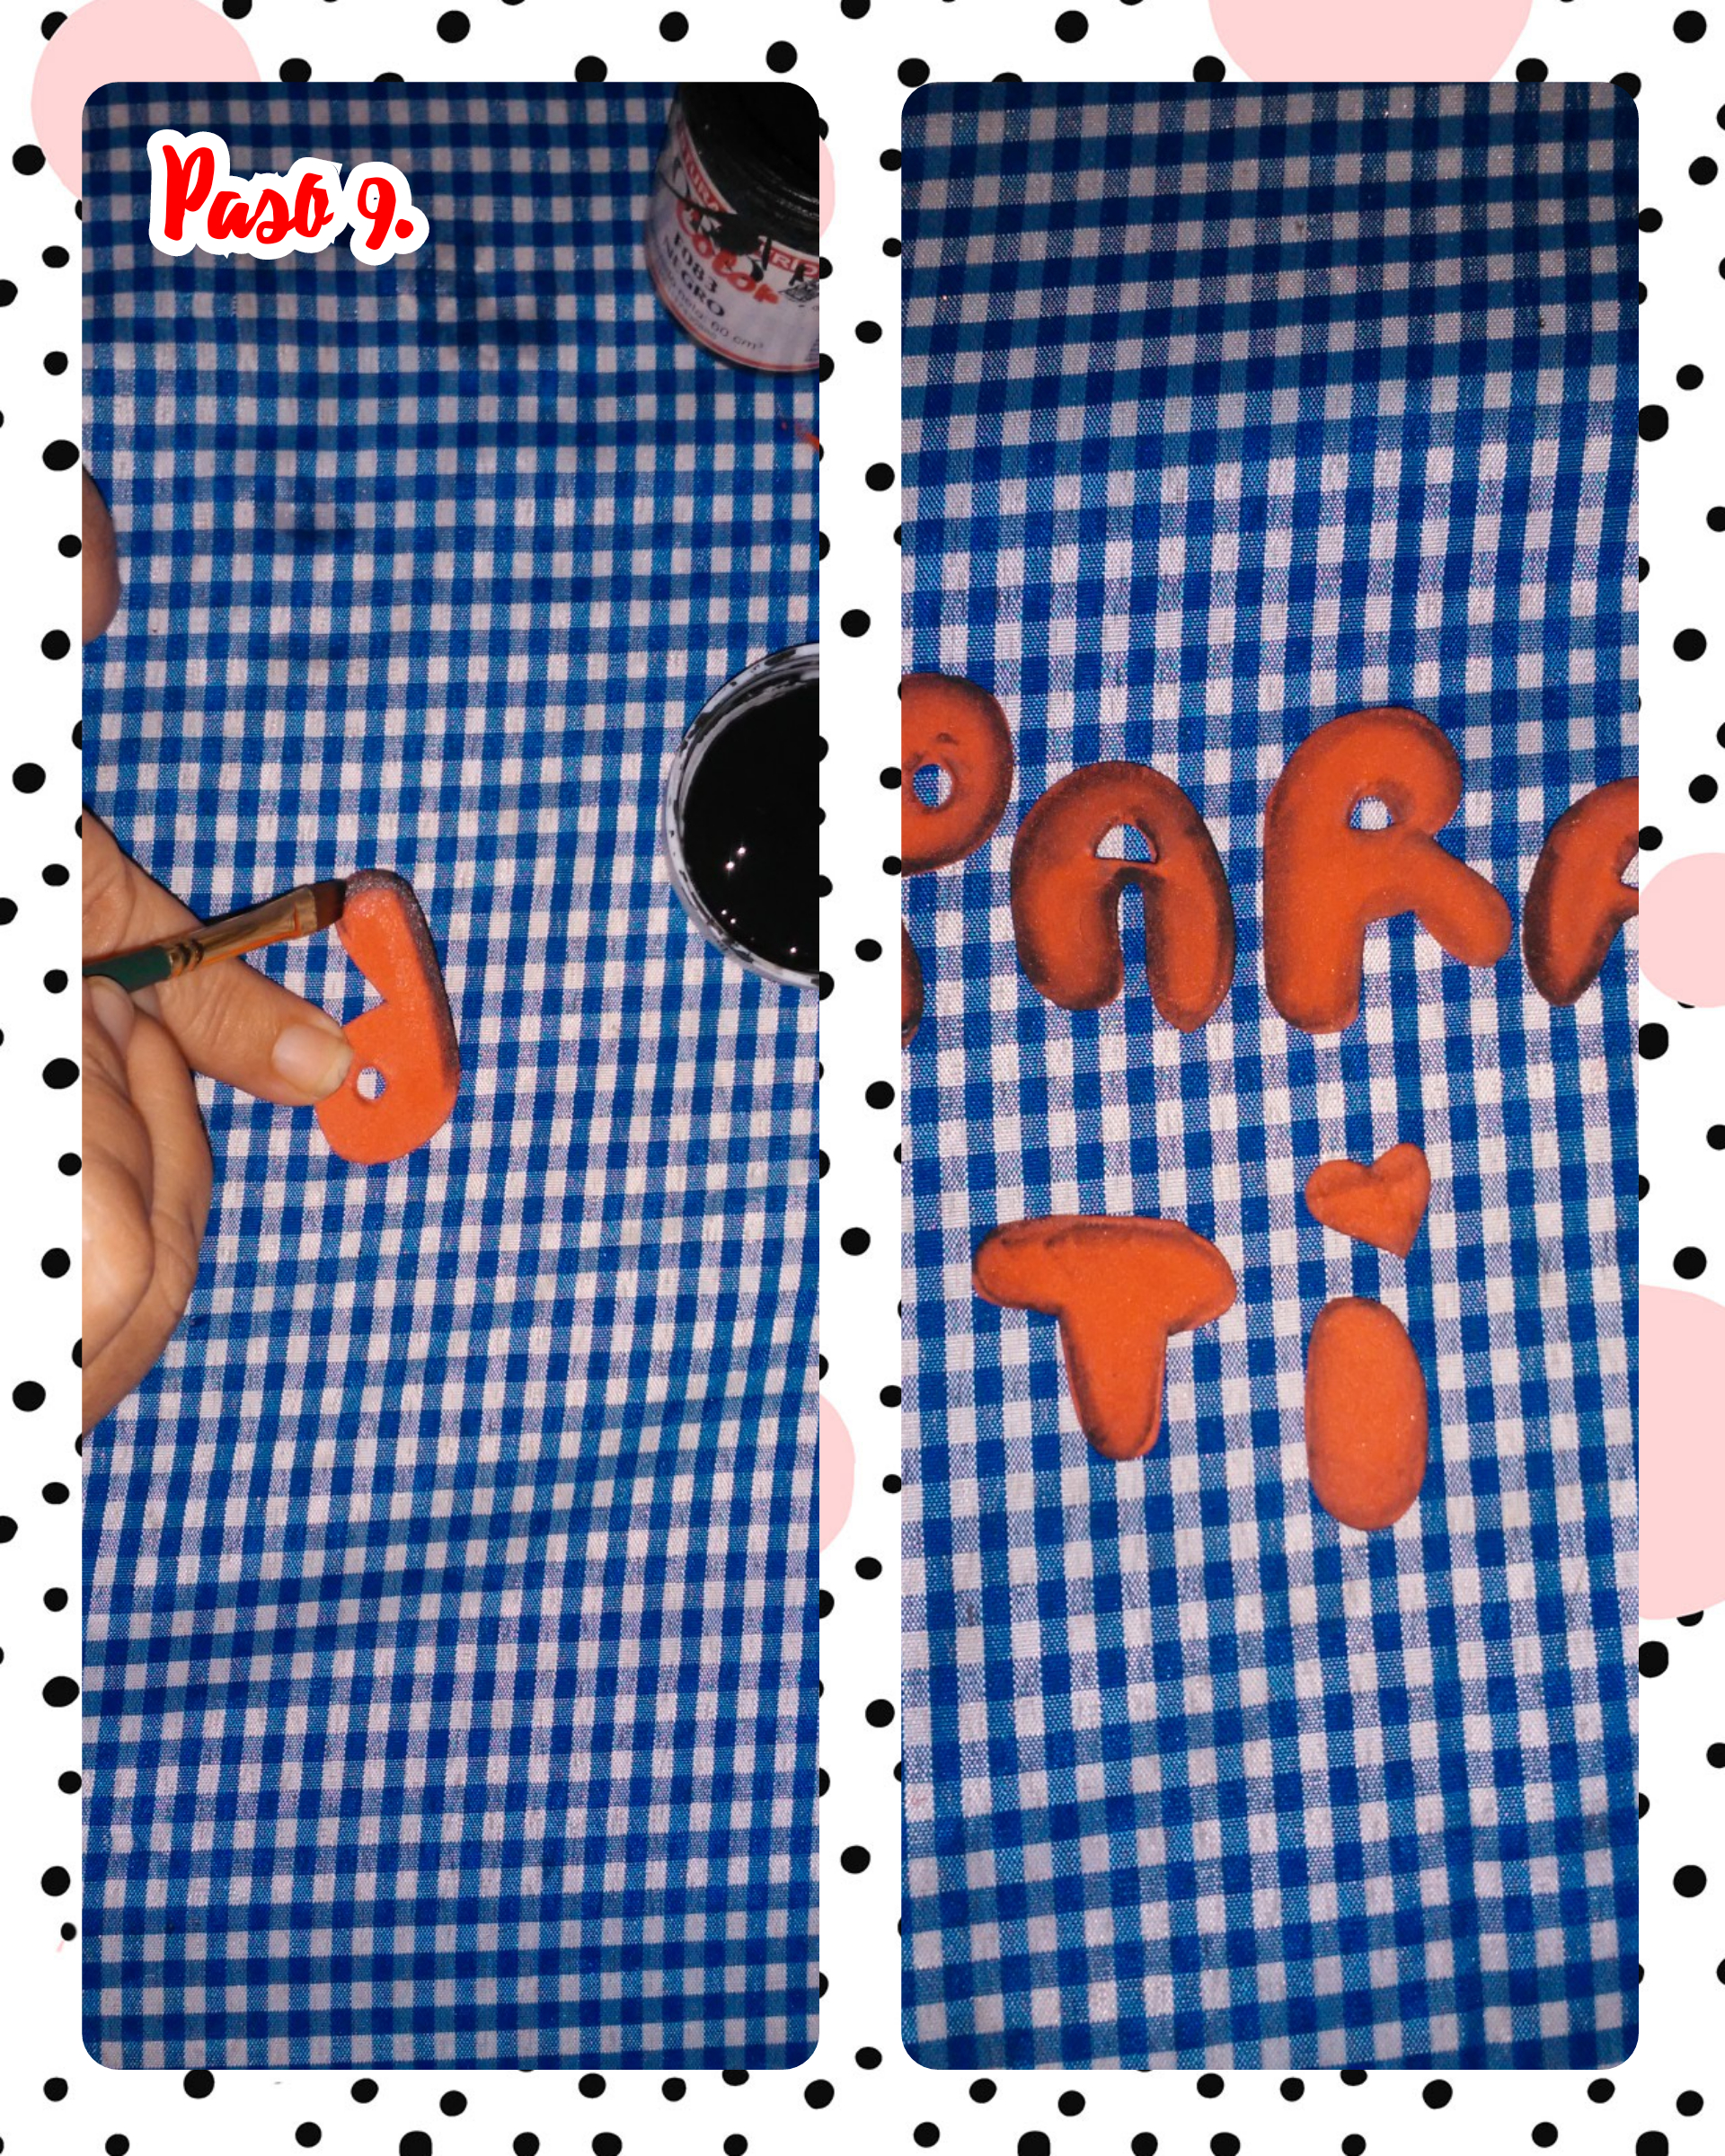
Step 9. With a black paint and an angular brush, we wet the brush at the tip and blur all the letters that form the phrase "FOR YOU".
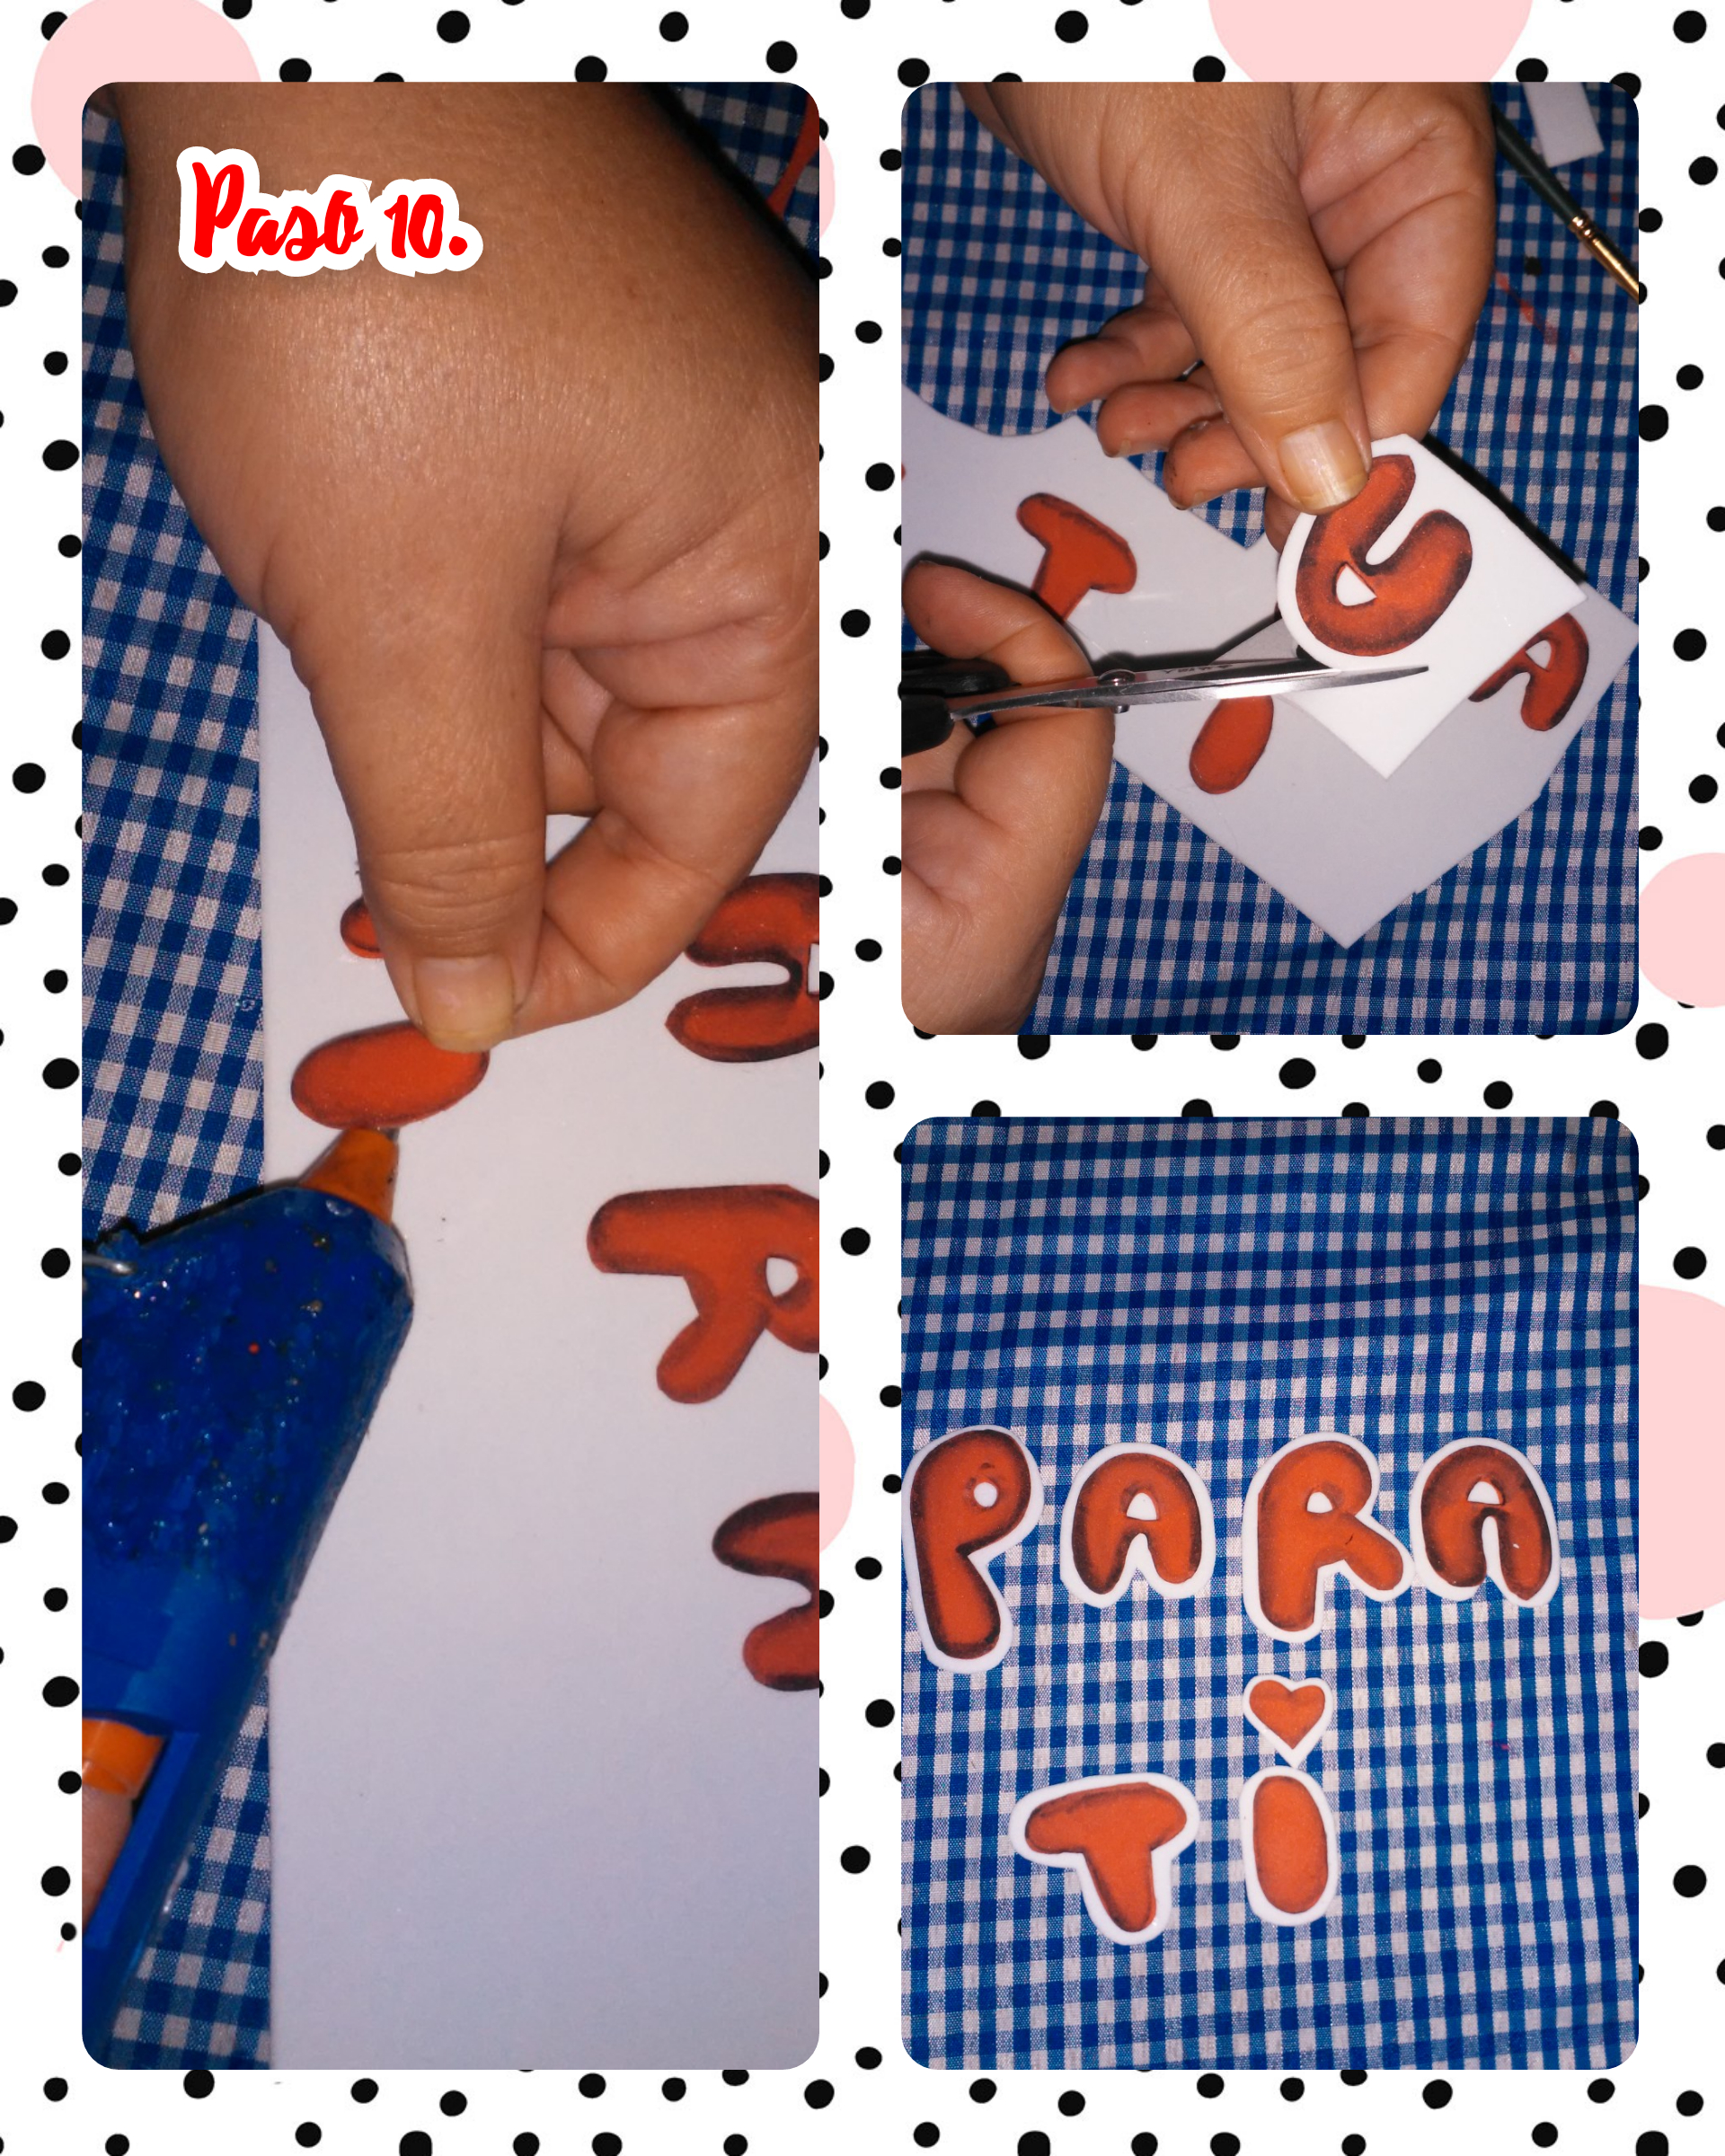
Step 10. We glue the letters with hot silicone, on top of a white foami and cut it out, leaving half a centimeter of distance on the edge.
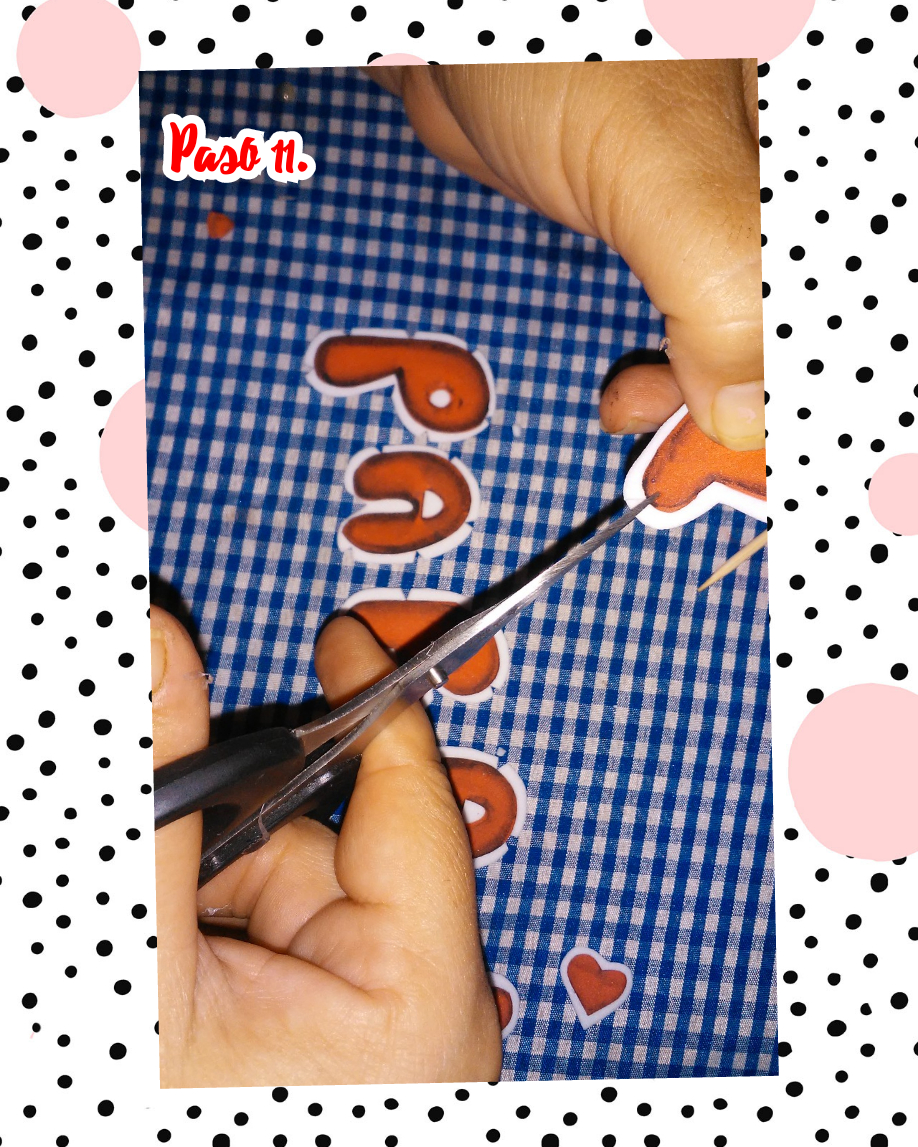
Step 11. Using the tip of the scissors, fringe the edge of each letter.
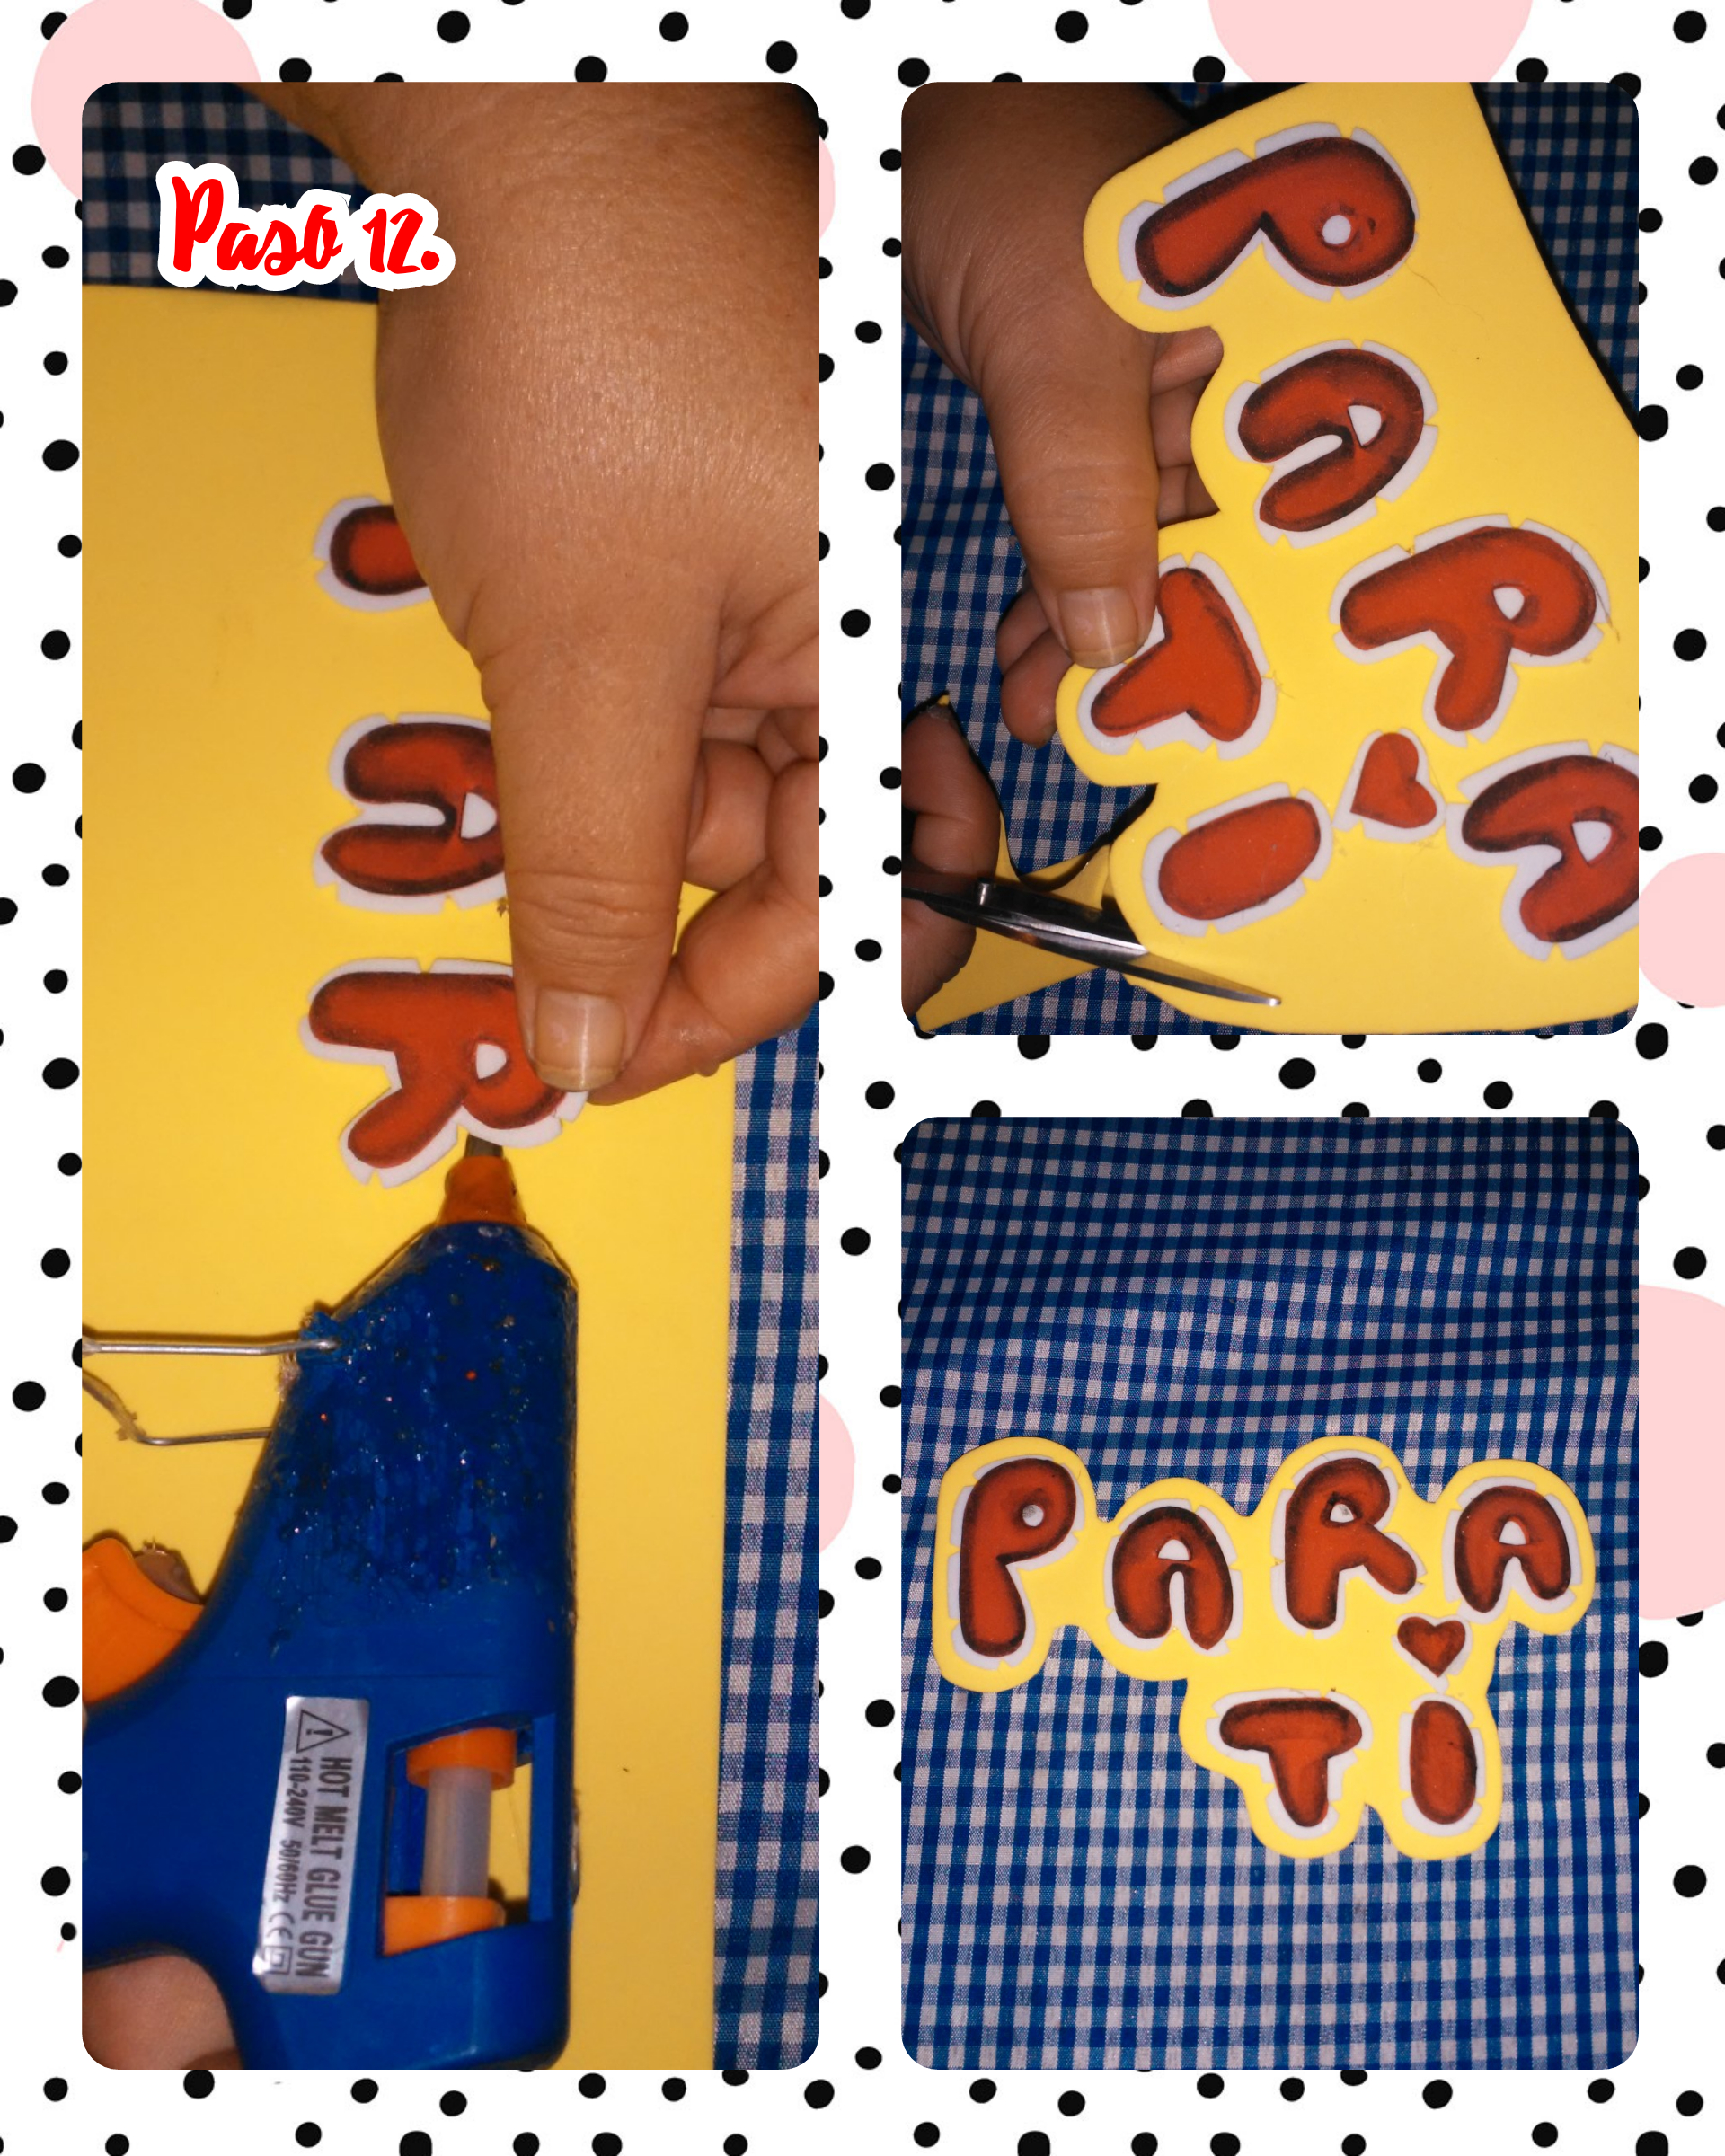
Step 12. Glue the letters with hot silicone, on top of a yellow foami and then cut, leaving a space of half a centimeter on the edge to highlight the letters.
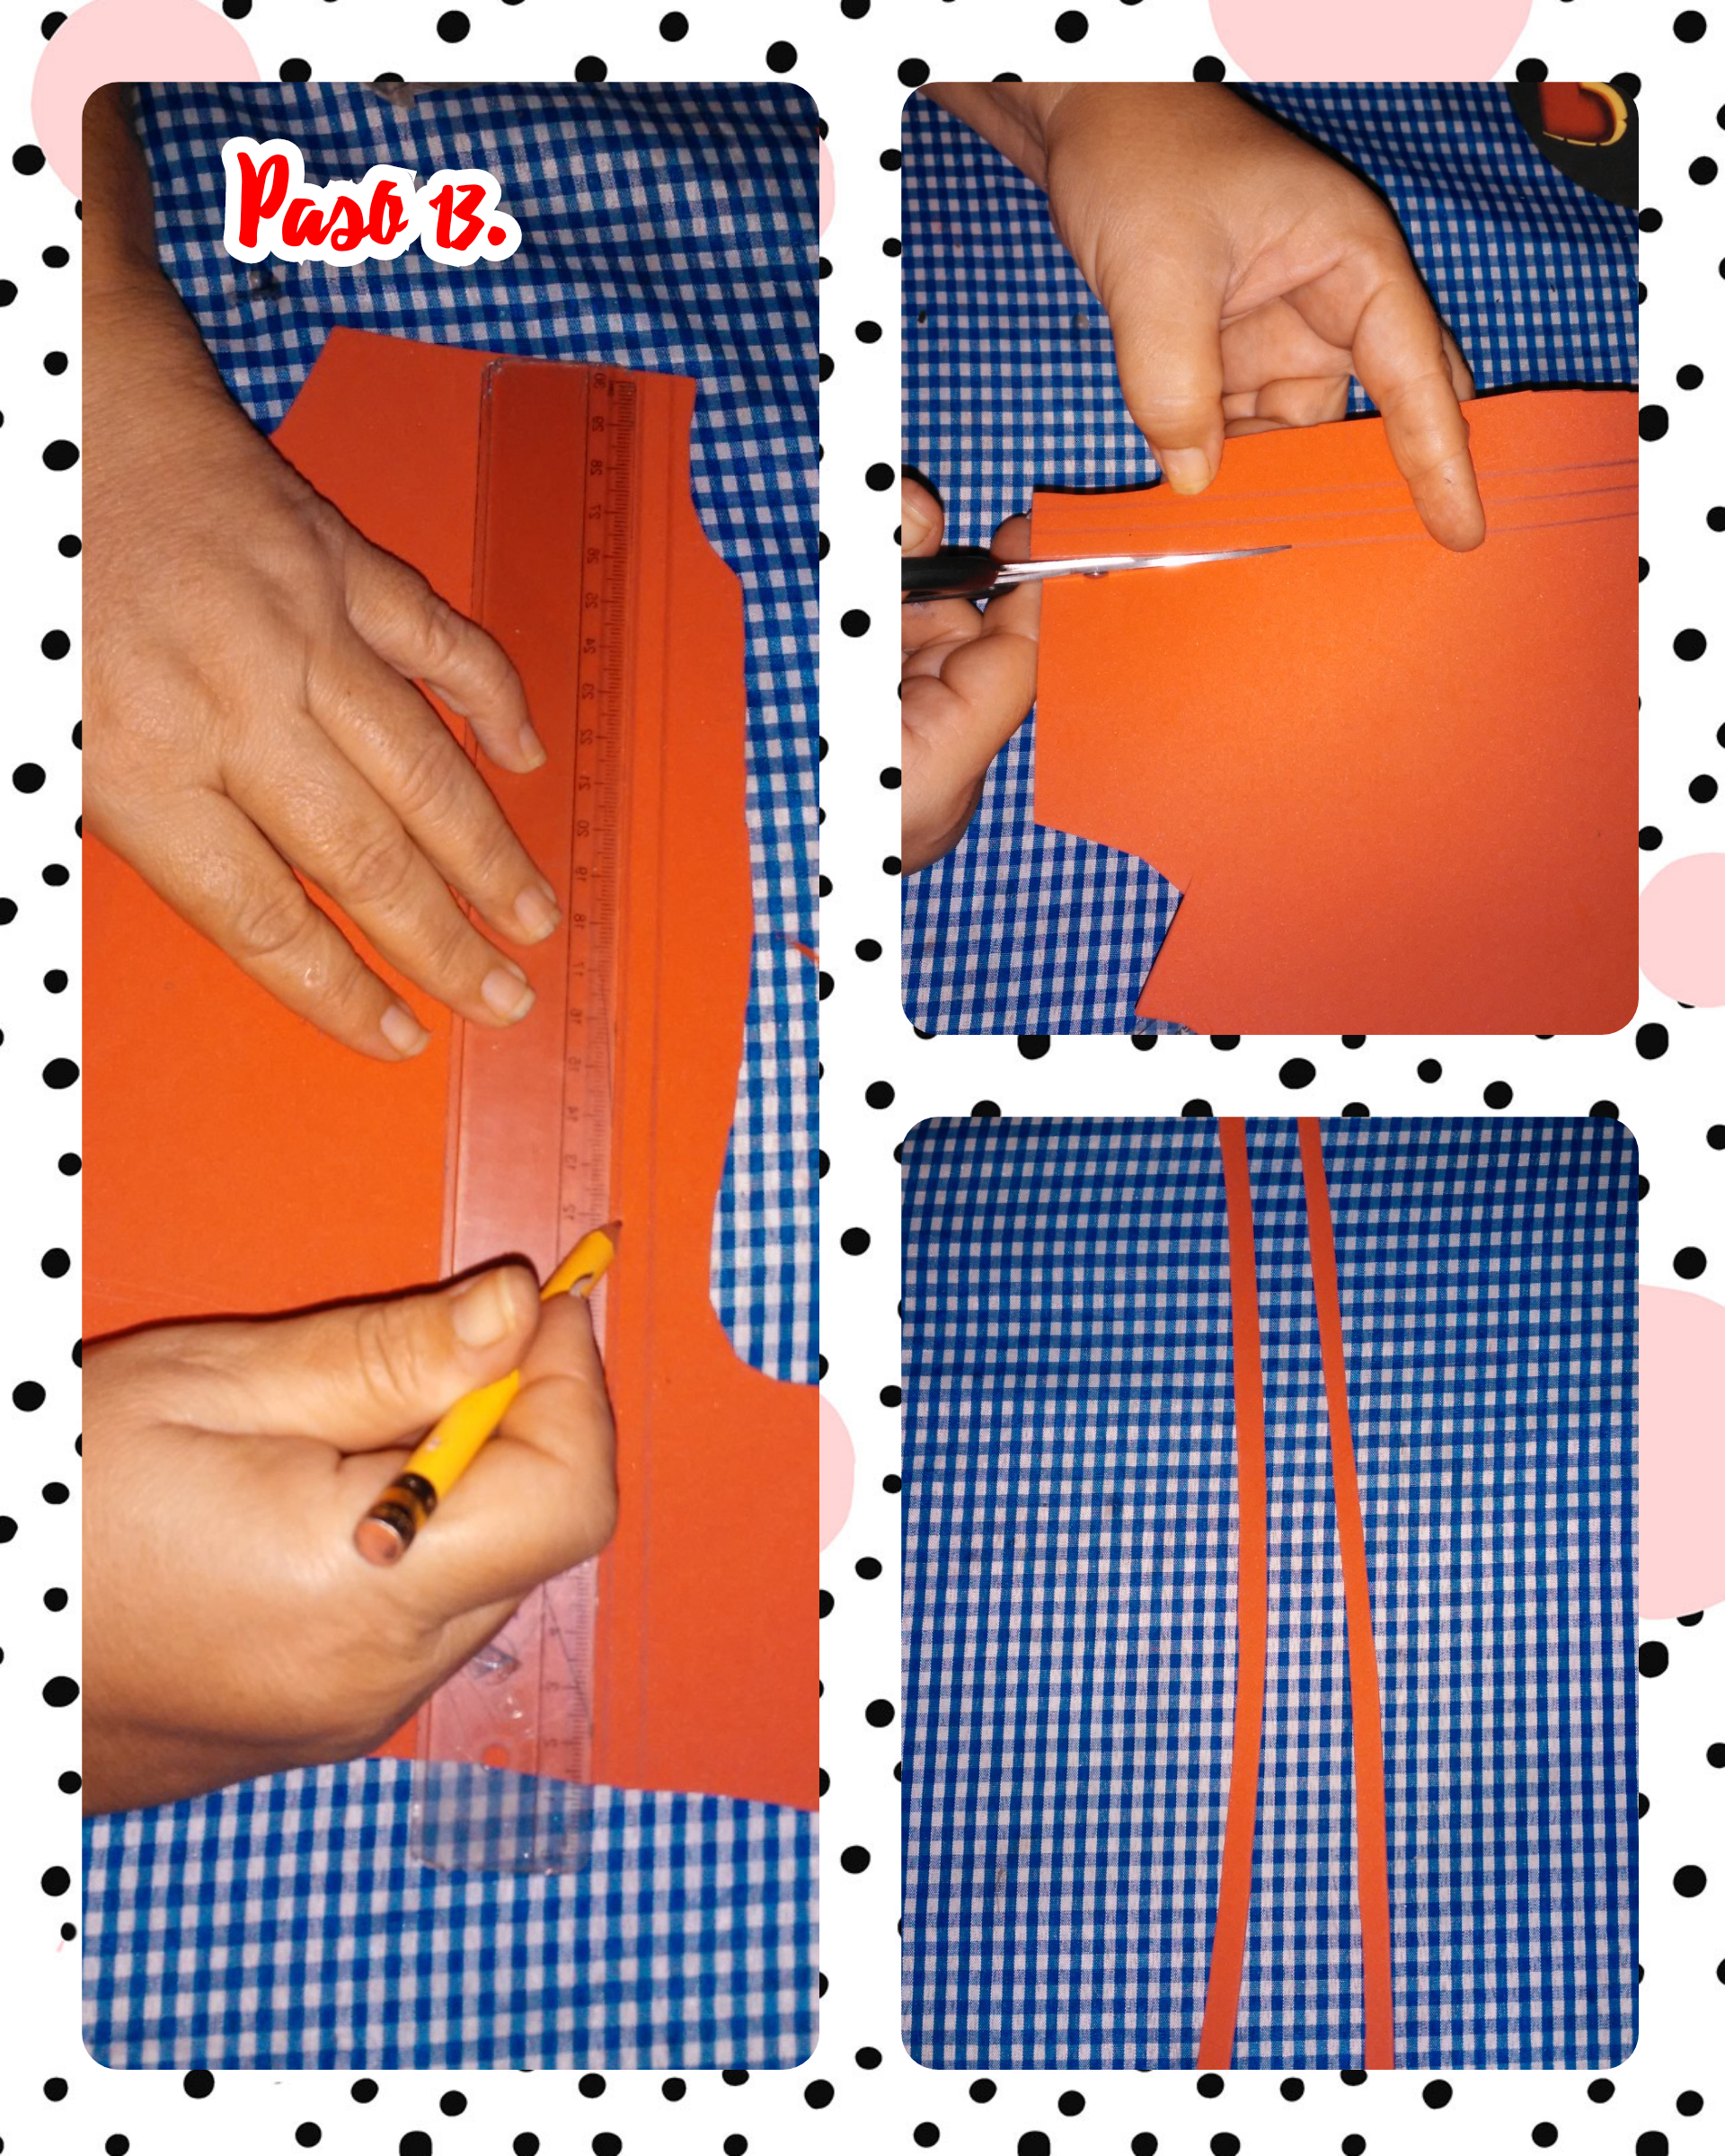
Step 13. In a red foami, we mark strips of 1cm wide regardless of the length and then cut, as shown in the images-
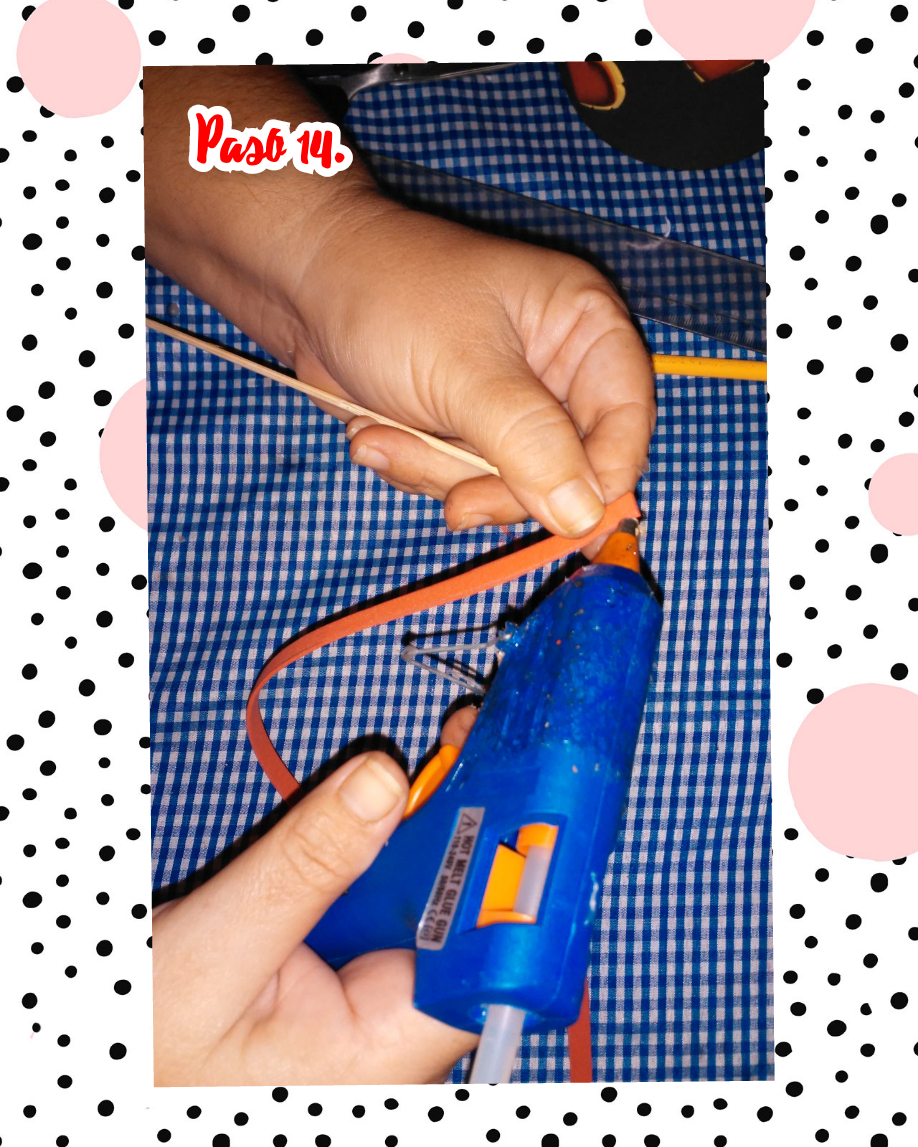
Step 14. We stick the strips on the top of the toothpick, to decorate it.
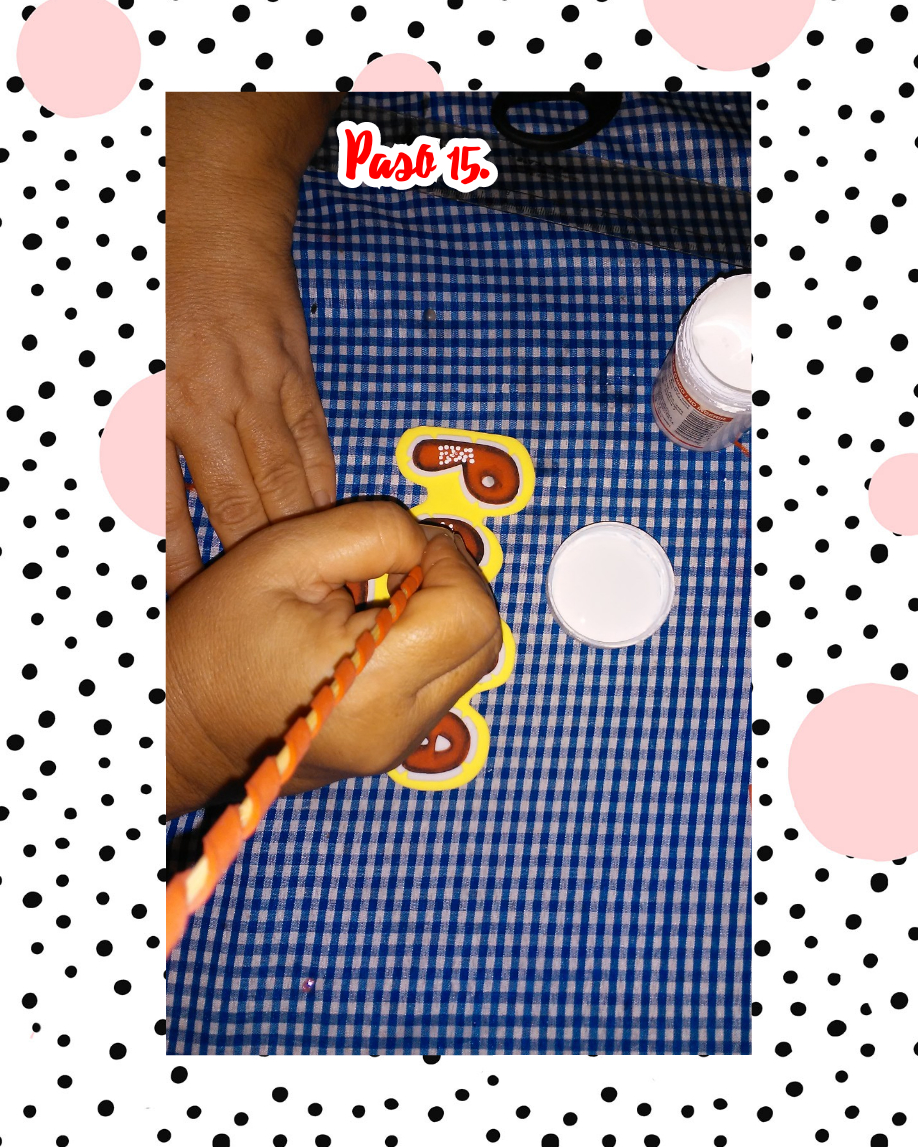
Step 15. With a white cold paint and a height toothpick, we decorate the letters and the candy, so that they look more striking because the white color gives light to all work to be done.
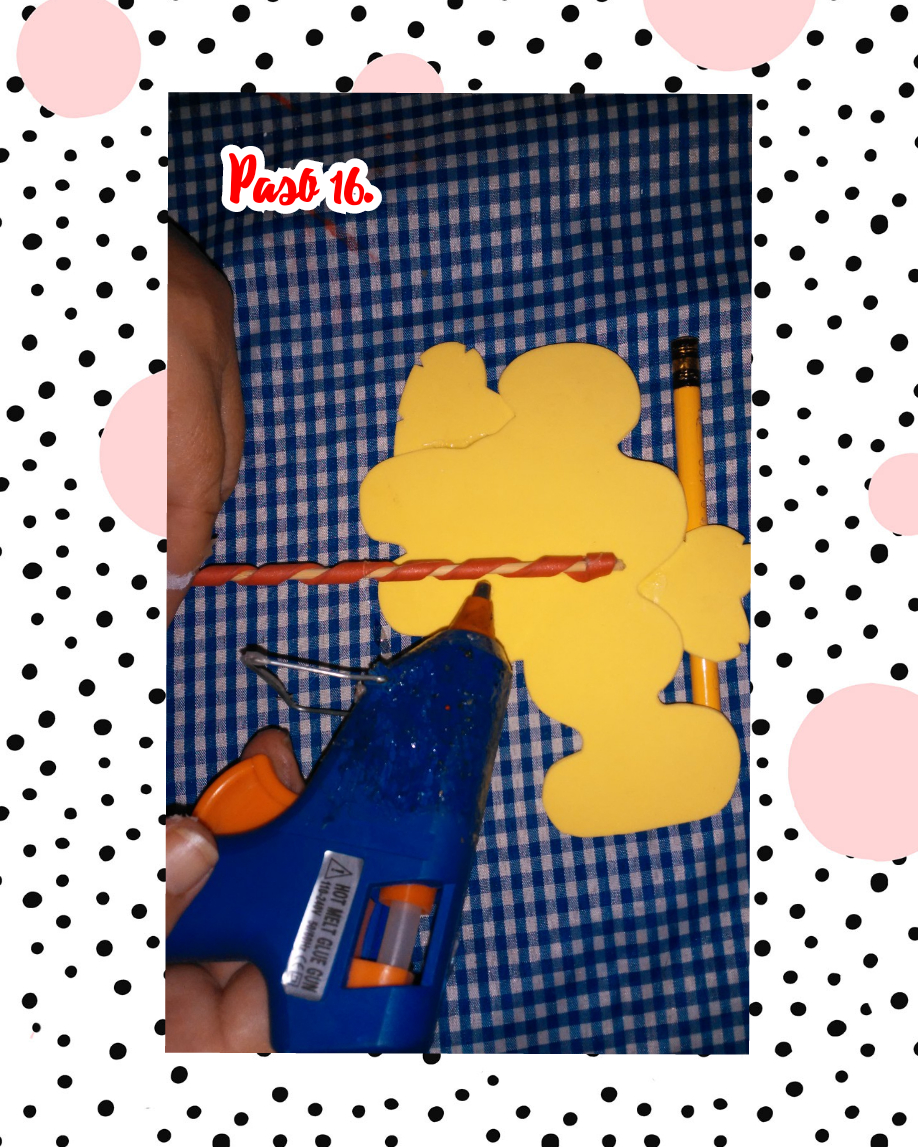
Step 16. We stick the previously decorated height stick on the back of the phrase "FOR YOU" with hot silicone.
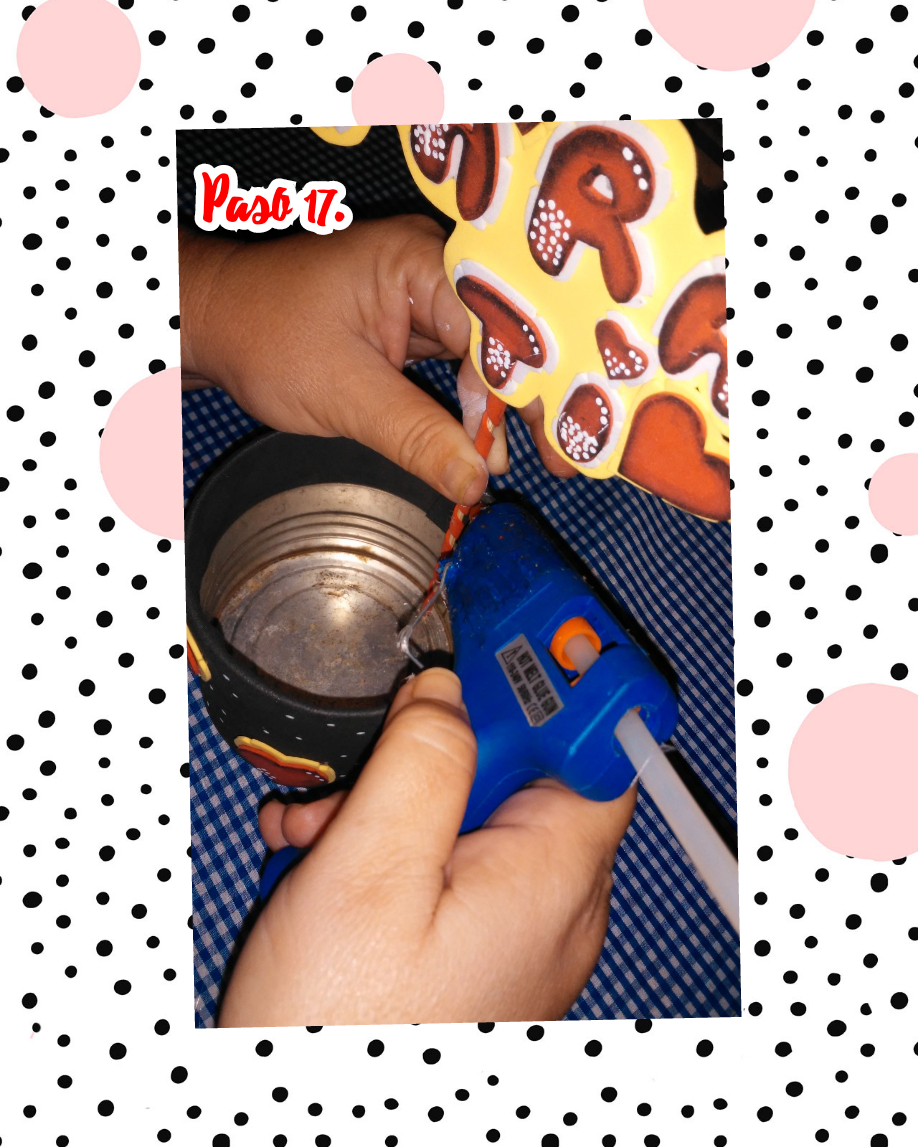
Step 17. Hot glue the talker with the phrase "FOR YOU", on the inside of the can that would be the candy box.
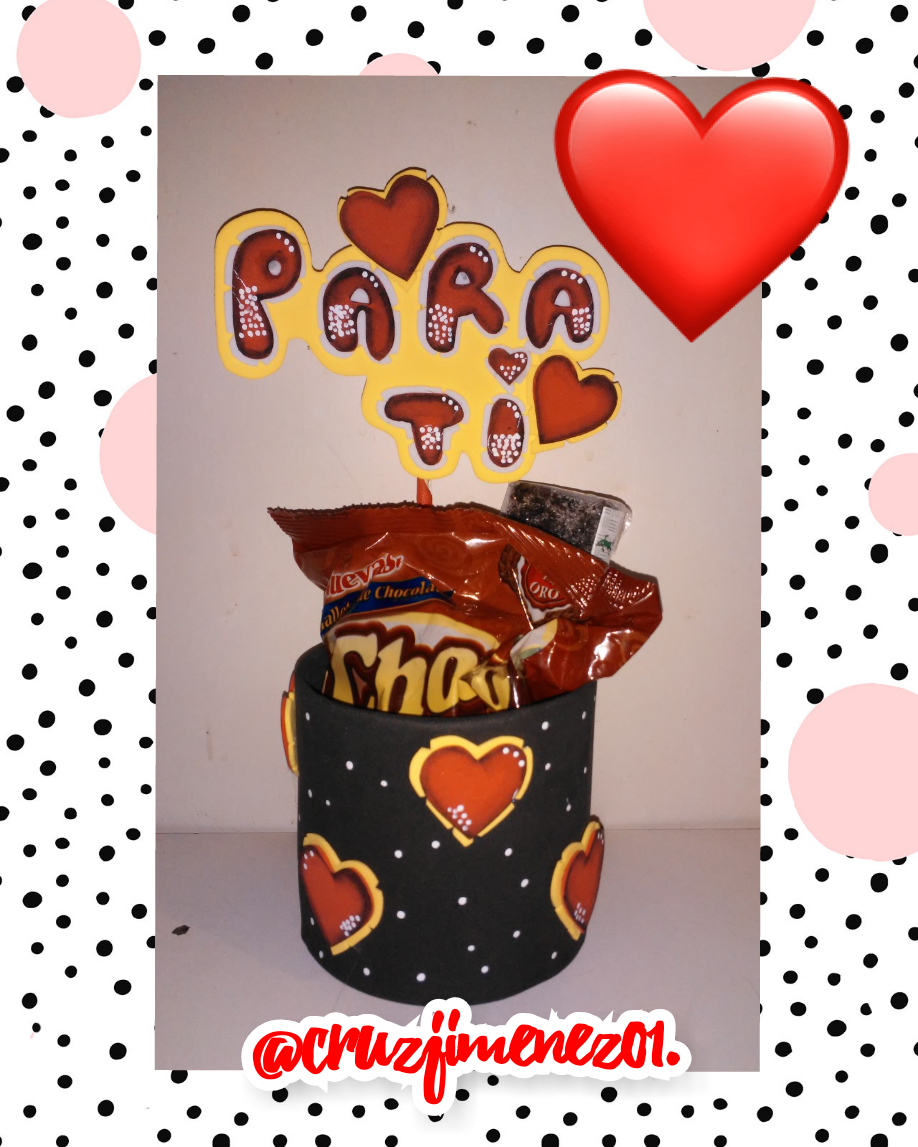
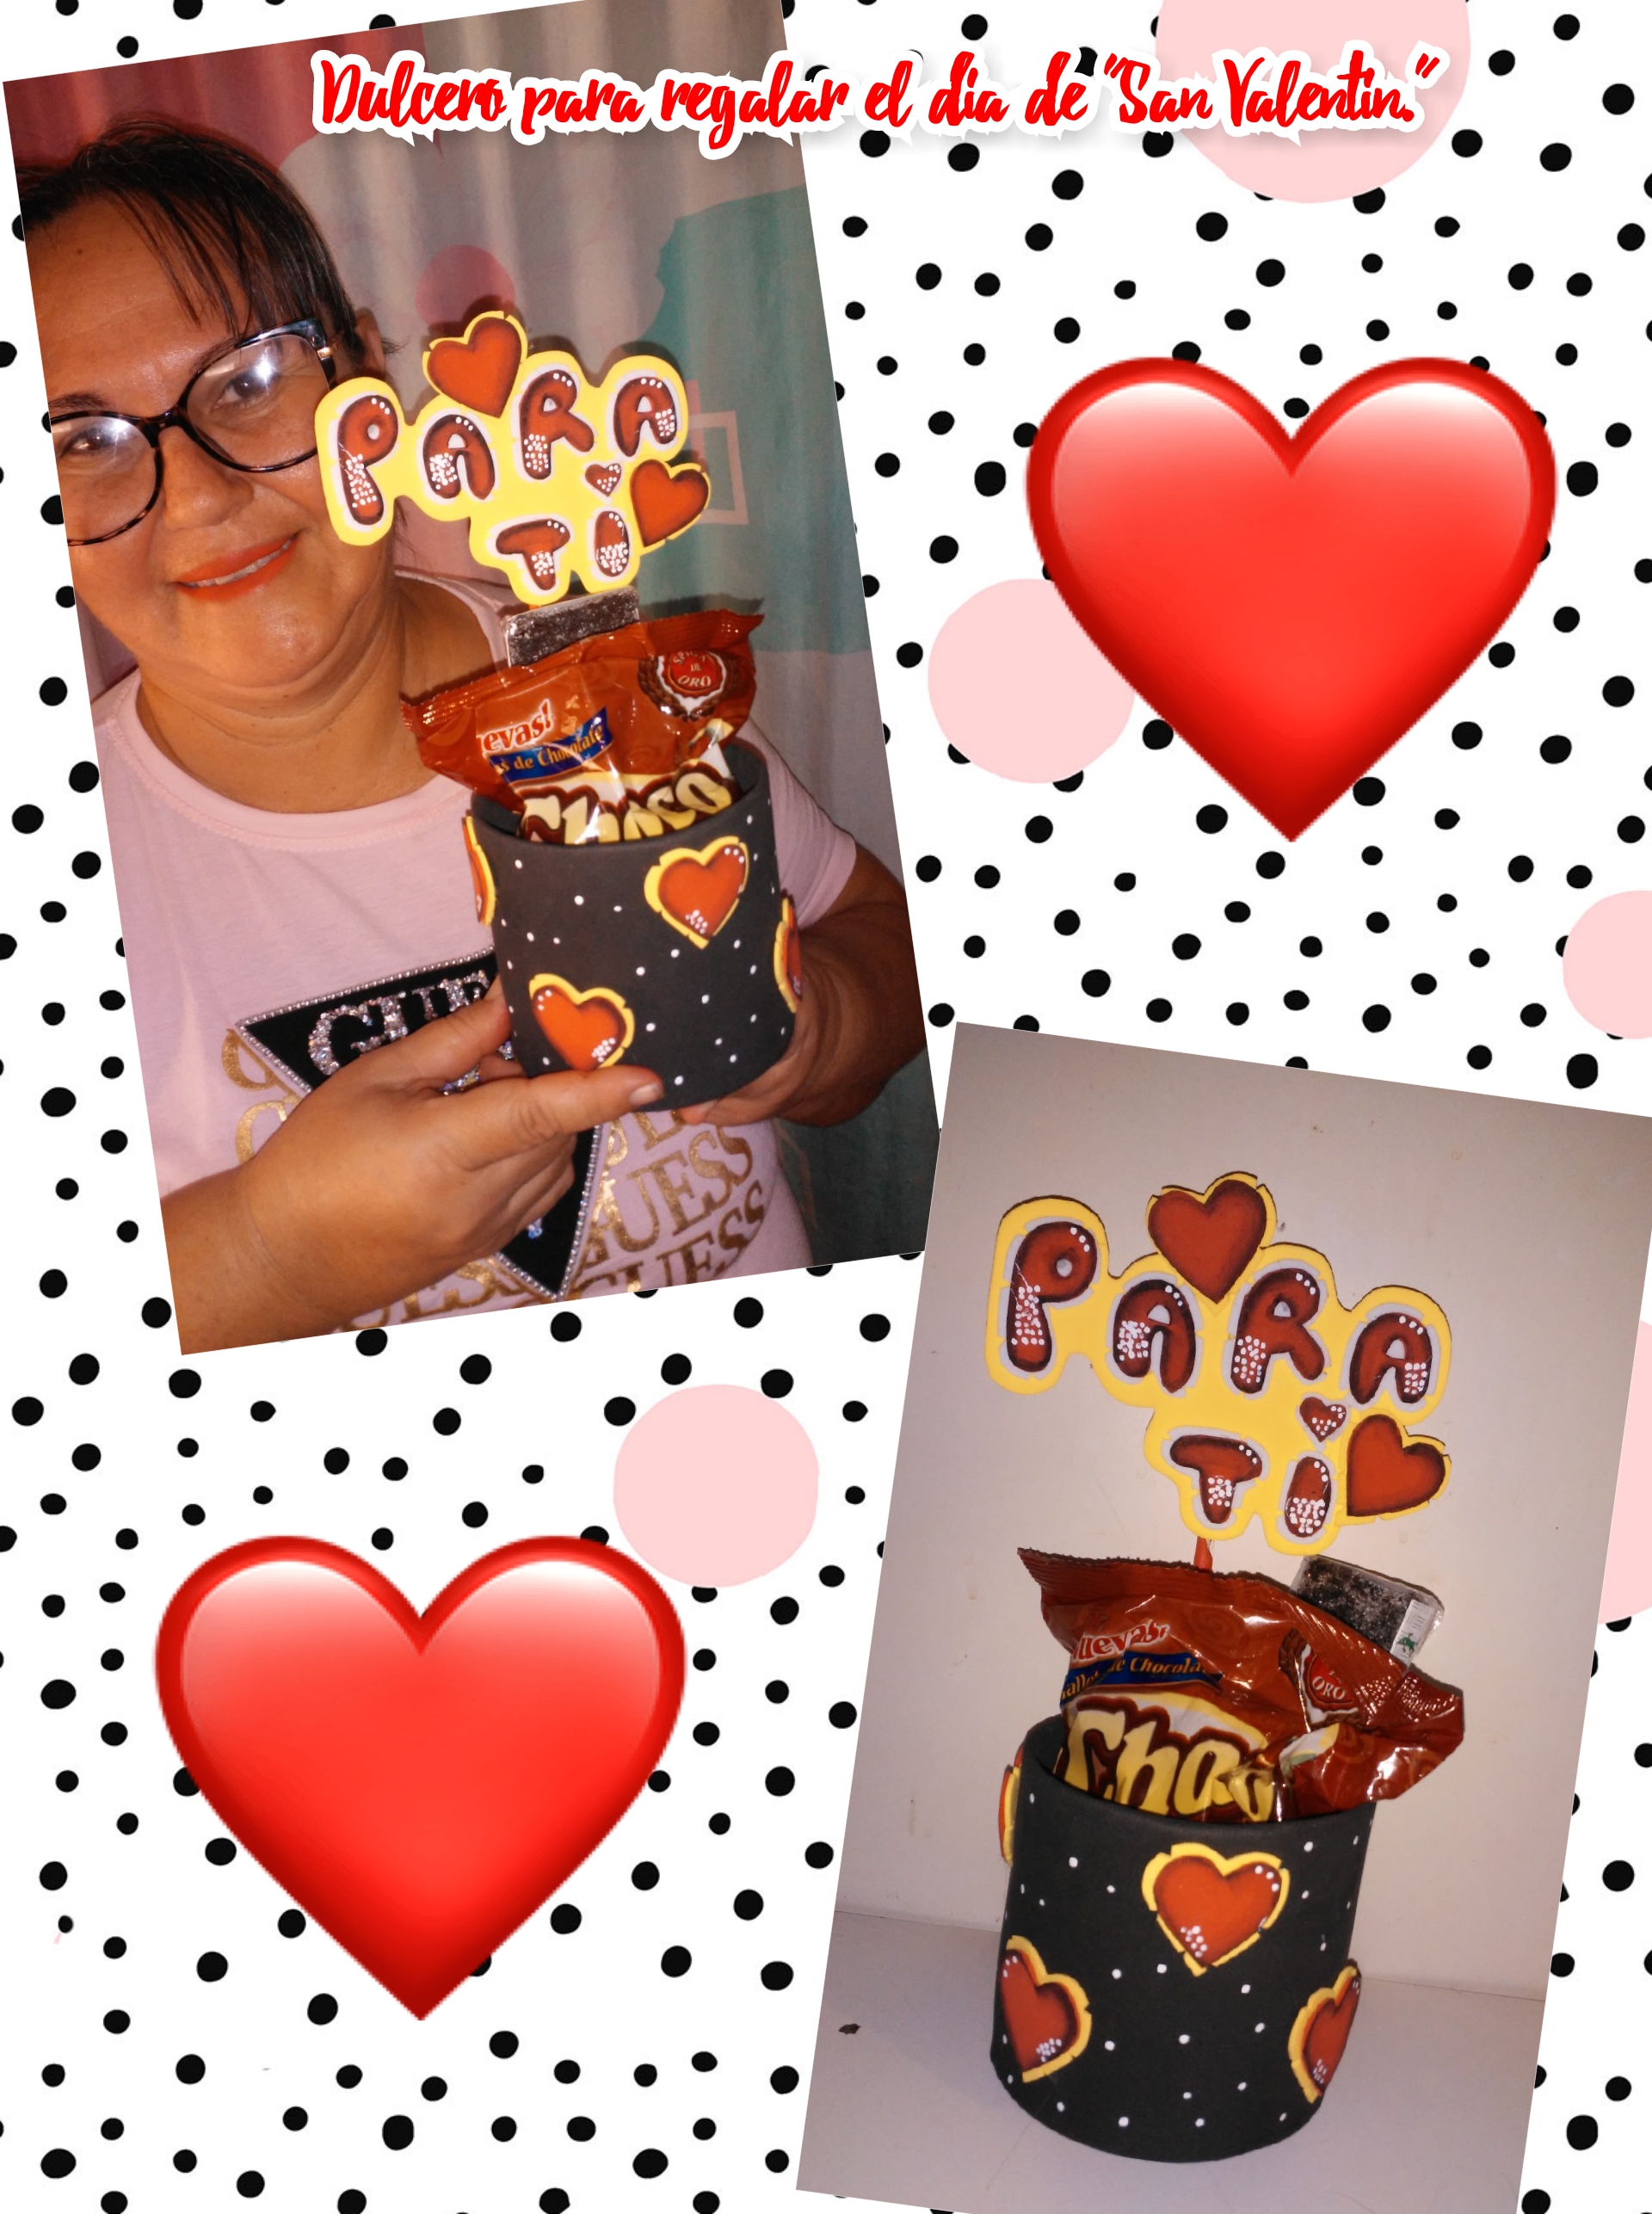
And once all the steps have been completed, this has been the result of a beautiful candy box, made with recyclable material, ideal to fill it with sweets and give it to that special person that day that is not long to come, "Valentine's Day", I hope you liked it, and thank you very much for watching until the end, see you soon with another creative idea. Have a happy day and God bless you all.
Las fotos fueron tomadas con un telefono android LG K9-1823 y editadas con la aplicacion Collage Maker.
The photos were taken with an LG K9-1823 Android phone and edited with the Collage Maker app.
Esta muy bonito, especialmente en estas fechas que siempre toca dar un detalle o algún intercambio por el día de la amistad
Gracias, me alegro mucho que te haya gustado.
Such a cute and festive little project. Thanks for sharing this with us. I love the fact that these are all easy-to-find materials.
Cheers!
Te quedo muy bonito
Que cuchi te quedo, muy lindo para dar de detalle a esa persona especial que todos tenemos.