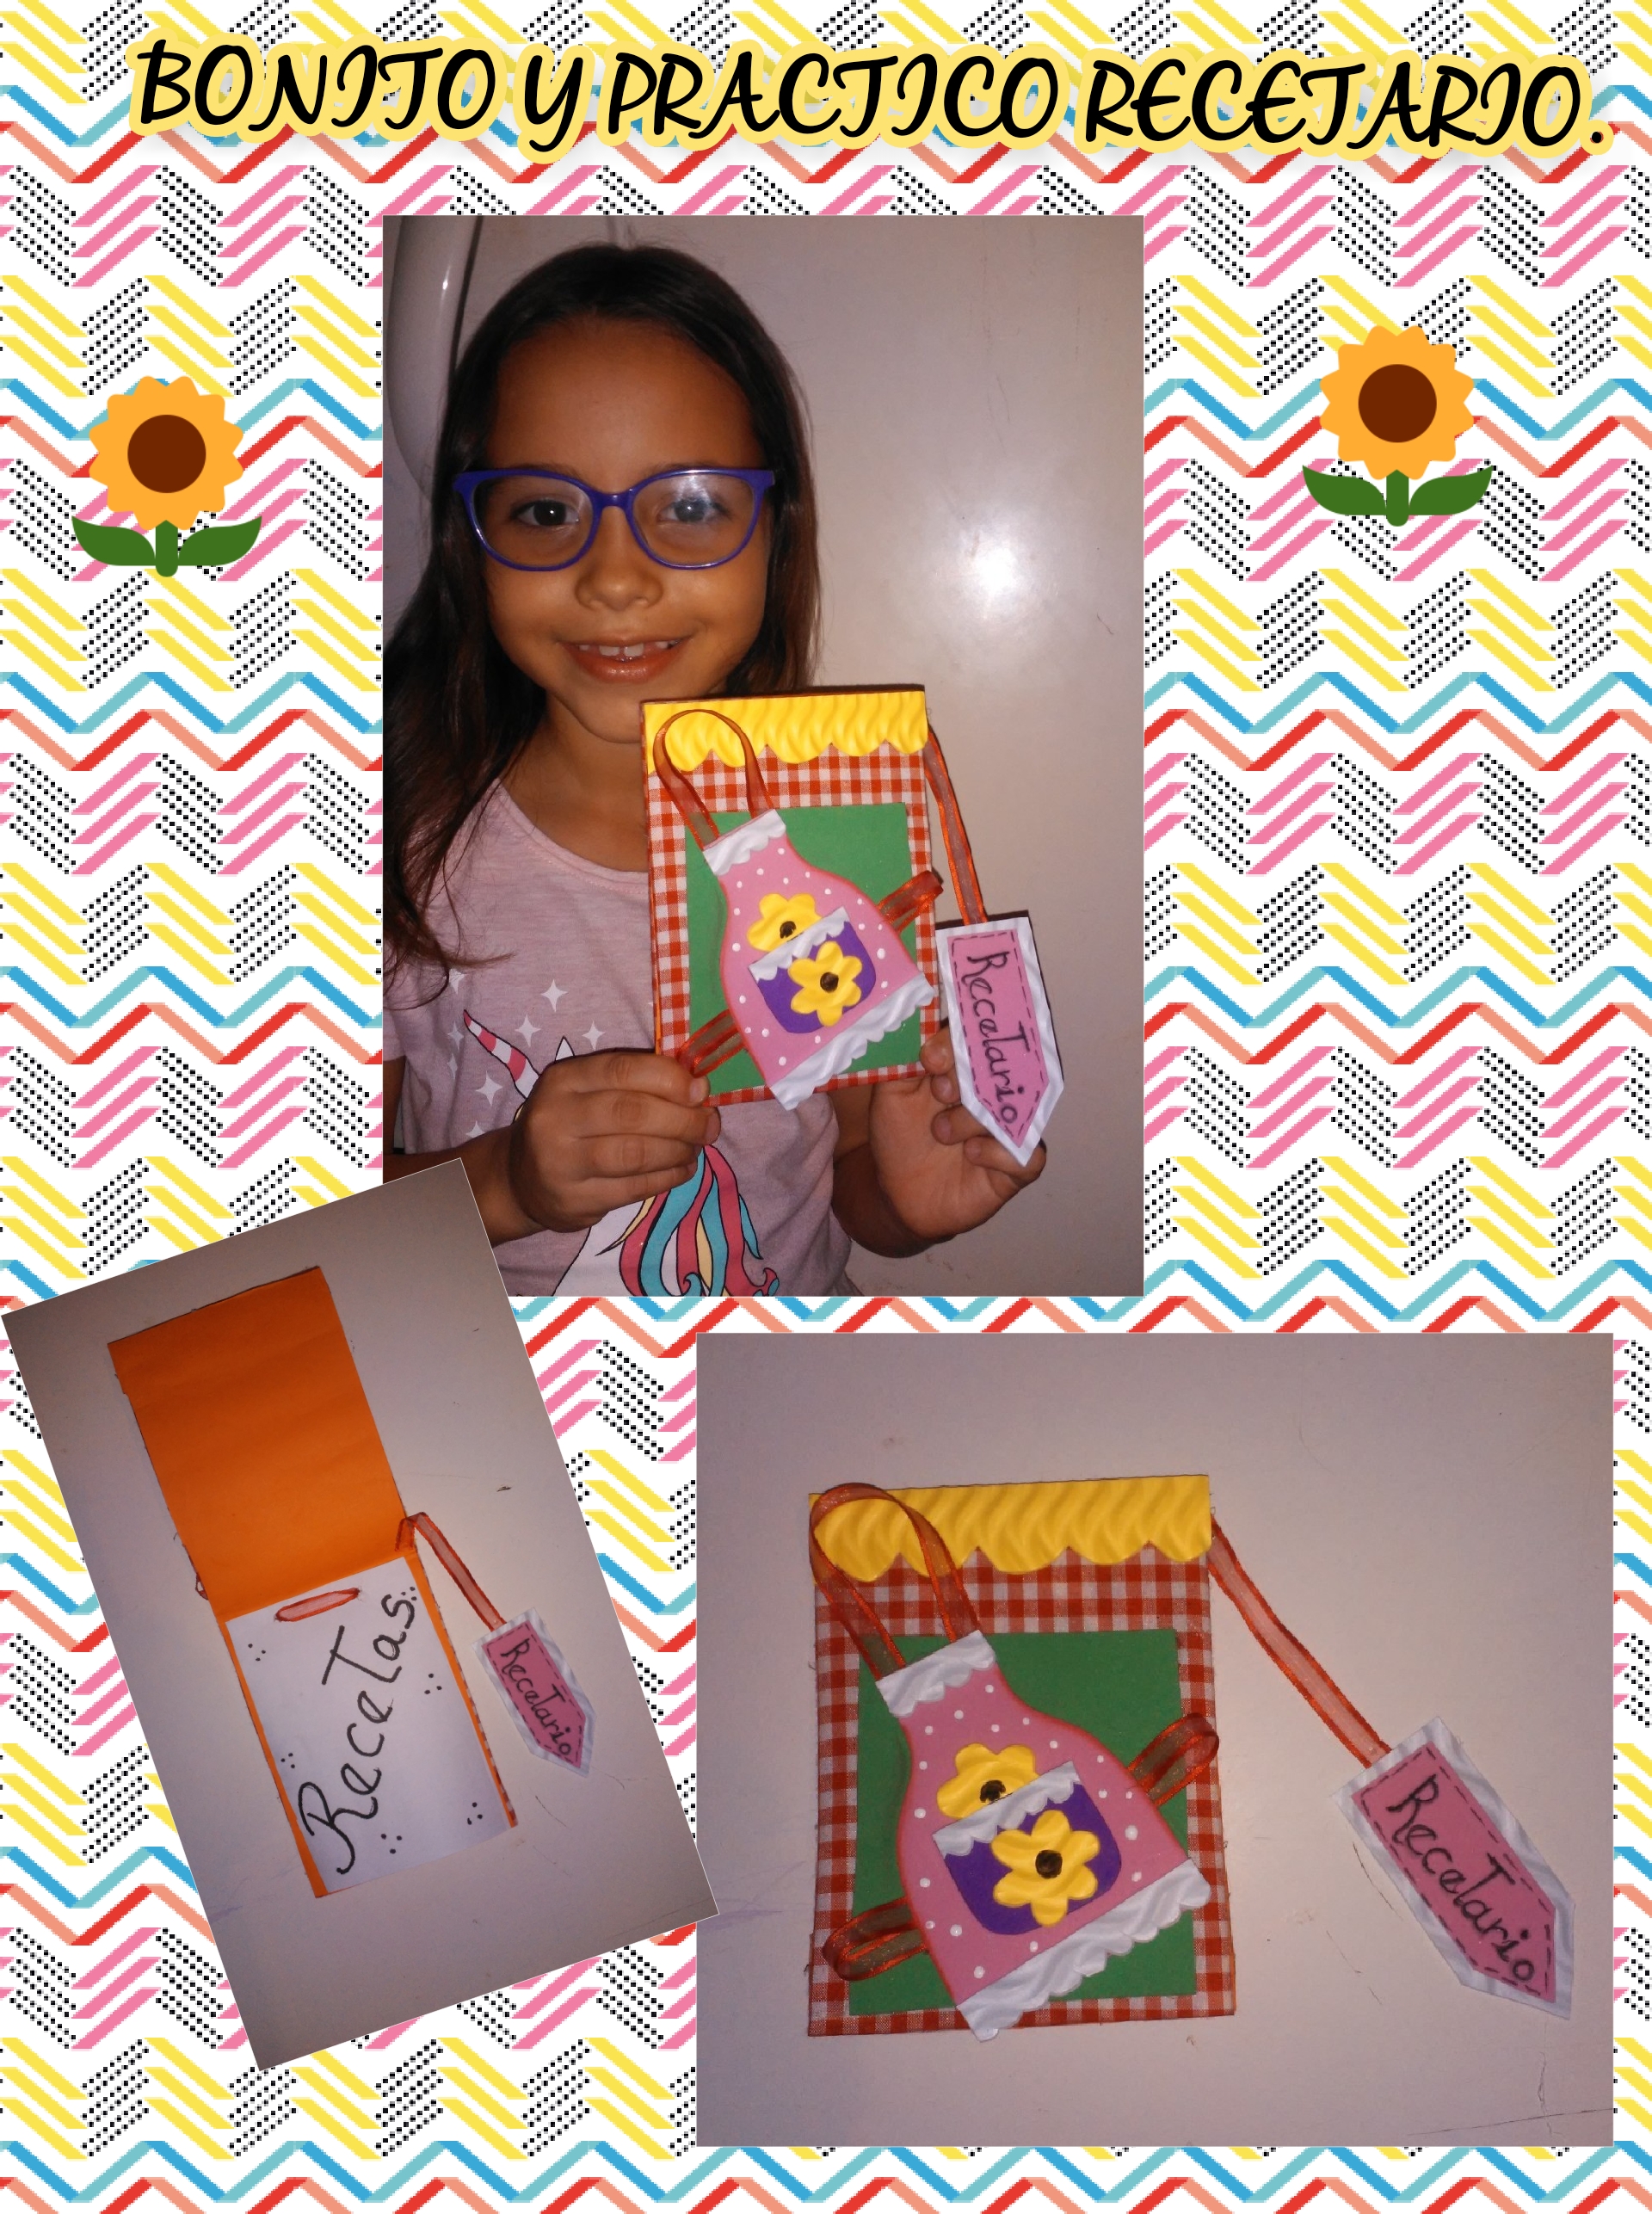
Buen día y feliz fin de semana, hermosa comunidad Hivediy, reciban de mi parte un fuerte abrazo y espero que estén muy bien, Dios los bendiga a todos. Como siempre les traigo un divertidísimo paso a paso donde les voy a mostrar como elaborar un bonito, práctico y llamativo recetario, para que nunca más pierdan sus recetas de postres y comidas favoritas y otra opción también puede ser para guardar sus recetas médicas, este recetario lo van a disfrutar para tomar sus notas y aprendiendo a hacer las más fáciles y deliciosas comidas. No me queda más que invitarlos a disfrutar de este divertido paso a paso, manos a la obra y comencemos con la elaboración de este bonito, práctico y llamativo recetario.
Good day and happy weekend, beautiful Hivediy community, receive a big hug from me and I hope you are very well, God bless you all. As always I bring you a hilarious step by step where I am going to show you how to make a beautiful, practical and eye-catching recipe book, so that you will never lose your favorite dessert and food recipes again and another option may also be to save your medical recipes, this recipe book They will enjoy taking their notes and learning how to make meals easier and more delicious. I have no choice but to invite you to enjoy this fun step by step, get down to work and start preparing this beautiful, practical and eye-catching recipe book.
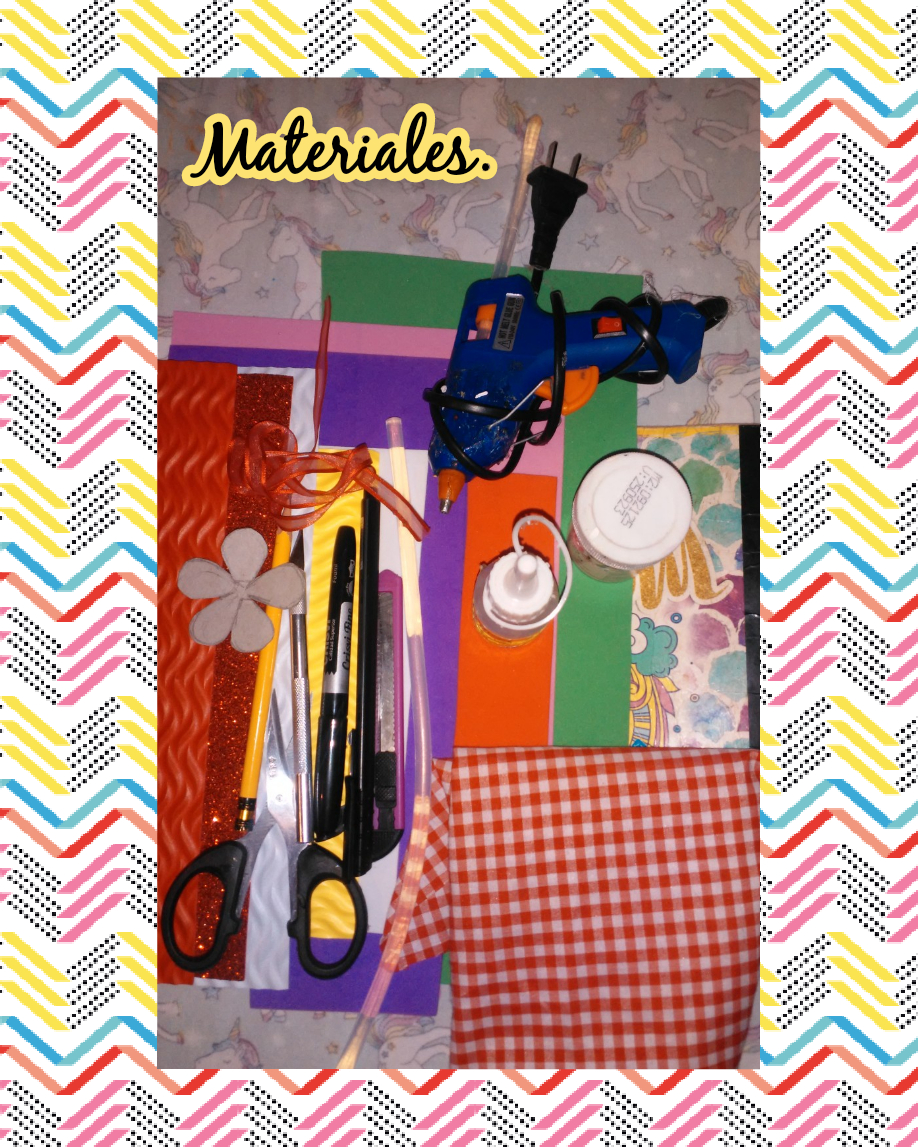
Para elaborar mi proyecto del día de hoy vamos a utilizar los siguientes materiales y herramientas.
*1 Cartón de uso reciclable.
*Foamis de varios colores y diferentes texturas.
*1 pedazo de tela.
*1 Silicona líquida.
*1/2 metro de cinta de tela.
*1 tijera.
*1 pedazo de cartulina.
*Marcadores.
*Pistola y barra de silicona caliente.
*Hojas blancas tamaño carta.
To carry out my project today we are going to use the following materials and tools.
Materials and tools.
*1 Cardboard for recyclable use.
*Foams of various colors and different textures.
*1 piece of cloth.
*1 Liquid silicone.
*1/2 meter of fabric tape.
*1 scissors.
*1 piece of cardboard.
*Markers.
*Gun and hot silicone bar.
*Letter size white sheets.
Let's start with the step by step.
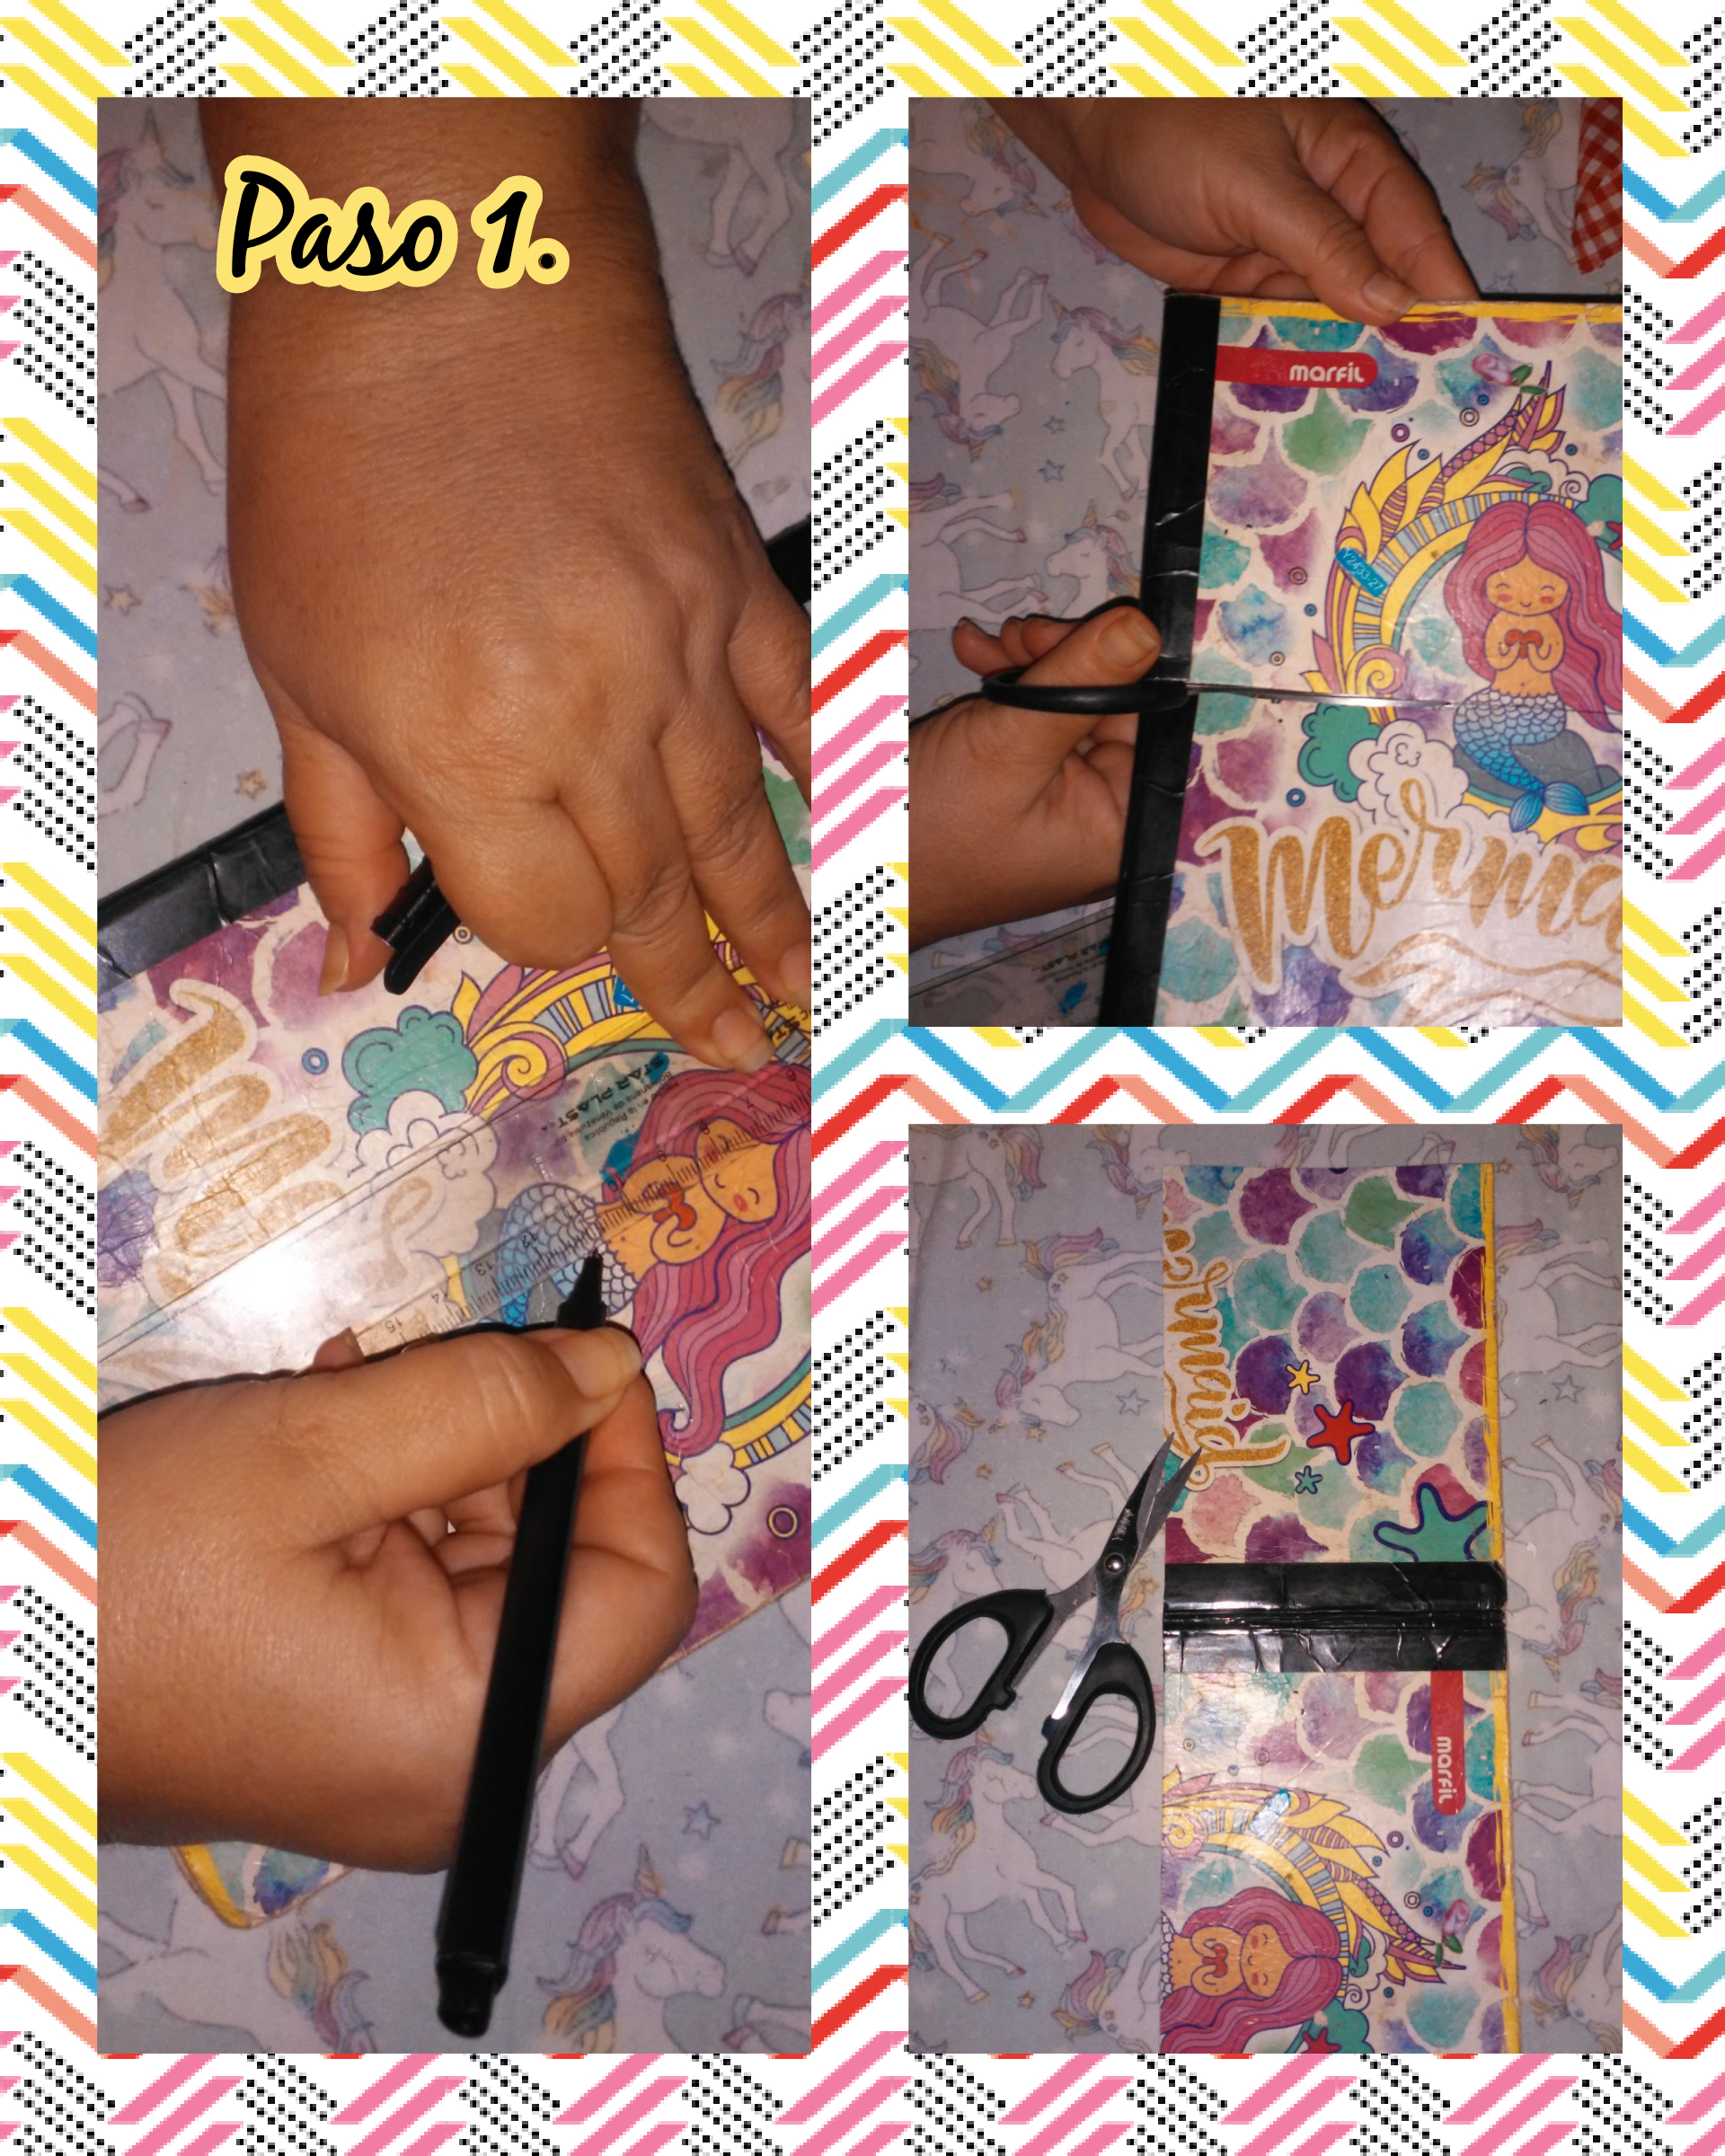
Step 1. To start making this beautiful, practical and eye-catching recipe book, the first thing we are going to do is mark the measurements 15 cm long by 11 cm wide on the recyclable cardboard, then with the help of We cut the scissors, this is one of the pieces to make the recipe book.
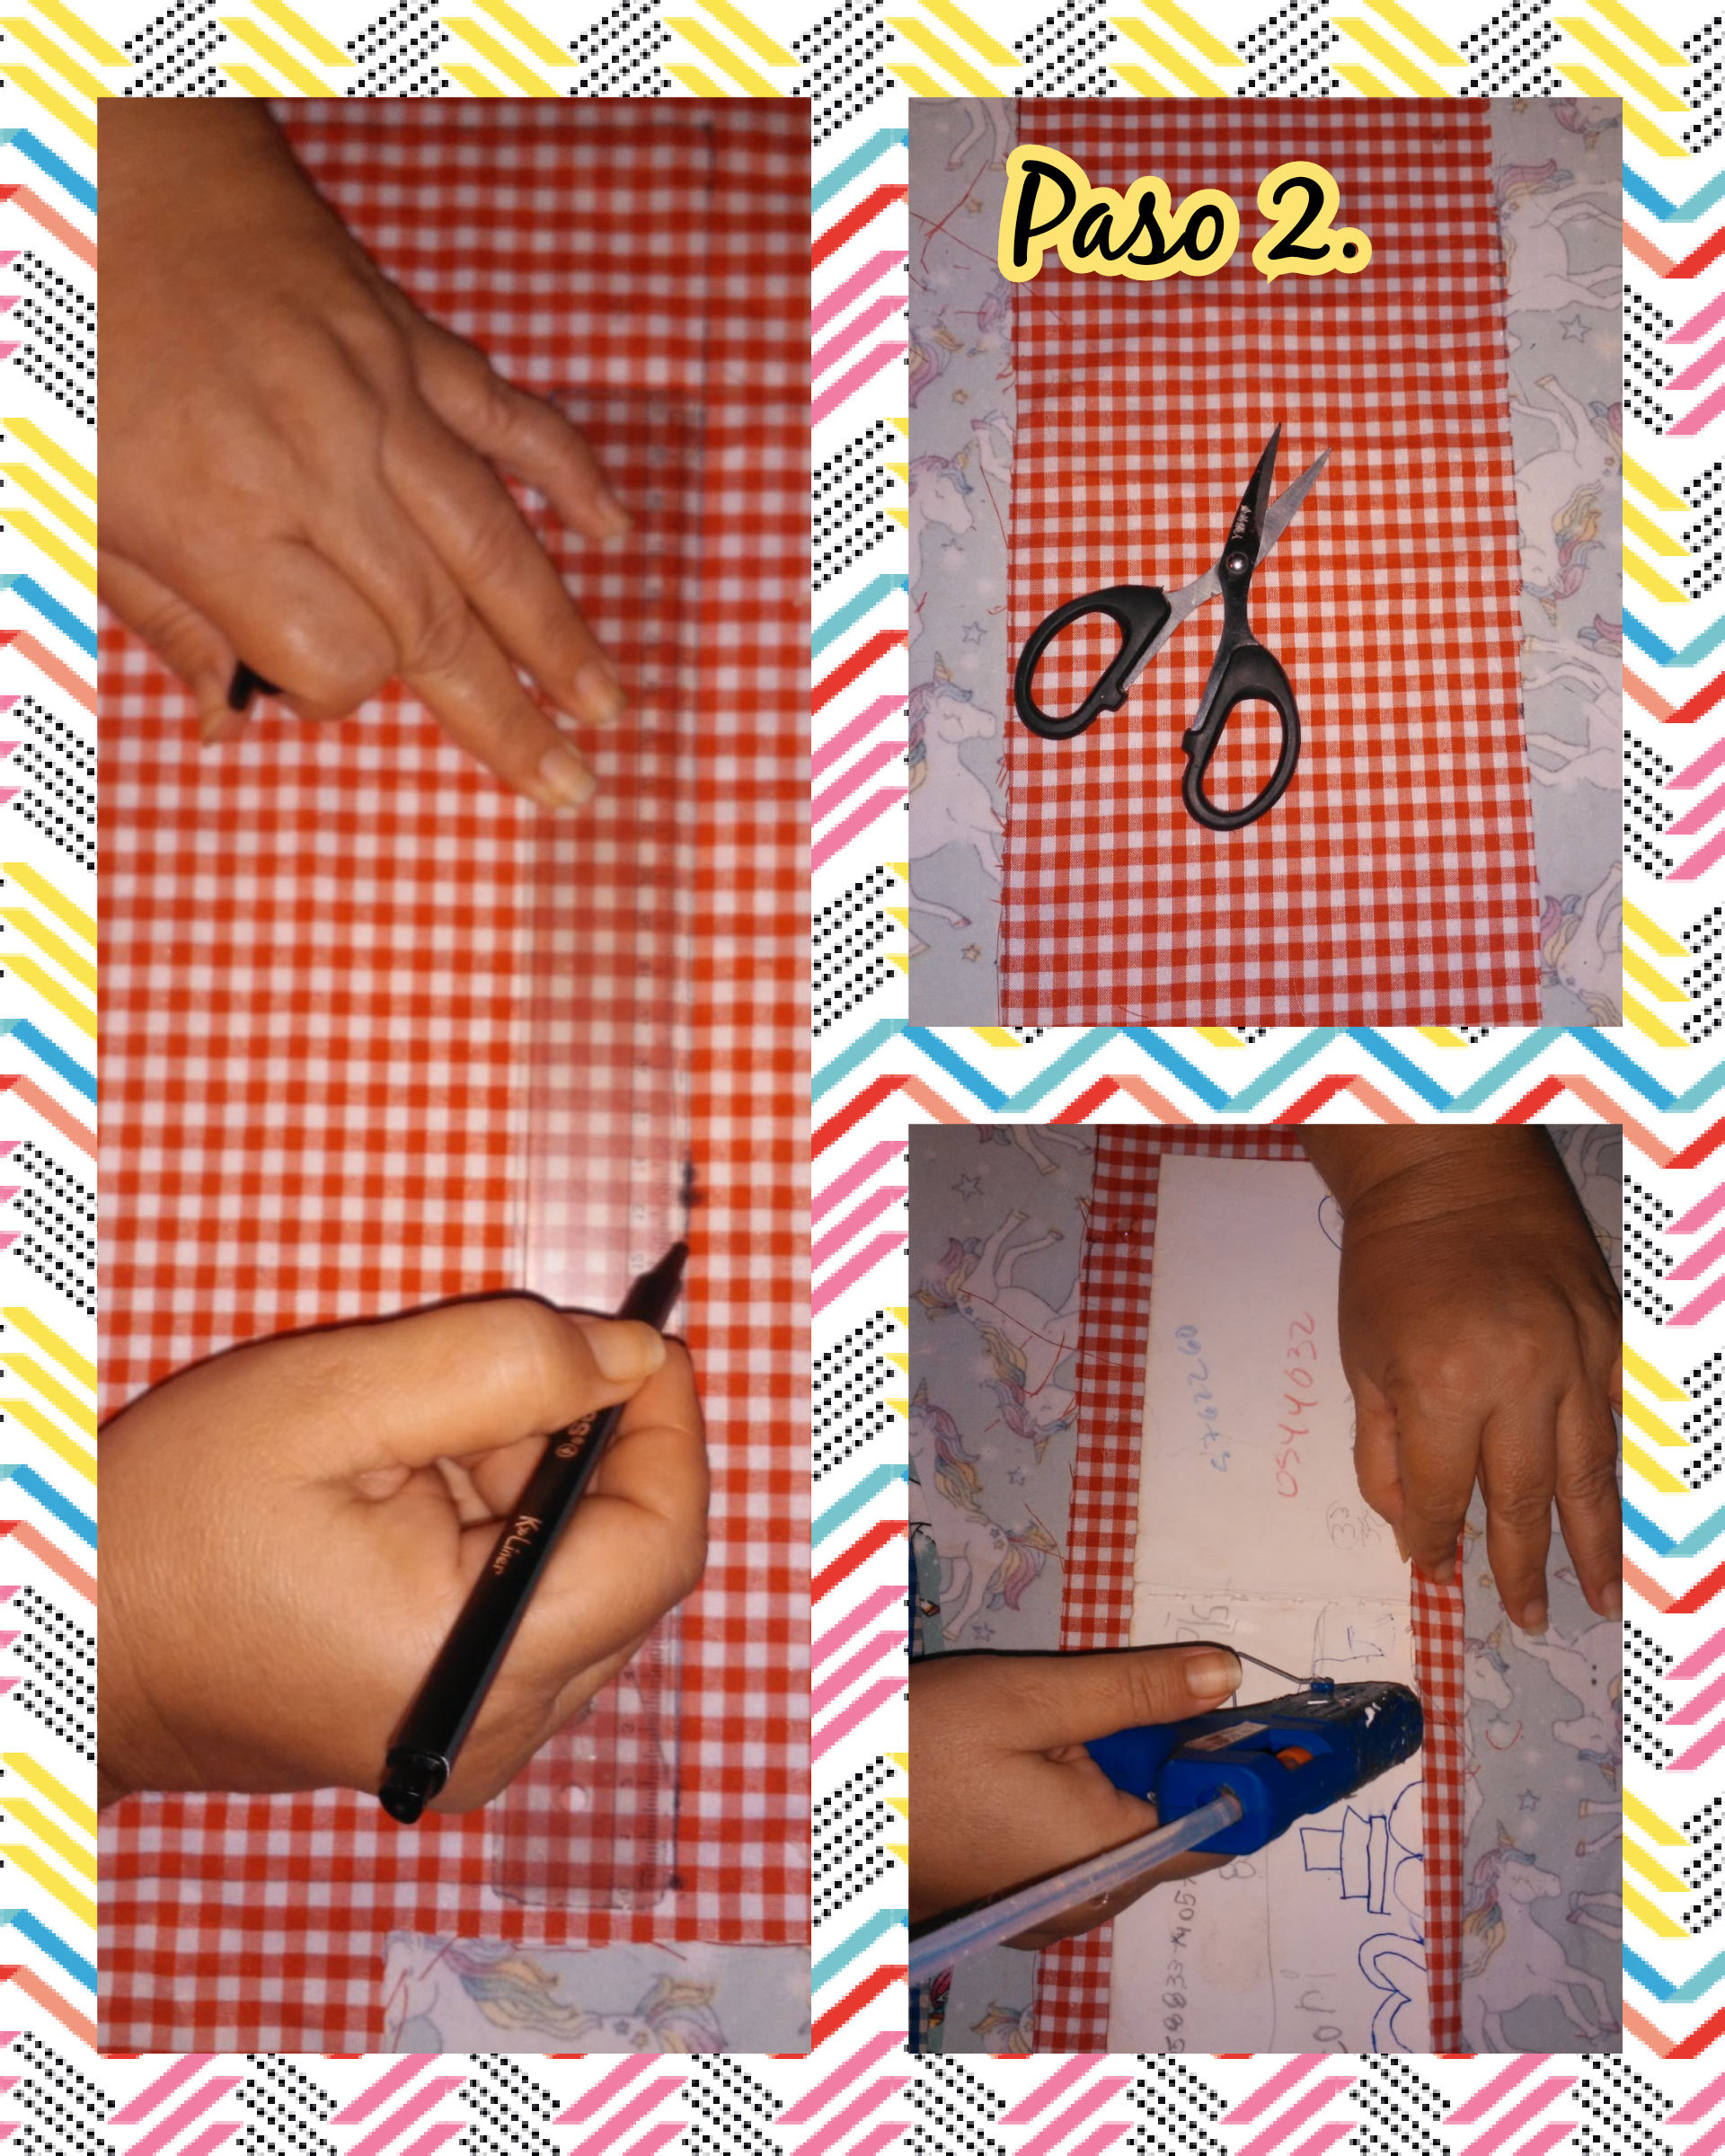
Step 2. In this step we are going to take the piece of fabric, and with a marker we mark the measurements to cover the cardboard that we had previously cut, we cut it out and then we cover all the cardboard by gluing with hot silicone, so that it looks good stuck.
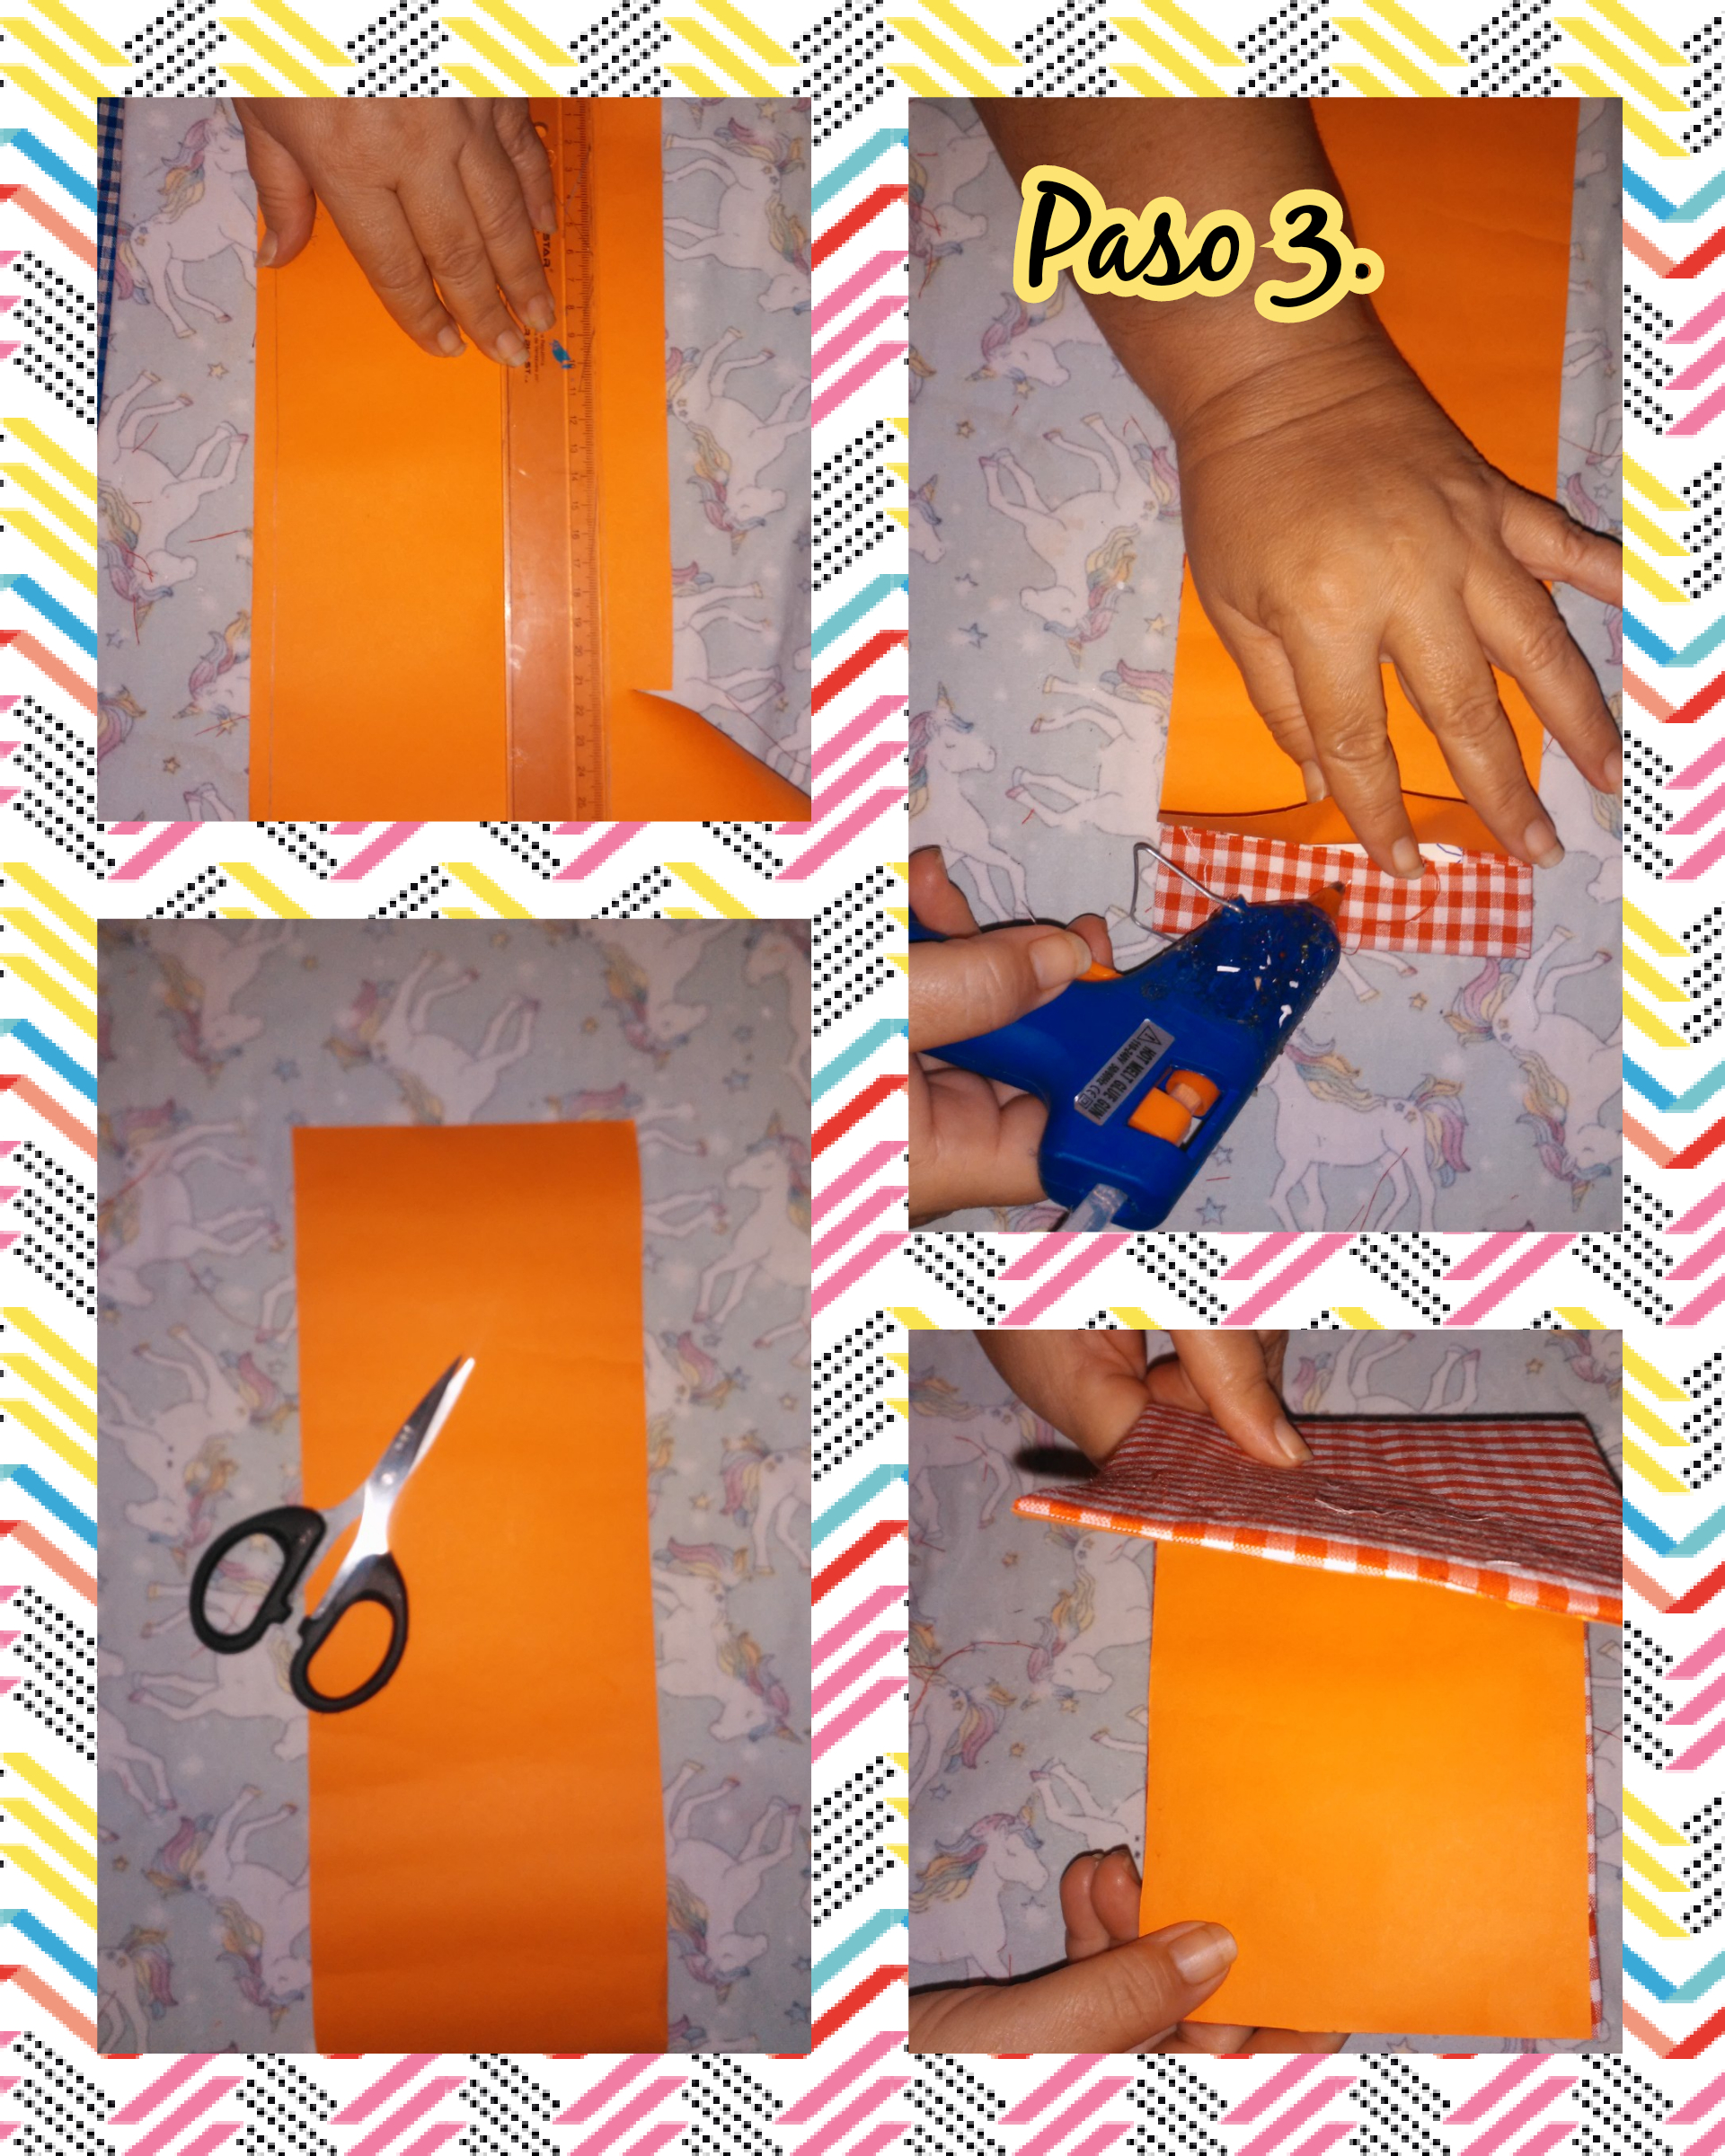
Step 3. Once the cardboard is covered with the piece of fabric on the outside, now we are going to mark the measurements to cover the cardboard on the inside and then we cut it out and glue it with hot silicone.

Step 4. With sheets of recyclable use, we are going to draw the piece that in this case would be an apron, then we cut it out, we take a pink foami and we mark it and cut it out, this will be used to decorate the front of the book kitchen.
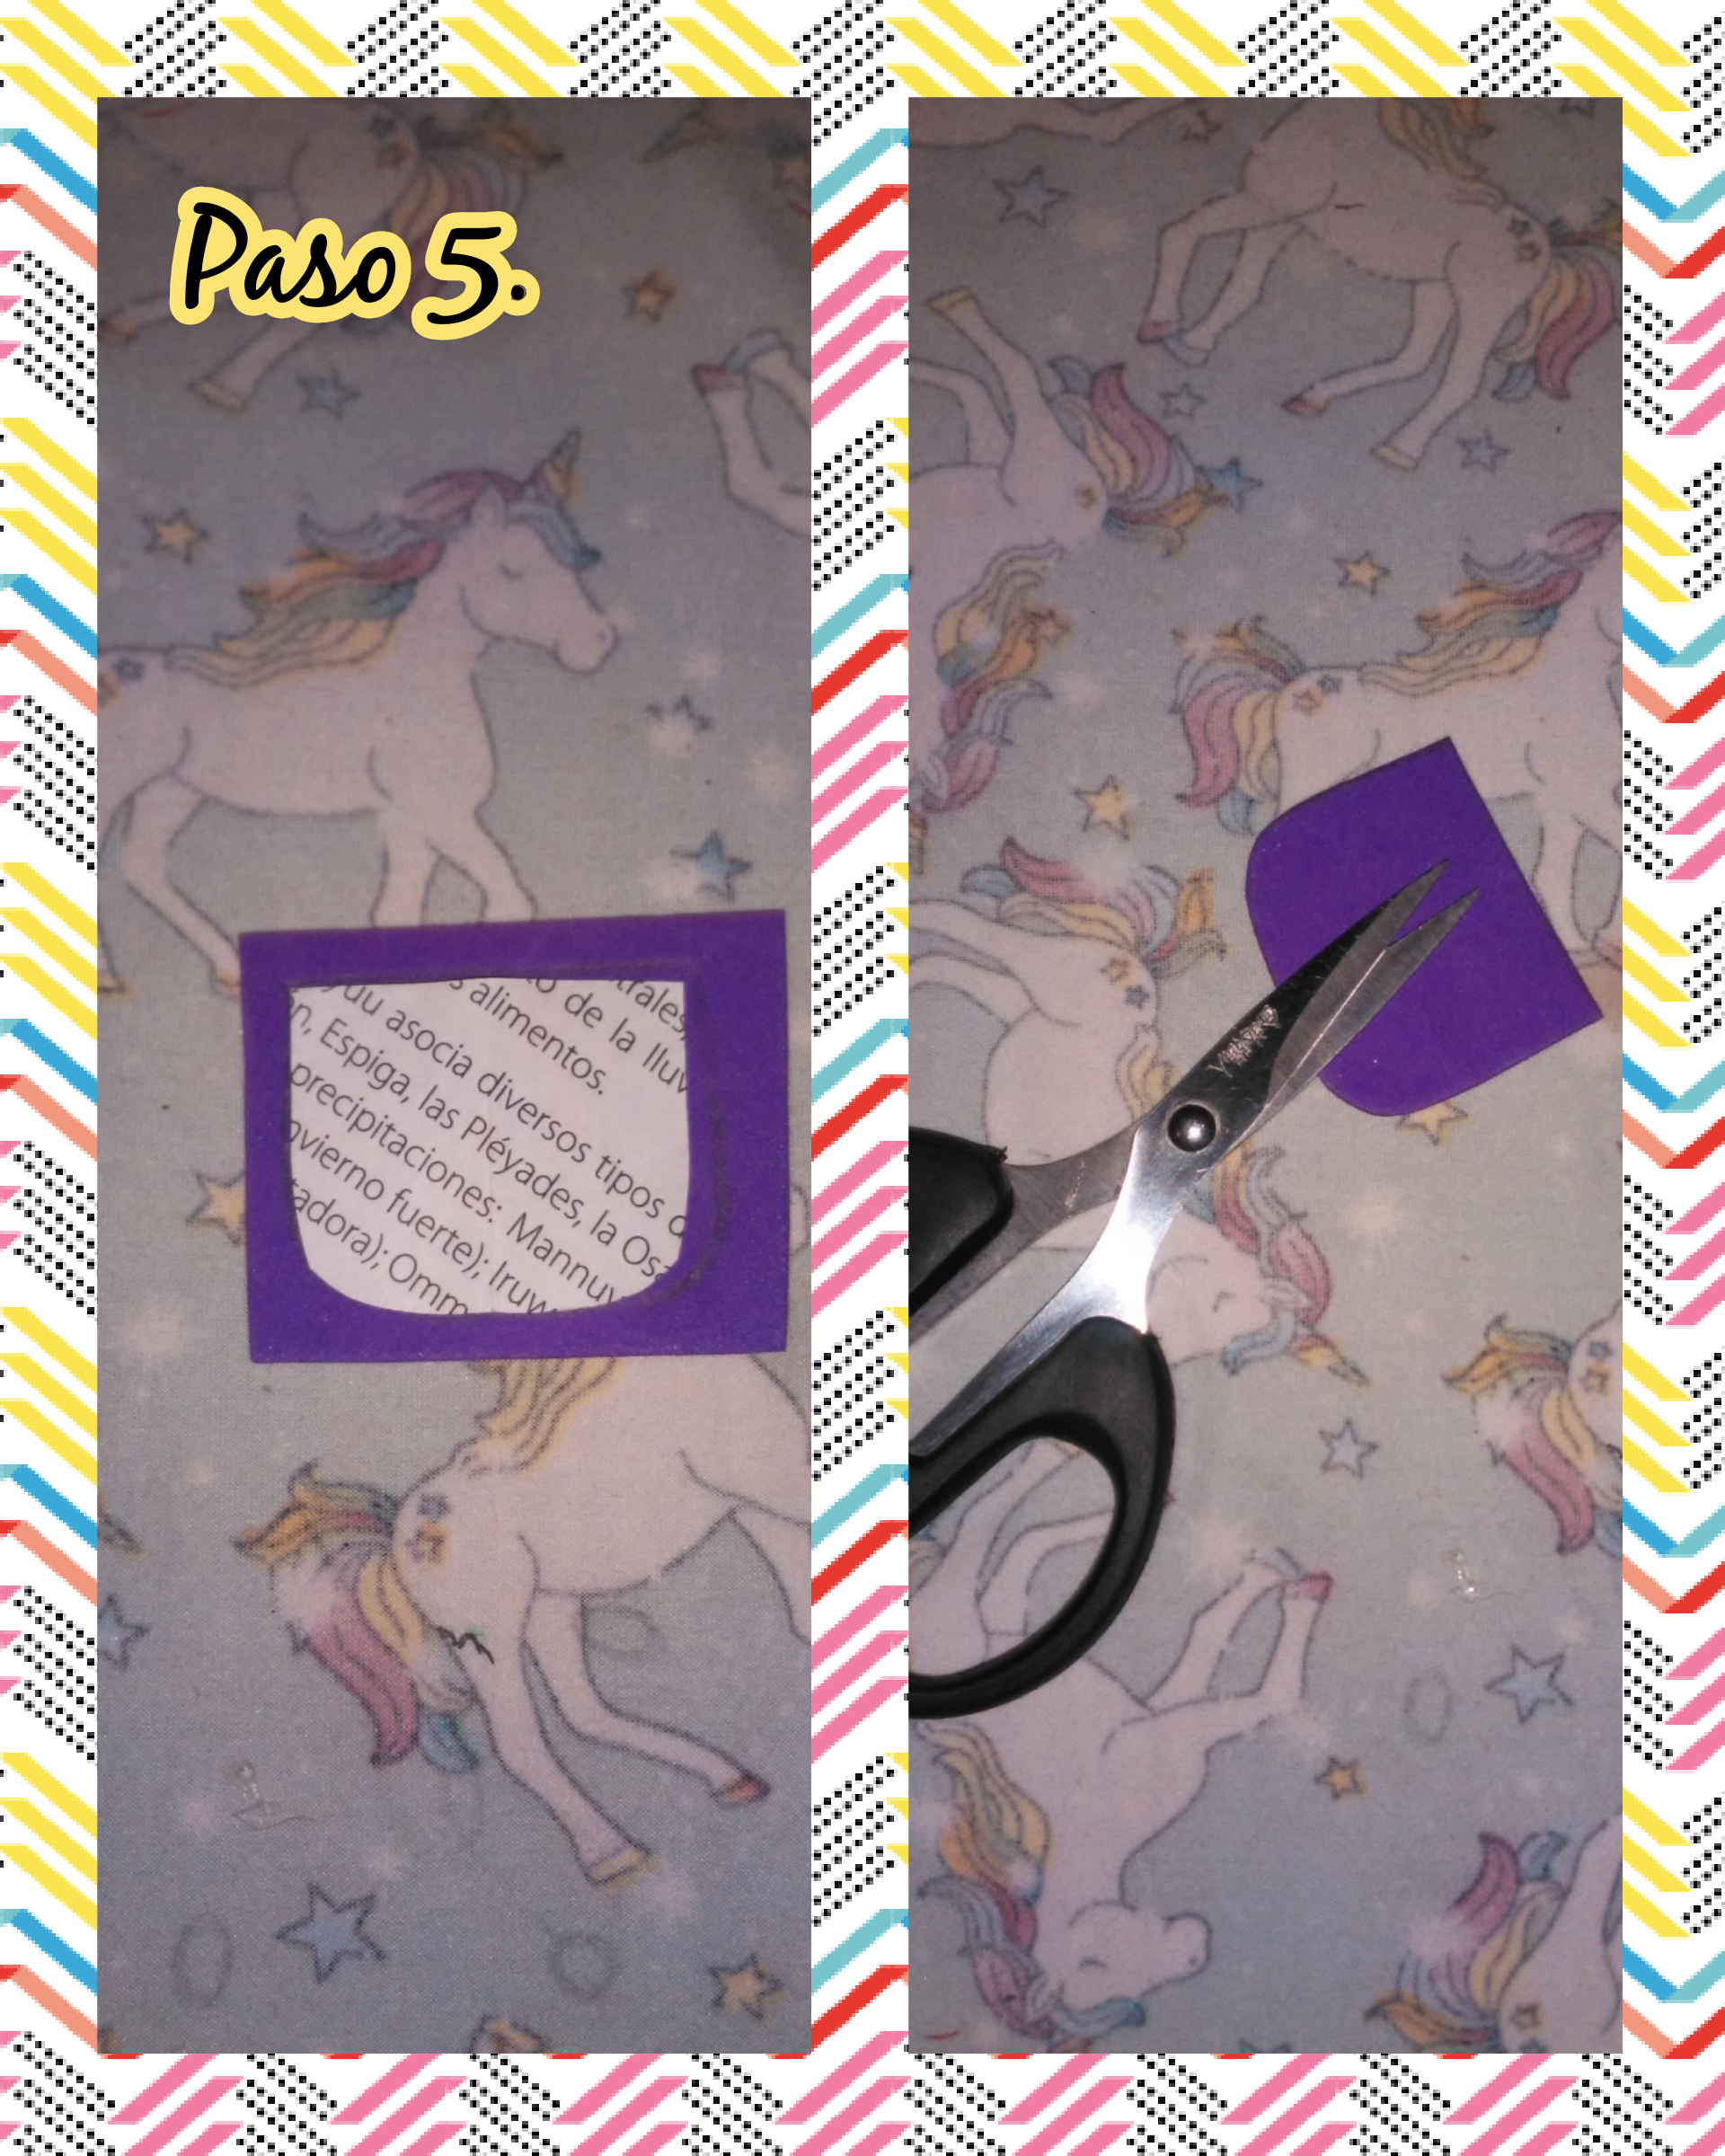
Step 5. In this step we are going to draw the piece of a pocket on a sheet of recyclable use, we cut it and again we take a purple foami, we mark it and we cut it, this would be the piece to decorate the apron.
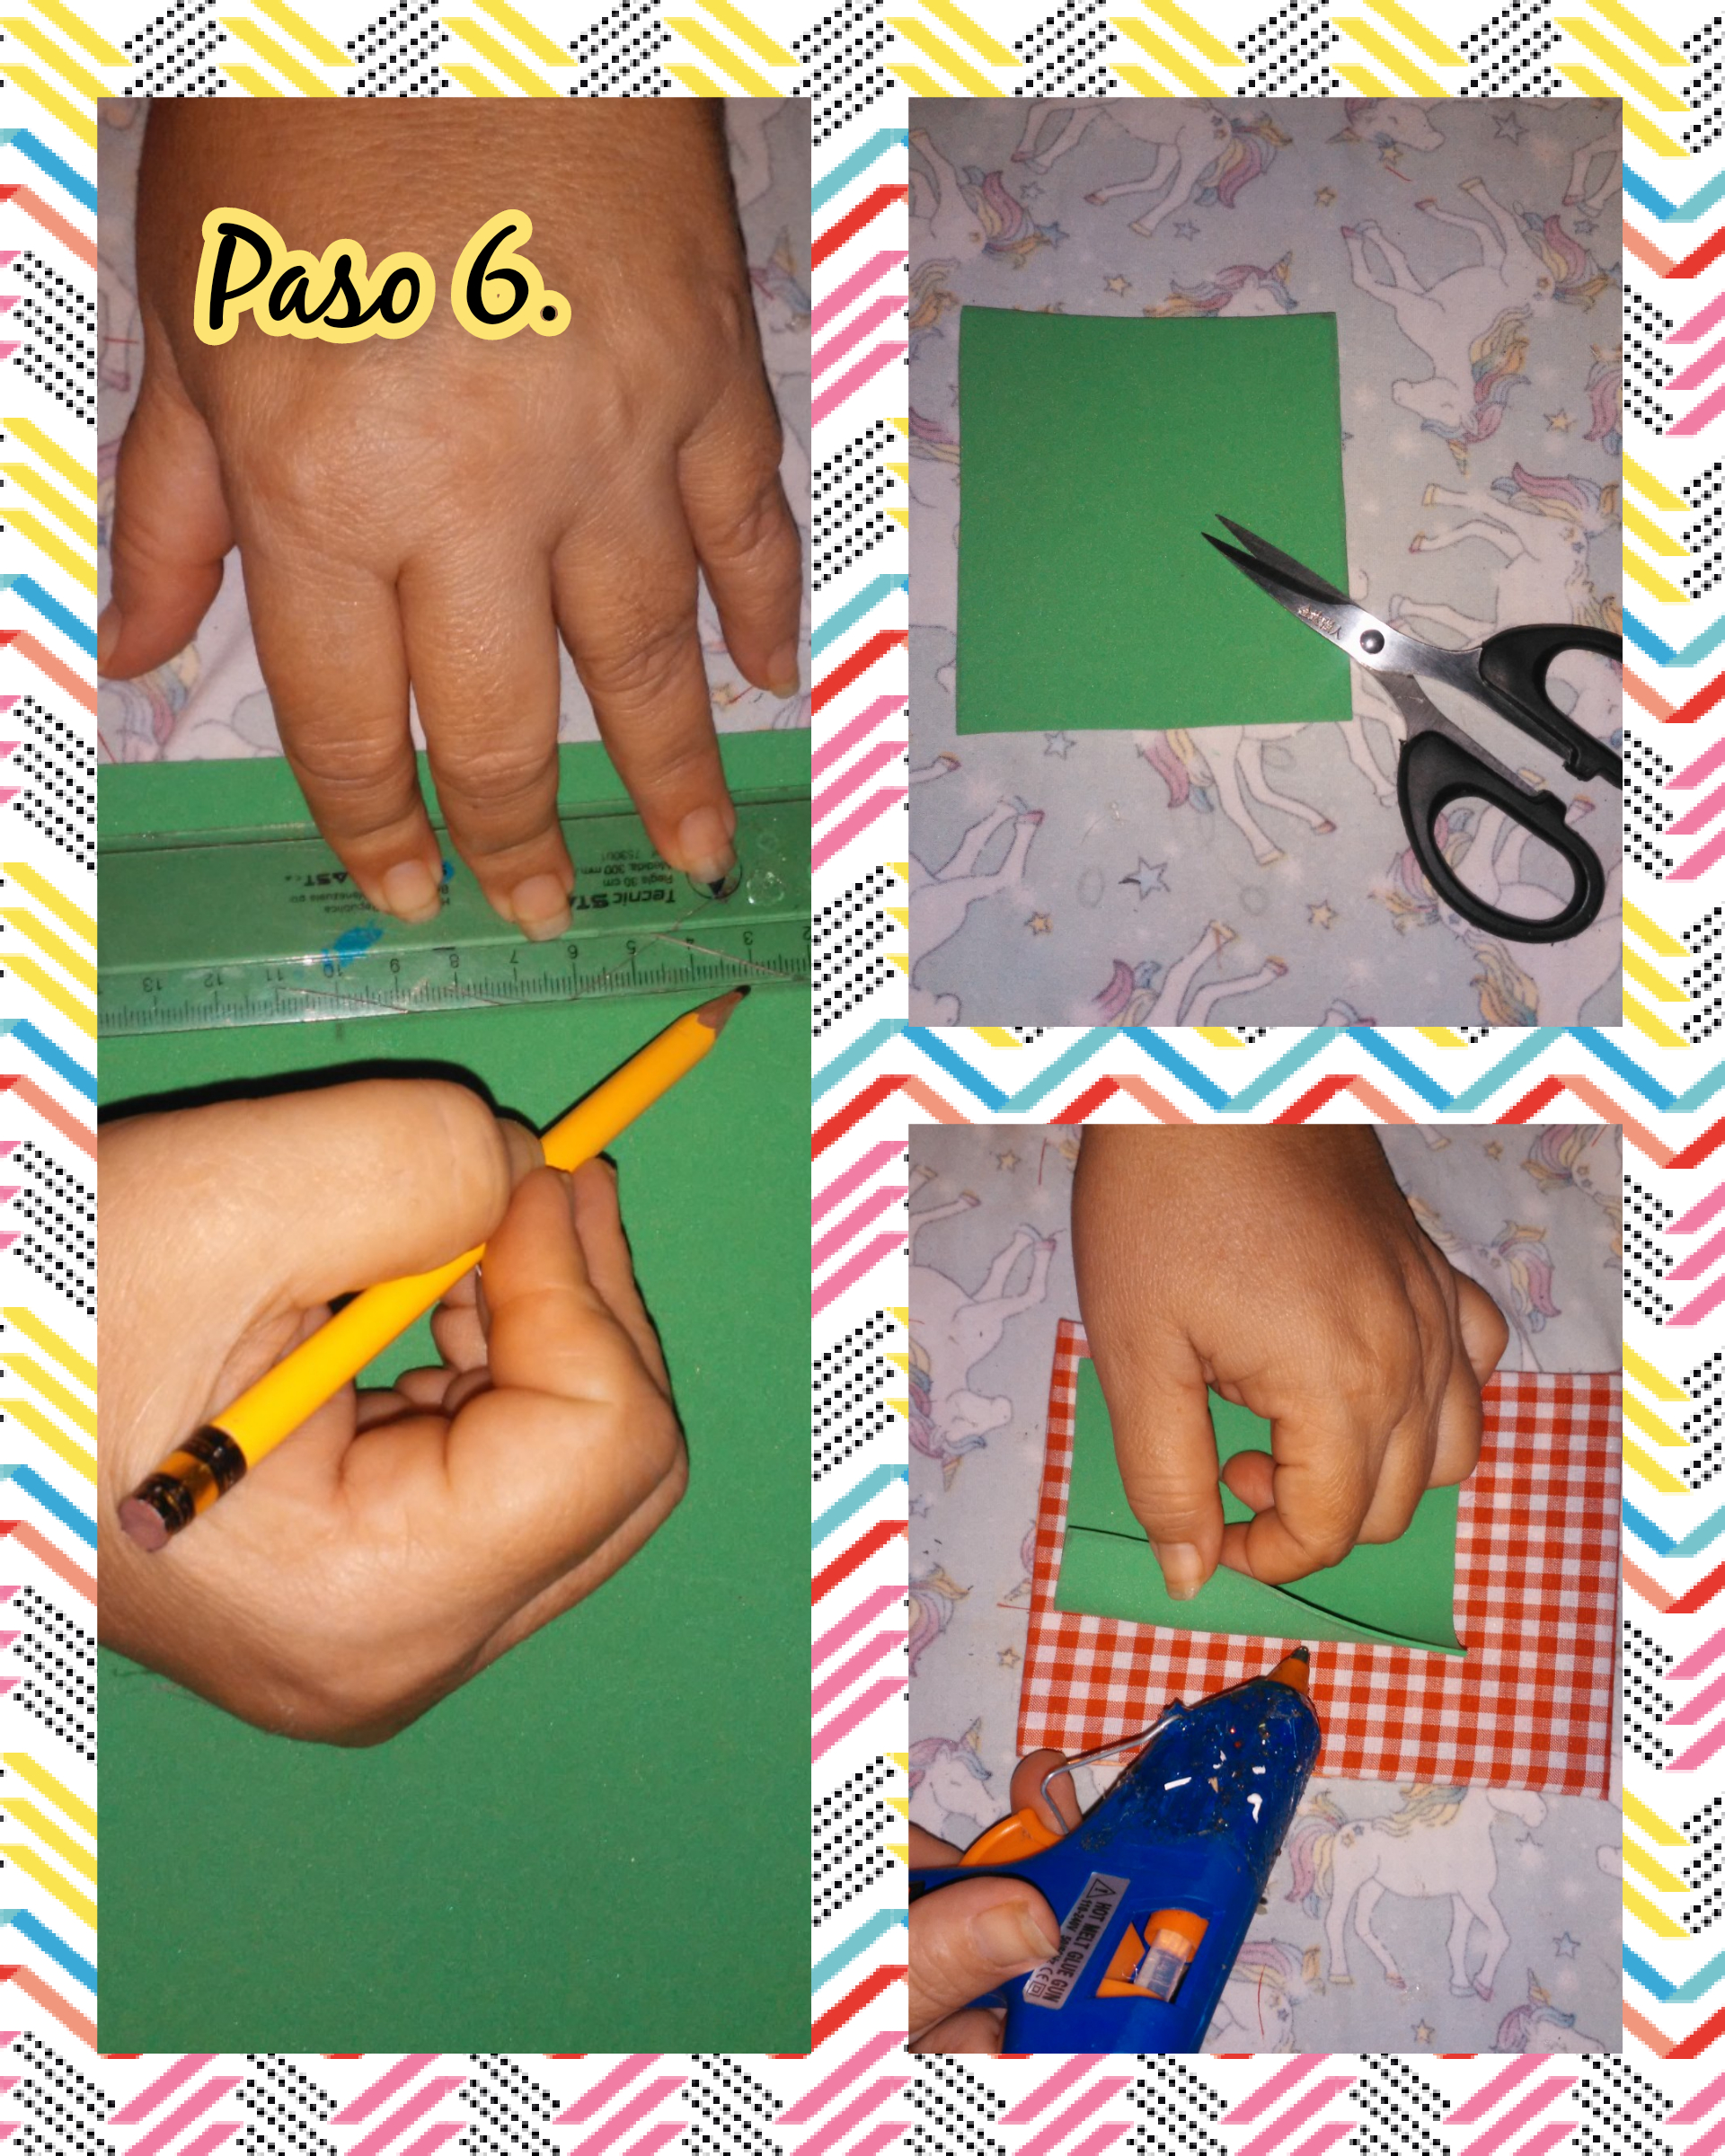
Step 6. We take a green foami, we mark the measurements of a square, we cut it out and finally we stick it with hot silicone on the front of the recipe book.
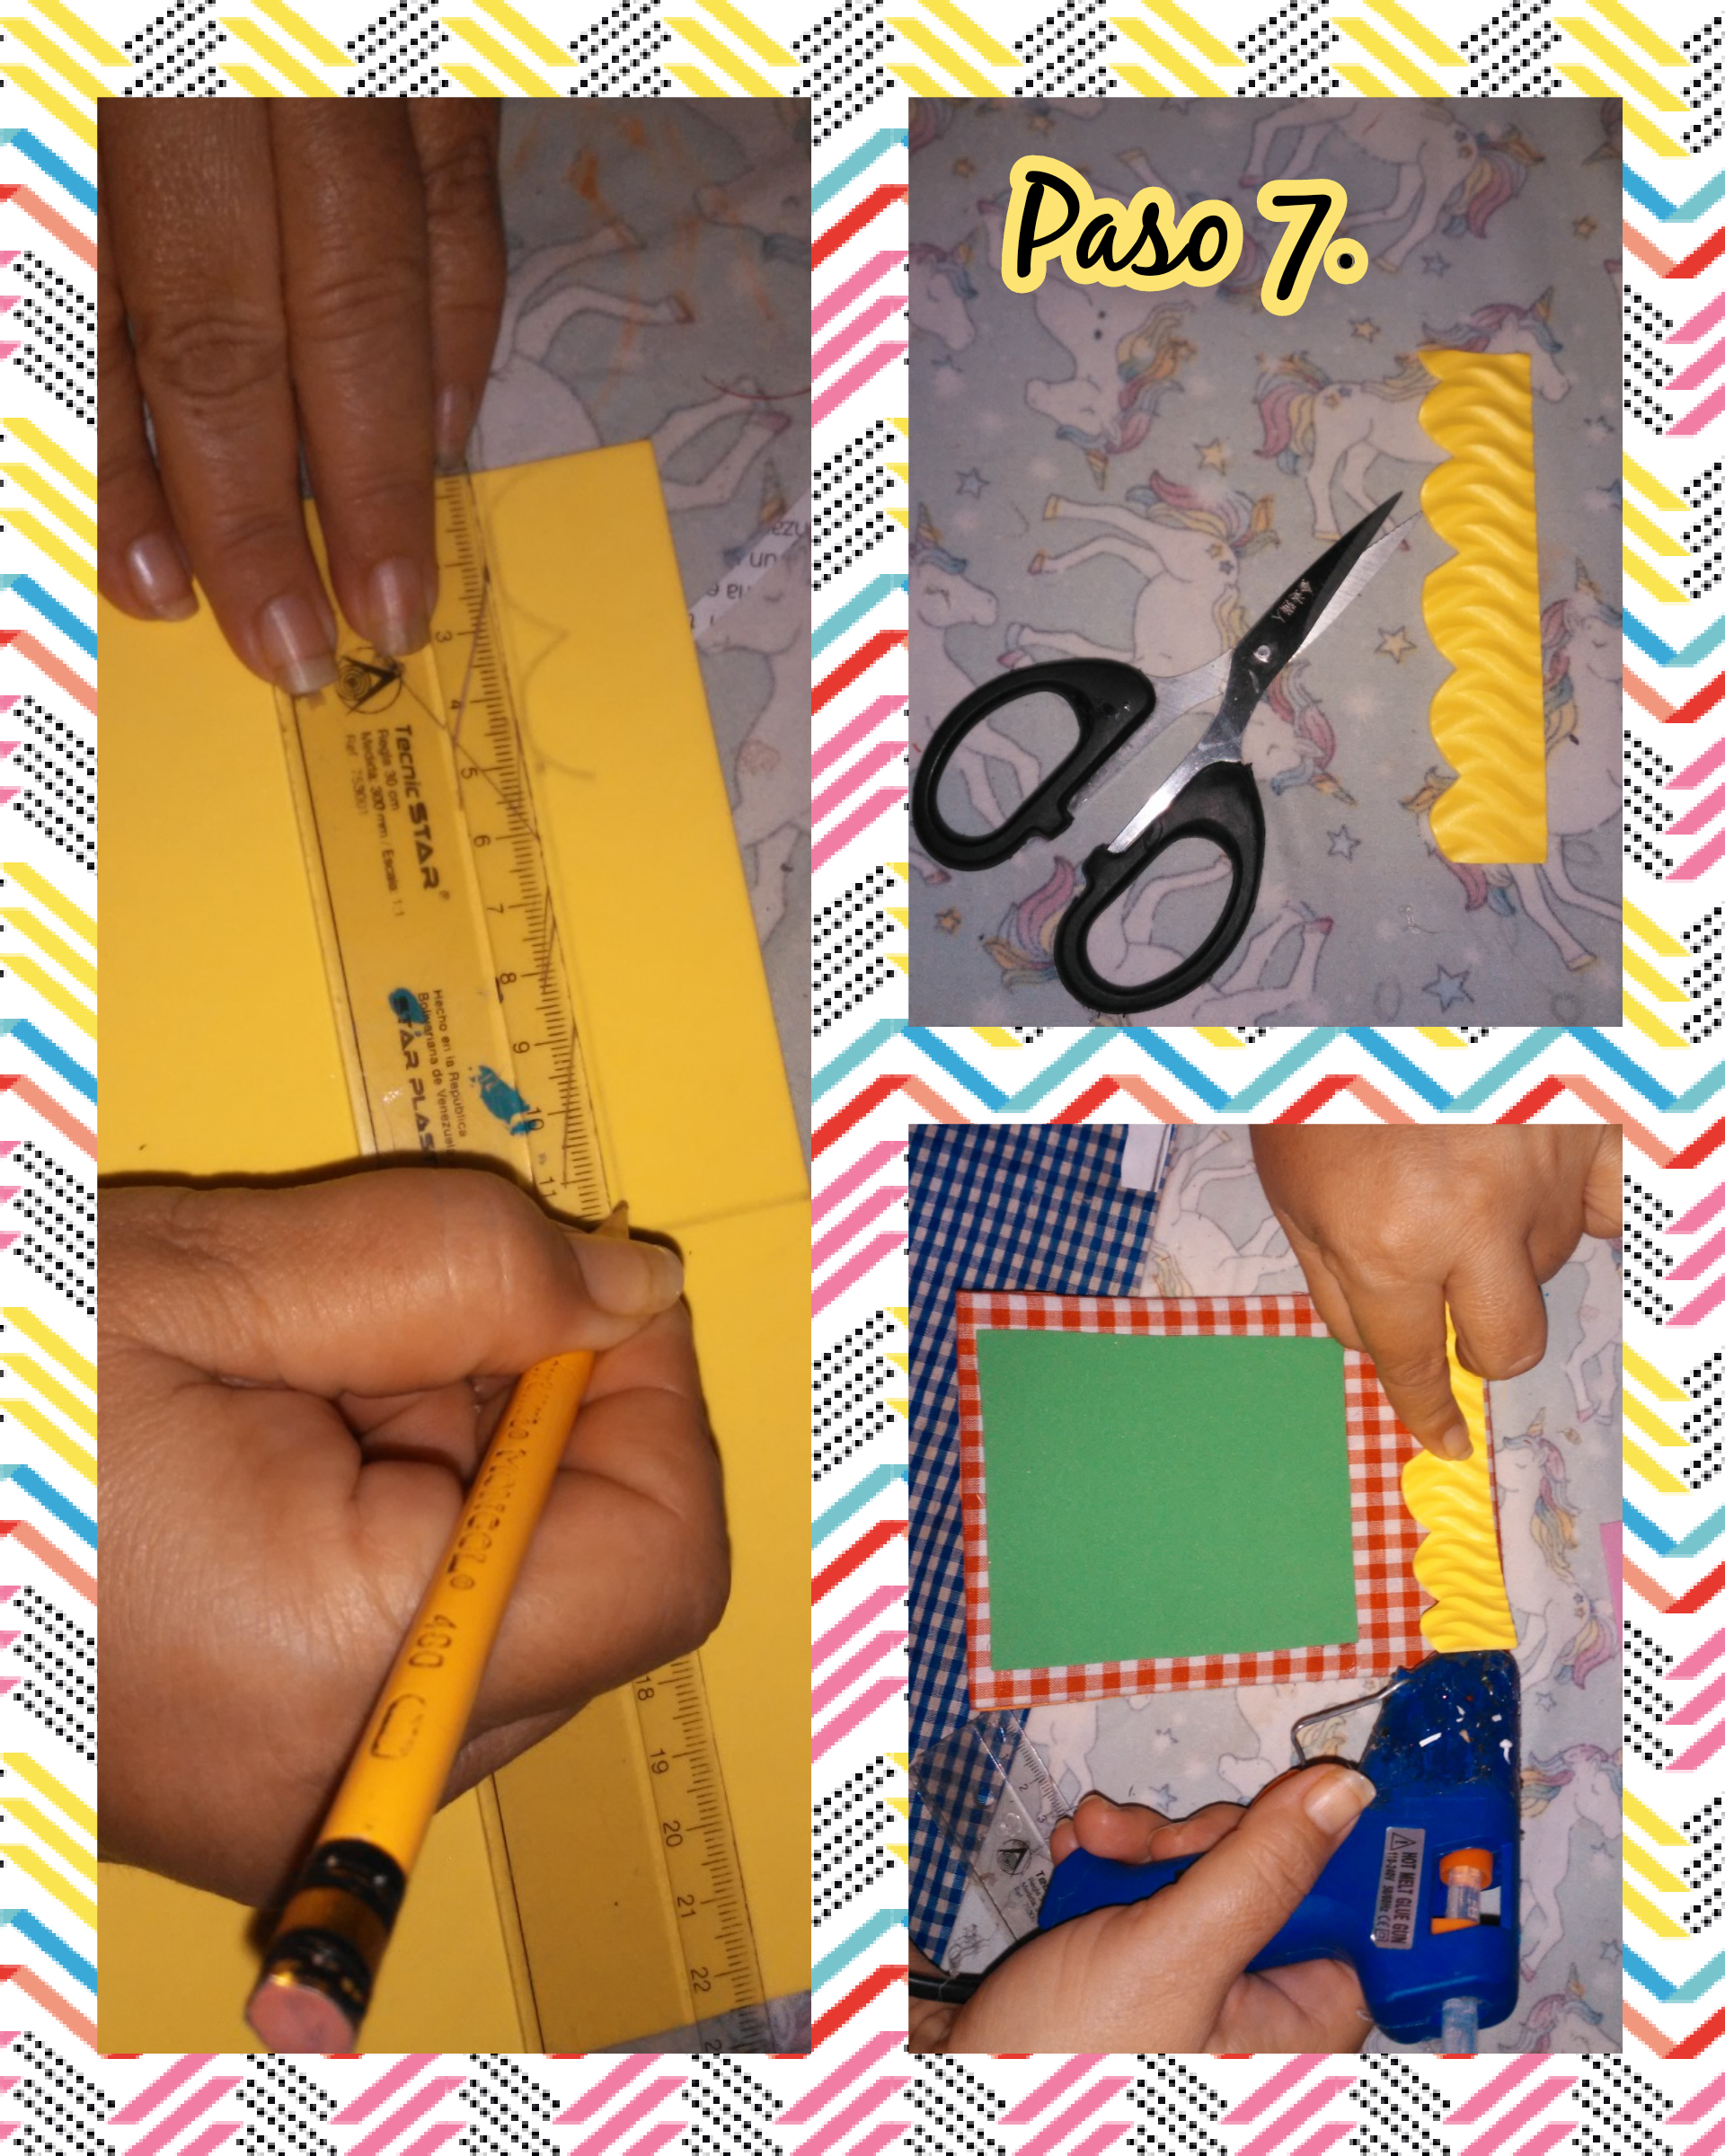
Step 7. In this step we are going to take a piece of foami with a wavy texture, we mark waves and then we cut it, this would be to continue decorating the recipe book.
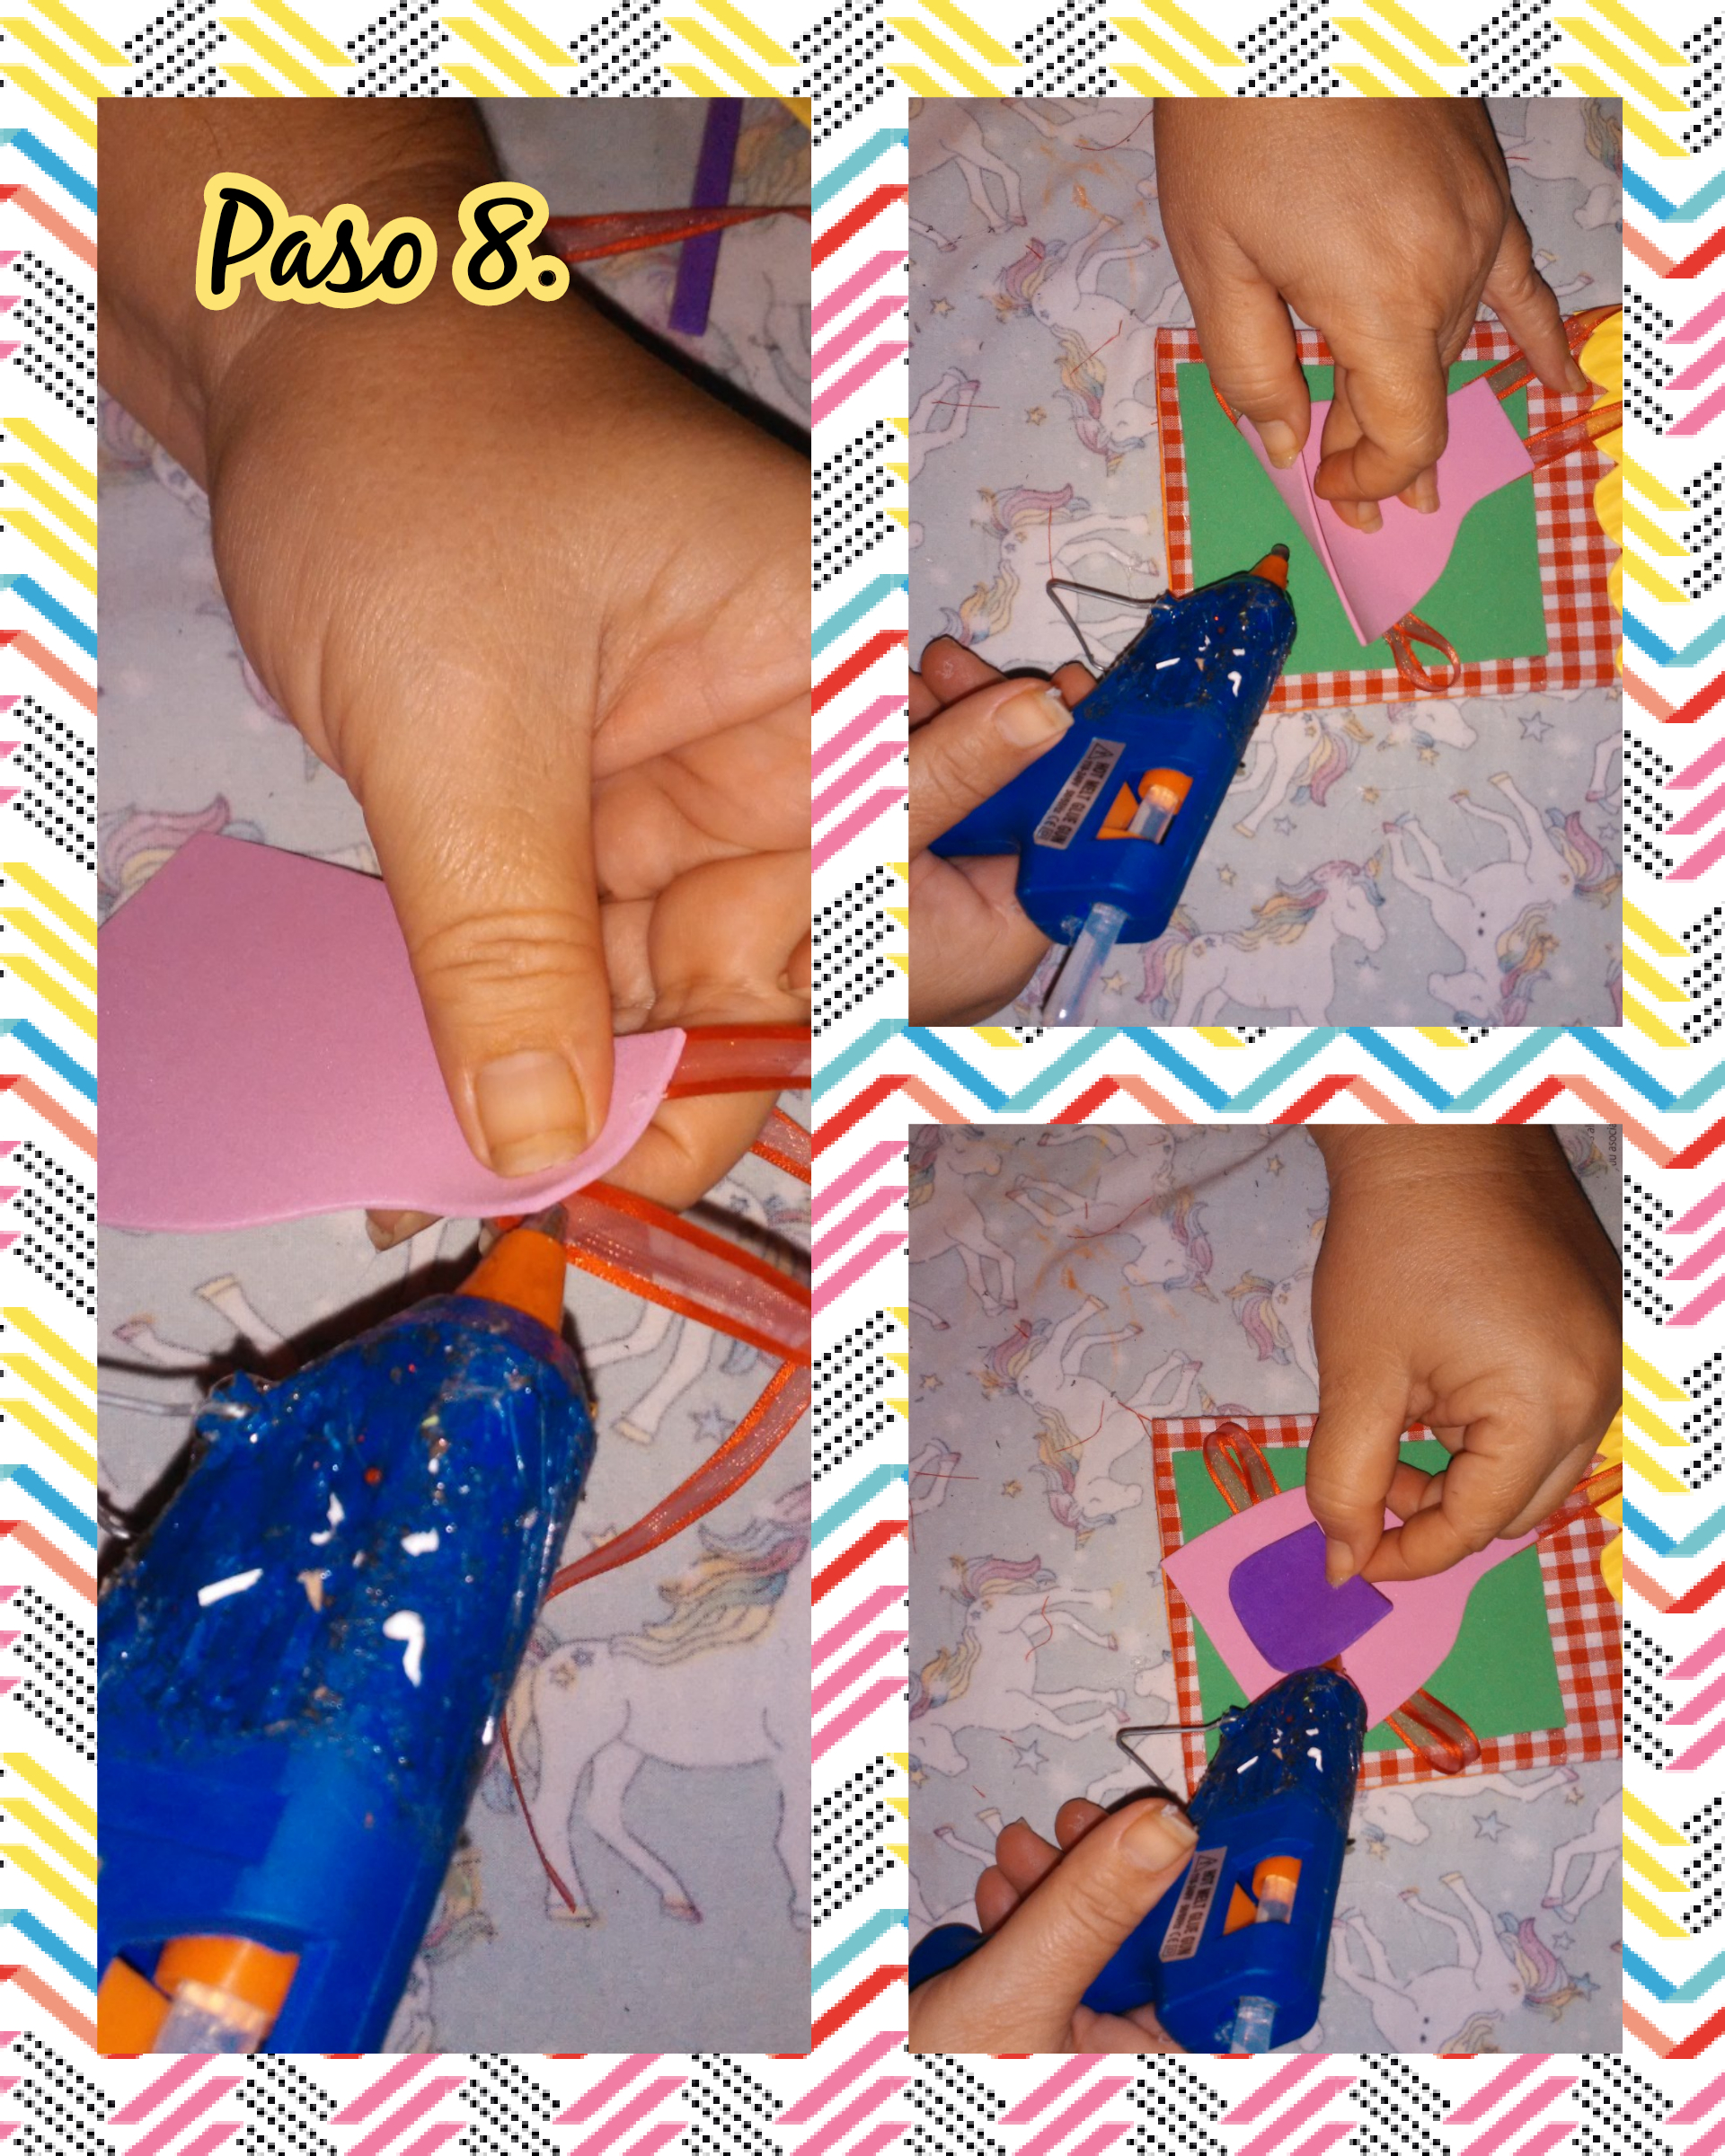
Step 8. In this step we are going to decorate the recipe book, we continue assembling the apron that would be one of the ornaments to decorate the recipe book, with hot silicone we paste it on the recipe book.
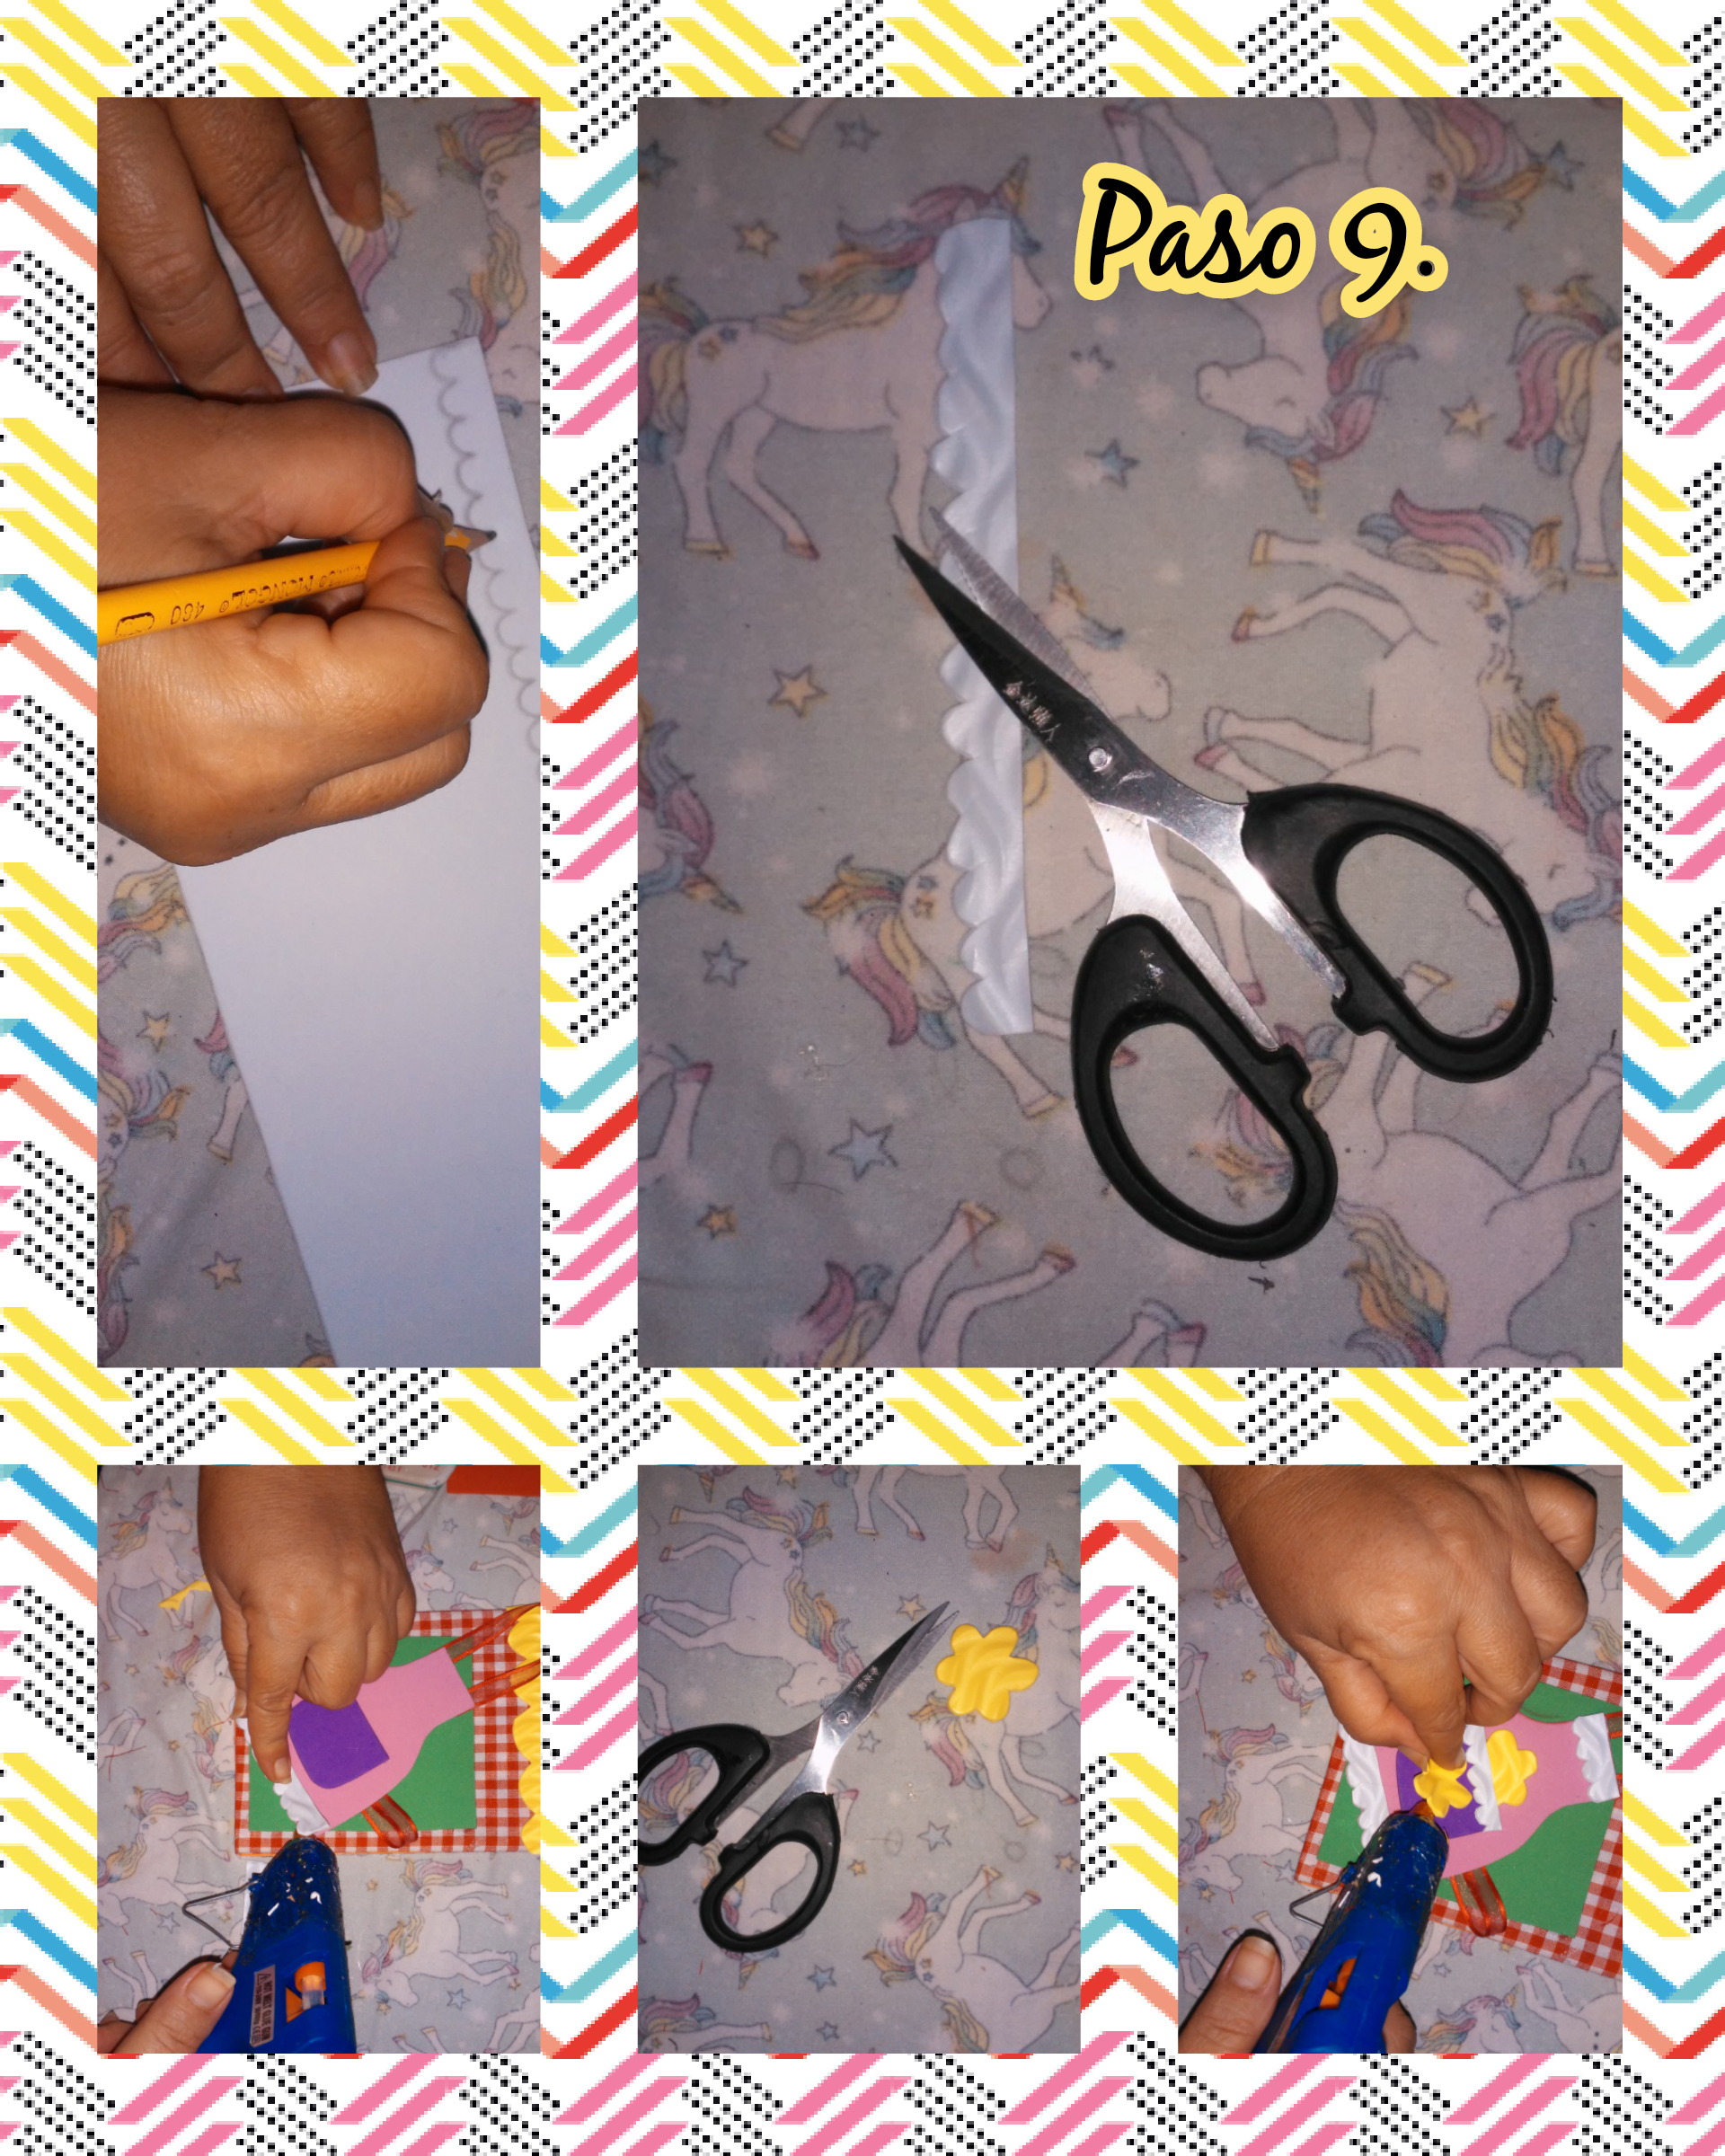
Step 9. To continue decorating the apron, we take a white foami with a wavy texture and we mark waves on the edge, simulating that it would be a lace, we cut it out and finally we stick it on the apron to finish decorating it.
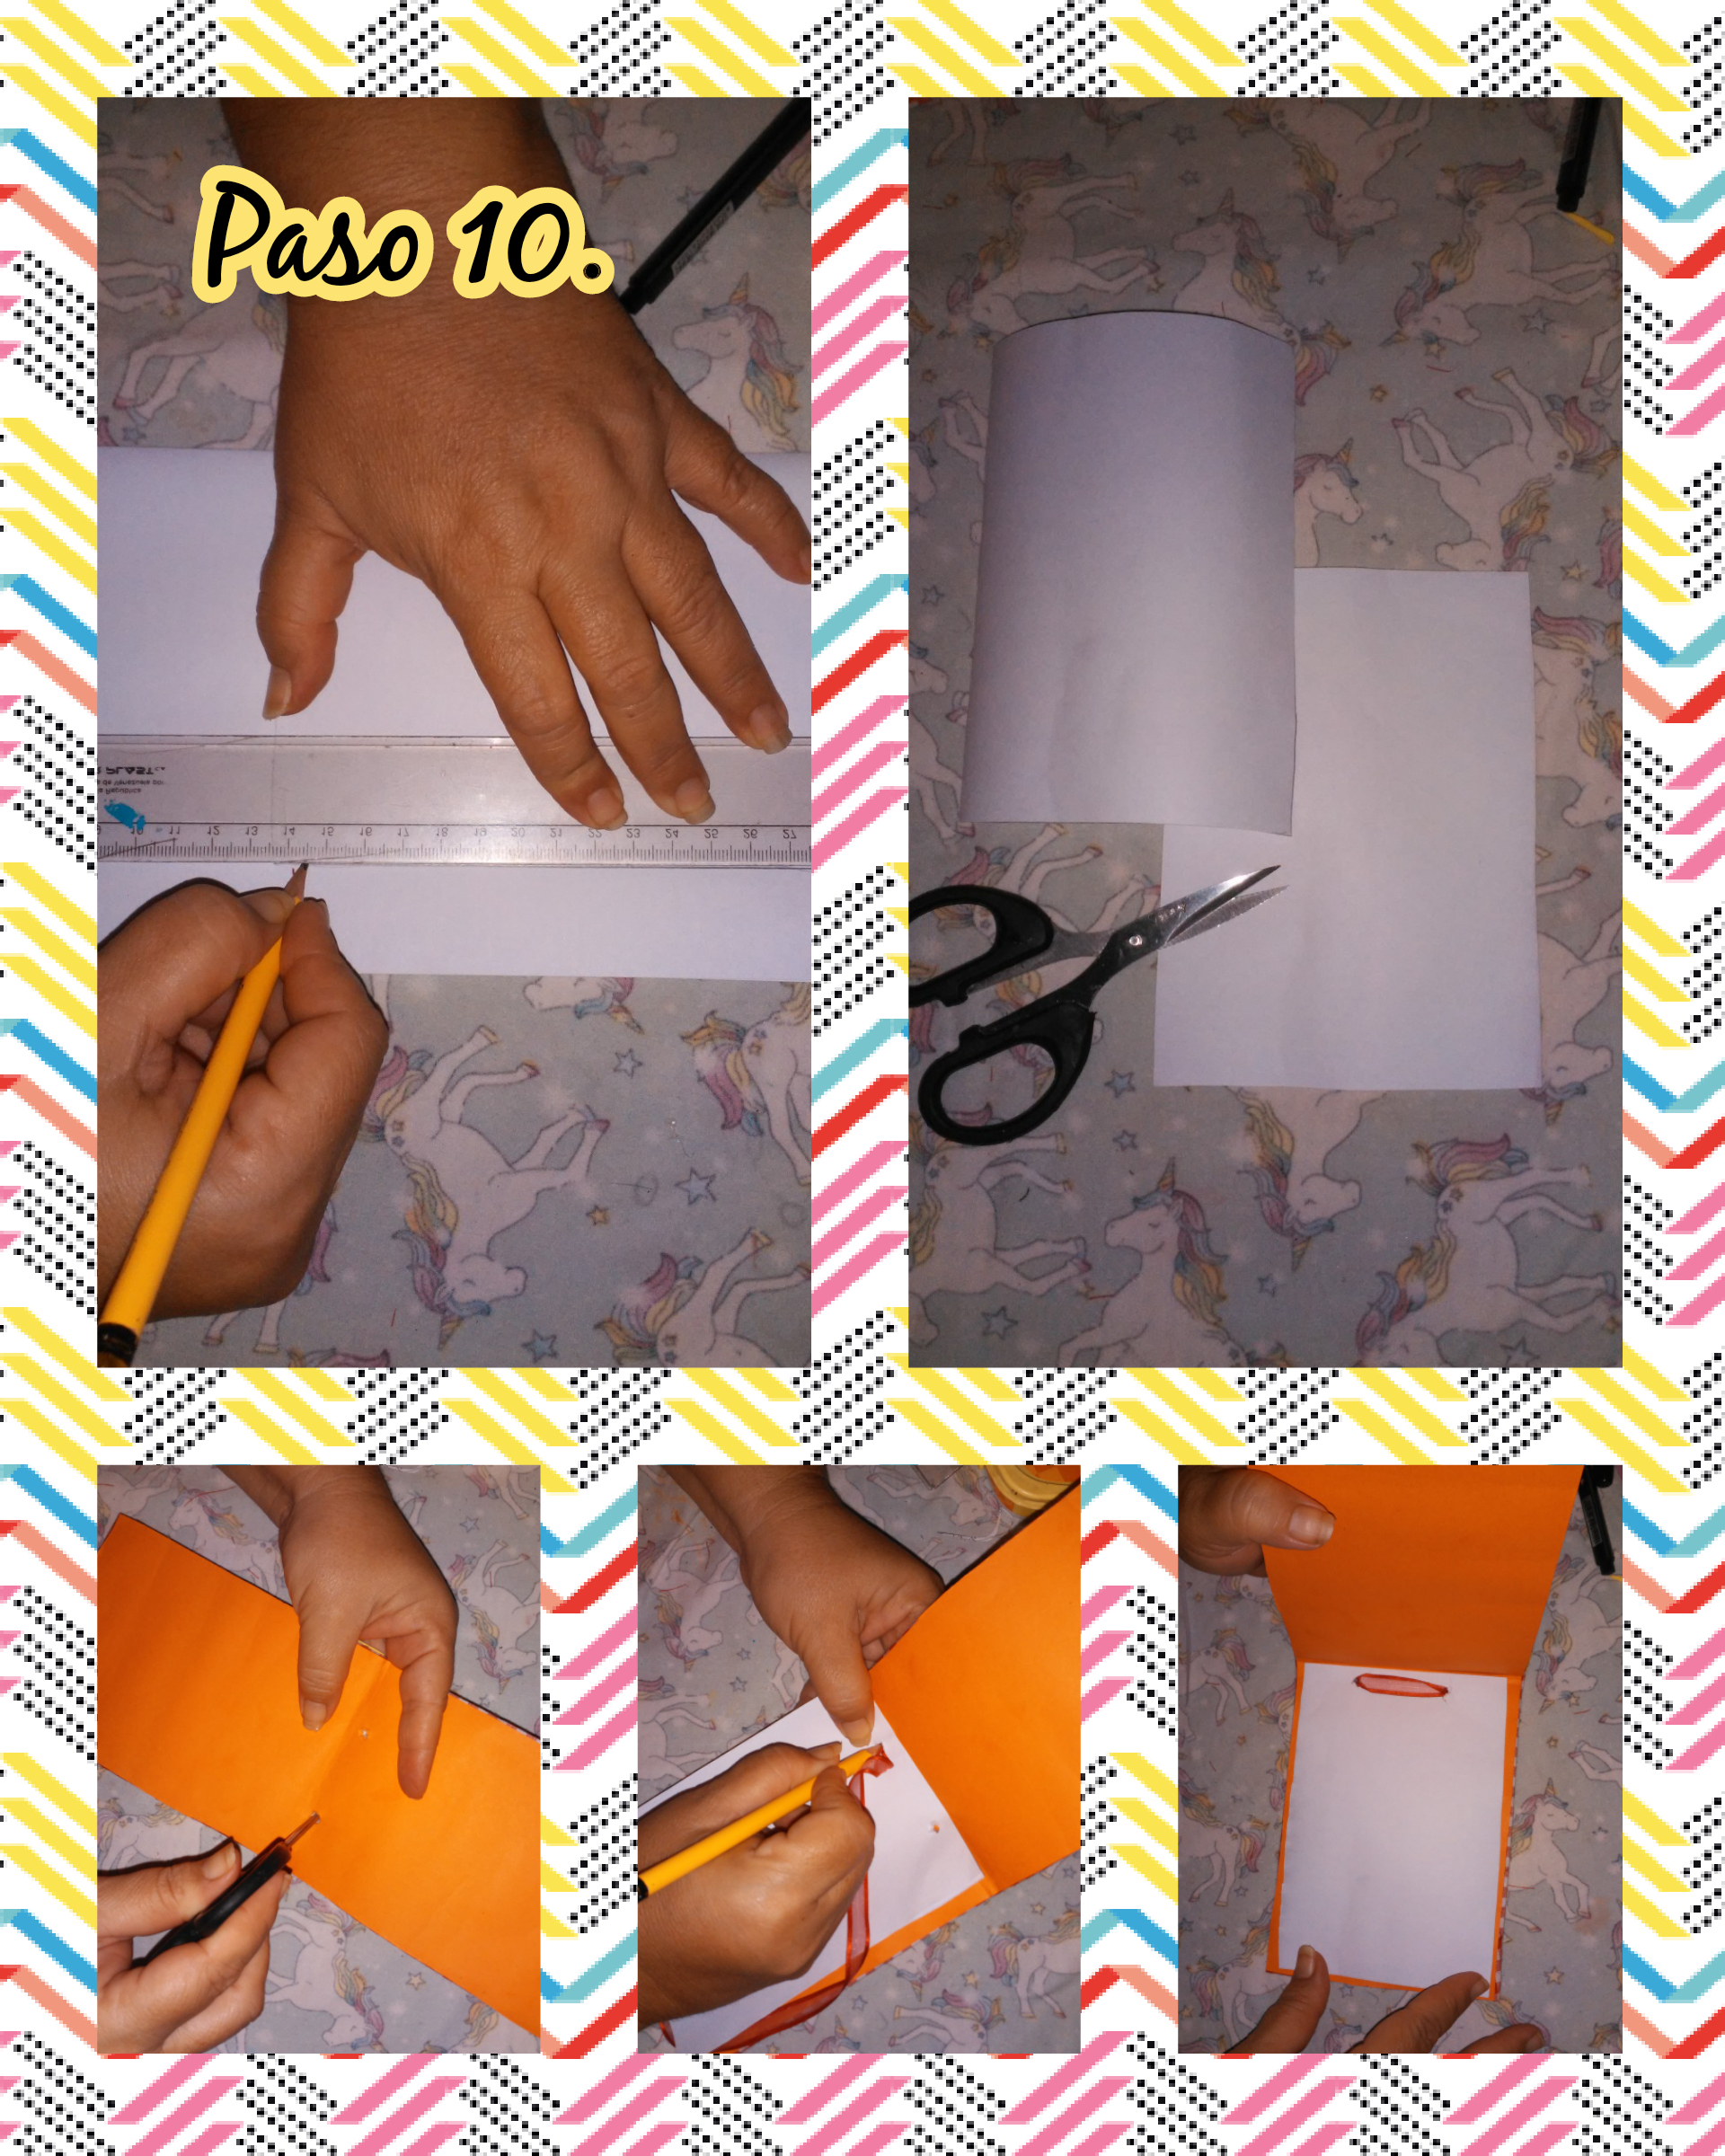
Step 10. We take a sheet of white letter size paper, we mark it the same size as the recipe book, then we cut it out, then we open holes on the inside of the recipe book to place a piece of cloth tape and stick it inside the recipe book to to be able to write our recipes.
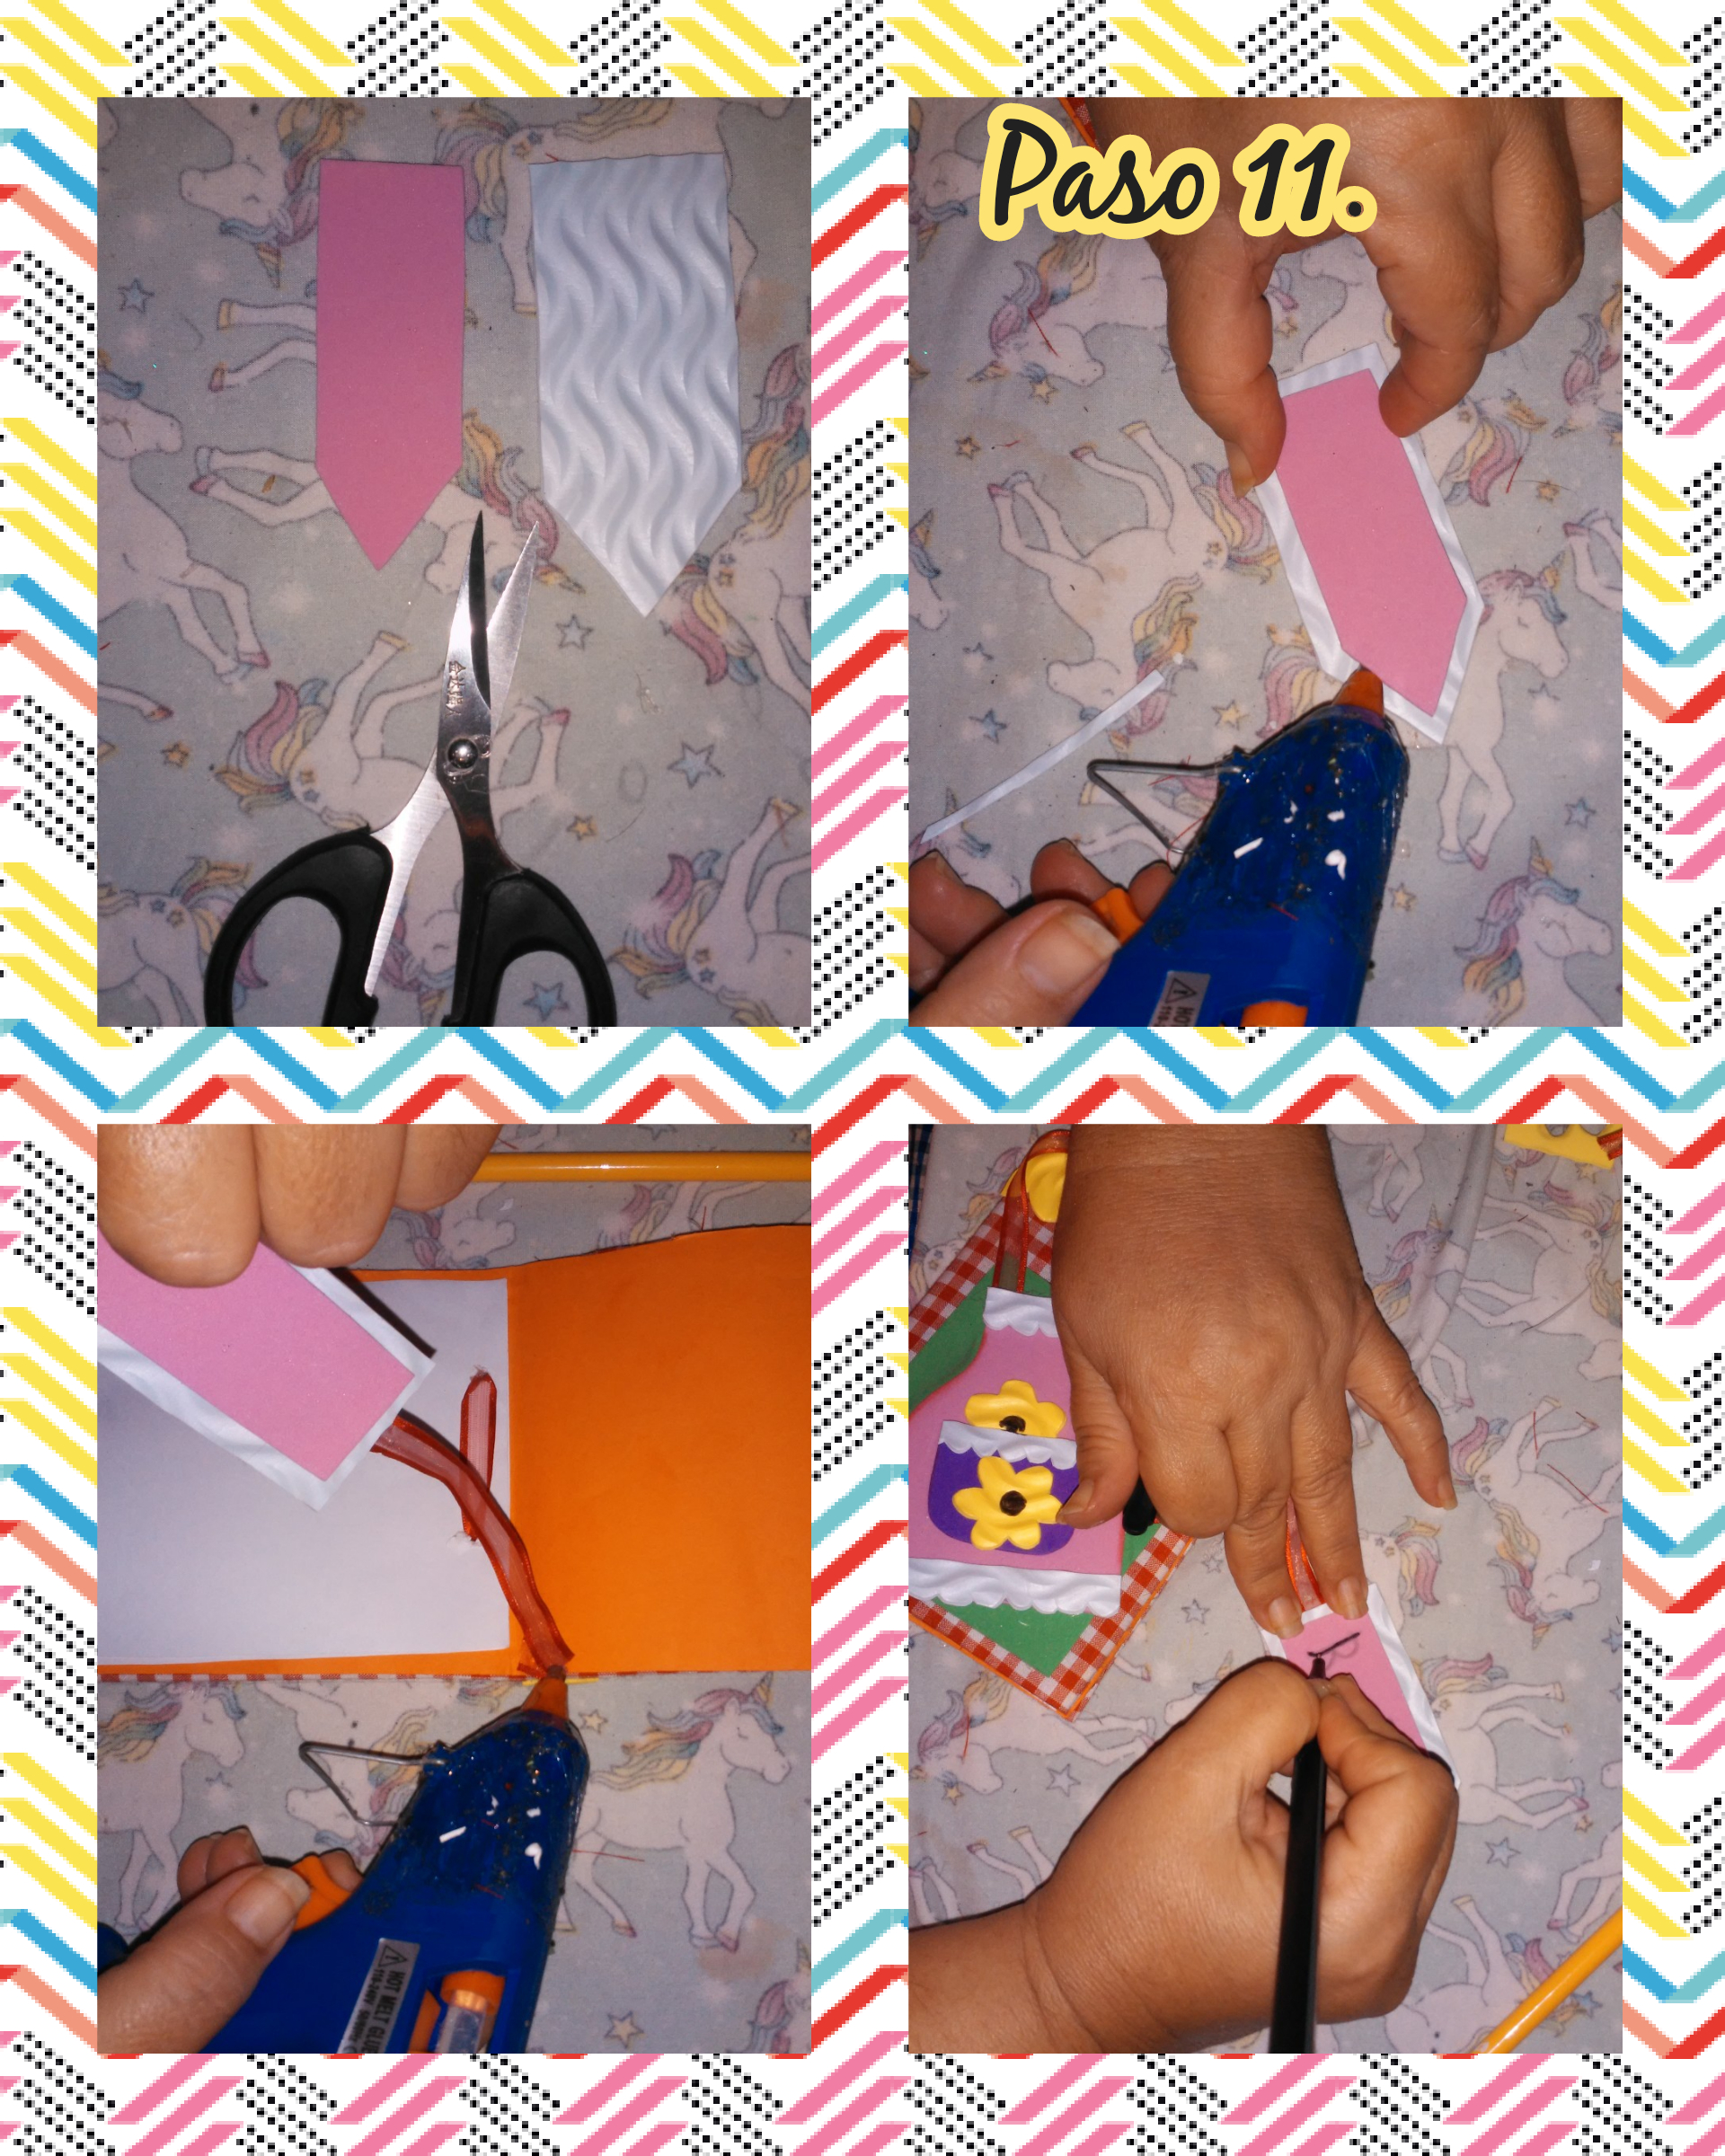
Step 11. In this step we are going to take some foamis of white and pink colors, to make some brand notes to be able to locate our recipes, then we mark them and cut them out by gluing a piece of cloth tape and then we stick it on our recipe book and write the word RECIPE.
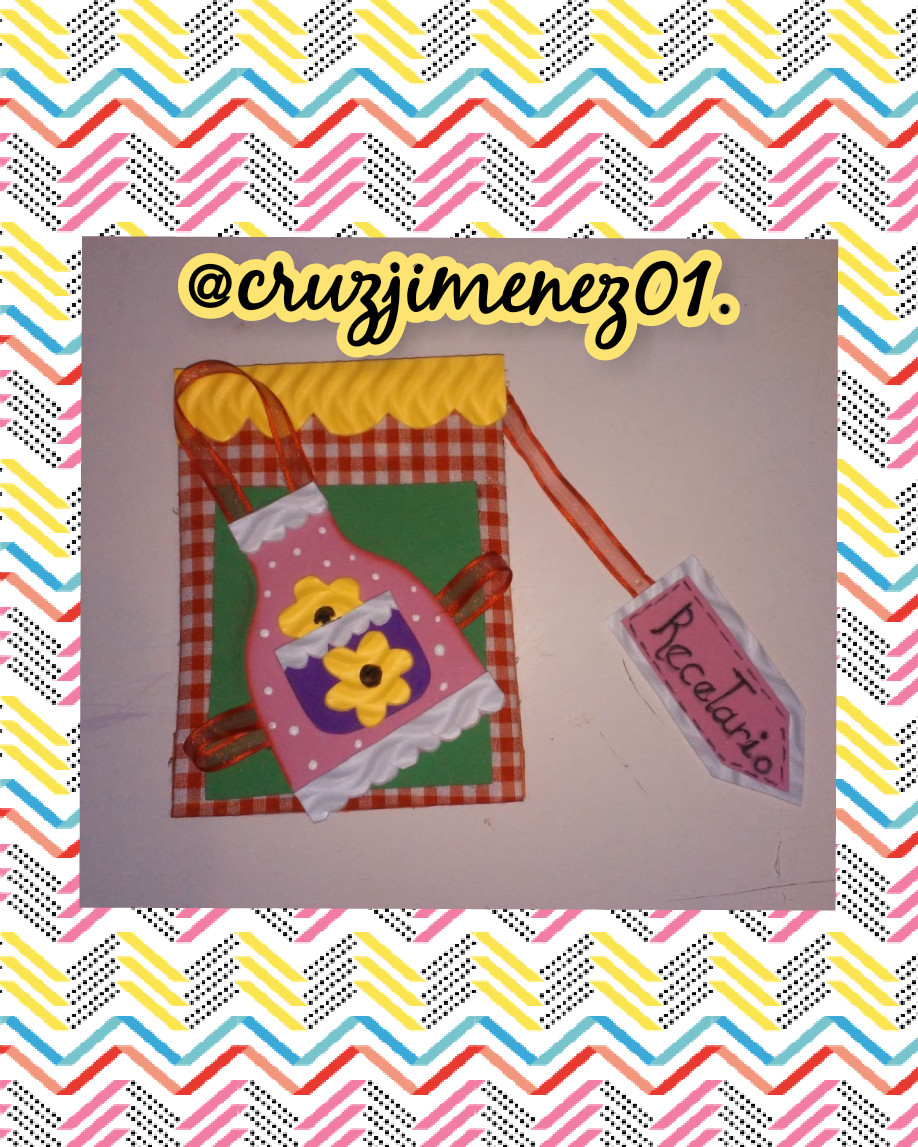
We have reached the end of all the steps, and the result was a beautiful and practical recipe book, ideal to always have in our kitchen, I hope you liked it, thanks for watching until the end. Have a nice day, see you later.
Las fotos son de mi propiedad y editadas con la aplicación Collage Maker.
Photos are owned by me and edited with Collage Maker app.
Thank you for sharing this amazing post on HIVE!
Your content got selected by our fellow curator @stevenson7 & you just received a little thank you via an upvote from our non-profit curation initiative!
You will be featured in one of our recurring curation compilations and on our pinterest boards! Both are aiming to offer you a stage to widen your audience within and outside of the DIY scene of hive.
Join the official DIYHub community on HIVE and show us more of your amazing work and feel free to connect with us and other DIYers via our discord server: https://discord.gg/mY5uCfQ !
If you want to support our goal to motivate other DIY/art/music/homesteading/... creators just delegate to us and earn 100% of your curation rewards!
Stay creative & hive on!