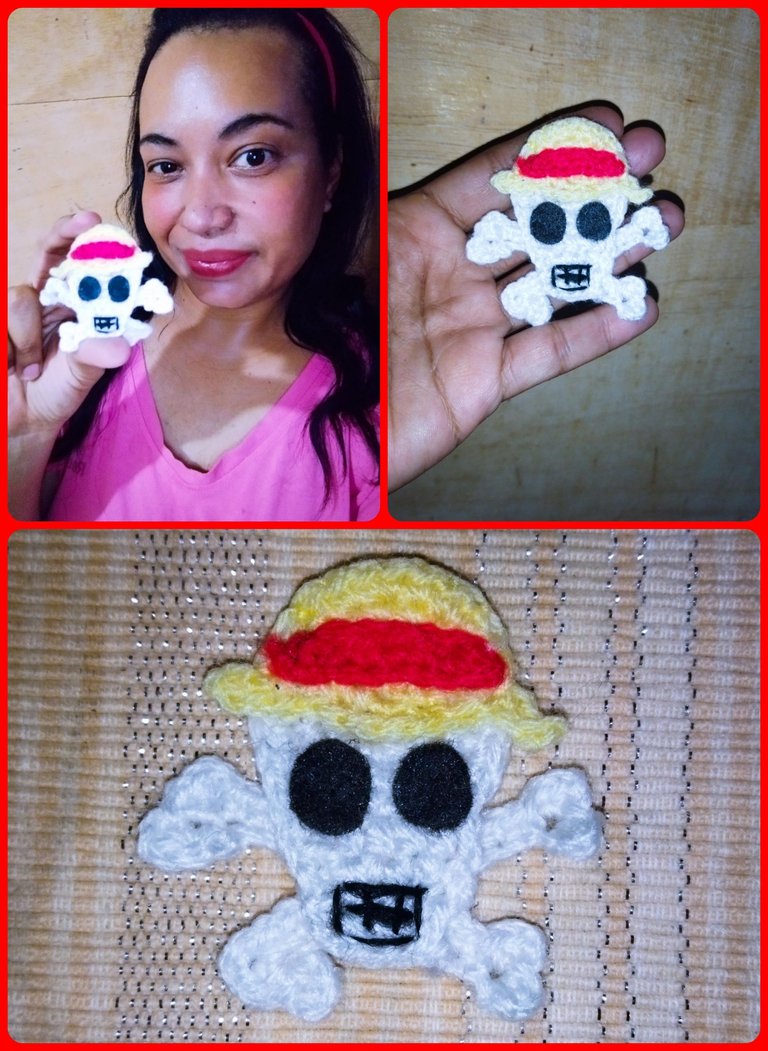
Saludos amigos!! En esta oportunidad les muestro un tutorial muy simpático y original de como elaborar un parche tejido a crochet de una calaverita de la serie animada One Piece. Es muy fácil de tejer y lo mejor de todo es que la podemos realizar en muy poco tiempo y con poquito material.
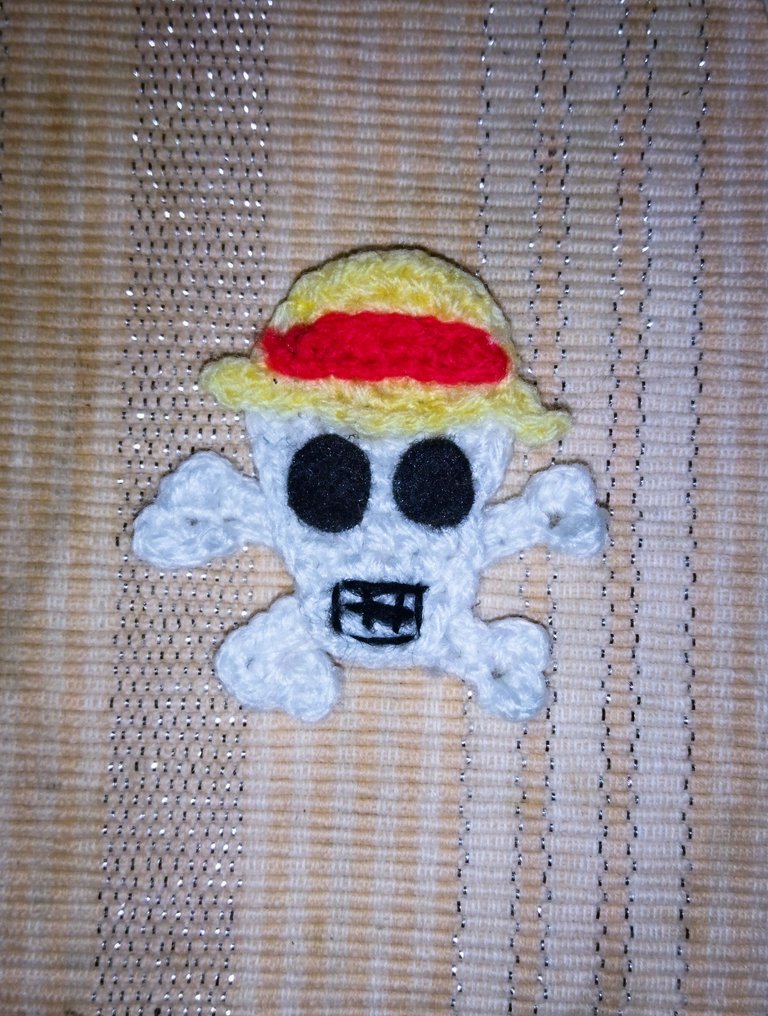
Its size is approximately 6cm, but the result will depend on the thickness of the yarn and the needle.
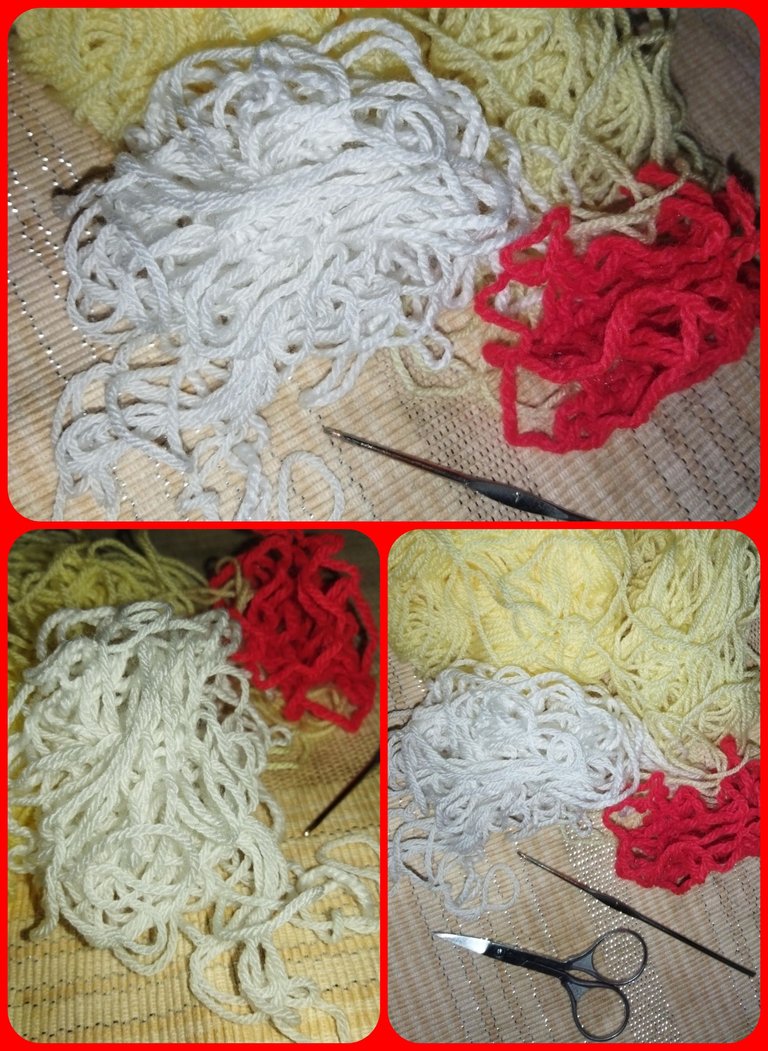
Los materiales utilizados fueron. Hilo de tejer blanco, amarillo, rojo y negro, fieltro negro, un crochet número 1.5 mm, tijera, silicón y una aguja lanera. Su medida e ase aproximadamente 6cm, pero el resultado va a depender del grosor del hilo y la aguja.
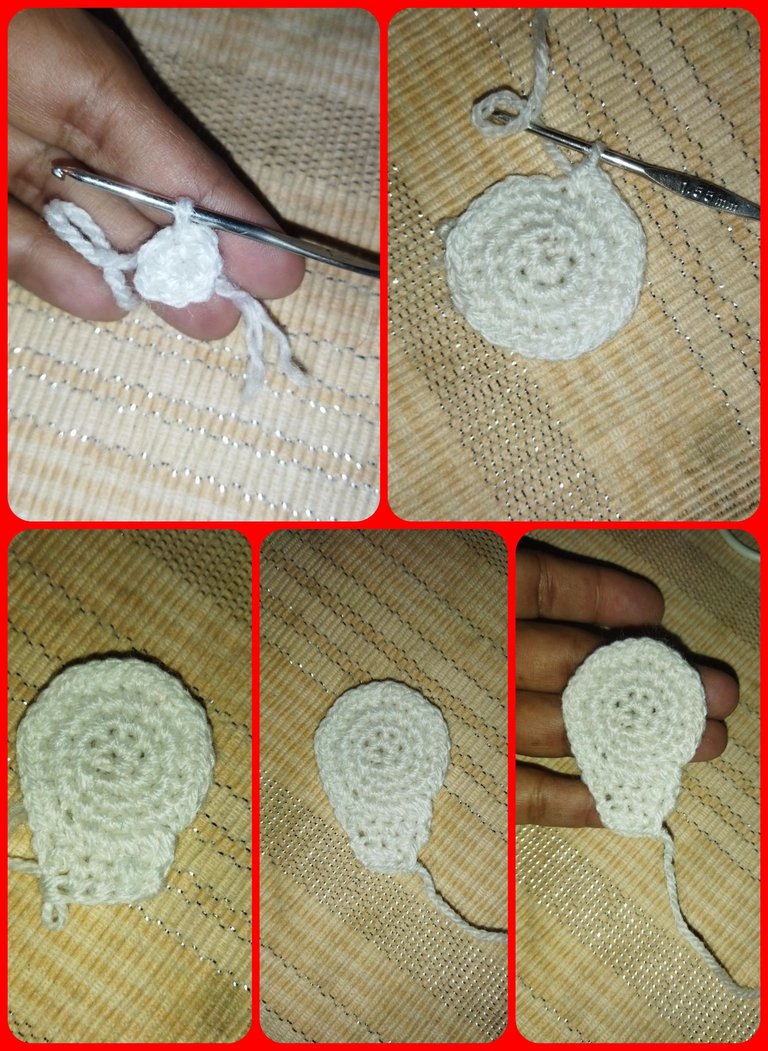
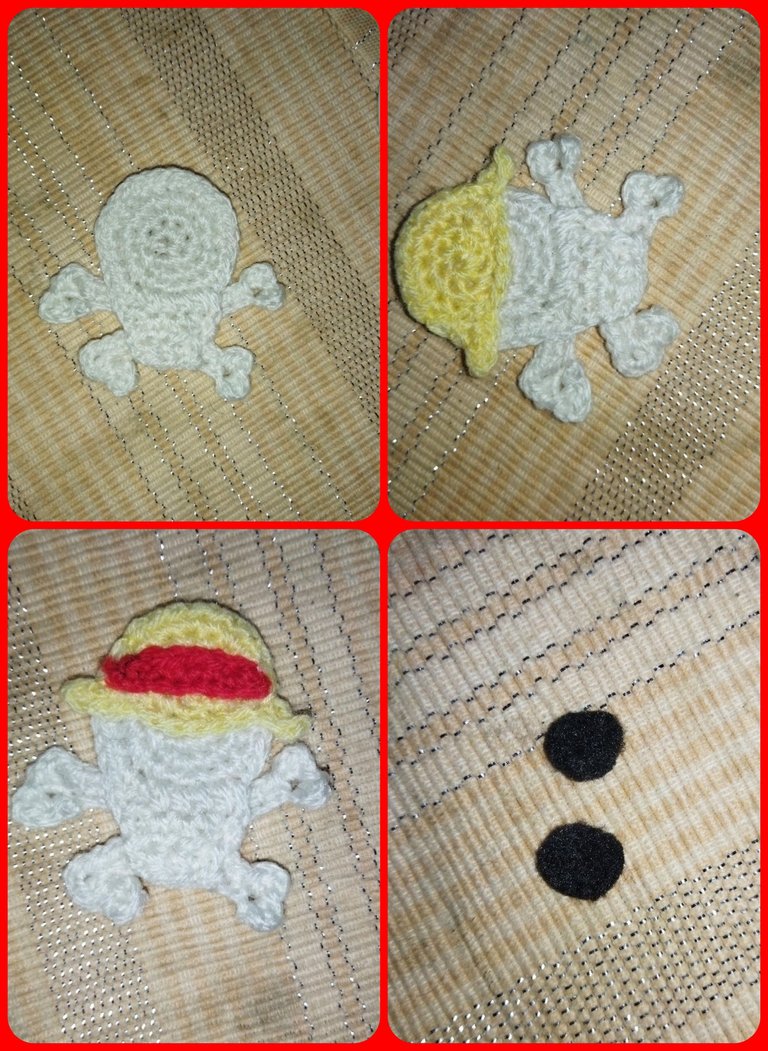
Para comenzar tomamos hilo blanco y realizamos un anillo mágico de siete puntos bajos, cerramos con un punto deslizado y hacemos un aumento en cada punto para tener un total de catorce puntos bajos, continuamos en la próxima vuelta con la secuencia de un punto bajo un aumento para un total de 21 puntos bajos. En la vuelta que sigue tejemos la secuencia dos puntos un aumento para un total de veintiocho puntos bajos. Hacemos dos cadenas y seis medios puntos altos. Hacemos dos cadenas volteamos el tejido y hacemos una disminución de punto medio alto, dos puntos menos altos y terminamos con una disminución para un total de cuatro puntos, levantamos dos cadenas, volteamos el tejido, hacemos un punto medio alto una disminución y un punto medio alto para finalizar con un total de tres puntos. Cortamos el hilo y así tenemos culminada la parte de la calavera.
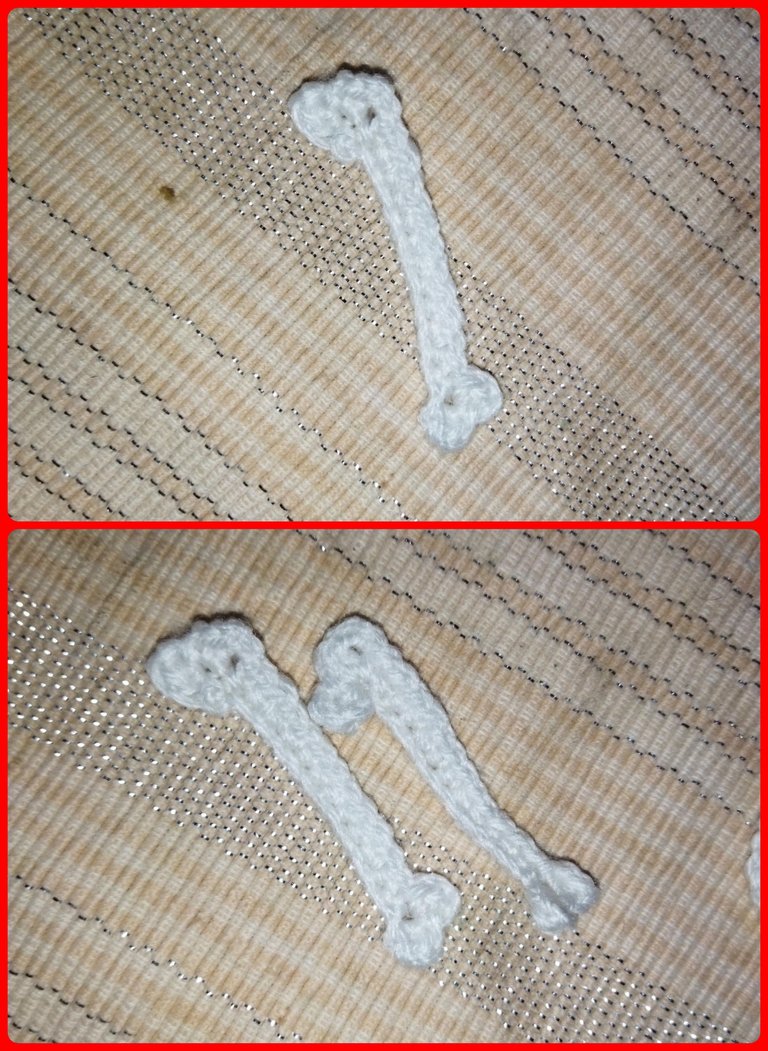
Ahora vamos a tejer los dos huesito, para ello hacemos una cadena de catorce puntos, tejemos dos adicionales para darle altura, en la última cadena de las catorce, hacemos un punto medio alto, una cadena y en el mismo punto hacemos un punto deslizado, sobre la cadena tejemos doce puntos bajos, y repetimos en el último punto que queda libre: dos cadenas, un punto medio alto, una cadena y un punto deslizado, repetimos las dos cadenas, un punto medio alto, cadena y punto deslizado. Y así nos quedan listos nuestros huesitos.
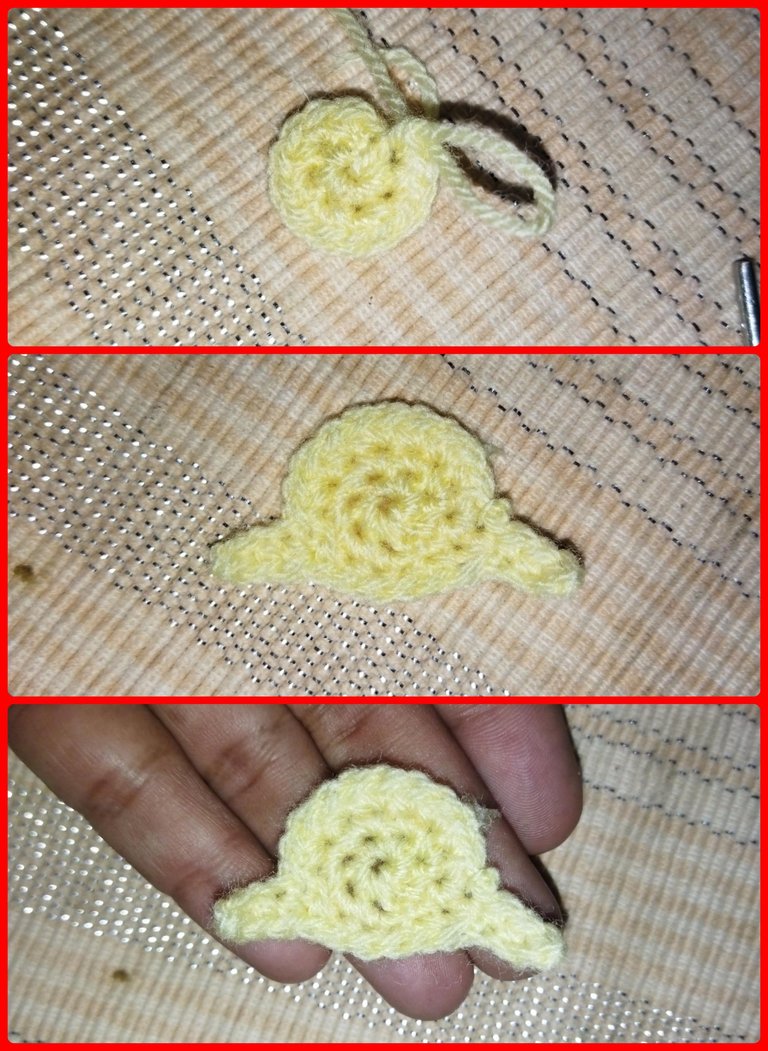
Para la parte del sombrero tomamos hilo amarillo, iniciando con un anillo de ocho puntos, en la segunda vuelta tejemos un aumento por cada punto para un total de dieciséis puntos bajos. La próxima vuelta vamos a tejer puntos medios altos repitiendo cinco veces hasta tener quince puntos, nos va a quedar como una forma de medio círculo, hacemos cuatro cadenas y tres puntos bajos en las tres cadenas, hacemos una disminución, seguimos con cuatro puntos bajos, y repetimos haciendo una disminución, Cuatro cadenas y tres puntos bajos. Cerramos con punto deslizado y así tenemos listo el sombrero.
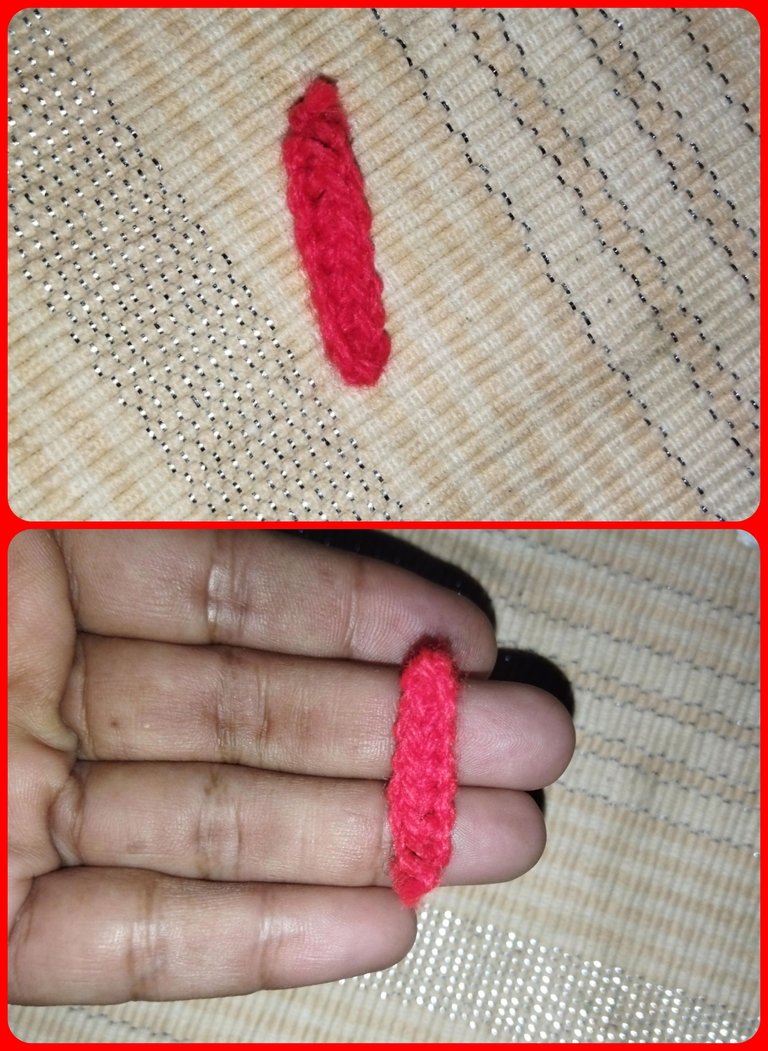
Por último con el hilo color rojo tejemos siete cadenas,una extra para levantar el tejido y tejemos siete puntos bajos. Cortamos hilo y cerramos.
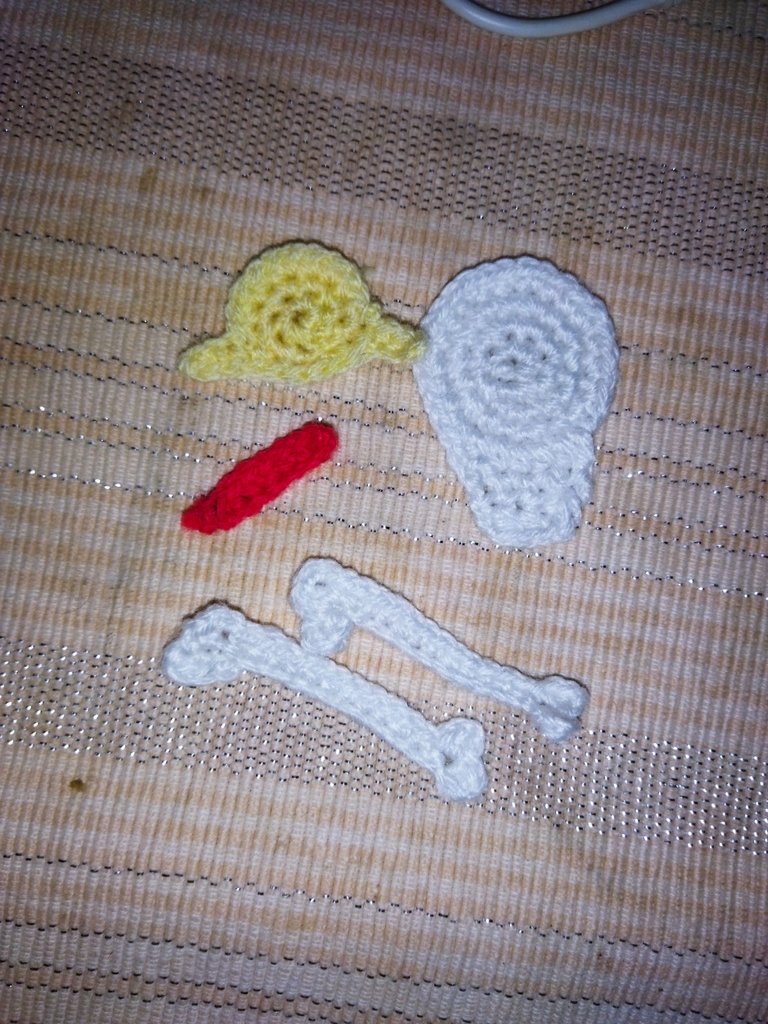
Teniendo ya todas las piezas solo nos resta ensamblar, vamos a comenzar por unir los huesitos en forma cruzadas detrás de la calavera, yo la dije con hilo blanco para que quedarán más firmes, luego coloqué el sombrero y la línea roja en el borde de éste.
Para los detalles del rostro con fieltro negro recortamos dos círculos, que pegamos a la pieza con silicón y con hilo negro bordamos la parte de los dientes. Adicional colocamos un alfiler o gancho para poder fijar el parche al accesorio o pieza que mejor nos guste, o si lo queremos dejar firme, los podemos coser directamente.
Me despido hasta una nueva oportunidad agradezco mucho su apoyo.
Greetings.
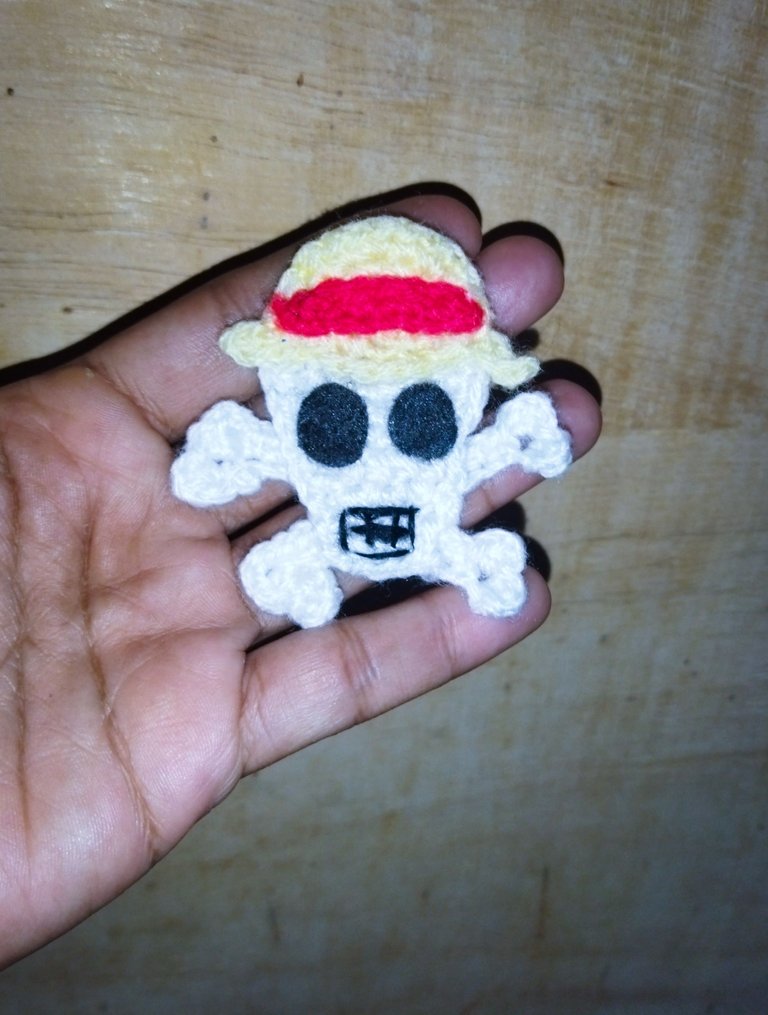
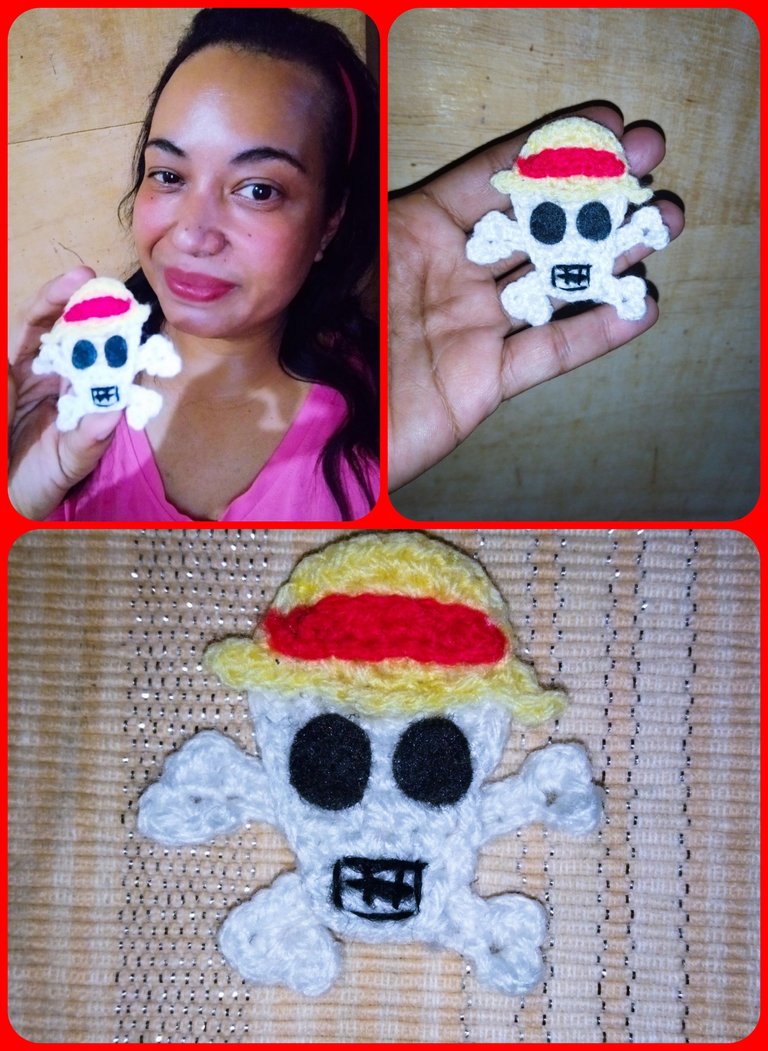
Y de esta manera tenemos culminado este original parche de calavera de la serie animada One Piece. Esperando que haya Sido de su agrado y si es de su gusto puedan recrearlo. Me despido hasta una nueva oportunidad agradezco mucho su apoyo. Saludos.
Todas las imágenes son de mi propiedad tomadas con redmi 9t y editadas con la aplicación Photoshop Express para Android.
~~~ embed:1754341165548110279?t=gagTpQeWO_fxAFVz_PJ4uQ&s=19 twitter metadata:TWF5ZWxpbjIwMjF8fGh0dHBzOi8vdHdpdHRlci5jb20vTWF5ZWxpbjIwMjEvc3RhdHVzLzE3NTQzNDExNjU1NDgxMTAyNzl8 ~~~
Que bonito amiga, cuanto detalle y cuanta paciencia para hacerla 😍 a pesar que nunca vi One Piece, pude reconocer esa calavera jaja se nota que es muy conocida la serie 😂
Excelente e impecable trabajo como siempre 😊
Gracias 🫂😊, muy buena serie animada se la recomiendo!!
Made a wonderful image of a cat with yarn which is truly a wonderful piece of art. Wishing you all the best always. Thank you so much for sharing such wonderful skills.