Hello friends, what's so special about your Christmas this year? Hope you have a happy and peaceful Christmas.
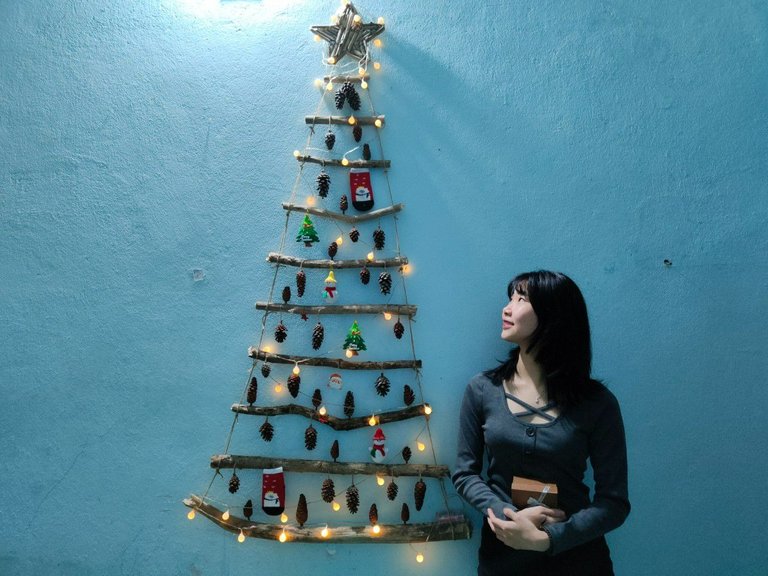
The last days of the year are drawing to a close, another Christmas season is coming, cities are being filled with the bustling and joyful atmosphere of Noel. Christmas is considered one of the biggest holidays of the year to remember the day Jesus was born and also to mark the end of a long, hard year. All over the streets, churches, cafes, .. are beautifully decorated with Christmas trees and filled with Christmas atmosphere. Today I also want to share with you the joy of celebrating Christmas by making my own Christmas tree.

The Christmas tree is a symbol of the Christmas holiday, symbolizing the restoration of energy and the boundless love that God has for mankind. So decorating the Christmas tree seems to be an indispensable part of preparing to welcome a new Christmas season, it seems that just seeing the tree will see Christmas coming. This year, more special than usual, I did not buy a pre-decorated Christmas tree, but decided to make a Christmas tree by myself to decorate my small room.
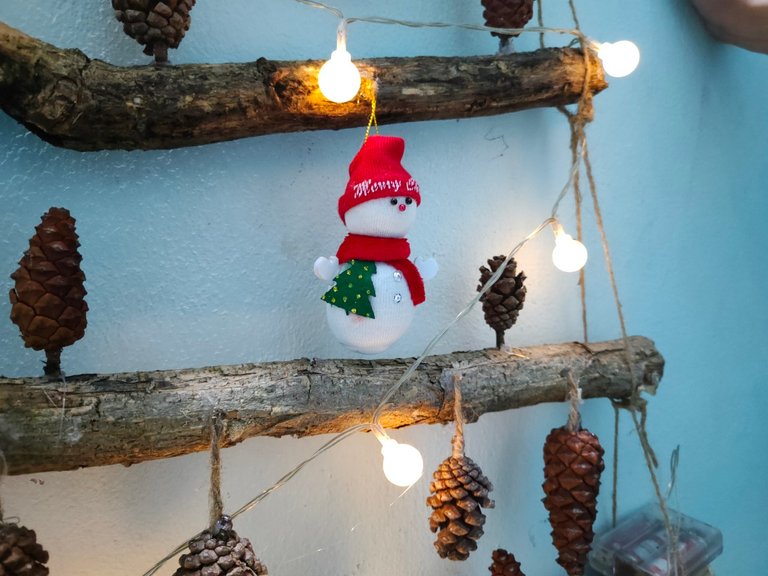

It's much more interesting and fun to create a Christmas tree by myself. This is also a very suitable way for small cozy houses or for families who want to decorate small spaces in a special way according to their preferences.
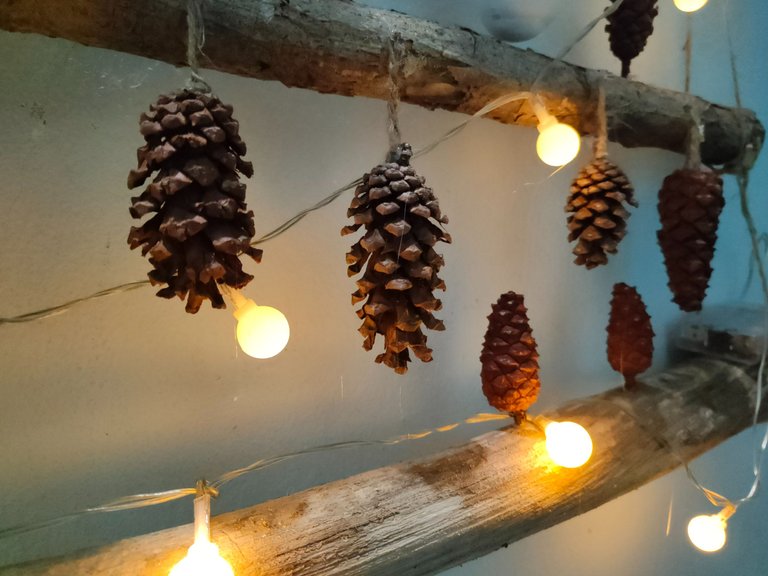
Looking at the big Christmas trees displayed in stores, I got a different idea, simpler and more rustic. I use dried branches and recycled items to make my own pine tree. Are you ready to join me in making a Christmas tree?
Unique and Creative Christmas Tree Supplies
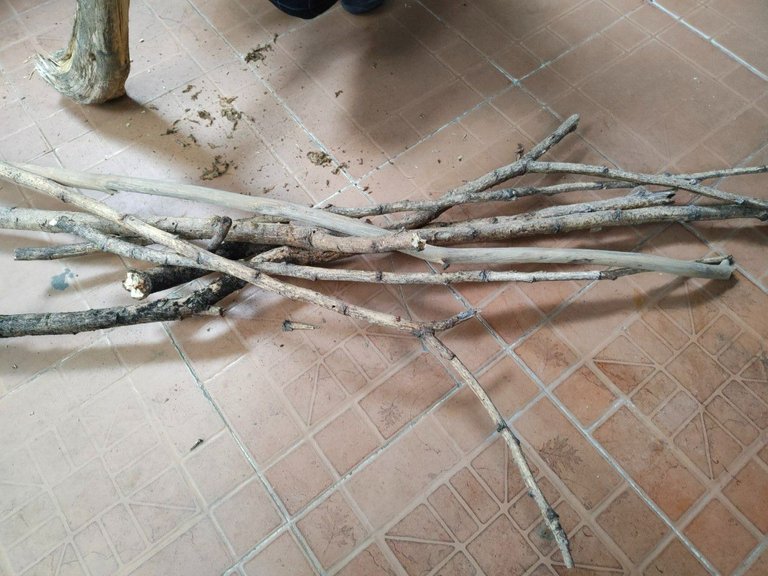
- 10 dry branches about 20cm to 80cm long.
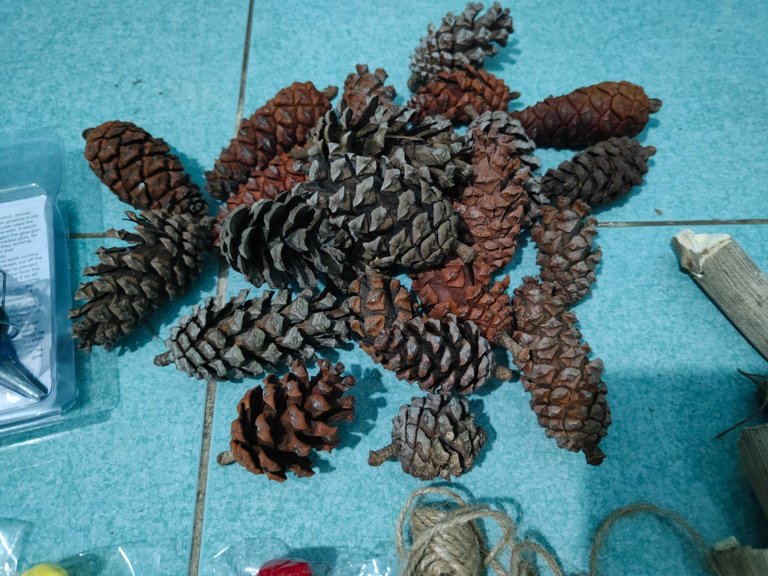
- Dried pine nuts.
- Snowman, lights, balls, mini Christmas tree, LED string lights
- Glue gun, glue candle.
- Scissors
- Ropes
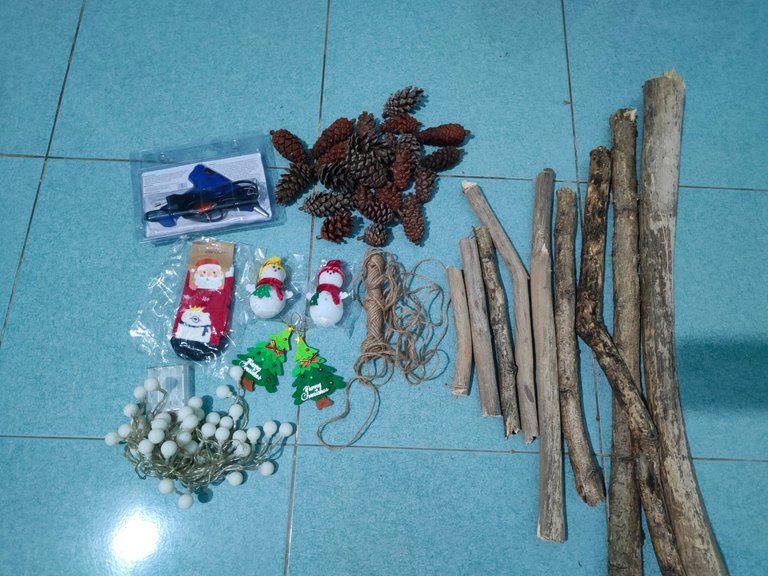
How I Prepare Supplies
Taddaa... Since intending to make my own Christmas tree out of wood, I decided to go pick up dried pine cones to decorate my tree. It would be difficult to find pine cones in the city, so I went to the outskirts of the city.

Making your own Christmas tree is not only interesting, but the journey of collecting items to create that Christmas tree is also fun. On the way, I also got to see the beautiful scenery and see the bustling people make my heart happy.
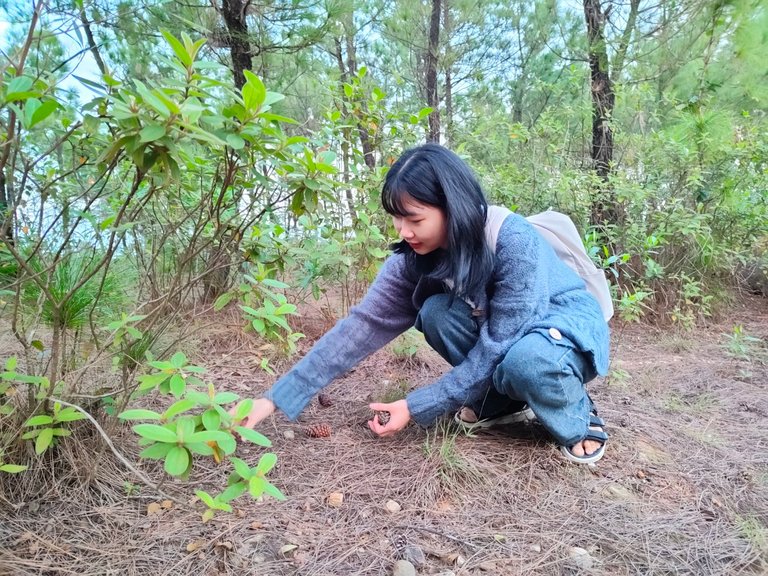
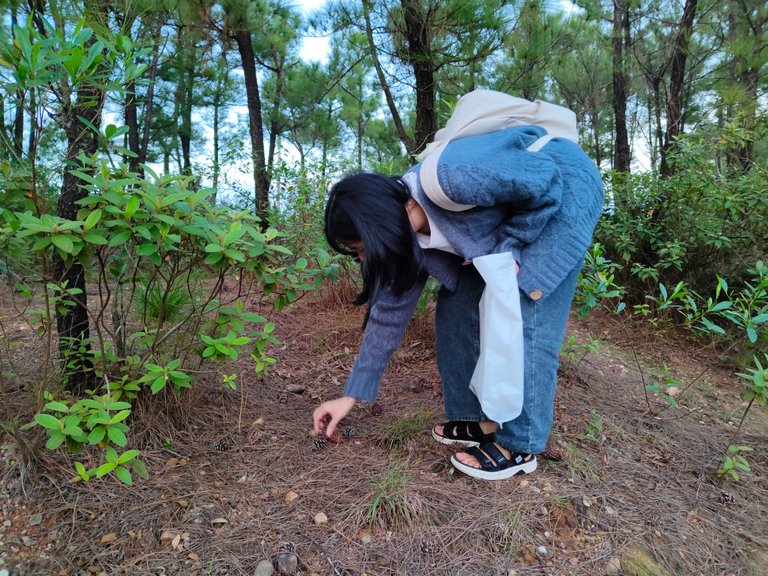
I picked up pine cones in Bo Bo pine hill - The scene here is really beautiful and I will review this pine hill for you in the next post, please look forward to my post!

The pine cones here are small and pretty, very suitable for my wooden Christmas tree decoration purposes. I have picked up a lot of pinecones because if I don't use them all when decorating the tree, there are many ways to decorate other things in my room with pinecones.
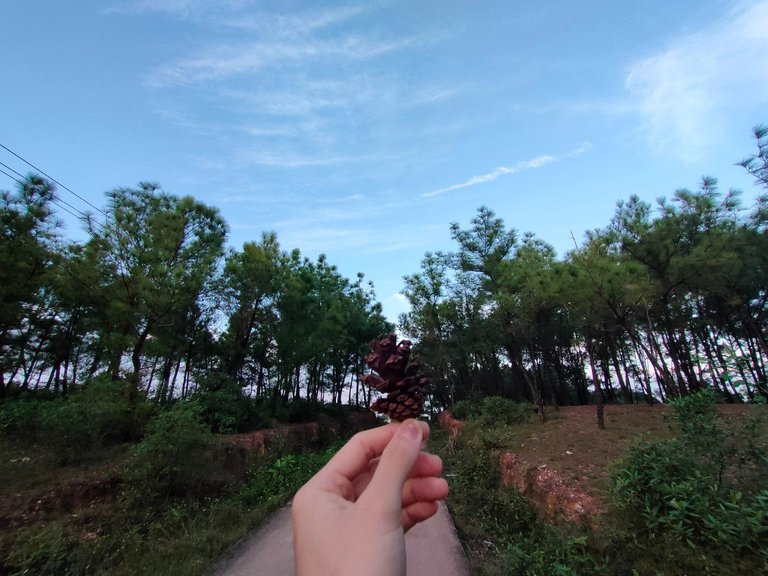
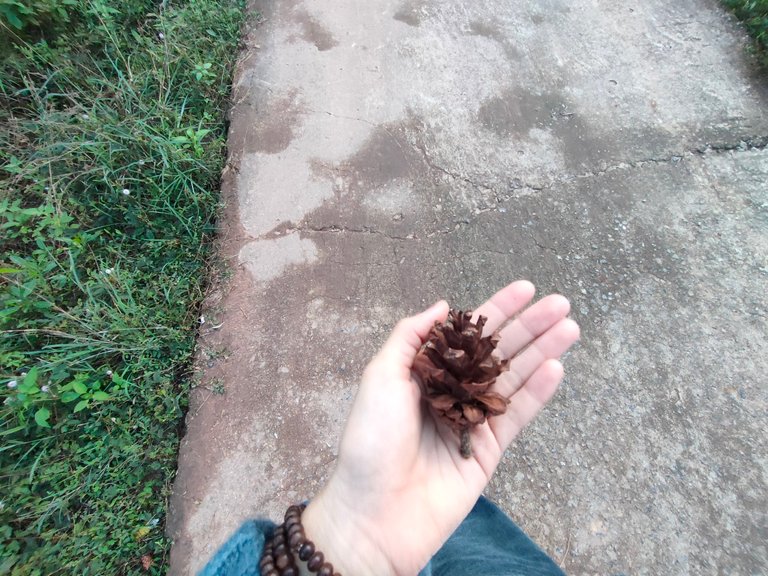
So I have the pine cones, now let's go prepare the next items!
Today's next main item is dry branches, I went to an empty lot near my house to pick up dry branches. It seems that they have been forgotten and no one needs them, today I will make these seemingly useless branches more special and beautiful. I chose elongated but not too small dry branches for my work.
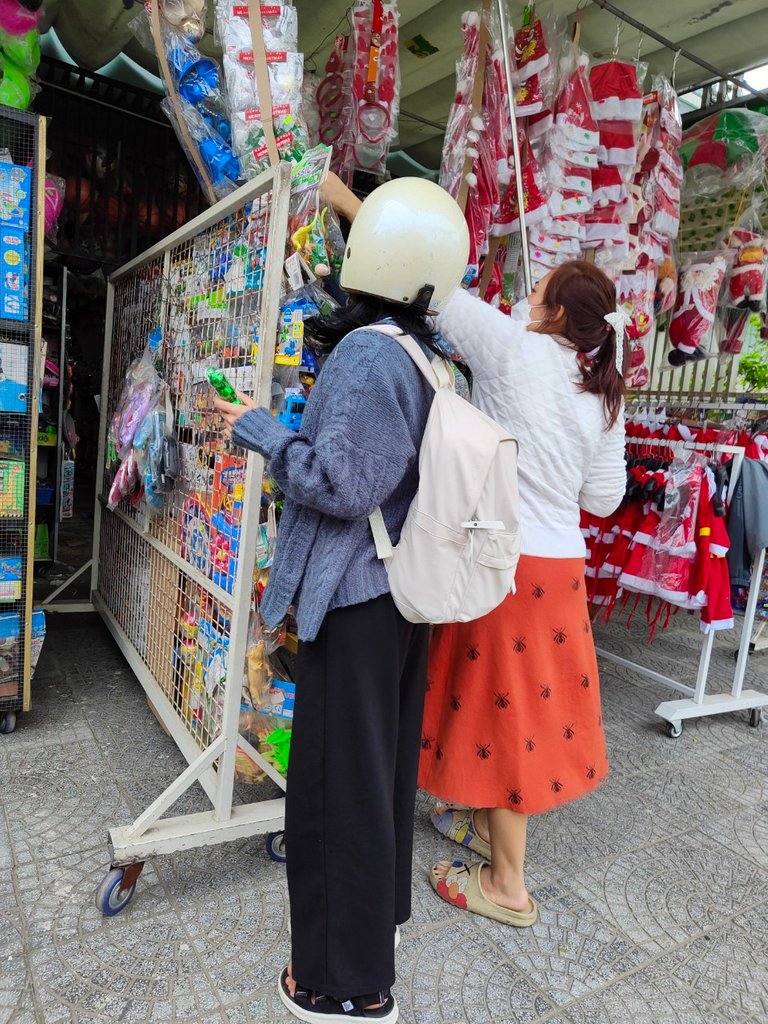
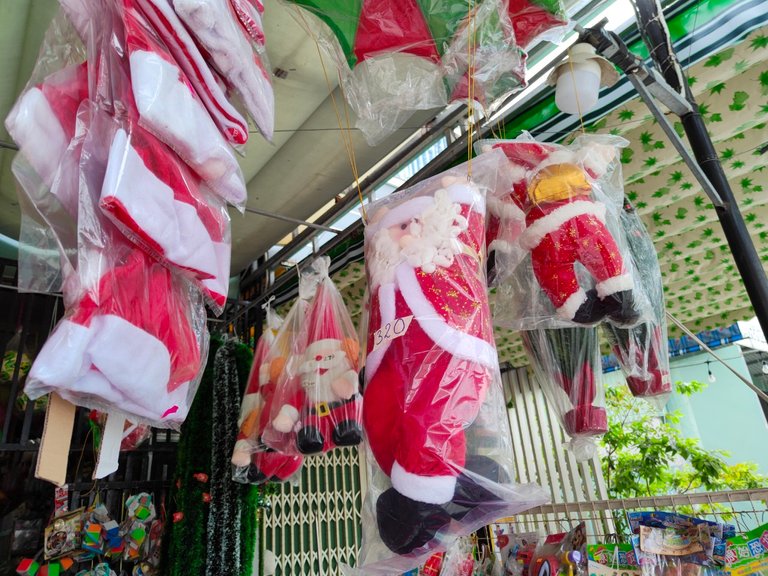
The remaining items such as glue guns, snowflakes and balls were bought by me at a decoration store. The shop looks small but will have everything you need. From balls to snowmen and even Santa Claus,... if you want to see the bustling atmosphere of a festive season, go to the decoration store. You will certainly feel very excited and happy there.

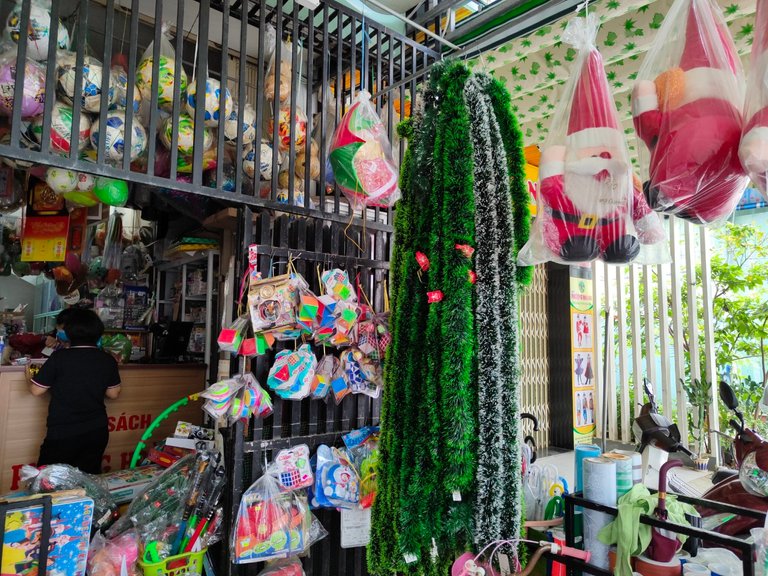
Now let's make a Christmas tree with me 🌲!
Once I've prepared all the items, let's get to work! Since I'm not a crafty girl, I simplified everything, choosing the easiest way to create my own wooden pine 😅.

Step 1: Create a pine tree on the wall
First I used a coconut wire to create a pine tree on the wall, the pine tree is about 1.5m long, and the bottom is 80cm. Mark and secure the top of the tree with a nail. You can also sketch out the shape of a pine tree on the wall to give it balance.

Dividing the distance between the branches by 15cm, I used 10 dry branches to fill the gaps of the pine trunk. Mark the locations where the branches will be placed and proceed to the next step!
Step 2: Make Christmas tree branches 🌲
After creating the shape of a pine tree with coconut wire, I used dry branches and then measured on the wall at the locations I marked and cut the dried branches according to the size from short to long.
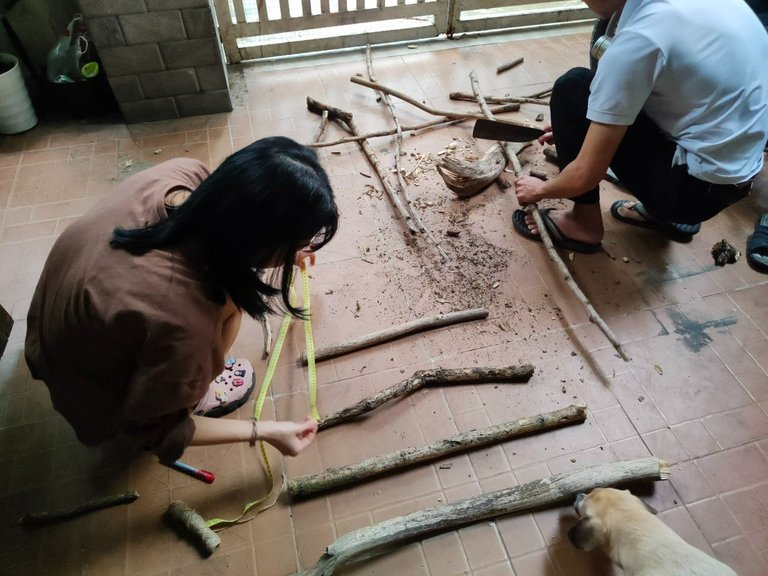
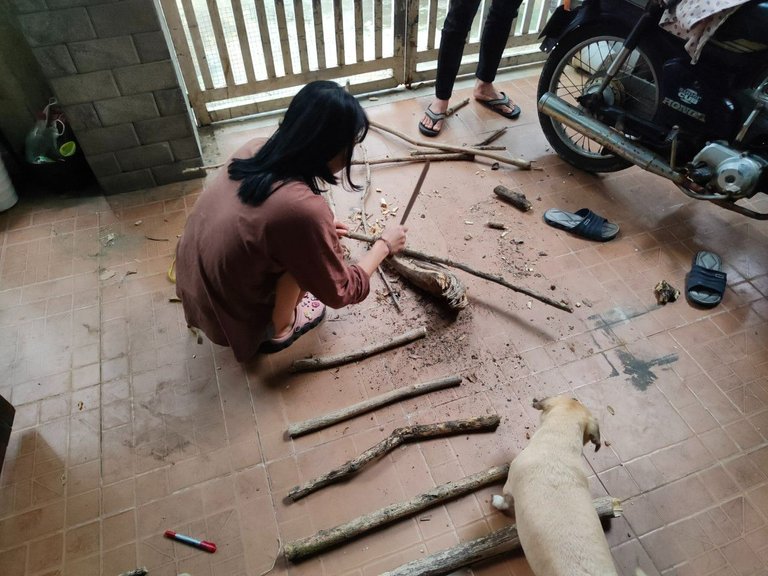
You can shave the outer bark of the branches or paint them according to your preference and ideas. As for me, I wanted to keep the rustic and natural beauty intact, so I left the outer layer of the dry branches intact.
My 10 logs are sized in order: 80cm, 70cm, 60cm, 55cm, 48cm, 42cm, 39cm, 30cm, 24cm and 20cm.
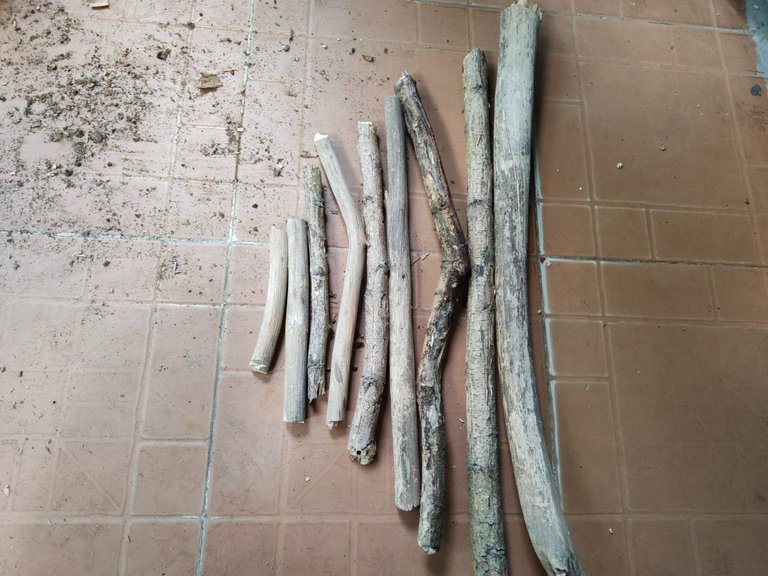
Step 3: Complete One-of-a-kind Christmas Tree Made By Me 😍
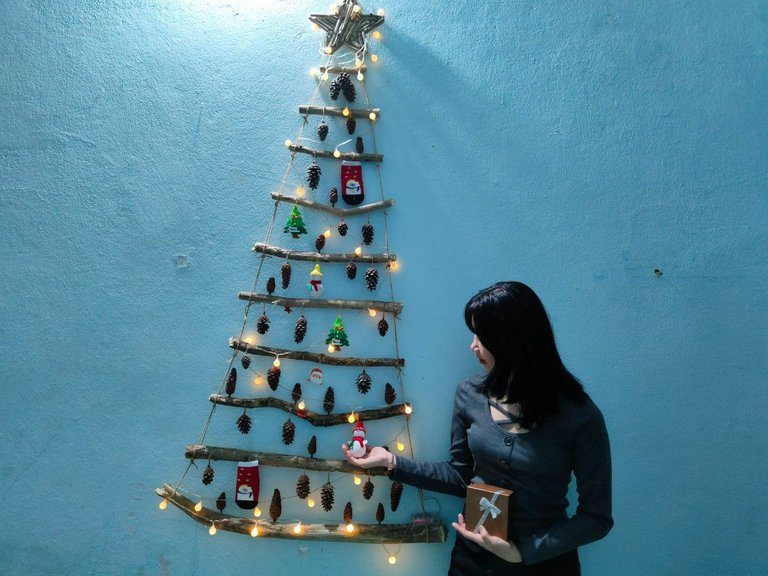
After having the appropriate sized wooden branches and shaping the pine tree on the wall, I proceed to arrange the branches parallel to each other in order from top to bottom like a Christmas tree. Then I used coconut ropes cut into short lengths to tie the branches on top of the rope that had been made into the shape of a pine tree before.

Next, I used pinecones, snowflakes and balls to decorate the wooden branches, this part you can decorate freely according to your ideas to create a unique Christmas tree.
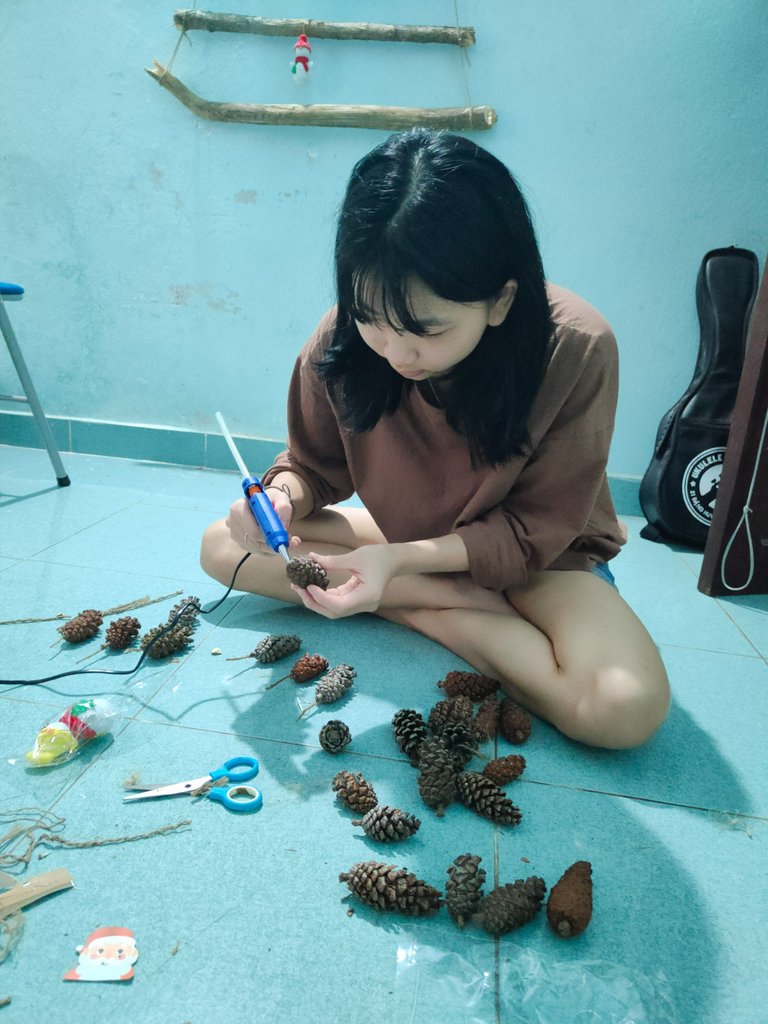

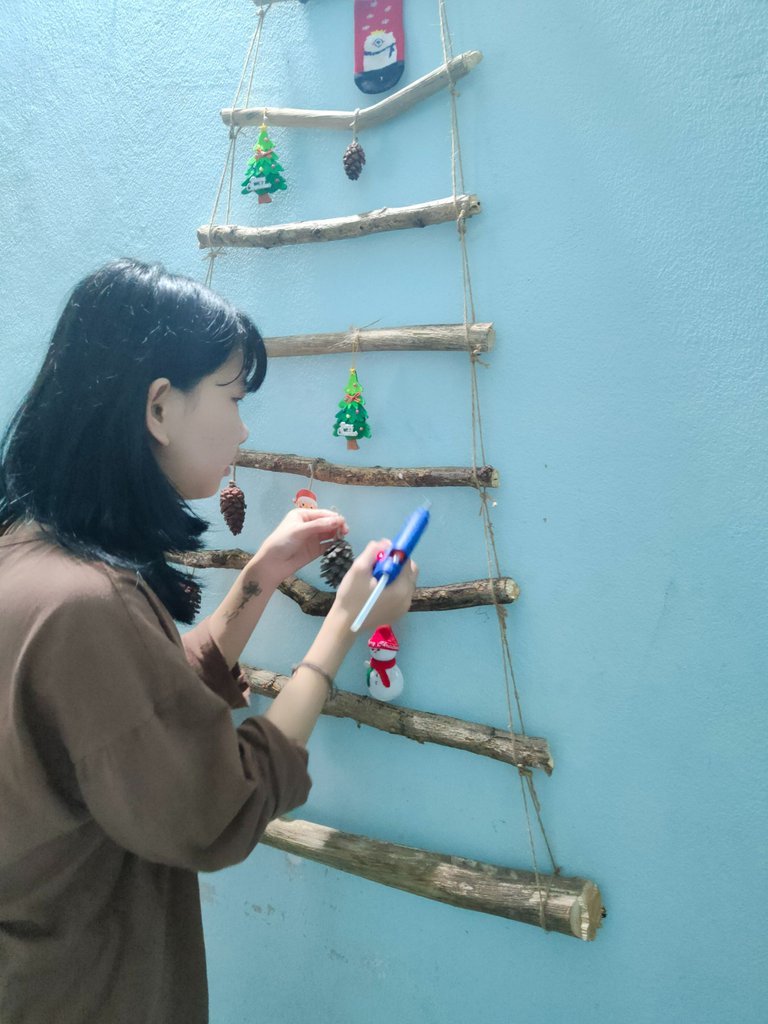
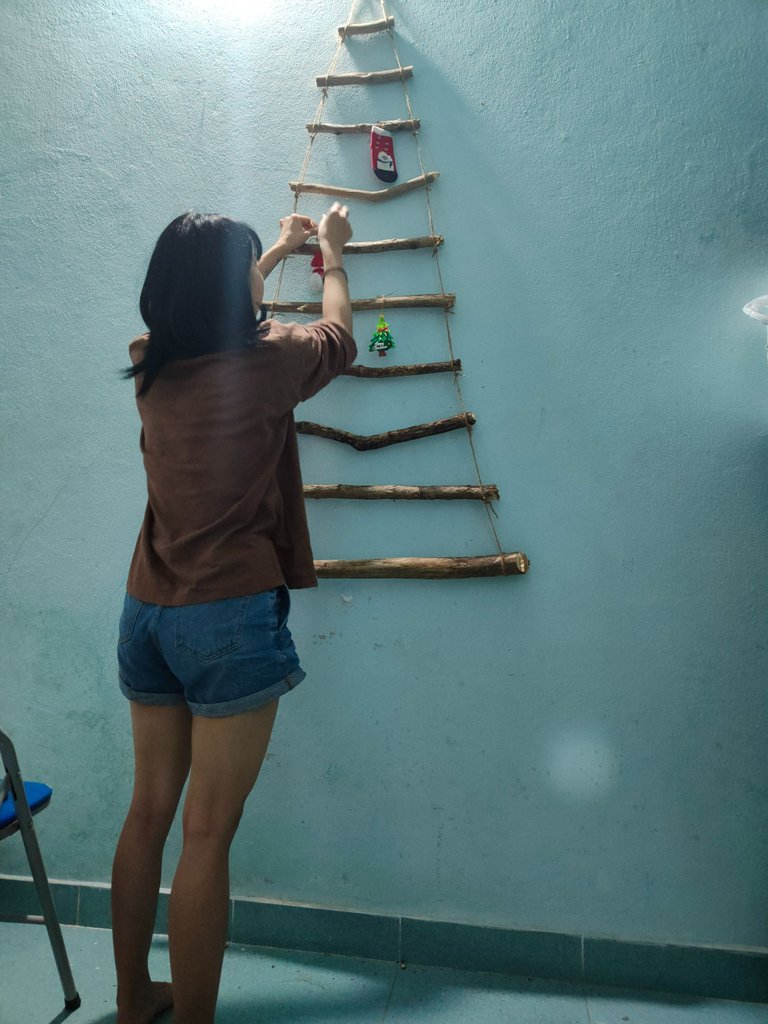
Don't forget to use LED string lights to hang on each branch. Christmas atmosphere will fill and warm your room with the shimmering lights of LED lights. I used the gold string lights available in my room to decorate, you can use colored lights, yellow lights or flashing lights as you like.
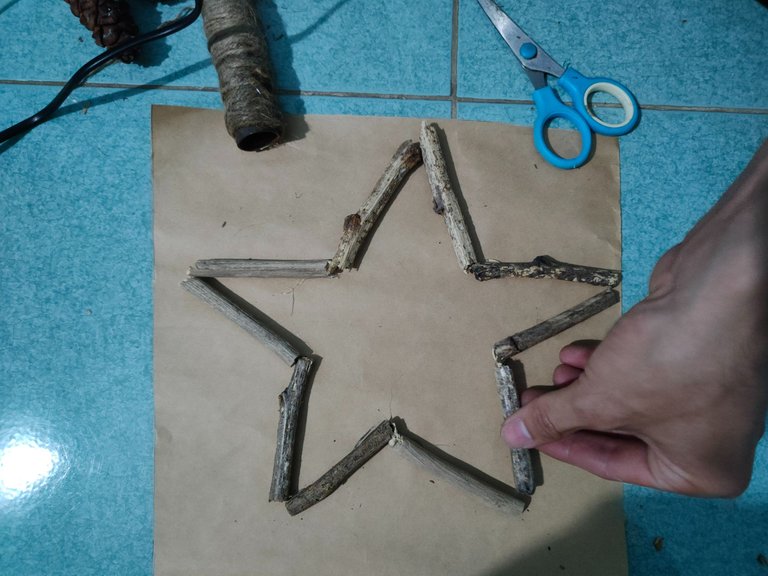
Finally, I used the remaining small wooden walls to create a star shape, which is both unique and beautiful.
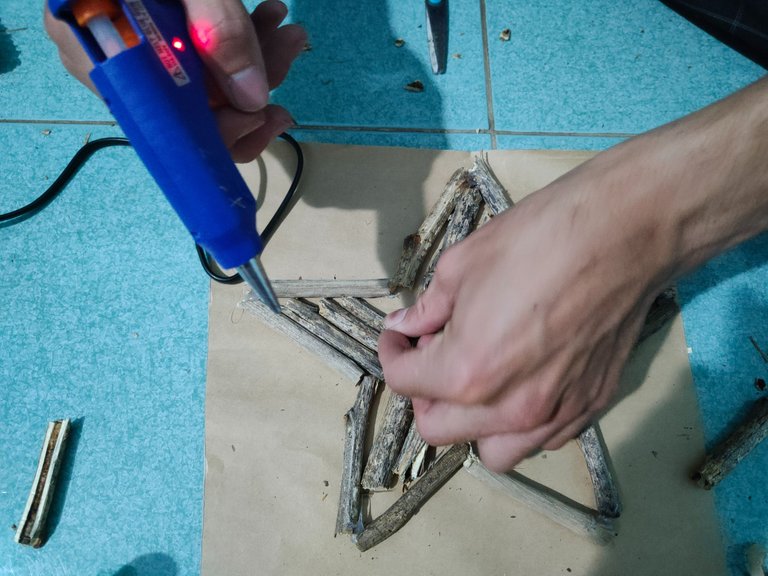
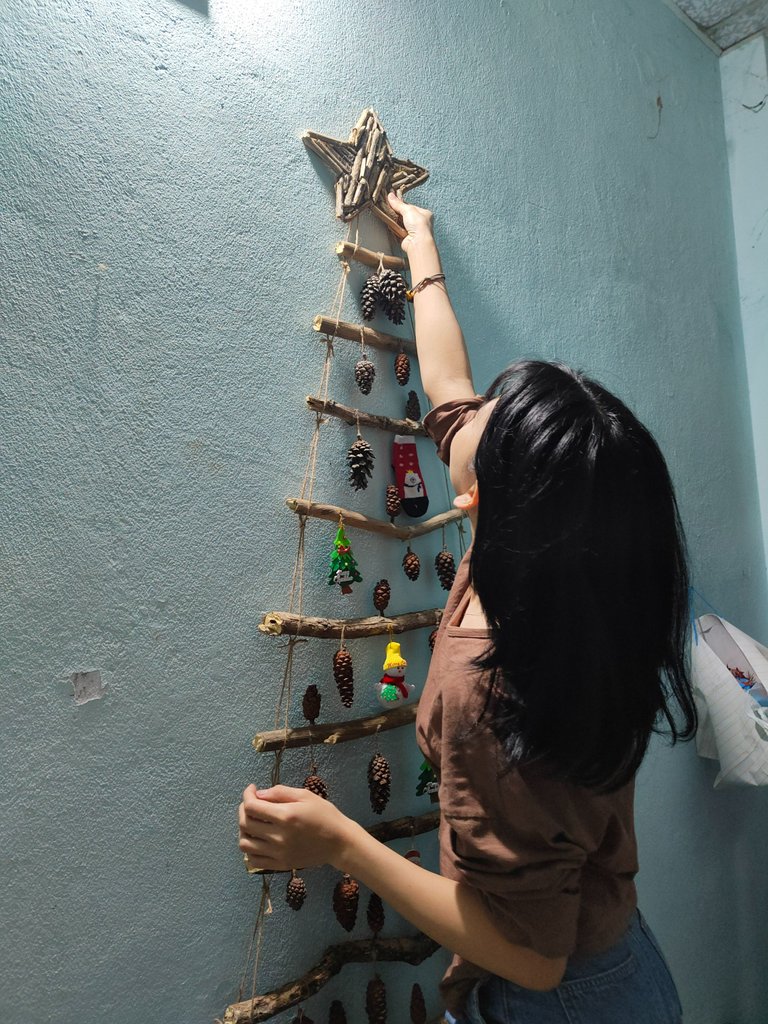
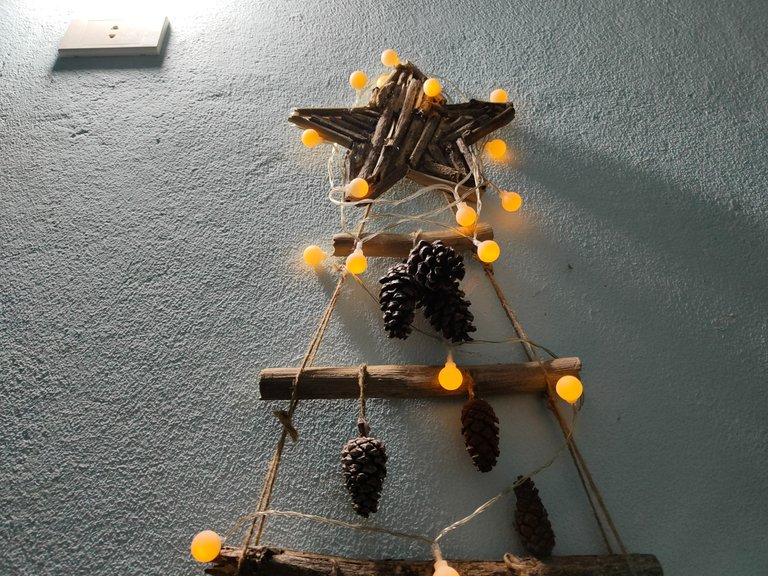
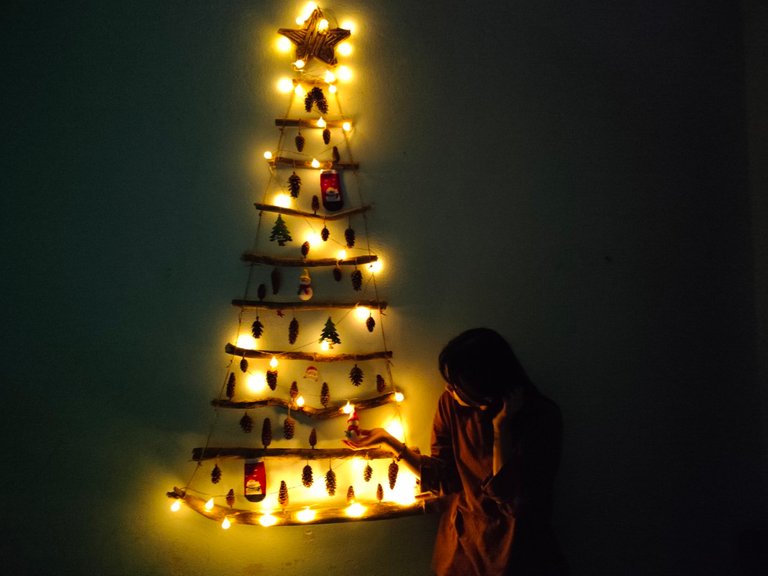
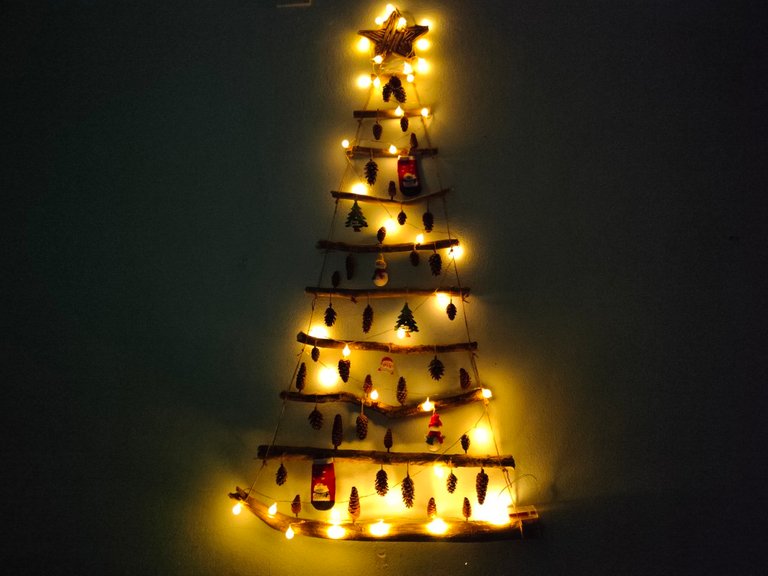
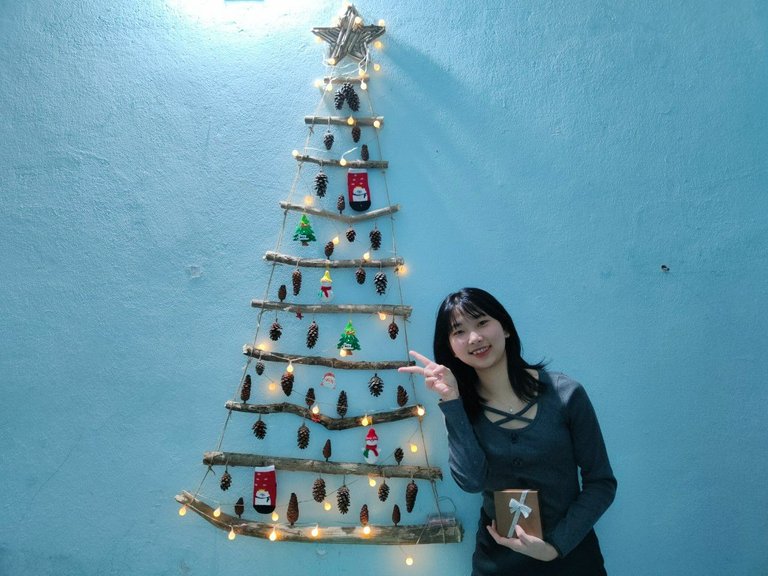
Taddaaa... so after a hard time measuring and arranging, I made my own Christmas tree. It's more beautiful than I thought. Although it's not as big as it is in the stores, it's enough to bring a Christmas atmosphere to my small room. This way not only helps me express my creativity, but also saves money and helps me have happy moments. I made my own pine tree, how about you? How did you decorate your house? Please share with me and everyone to know!
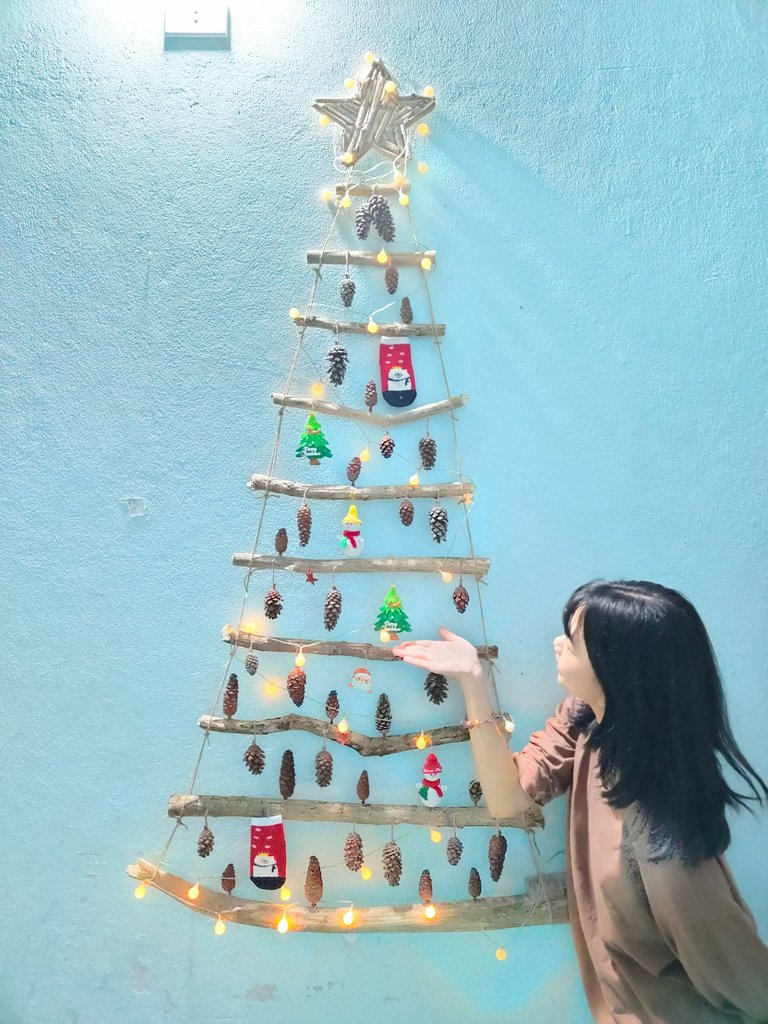


Thank you for reading the post. Wishing you a peaceful and happy Christmas with your family ❤️
Wow you made a very cute Christmas tree. Merry Christmas!
haha thank you so much! Merry Christmas 😊
Cool... I like this Christmas tree idea ☺👌 it looks you had lot fun too do this 🥃☺👌
Thank you for liking it, I really enjoyed it from idea to implementation. It's more beautiful than I thought 😄
you welcome ... and find more cool things :)
Congratulations @daohiep! You have completed the following achievement on the Hive blockchain and have been rewarded with new badge(s):
Your next target is to reach 5000 upvotes.
You can view your badges on your board and compare yourself to others in the Ranking
If you no longer want to receive notifications, reply to this comment with the word
STOPCheck out the last post from @hivebuzz:
Support the HiveBuzz project. Vote for our proposal!
thank you!!
It’s lovely and Very creative. Merry Christmas 🎄
Saludos amiga, está muy creativa linda tu manualidad. ¡Gracias por compartir tu contenido con nosotros!
Wow!what a beautiful Christmas tree! It looks simple but takes effort to collect the little things 😉