Hello everyone...✨
Hello to my dear Hivers and the dear community of artists #HiveDIY, as always very pleased and excited to be here again, showing you my work made with love and especially for you.
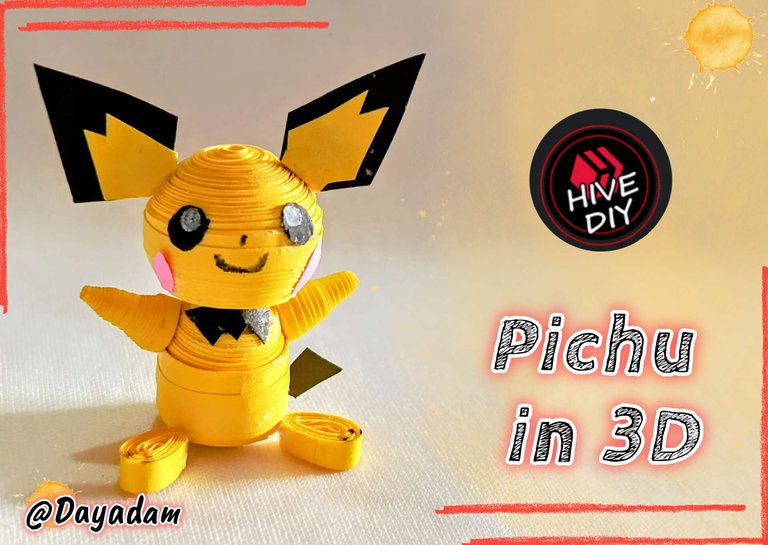
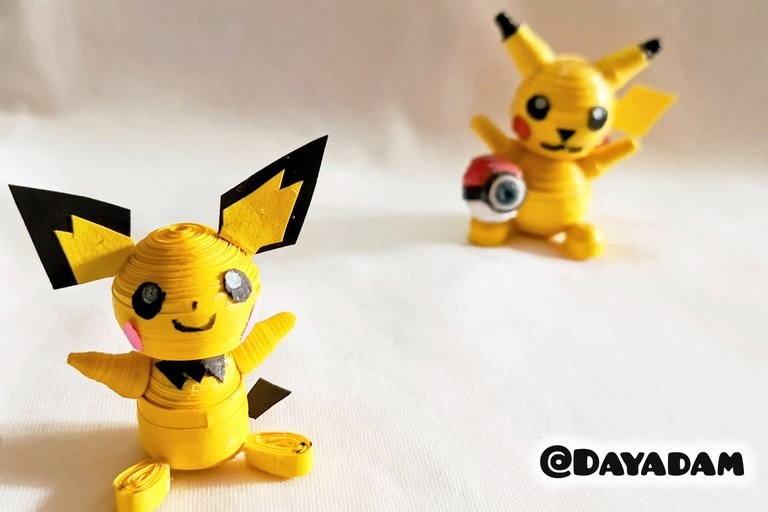
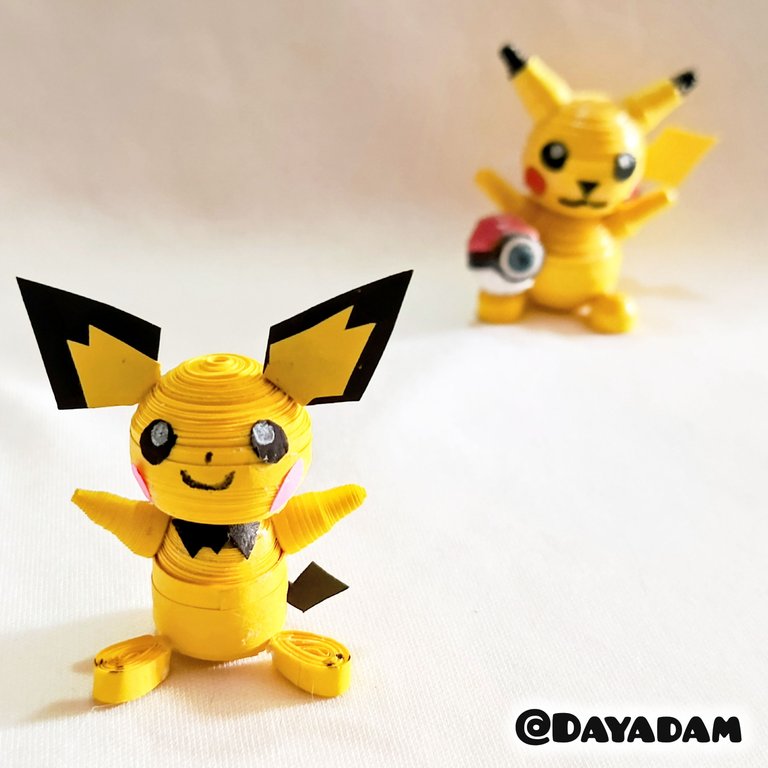
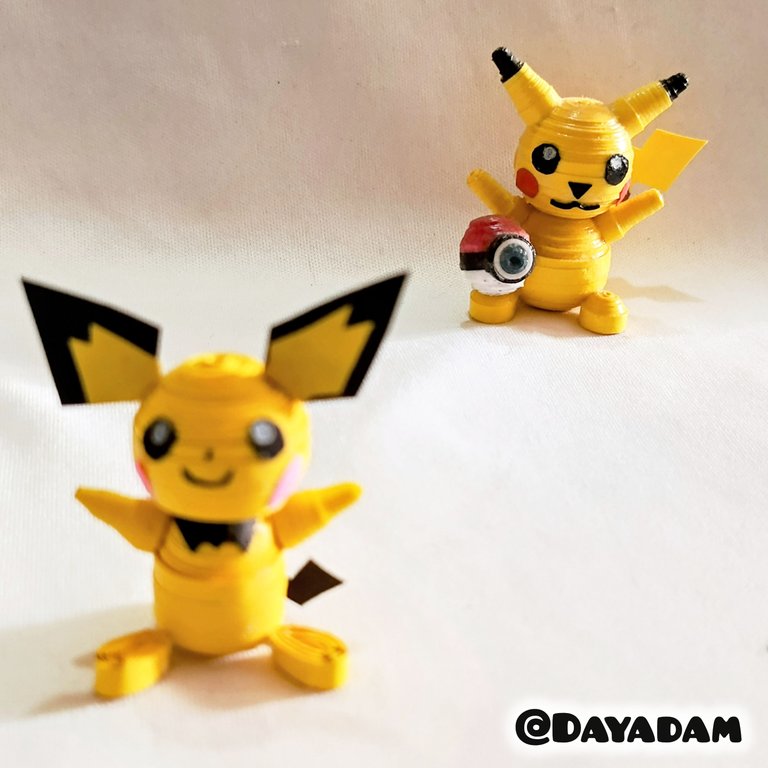
Some time ago I made a Pikachu, which I still have, I thought of building a collection and make the different generations of it, so for today I wanted to make the first generation called Pichu in 3D in the quilling technique, then I will make Raichu to finish this small collection.
Hoping you like it, I leave you my creative process:
Let's get started:😃

Hola a Todos...✨
Hola a mis queridos Hivers y a la querida comunidad de artistas #HiveDIY, como siempre muy complacida y emocionada de encontrarme por acá nuevamente, mostrándole mi trabajo hecho con mucho amor y especialmente para ustedes.
Hace bastante tiempo llevé a cabo un Pikachu, el cual aún conservo, pues pensé en armar una colección y realizar las diversas generaciones del mismo, por eso para hoy quise hacer el de primera generación llamado Pichu en 3D en la técnica de quilling, posteriormente haré a Raichu para terminar esta pequeña colección.
Esperando que sea de su agrado, les dejo mi proceso creativo:
Comencemos:😃
 |
 |

• Cintas de quilling.
• Cartulina negra.
• Aguja para quilling.
• Molde para círculos.
• Lápiz de color blanco y negro.
• Pega blanca extra fuerte (de carpintería).
• Tijera.
• Pincel.
- Quilling ribbons.
- Black cardboard.
- Quilling needle.
- Mold for circles.
- Black and white colored pencil.
- Extra strong white glue (carpentry glue).
- Scissors.
- Paintbrush.

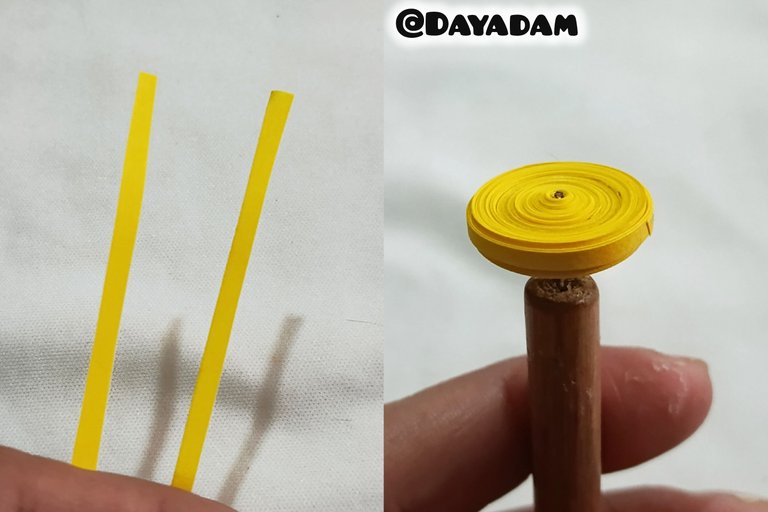
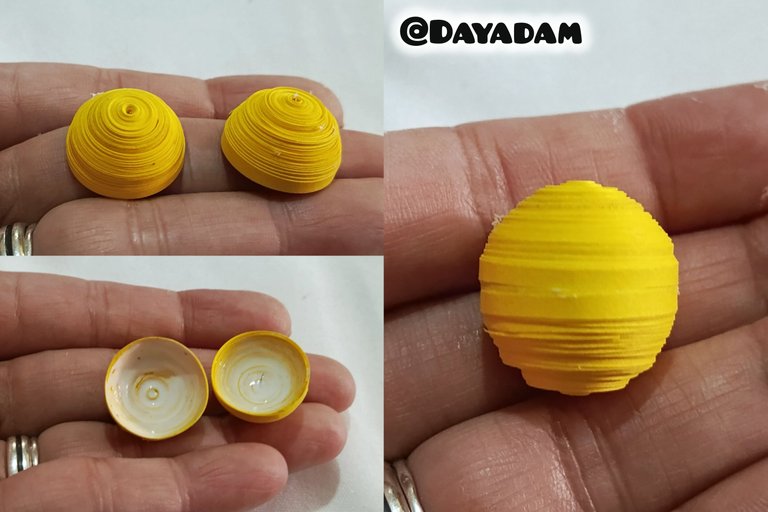
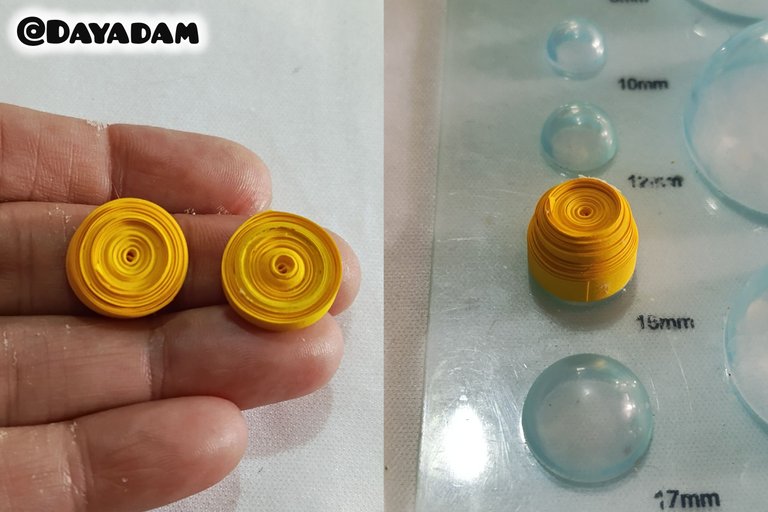
- We start by taking 3 mm wide yellow quilling tape, we roll it with the quilling needle until we reach the end of the tape, we seal it with extra strong white glue, we take it out of the needle to obtain a closed circle, we will need 2 equal circles.
- We are going to mold the circles with the help of a ruler to mold placing them in the measure number 20mm, take them out of the mold apply extra strong white glue on the inside to prevent them from moving or deforming, let them dry very well.
- We join both circles passing a ribbon through the middle of them.

• Comenzamos tomando cinta para quilling de color amarillo de 3 mm de ancho enrollamos con la aguja para quilling hasta llegar al final de la cinta, sellamos con pega blanca extra fuerte sacamos de la aguja para obtener un círculo cerrado, vamos a necesitar 2 círculos iguales.
• Vamos a moldear los círculos con la ayuda de una regla para moldear colocándolos en la medida número 20mm, sacamos del molde aplicamos pega blanca extra fuerte en la parte interna para evitar que se muevan o se deformen, dejamos secar muy bien.
• Unimos ambos círculos pasando una cinta por el medio de los mismos.
 |  |
 |
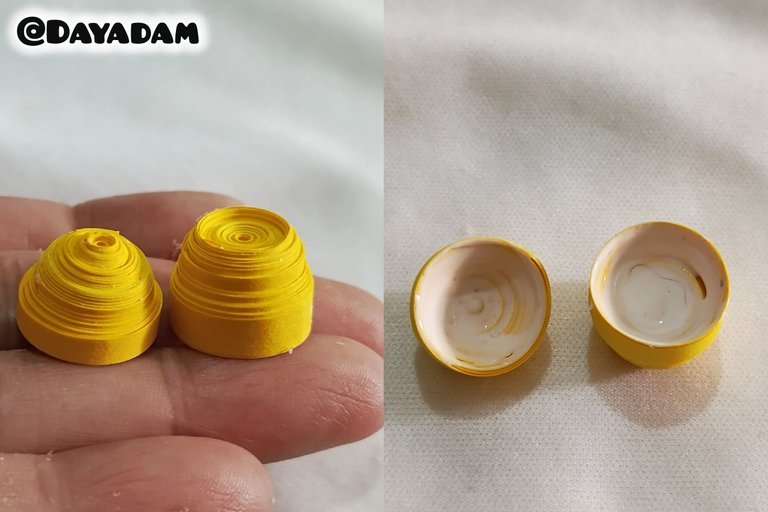
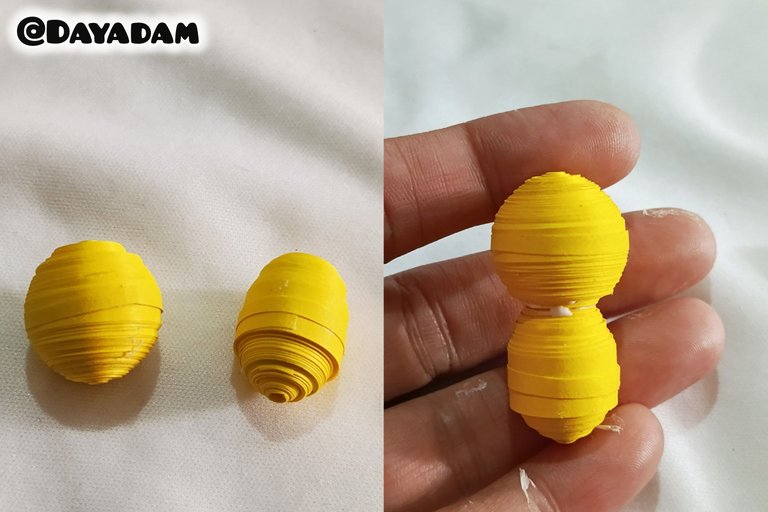
- Following the previous parameters we will make 2 closed circles a little smaller. We will place them in the mold and give them the shape you can see in the image, we will join both pieces.
- To make the feet we will make 2 small open circles which we will mold in the shape of a drop, we will glue them on the bottom of the body.
• Bajo lo mismo parámetros anteriores vamos a realizar 2 círculos cerrados un poco más pequeños. Colocaremos en el molde y le daremos la forma que pueden ver en la imagen, uniremos ambas piezas.
• Para realizar los pies haremos 2 pequeños círculos abiertos los cuales moldearemos en forma de gota, pegaremos en la parte de abajo del cuerpo.
 |  |  |
 |
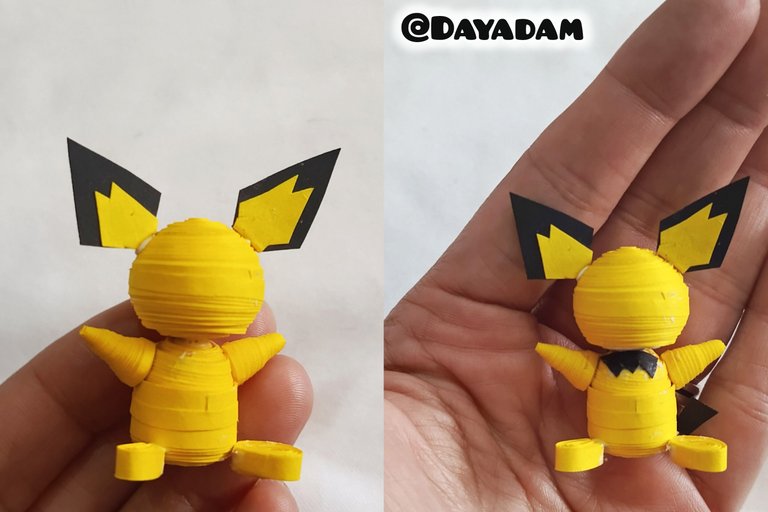
- For the arms we will make 2 small closed circles which we will mold in the shape of cones, we will glue them on the body.
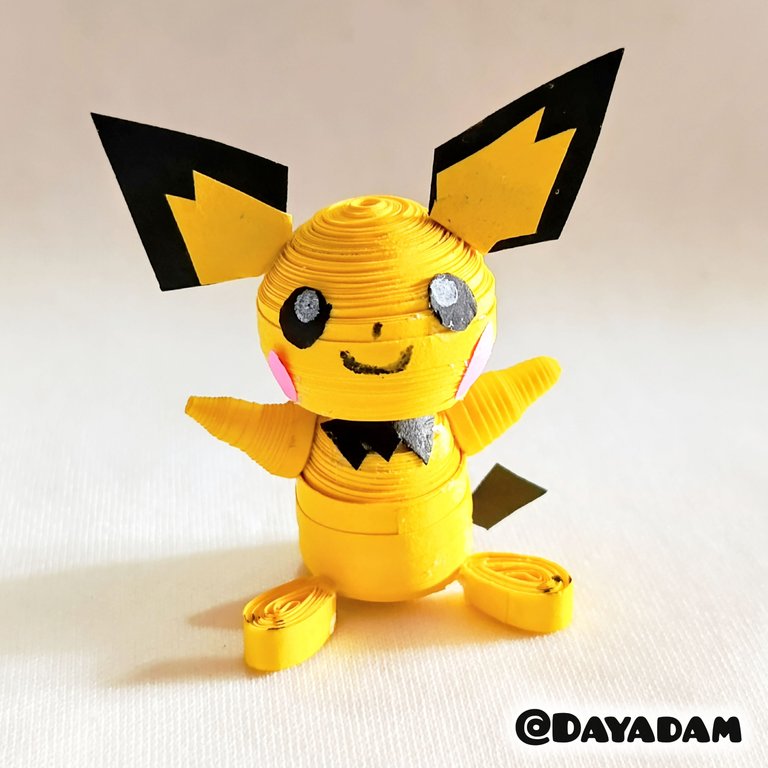
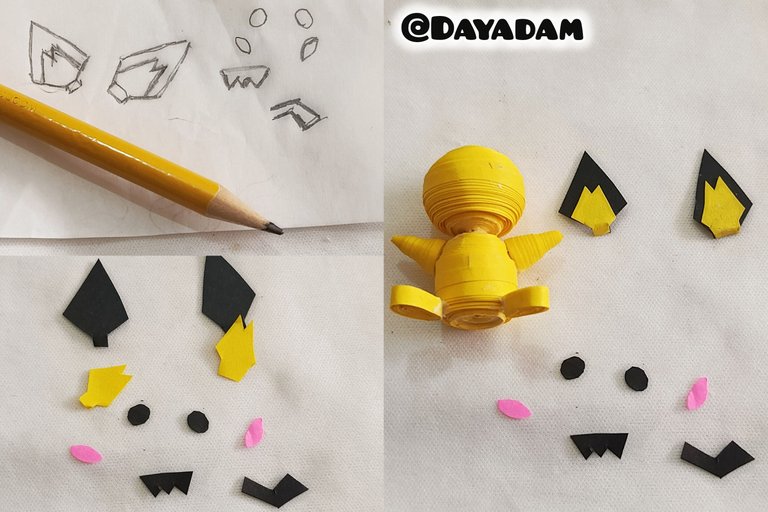
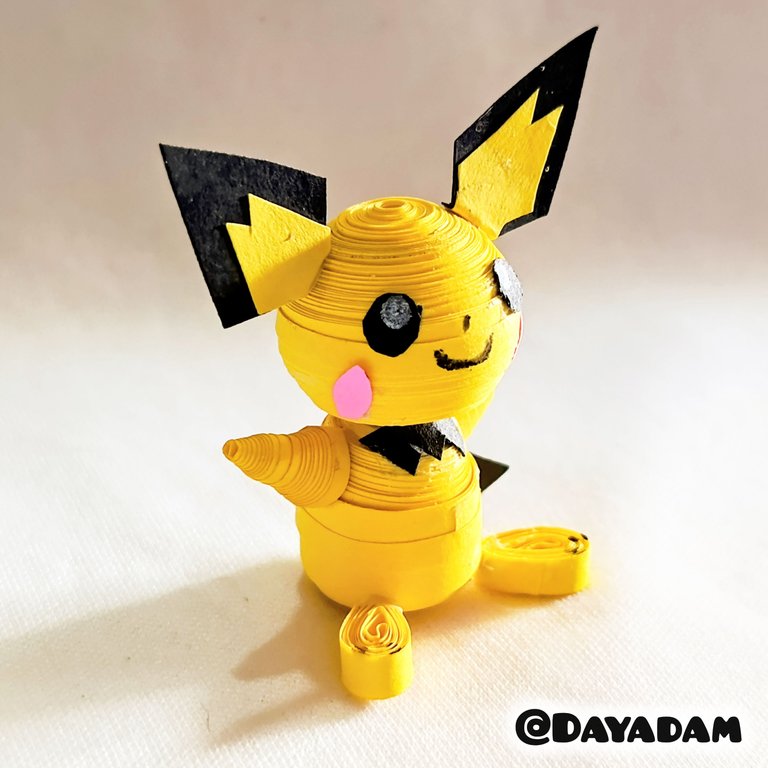
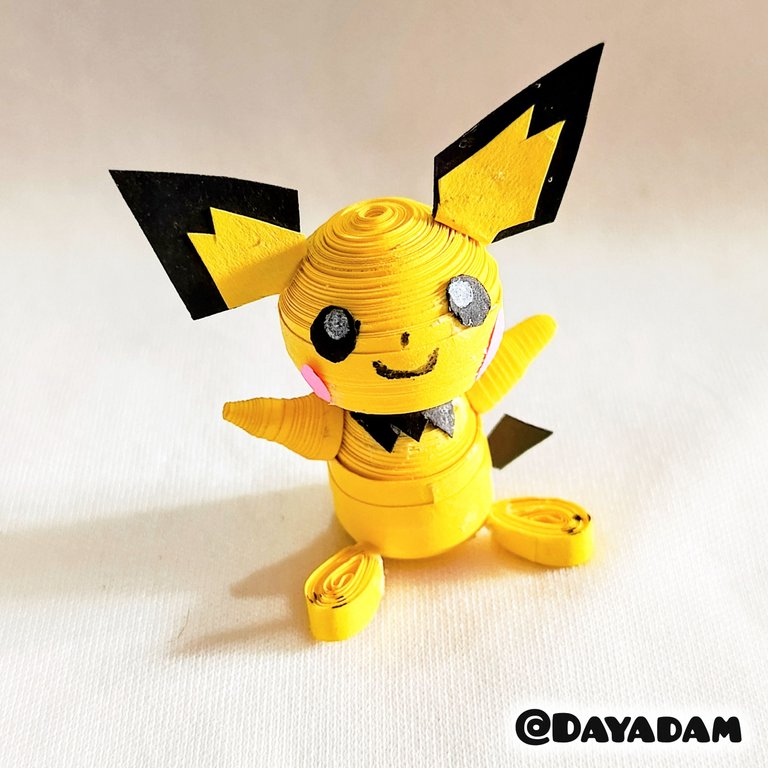
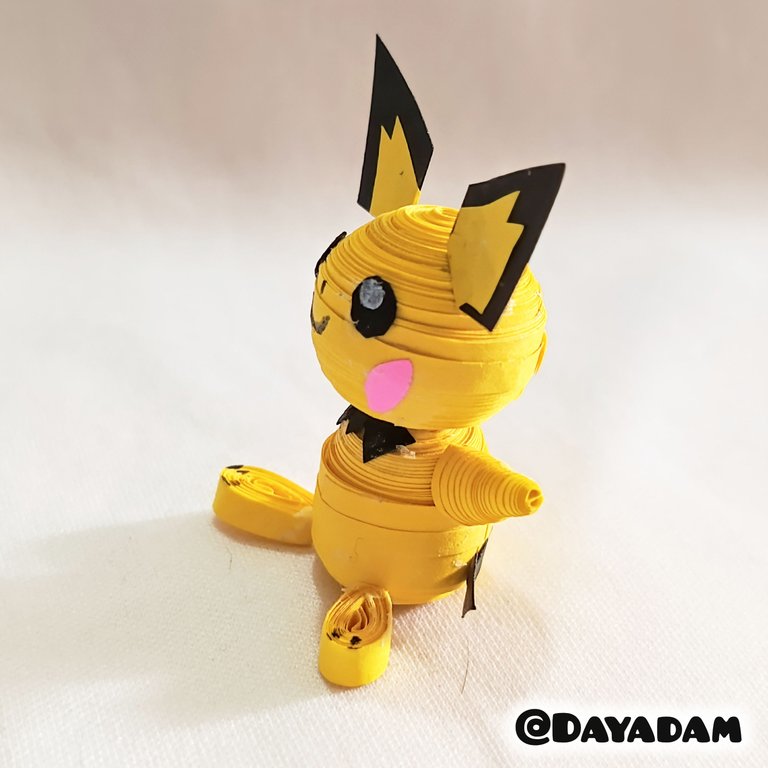
- For the ears, eyes, cheeks and tail I made the shapes on a white sheet with a pencil, then I took ribbons and cardboard and proceeded to cut them out. Once they were cut out I glued them in the corresponding places, as you can see in the pictures.
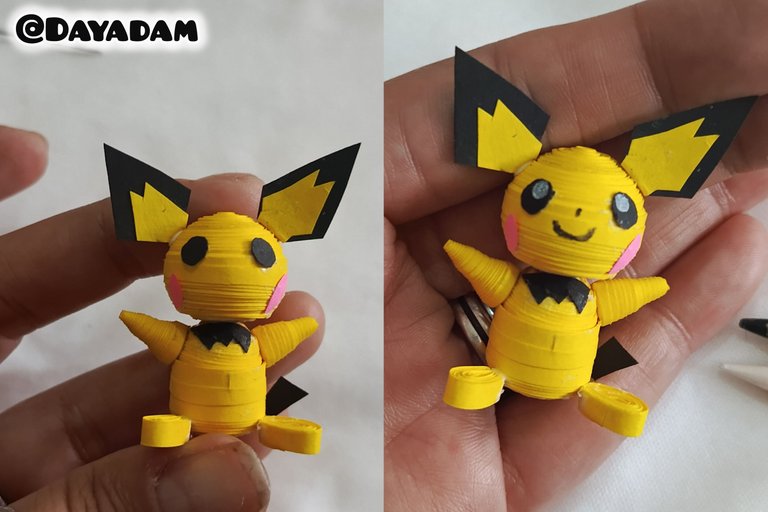
- Finally, I drew the eyes with a white pencil and the nose and mouth with a black one.
In this way I finished this 3D decorative figure of Pichu, using the quilling technique.
• Para los brazos realizaremos 2 pequeños círculos cerrados los cuales moldearemos en forma de conos, pegaremos en el cuerpo.
• Para las orejas ojos, mejillas, y cola realicé las formas en una hoja blanca con un lápiz, luego tomé cintas y cartulina y procedí a recortarlas. Una vez recortadas las pegué en los sitios correspondientes, tal como pueden ver en las imágenes.
• Para finalizar con un lápiz de color blanco dibujé los ojos, y con uno de color negro la nariz y la boca.
De esta manera finalice esta figura decorativa en 3D de Pichu, en la técnica de técnica de quilling.
 |  |
 |  |

|
 |  |
 |  |
 |  |
 |
What did you think, did you like it?
I hope you did, I hope you liked my explanation, procedure and photos, I made them with love for you.
"Let out that muse that inspires you, and let your imagination fly".
Thank you all, see you next time ✨.
¿Que les pareció, les gustó?
Espero que sí, que les haya gustado mi explicación, procedimiento y fotos, los hice con mucho cariño por y para ustedes.
"Deja salir esa musa que te inspira, y deja volar tu imaginación".
Gracias a todos, nos vemos en la próxima✨


!discovery 30
Send you for the support @idayrus ☺️
This post was shared and voted inside the discord by the curators team of discovery-it
Join our Community and follow our Curation Trail
Discovery-it is also a Witness, vote for us here
Delegate to us for passive income. Check our 80% fee-back Program
Thank you for the support 💕
@dayadam Hola hermosa, bellisimo como siempre , te mando muchos besos
Muchas gracias...
Sending Love and Ecency Curation Vote!
 Please Vote for our New Proposal! 🙏
Thank you for the support @untilwelearn ✨
Que lindooo, me encantó 😍
Muchísimas gracias mi linda 💞
WOW! The final result is impressive. It looks pretty good. It's good to see how you made this. Great work! Keep it up!
Thank you so much for the kind words and support ⭐
So cute!!!
Thank you 💖
Thanks to You