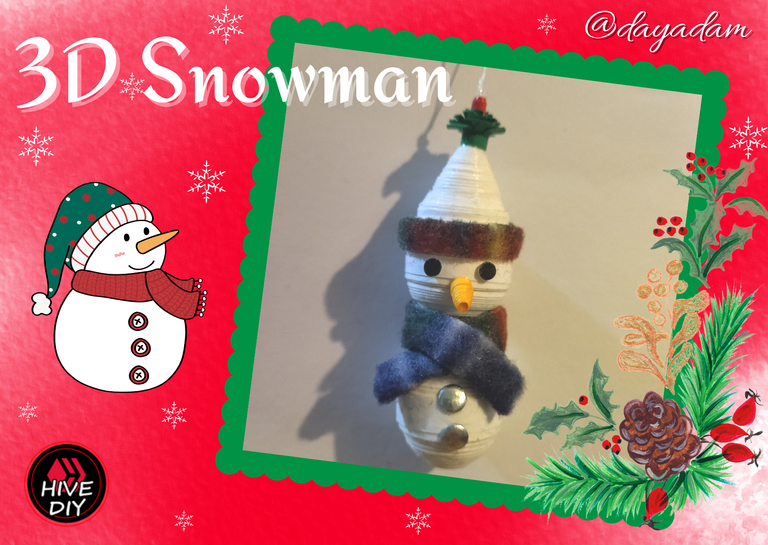
Hello everyone... 🎄🎅✨
Hello to my dear Hivers and the dear community of artists #HiveDIY, as always very pleased and excited to be here again, showing you my work made with love and especially for you.
We are about to start or rather starting, a beautiful season for many, "Christmas", because in my blog I will begin to bring you some things allusive to it to be inspired to make decorations, accessories, among other things to give, wear or sell this Christmas.
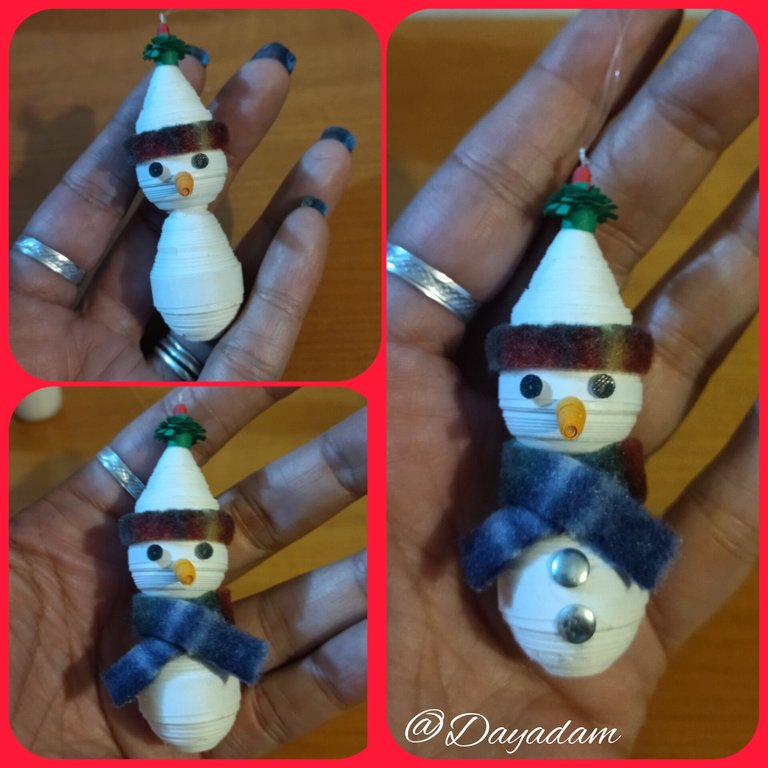
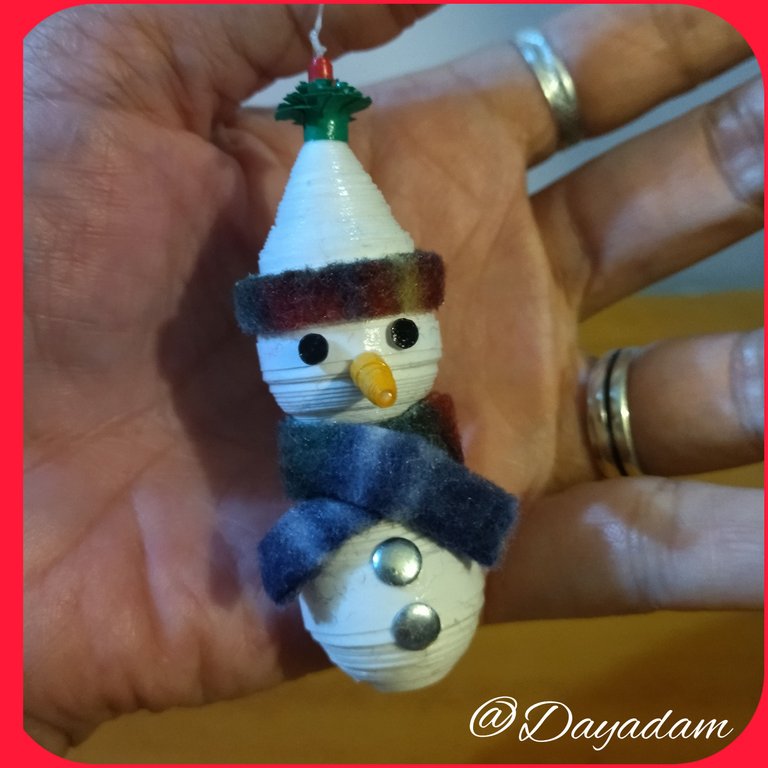
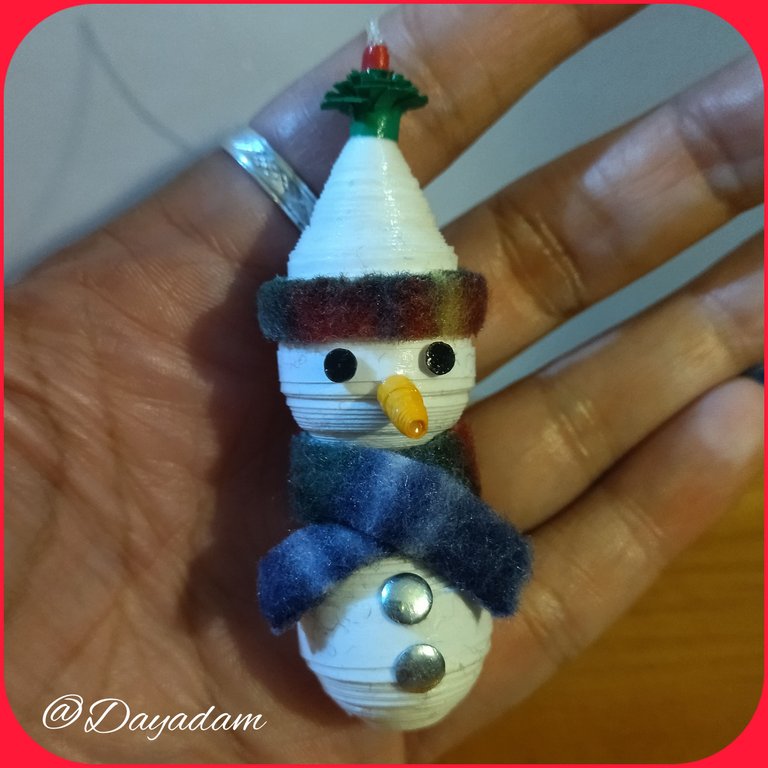
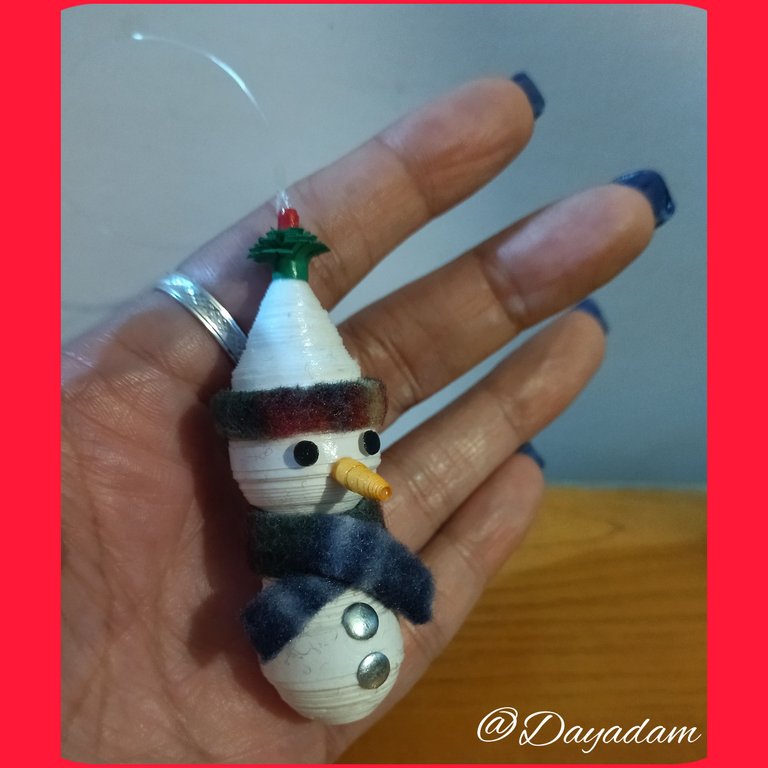
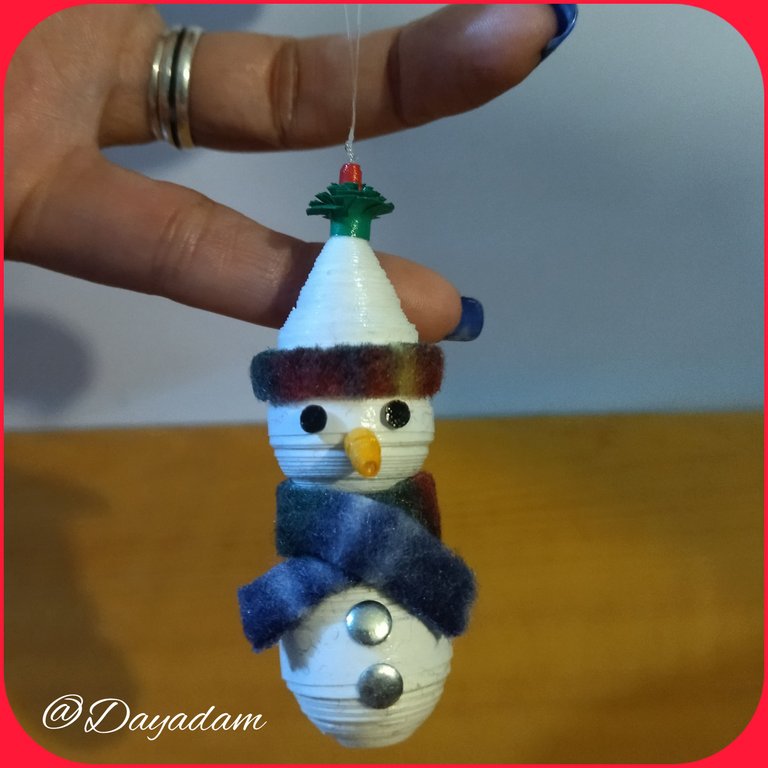
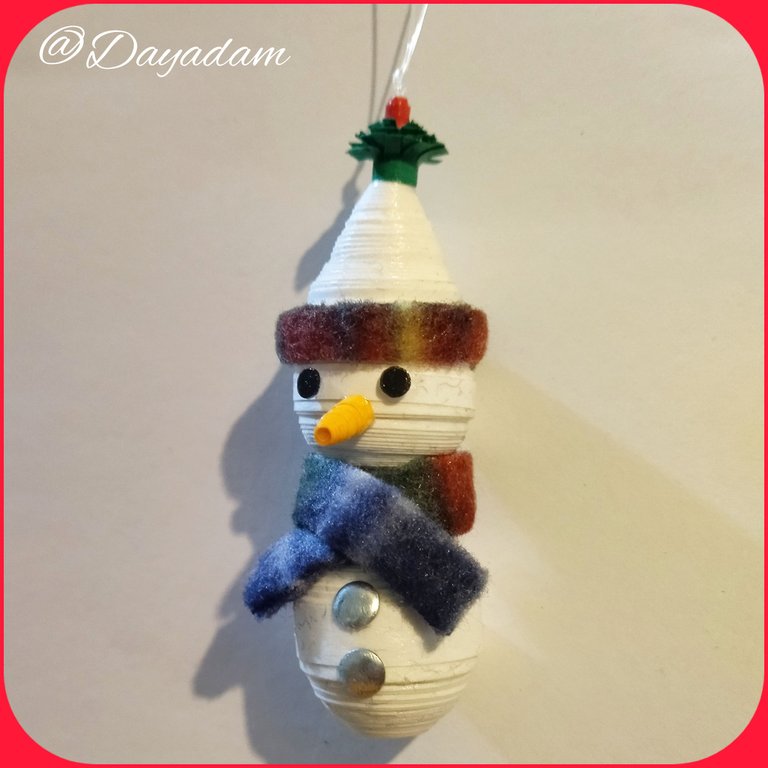
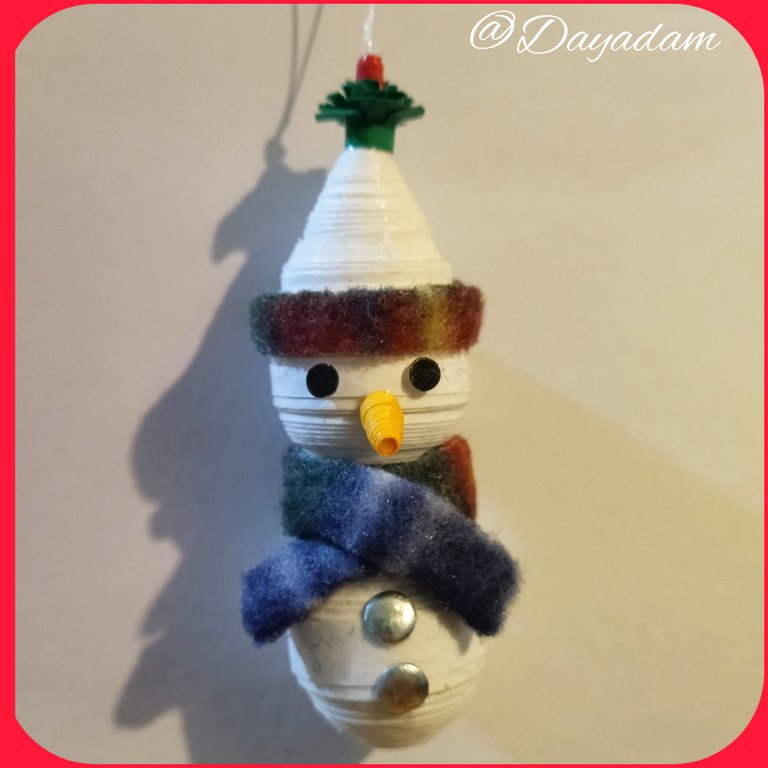
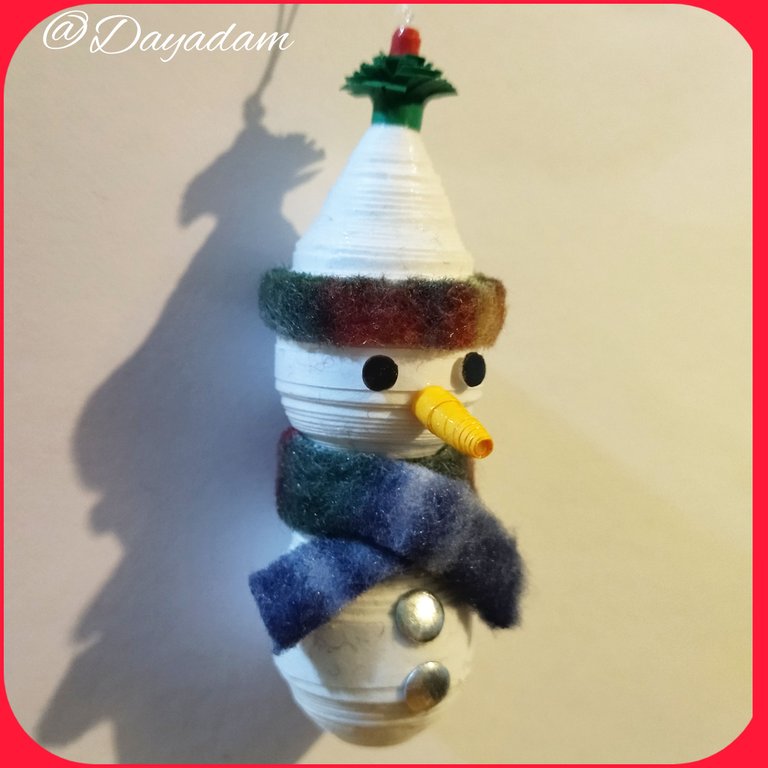
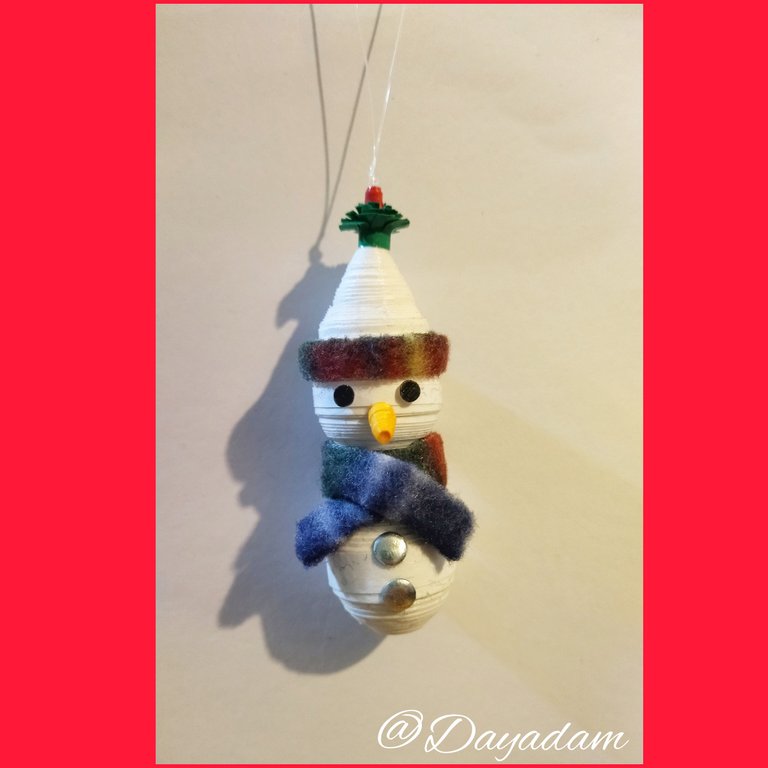
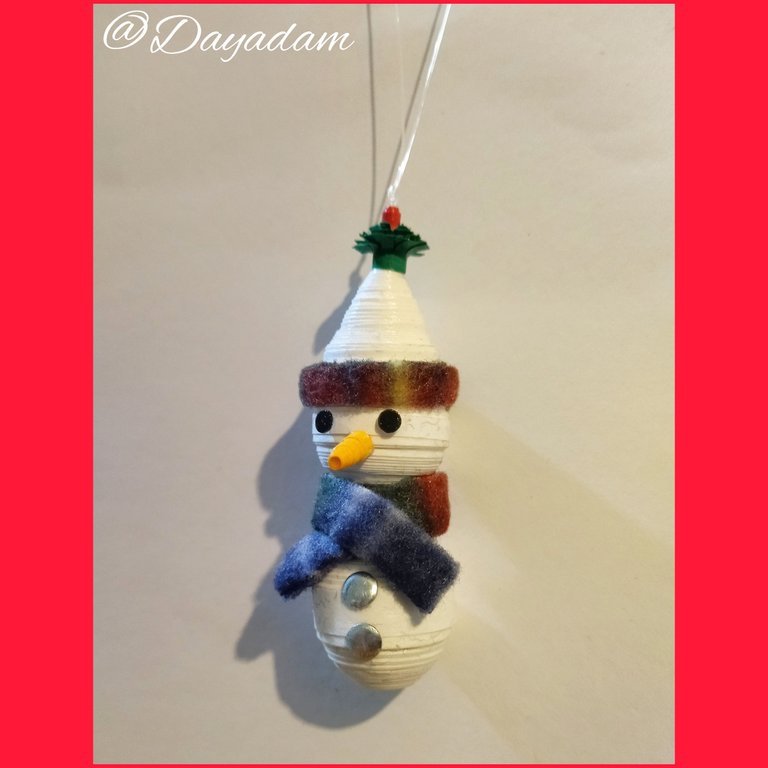
For today I bring you a "Snowman in 3D " decorative and hanging, made in the technique of quilling very simple to make, which can give multiple uses, as a decoration for our Christmas tree, any space in the home or wear it where you want.
Hoping you like it, I leave you my creative process:
Let's start:😃

Hola a Todos... 🎄🎅✨
Hola a mis queridos Hivers y a la querida comunidad de artistas #HiveDIY, como siempre muy complacida y emocionada de encontrarme por acá nuevamente, mostrándole mi trabajo hecho con mucho amor y especialmente para ustedes.
Estamos por iniciar o mas bien iniciando, una temporada hermosa para muchos, "La Navidad", pues en mi blog comenzare a traerles algunas cositas alusivas a la misma para que se inspiren en hacer decoraciones, accesorios, entre otras cosas para regalar, lucir o vender en esta navidad.
Para el día de hoy les traigo un "Muñeco de Nieve en 3D" decorativo y colgante, elaborado en la técnica de quilling de muy sencilla elaboración, el cual podemos darle múltiples usos, como decoración para un nuestro árbol de navidad, cualquier espacio del hogar o lucirlo donde mas desees.
Esperando que sea de su agrado, les dejo mi proceso creativo:
Comencemos:😃

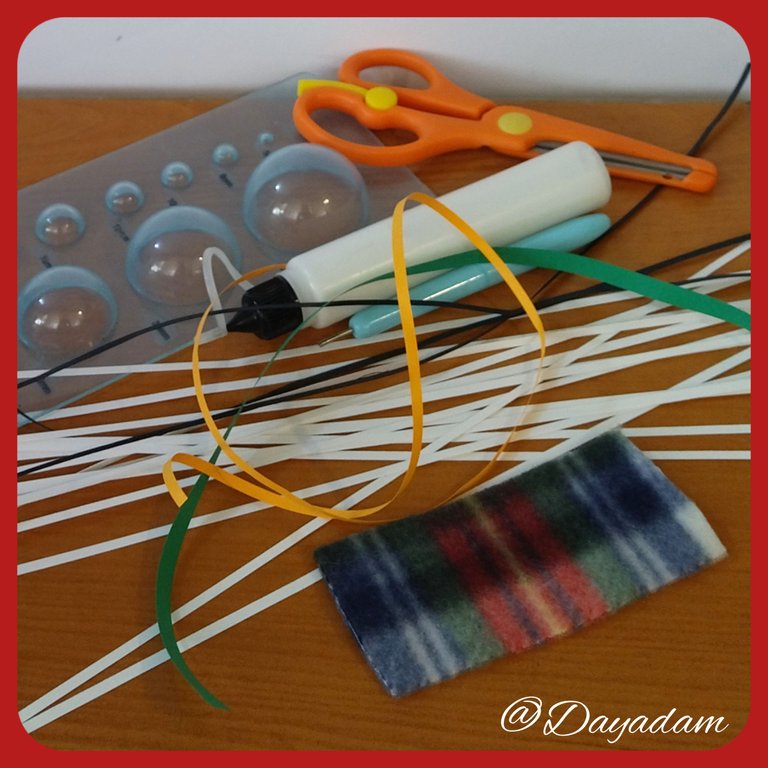
• Cintas de quilling de diversos mm de ancho blancas, verde, naranja, entre otras.
• Trozo de tela manta polar o de tu preferencia.
• Naylon.
• Apliques color negro pequeños.
• Apliques color plateado medianos.
• Aguja para quilling.
• Molde para círculos.
• Pega blanca extra fuerte (de carpintería).
• Tijera.
• Pincel.
• Alicate punta fina.
- Quilling ribbons of different widths of white, green, orange, among others.
- Piece of polar blanket fabric or of your preference.
- Naylon.
- Small black appliqués.
- Medium silver-colored appliqués.
- Quilling needle.
- Mold for circles.
- Extra strong white glue (carpentry glue).
- Scissors.
- Paintbrush.
- Fine nose pliers.

Head:
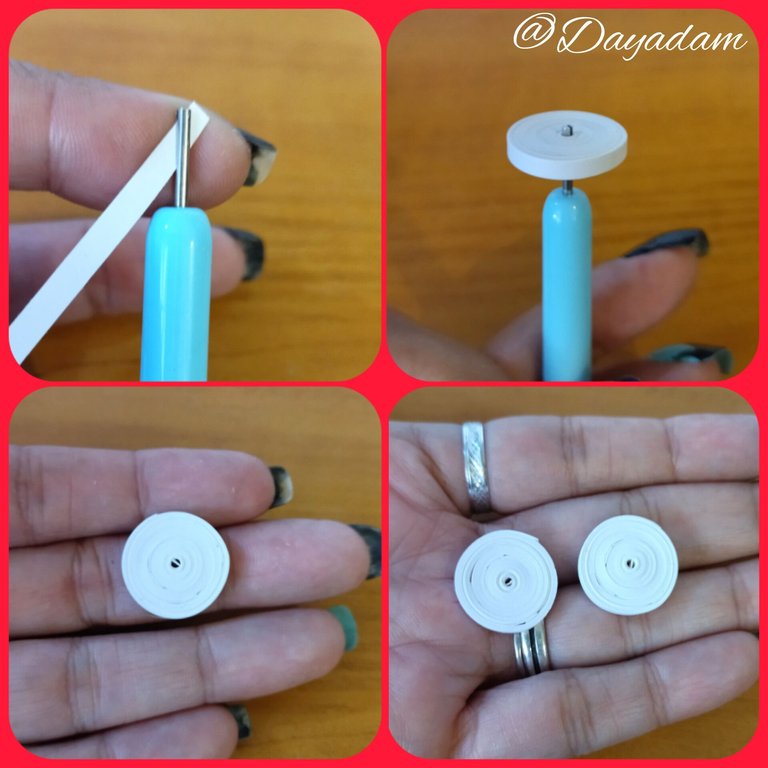
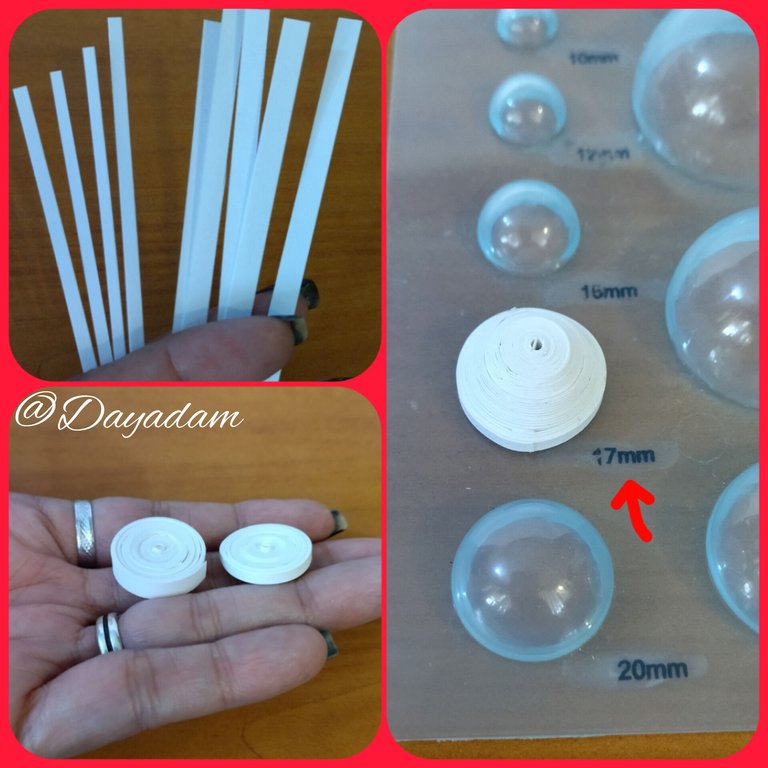
- We start by taking white quilling tape and we are going to join a strip of 3mm wide x 150cms long, we roll with the quilling needle until we reach the end of the tape, we seal with extra strong white glue, we take out of the needle, we will obtain a closed circle, we are going to need 1 more.
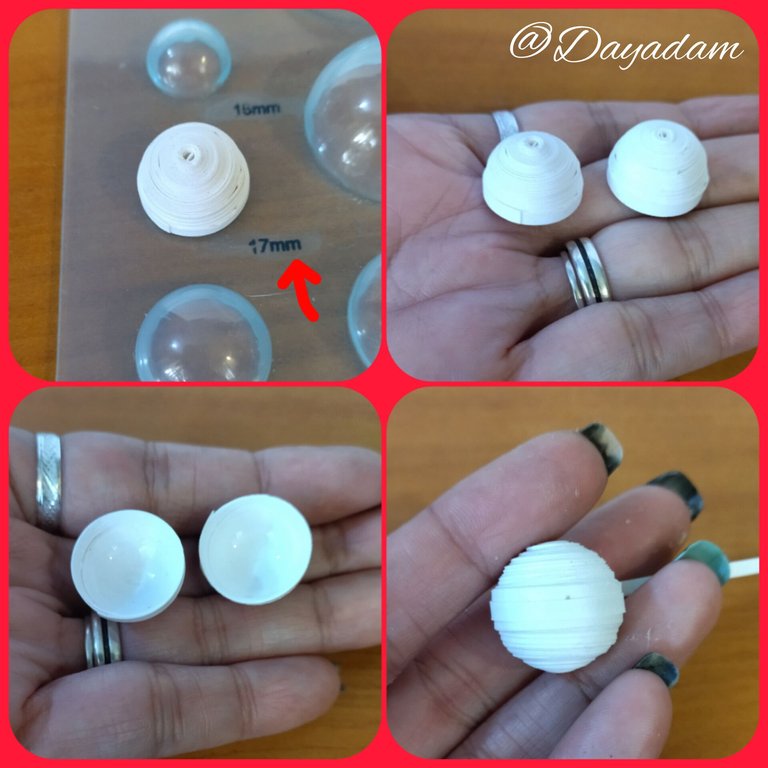
- We are going to mold the circles, placing the piece in the template of circles in the 17mm measure (take into account that if we do not have this mold we can do it with our fingers trying to make it as round as possible), on the inside we add a little glue and let it dry to prevent the pieces from moving.
- We are going to take a small piece of white quilling tape, 3mm wide to join the 2 pieces we made, we join both pieces passing the tape through the middle with extra strong white glue.
Body:
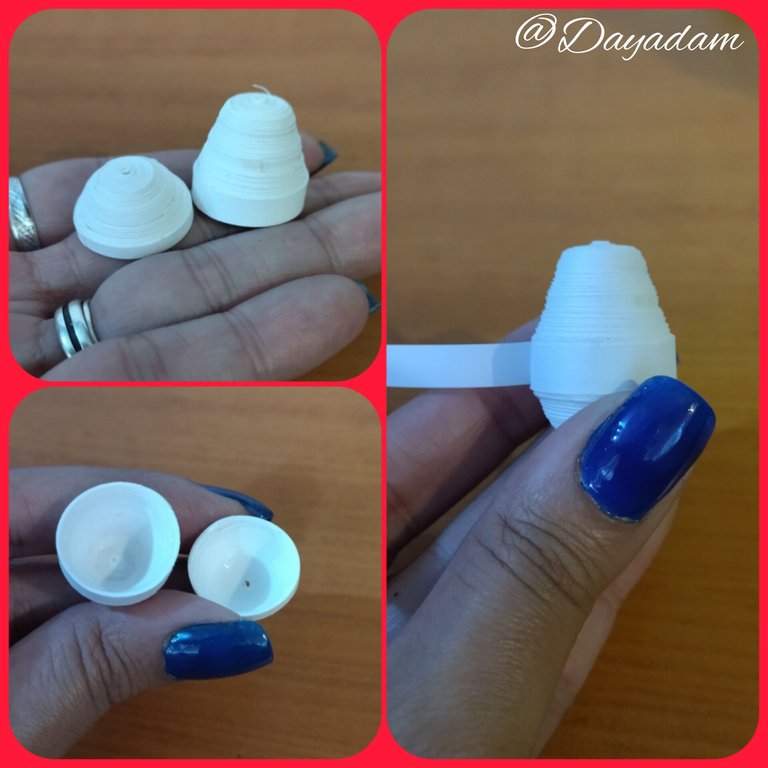
- We are going to take 6mm wide ribbon of 200cms long, one of white color and another white of 3mm wide of 200cms long, with the quilling needle we are going to make 1 closed circle of each one, then we will mold both circles according to how we want the body of the doll to look like, we apply white glue in the hollow part so that the pieces are not deformed and we will join both with a piece of 6mm wide white color ribbon.

Cabeza:
• Comenzamos tomando cinta para quilling blanca y vamos a unir una tira de 3mm de ancho x 150cms de largo, enrollamos con la aguja para quilling hasta llegar al final de la cinta, sellamos con pega blanca extra fuerte, sacamos de la aguja, obtendremos un círculo cerrado, vamos a necesitar 1 más.
• Vamos a moldear los círculos, colocando la pieza en la plantilla de círculos en la medida 17mm (tomemos en cuenta que si no tenemos este molde podemos hacerlo con los dedos tratando de que quede lo más redonda posible), en la parte de adentro agregamos un poco de pega y dejamos secar para evitar que se muevan las piezas.
• Vamos a tomar un pequeño trozo de cinta de quilling blanca, de 3mm de ancho para unir las 2 piezas que elaboramos, acoplamos ambas pasando la cinta por el medio con pega blanca extra fuerte.
Cuerpo:
• Vamos a tomar cinta de 6mm de ancho de 200cms de largo, una de color blanca y otra blanca de 3mm de ancho de 200cms de largo, con la aguja para quilling vamos a realizar 1 círculo cerrado de cada uno, luego moldearemos ambos círculos según como queramos que quede el cuerpo del muñeco, aplicamos pega blanca en la parte hueca para que no se deformen las piezas y uniremos ambas con un trozo de cinta de 6mm de ancho color blanca.
Hat:
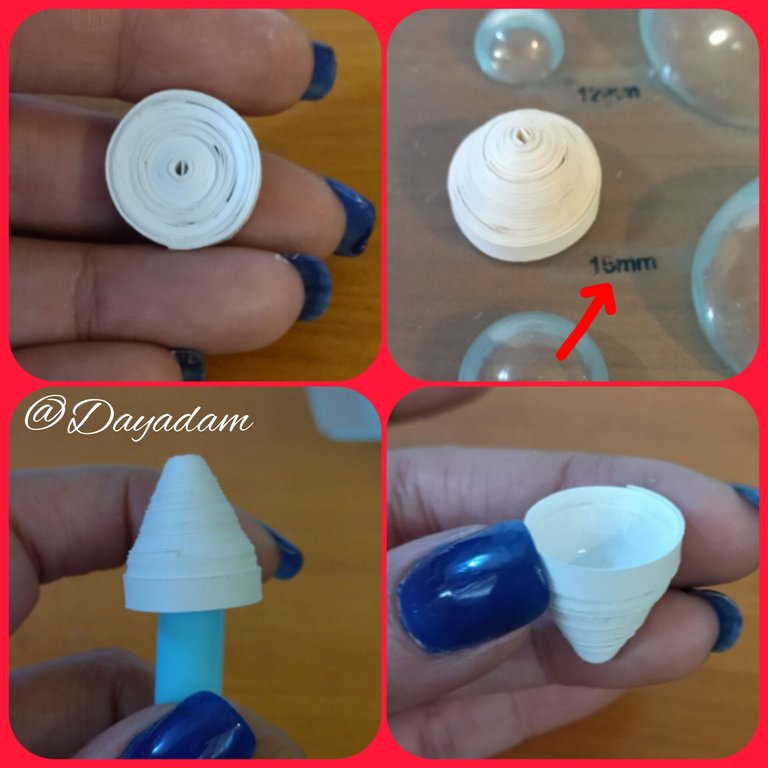
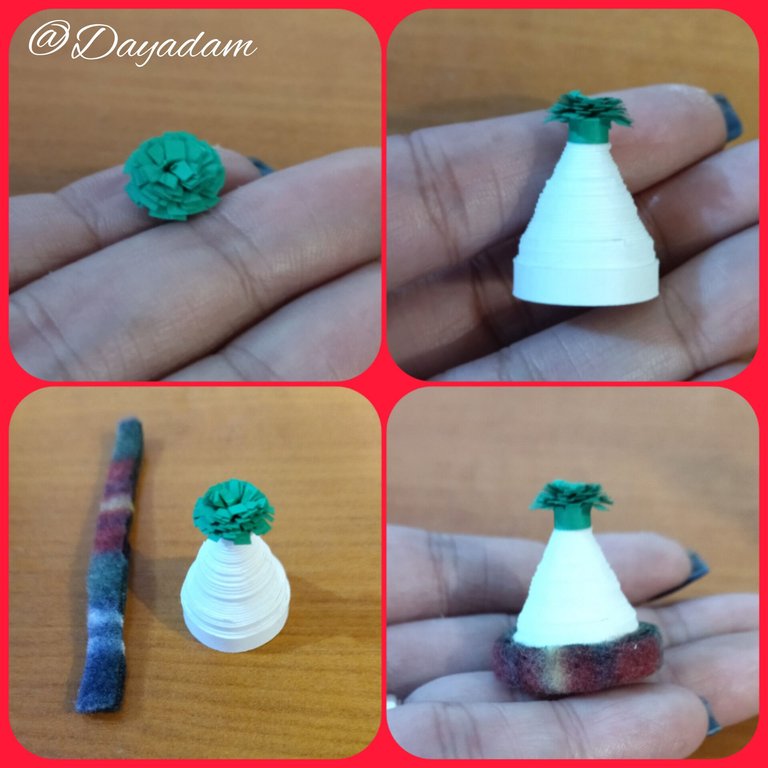
- Now we will make another closed circle of white color, with a ribbon of approximately 4mm wide x 120cms long we will, mold in the template for circles in the measure 15mm, we take out of the template, we will raise a little more the piece with a more pointed object, we apply glue by its internal part so that the hat is not deformed.
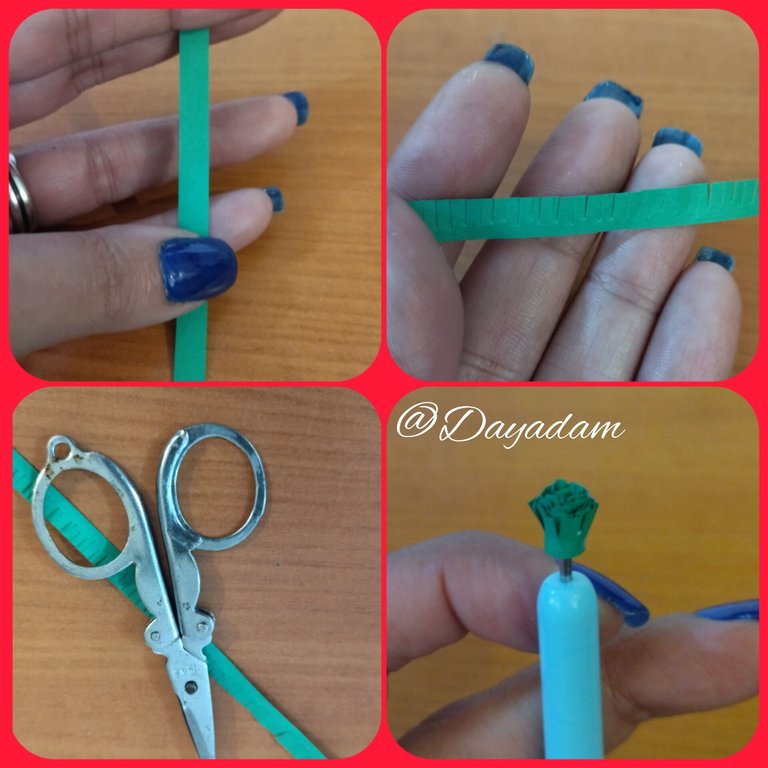
- With a 6mm green ribbon, we will make a small pompom, we will make small vertical cuts along the ribbon, then we will roll it with the quilling needle, we will seal it with glue, at the end we will open the small pompom with our fingers, it will be glued on top of the hat we made beforehand.
- We will take a small piece of fabric which we will cut of the same width of the brim of the hat and we will glue it around the hat.
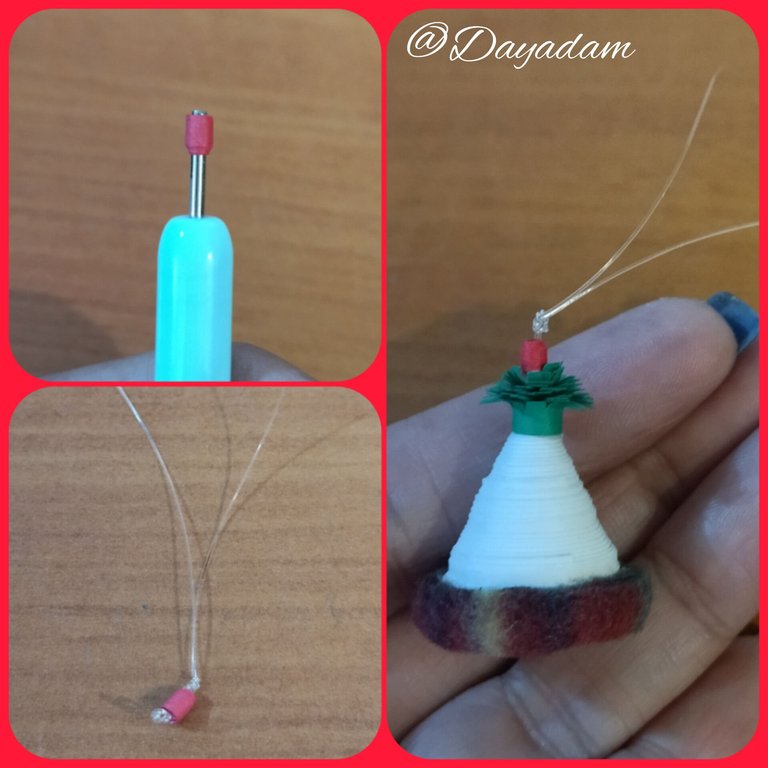
- With a small piece of red ribbon 3mm wide, we will make a small closed circle to which we will incorporate a small piece of naylon, we will glue it once to the hat so that it dries.

Sombrero:
• Ahora realizaremos otro círculo cerrado de color blanco, con una cinta de aproximadamente 4mm de ancho x 120cms de largo vamos a, moldear en la plantilla para círculos en la medida 15mm, sacamos de la plantilla, subiremos un poco más la pieza con un objeto más puntiagudo, aplicamos pega por su parte interna para que no se deforme el sombrero.
• Con una cinta de 6mm color verde, realizaremos un pequeño pompón, haremos pequeños cortes en vertical a lo largo de la cinta, luego enrollaremos con la aguja para quilling, sellamos con pega, al finalizar abriremos el pequeño pompón con los dedos, esta ira pegado arriba del sombrero que hicimos con antelación.
• Tomaremos un trocito de tela el cual cortaremos del mismo ancho del borde del sombrero y lo pegaremos alrededor del mismo.
• Con un pequeño trozo de cinta rojo de 3mm de ancho, realizaremos un pequeño círculo cerrado al cual le incorporaremos un trocito de naylon, pegaremos de una vez al sombrero para que se vaya secando.
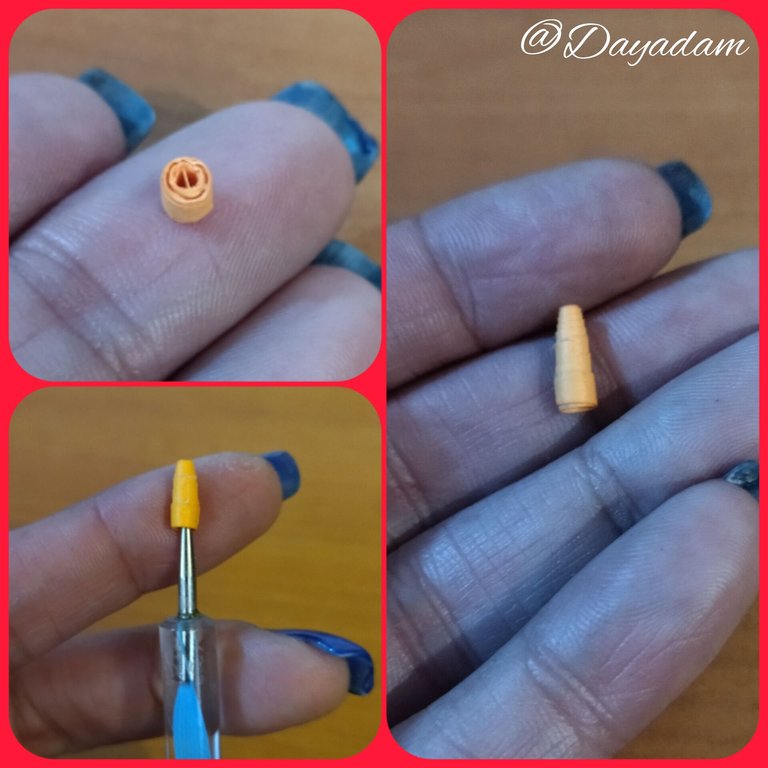
- For the nose we will take a piece of orange ribbon, we will make a closed circle which we will raise a little with some object to give it a pointed shape, we add a little glue on the inside so that it does not deform.
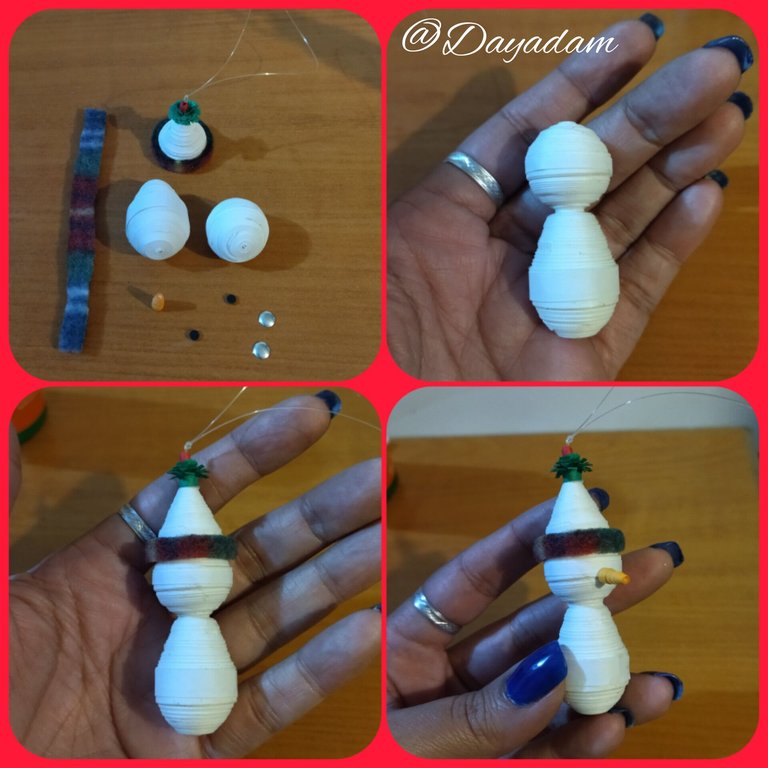
- At this point we are going to glue the pieces, and decorate our doll. Glue the head to the body and then continue with the hat, nose, put some small black appliques to simulate the eyes, a small piece of fabric to recreate a scarf and finally two silver appliques on the body.
- Finally I applied some white glitter glue on some parts of the doll to give it a little shine.
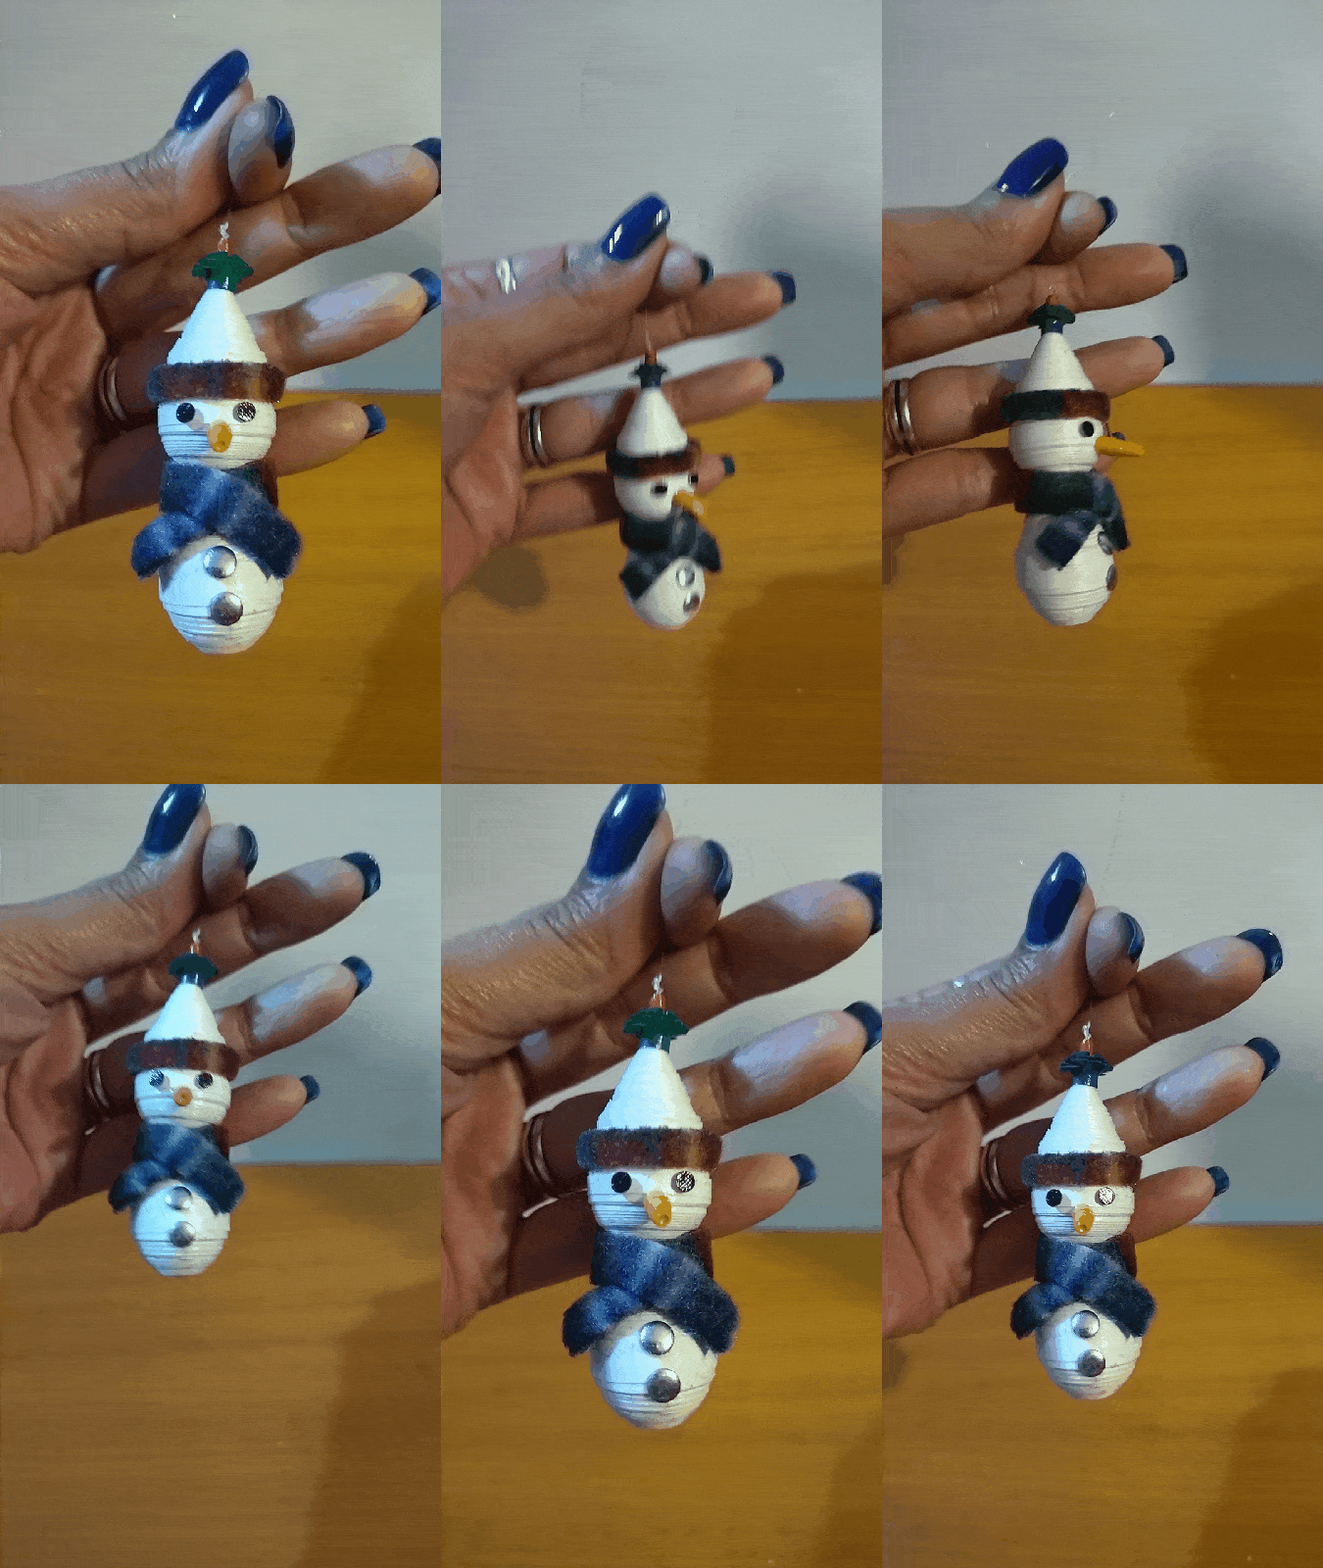
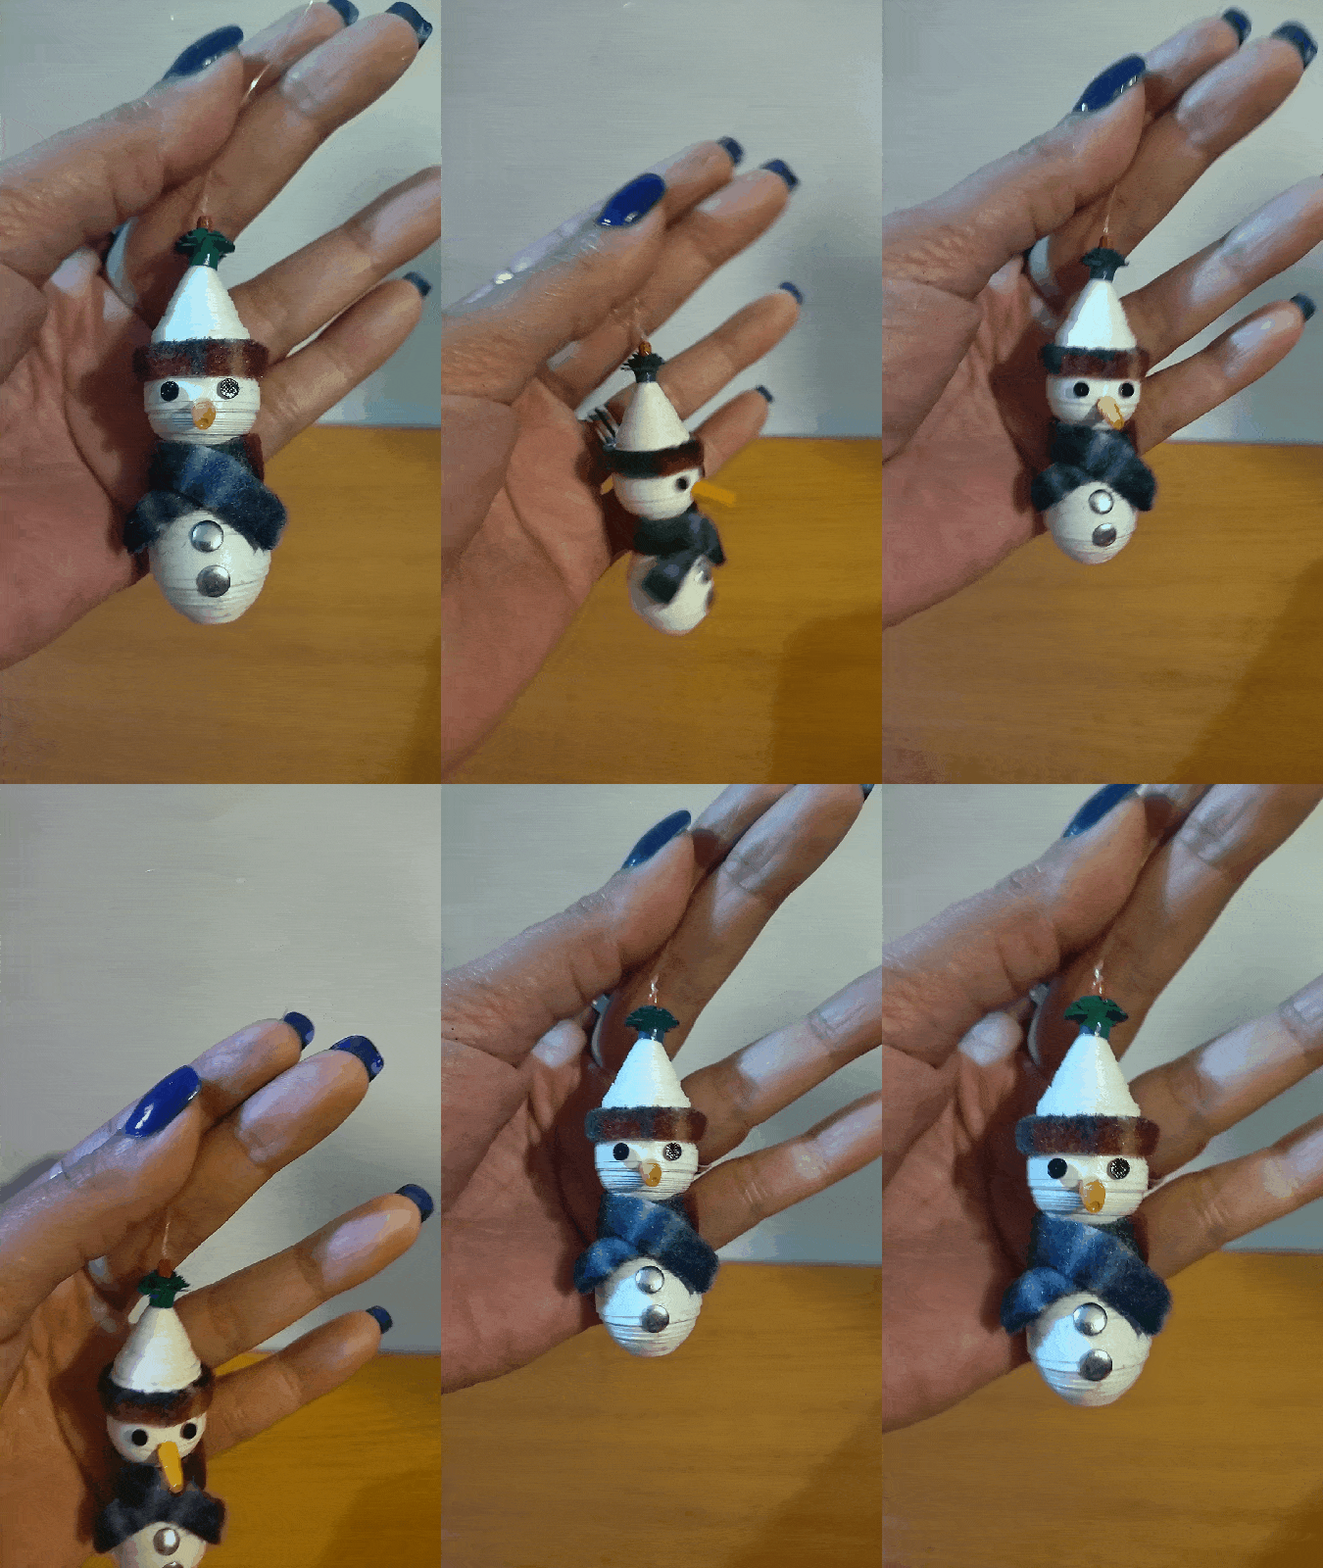
In this way we have this decorative snowman in 3D, which you can use as a pendant on your Christmas tree or the place of your choice this Christmas.

• Para la nariz tomaremos un trozo de cinta naranja, haremos un círculo cerrado el cual subiremos un poco con algún objeto para darle forma puntiaguda, agregamos un poco de pega por la parte interna para que no se deforme.
• Llegado este punto vamos a pegar las piezas, y a decorar nuestro muñeco. Pegue la cabeza al cuerpo y luego seguí con el sombrero, nariz, coloque unos pequeños apliques negros para simular los ojos, un pequeño trozo de tela para recrear una bufanda y por ultimo dos apliques plateados en el cuerpo.
• Para finalizar aplique un poco de pega blanca brillante en algunas partes del muñeco para darle un poco de brillo.
De esta manera tenemos este muñeco de nieves decorativo en 3D, que puedes usar de colgante en el tu árbol de navidad o el sitio de tu preferencia en esta navidad.

What did you think, did you like it?
I hope you did, I hope you liked my explanation, procedure and photos, I made them with love for you.
"Let out that muse that inspires you, and let your imagination fly".
Thank you all, see you next time 🎄🎅✨.

¿Que les pareció, les gustó?
Espero que sí, que les haya gustado mi explicación, procedimiento y fotos, los hice con mucho cariño por y para ustedes.
"Deja salir esa musa que te inspira, y deja volar tu imaginación".
Gracias a todos, nos vemos en la próxima.🎄🎅✨

Todas las fotos usadas en este post son de mi autoría y han sido sacadas en mi celular personal un Redmi 9T, editadas en InShot y Canva Banner y separador hecho por mí en Canva Traducido con la ayuda de DeepL

Ah no vale, no voy a repetir otra vez que soy fan y que está lindo y cuchi, no, me rehuso.
¿Y nacimiento o por lo menos el pesebre lo has hecho? yo aquí pes, con otra petición.
Ainssss tan bella mi @yenmendt. Tengo que hacer algo para ti, te lo debo.
Y si, el año pasado hice un pequeño pesebre de quilling. Pero este año debo ir con algún otro modelo. Eso espero jajjaa.
Que tengas un hermoso día ⛄❄️🌲❣️
Congratulations, your post has been upvoted by @dsc-r2cornell, which is the curating account for @R2cornell's Discord Community. Enhorabuena, su "post" ha sido "up-voted" por @dsc-r2cornell, que es la "cuenta curating" de la Comunidad de la Discordia de @R2cornell.
Thanks for the support @dsc-r2cornell ⛄❄️🌲❣️
Wow, esto si es darle cariño a una creación. Muy lindo amiga.
A mi me gustán realizar algunos diseños tipo origami que sean más sencillos ya que me estreso a veces jaja. Saludos!
Con paciencia y amor todo se puede. Espero ver tu trabajo. Gracias por tus palabras.
Bello día para ti @yeral-diaz ⛄❄️🌲❣️
Que bello está este muñeco de nieve. Amé la bufanda 😍🥰. Este es un precioso trabajo @dayadam ... gracias por compartir el paso a paso detallado. Un abrazo infinito y bendeciones para tus manos creadoras.
!VSC
!discovery 48
@chacald.dcymt has sent VSC to @dayadam
This post was rewarded with 0.1 VSC to support your work.
Join our photography communityVisual Shots
Check here to view or trade VSC Tokens
Be part of our Curation Trail
@chacald.dcymt ha enviado VSC a @dayadam
Éste post fue recompensado con 0.1 VSC para apoyar tu trabajo.
Únete a nuestra comunidad de fotografía Visual Shots
Consulte aquí para ver o intercambiar VSC Tokens
Se parte de nuestro Trail de Curación
Thanks @visualbot ⛄❄️🌲❣️
Gracias mi preciosa siempre honrada con tus palabras viniendo de una grandiosa y admirable artesana. Me alegra que te gustará.
Te abrazo muy fuerte. Bendiciones @chacald.dcymt ⛄❄️🌲❣️
😘💜
!HUG
I sent 1.0 HUG
(1/3)Dear @dayadam, you just got hugged. on behalf of @chacald.dcymt.
This post was shared and voted inside the discord by the curators team of discovery-it
Join our Community and follow our Curation Trail
Discovery-it is also a Witness, vote for us here
Delegate to us for passive income. Check our 80% fee-back Program
Thanks @discovery-it and @chacald.dcymt ⛄❄️🌲❣️
Es cierto que viene navidad, eso signifia que tendre que hacer muchos regalos para todas las personitas lindas que conozco, así es la vida dura de un atesanista jaja. Me encanto este muñequito, me da una idea para tejerlo a crochet. Saluditos! :3
Ohhhhh eso estoy segura que quedará hermoso, quiero ver ese muñeco de nieves a crochet. Cuando lo hagas me mencionas.
Gracias por tus palabras y presencia. Bendiciones @wuildariablox ❄️🌲❣️⛄
A mí siempre me parecen fascinantes tus creaciones y desde luego me gustan un montón @dayadam, espero que estés muy bien un 🤗
Muchísimas gracias mi bella @nhaydu por tus lindas palabras. También soy admiradora de tu trabajo.
Abrazos...
Aah pero ustedes se están botando con la navidad y tú vienes y realizas está belleza 😍😍😍
Gracias, gracias mi bello amigo @fixie. Y esto es el inicio. Espero vengan más ideas.
Que tengas hermoso día ❄️🌲❣️⛄
Cosita hermosa y bien hecha, lo quiero para mi arbolito de navidad 😍 es precioso y muy bien detallado 😍
Buhito por primera vez esta celoso porque dice que este muñequito luce mas lindo y adorable que él jajaja
Todo lo que haces, es arte puro ❤️
Noooooo buhito es más lindo nada de celos, dile que yo lo quiero muchooo...
Gracias hermosa por tu presencia y gran apoyo a mi trabajo.
Que tengas un hermoso fin de semana @elbuhito ❄️🌲❣️⛄
The rewards earned on this comment will go directly to the people ( dayadam ) sharing the post on LeoThreads,LikeTu,dBuzz.https://inleo.io/threads/dayadam/re-dayadam-2yngkfikp
https://inleo.io/threads/view/hive-130560/re-leothreads-2nevnsonz
Amiga te quedó super hermoso me encanta gracias por compartir tus creaciones y el paso a paso excelente te felicito feliz noche un abrazo.
Que hermoso trabajo, te quedó muy cuchi. Abrazo 🖤