Welcome to my Blog.
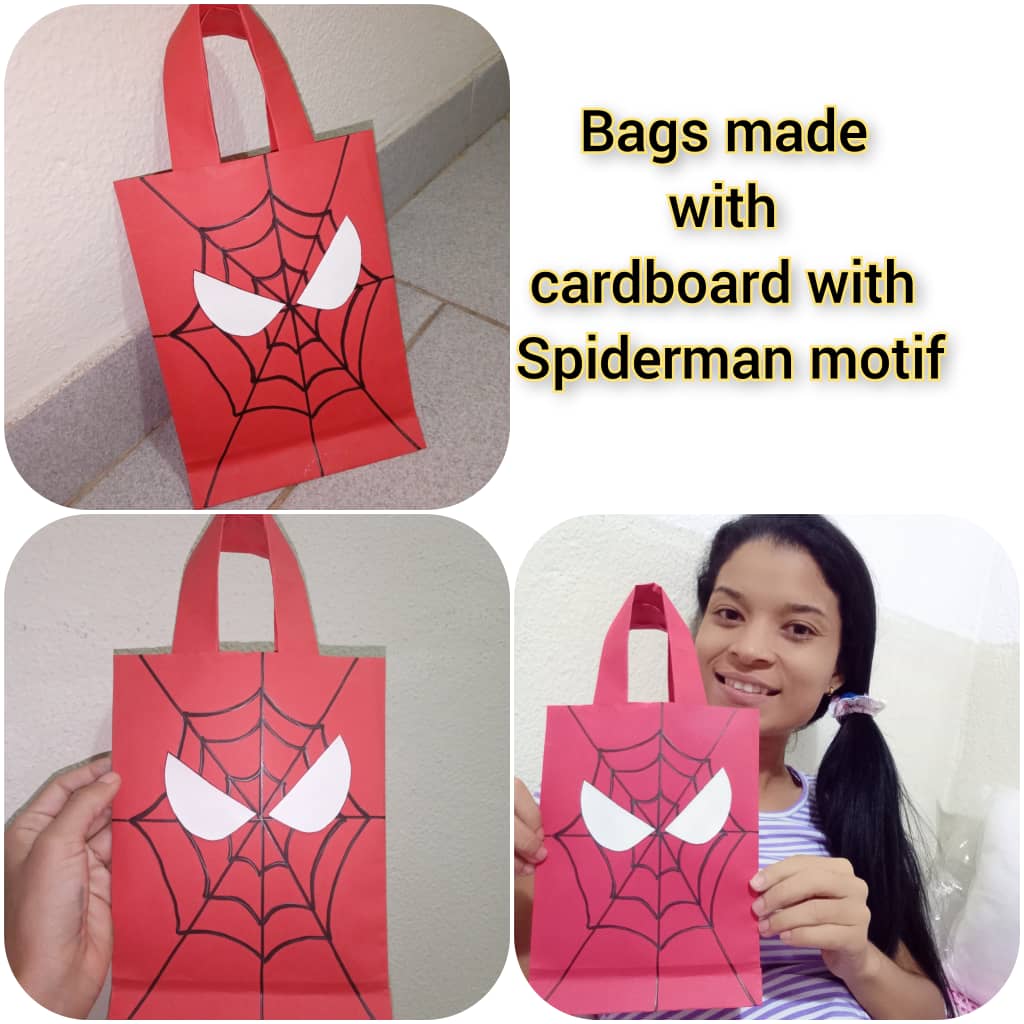
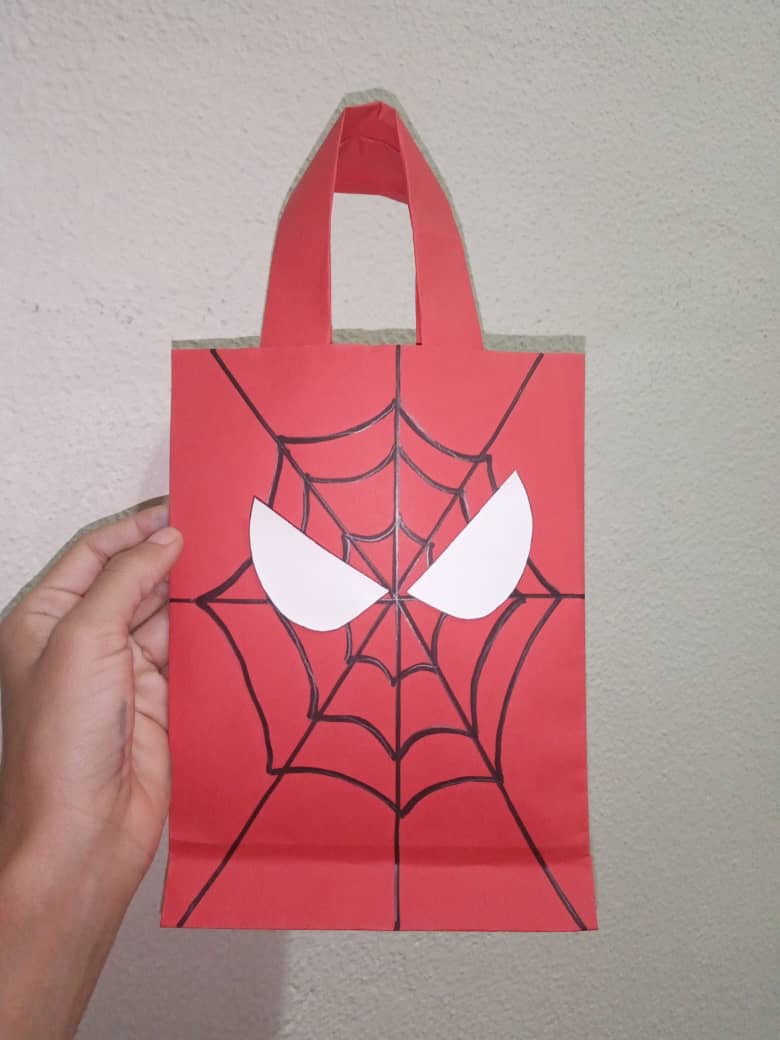
Buen dia para todos, feliz viernes!! espero hayan tenido un bello amanecer con la bendición de Dios en cada paso que den, un caluroso abrazo para todos mis amigos que laboran en esta bella plataforma. Una vez más compartiendo con todos ustedes en esta oportunidad les traigo como elaborar una Bolsa hecha con cartulina con motivo de Spiderman ideal para regalar un obsequio, es muy sencilla de realizar y lo mejor de todo es muy económica. A continuación les explico los pasos a seguir:
Good morning everyone, happy Friday!! I hope you have had a beautiful sunrise with God's blessing in every step you take, a warm hug for all my friends who work on this beautiful platform. Once again sharing with all of you in this opportunity I bring you how to make a
Bags made with cardboard with the motif of Spiderman ideal to give a gift, it is very simple to make and best of all it is very economical. Here I explain the steps to follow:

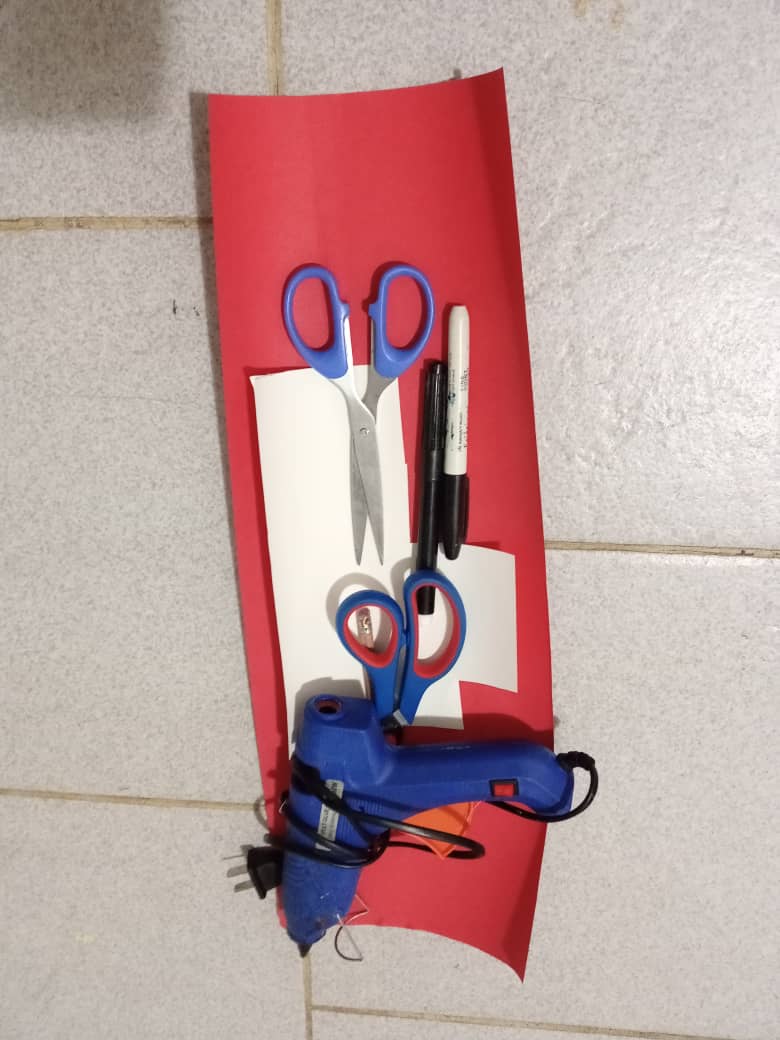
Materiales:
🕸️Cartulina roja y blanca.
🕸️Tijera.
🕸️Marcador negro.
🕸️Silicón caliente.
🕸️Regla.
🕸️Lápiz.
Materials:
🕸️Red and white cardstock.
🕸️Scissors.
🕸️black marker
🕸️Hot silicone.
🕸️Ruler.
🕸️Pencil.
Step by Step || Pasó a paso:
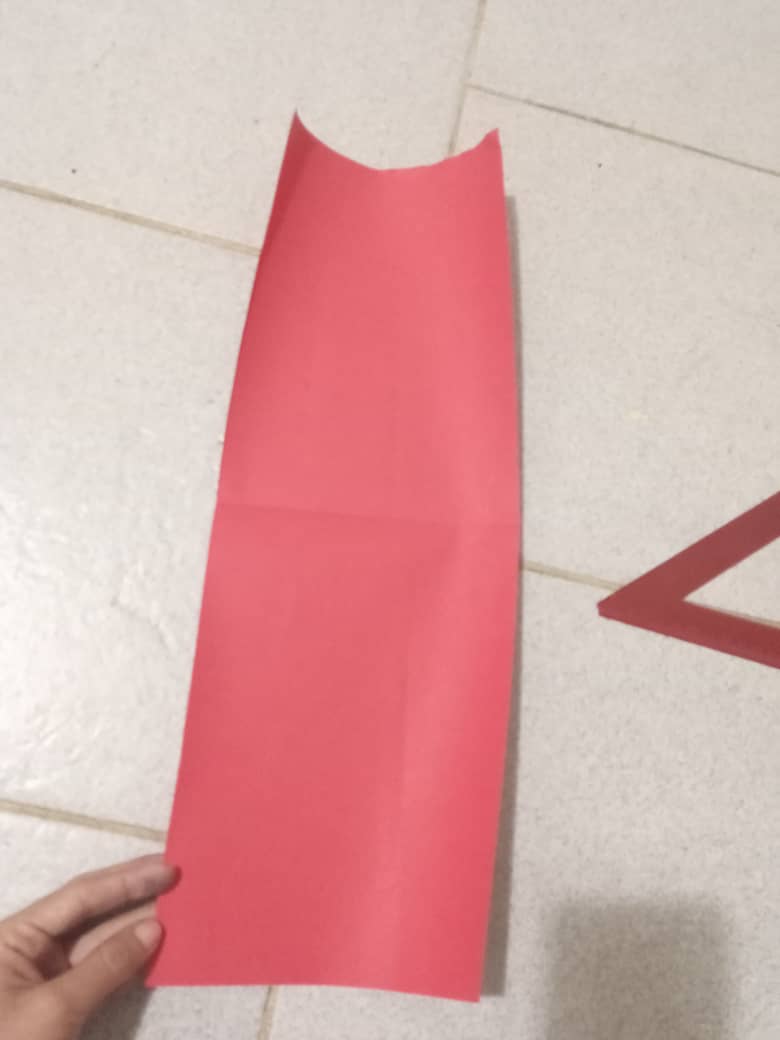
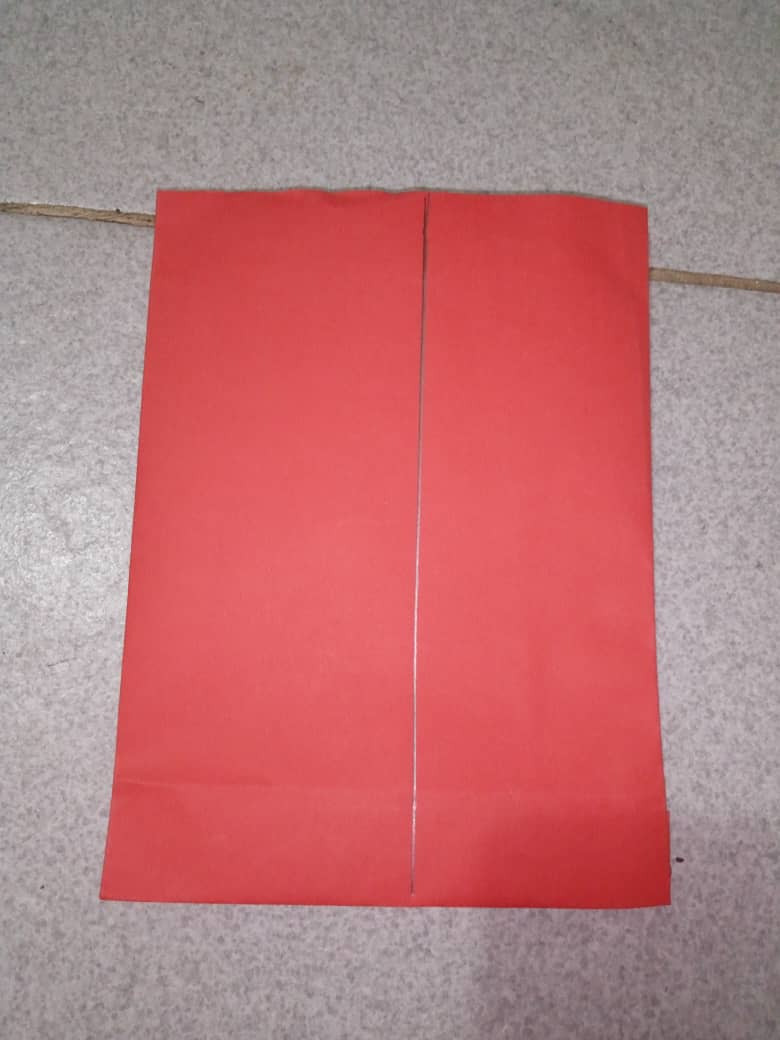
1er paso: Lo primero que haremos es cortar un trozo de cartulina roja de 40cm de alto por 16cm de ancho y doblar a la mitad como se puede observar en las imágenes.
1st step: The first thing we will do is cut a piece of red cardboard 40cm high by 16cm wide and fold it in half as can be seen in the images.
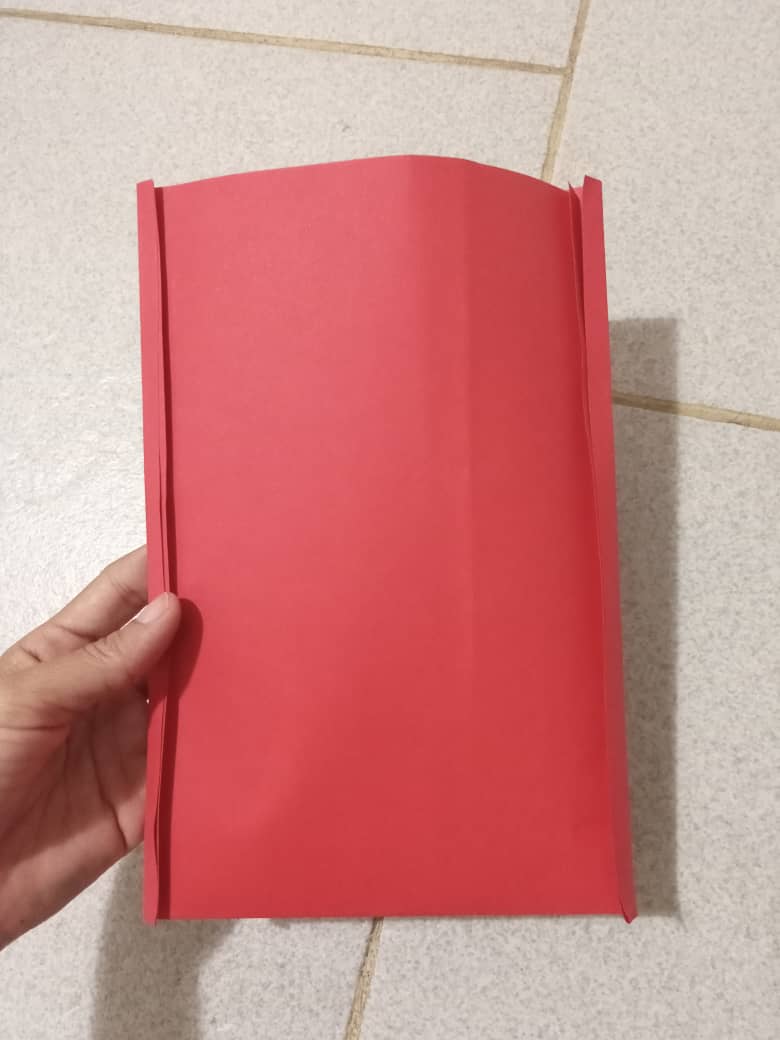
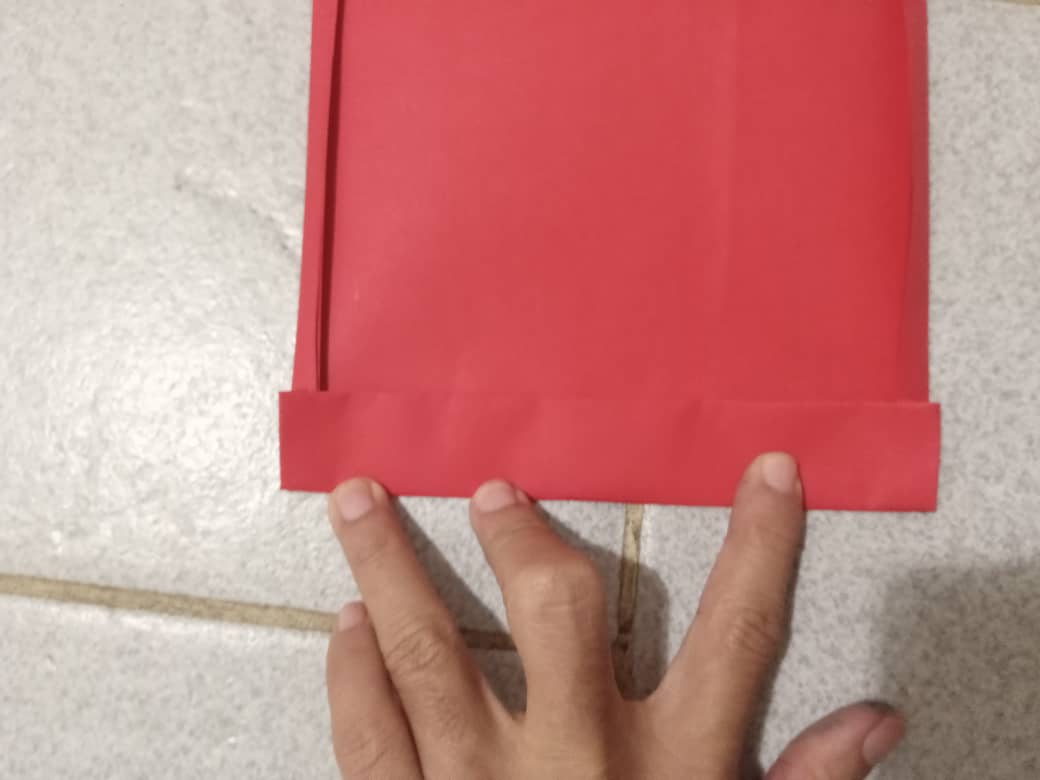
2do paso: Luego vamos a doblar por los bordes como 1cm de igual manera en la parte inferior hacemos un pequeño doble de 2,5cm como se aprecia en las imágenes.
2nd step: Then we are going to fold the edges about 1cm in the same way at the bottom we make a small double of 2.5cm as can be seen in the images.
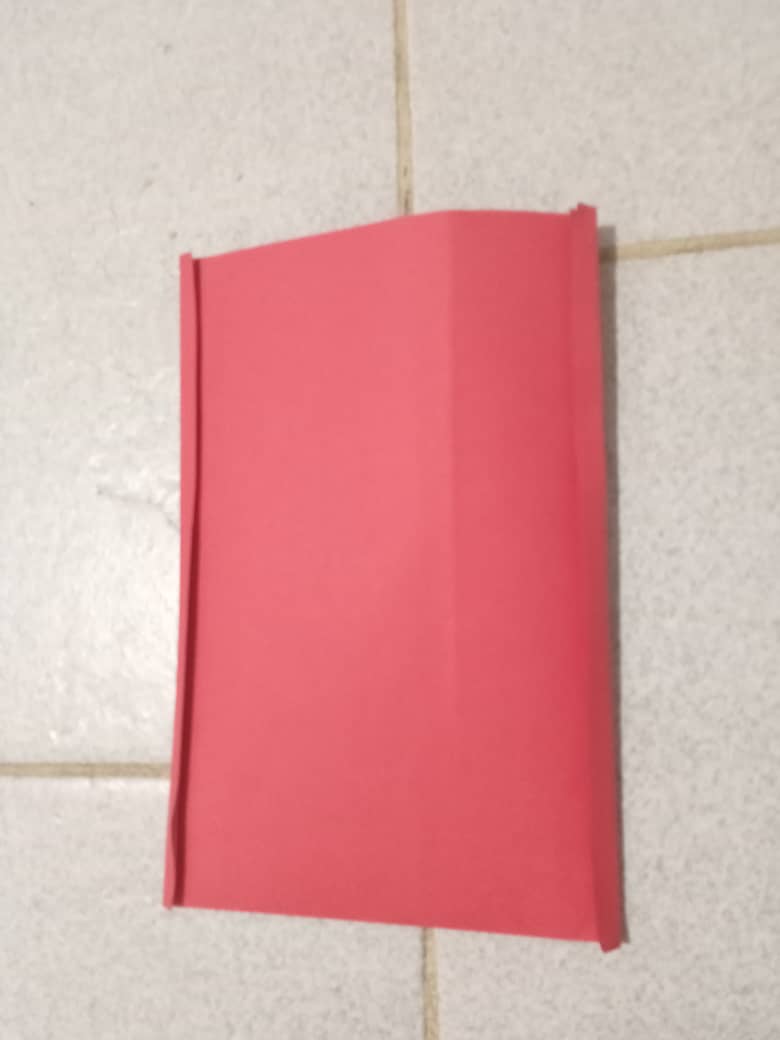
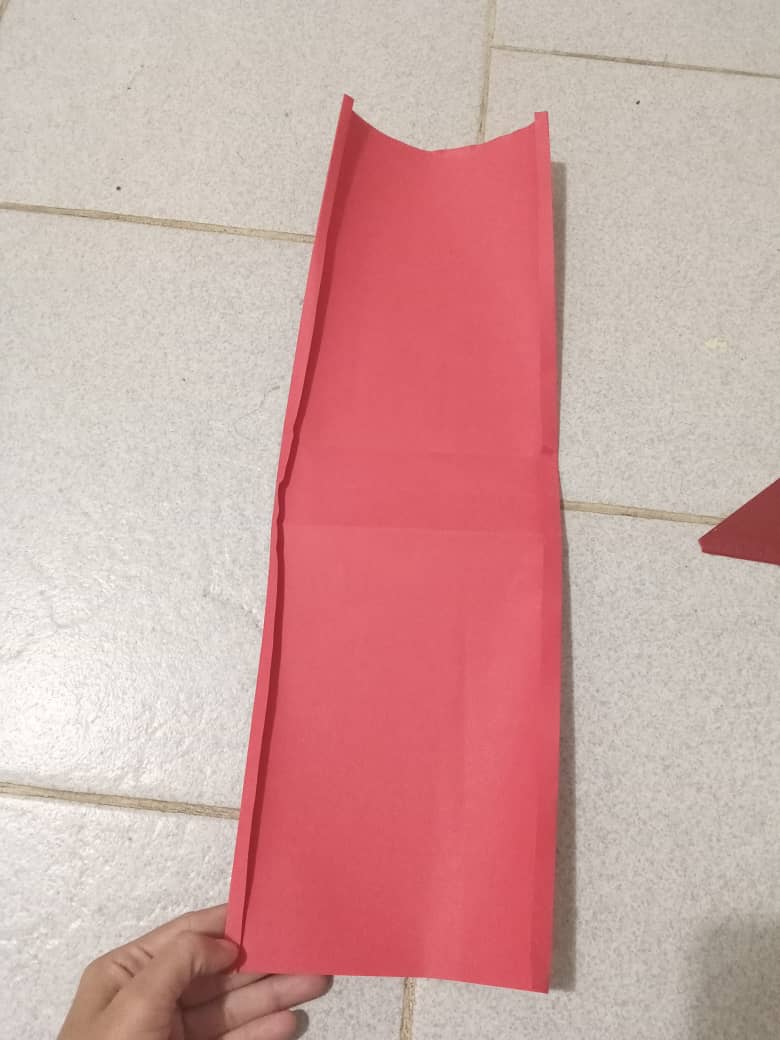
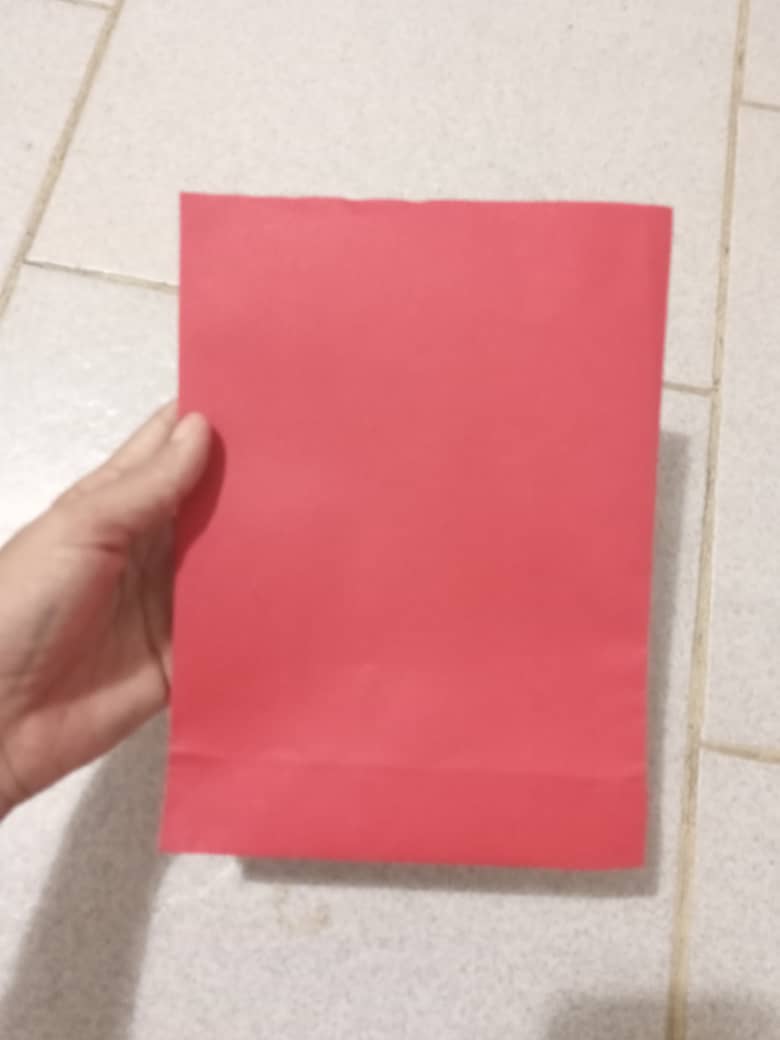
3er paso: Seguidamente abrimos la pieza y el doble de los bordes lo pegamos hacia adentro con ayuda de la pistola de silicón para cerrar la bolsa.
3rd step: Next, we open the piece and glue the double of the edges inwards with the help of the silicone gun to close the bag.
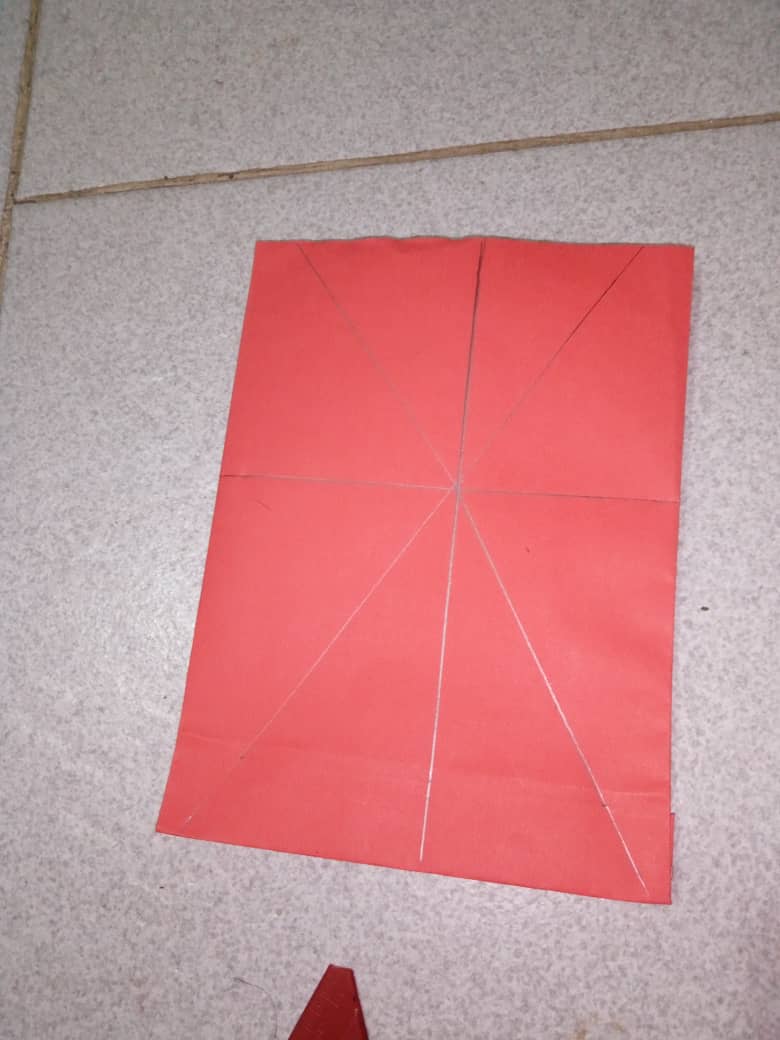
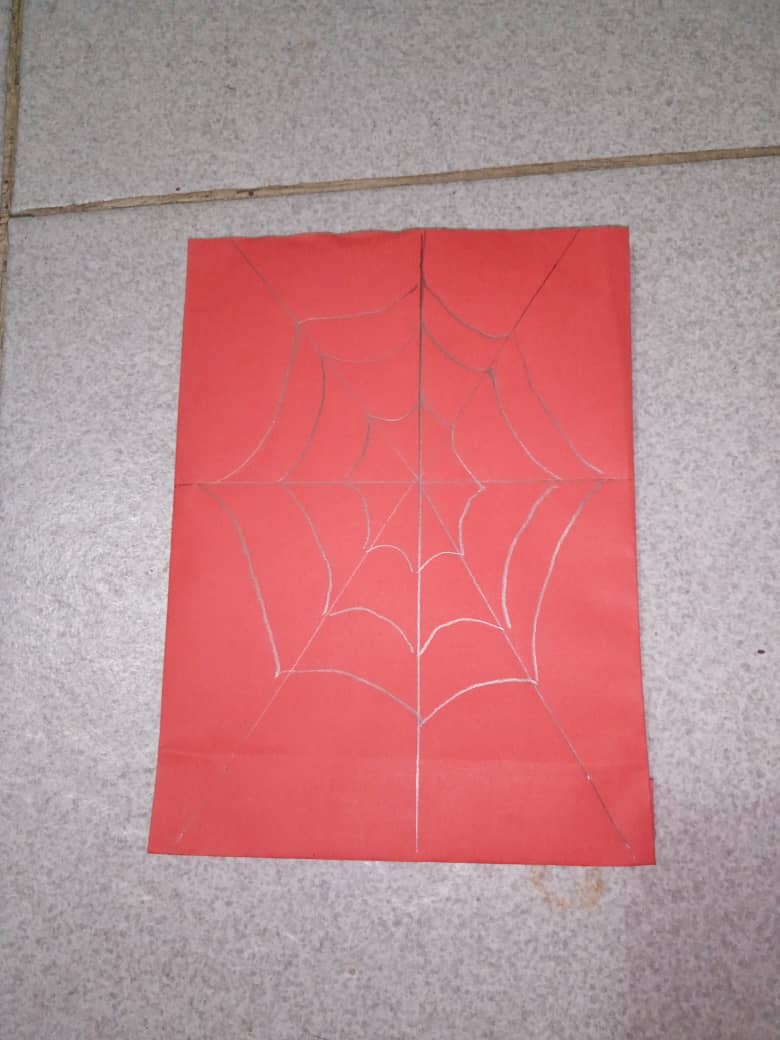
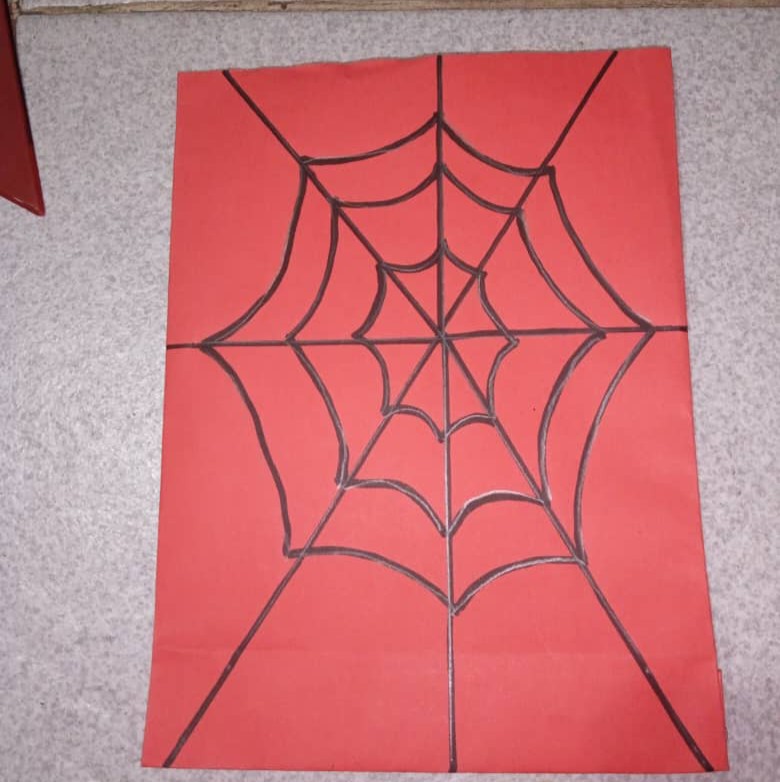
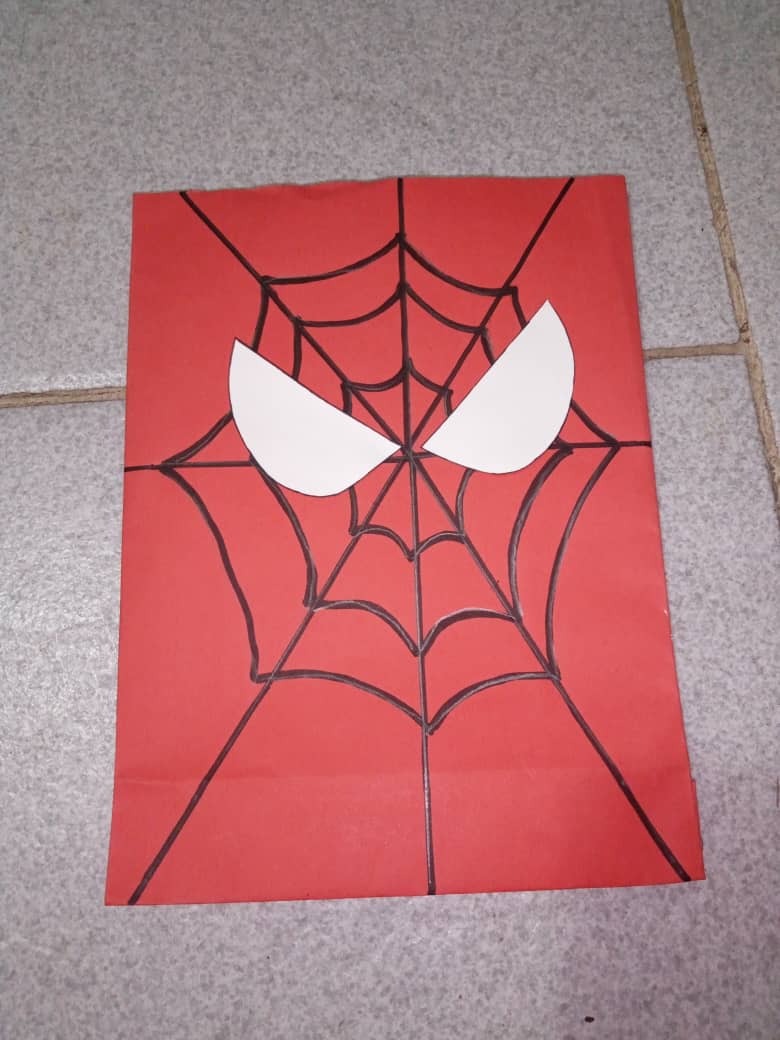
4to paso: A continuación vamos con ayuda de un lápiz y regla a marcar la tela de araña y a pintar con el marcador, cortamos los ojos de color blanco y pegamos.
4th step: Next we go with the help of a pencil and a ruler to mark the spider web and paint with the marker, we cut out the white eyes and paste.
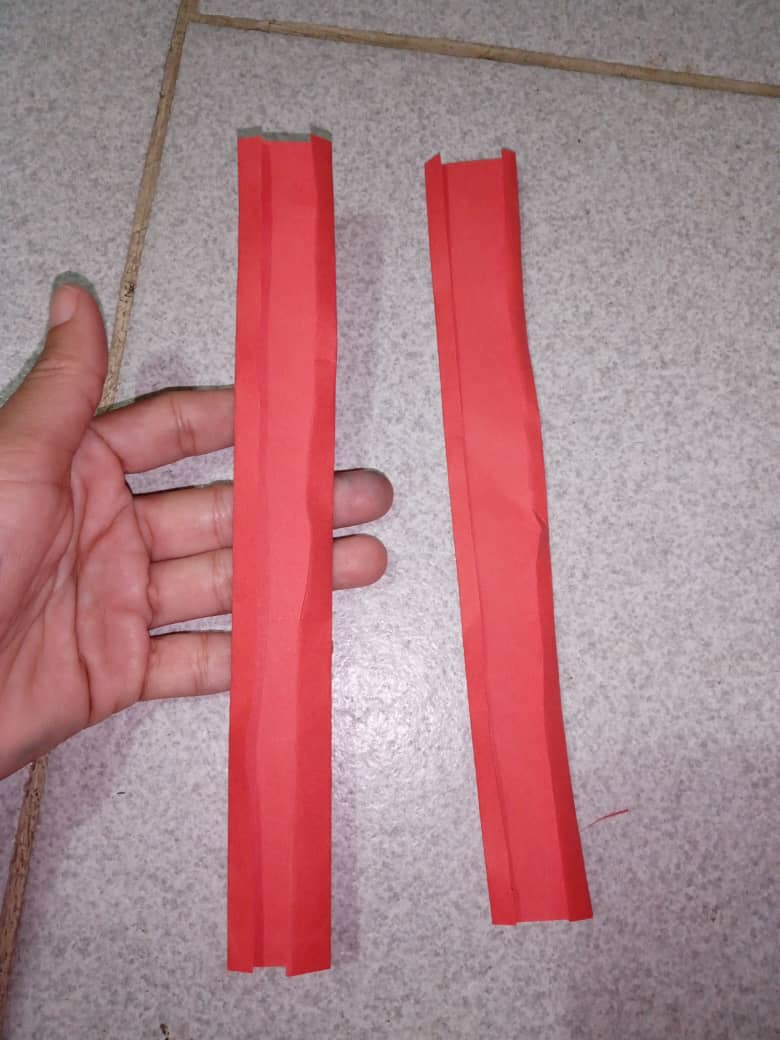
5to paso: Para finalizar vamos a cortar dos tiras de 10cm de largo por 2cm de ancho para las asas de nuestra bolsa, doblamos los bordes como se pudo observar en el paso anterior pegamos y listo mis amigos vieron que fácil es.
5th step: To finish we are going to cut two strips of 10cm long by 2cm wide for the handles of our bag, we fold the edges as you could see in the previous step, we glue and that's it, my friends saw how easy it is.
Muchas gracias por visitar mi Blog
Thank you very much for visiting my Blog.

Hola amiga, te quedó bonita y es fácil de hacer.
Felíz día.
Gracias amiga me alegra que te haya gustado. Saludos 🤗 💖