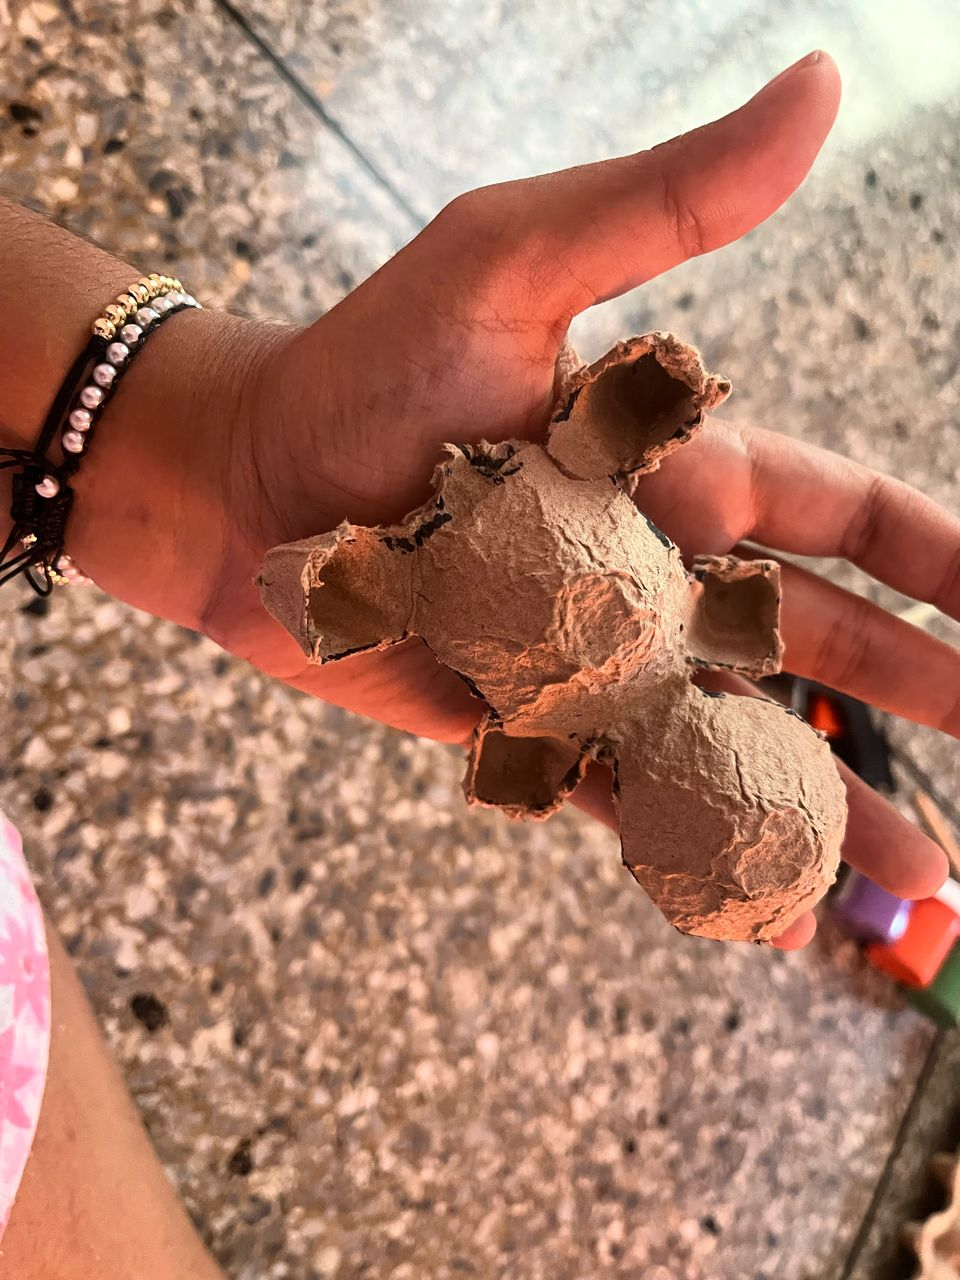
In my house we usually throw away a lot of egg cartons every week since there are quite a few of us at home and eggs are incorporated into our diet on a fairly constant basis. So when I saw so many egg cartons, a question came to my mind:
¿De qué manera puedo reutilizarlo? / How can I reuse it?
Es allí donde tomo mi celular y me pongo a buscar en redes sociales alguna idea creativa que le pueda dar una segunda oportunidad a éste material. Y es allí donde consigo algo fácil y práctico, como lo son “unas tortugas”.
Inmediatamente esto atrajo mi atención y decidí investigar más al respecto sobre los materiales que debía usar a ver si contaba con alguno ya en casa, y me doy cuenta de que debía comprar unas cosas y salí inmediatamente para comenzar mi obra.
That's when I take my cell phone and I start looking on social networks for some creative idea that can give a second chance to this material. And that's when I found something easy and practical, such as "some turtles ”.
Immediately this attracted my attention and I decided to investigate more about the materials I should use to see if I had any already at home, and I realized that I had to buy some things and I went out immediately to start my work.
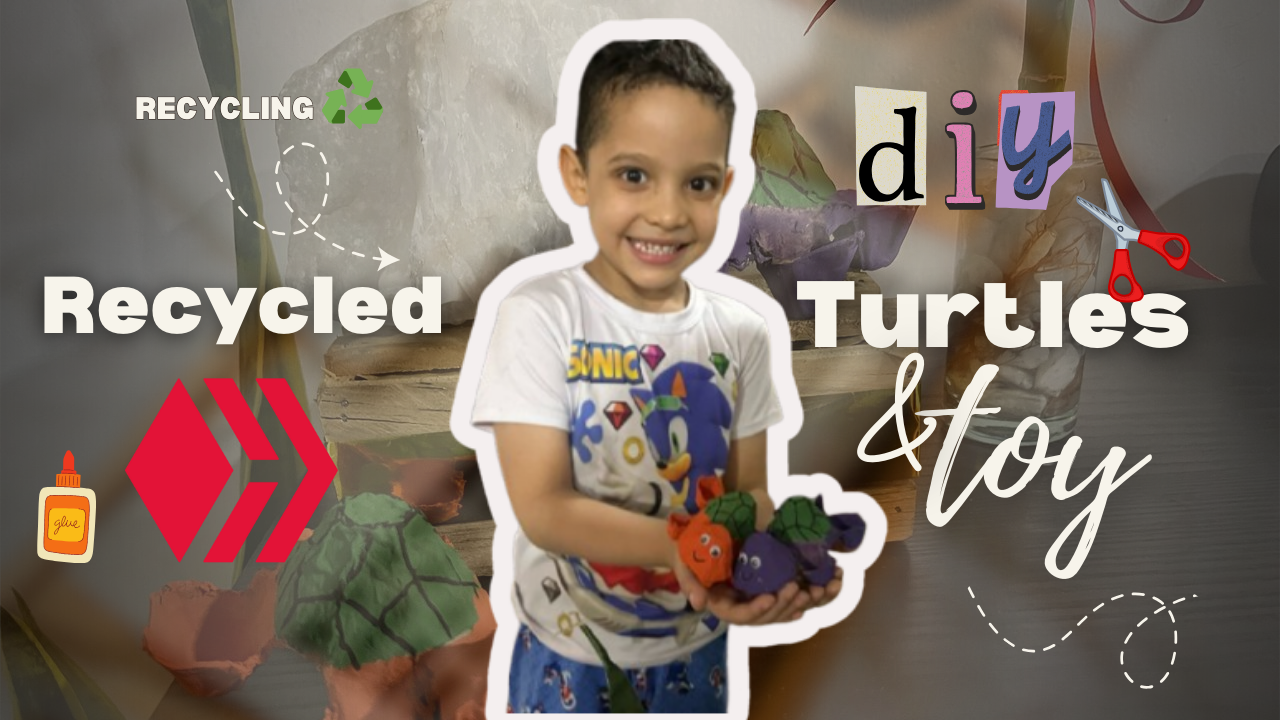
Realización de Tortugas de material reciclado / Making turtles from recycled material
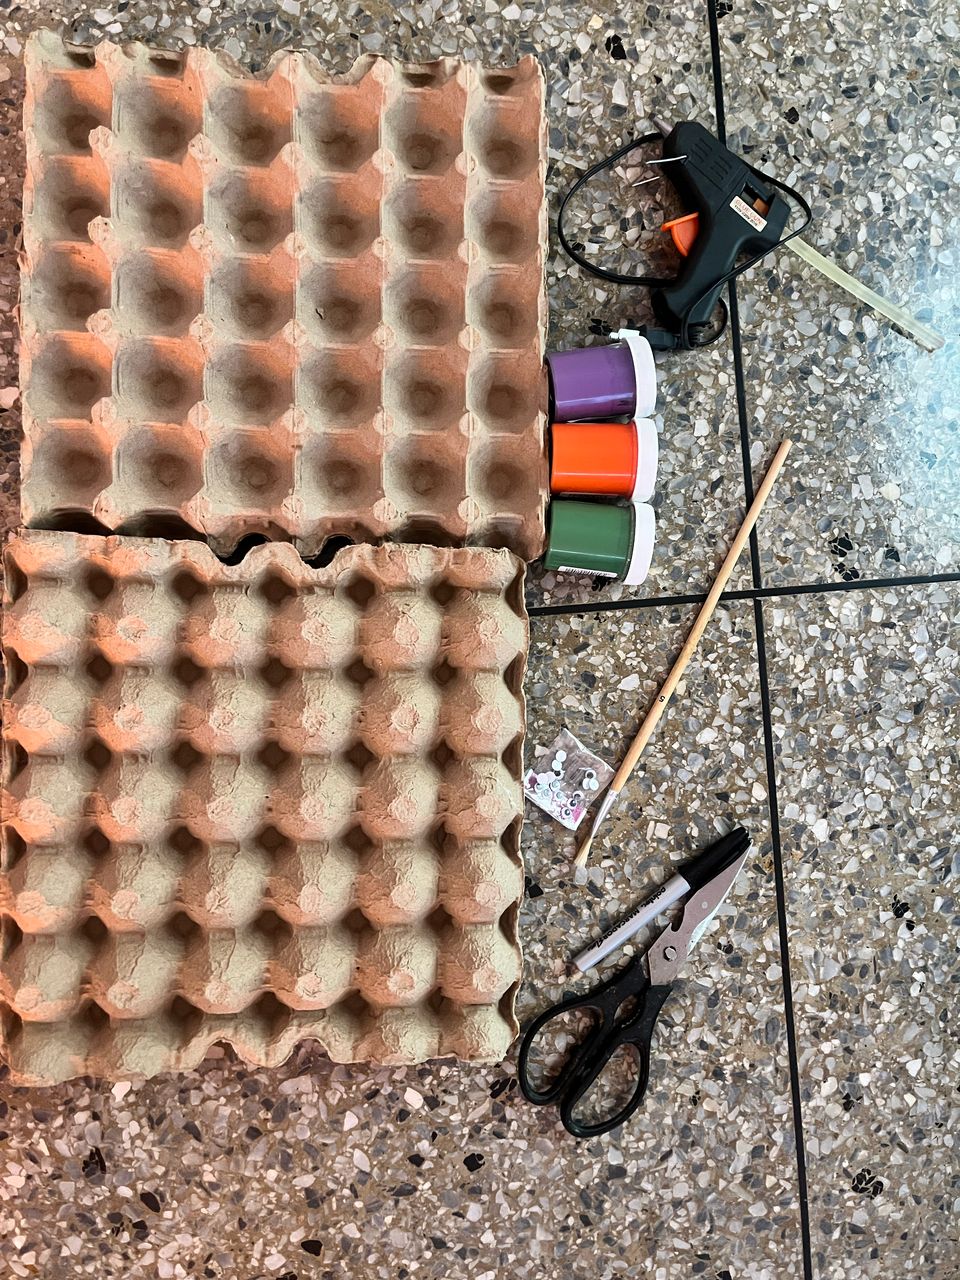
Materiales:
-Cartón de huevos
-Pinturas de tu color de preferencia
-Pincel
-Ojos Locos
-Pistola de silicón y silicón
-Tijeras
-Marcador Negro Punta Fina
Materials:
-Egg carton
-Paints of your favorite color
-Brush
-Crazy Eyes
-Silicone and silicone gun
-Scissors
-Black Fine Tip Marker
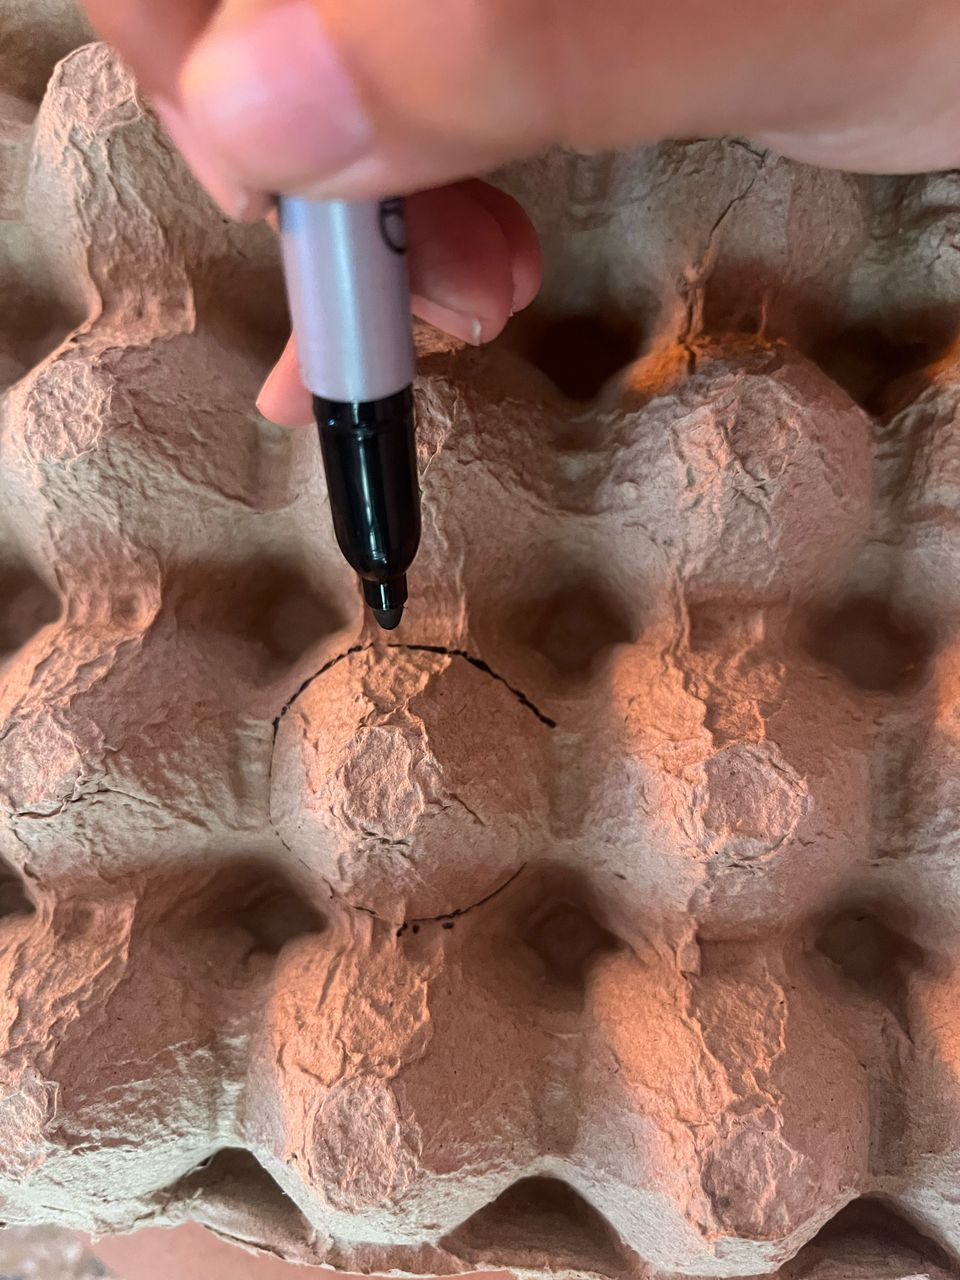
Vamos a trazar un círculo en una de las partes cóncavas del cartón como se muestra en la imagen, que será la cabeza de nuestra tortuga. Luego para hacer las patas las dibujamos con el marcador, lo mismo con el cuerpo, las patas traseras y la cola.
Algo que está a nuestro favor con este tipo de figuras es que el mismo cartón nos va dando la forma sin mucho esfuerzo, así que no te asustes.
Una vez que tengamos la figura dibujada la cortamos cuidadosamente con una tijera, y nos va a quedar ya el armazón de nuestra tortuga.
We are going to draw a circle in one of the concave parts of the cardboard as shown in the image, which will be the head of our turtle. Then to make the legs we draw them with the marker, the same with the body, the back legs and the tail.
Something that is in our favor with this type of figures is that the cardboard itself will give us the shape without much effort, so do not panic.
Once we have the figure drawn we cut it carefully with a scissors, and we will have the frame of our turtle.
Ahora procedemos a pintarla, y puedes comenzar por el caparazón, que yo escogí el color verde pero realmente tu mismo puedes jugar con los colores.
Now we proceed to paint it, and you can start with the shell, I chose green but you can really play with the colors yourself.
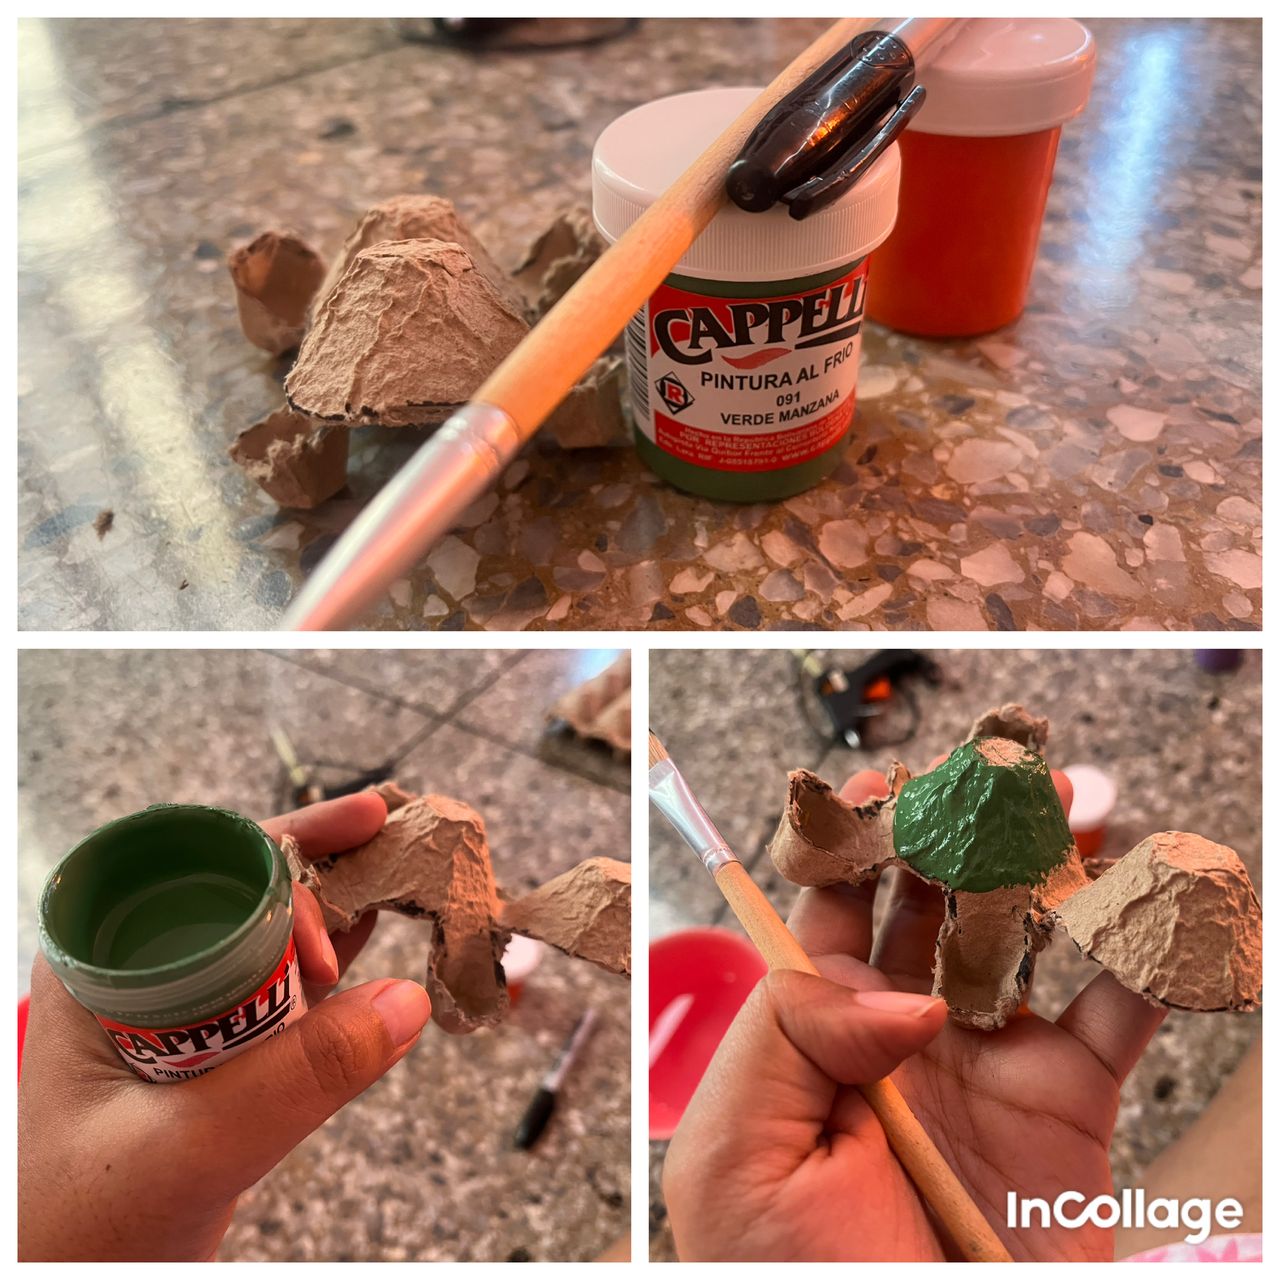
Después limpié mi pincel con algo de agua para poder cambiar al color naranja para poder pintar el cuerpo de la tortuga.
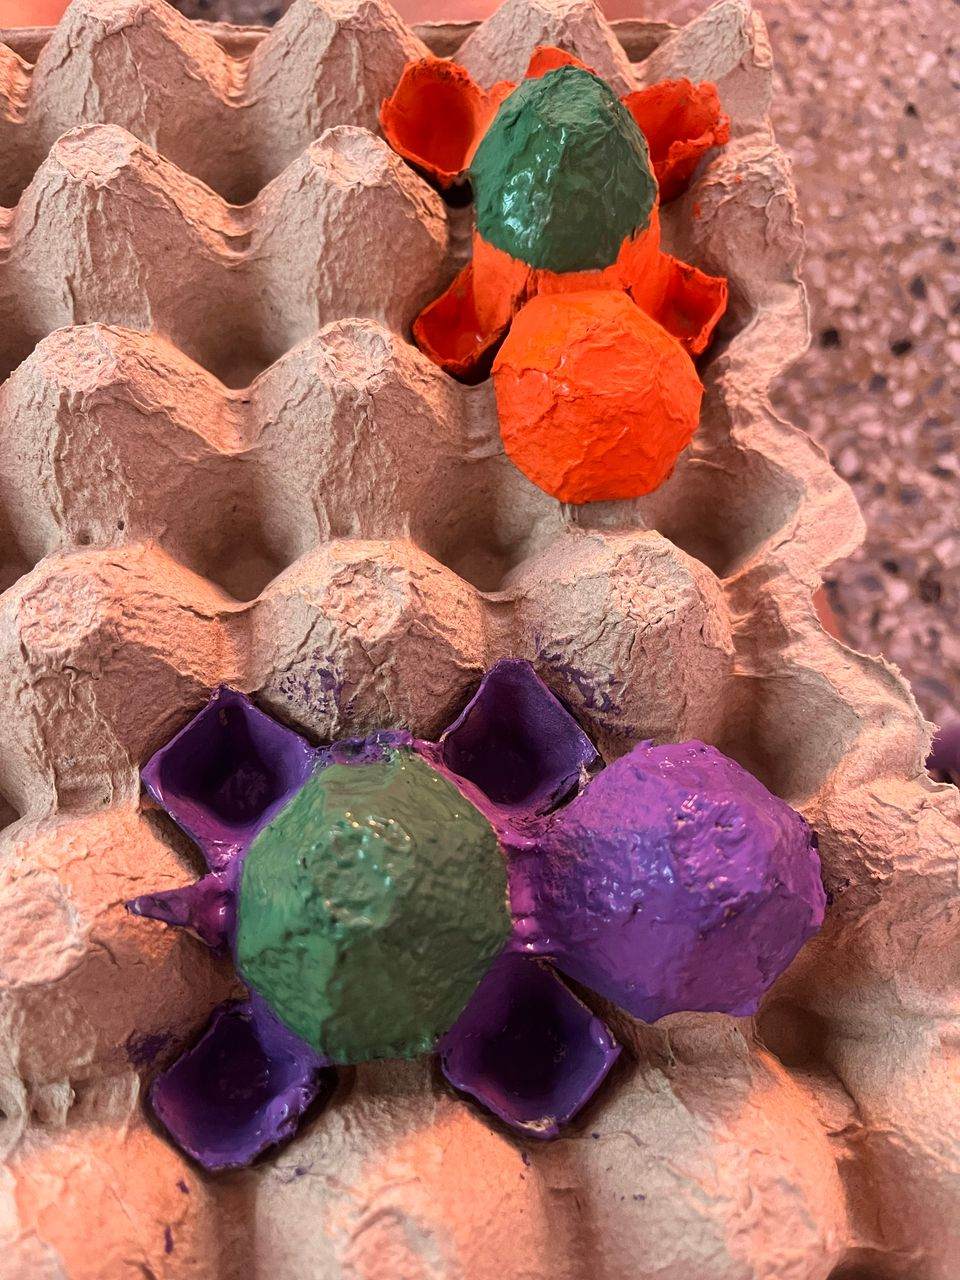
Una vez que la tenemos completamente pintada la ponemos a secar y decidí hacer una compañera para la tortuga naranja, por lo que repetí el procedimiento que en la primera pero esta vez el color que escogí fue el púrpura.
Then I cleaned my brush with some water to be able to change to the orange color to be able to paint the body of the turtle.
Once we have it completely painted we put it to dry and I decided to make a companion for the orange turtle, so I repeated the procedure as in the first one but this time the color I chose was purple.
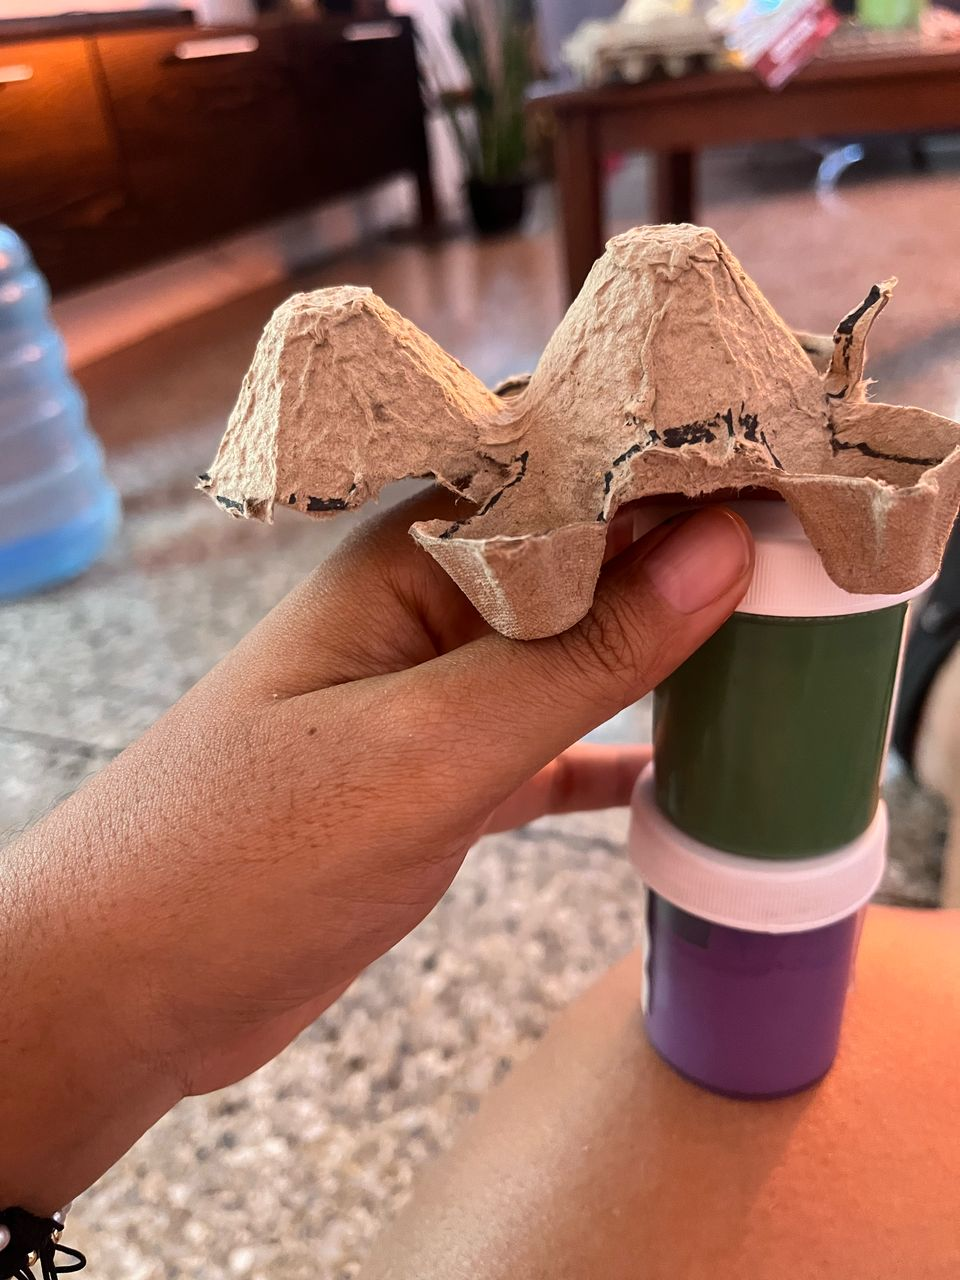

Aquí las puse a las dos a secar unos 15min en un ambiente fresco.
Aproveché el cartón para que me sirviera de soporte, y una vez que estuvieron secas por arriba, las volteé para pintarlas por debajo y las dejé secando otros 15min.
Here I put them both to dry for about 15 minutes in a cool environment.
I used the cardboard as a support, and once they were dry on top, I turned them over to paint them underneath and left them to dry for another 15 minutes.
Ahora viene lo más divertido que es delinear el caparazón.
Now comes the most fun part, which is outlining the shell.
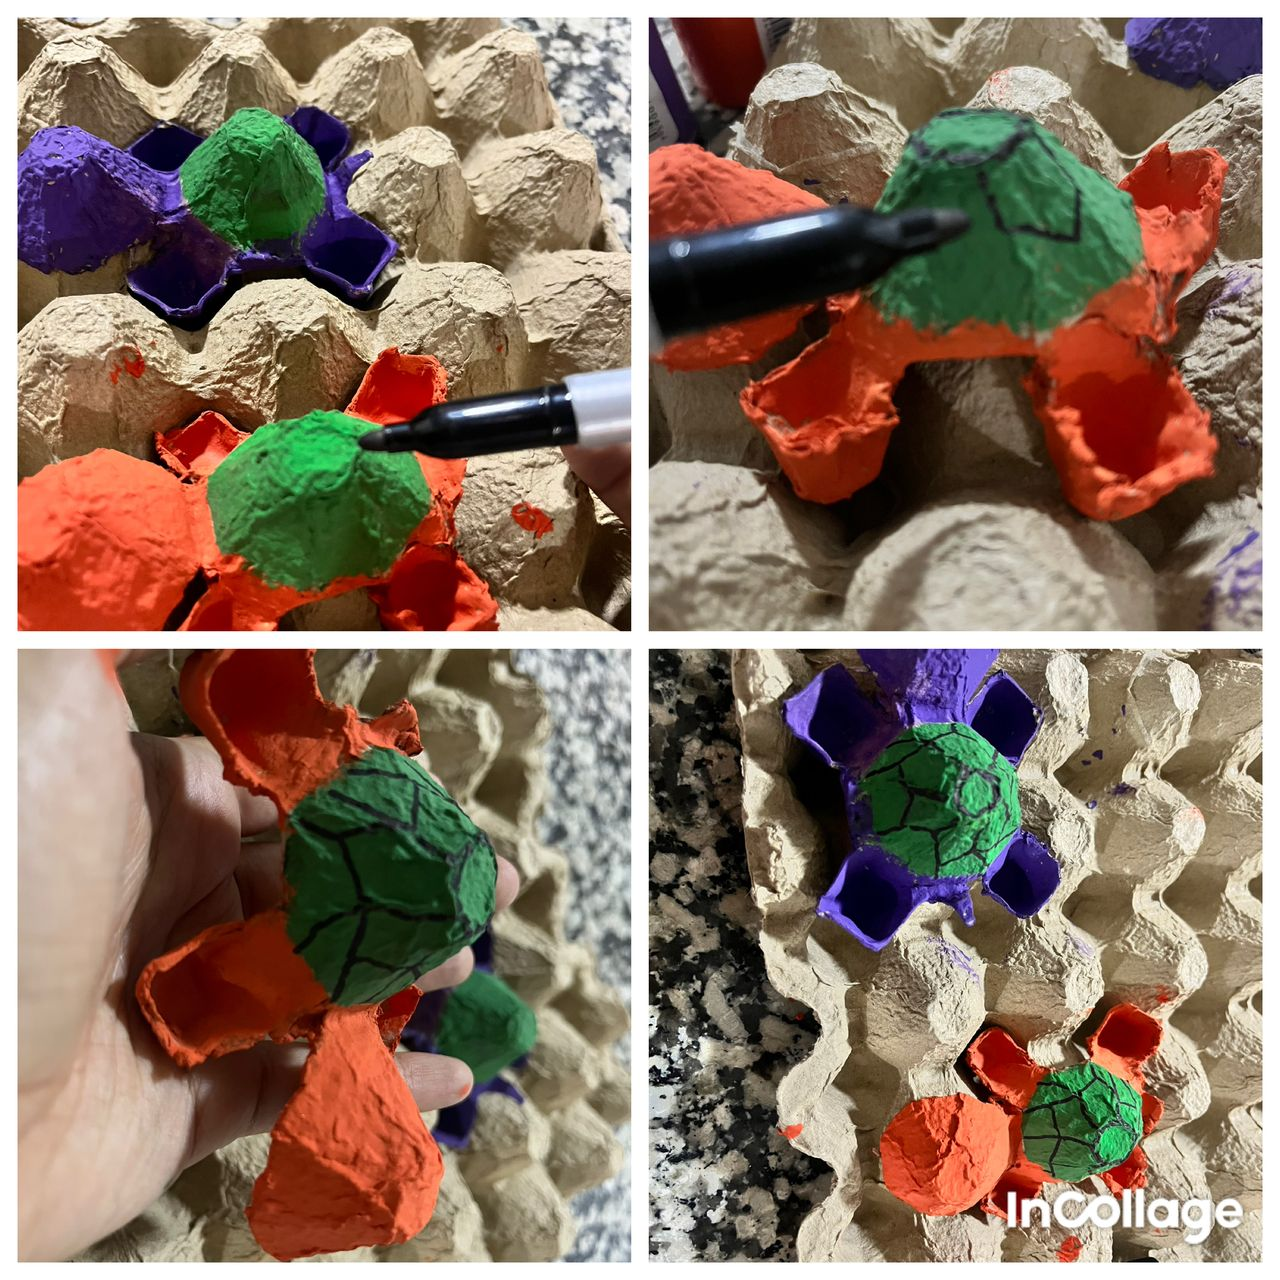
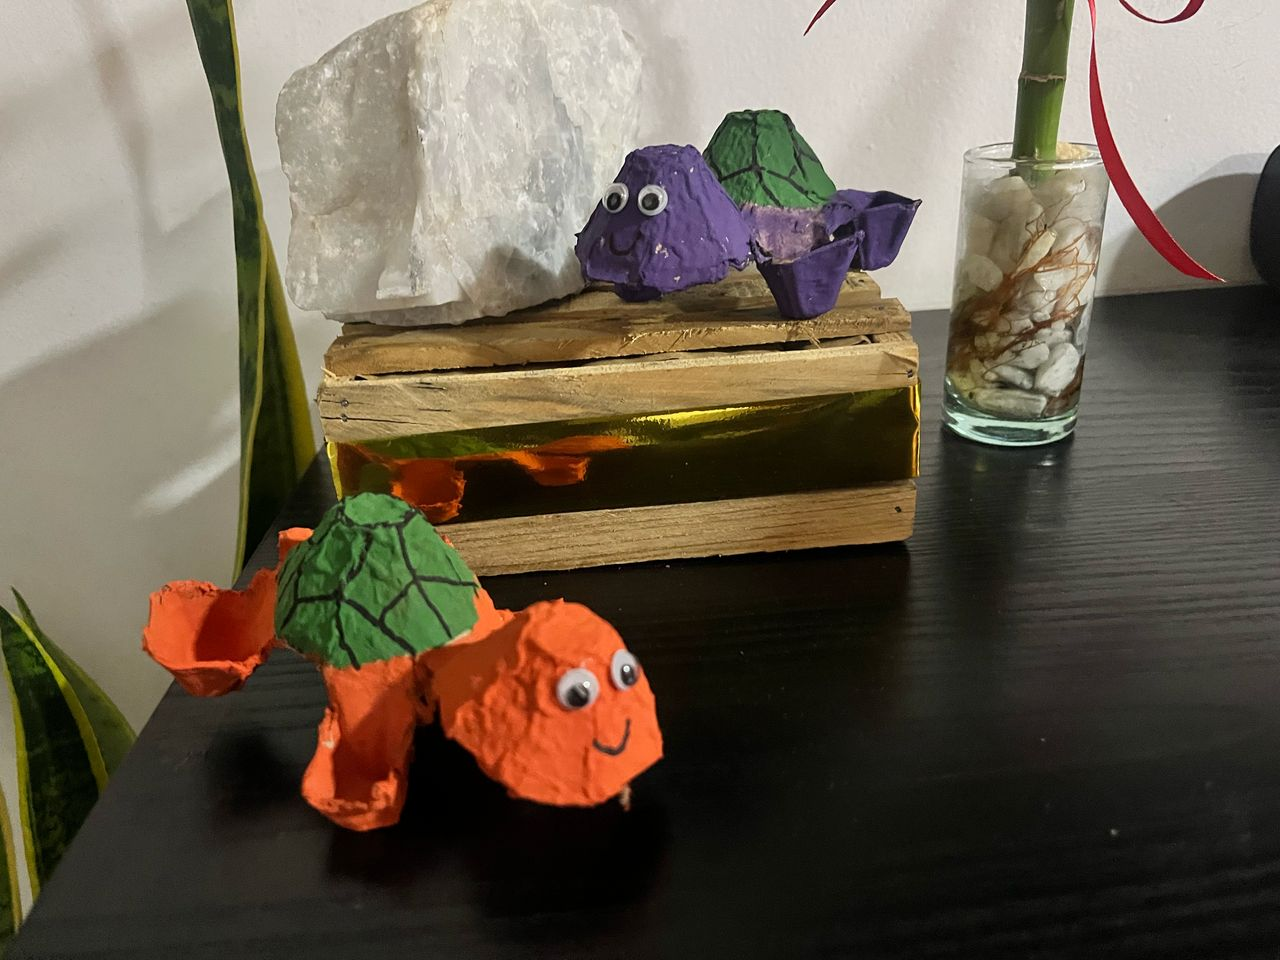
Hice una figura de pentágono que creí era ideal y así delineé todo el caparazón de ambas tortugas.
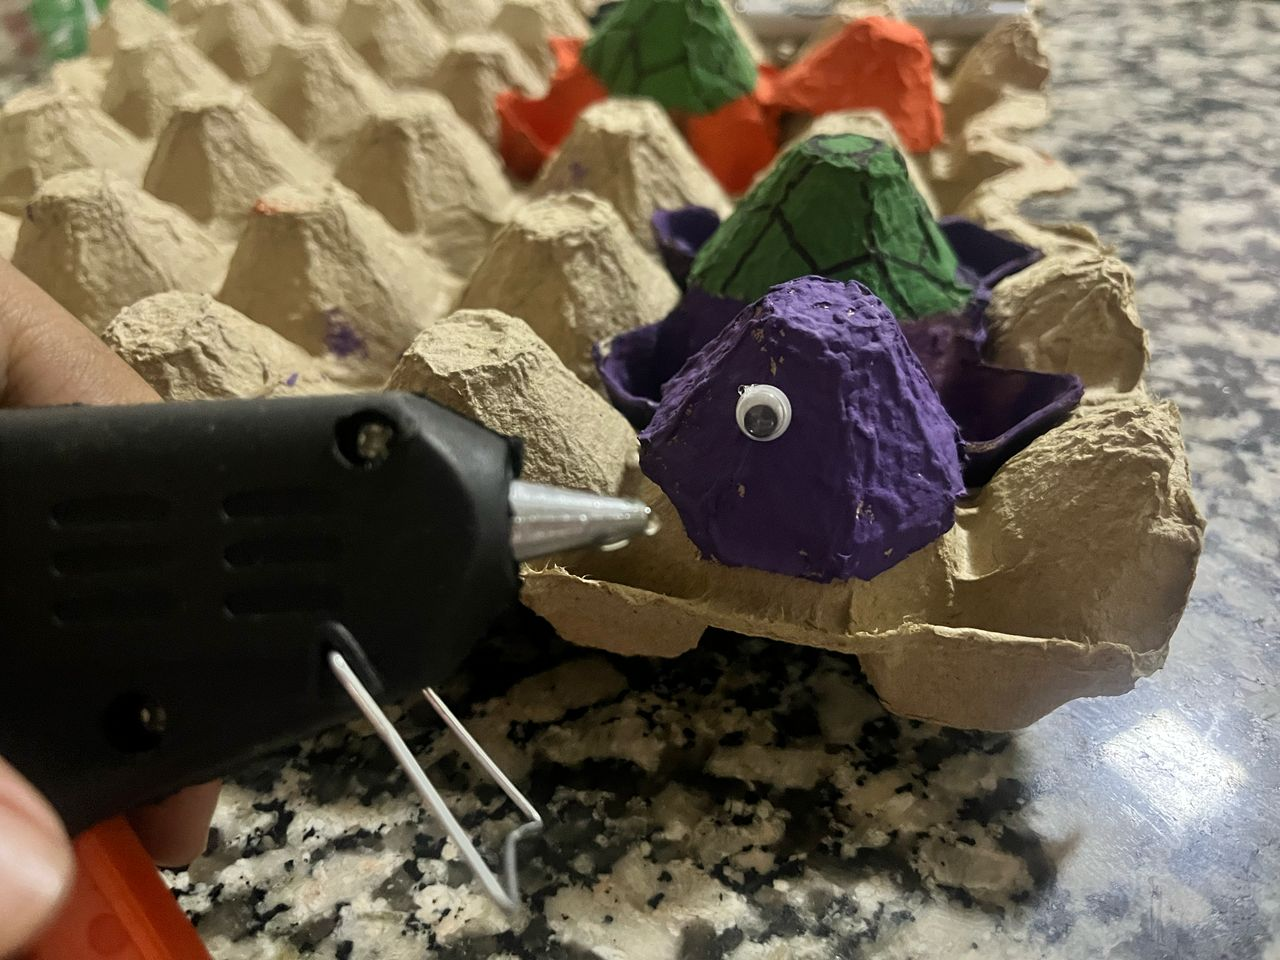
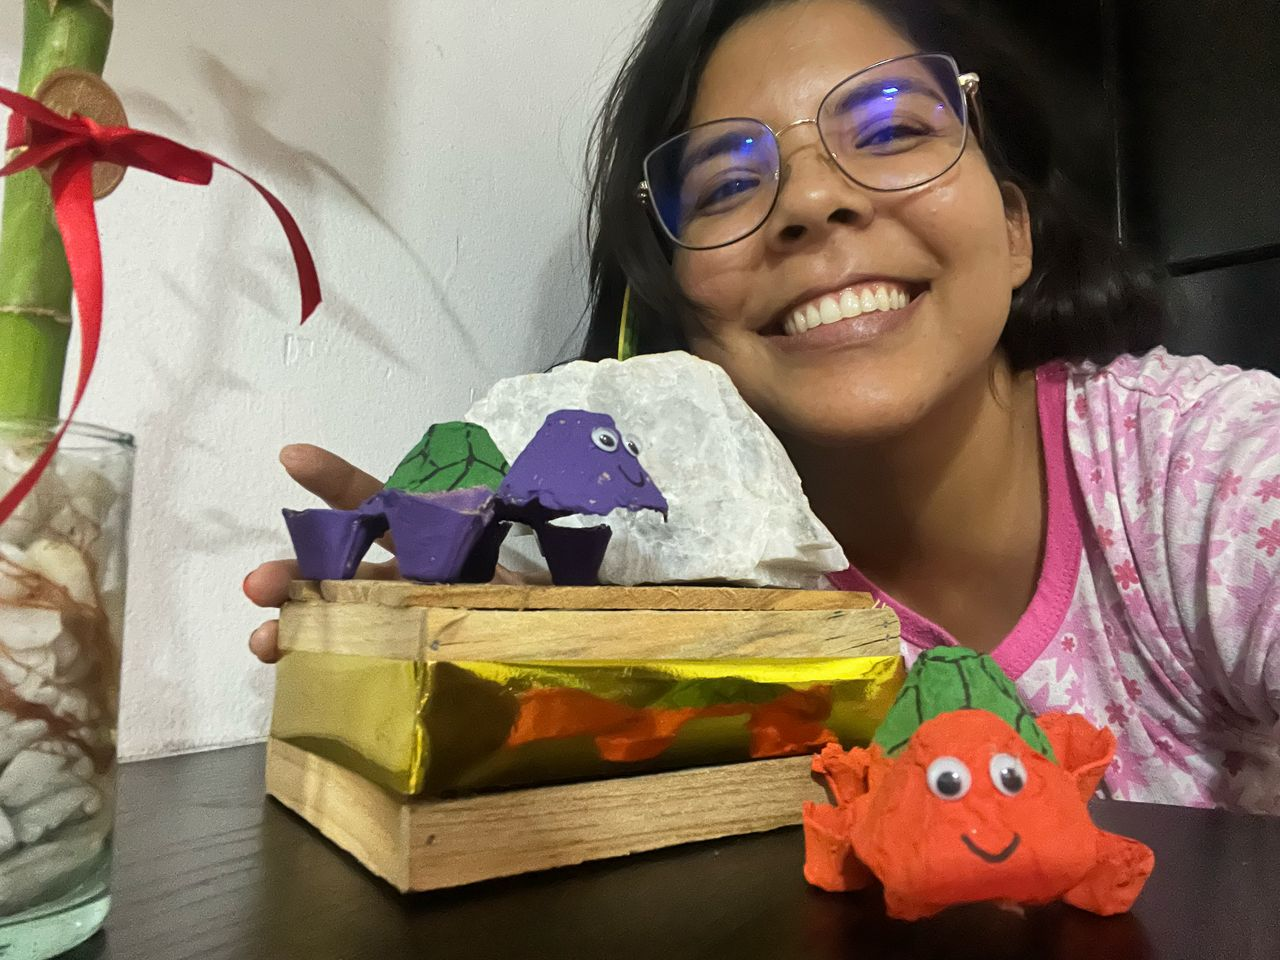
Una vez secas por todas partes, se deben de colocar los ojos locos con silicón caliente (solo una puntita).
I made a pentagon shape that I thought was ideal and so I outlined the whole shell of both turtles.
Once they are dry all over, the crazy eyes should be placed with hot silicone (just a little tip).
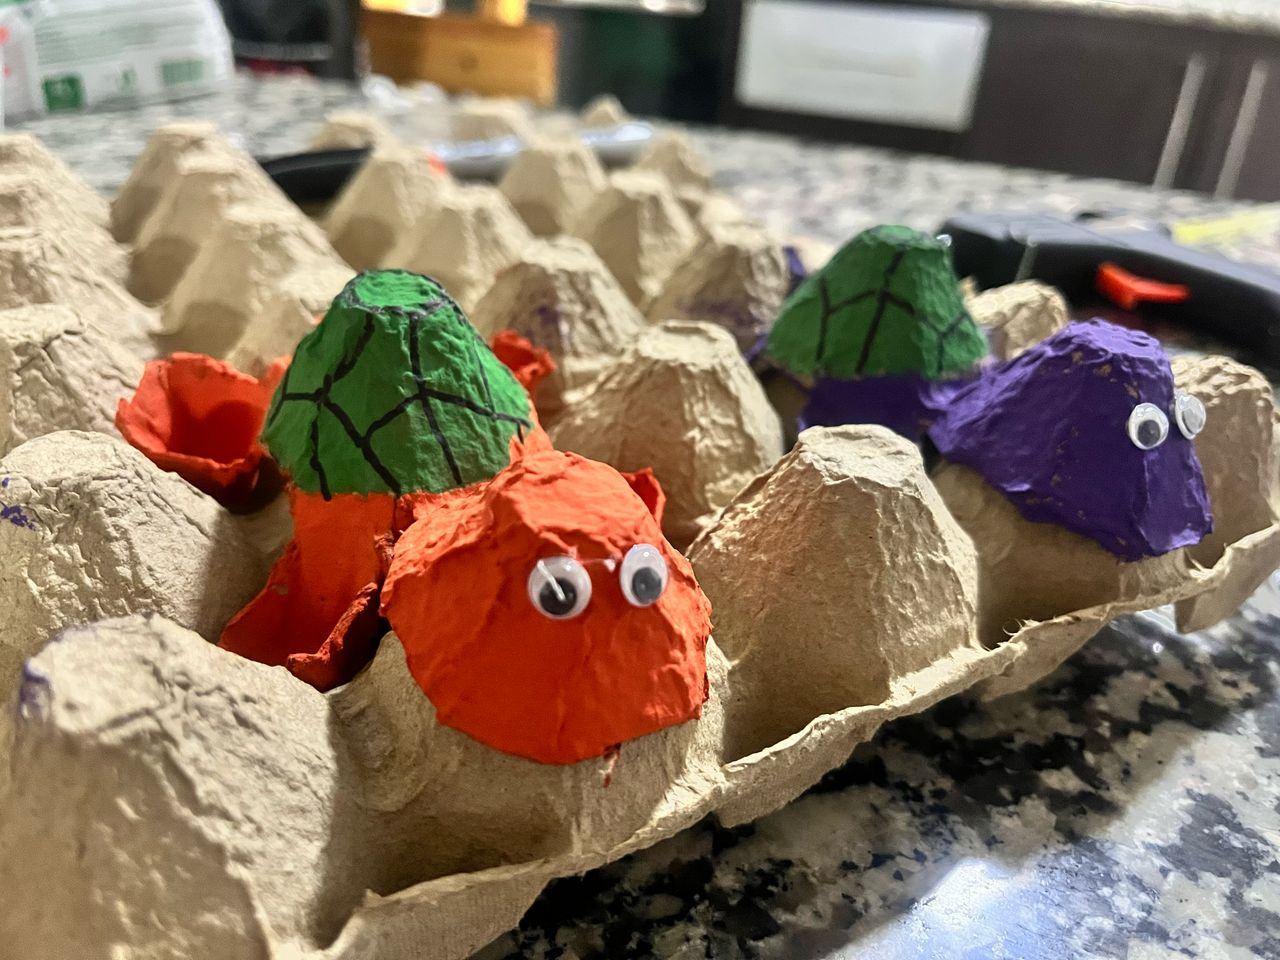
Por último, pero no menos importante se le hace una sonrisa con el marcador negro y listo, ya tenemos a nuestras tortugas listas.
Last but not least, we make a smile with the black marker and that's it, our turtles are ready.
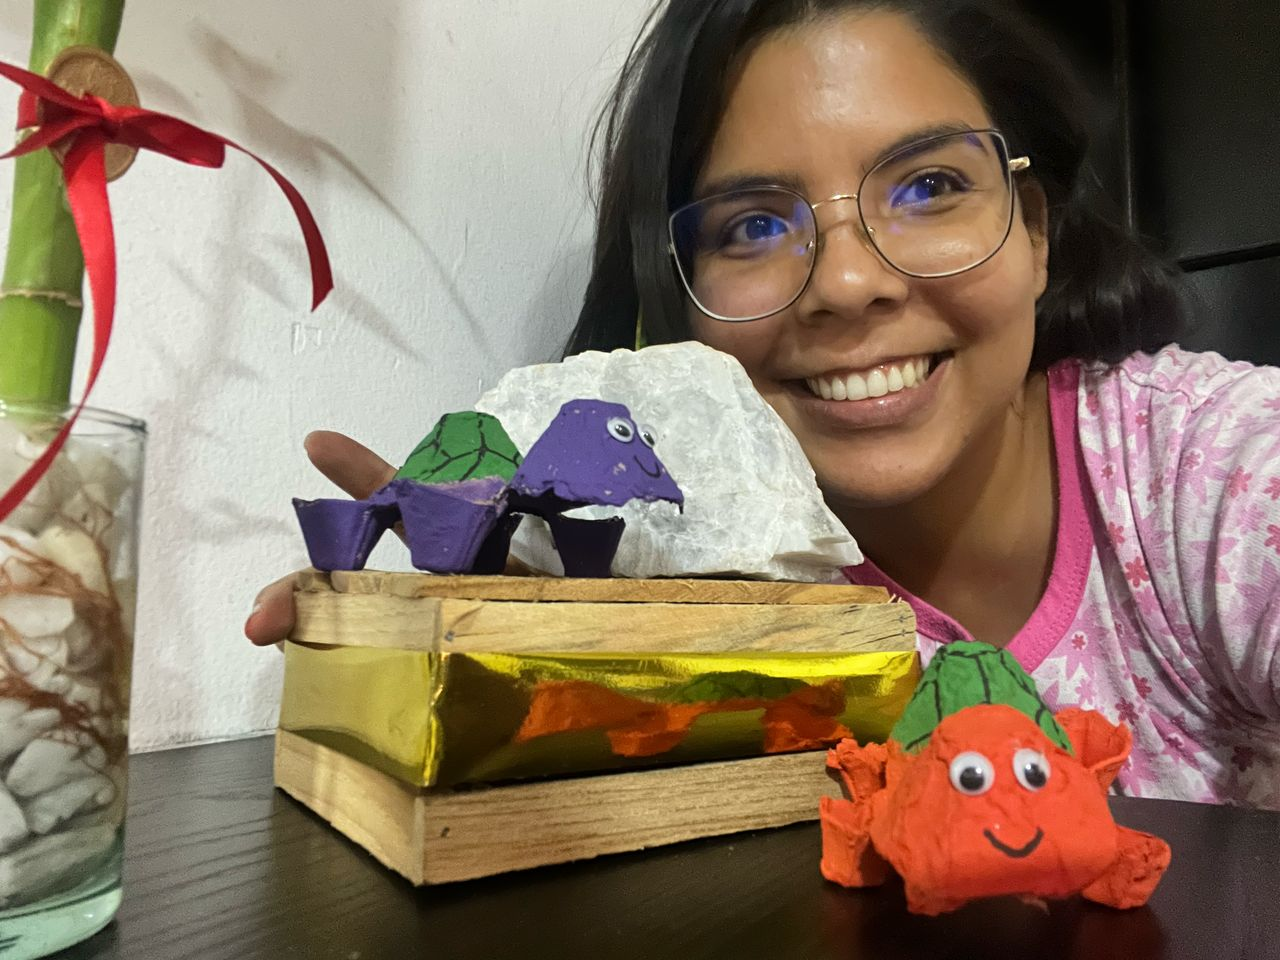
Una de las cosas más importantes de este proyecto es el hecho de que pude realizar un juguete al reciclar cartón de huevo y poniendo algo de amor a la manualidad.
One of the most important things about this project is the fact that I was able to make a toy by recycling egg cartons and putting some love into the craft.
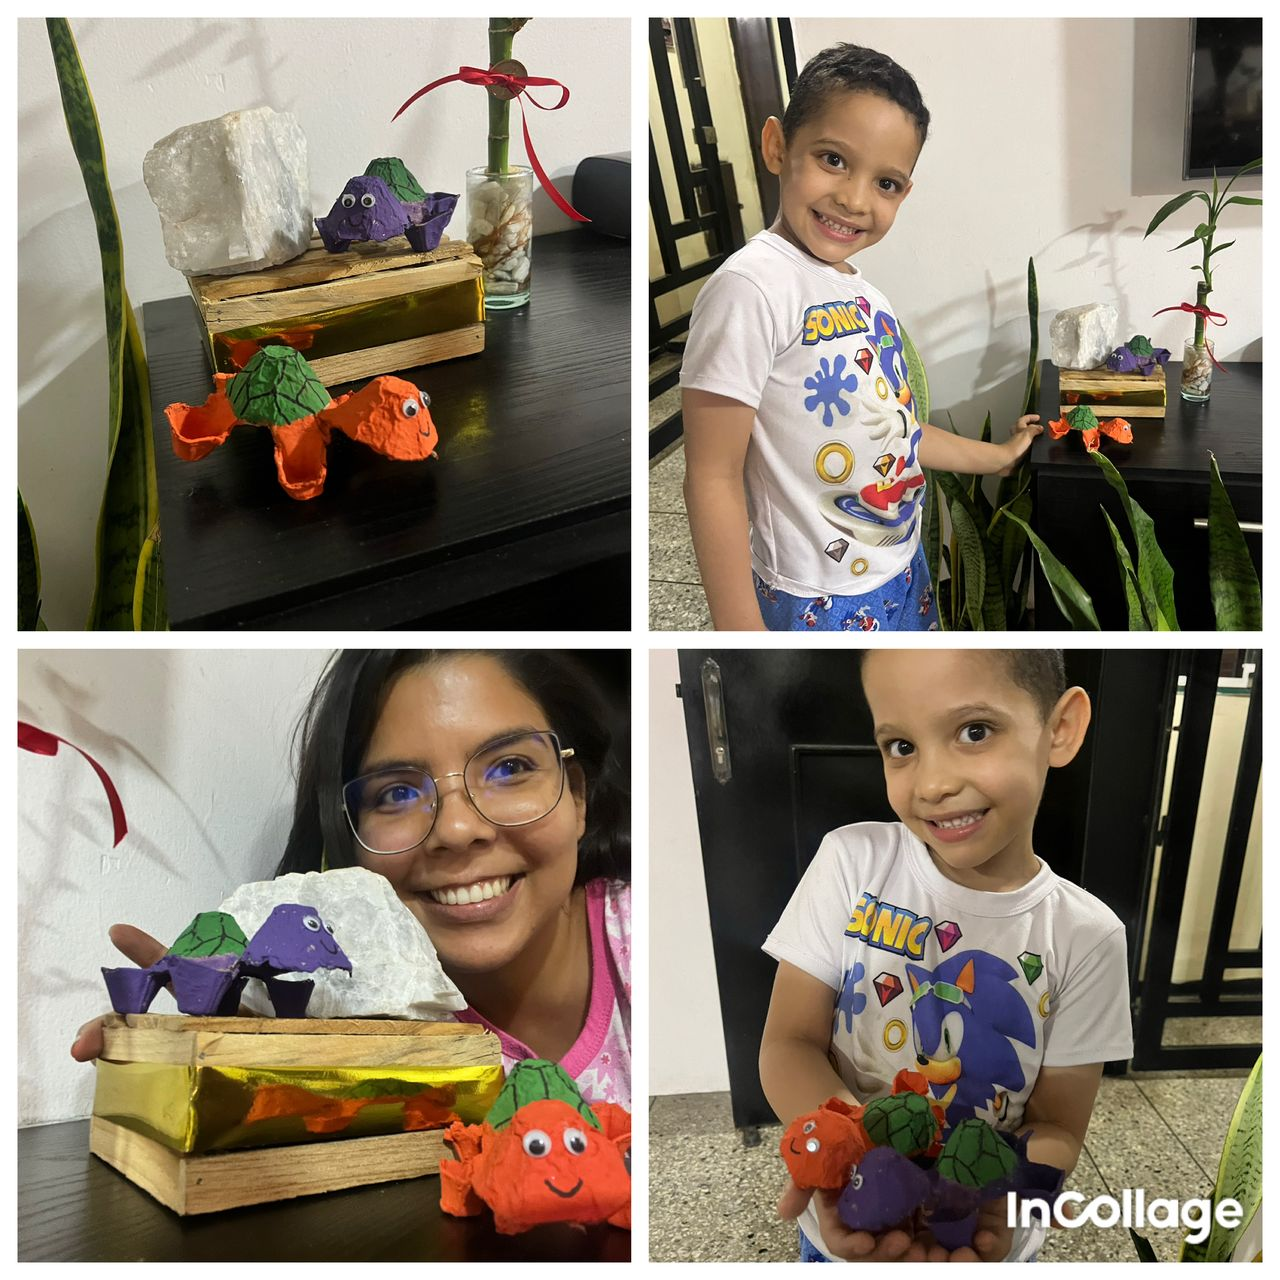
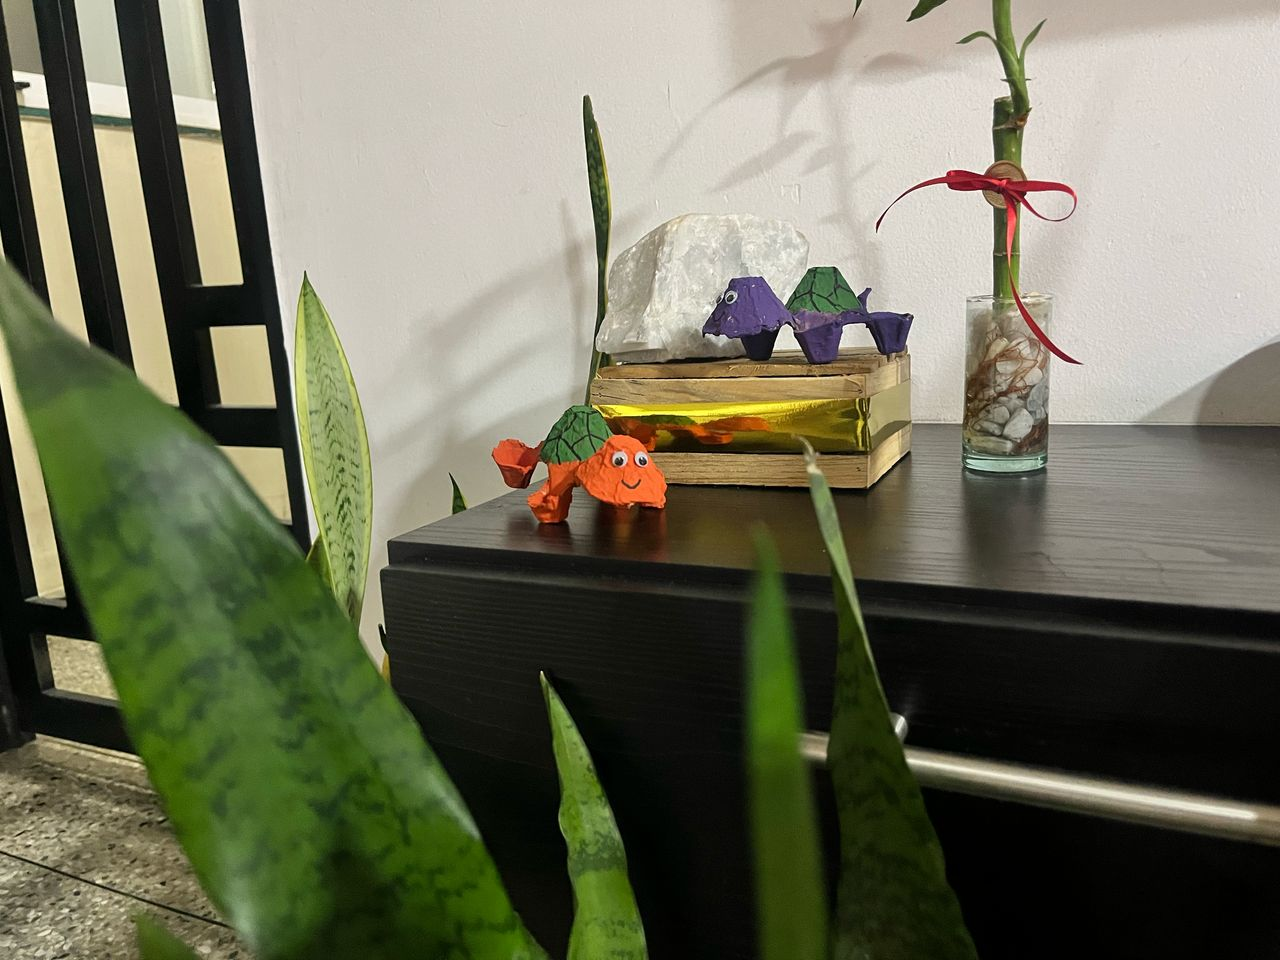
Y como paso final, le regalé las tortugas a mi querido primo que les aseguro que sirvió de asistente en la elaboración y cada 5 minutos preguntaba si ya estaban listos.
Así que su premio será el de tenerlos y jugar con ellos.
And as a final step, I gave the turtles to my dear cousin who I assure you served as assistant in the elaboration and every 5 minutes asked if they were ready.
So his prize will be to have them and play with them.
¿Qué tal te pareció esta manualidad? / How did you like this craft?
Collages hechos en APP InCollage. || Collages made in APP InCollage.
Ediciones hechas en Canva. || Editions made in Canva.
Translator Deepl.
Que binitassss tortugas, me encanta esta idea!
gracias, la verdad que es muy fácil y practico
Buena idea para reciclar 😉
Thank you for your witness vote!
Have a !BEER on me!
To Opt-Out of my witness beer program just comment STOP below
Y tengo más ideas que poco a poco voy a ir subiendo.
Bonita iniciativa para los más pequeños de la casa
La curación manual del testigo de @hispapro te anima a continuar aportando contenido de calidad, éxitos
Muchas gracias por la gran labor que realizan
Congratulations @despiertaelalma! You have completed the following achievement on the Hive blockchain And have been rewarded with New badge(s)
Your next target is to reach 1250 upvotes.
You can view your badges on your board and compare yourself to others in the Ranking
If you no longer want to receive notifications, reply to this comment with the word
STOPCheck out our last posts: