
Let's get to work with this cute cosmetic holder, perfect as a christmas present.
Hola querida comunidad! espero estén bien y ya listos para la navidad! hoy los traigo un proyecto en el cual si no tienen los regalos listos para navidad esto lindo portacosmeticos les dará una idea. Pueden combinarlo como quieras y utilizar las telas mas lindas que tengas a mano.
Hello dear community! I hope you are well and ready for Christmas! Today I bring you a project in which if you don't have the presents ready for Christmas this cute cosmetic holder will give you an idea. You can combine it as you like and use the nicest fabrics you have at hand.

Materiales
👝 Tela de tu preferencia 30 cm
👝 Cierre de 25 cm
👝 Forro 30 cm
🧵Hilo en combinación con la tela
✂️Tijera
🎀Cinta métrica
📍Alfileres
💥Máquina de coser.
Materials
👝 Fabric of your choice 30 cm
👝 Zipper 25 cm
👝 30 cm lining
🧵Thread in combination with fabric
✂️Scissors
🎀Tape measure
📍Pins
💥Sewing machine.
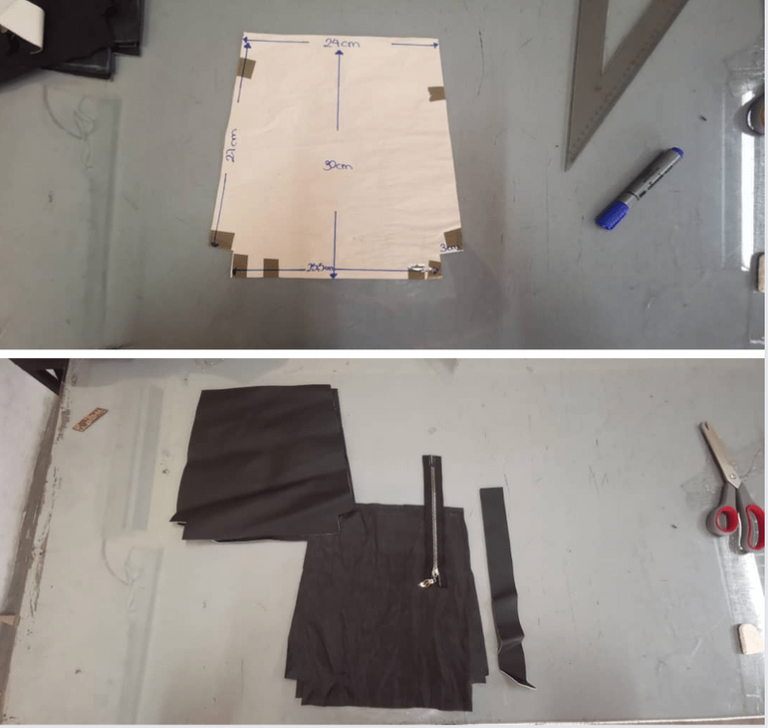

Paso a paso
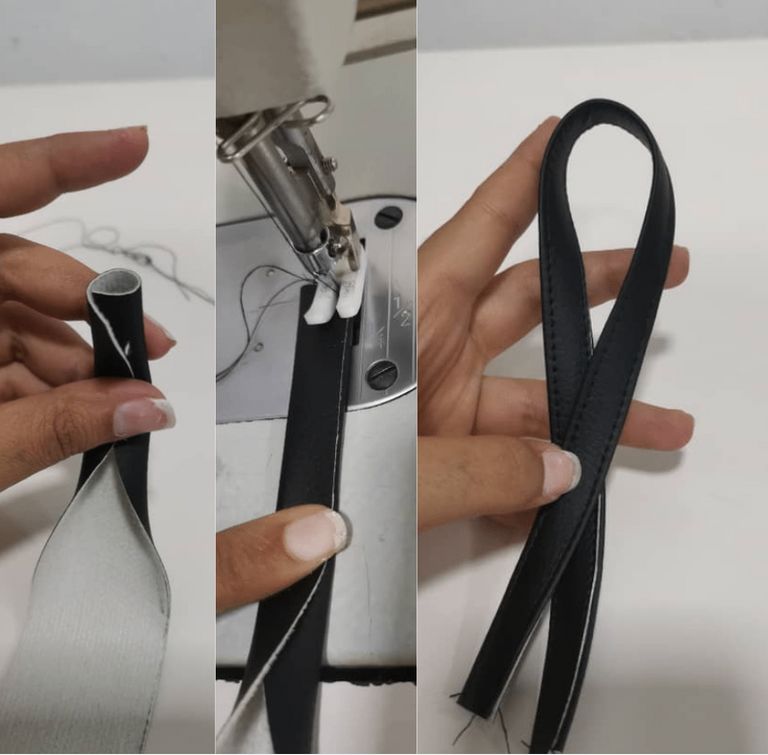
Vamos a comenzar elaborando la tirita o asa de agarre. con una tira de tela de unos 4cm por unos 25cm de largo, la doblamos en 3 como se muestra en la imagen, haciendo una especie de sándwich con la tela , pasamos costura justo al borde, repitiendo del lado contrario.
Step by Step
Let's start by making the handle. With a strip of fabric about 4cm by 25cm long, fold it in 3 as shown in the image, making a kind of sandwich with the fabric, sew the seam just at the edge, repeating on the opposite side.
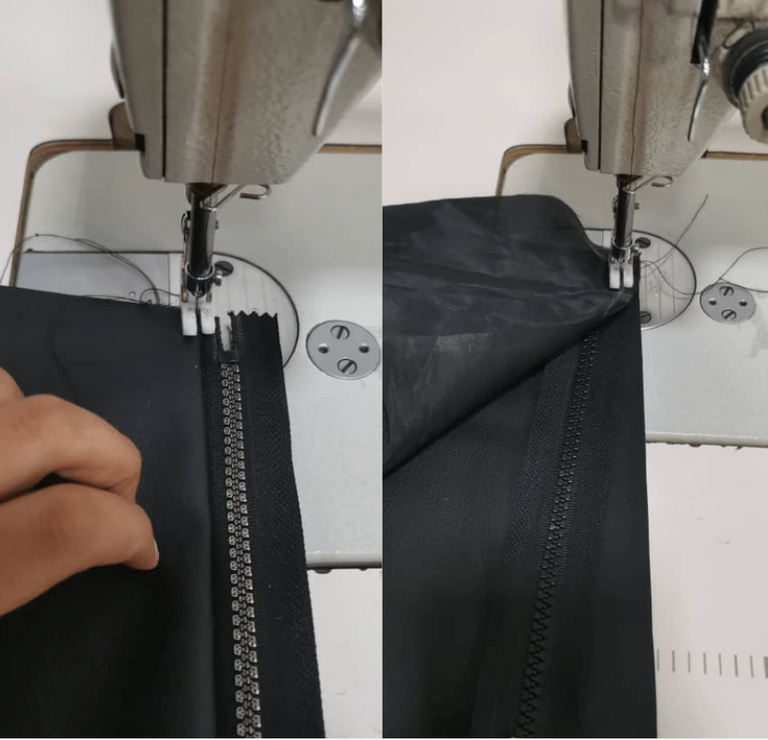
Para el siguiente paso tomamos y enfrentamos derecho de nuestro cierre con derecho de la tela, ubicando el derecho de forro con el revés del cierre. pasamos una costura lo mas pegadito que podamos del cierre. volteamos y pasamos una costura de repise, justo al borde como se muestra en la imagen izquierda. Esto es para asentar nuestra costura y se vea mas prolija.
For the next step we take and face right side of our zip to right side of the fabric, placing the right side of the lining with the back of the zip. we stitch a seam as close as we can to the zip. we turn and stitch a seam allowance, just to the edge as shown in the left picture. This is to allow our seam allowance to settle and make it look neater.
En esta imagen podemos apreciar como queda cuando la volteamos y cuando realizamos la costura de repise.
In this picture we can see how it looks when we turn it over and when we sew the seam allowance.
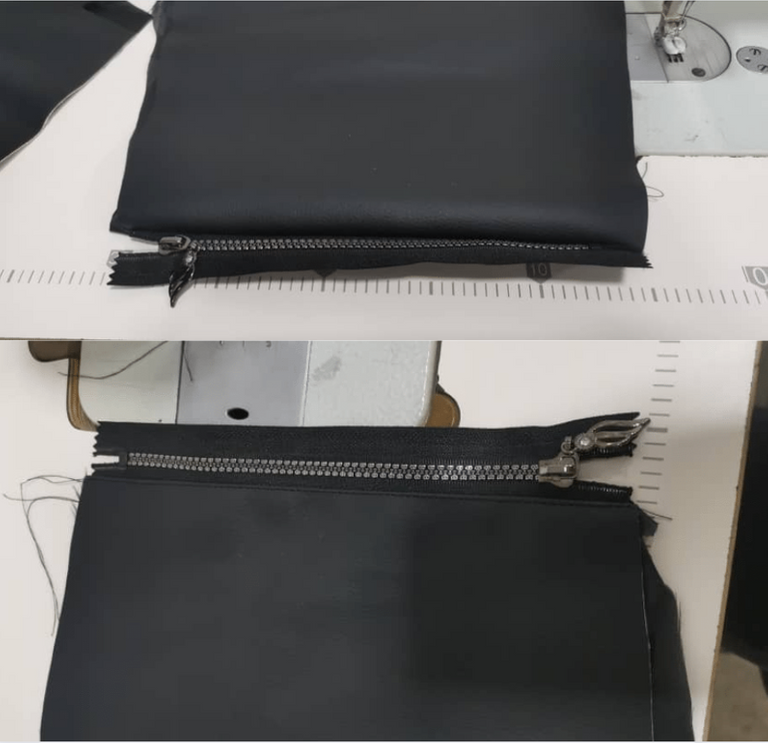
Habiendo juntado ya nuestras dos piezas de tela con nuestras dos piezas de forro como se mostraba en la imagen anterior, procedemos a encarar telas con tela y forro con forro. Para de esta forma proceder a coser nuestros laterales.
Having already joined our two pieces of fabric with our two pieces of lining as shown in the previous image, we proceed to face fabric to fabric and lining to lining. In this way we proceed to sew our sides together.
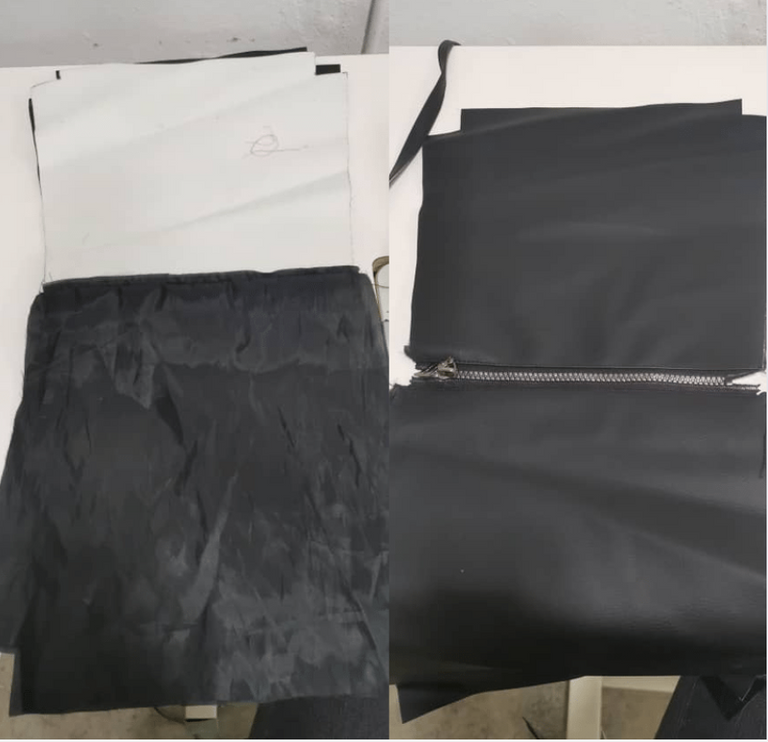
Luego de coser los laterales, procedemos a coser la base de nuestro lado de la tela. cosemos completamente lo que seria el borde intferio.
After sewing the sides, we proceed to sew the base of our side of the fabric. we sew completely the inside edge.

Continuamos cosiendo los cuadrados inferiores de la base de la siguiente forma.
We continue sewing the bottom squares of the base as follows.
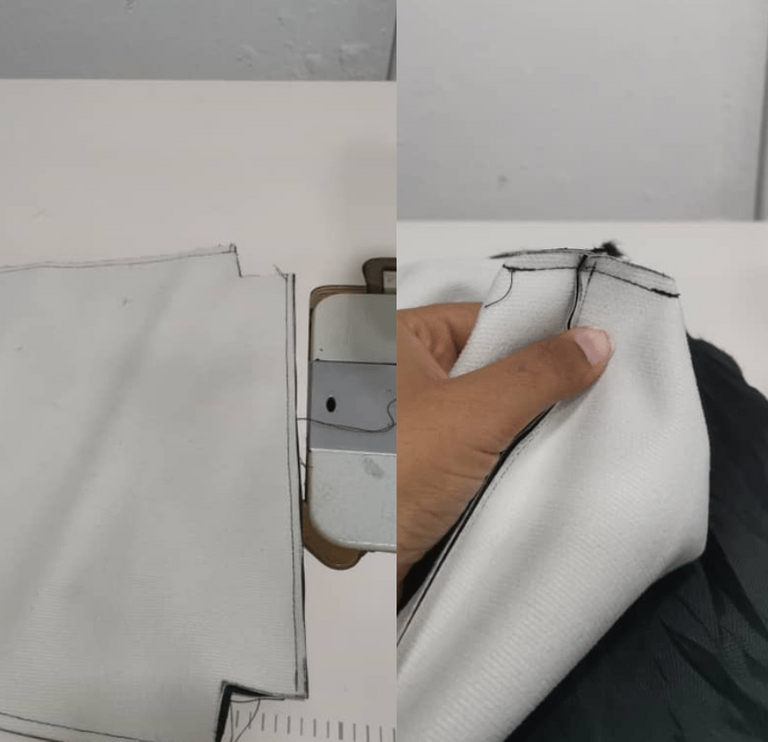
Les había olvidado mencionar que cuando realizamos las costura en los laterales debemos introducir en la parte superior de la cual seria nuestra parte de tela, el asa de agarre, o la tirita que habíamos hecho en un comienzo.
En la parte interior de la imagen podemos apreciar como quedan la base habiendo cosido la los cuadrados de las esquinas inferiores.
I had forgotten to mention that when we sew the side seams, we have to insert the handle, or the band-aid that we had made at the beginning, into the upper part of what would be our fabric part.
On the inside of the image we can see how the base looks like after sewing the bottom corner squares.

De la parte del forro no vamos a coser la base completa, cosemos los extremos como unos 4 o 5cm asegurándonos de dejar un orificio lo suficientemente grande como para voltear nuestro porta cosméticos. Repetimos la misma operación del lado del forro, cosiendo los cuadrados inferiores. luego de esto procedemos a voltear nuestro porta cosméticos y coser justo en la orilla el orificio por el cual lo volteamos.

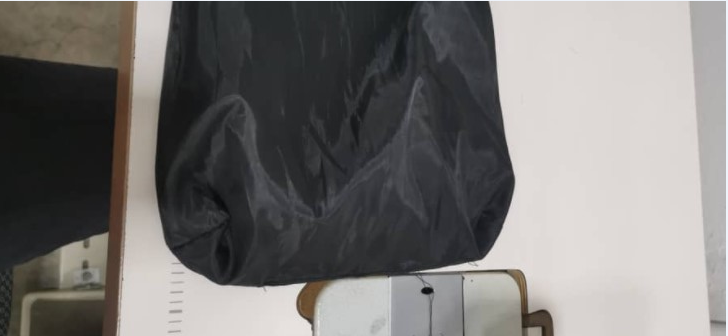
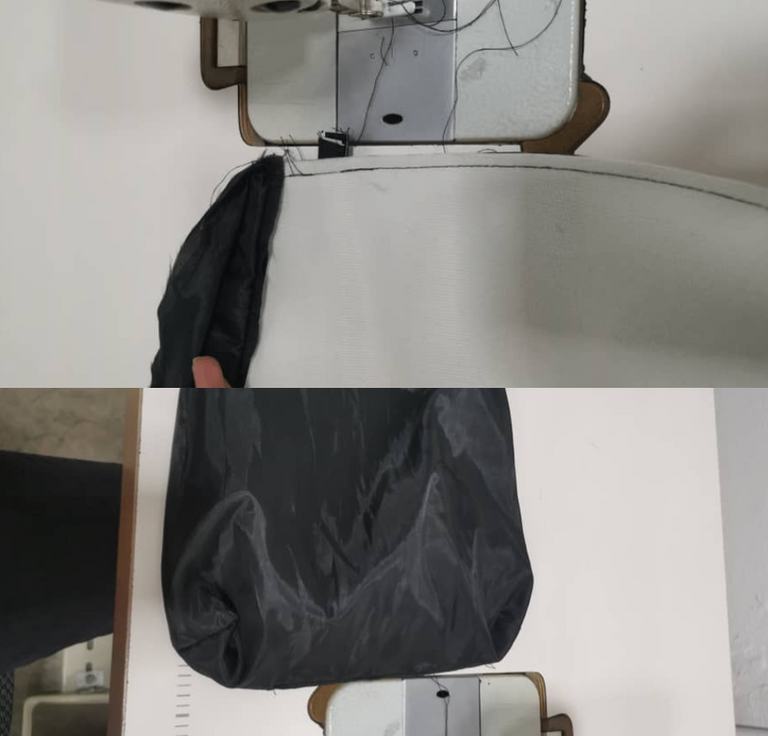
Así queda nuestro hermoso porta cosméticos completamente volteado. asegurándonos de sacar bien las esquinas.
This is how our beautiful cosmetic holder is completely turned upside down, making sure to pull the corners out well.
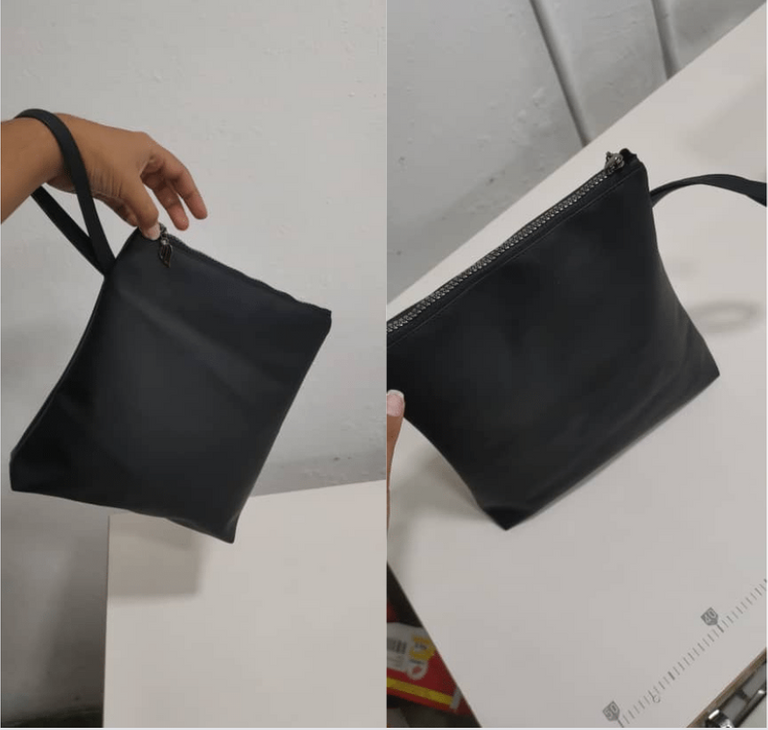
Aquí nuestro bello y espacioso porta cosméticos, super espacioso para todas aquellas mujeres que tenemos muchas cositas que guardar, además muy muy fácil de realizar.
Here is our beautiful and spacious cosmetic holder, super spacious for all those women who have a lot of things to keep, and very easy to make.
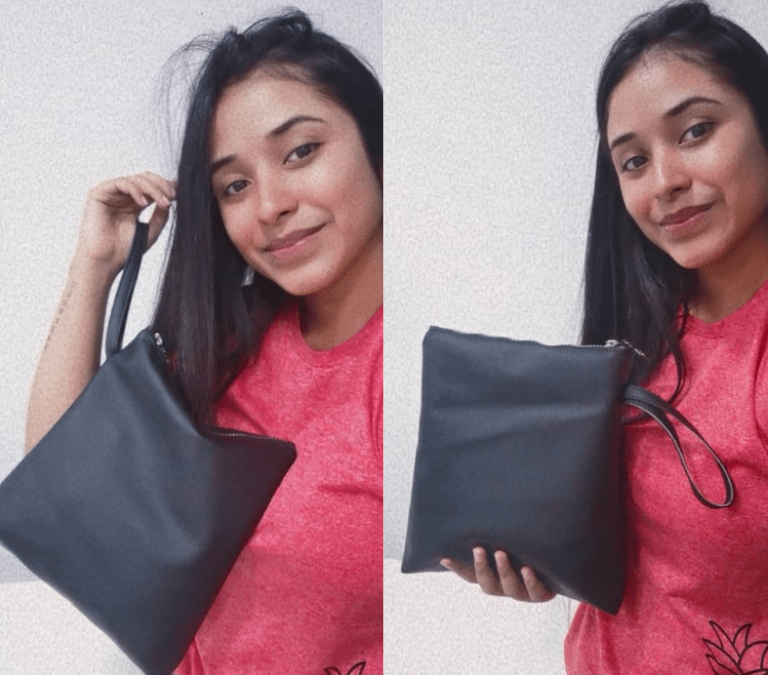

Hasta aquí esta lindo proyectó, si te animas a realizarlo déjame una foto en los comentarios, espero lo disfrutes tanto como yo disfrute compartiendo su realización con ustedes. Me despido de ustedes dándoles las gracias por dedicarme un poco de si tiempo y animándolos a ponerse manos a la obra.
So far this nice project, if you dare to make it, leave me a picture in the comments, I hope you enjoy it as much as I enjoyed sharing it with you. I would like to say goodbye and thank you for dedicating some of your time to me and I encourage you to get down to work.

I love this cosmetic bag .
que lindo tu portacosmeticos