Buenas noches chicos y chicas de Hive Blog, espero se encuentren muy bien, hoy les traigo una nueva manualidad super fácil y que podemos hacer con materiales que tenemos en casa, espero sea de su agrado, comencemos.
Good evening guys and girls of Hive Blog, I hope you are very well, today I bring you a new super easy craft that we can do with materials we have at home, I hope you like it, let's start.
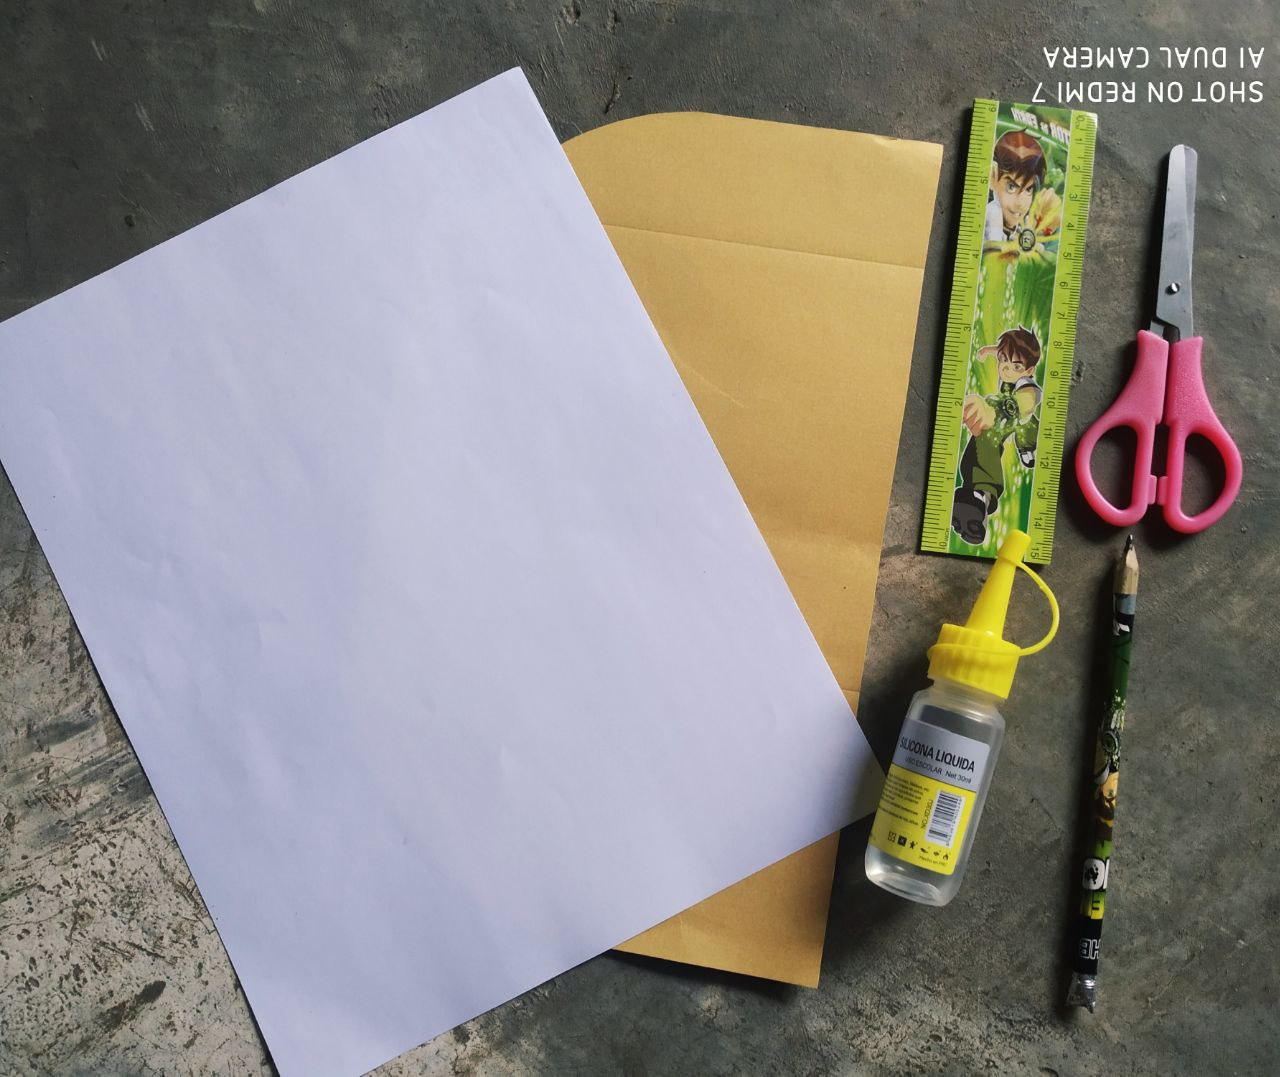
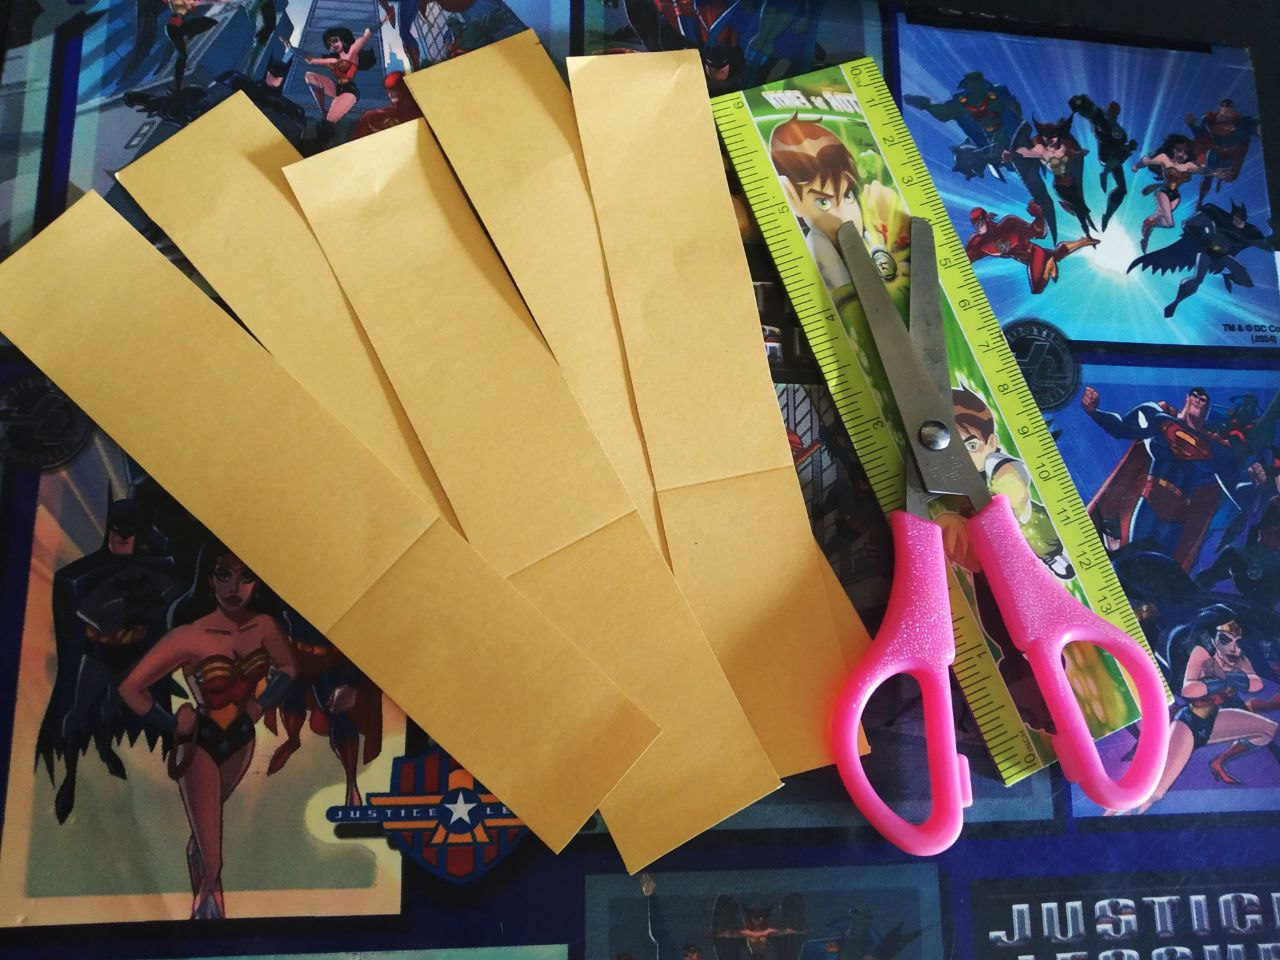
- Dos cartulinas de diferente color
- Tijera
- Lápiz
- Una regla
- Silicón frio o caliente
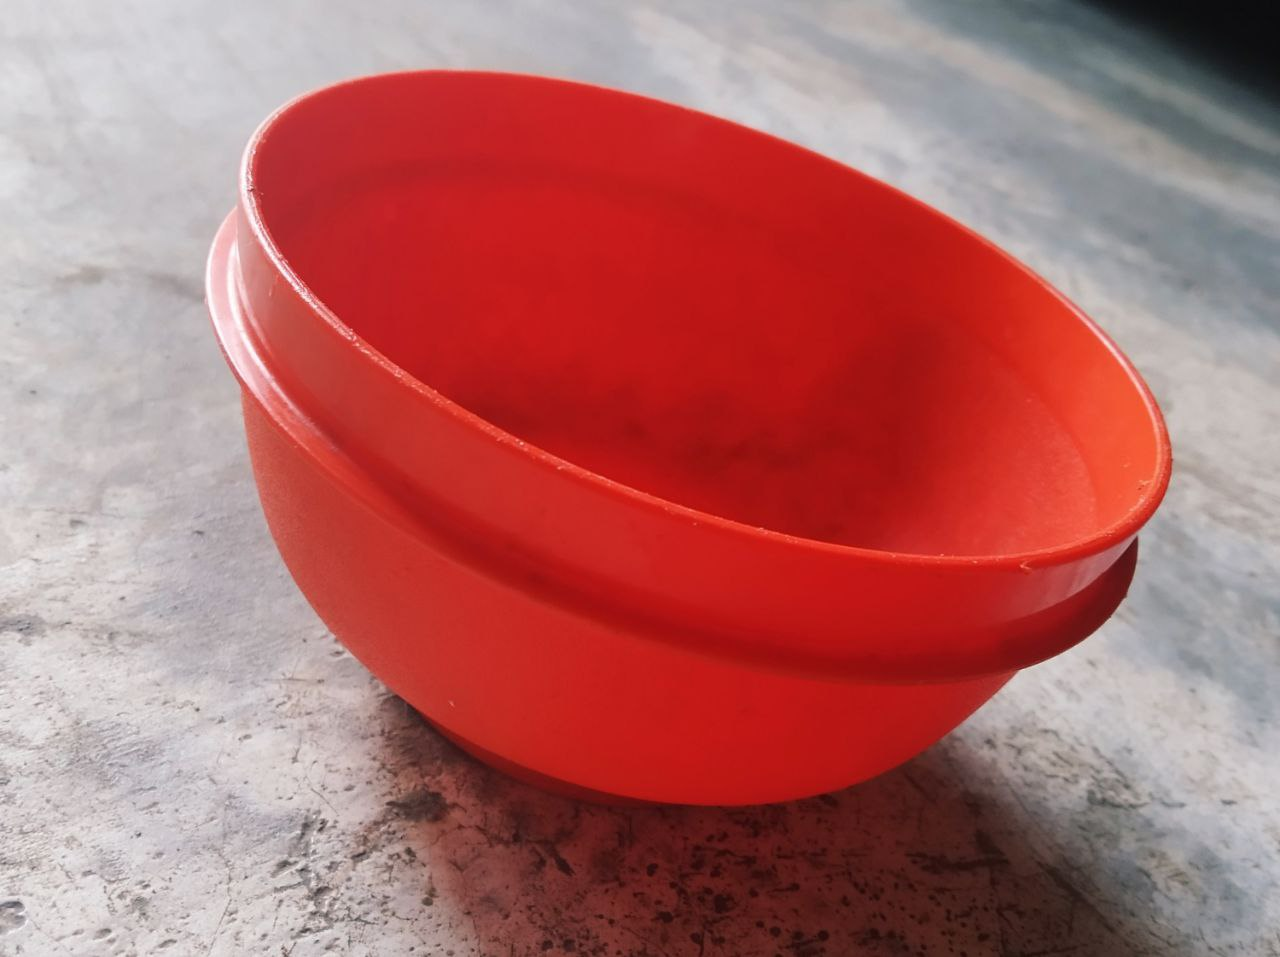
- Un objeto redondo con tamaño de su preferencia
Materials we will use:
- Two cardboards of different colors
- Scissors
- Pencil
- A ruler
- Hot or cold glue
- A round object in the size of your choice
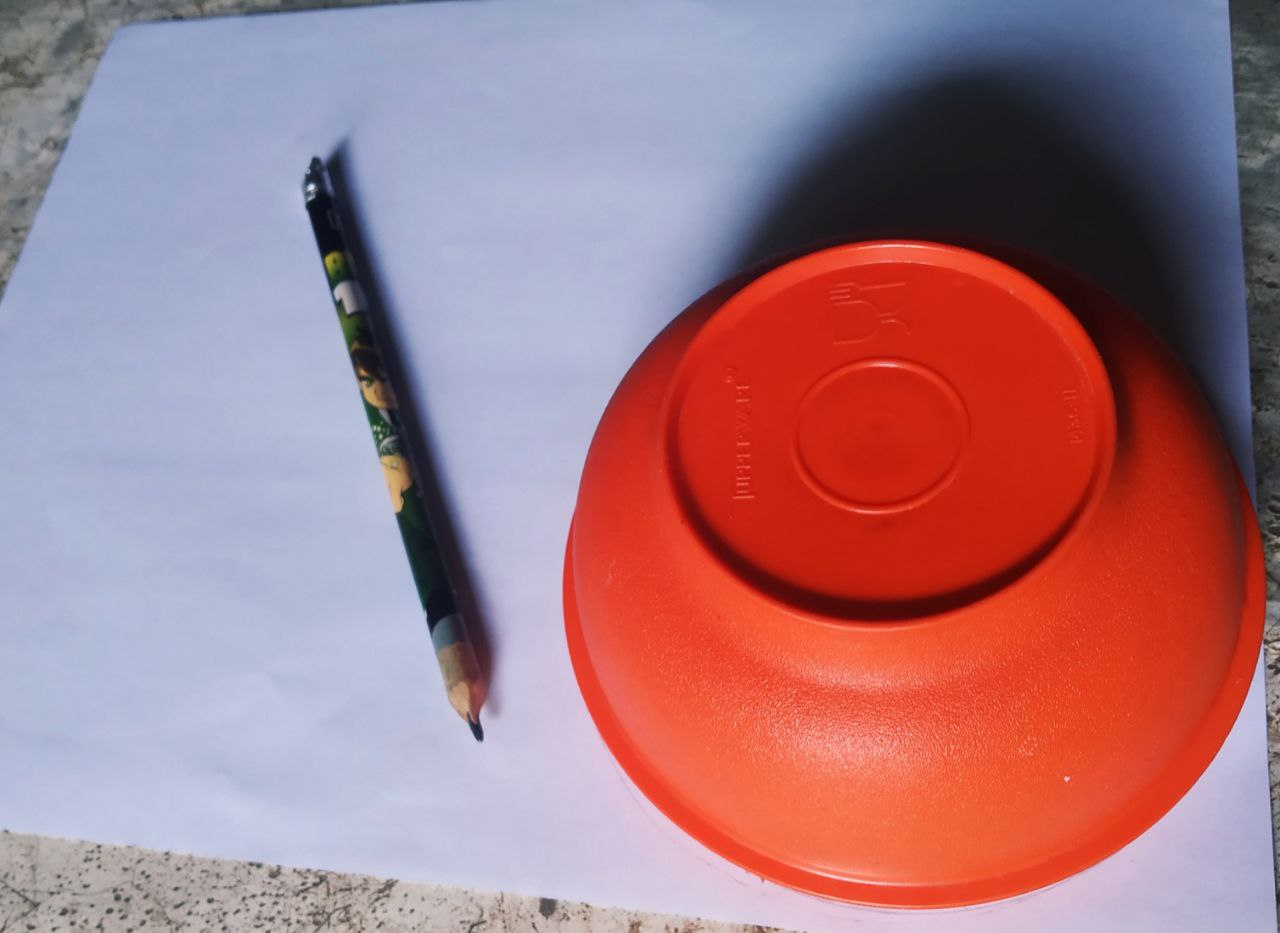
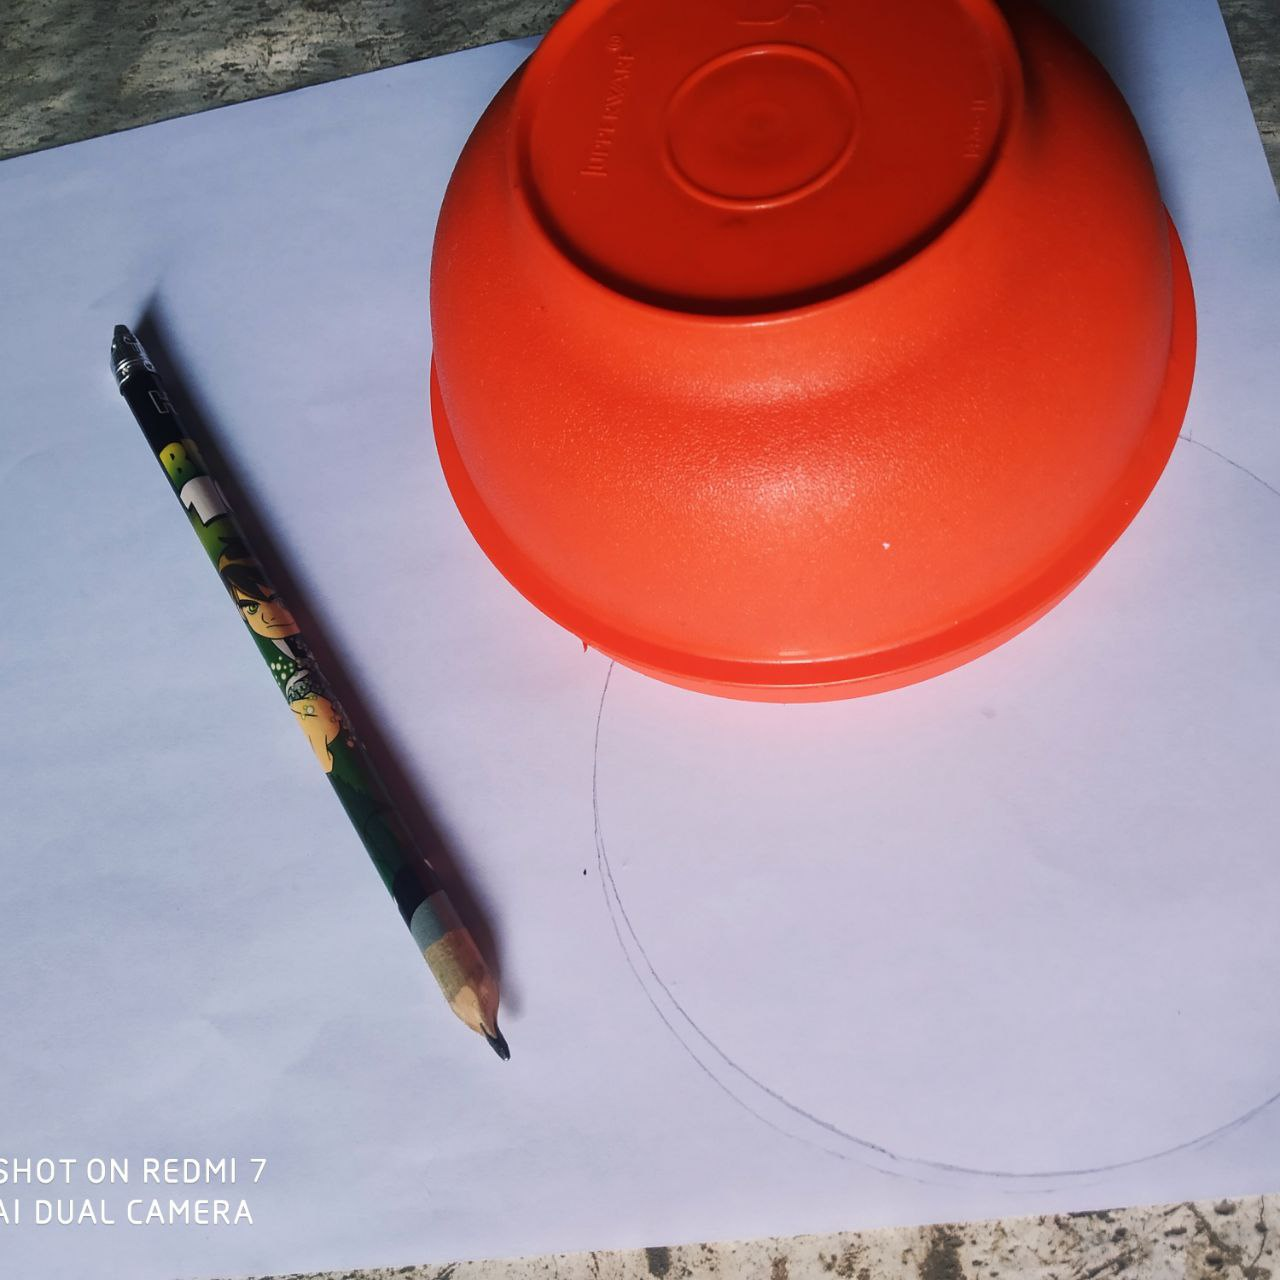
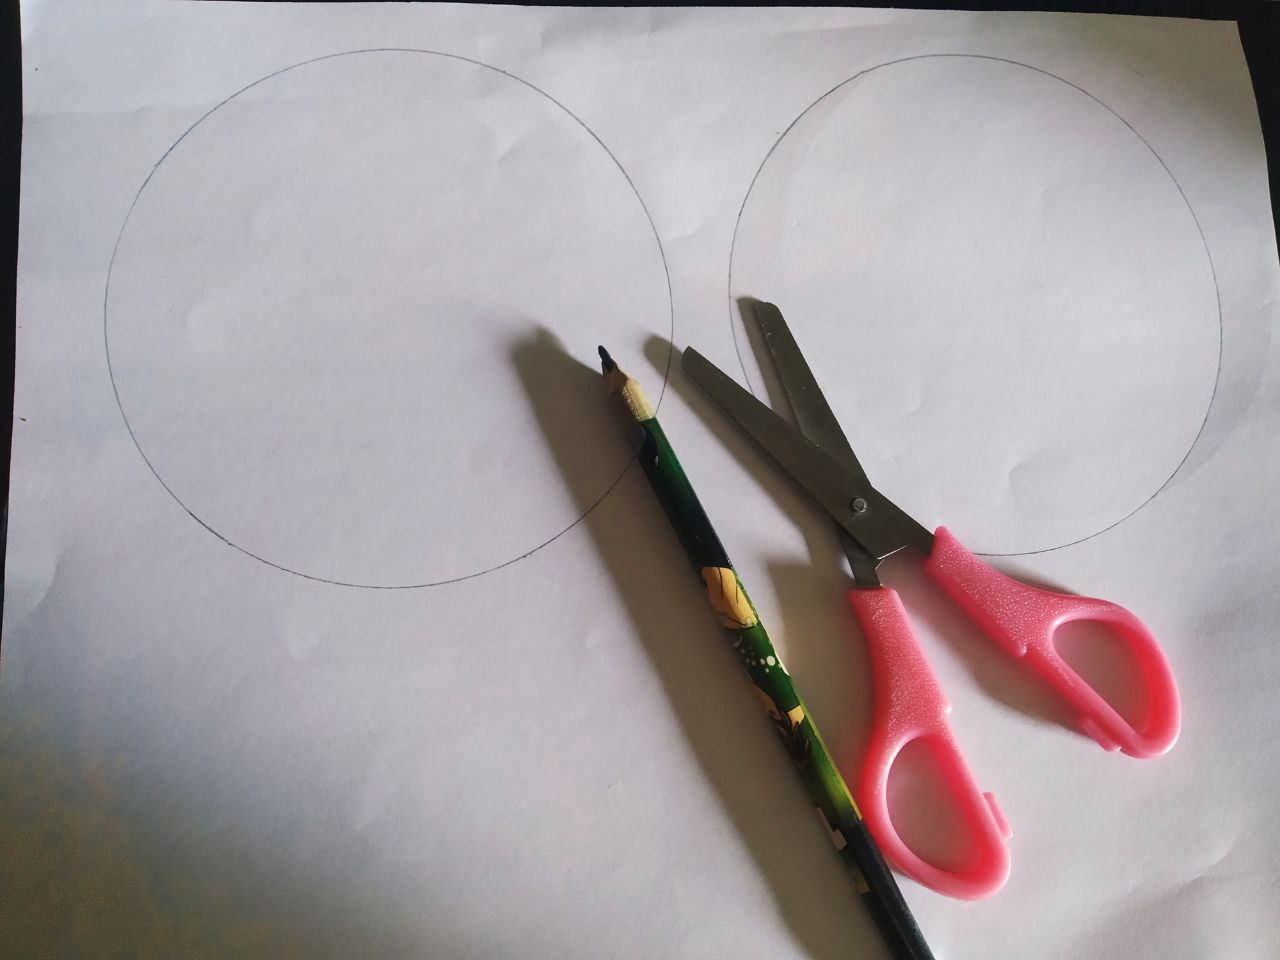
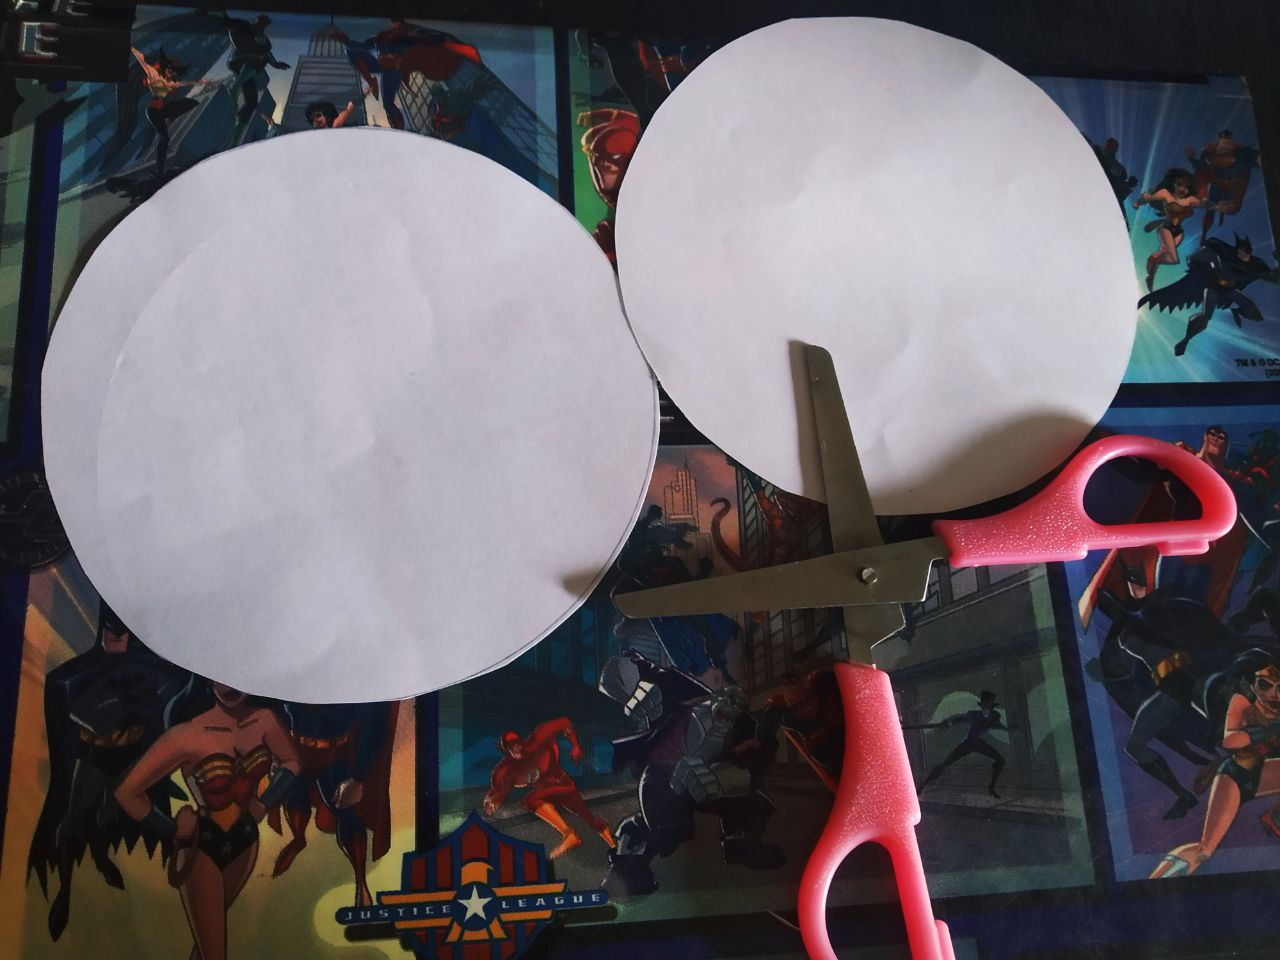
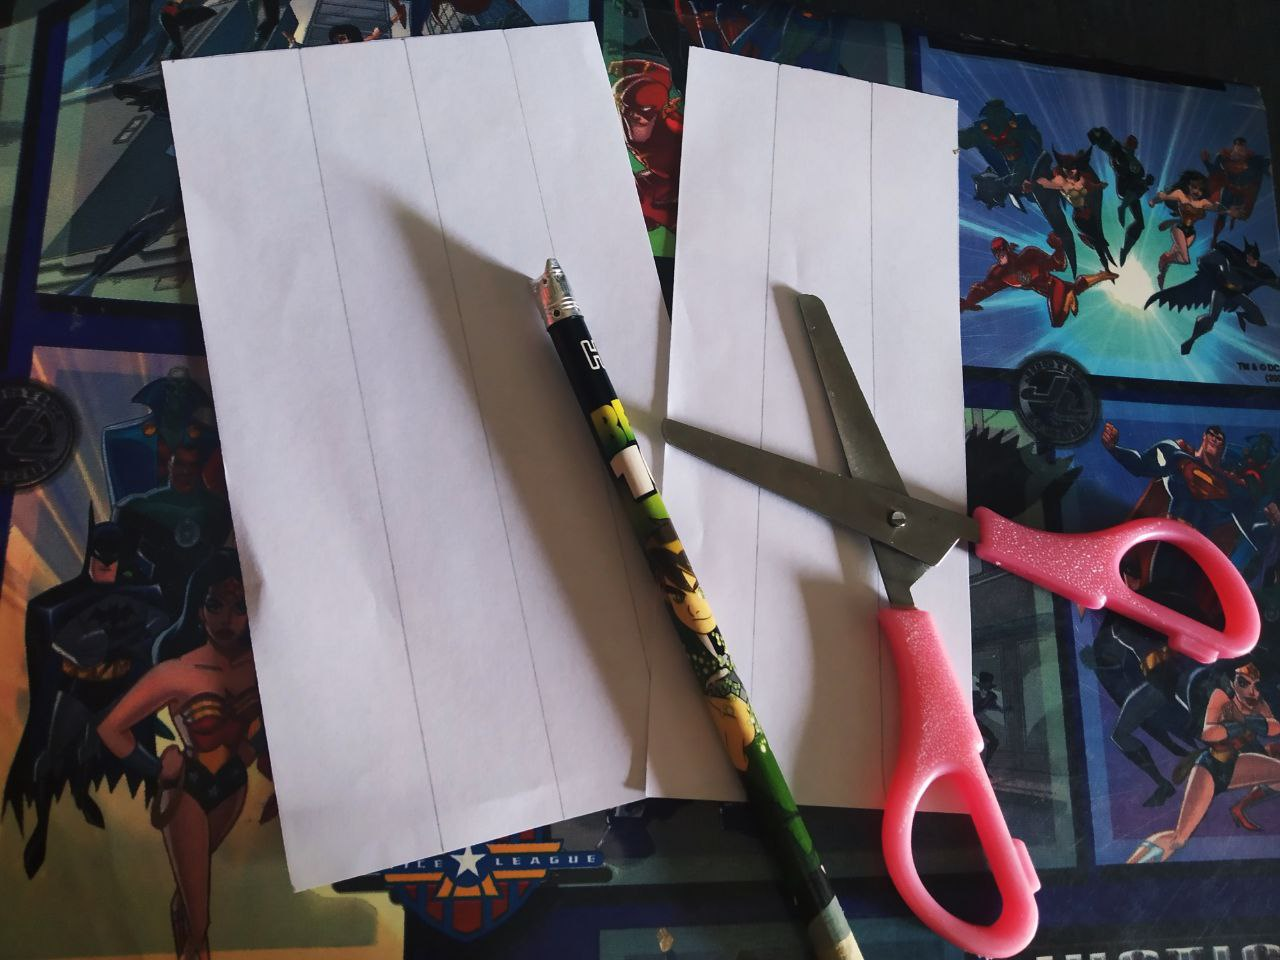
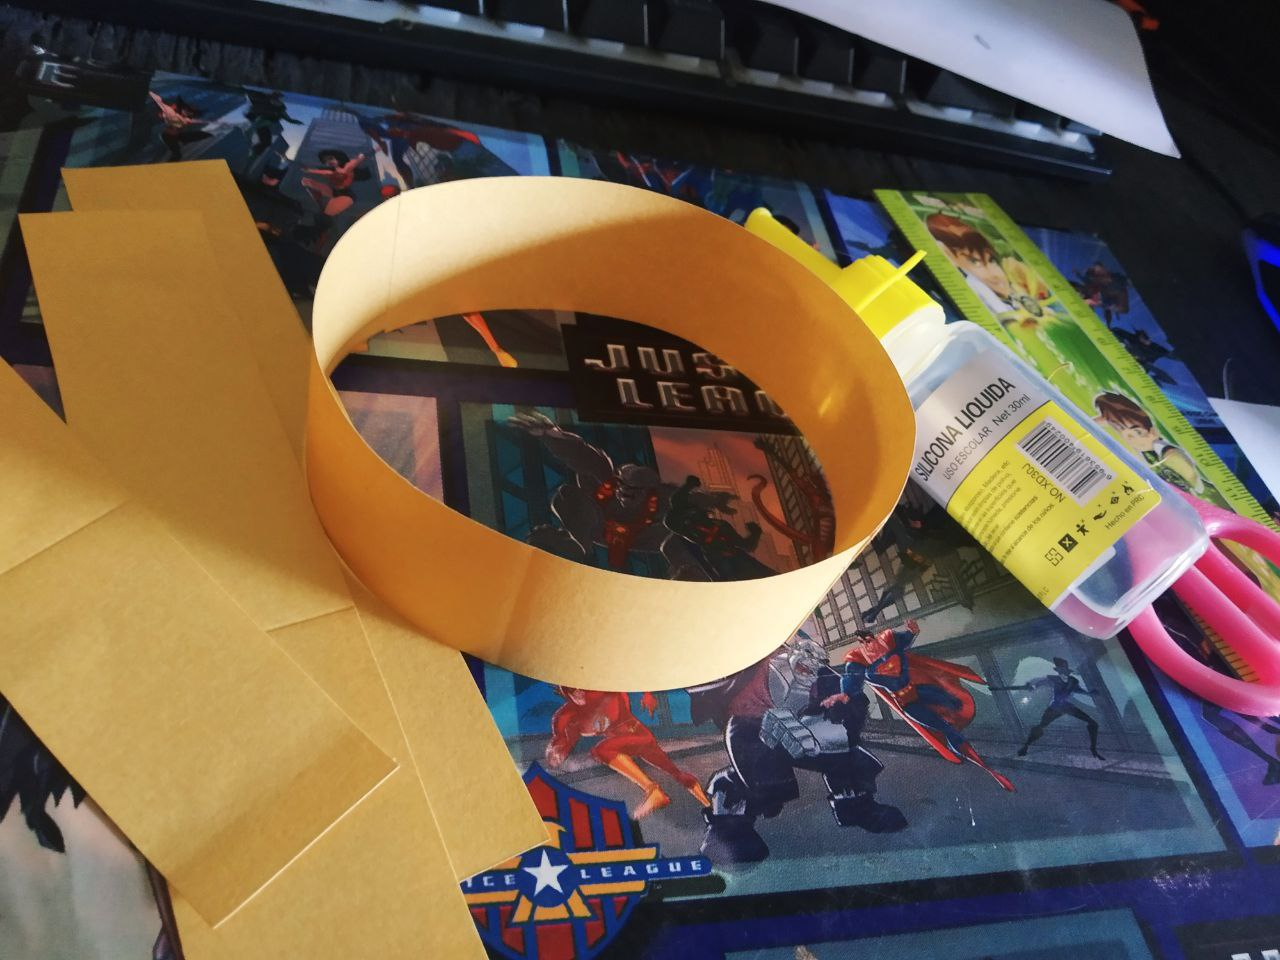
- Tomaremos una de nuestras cartulinas y el lápiz y trazaremos es ella dos circulos, tratemos de que queden del mismo tamaño a la hora de recortarlos.
Step number one:
- We will take one of our cardboard and the pencil and we will draw two circles on it, let's try to make them the same size when cutting them out.
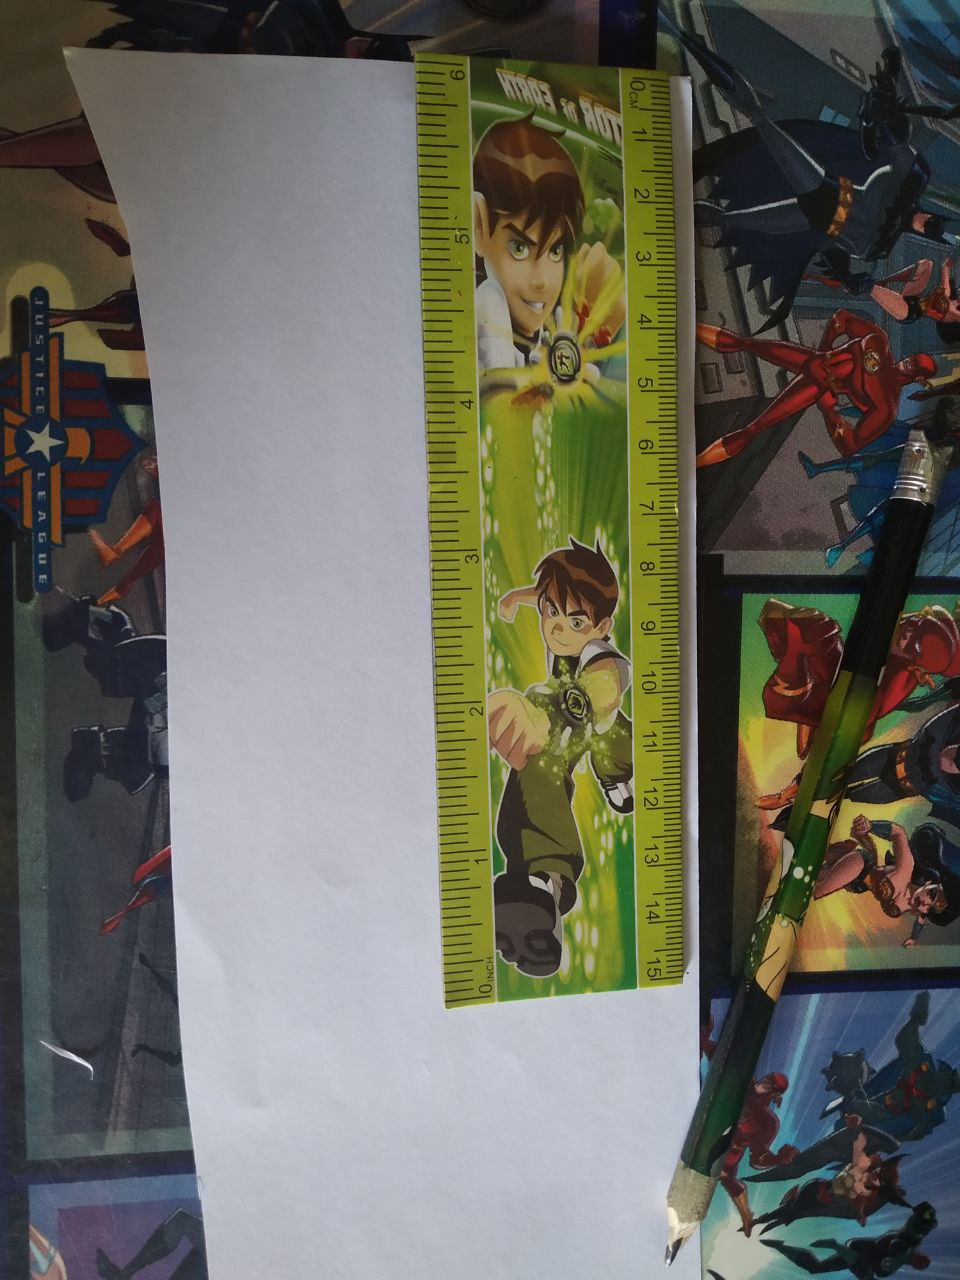
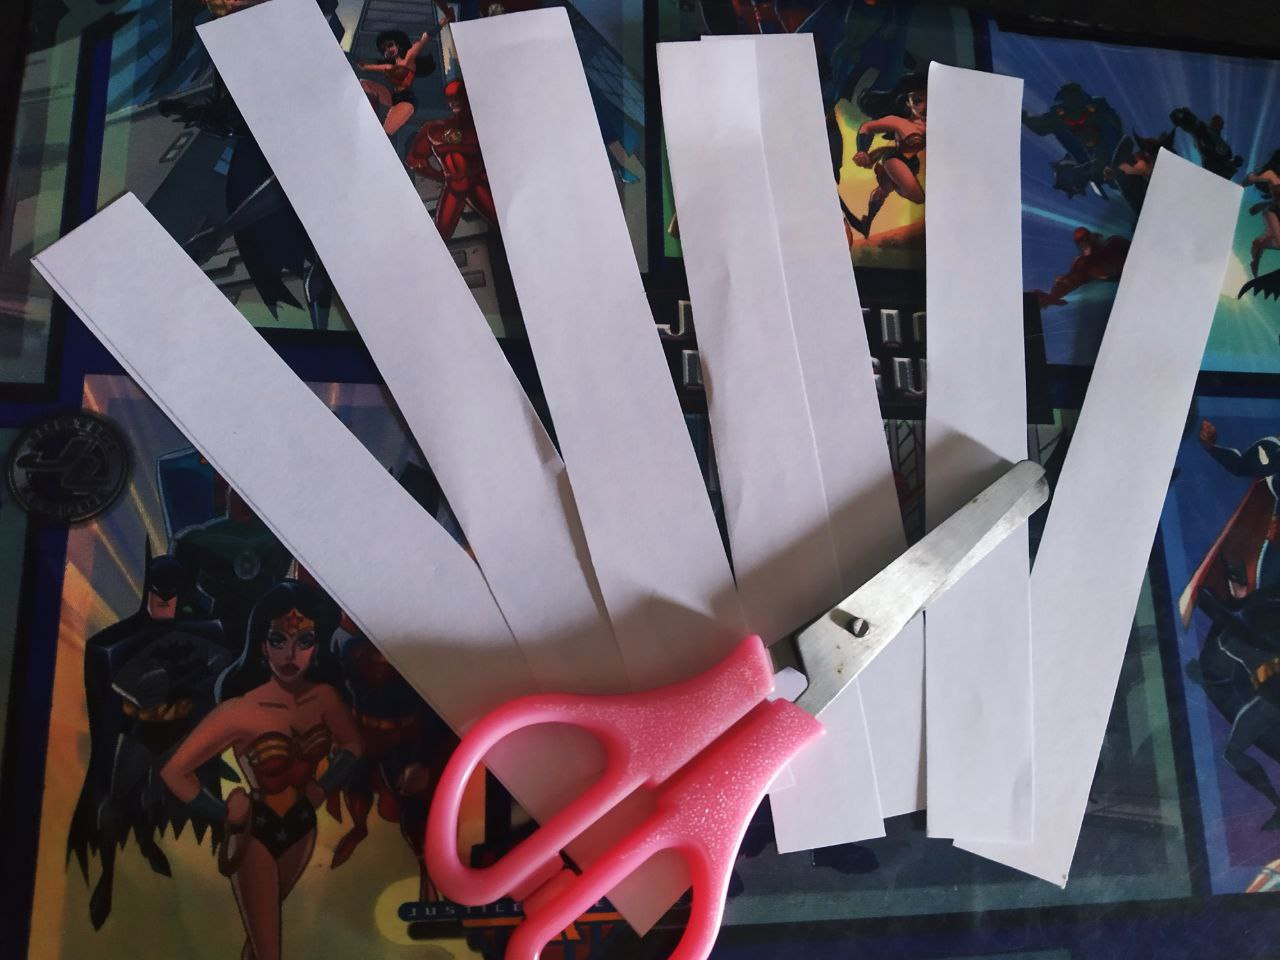
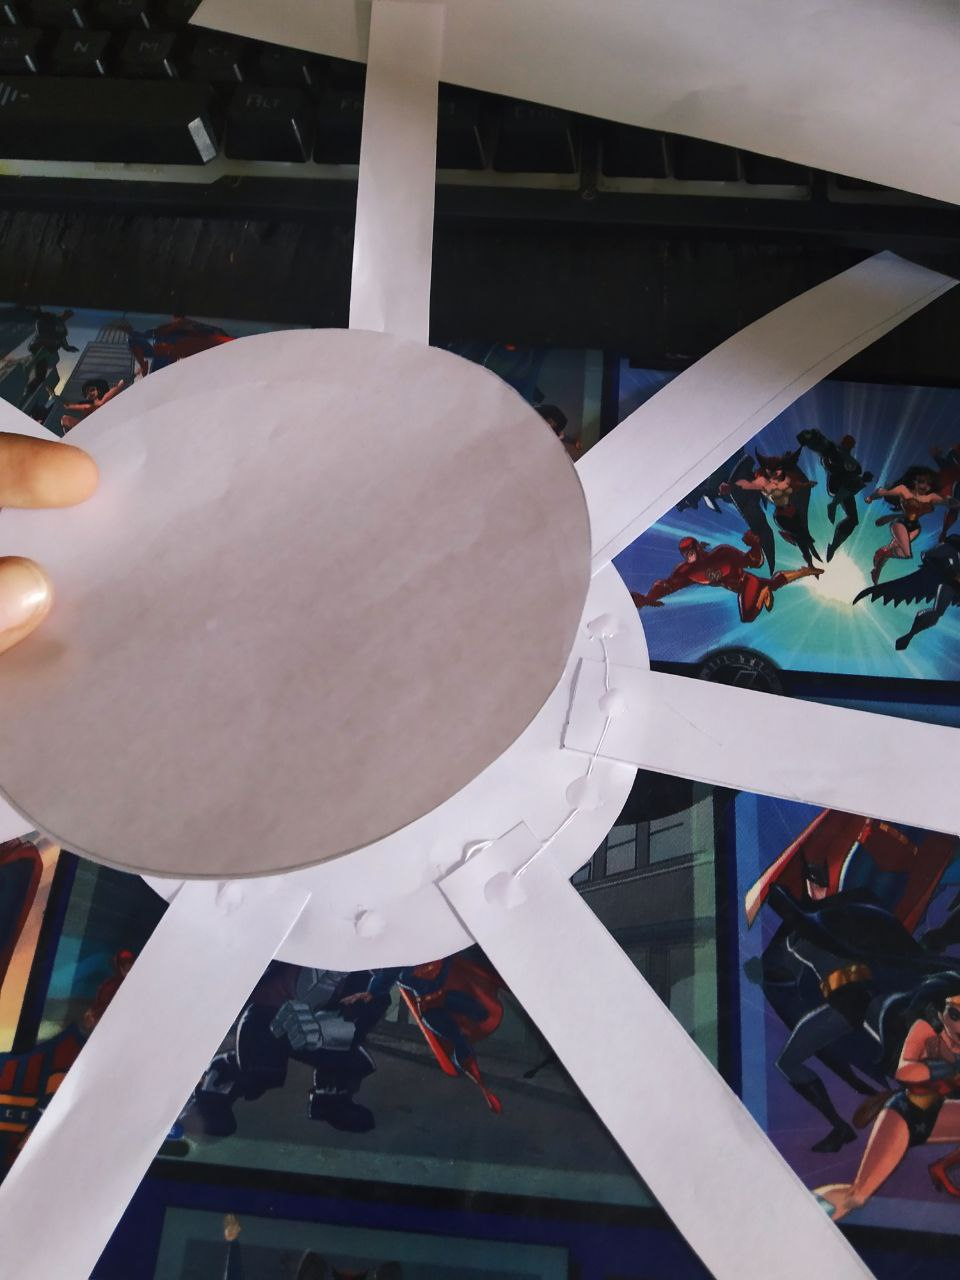
- Luego con cartulina del mismo color de los circulos cortaremos siete franjas de dieciséis centímetros de largo y tres centímetros de ancho, las recortamos y pegaremos distribuyéndolas al rededor del circulo, así como pueden apreciar en las imágenes.
Step number two:
- Then with cardboard of the same color of the circles we will cut seven stripes of sixteen centimeters long and three centimeters wide, cut them out and glue them distributing them around the circle, as you can see in the images.
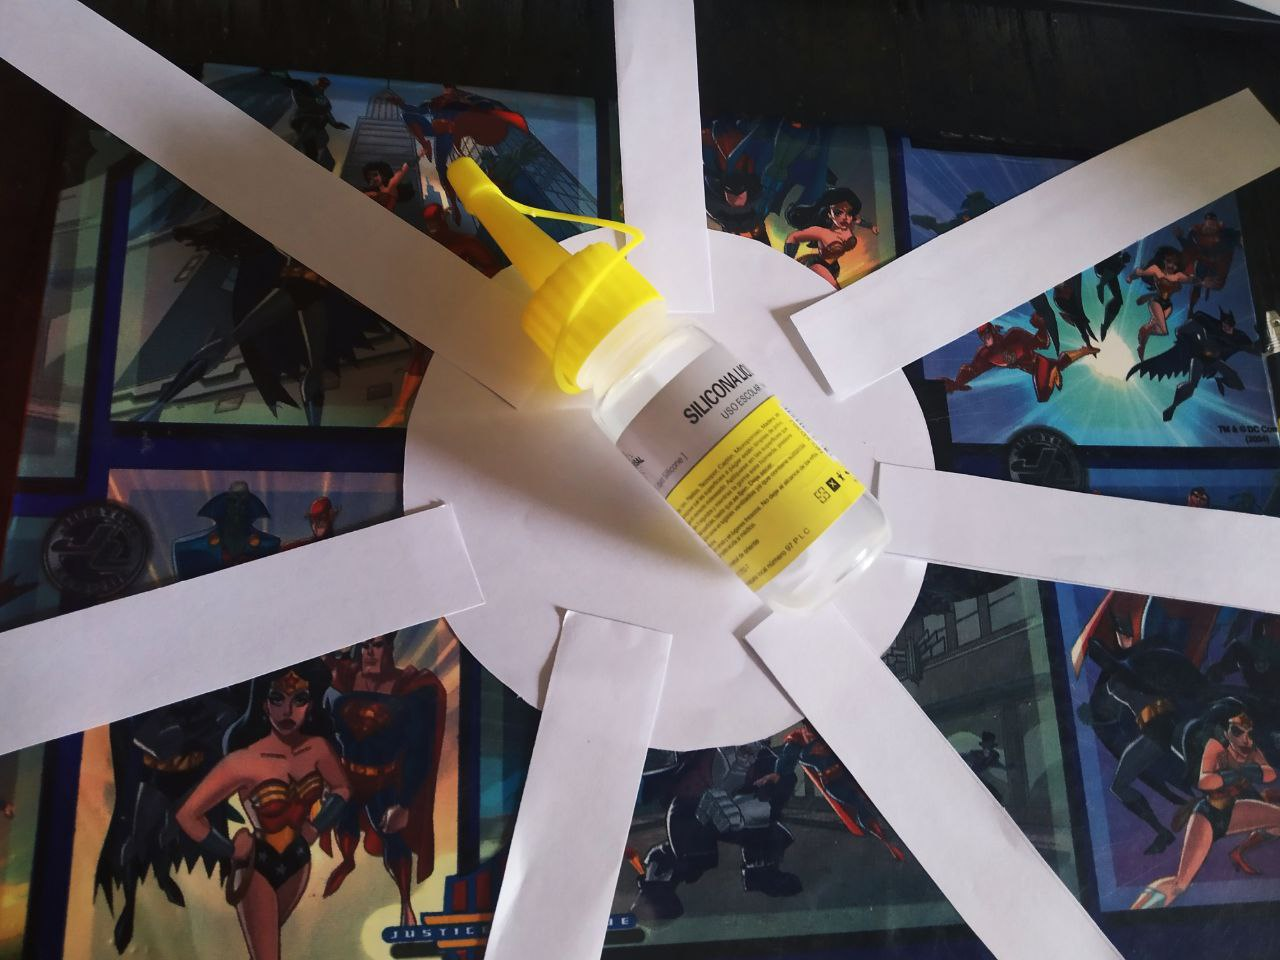
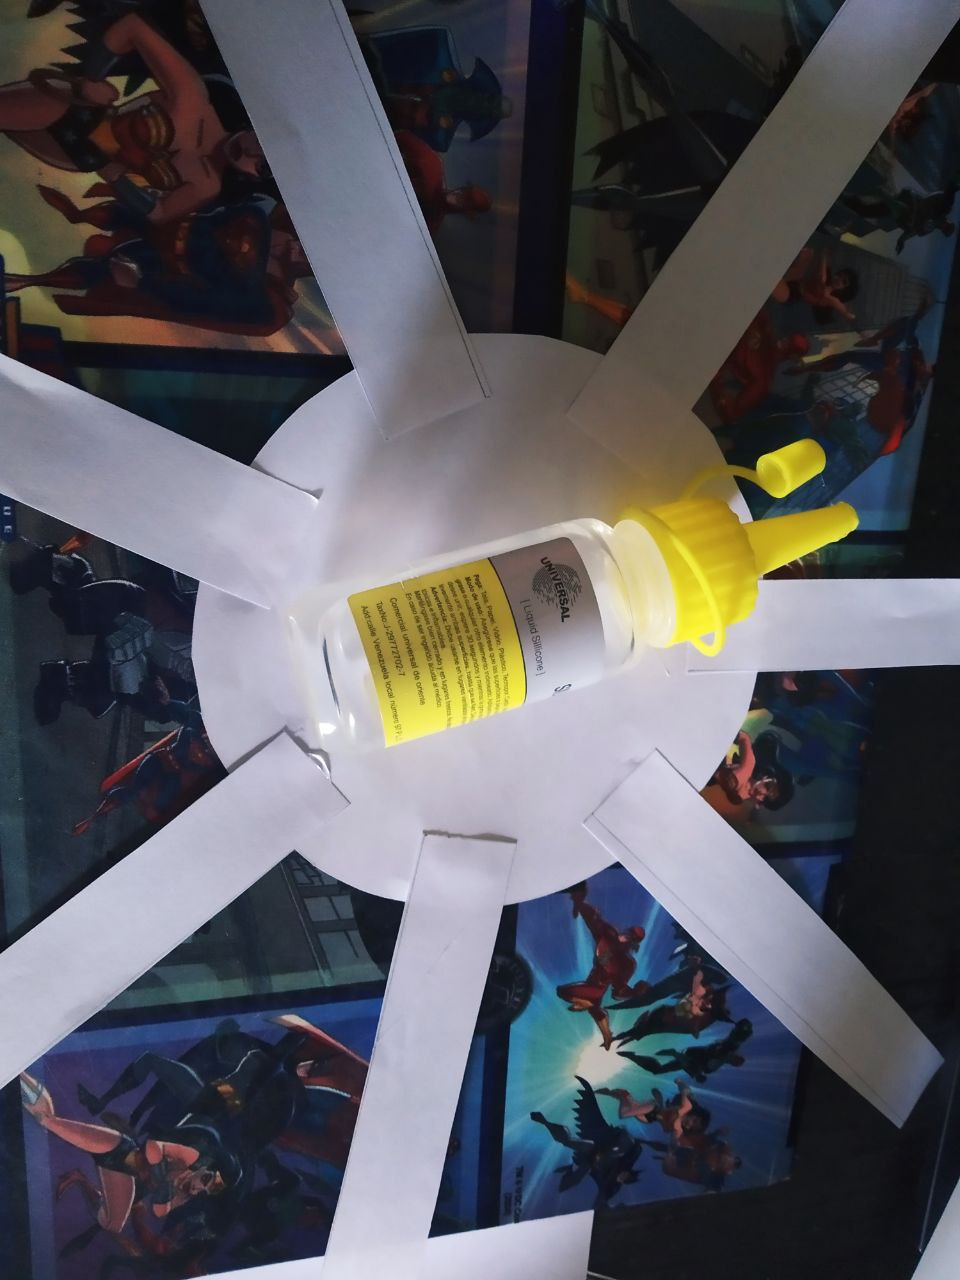
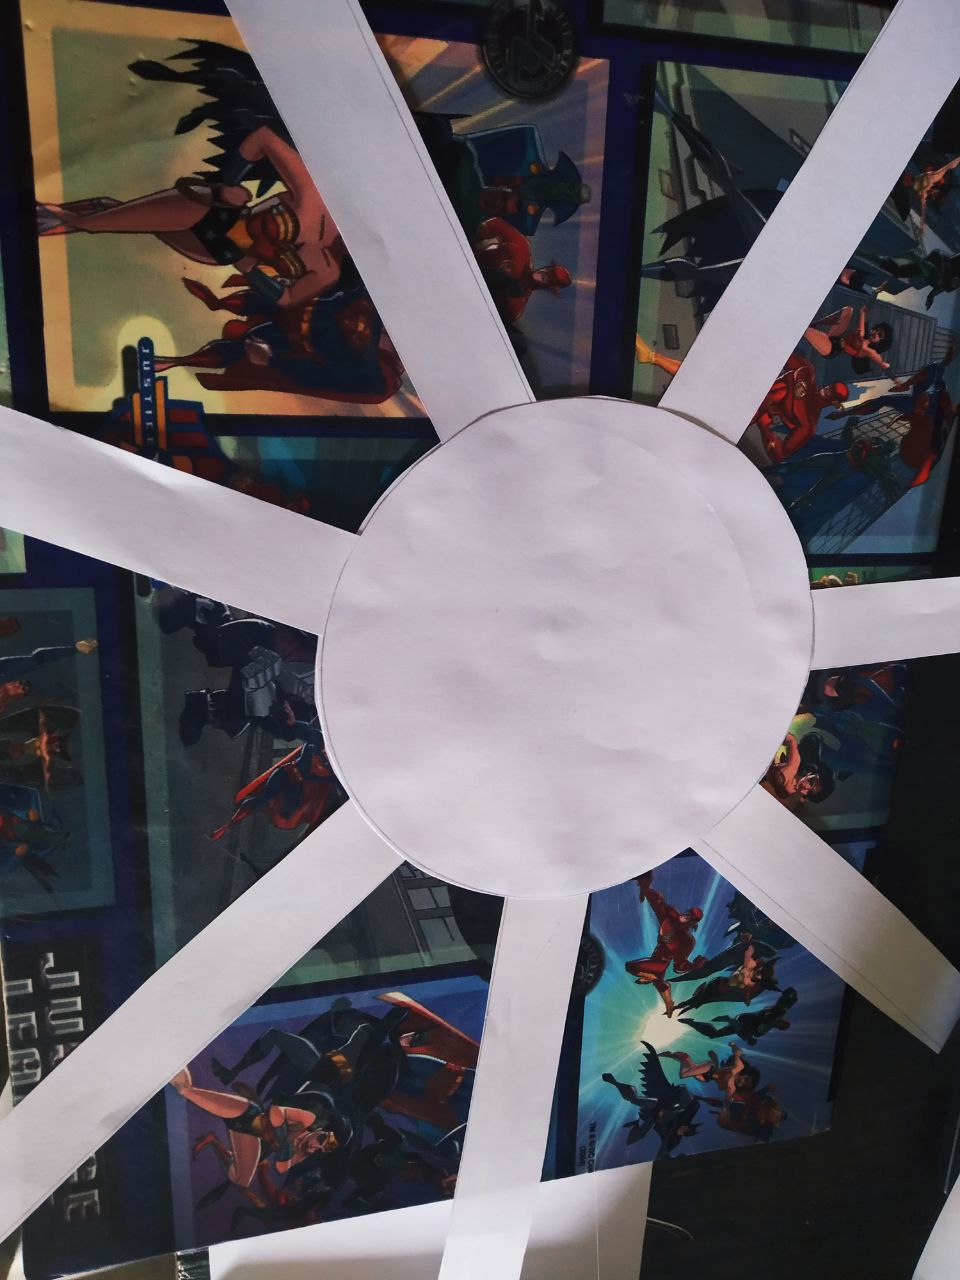
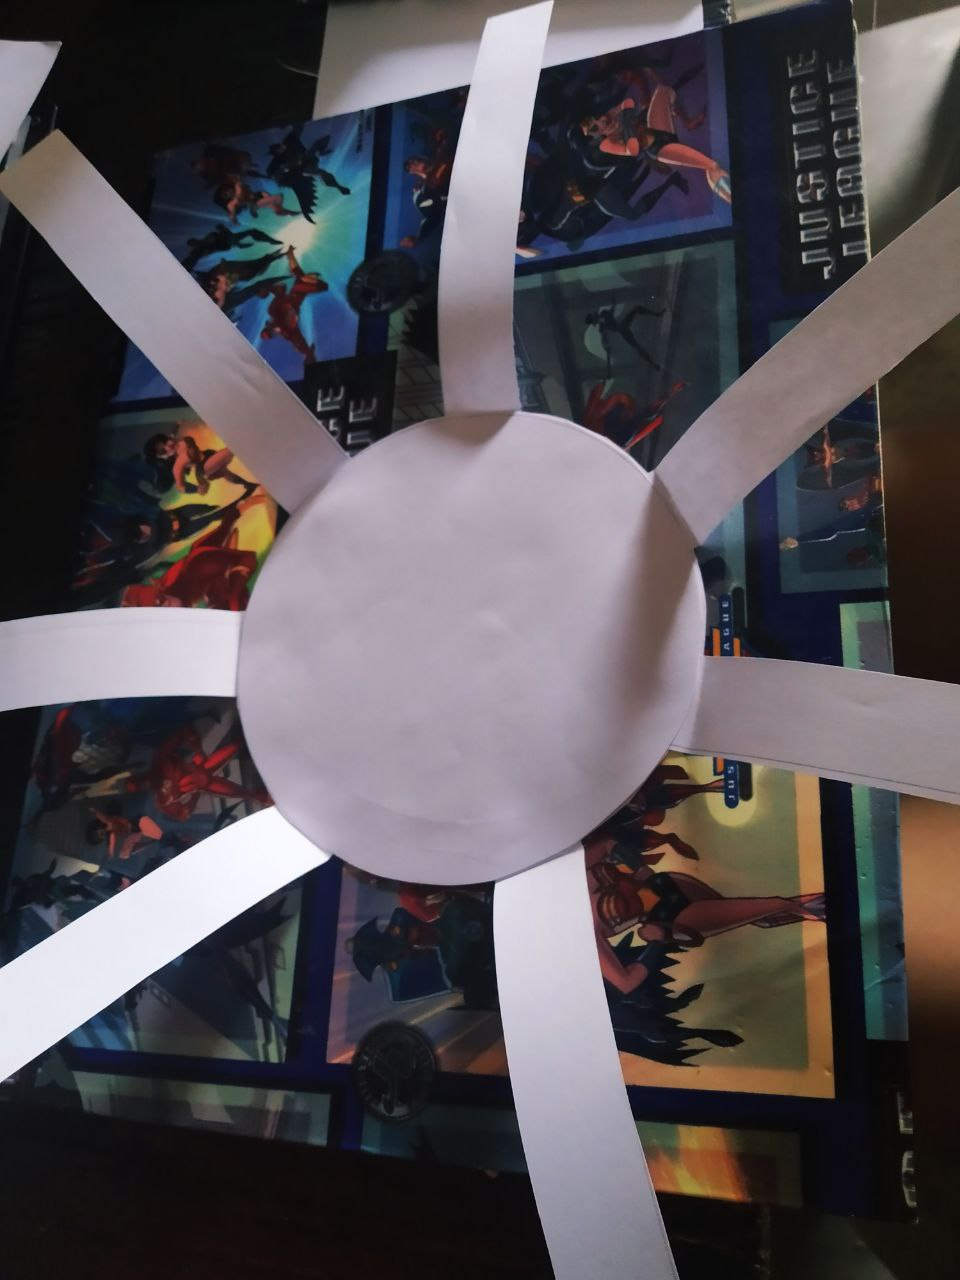
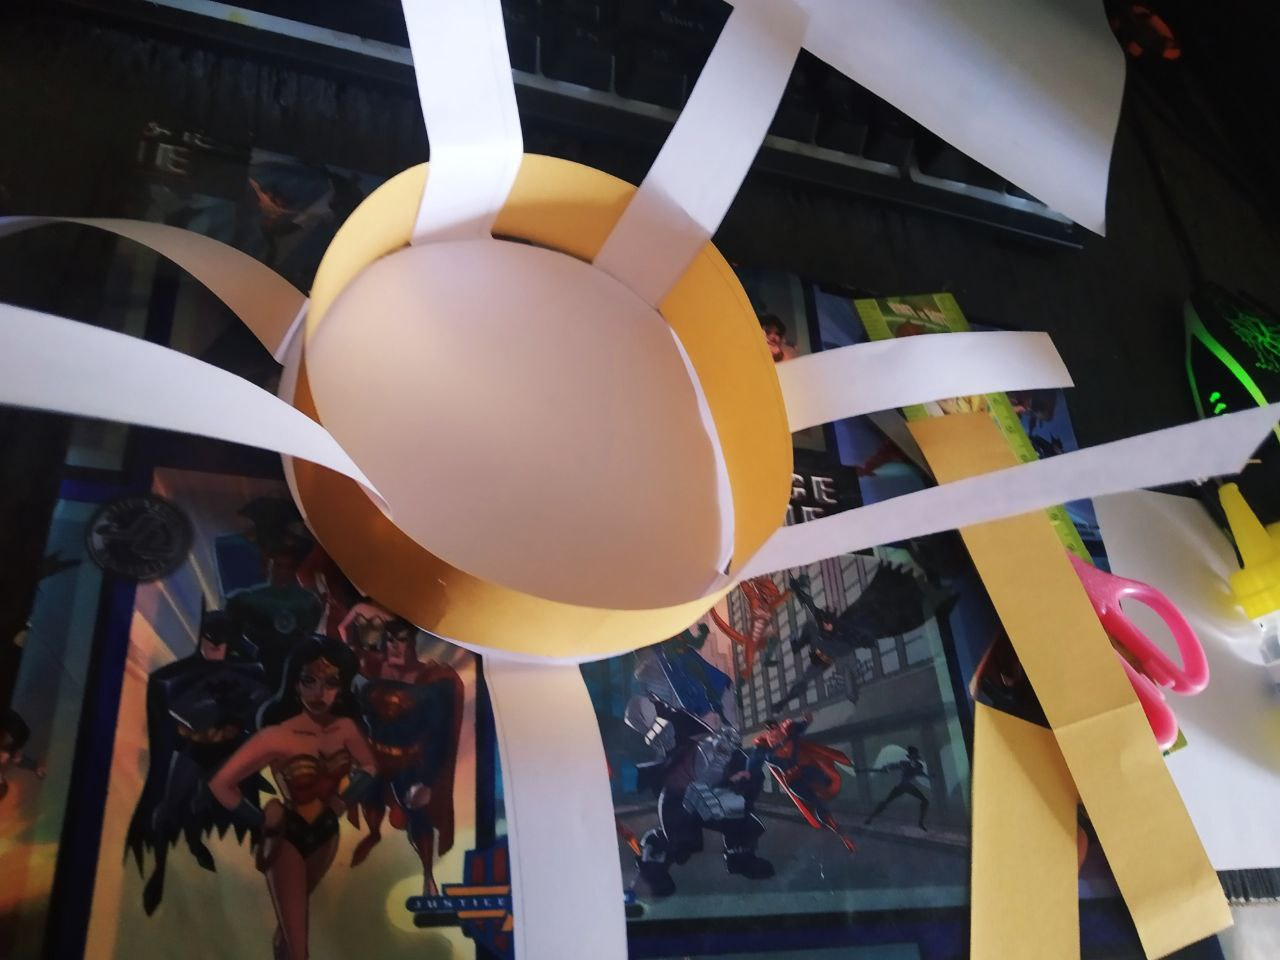
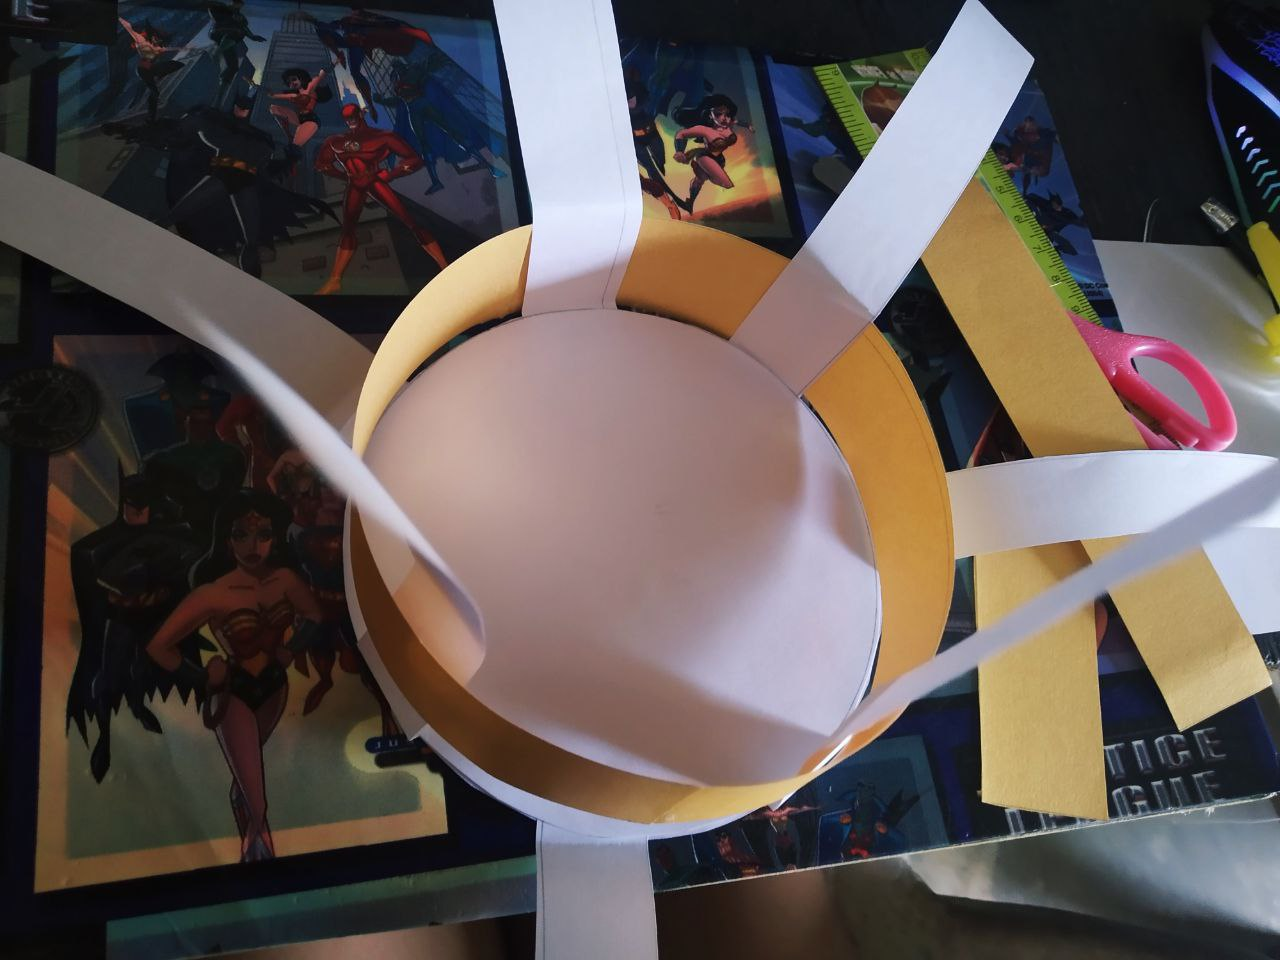
- Se preguntarán, ¿Para qué dos circulos? bueno el otro circulo lo utilizaremos para cubrir franjas de papel que se en un poco feas ahí al descubierto, pegamos el circulo arriba, cuando este bien seco y pegado tomaremos las franjas y las doblaremos hacia adentro para que tomen forma hacia arriba.
Step number three:
- You may ask, why two circles? Well, we will use the other circle to cover the strips of paper that are a bit ugly there in the open, we glue the circle on top, when it is well dry and glued we will take the strips and fold them inwards so that they take shape upwards.

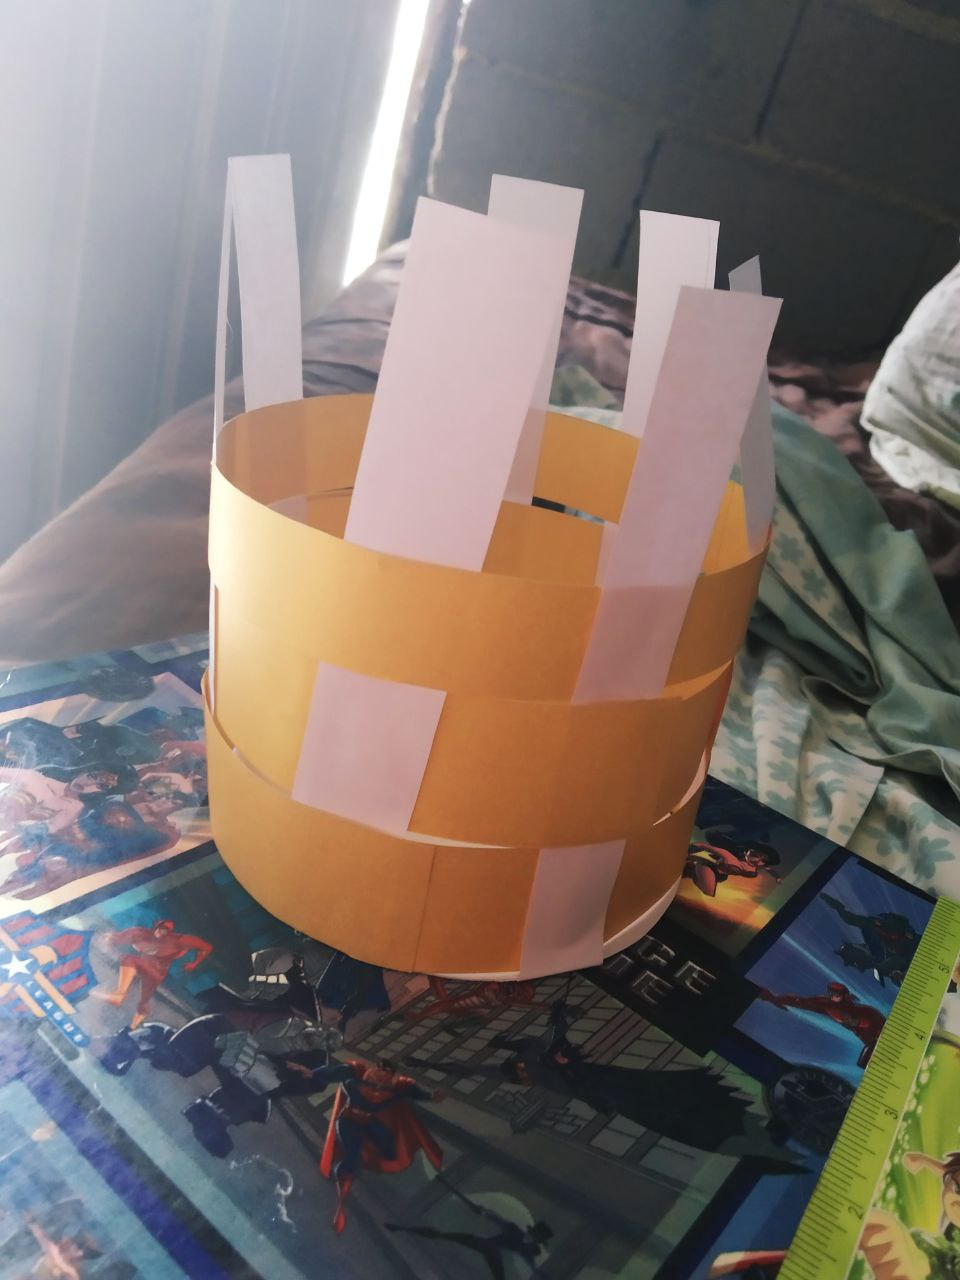
- Con nuestra base ya lista tomaremos la cartulina de otro color diferente y trazaremos y cortaremos franjas de más de dieciséis centímetros de largo y con tres o cuatro centímetros de largo, cortamos y pegamos ambas puntas formando un circulo.
Step number four:
- With our base ready we will take the cardboard of a different color and we will trace and cut strips of more than sixteen centimeters long and with three or four centimeters long, we cut and glue both ends forming a circle.
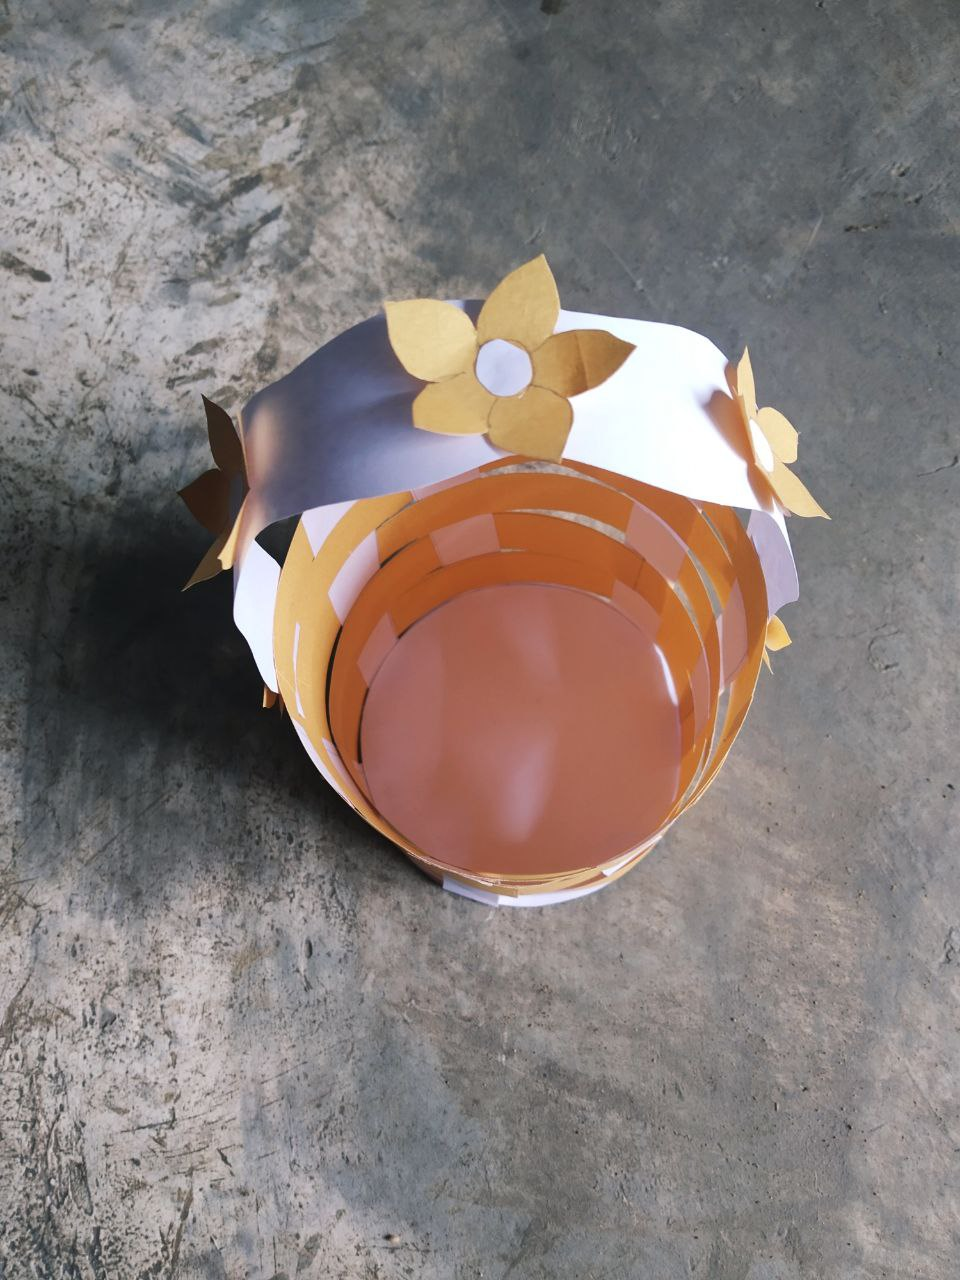
- Cortaremos de esas franjas las que necesitemos, en mi caso utilicé cinco para cubrir toda la canasta hasta arriba, con todos nuestro circulos ya pegados debemos ir insertándolos pasando las franjas de nuestra base unas adentro del circulo y otras afuera y así sucesivamente hasta cubrir toda nuestra canasta organizadora.
Step number five:
- We will cut from these strips the ones we need, in my case I used five to cover the whole basket up to the top, with all our circles already glued we must insert them passing the strips of our base, some inside the circle and others outside and so on until we cover our whole basket organizer.
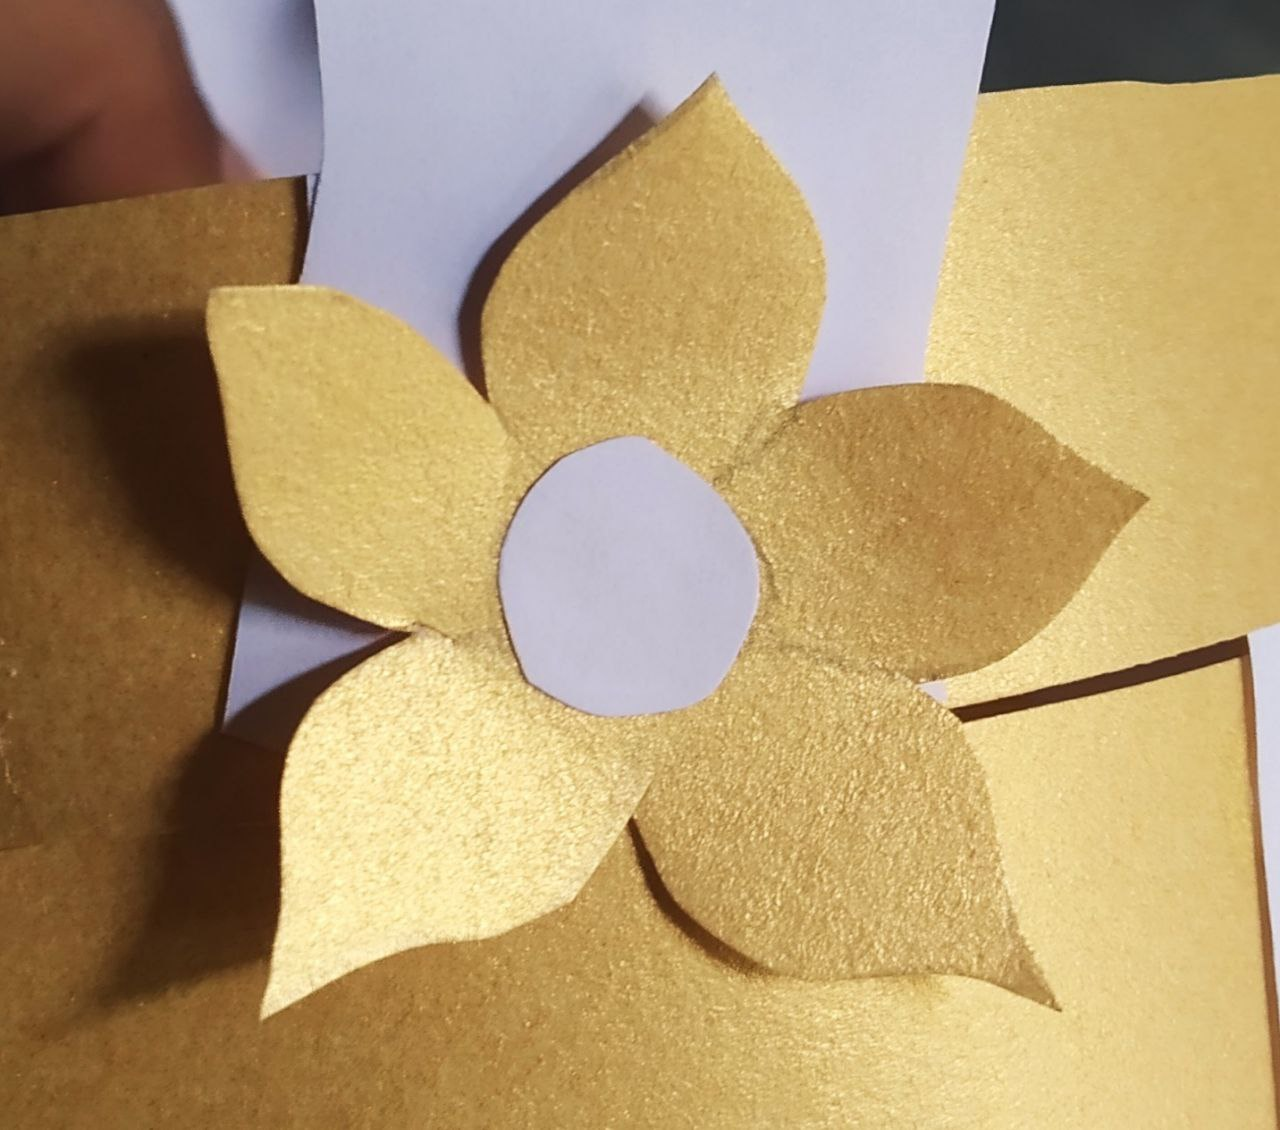
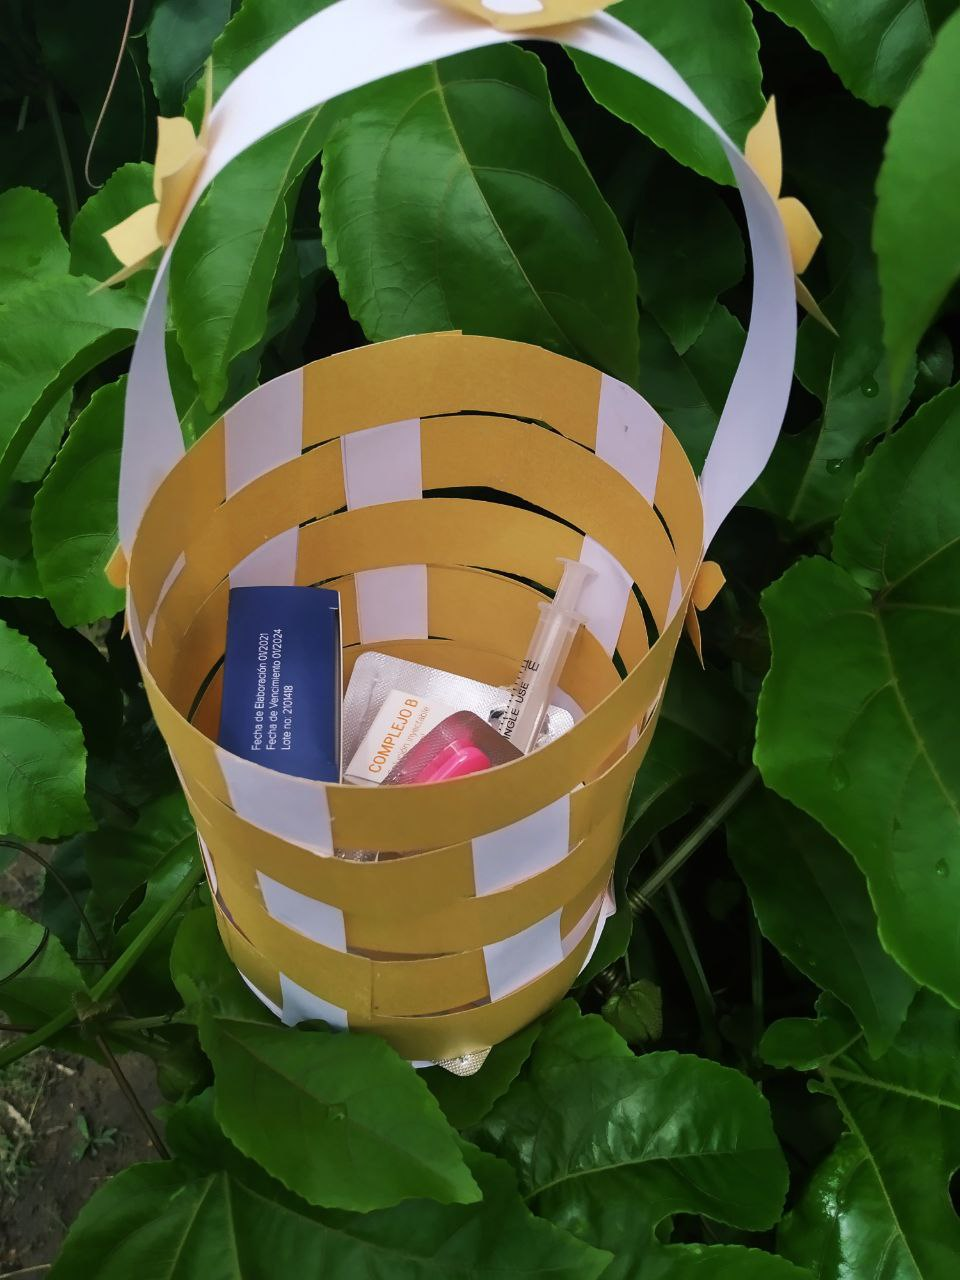
- Por último y no menos importante, cortaremos una franja mas del color de cartulina que mas les guste y la tomaremos y pegaremos las puntas a los lados como un aza para nuestra canasta, pueden adornarla con flores como lo hice yo o con lazos etcétera, todo queda a su gusto e imaginación.
Step number six:
- Last and not least, we will cut one more strip of the color of cardboard that you like and we will take it and glue the ends to the sides as a handle for our basket, you can decorate it with flowers as I did or with ribbons etcetera, everything is to your taste and imagination.
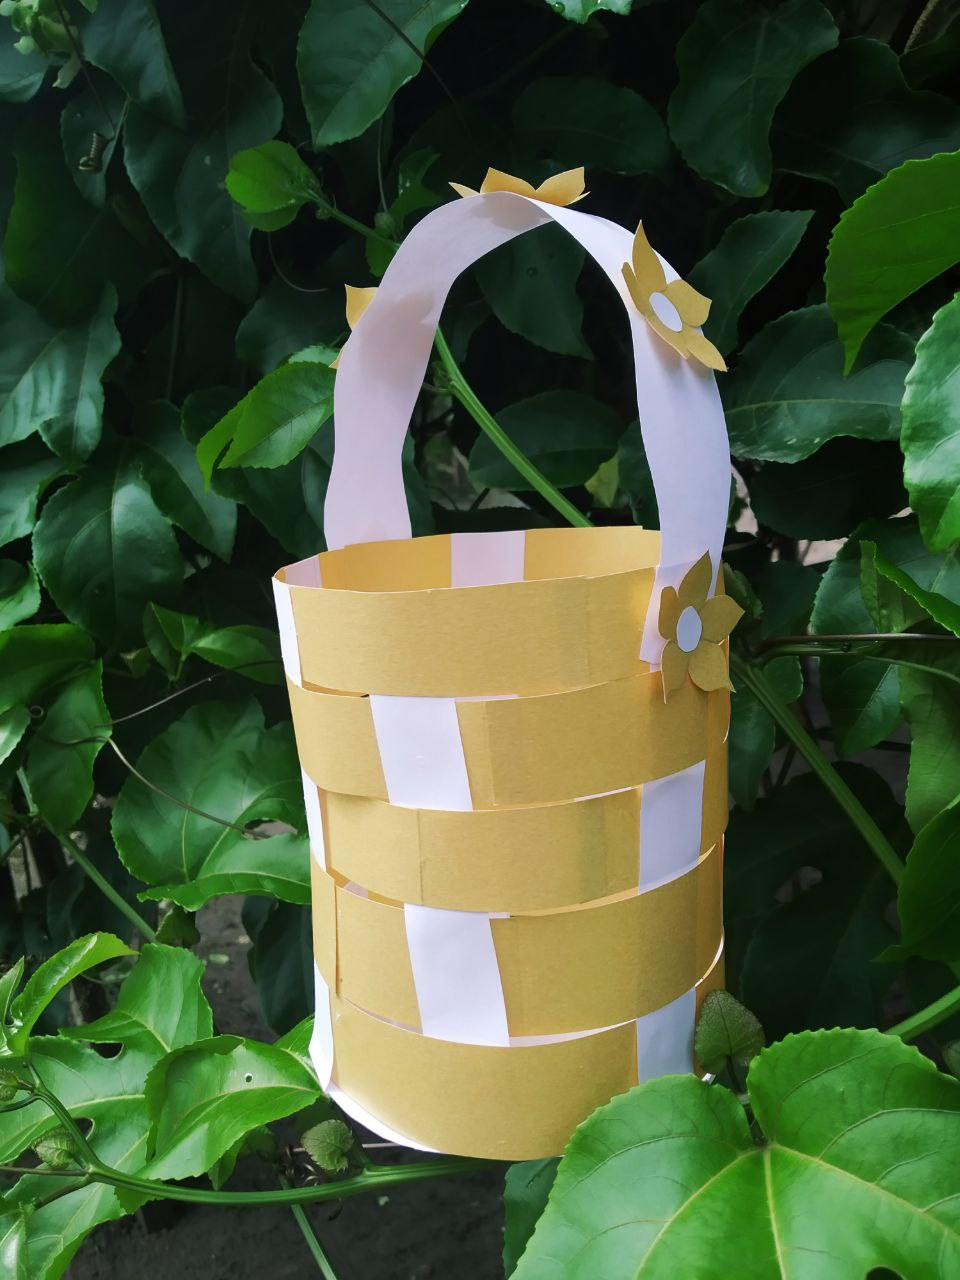
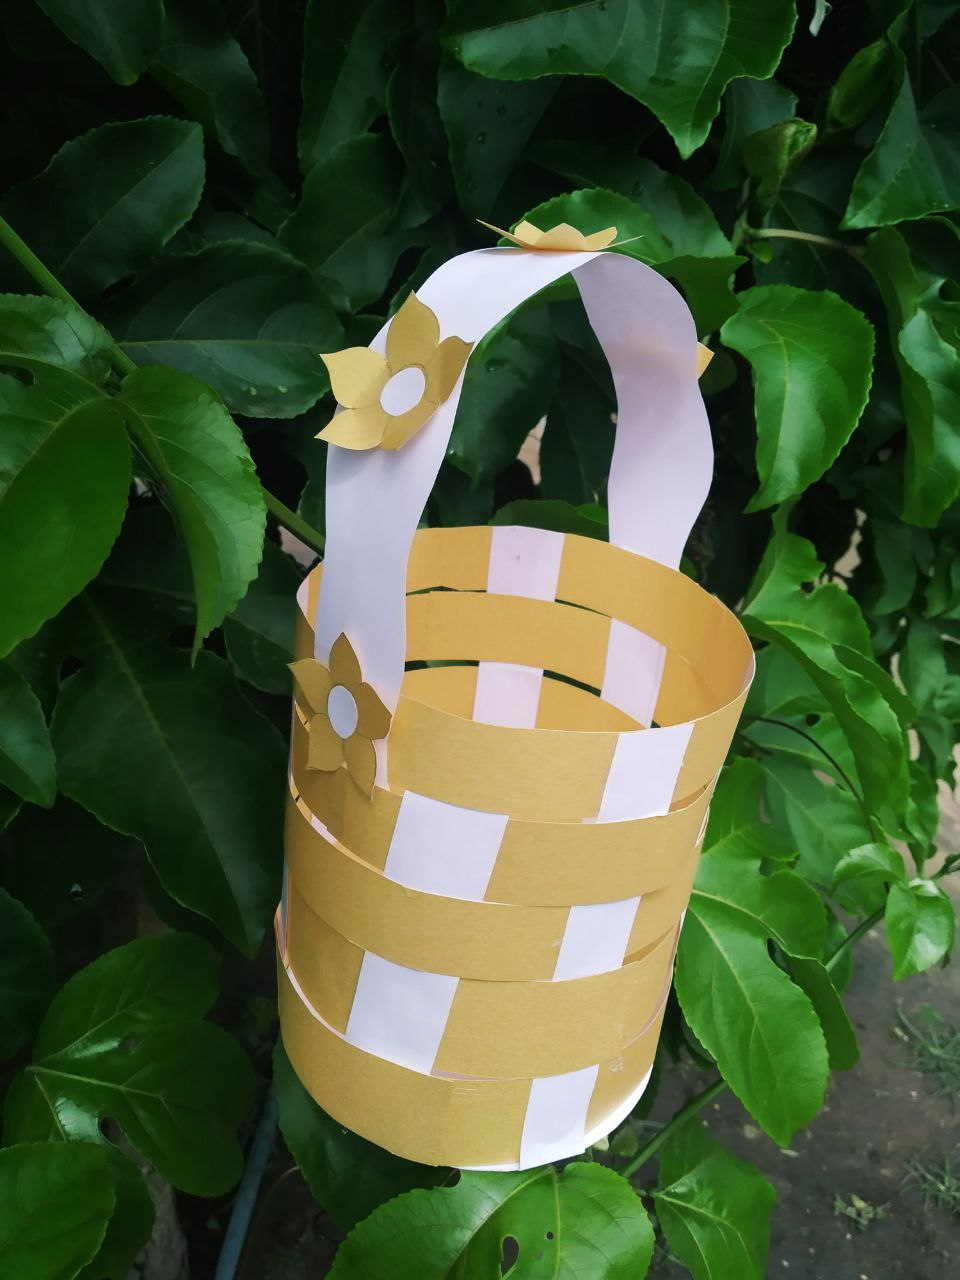
And this is the final result, I hope you liked this nice and easy idea to organize your things and make your rooms look beautiful or where you are going to place it, if you liked it don't forget to support me with your vote and your motivational comment, I love you!
ALL IMAGES ARE FROM MY AUDIT
Thank you for sharing this amazing post on HIVE!
non-profit curation initiative!Your content got selected by our fellow curator @rezoanulvibes & you just received a little thank you via an upvote from our
You will be featured in one of our recurring curation compilations and on our pinterest boards! Both are aiming to offer you a stage to widen your audience within and outside of the DIY scene of hive.
Join the official DIYHub community on HIVE and show us more of your amazing work and feel free to connect with us and other DIYers via our discord server: https://discord.gg/mY5uCfQ !
If you want to support our goal to motivate other DIY/art/music/homesteading/... creators just delegate to us and earn 100% of your curation rewards!
Stay creative & hive on!