Espero se encuentren de maravilla hoy me levanté realmente feliz y animada a traerles una nueva manualidad, fácil y muy linda para obsequiar a sus amigos, amigas, madres,padres o hasta a su pareja,ya paro se hablar y comencemos con la los pasos que deben seguir
¡Hello beautiful people of Hive!
I hope you are feeling great today I woke up really happy and encouraged to bring you a new craft, easy and very nice to give to your friends, friends, mothers, fathers or even your partner, I stop talking and let's start with the steps to follow.
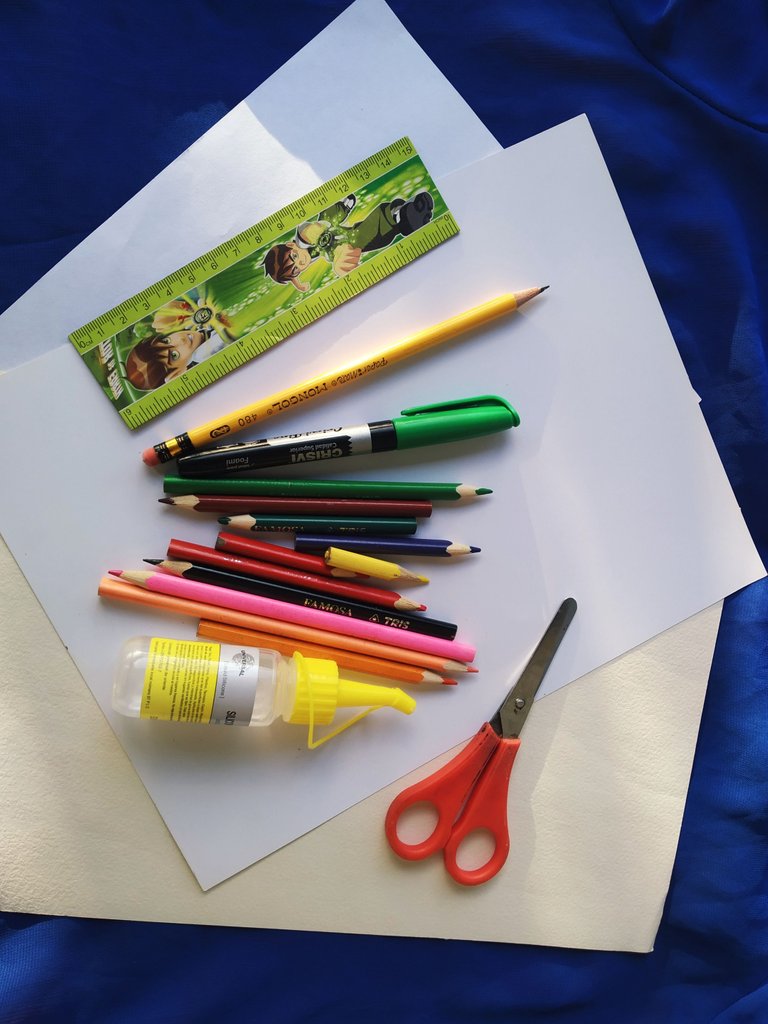
- Dos cartulinas de diferente color
- Una hoja blanca
- Silicón al frío o caliente
- Colores o marcadores
- Lápiz
- Una regla
- Tijera
Materials:
- Two different colored cardstock
- A white sheet
- Cold or hot glue
- Colors or markers
- Pencil
- A ruler
- Scissors
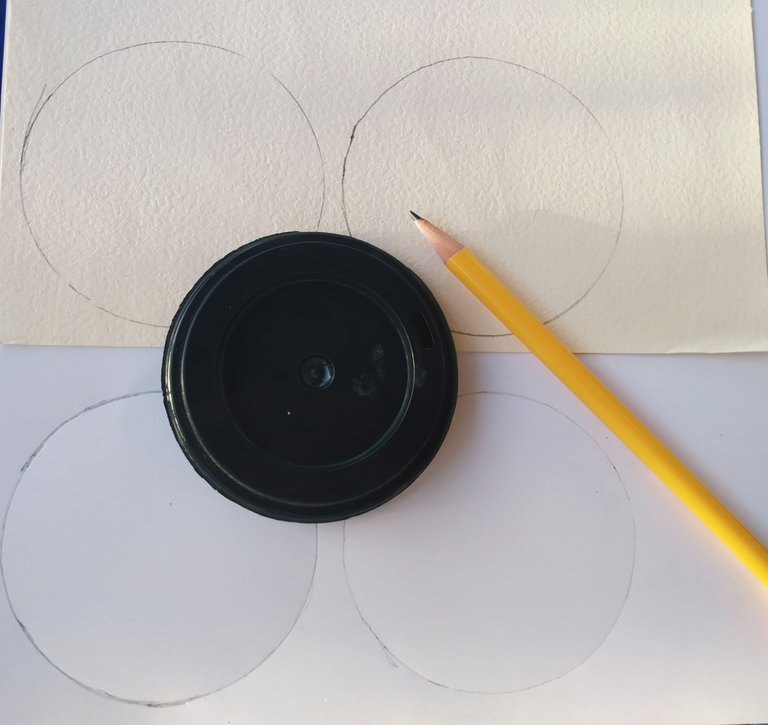
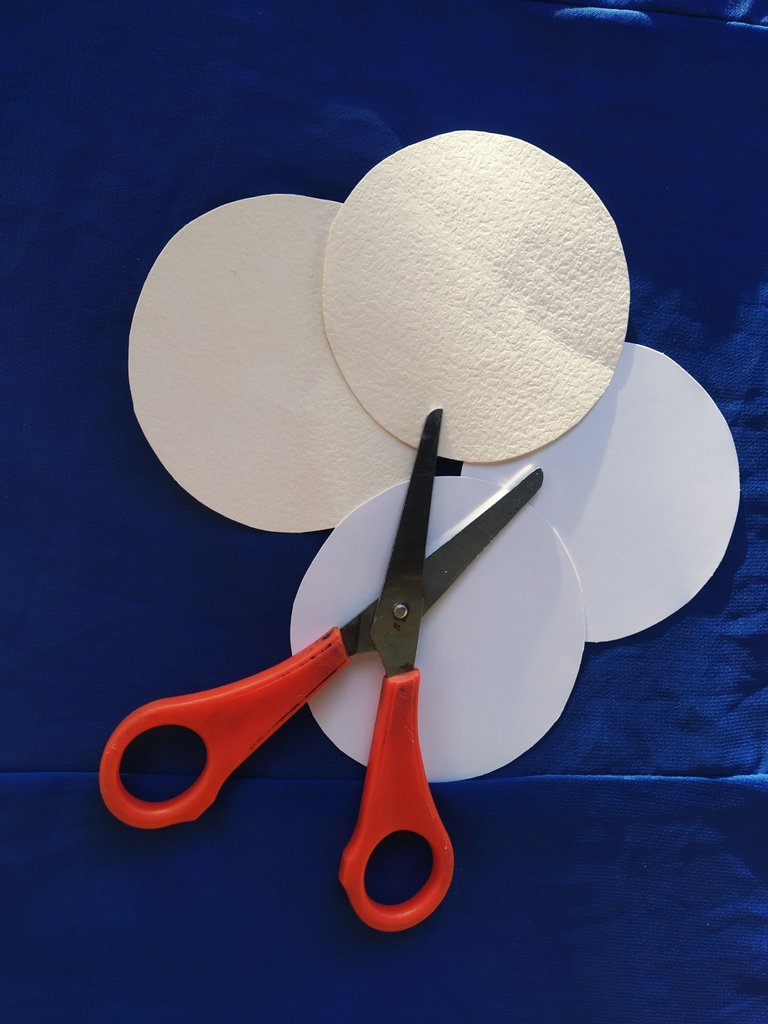
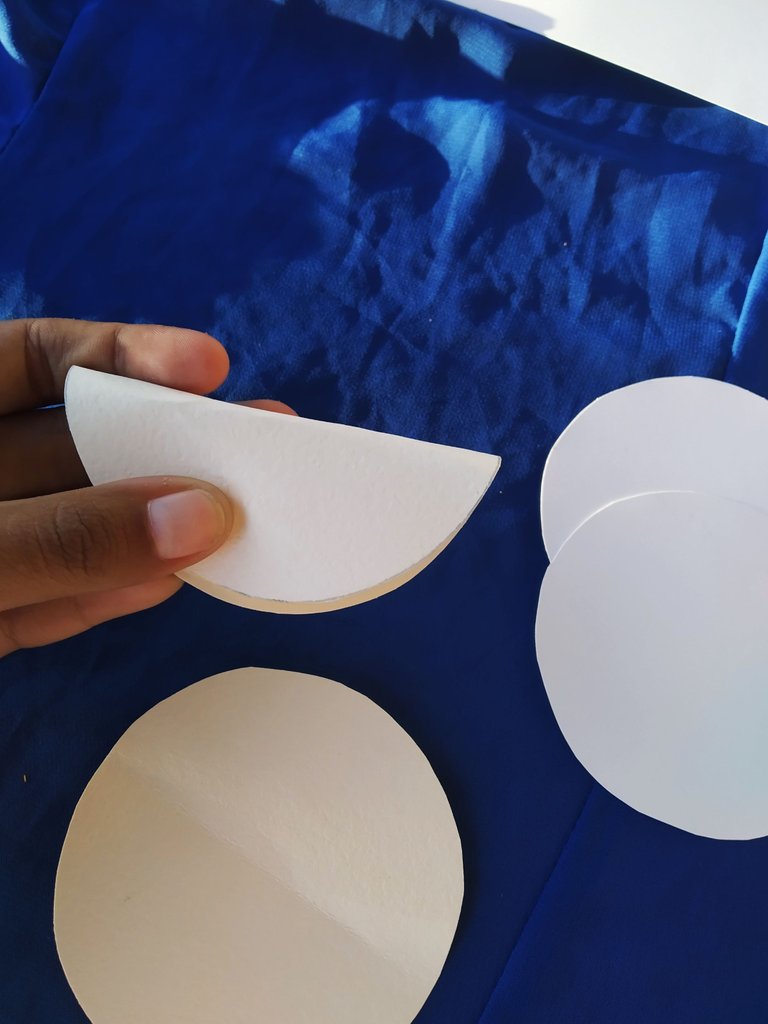
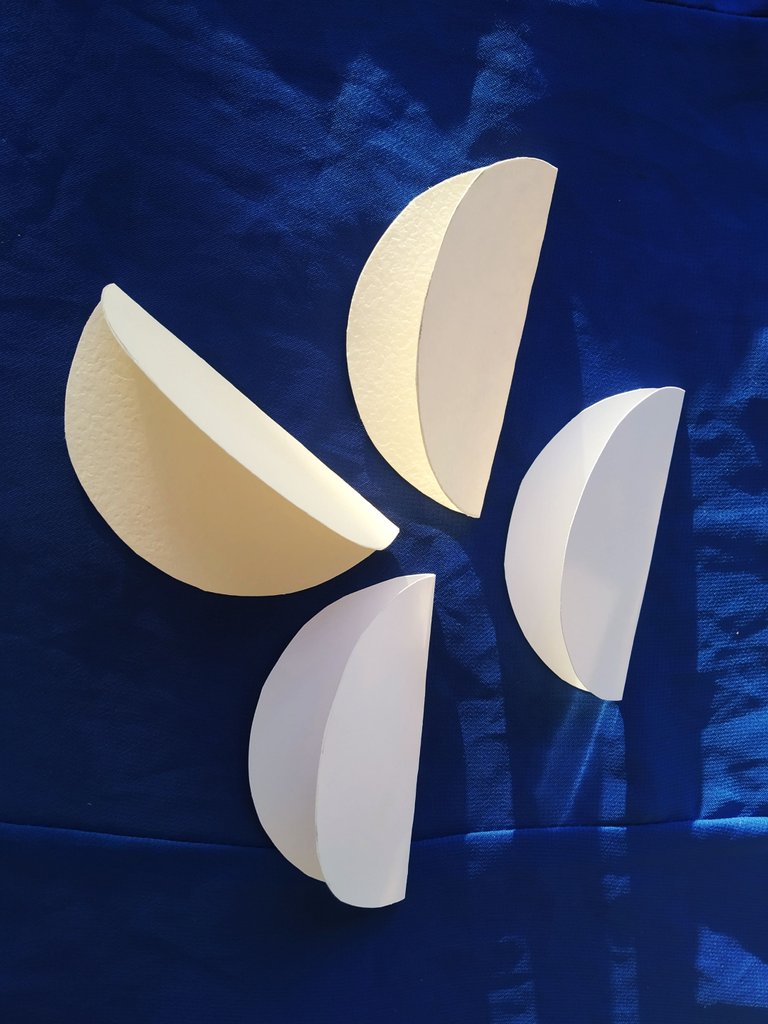
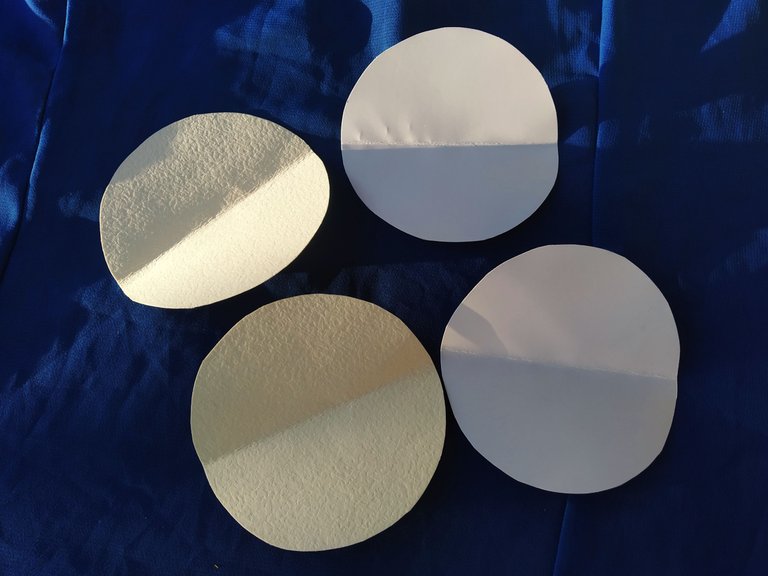
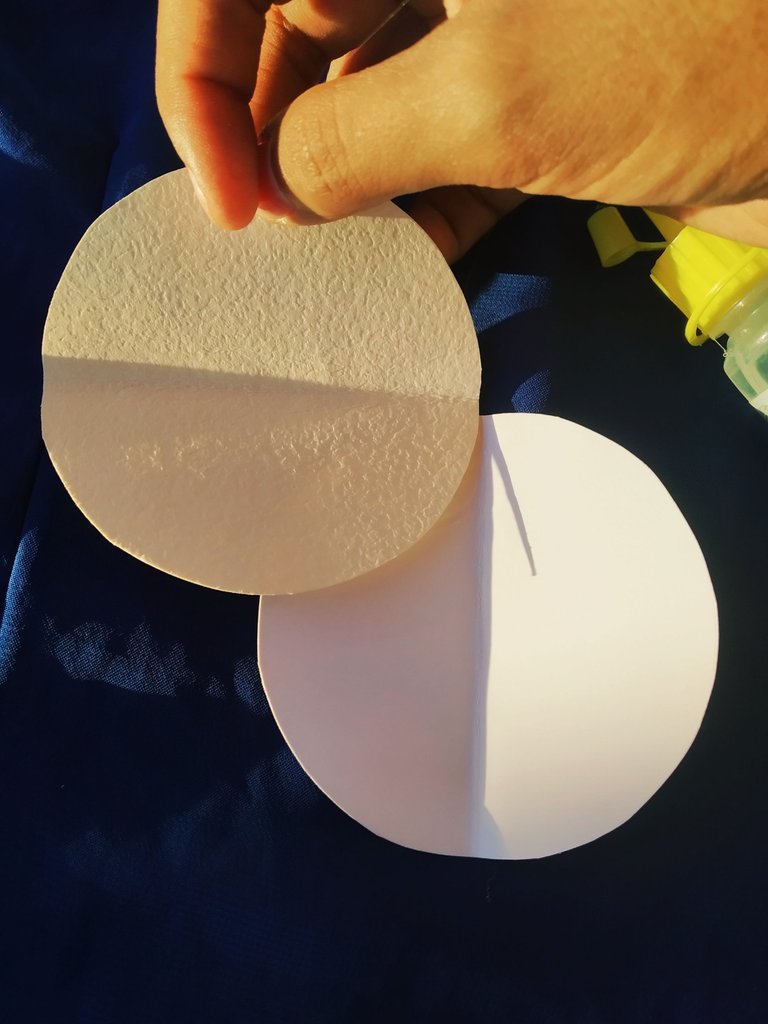
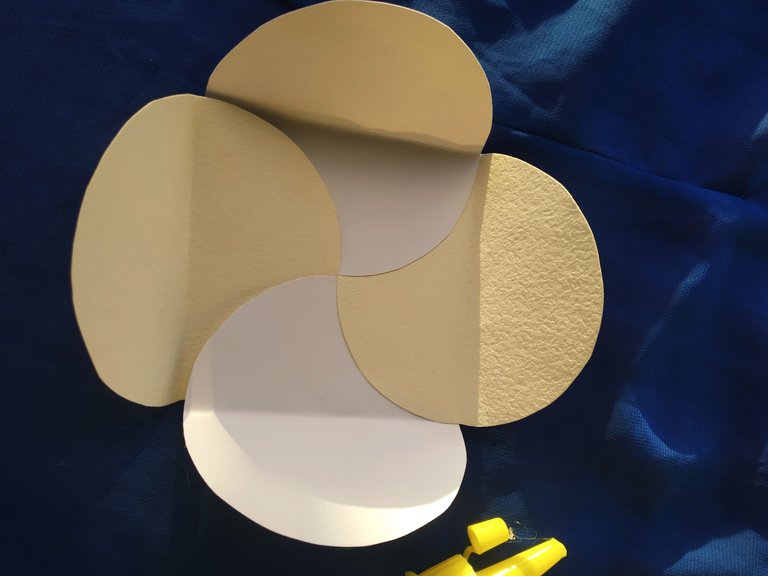
- Cómo primer paso tomaremos ambas cartulinas y con un objeto redondo o un compás, dibuja dos circulos en cada cartulina, ejemplo si tienes una cartulina blanca y otra rosada harás dos circulos en la cartulina blanca y dos en la rosada, y las recortamos uniformemente para luego hacer un dobles uniendo ambas mitades como en la imagen.
Step one:
- How first step we will take both cardboards and with a round object or a compass, draw two circles on each cardboard, example if you have a white cardboard and a pink one you will make two circles on the white cardboard and two on the pink one, and cut them evenly and then make a double joining both halves as in the image.
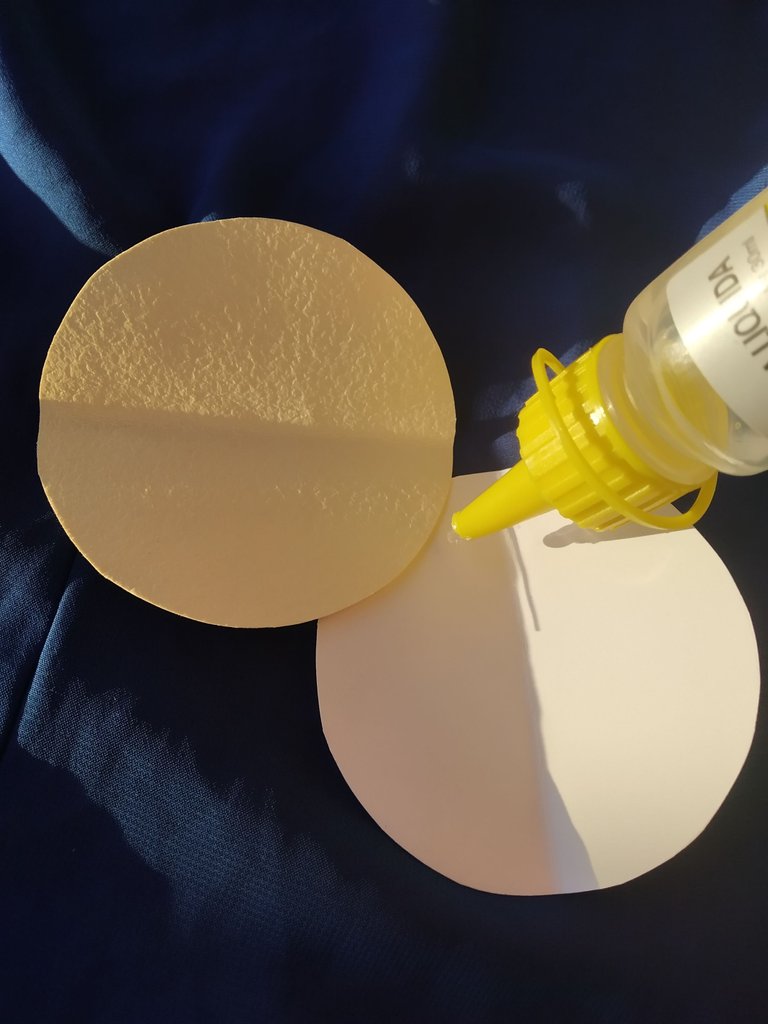
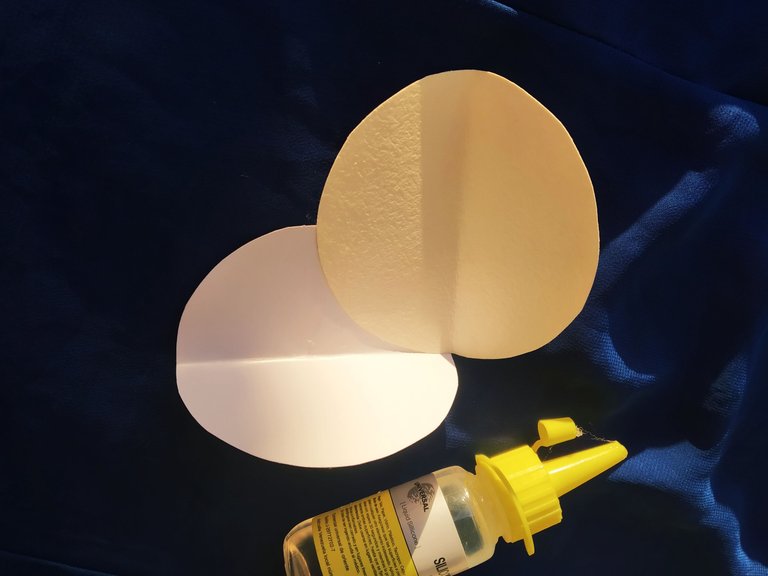
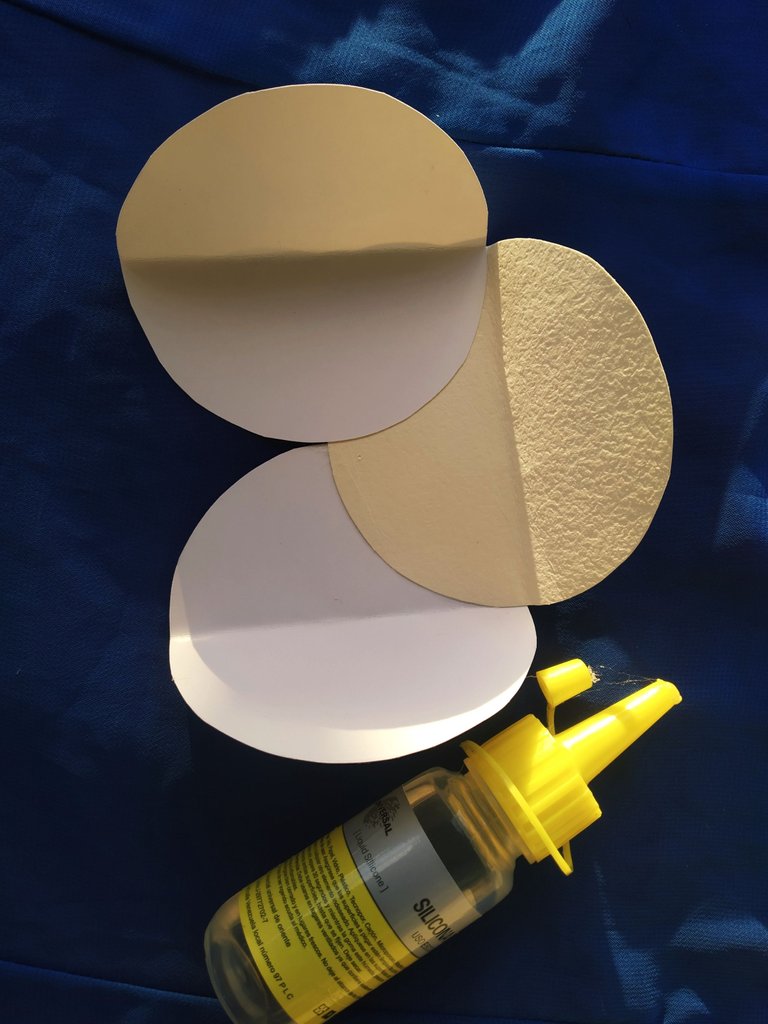
- Teniendo nuestros circulos recortados, doblados y abiertos los tomaremos y le aplicaremos en la esquina de uno de los circulos un poco de silicón y pegamos los circulos así como pueden apreciar en las imágenes.
Step two:
- Having our circles cut out, folded and opened we will take them and apply some silicone on the corner of one of the circles and glue the circles as you can see in the pictures.
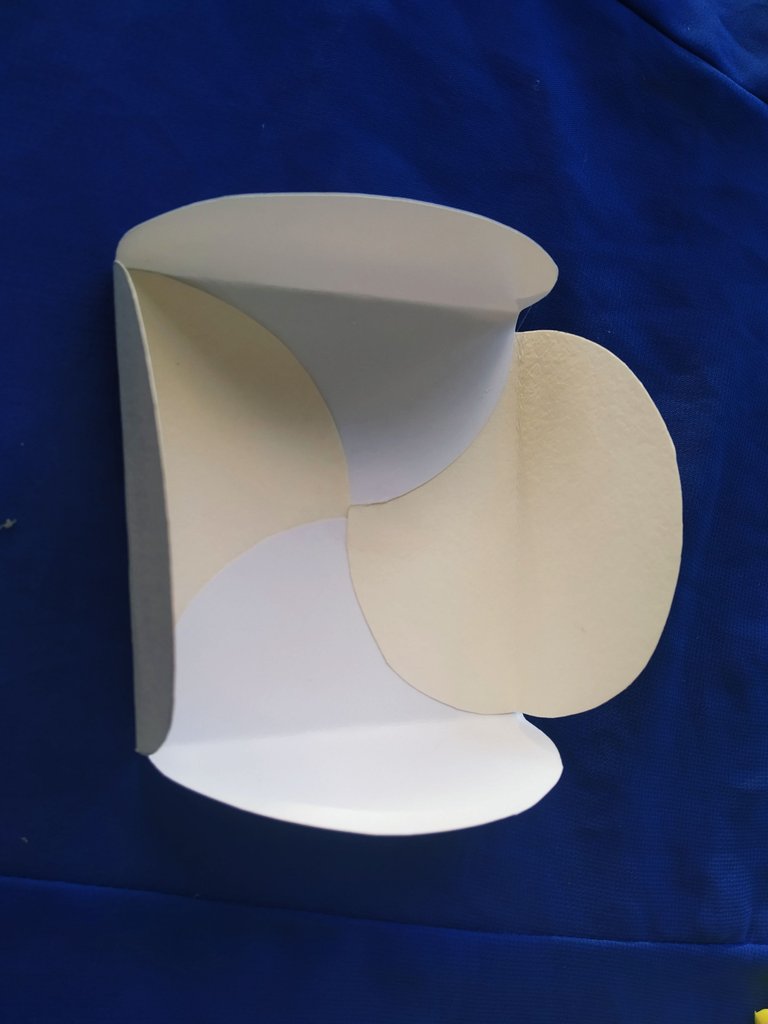
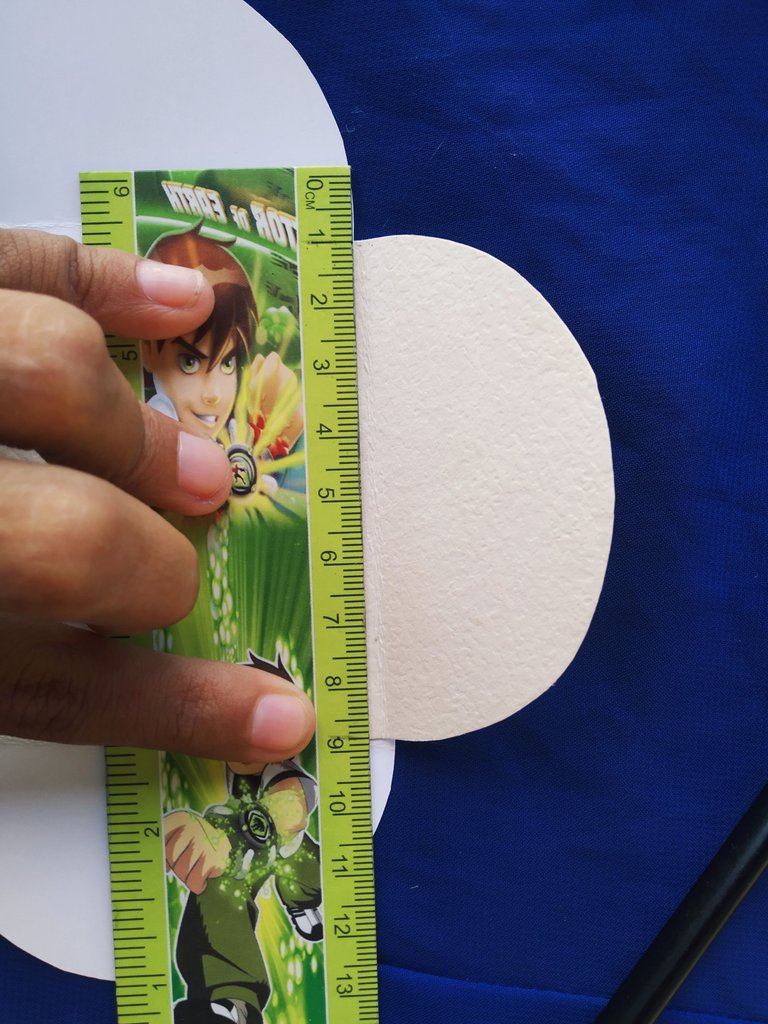
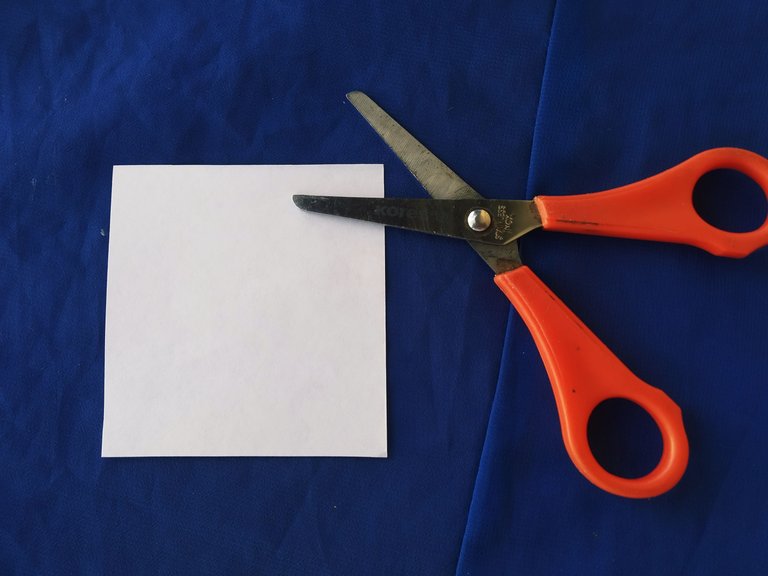
- ¡Ya tenemos nuestra base lista!
ahora tomaremos nuestra hoja blanca y mediremos con la regla el tamaño del cuadro de nuestra tarjeta y con esas medidas recortamos un cuadrado el cual usaremos para escribir o dibujar lo que queremos transmitir, ya sea tarjeta de cumpleaños, una invitación, carta de amor entre muchas otras ideas maravillosas, haremos el dibujo y escribiremos y luego pegamos la hoja en la base de la tarjeta.
Step three:
- We have our base ready!
now we will take our white sheet and we will measure with the ruler the size of the square of our card and with those measurements we will cut out a square which we will use to write or draw what we want to convey, either birthday card, an invitation, love letter among many other wonderful ideas, we will make the drawing and write and then glue the sheet on the base of the card.


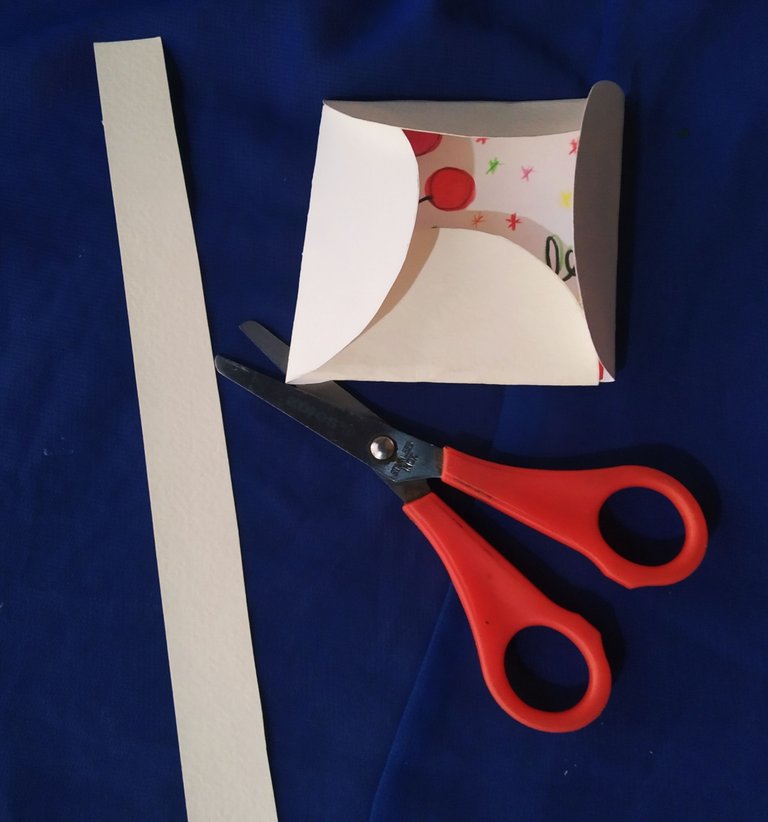
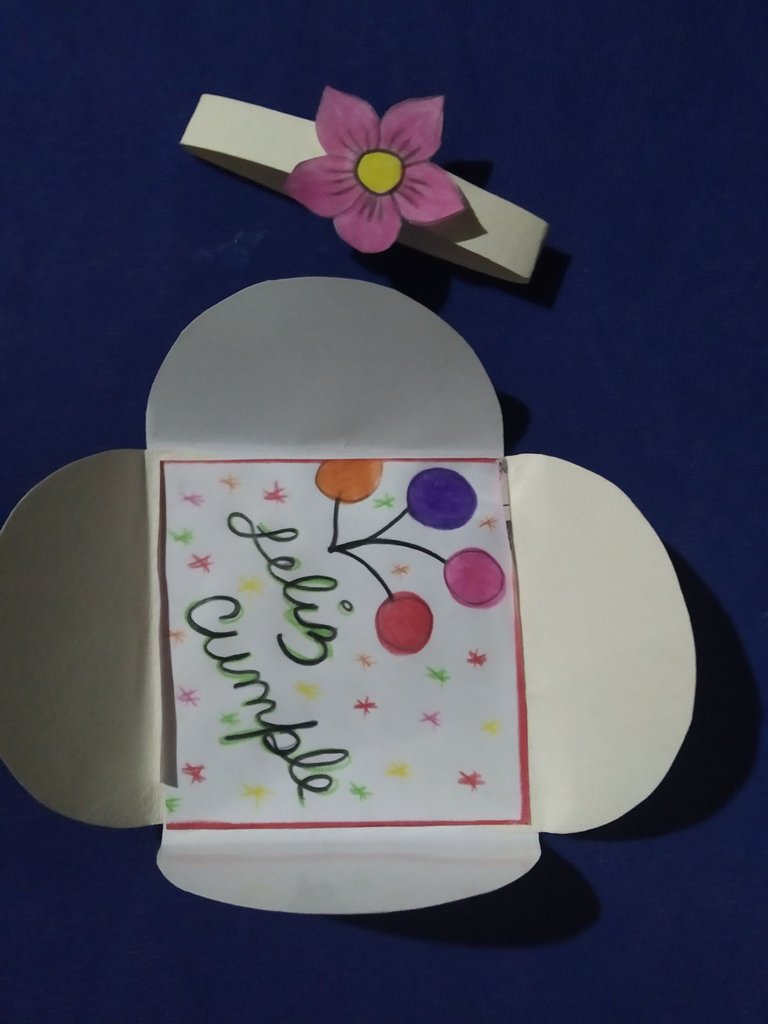
- Y por último y no menos importante cortaremos una tira no muy gruesa y de largo que puedo rodear la tarjeta, recortamos y así como en las imágenes pegamos las puntas y pueden decorar con lazos, flores, corazones eso lo dejo a su imaginación y listo tendremos una hermosa y sencilla tarjeta.
Step four:
- And last but not least we will cut a strip not too thick and long that I can surround the card, cut and as well as in the images we glue the ends and can decorate with bows, flowers, hearts that I leave to your imagination and ready we will have a beautiful and simple card.
FINAL RESULT

I hope you liked this idea and it can be useful for some occasions, if you liked it you can support me with a vote and share with your friends this beautiful happy card, I love you and see you in my next publication.
ALL IMAGES ARE FROM MY AUDIT
Congratulations @dianapgr14! You have completed the following achievement on the Hive blockchain and have been rewarded with new badge(s):
Your next target is to reach 600 upvotes.
You can view your badges on your board and compare yourself to others in the Ranking
If you no longer want to receive notifications, reply to this comment with the word
STOPCheck out the last post from @hivebuzz:
Support the HiveBuzz project. Vote for our proposal!