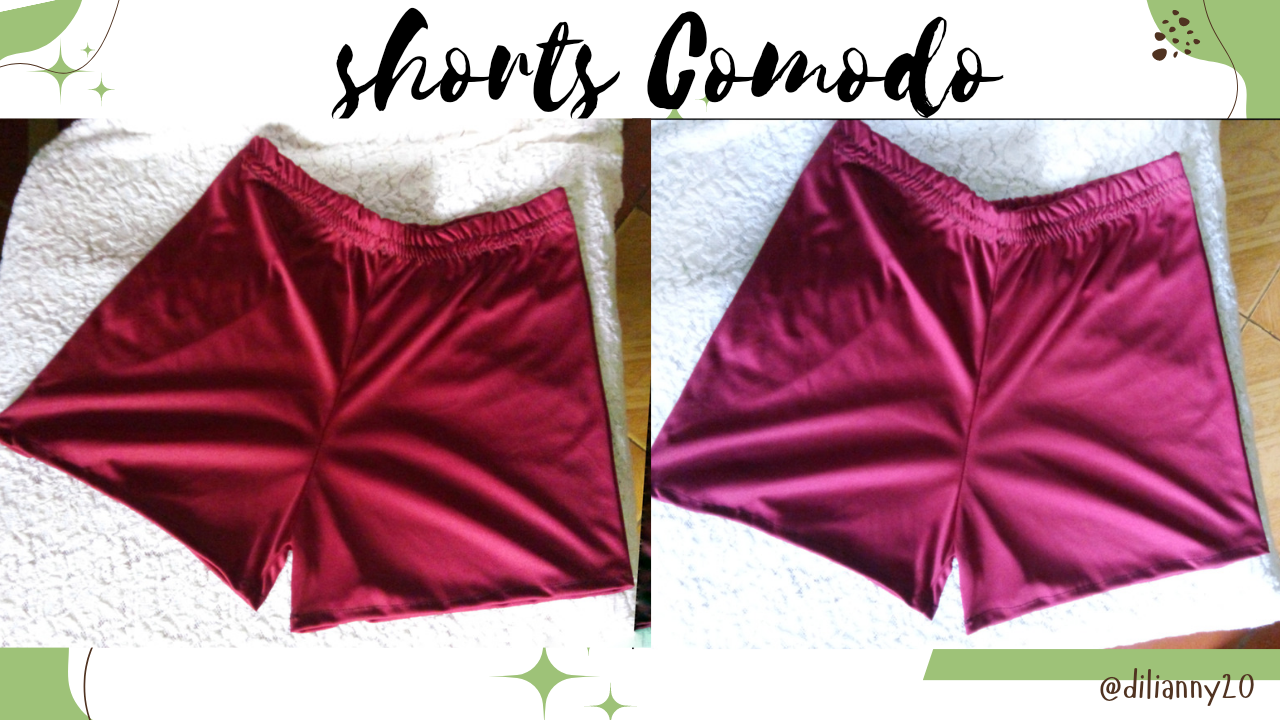
Fotografías de mi propiedad editadas en Canva.
ESPAÑOL

Reciban un saludo con mucha armonía y buena vibra queridos amigos de Hive, me encuentro feliz de seguir aquí con ustedes compartiendo de las ideas creativas y los conocimientos que obtengo al pasar los días.
Hoy quiero compartir con ustedes la realización de un shorts muy cómodo que realice, la tela es suave y sirve para salir a dar un paseo cerca de nuestros hogares, ya que tiene un adecuado largo, es muy importante que elijamos un color que nos agrade, yo elegí este vino-tinto de una tela reciclada que tenía, no sabía al principio que hacer con ella pero me dio justo las medidas para hacer el shorts, así que esto me alegro muchísimo, espero que les sirva de mucho este material de hoy ❤️✨
❤️✨
🥰

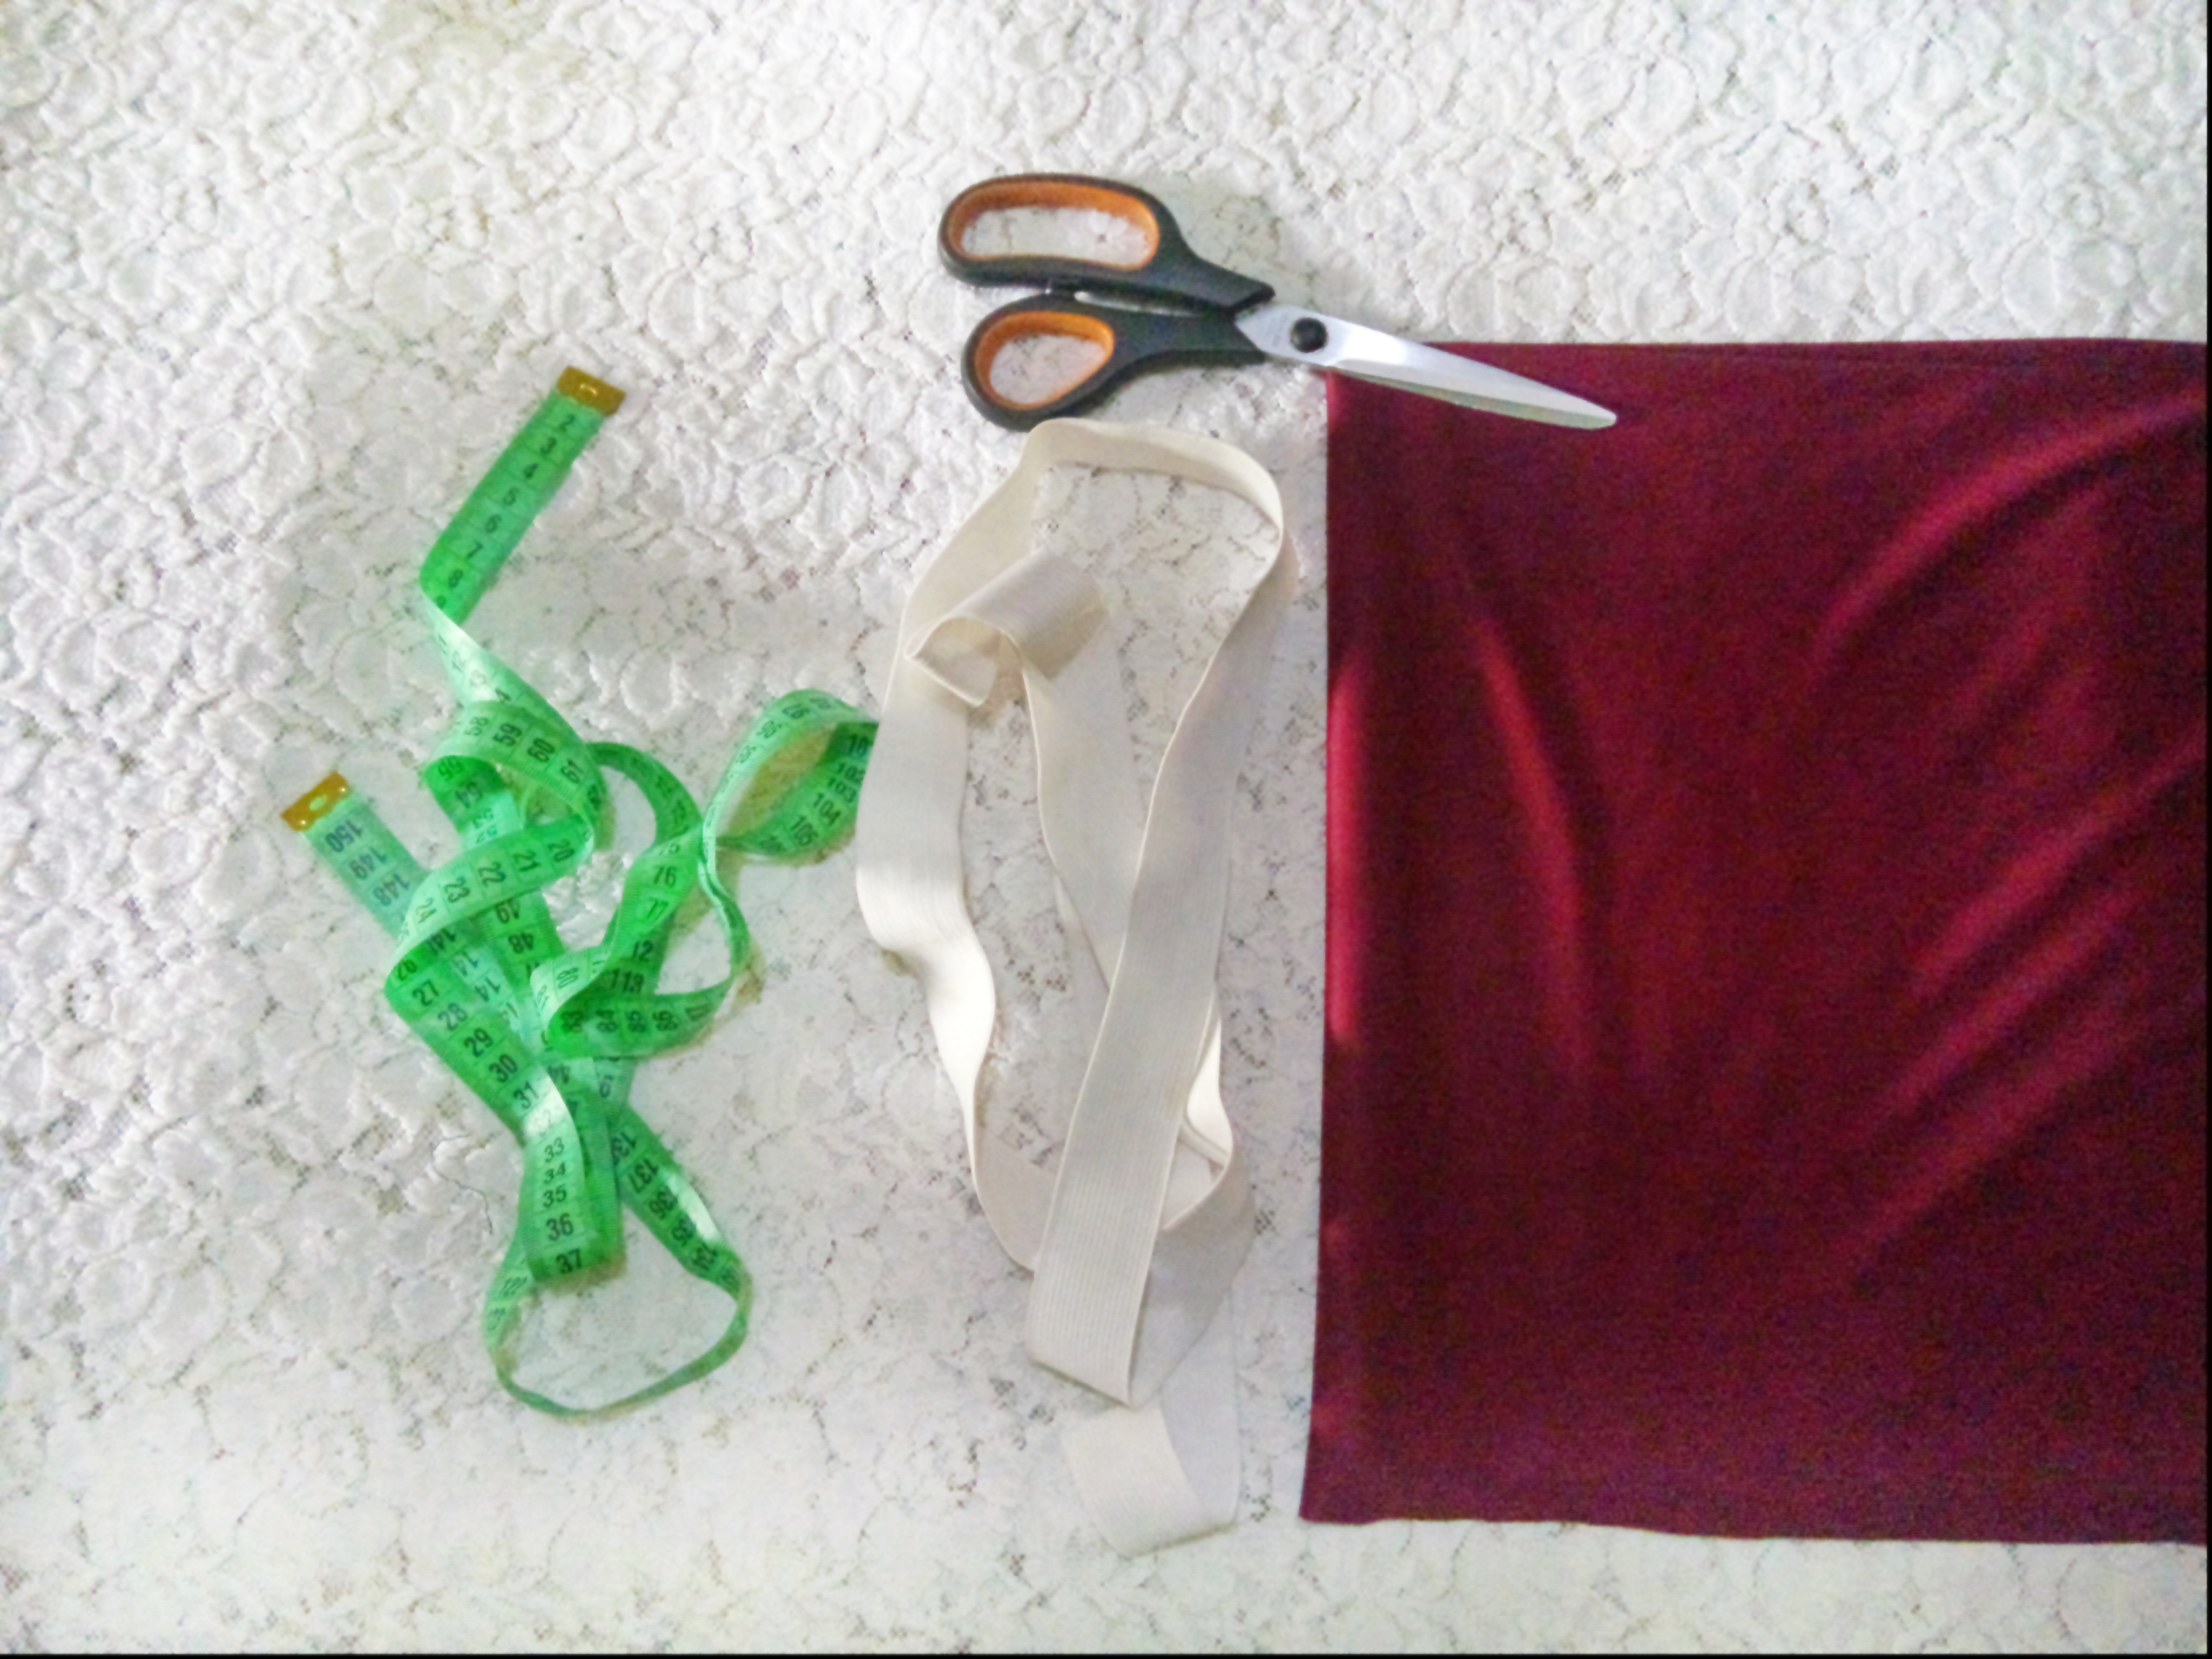
Materiales que utilice
- ⭐ Tela color vinotinto
- ⭐ Ganchillos
- ⭐ Tijera ✂
- ⭐ Máquina de coser
- ⭐ Cinta métrica
- ⭐ Cinta elástica de 3 centímetros
Pasos para realizar el shorts
Primer Paso:
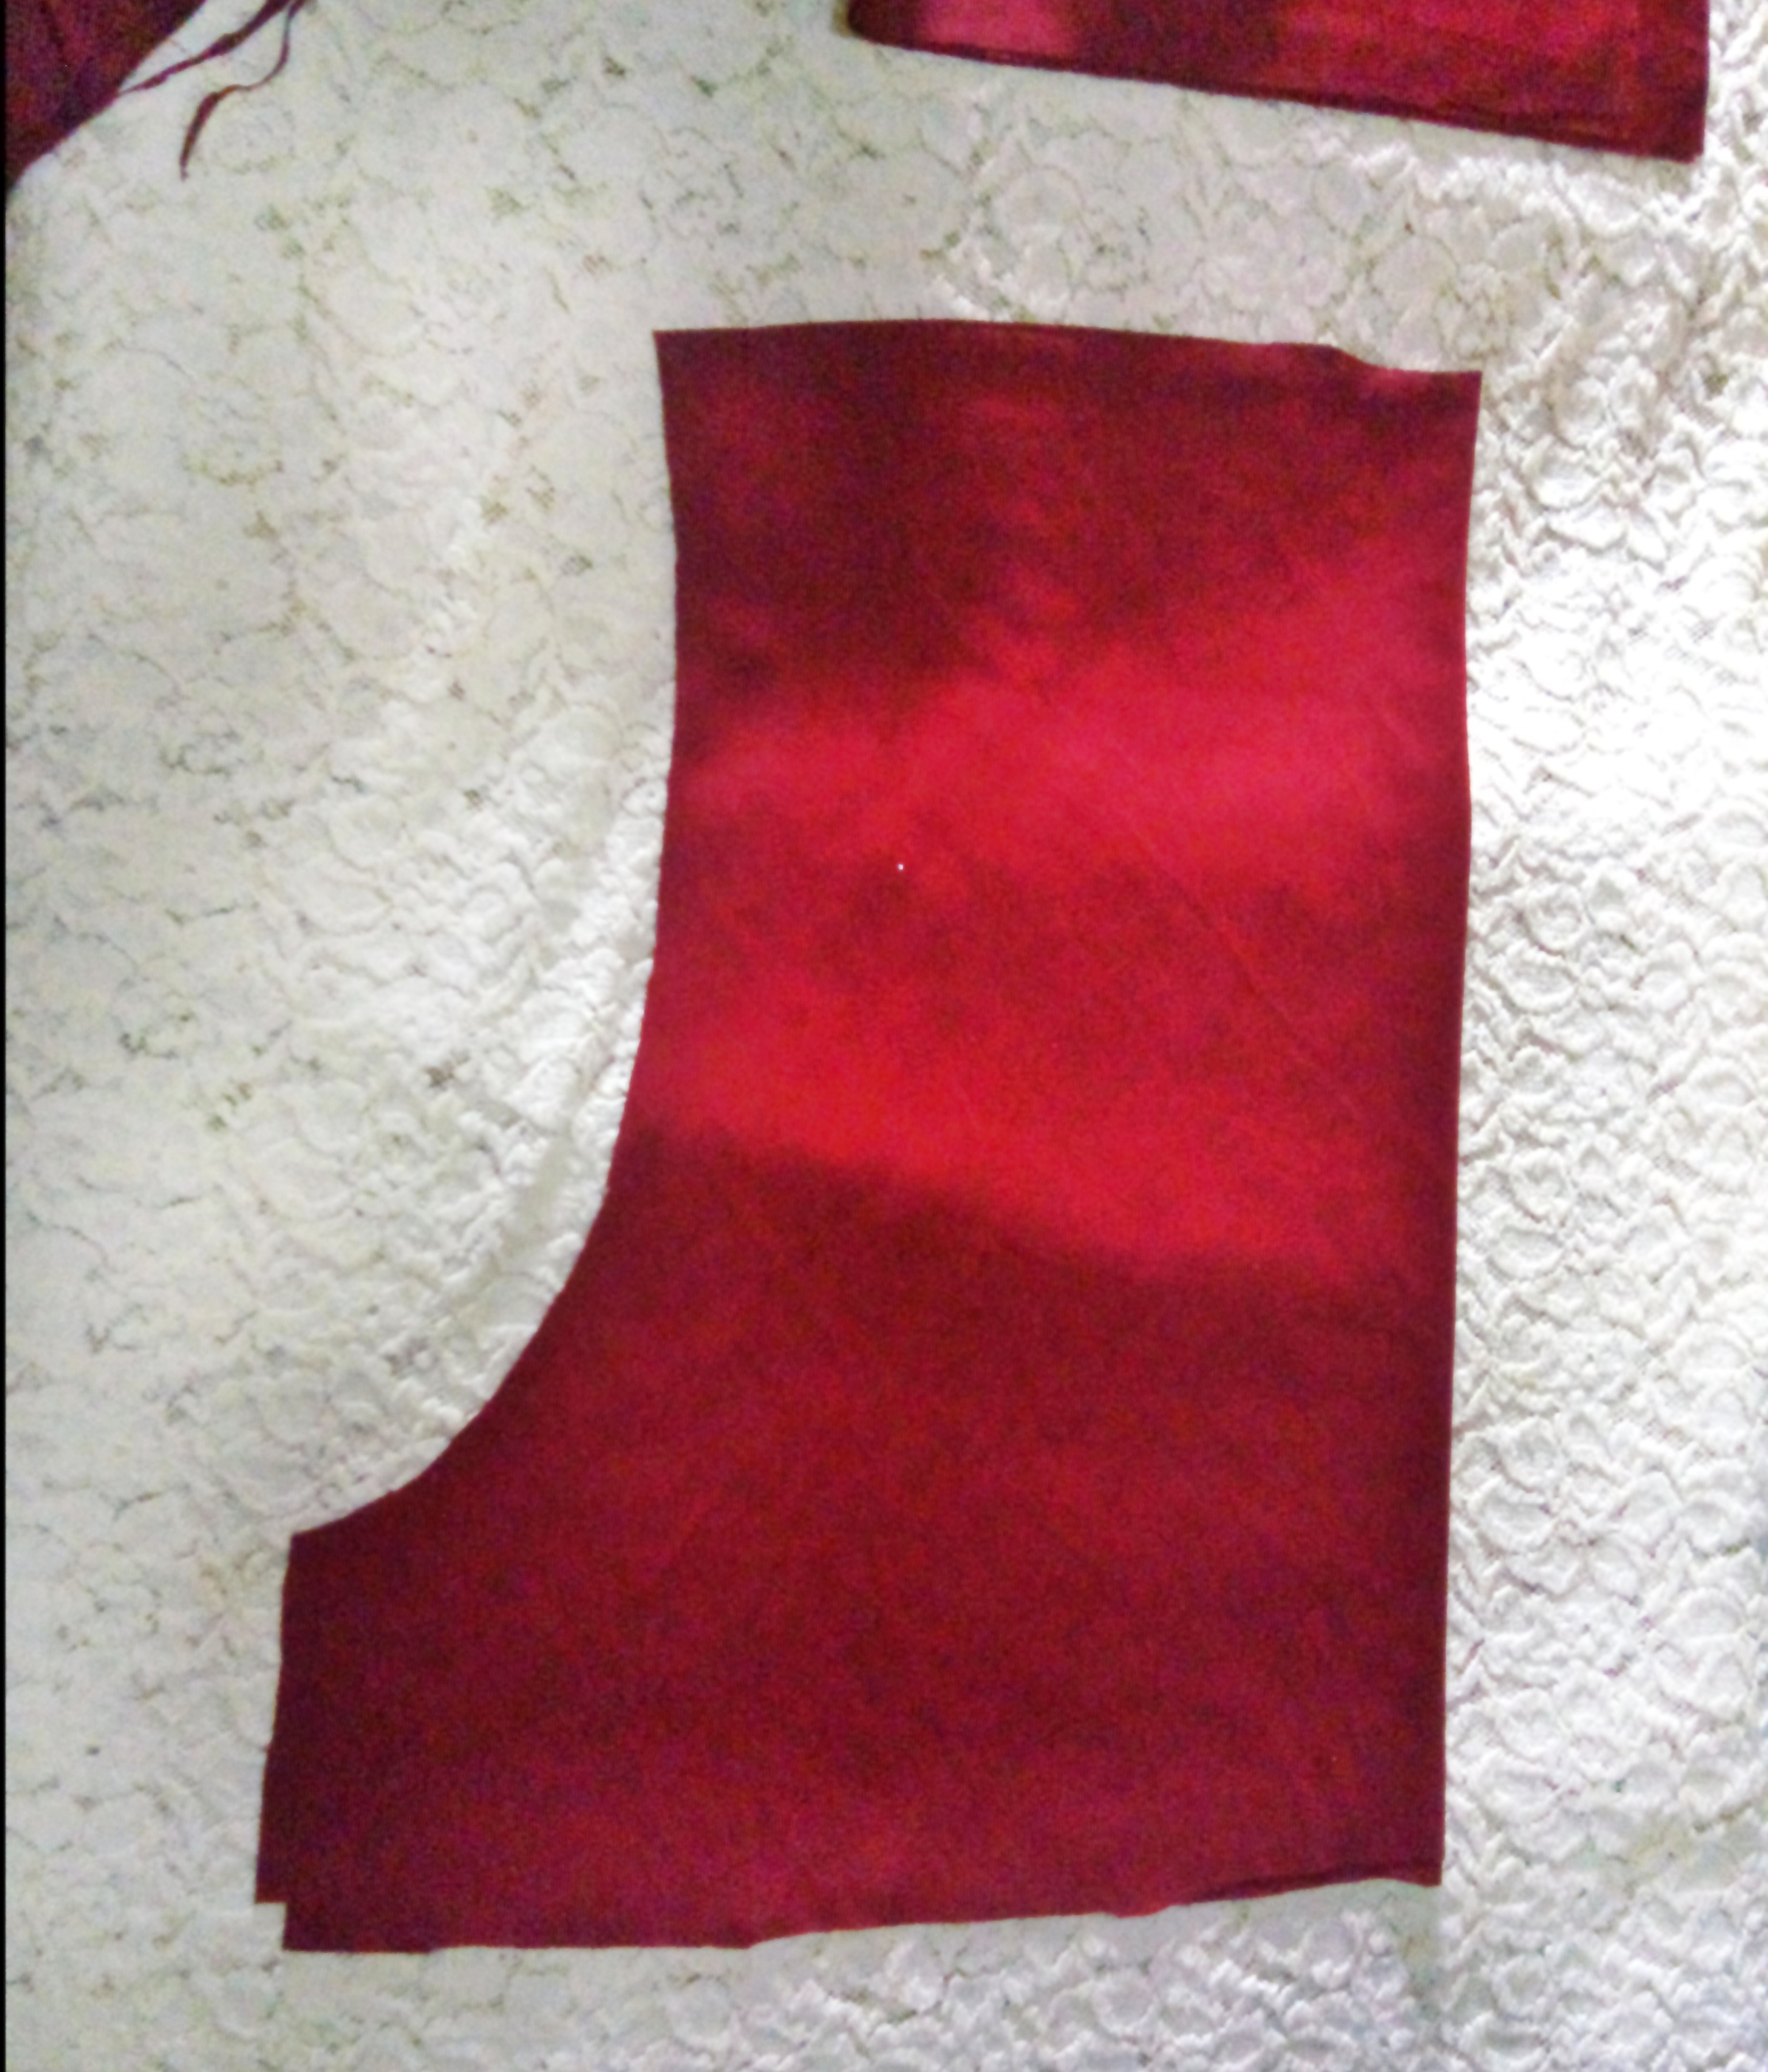
Vamos a colocar los materiales en nuestra mesa de trabajo y vamos a proseguir a acomodar la tela, vamos a tomar la tela y la doblamos por la mitad, luego vamos cortar un rectángulo de 30 centímetros de ancho,y 42 centímetros de largo está será la parte delantera del shorts, luego vamos a sacar la figura, la entrepierna mide 9 centímetros de alto, luego terminamos de cortar.
La parte trasera mide 44 centímetros de largo y 33 centímetros de ancho. la entrepierna mide también 9 de alto.
Segundo Paso:
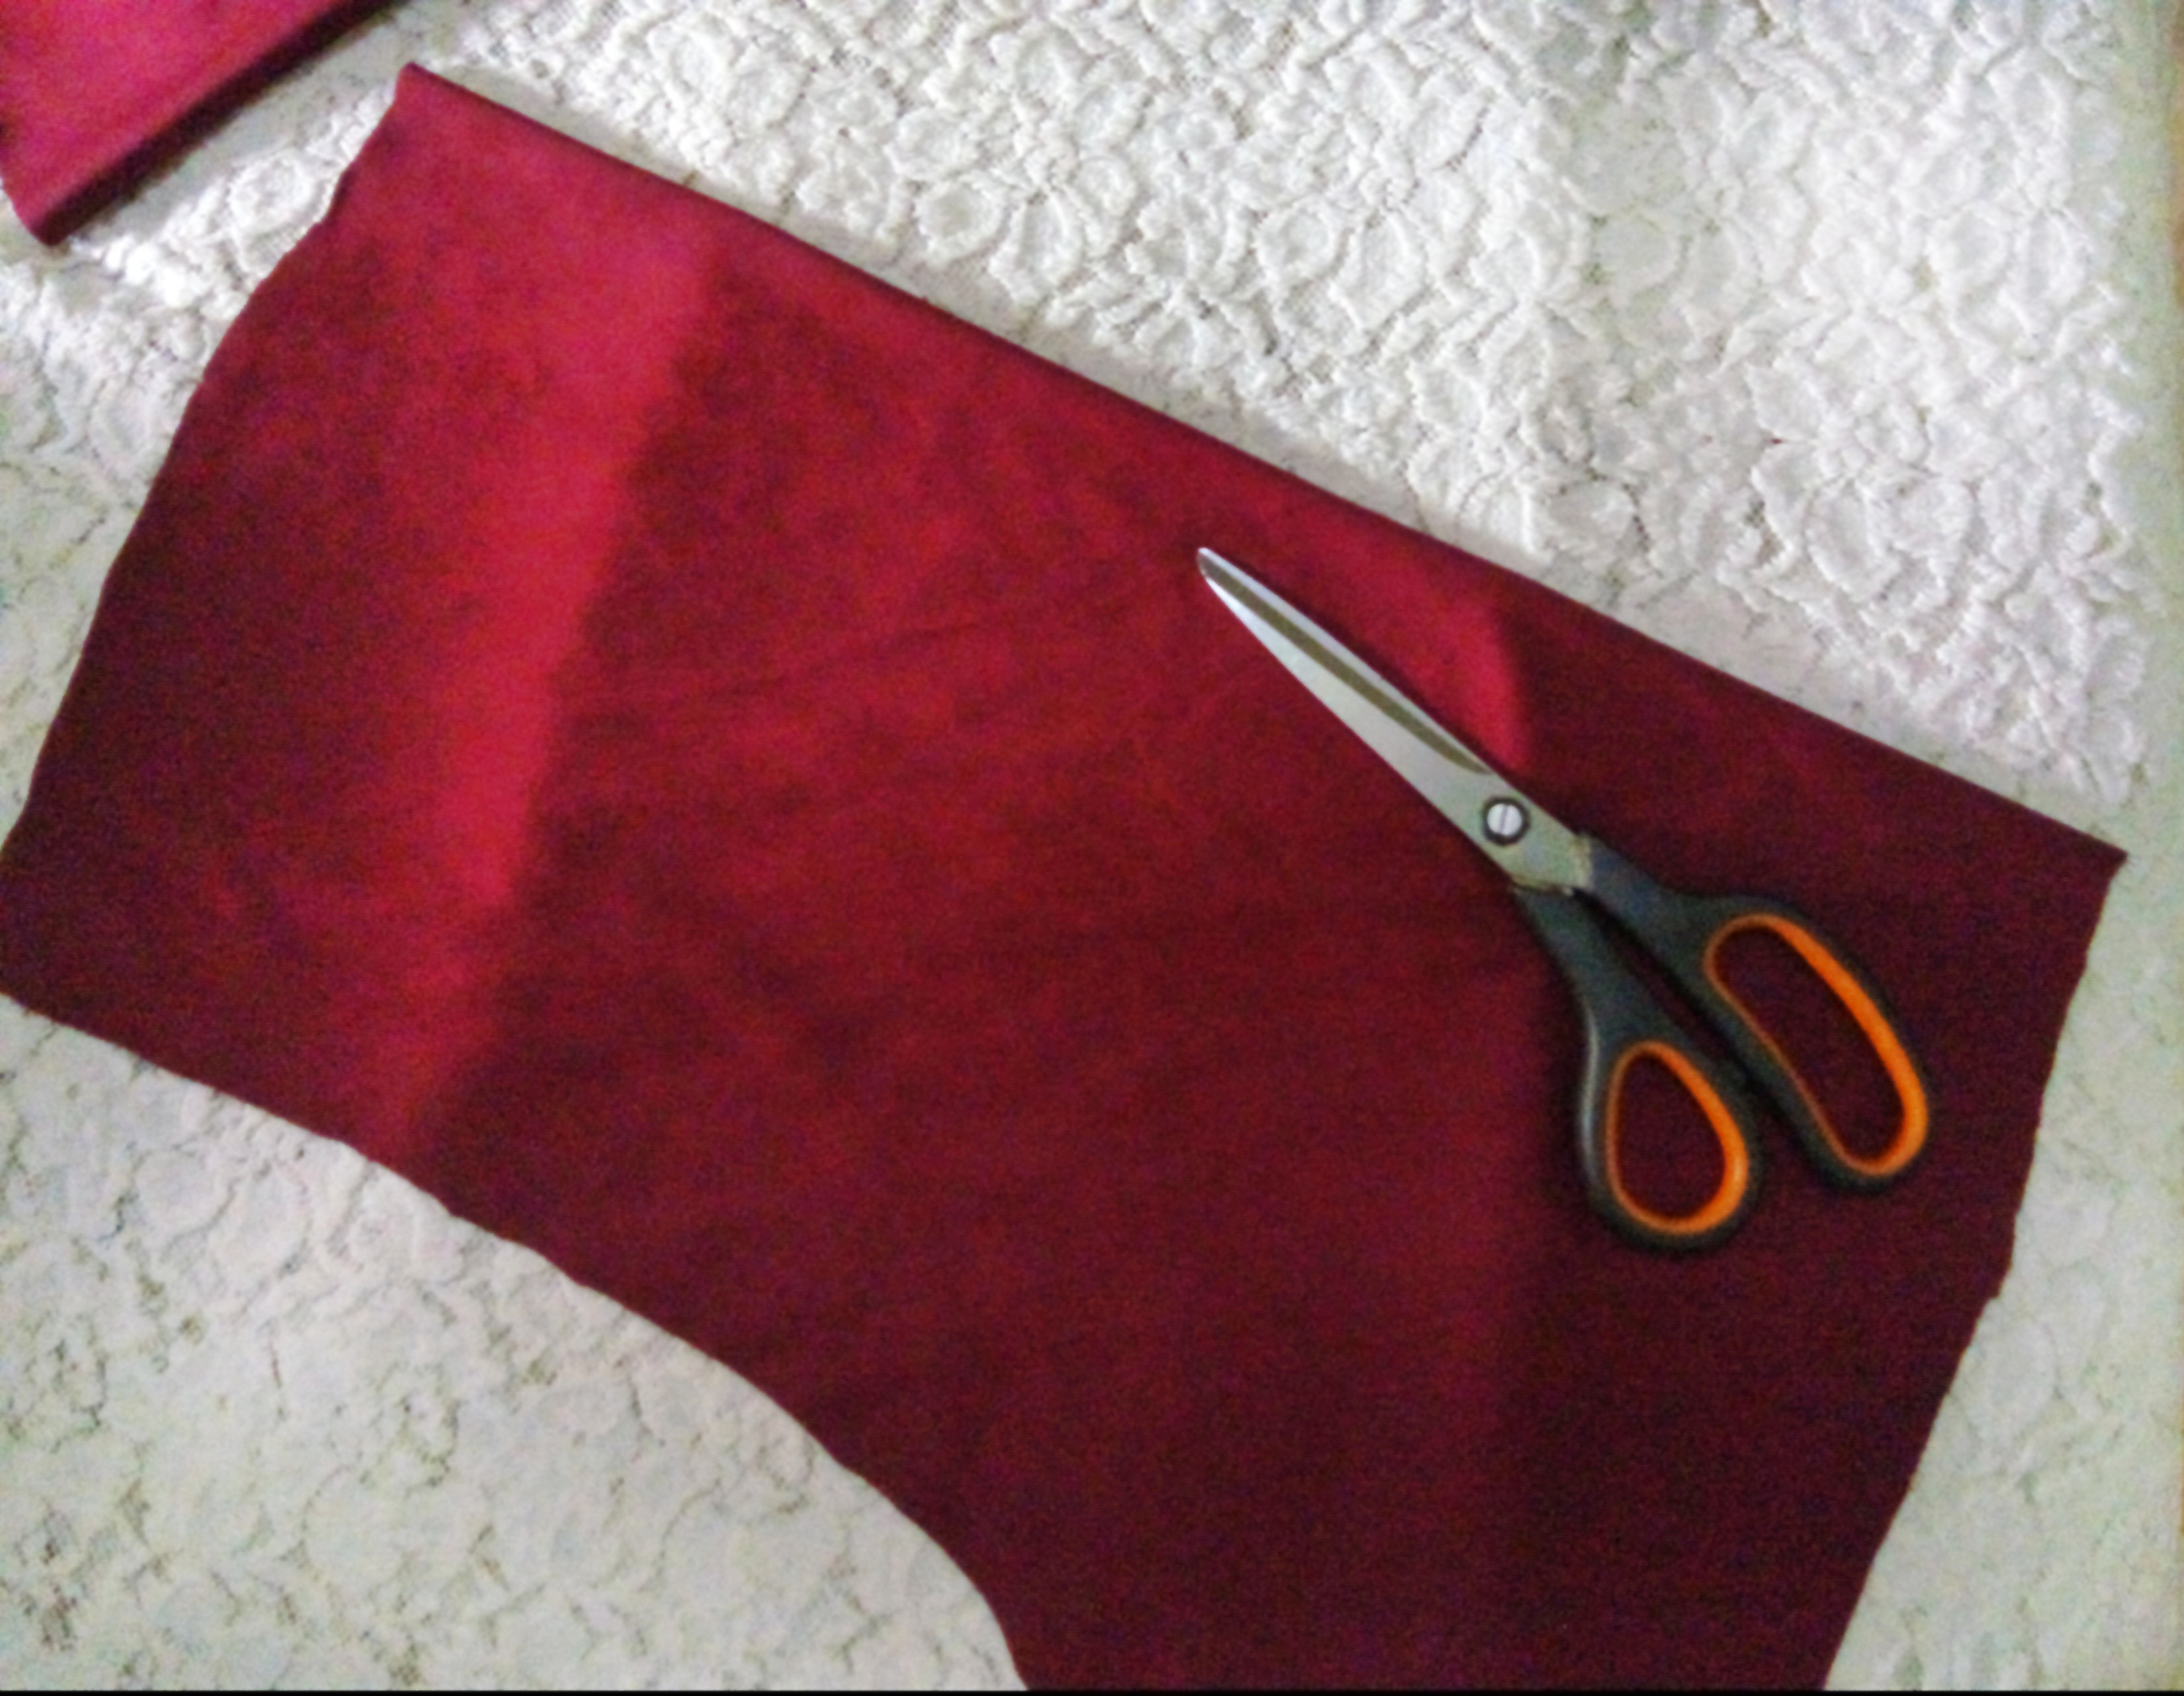
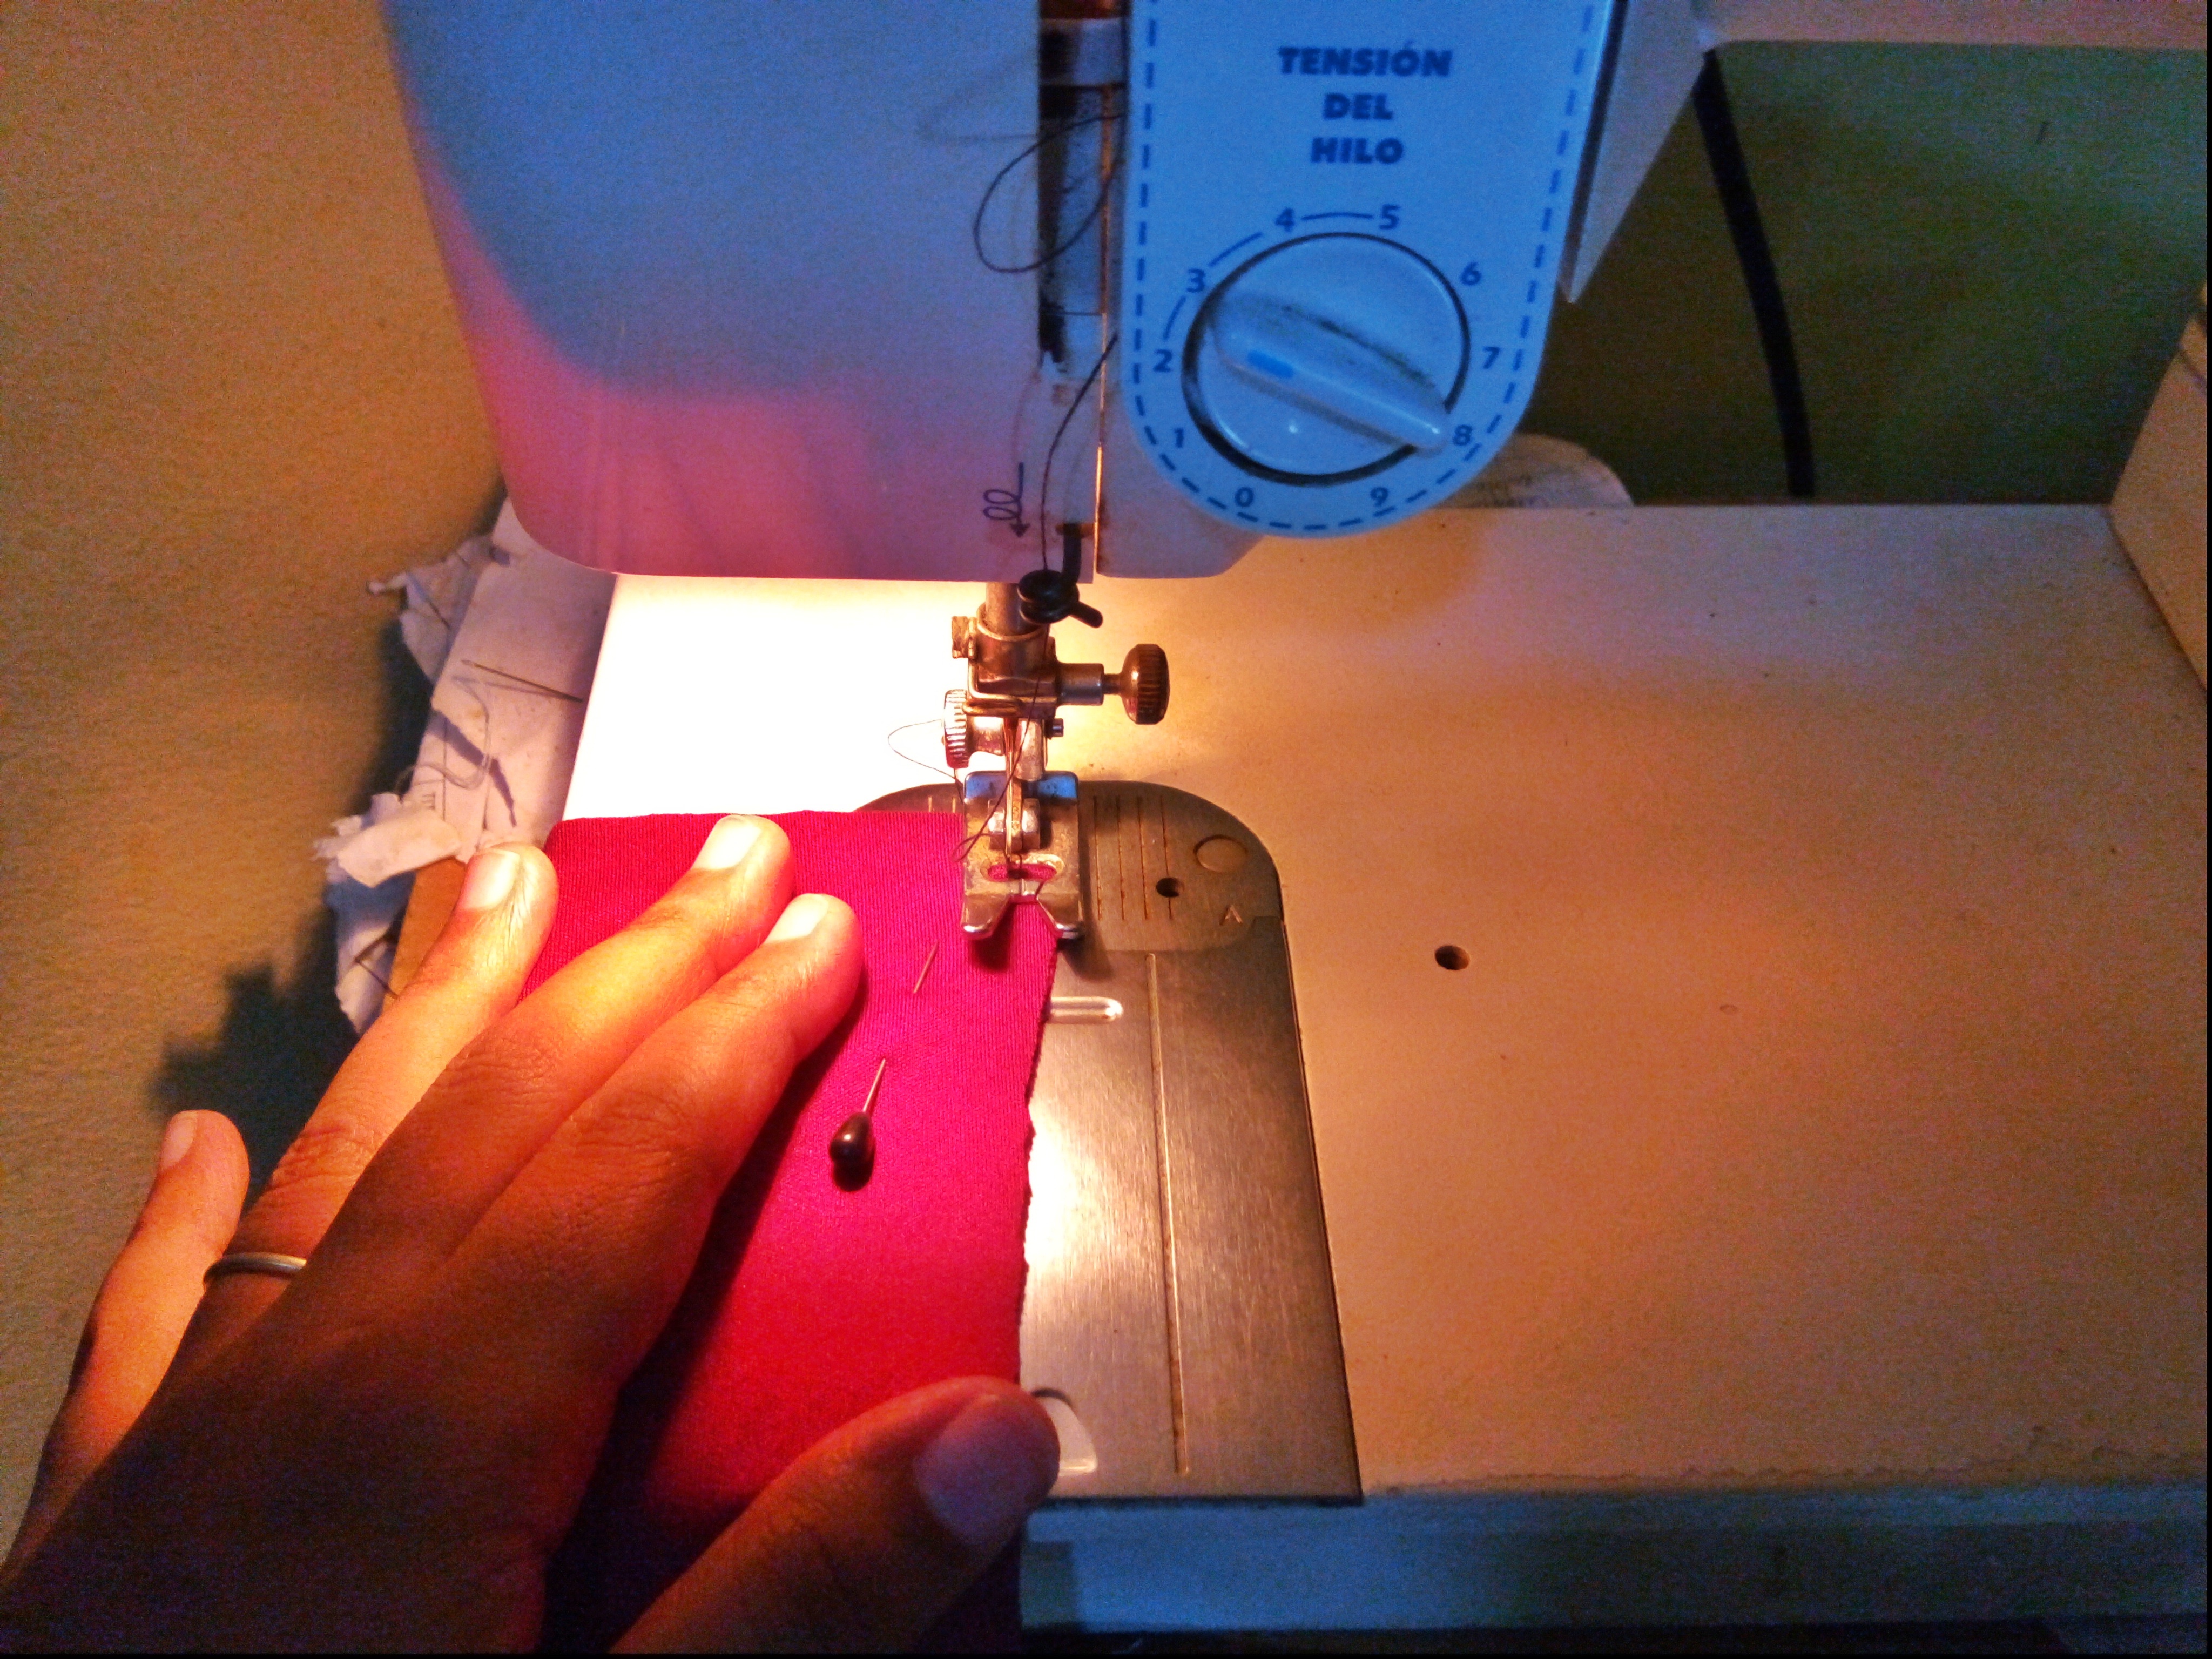
Ahora vamos a cortar el lateral de ambas piezas, luego vamos a la máquina y pasamos una costura recta y luego una costura zigzag por el borde de la figura, sin meter la entrepierna.
Tercer Paso:
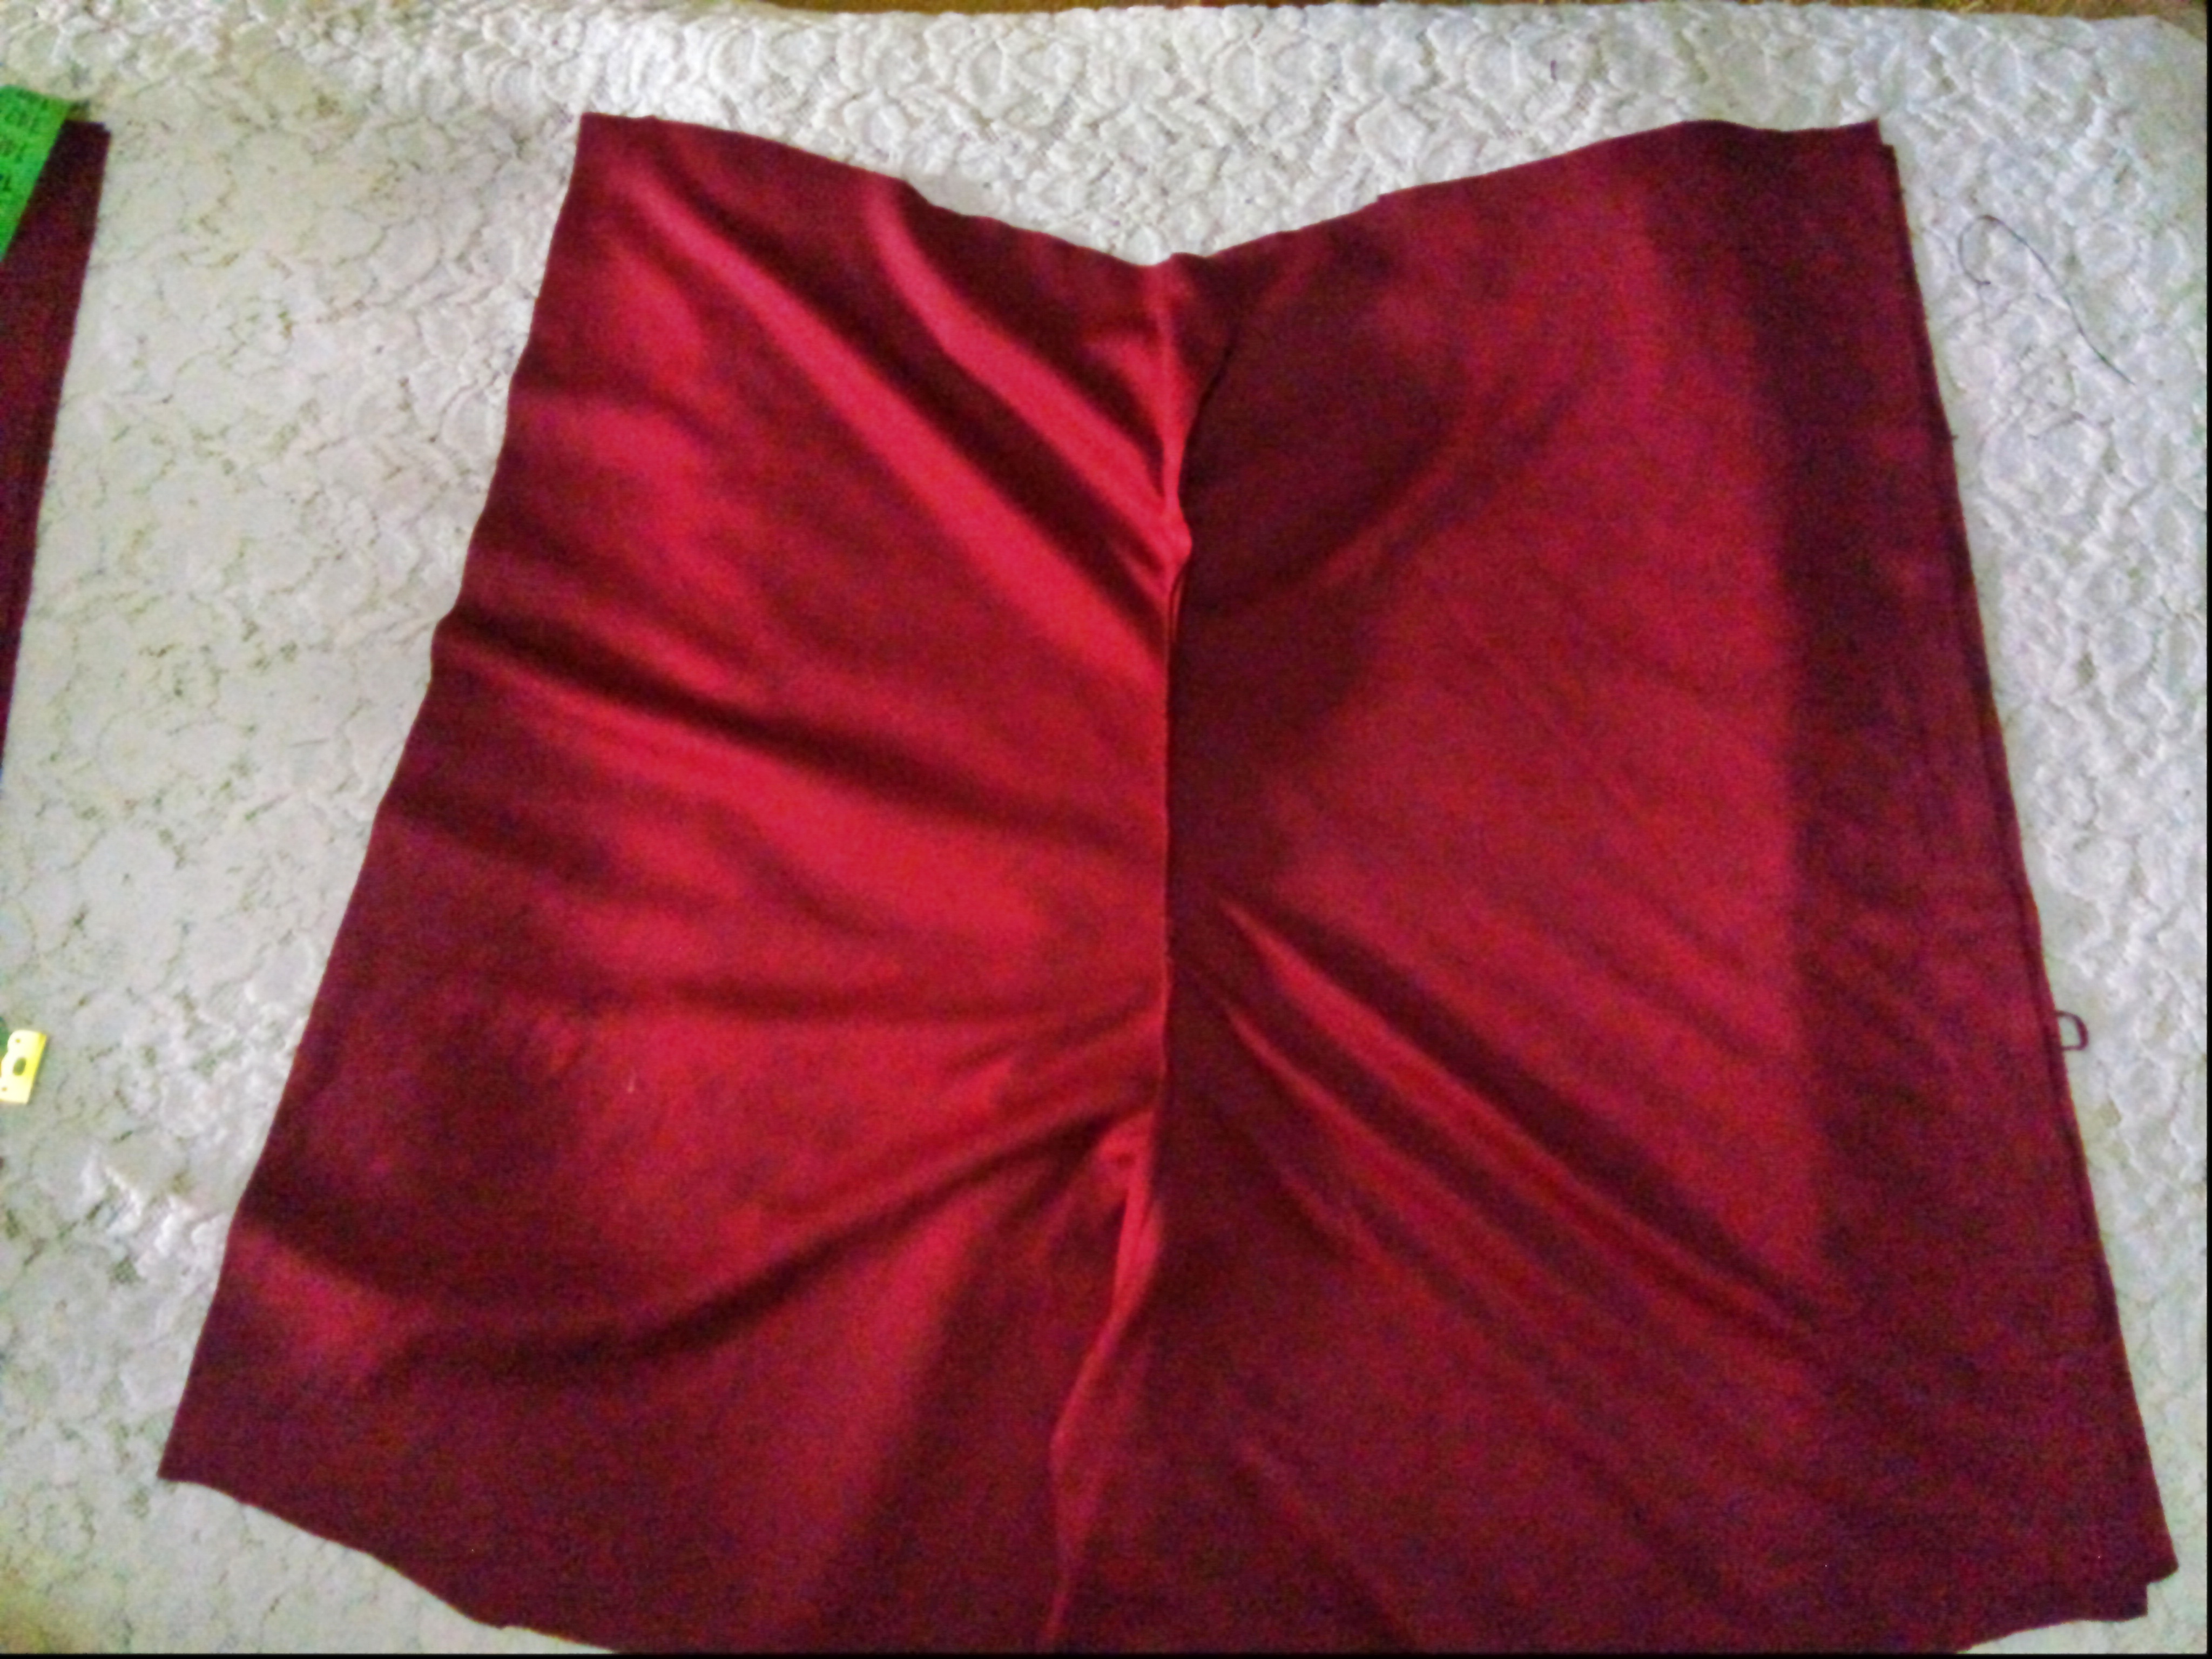
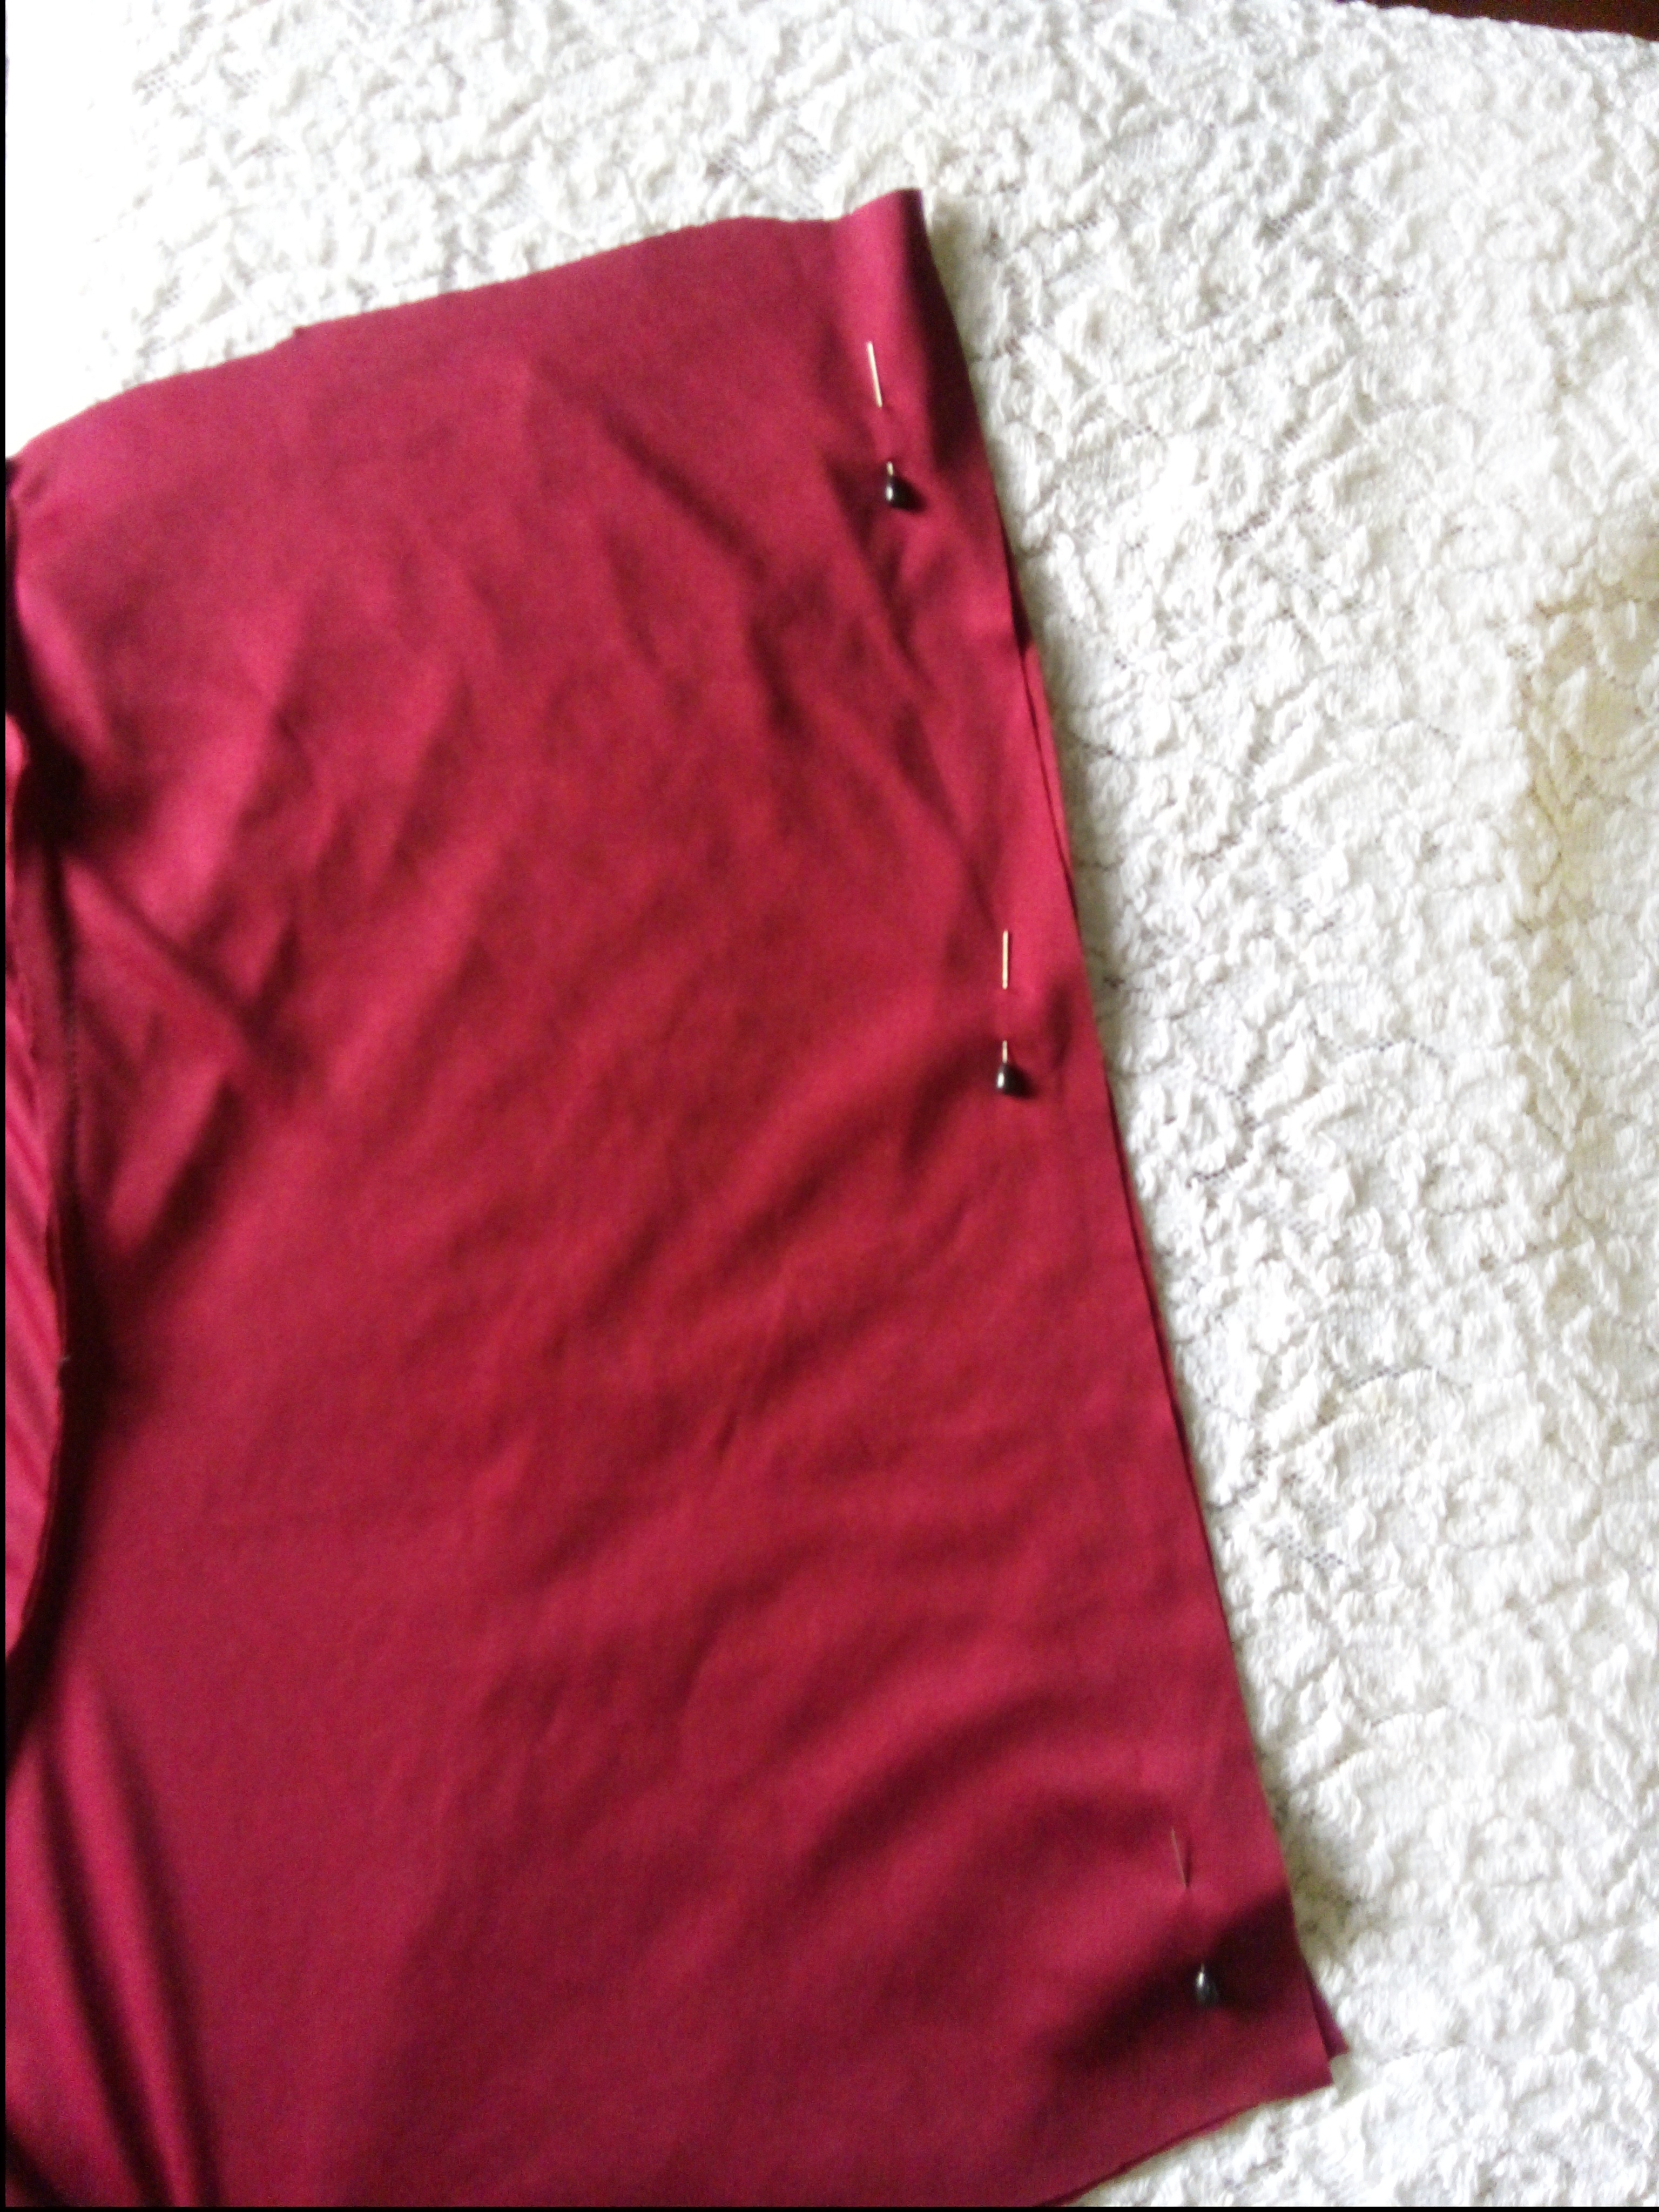
Una vez cosidas las dos piezas vamos a colocar los frentes de cada pieza, luego con ganchillos vamos a sujetar para evitar que se rueden, después de realizar esto vamos a ir a la máquina y pasamos una costura recta y luego proseguimos con una costura zigzag. esto es por los todo el lateral del shorts.
Cuarto Paso:
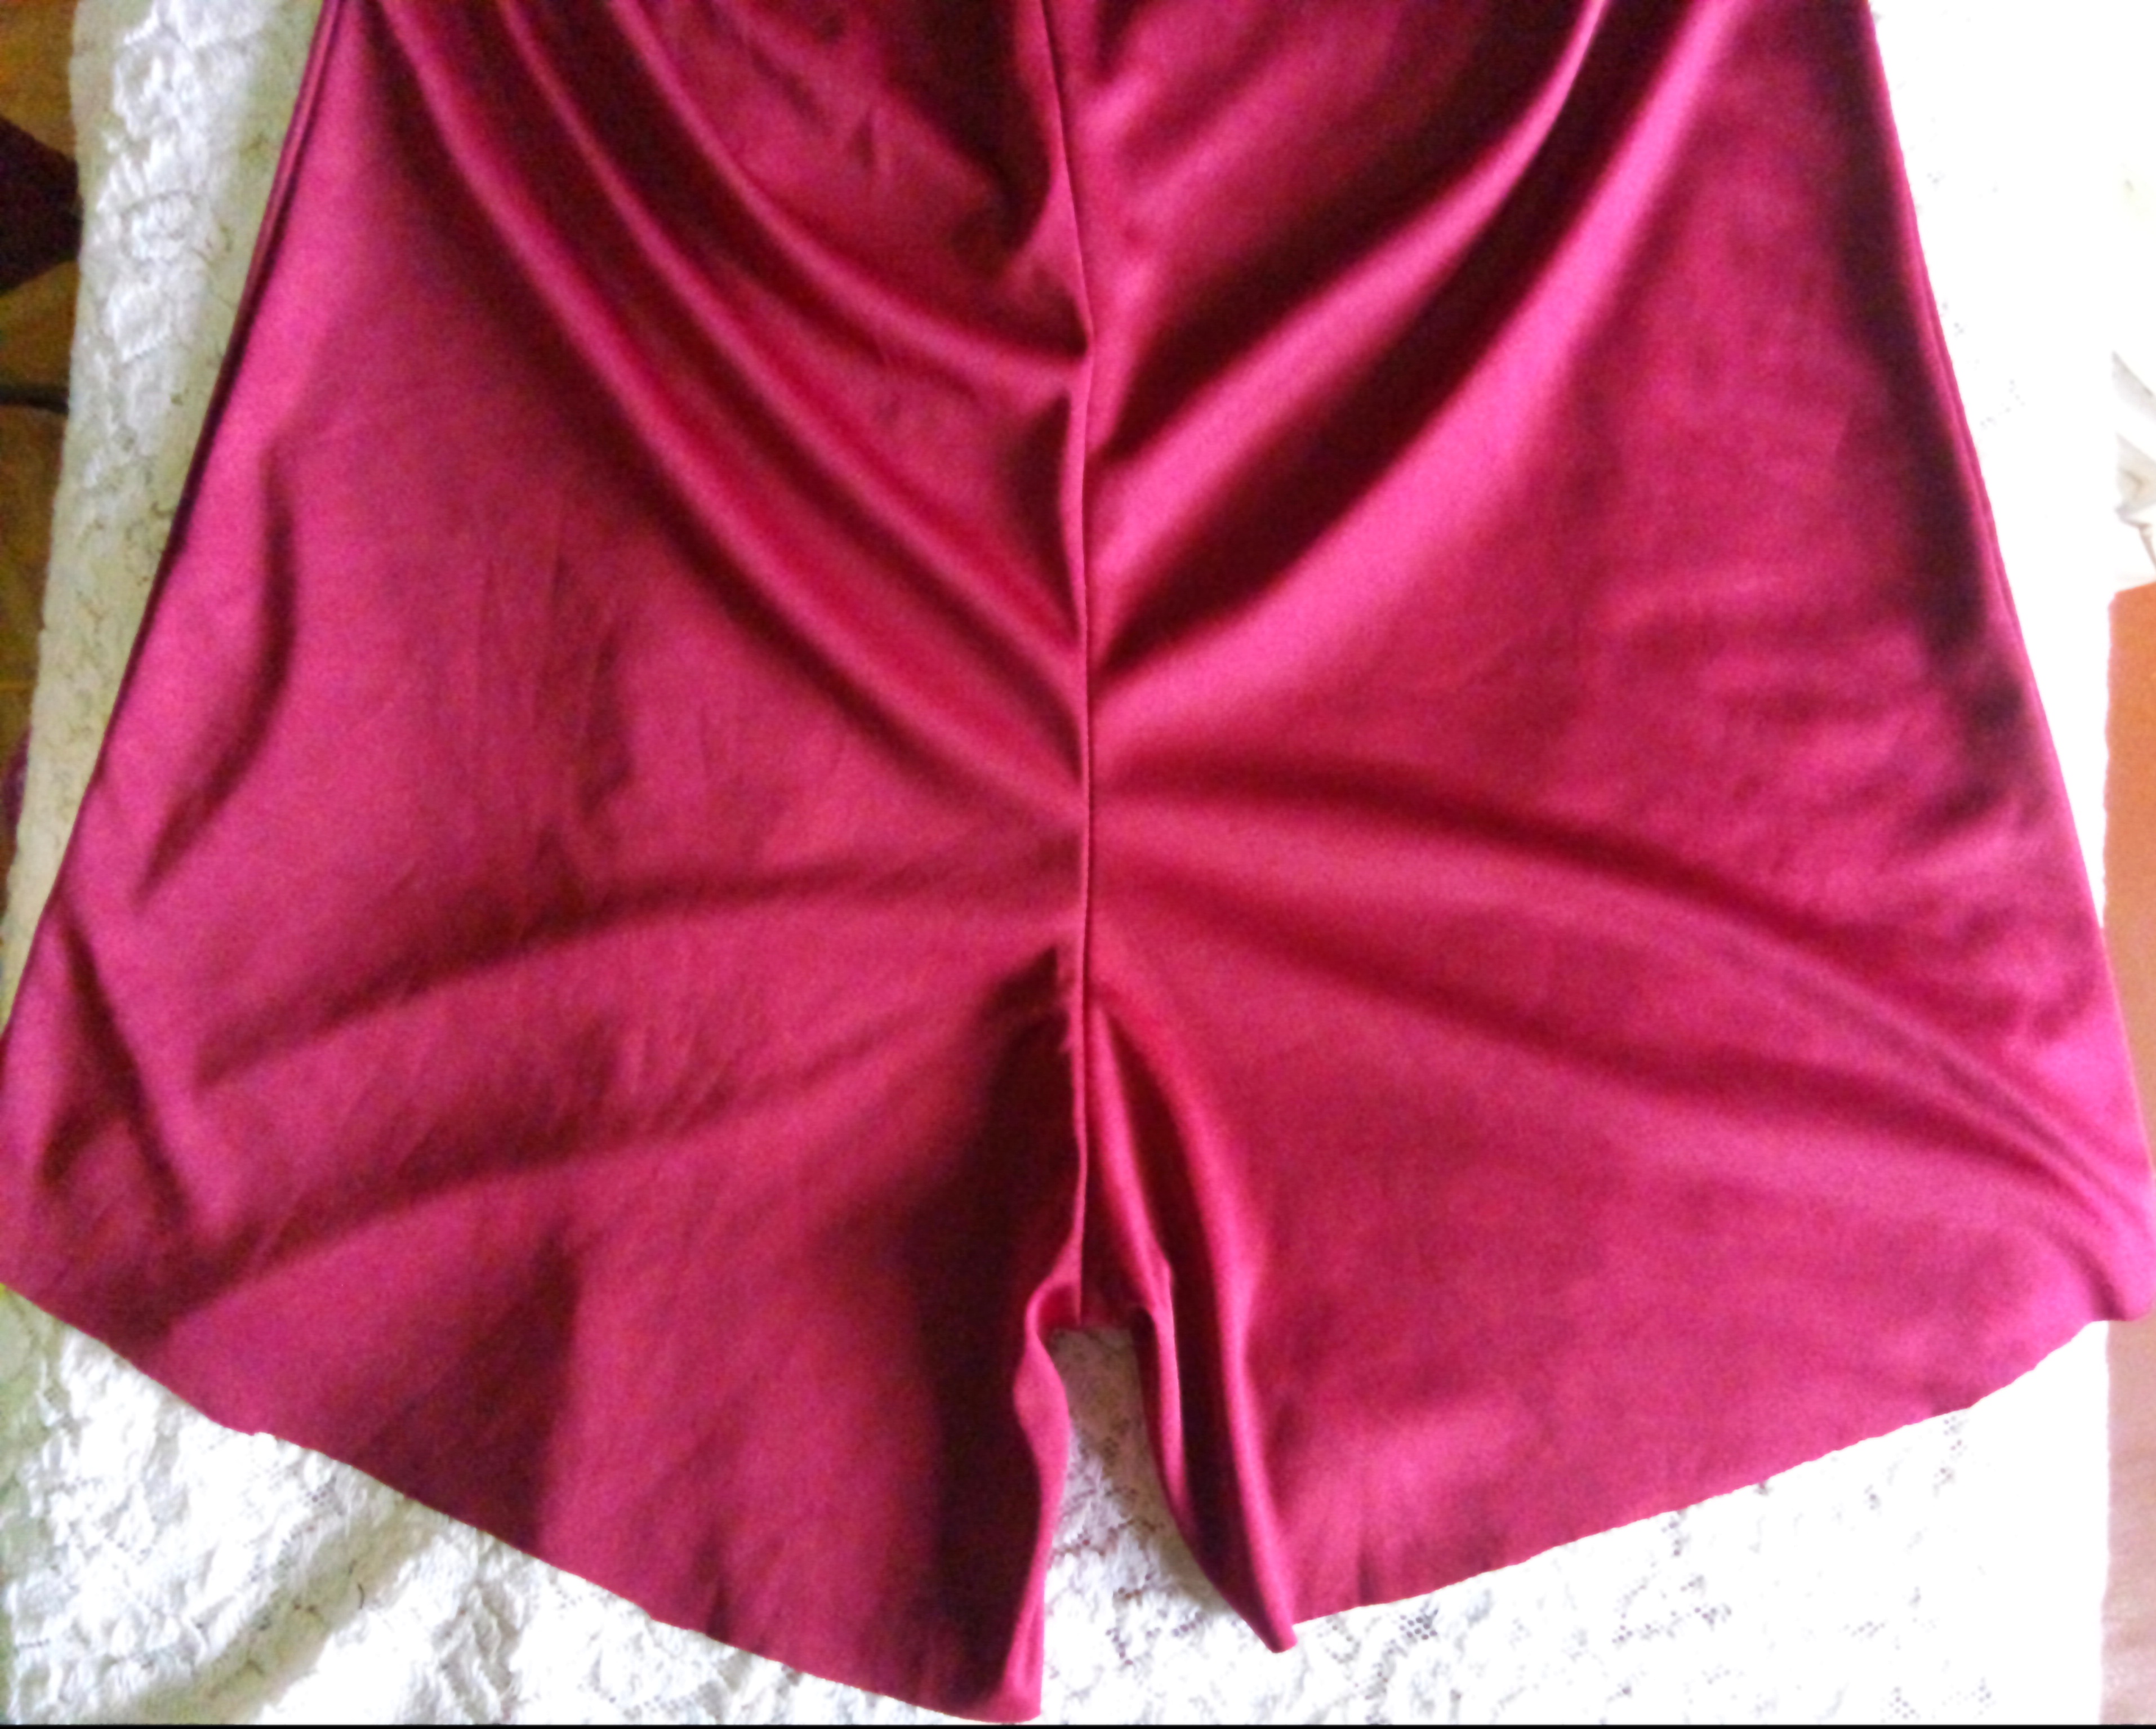
Vamos ahora a coser la entrepierna, pasamos costura recta y luego zigzag para sellar la costura y así evitar que se deshaga.
Quinto Paso:
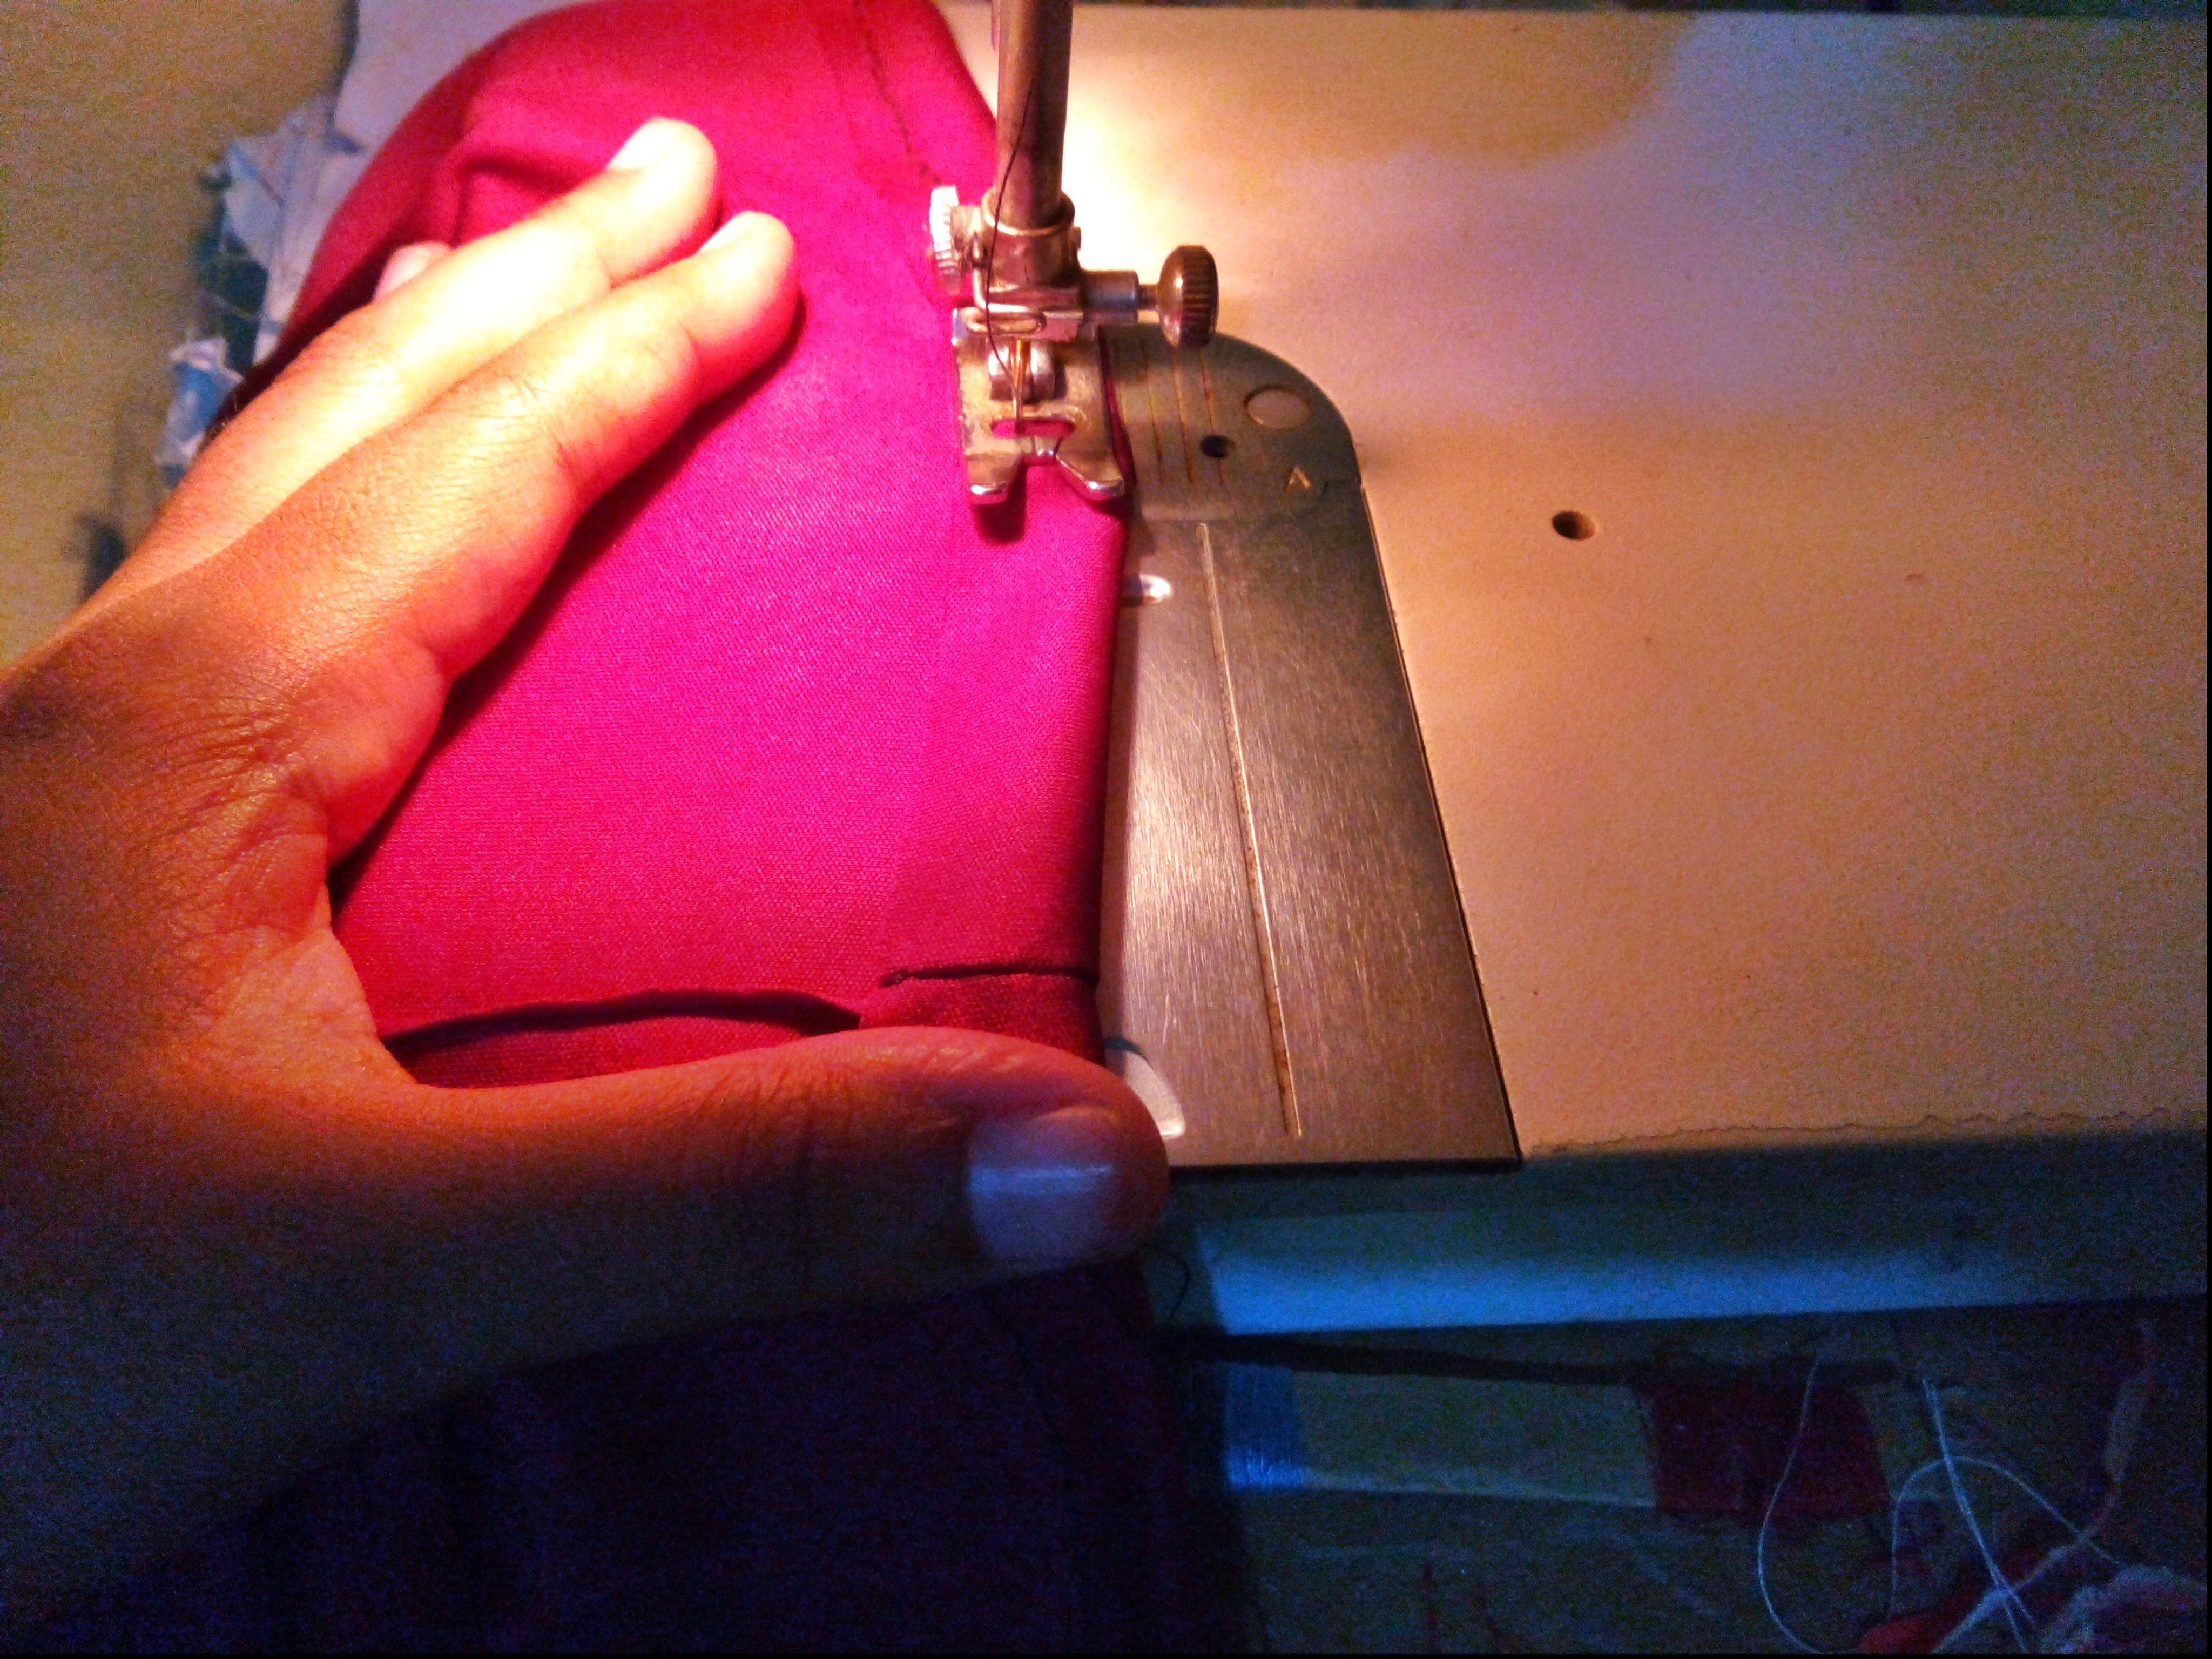
Ahora vamos a coser la parte de los ruedos, vamos a realizar un dobladillo de 1 centímetros, y vamos con la máquina a pasar costura recta.
Sexto Paso:
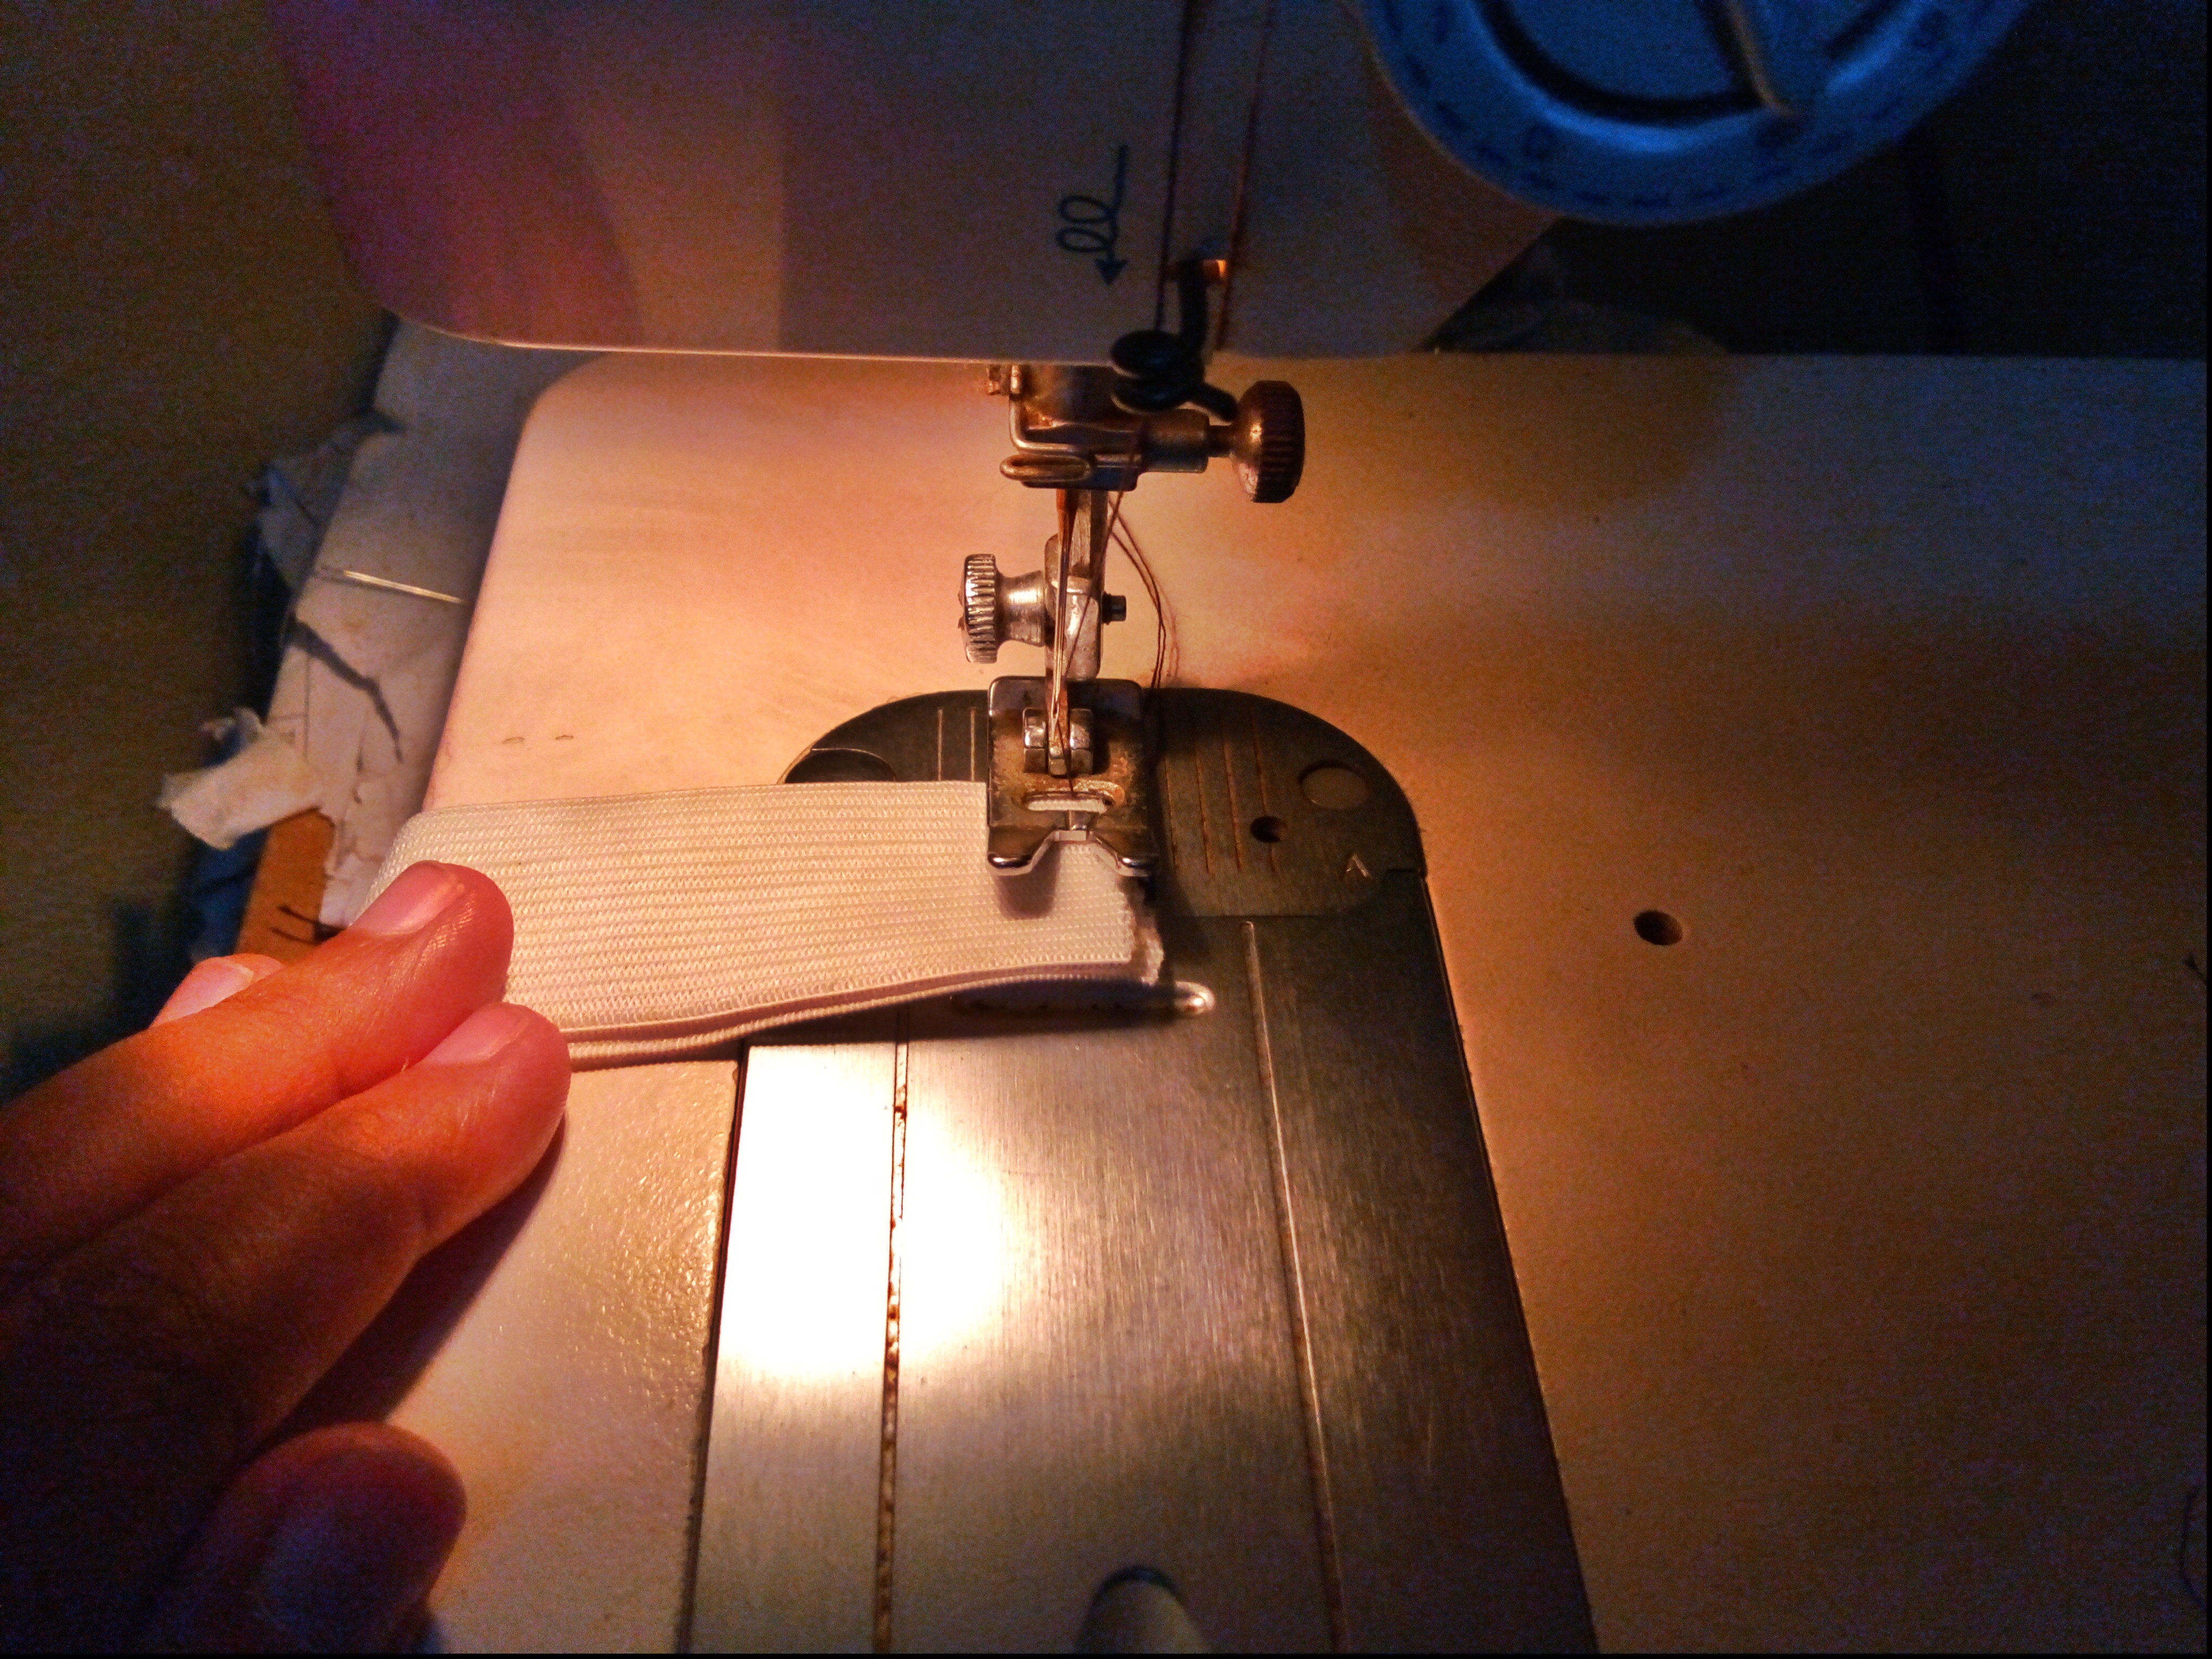
Ahora vamos a tomar la cinta elástica de 3 centímetros de ancho y 66 centímetros de largo, vamos a doblar por las puntas y pasamos costura recta varias veces para que quede bien sujetada. Luego de esto vamos a colocarla en la mitad de la costura del shorts, vamos a ir estirando la cinta elástica a medida que vamos cosiendo, de la parte inferior deje medio centímetro de espacio.
Séptimo paso
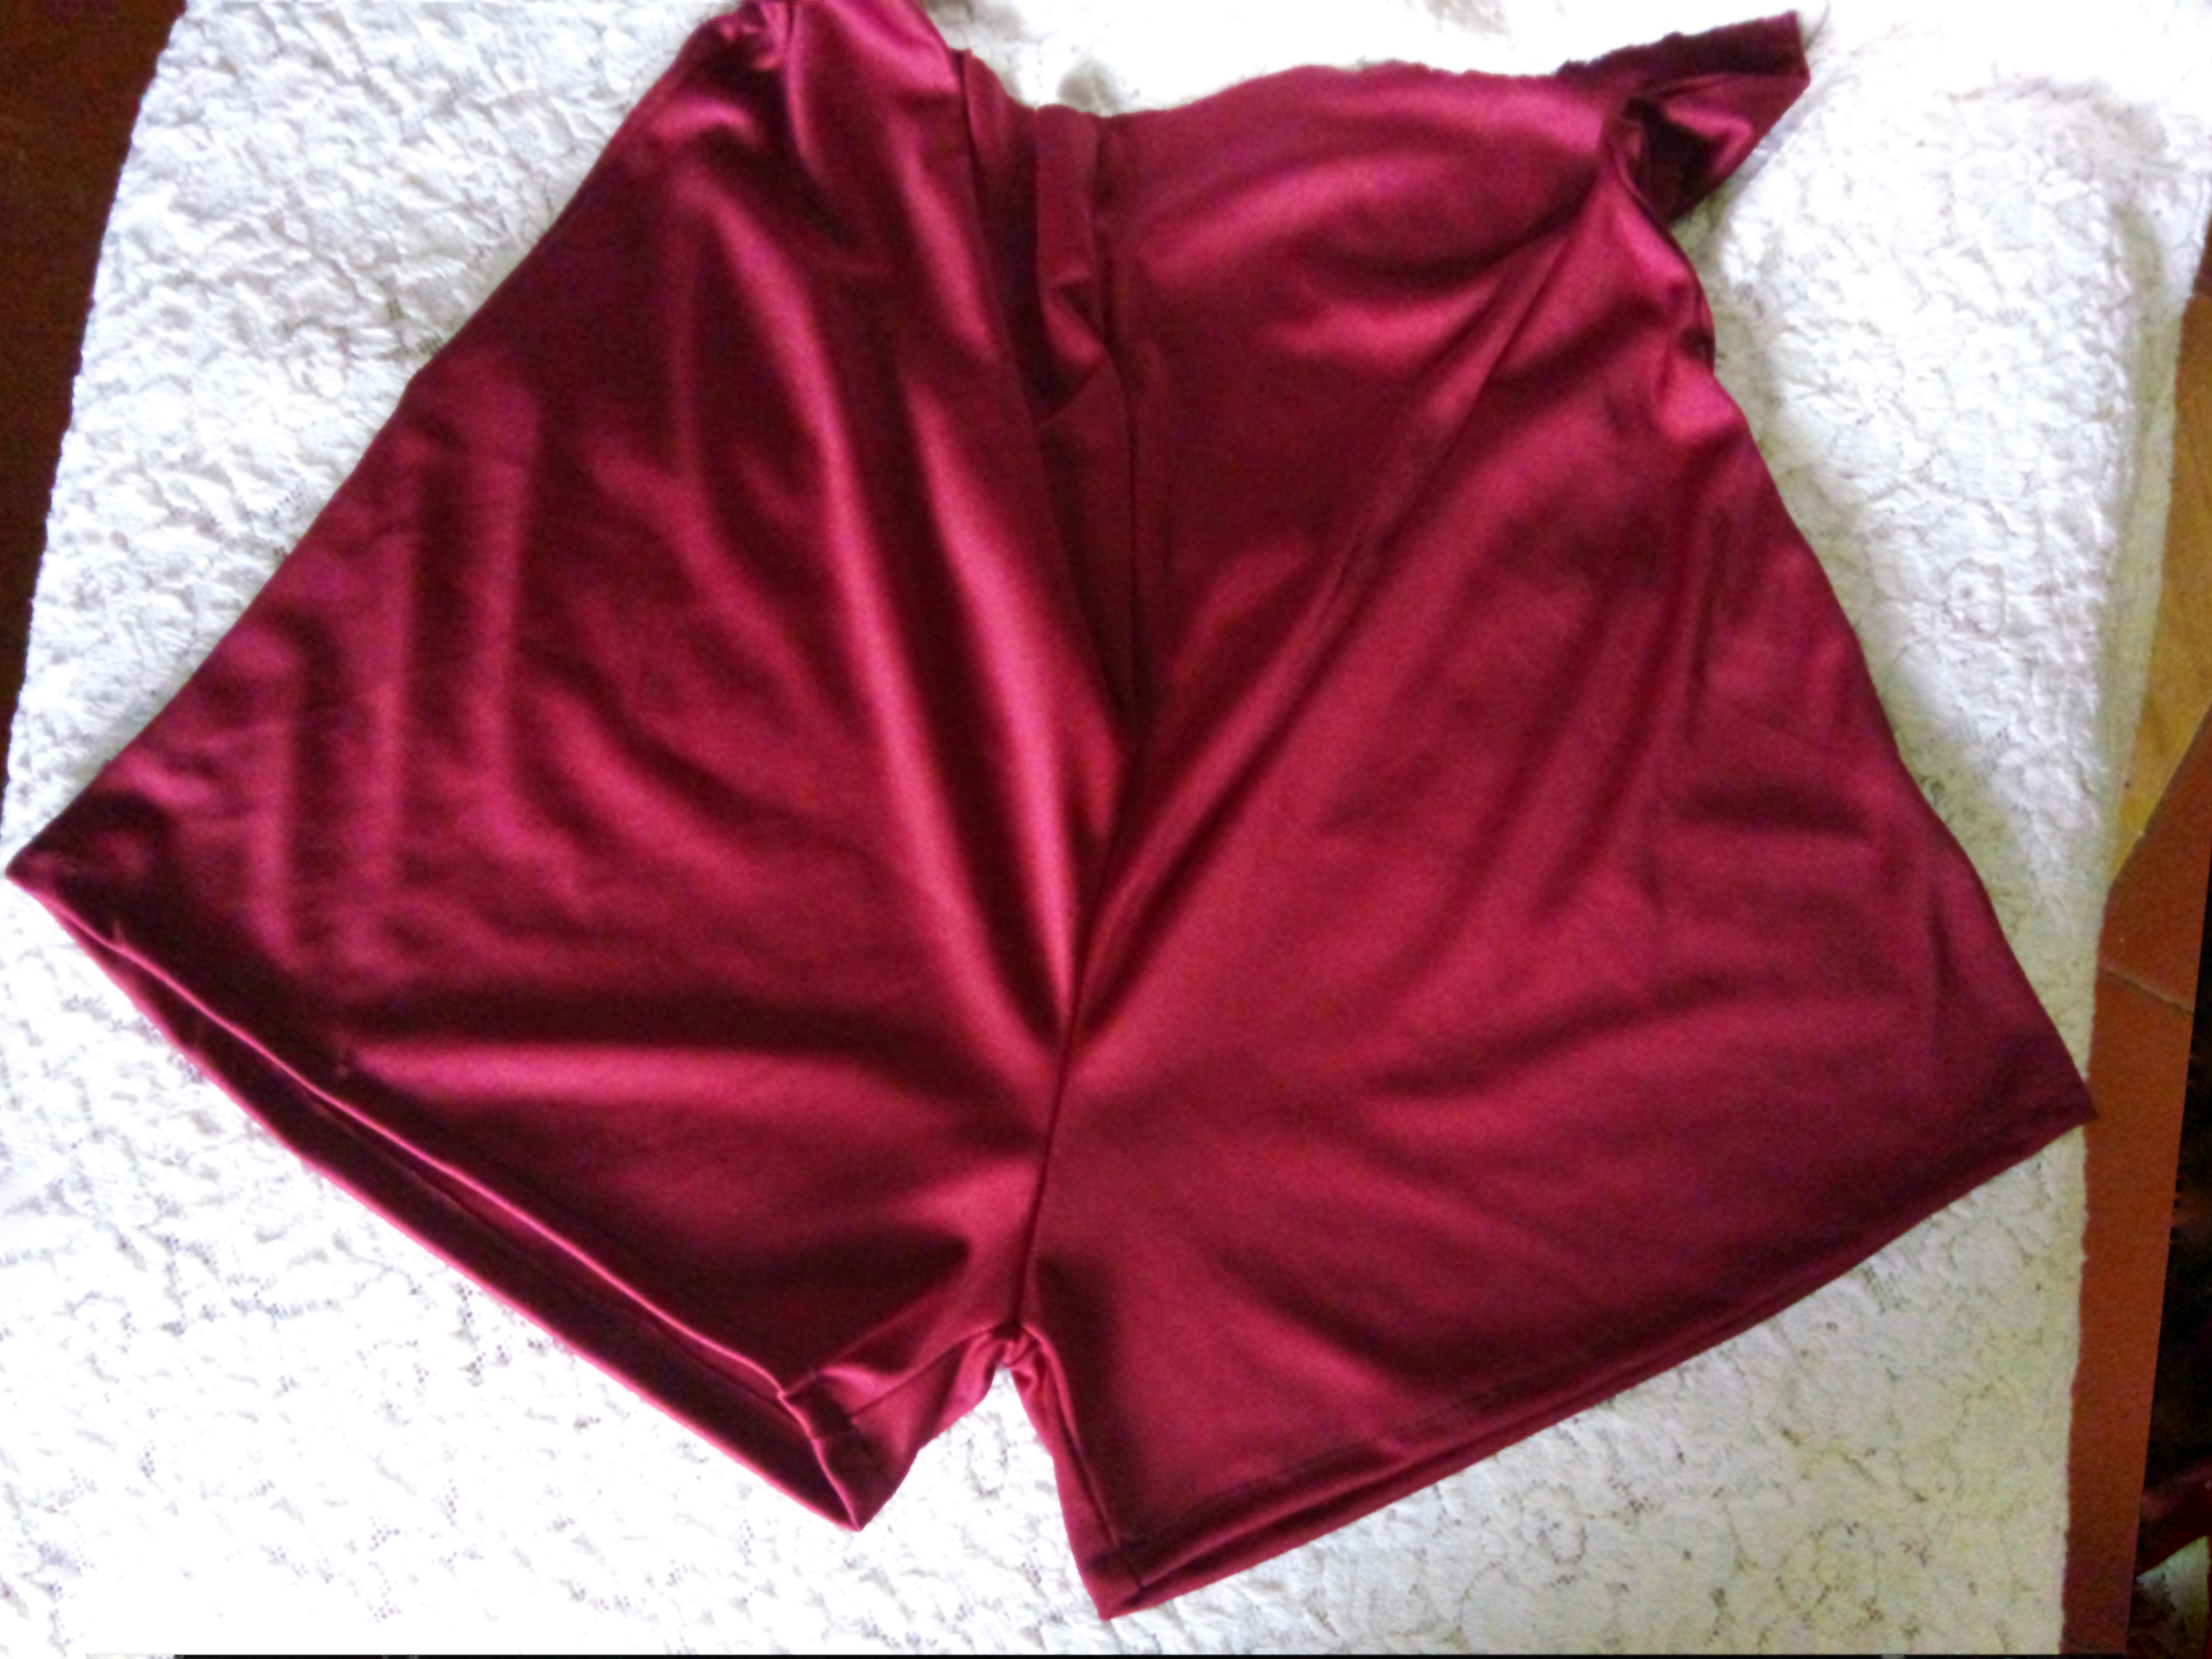
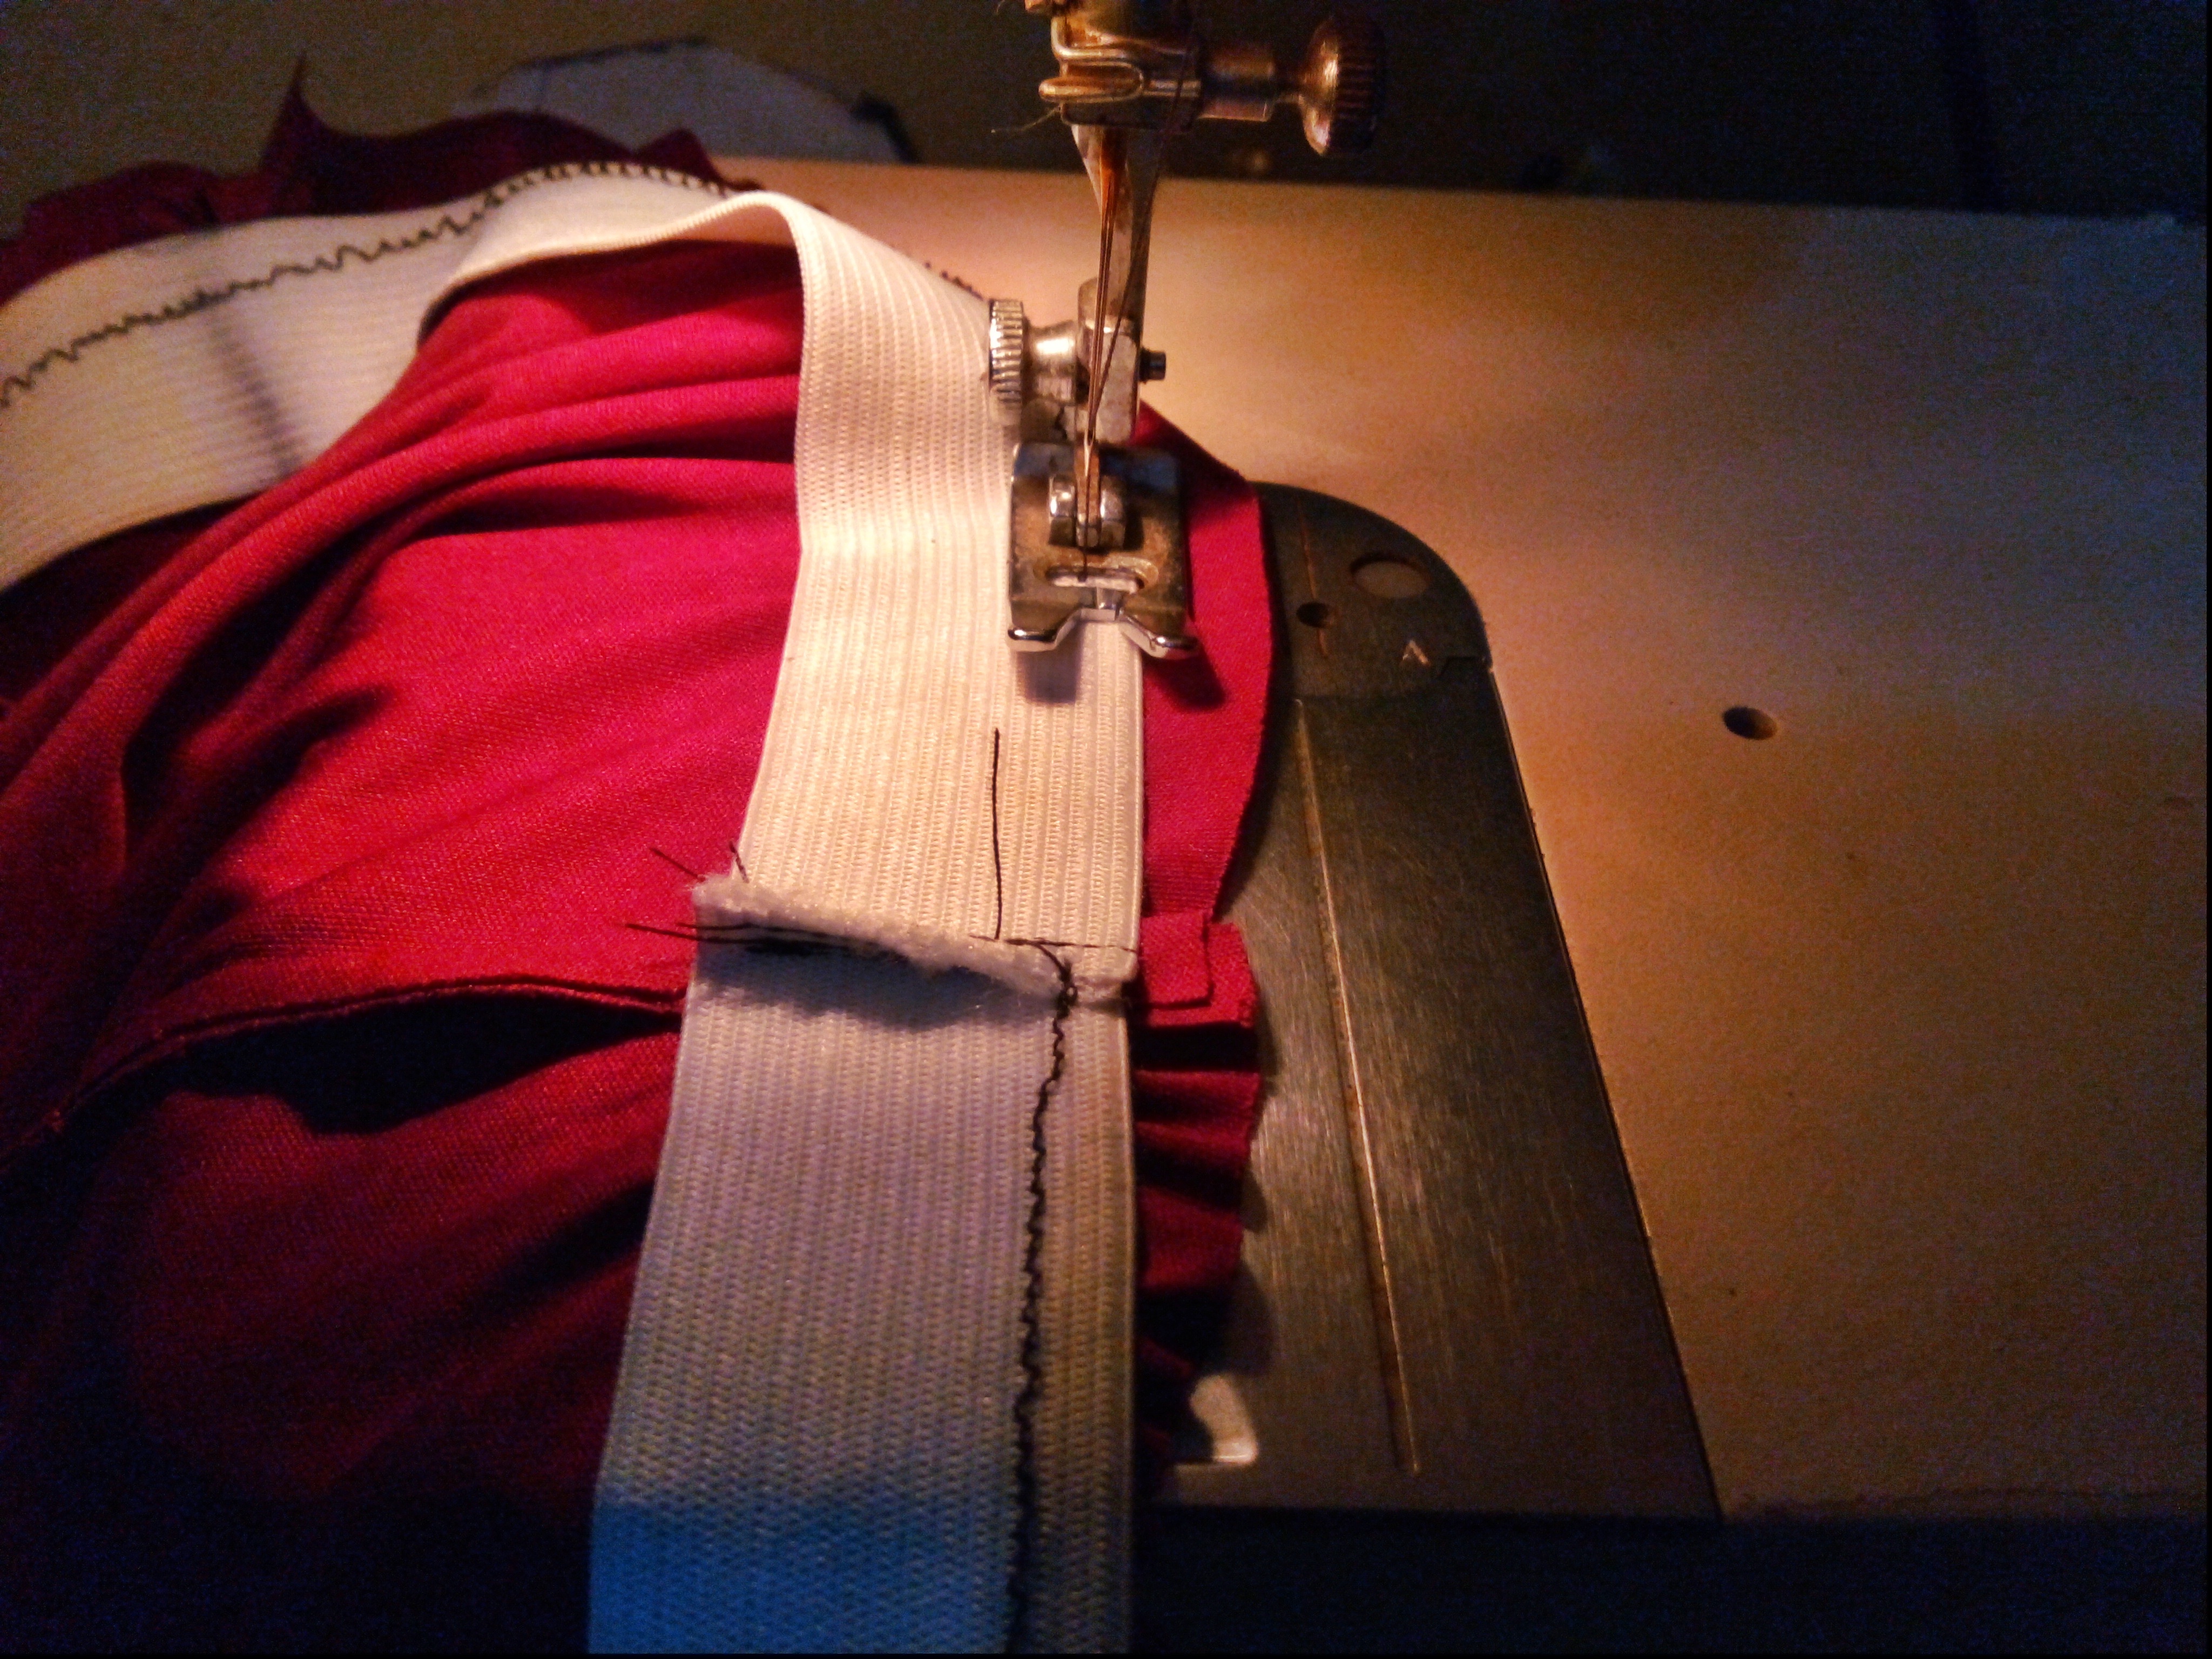
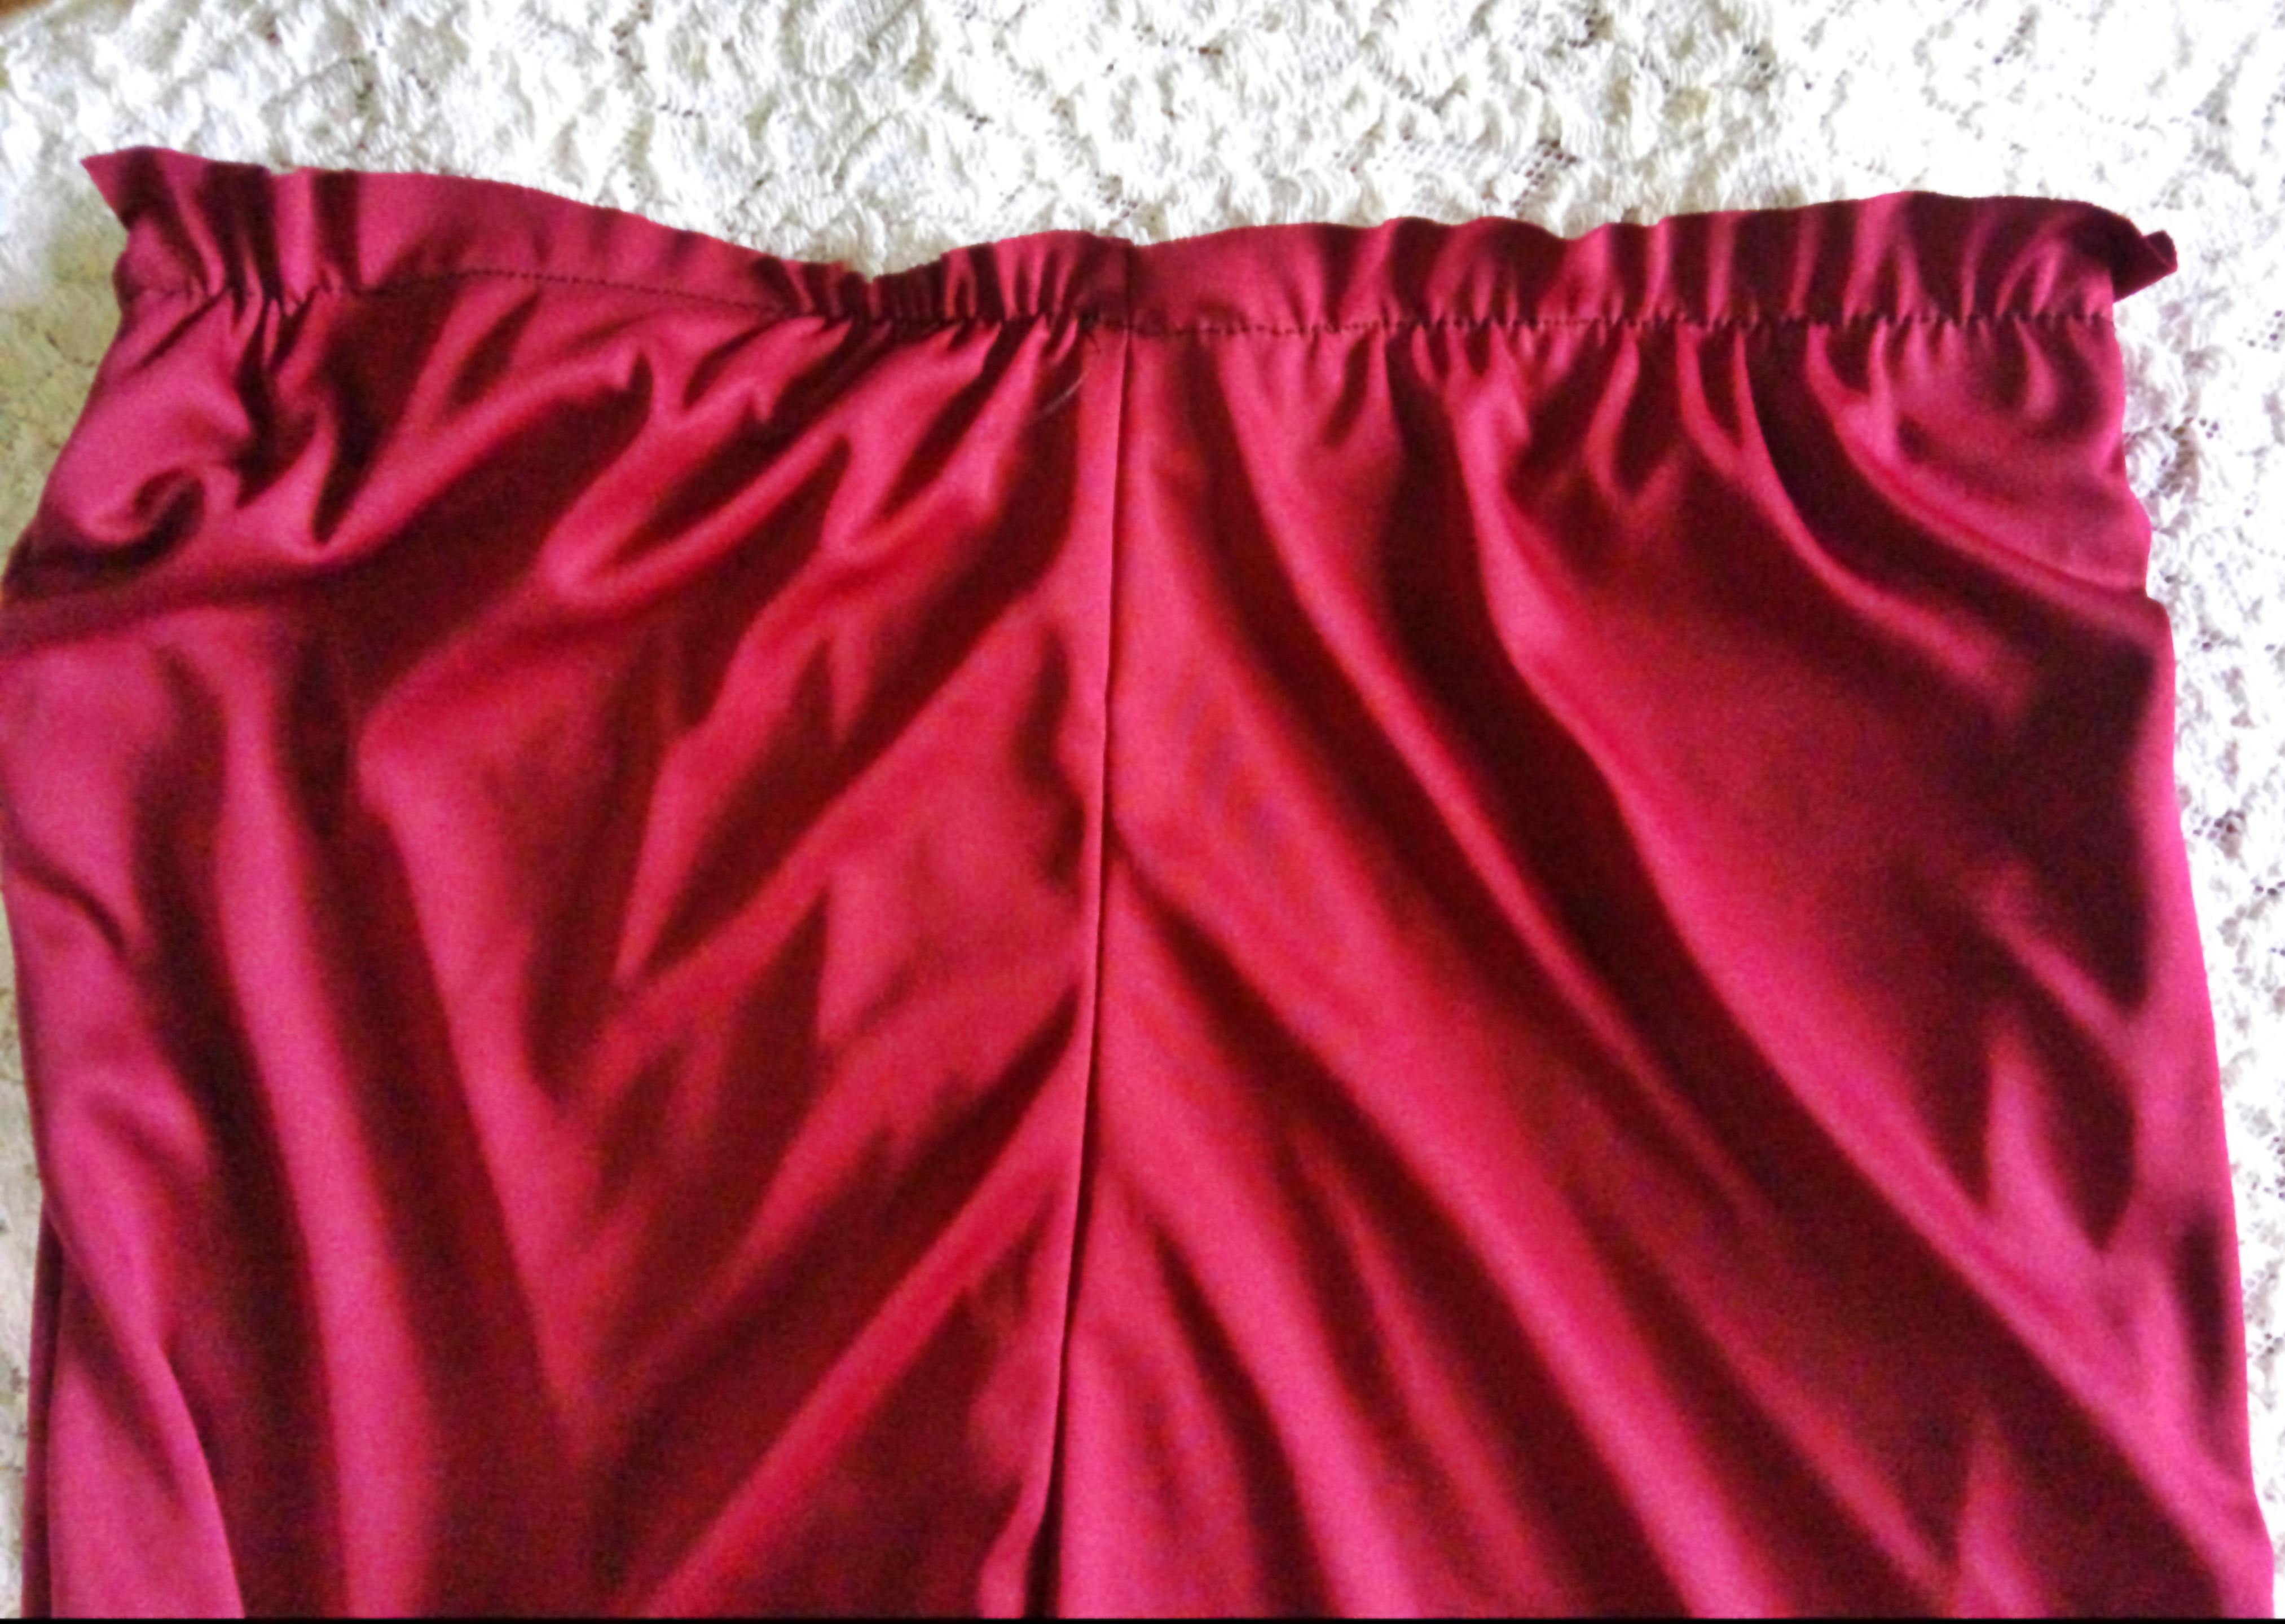
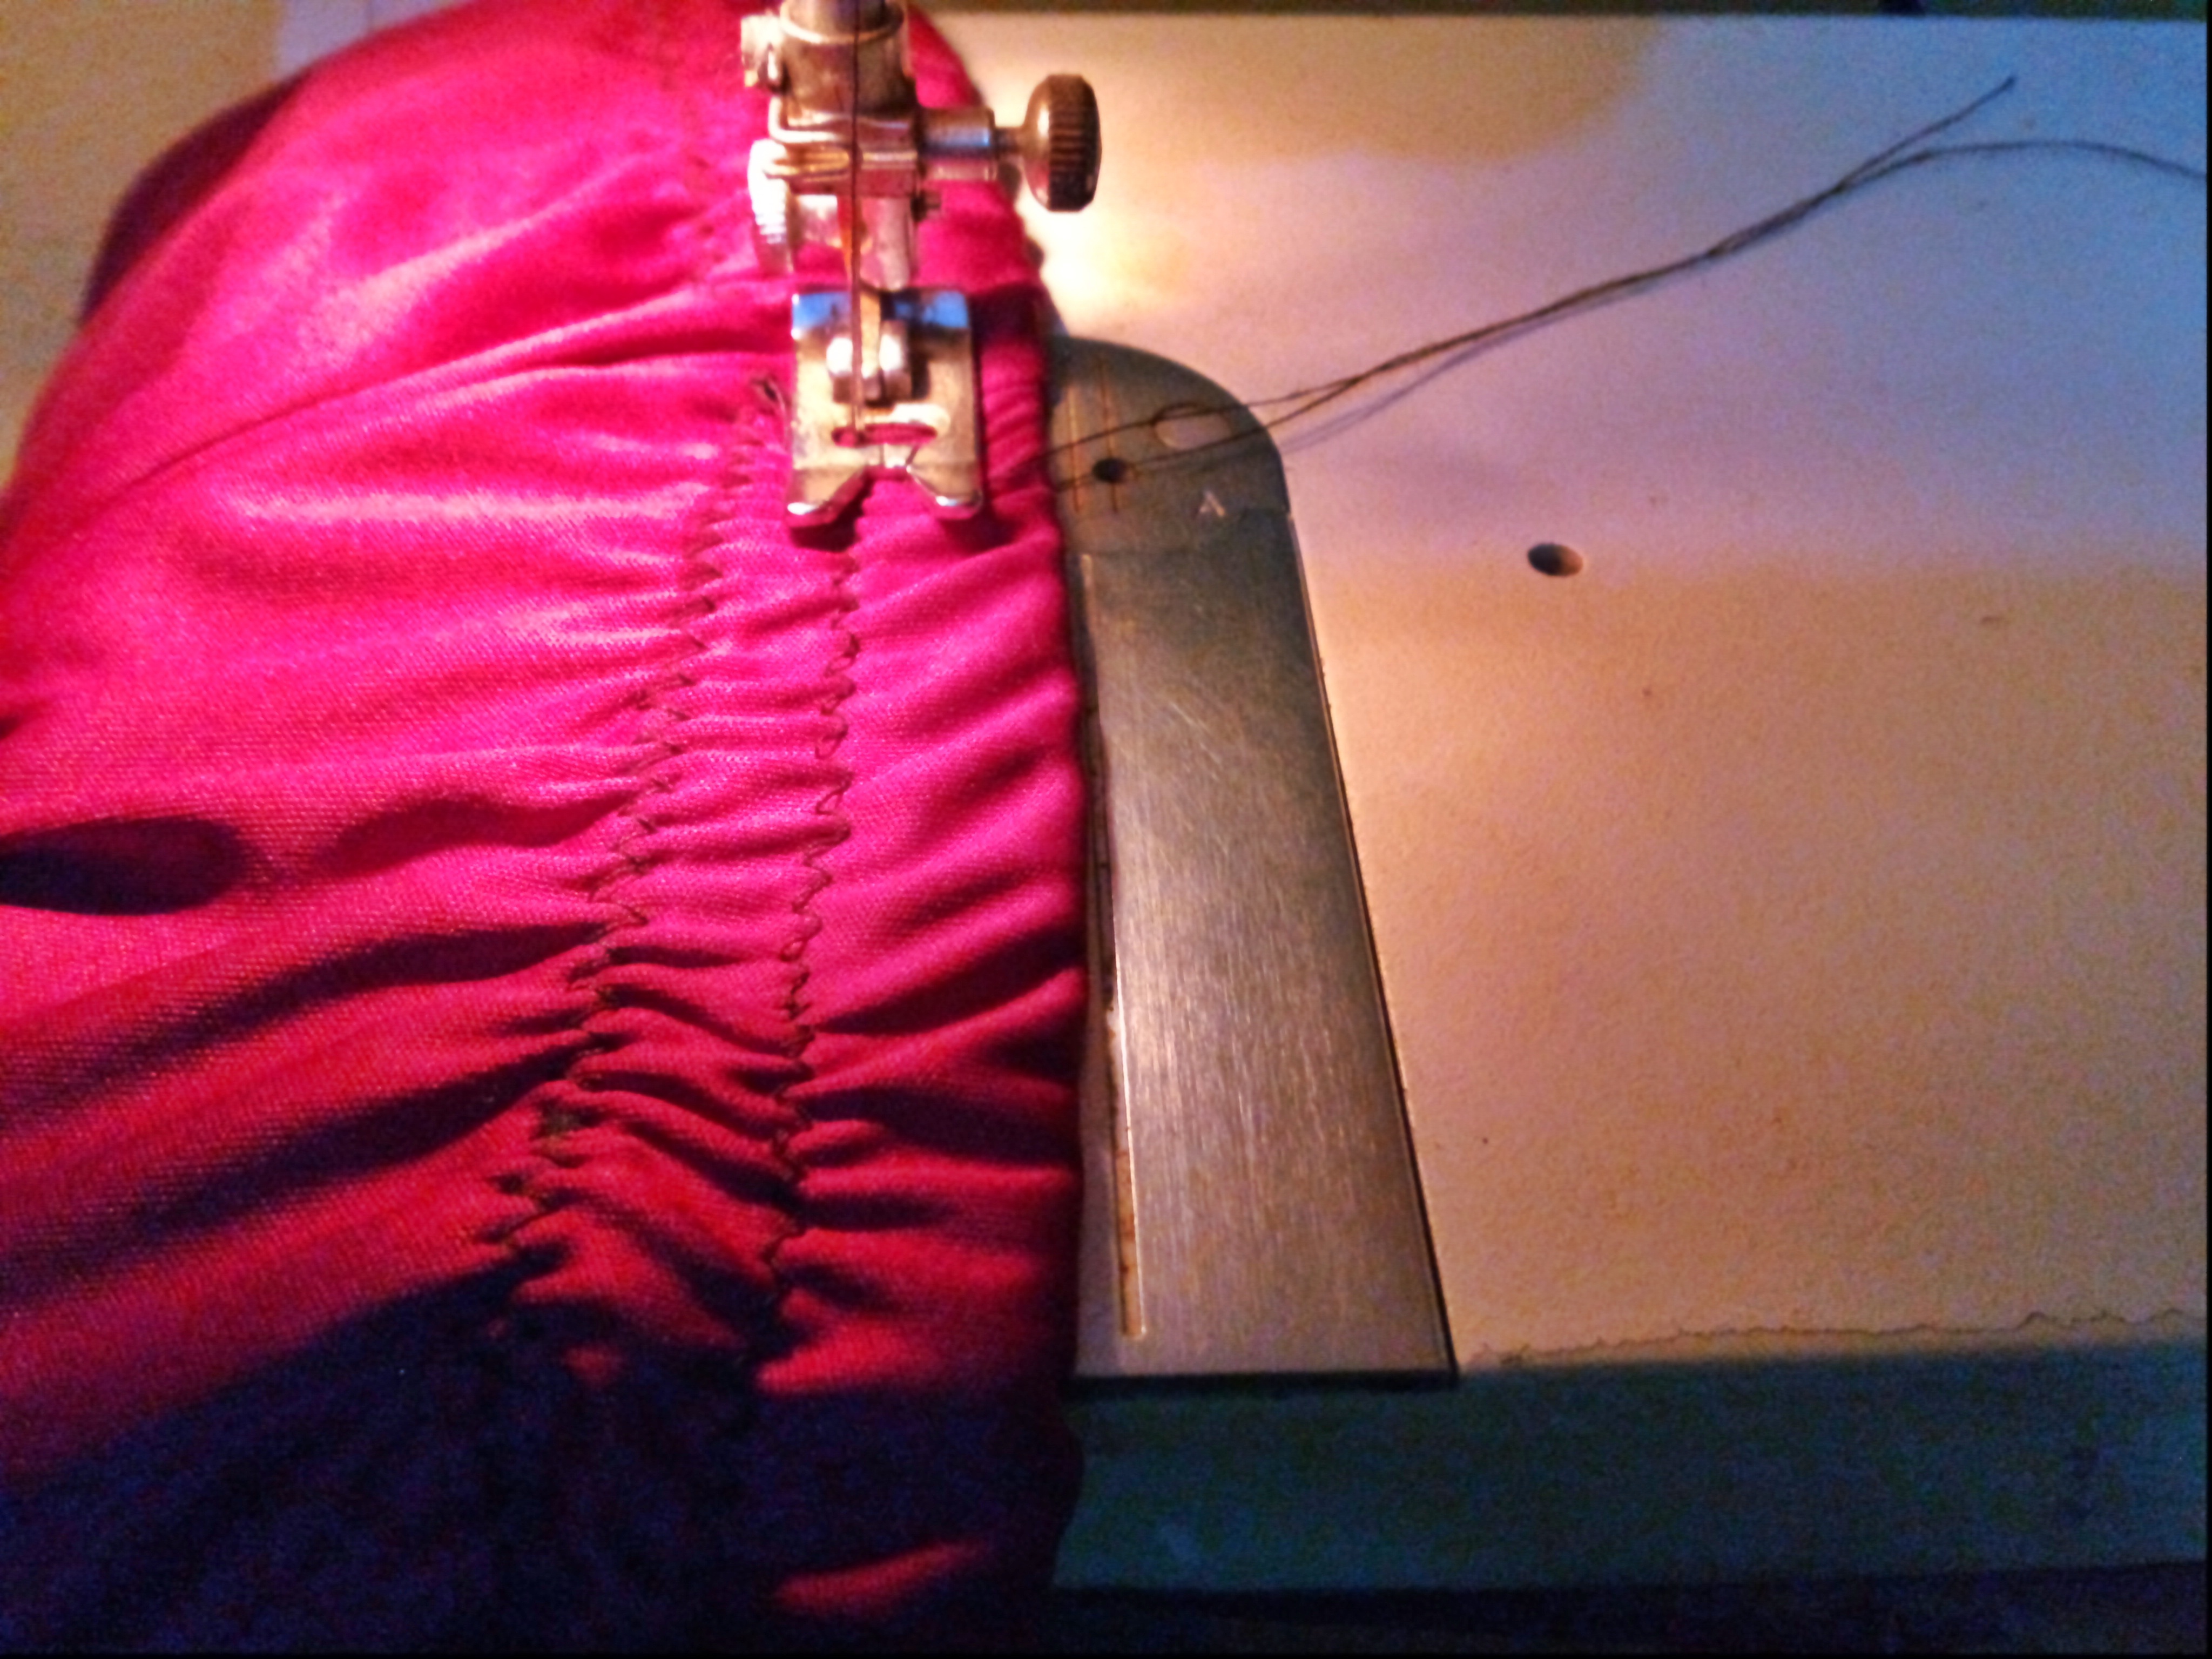
Después de lo anterior, doble y cosi con costura zigzag, fui estirando a medida que iba cosiendo, realicé dos costura para que me quedara un modelo diferente, así finalizamos el shorts.
Resultado/
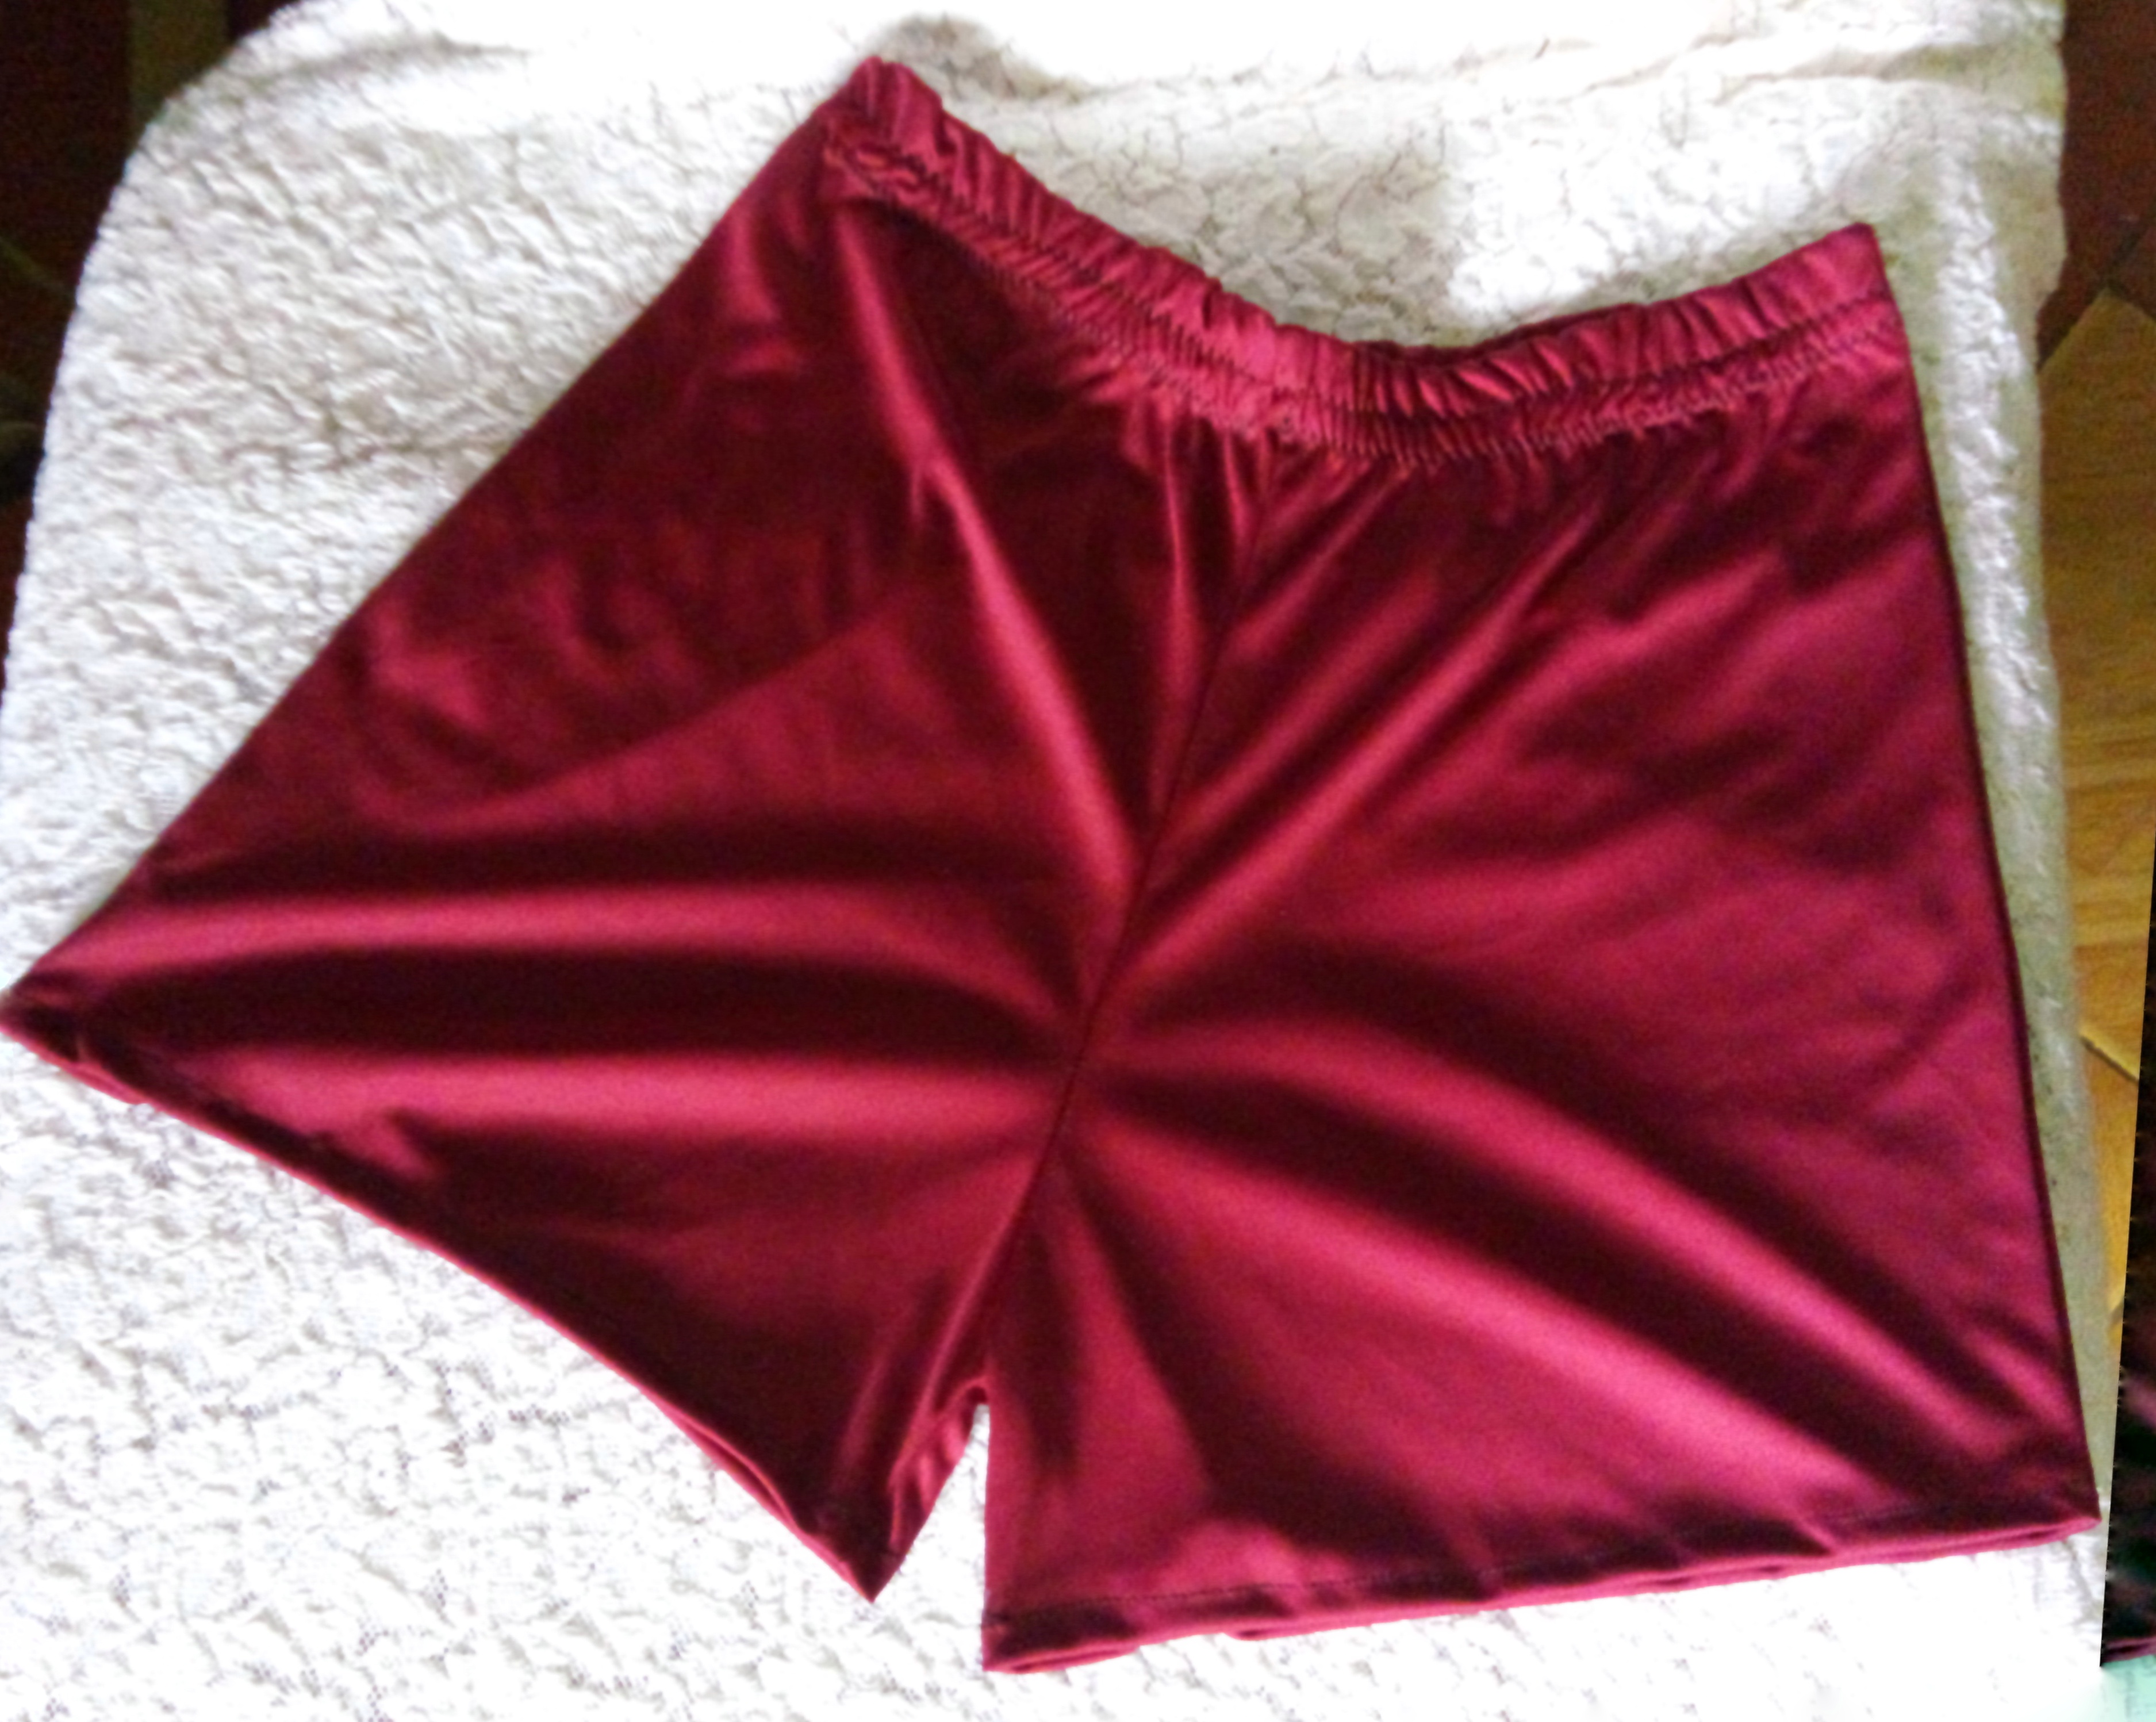
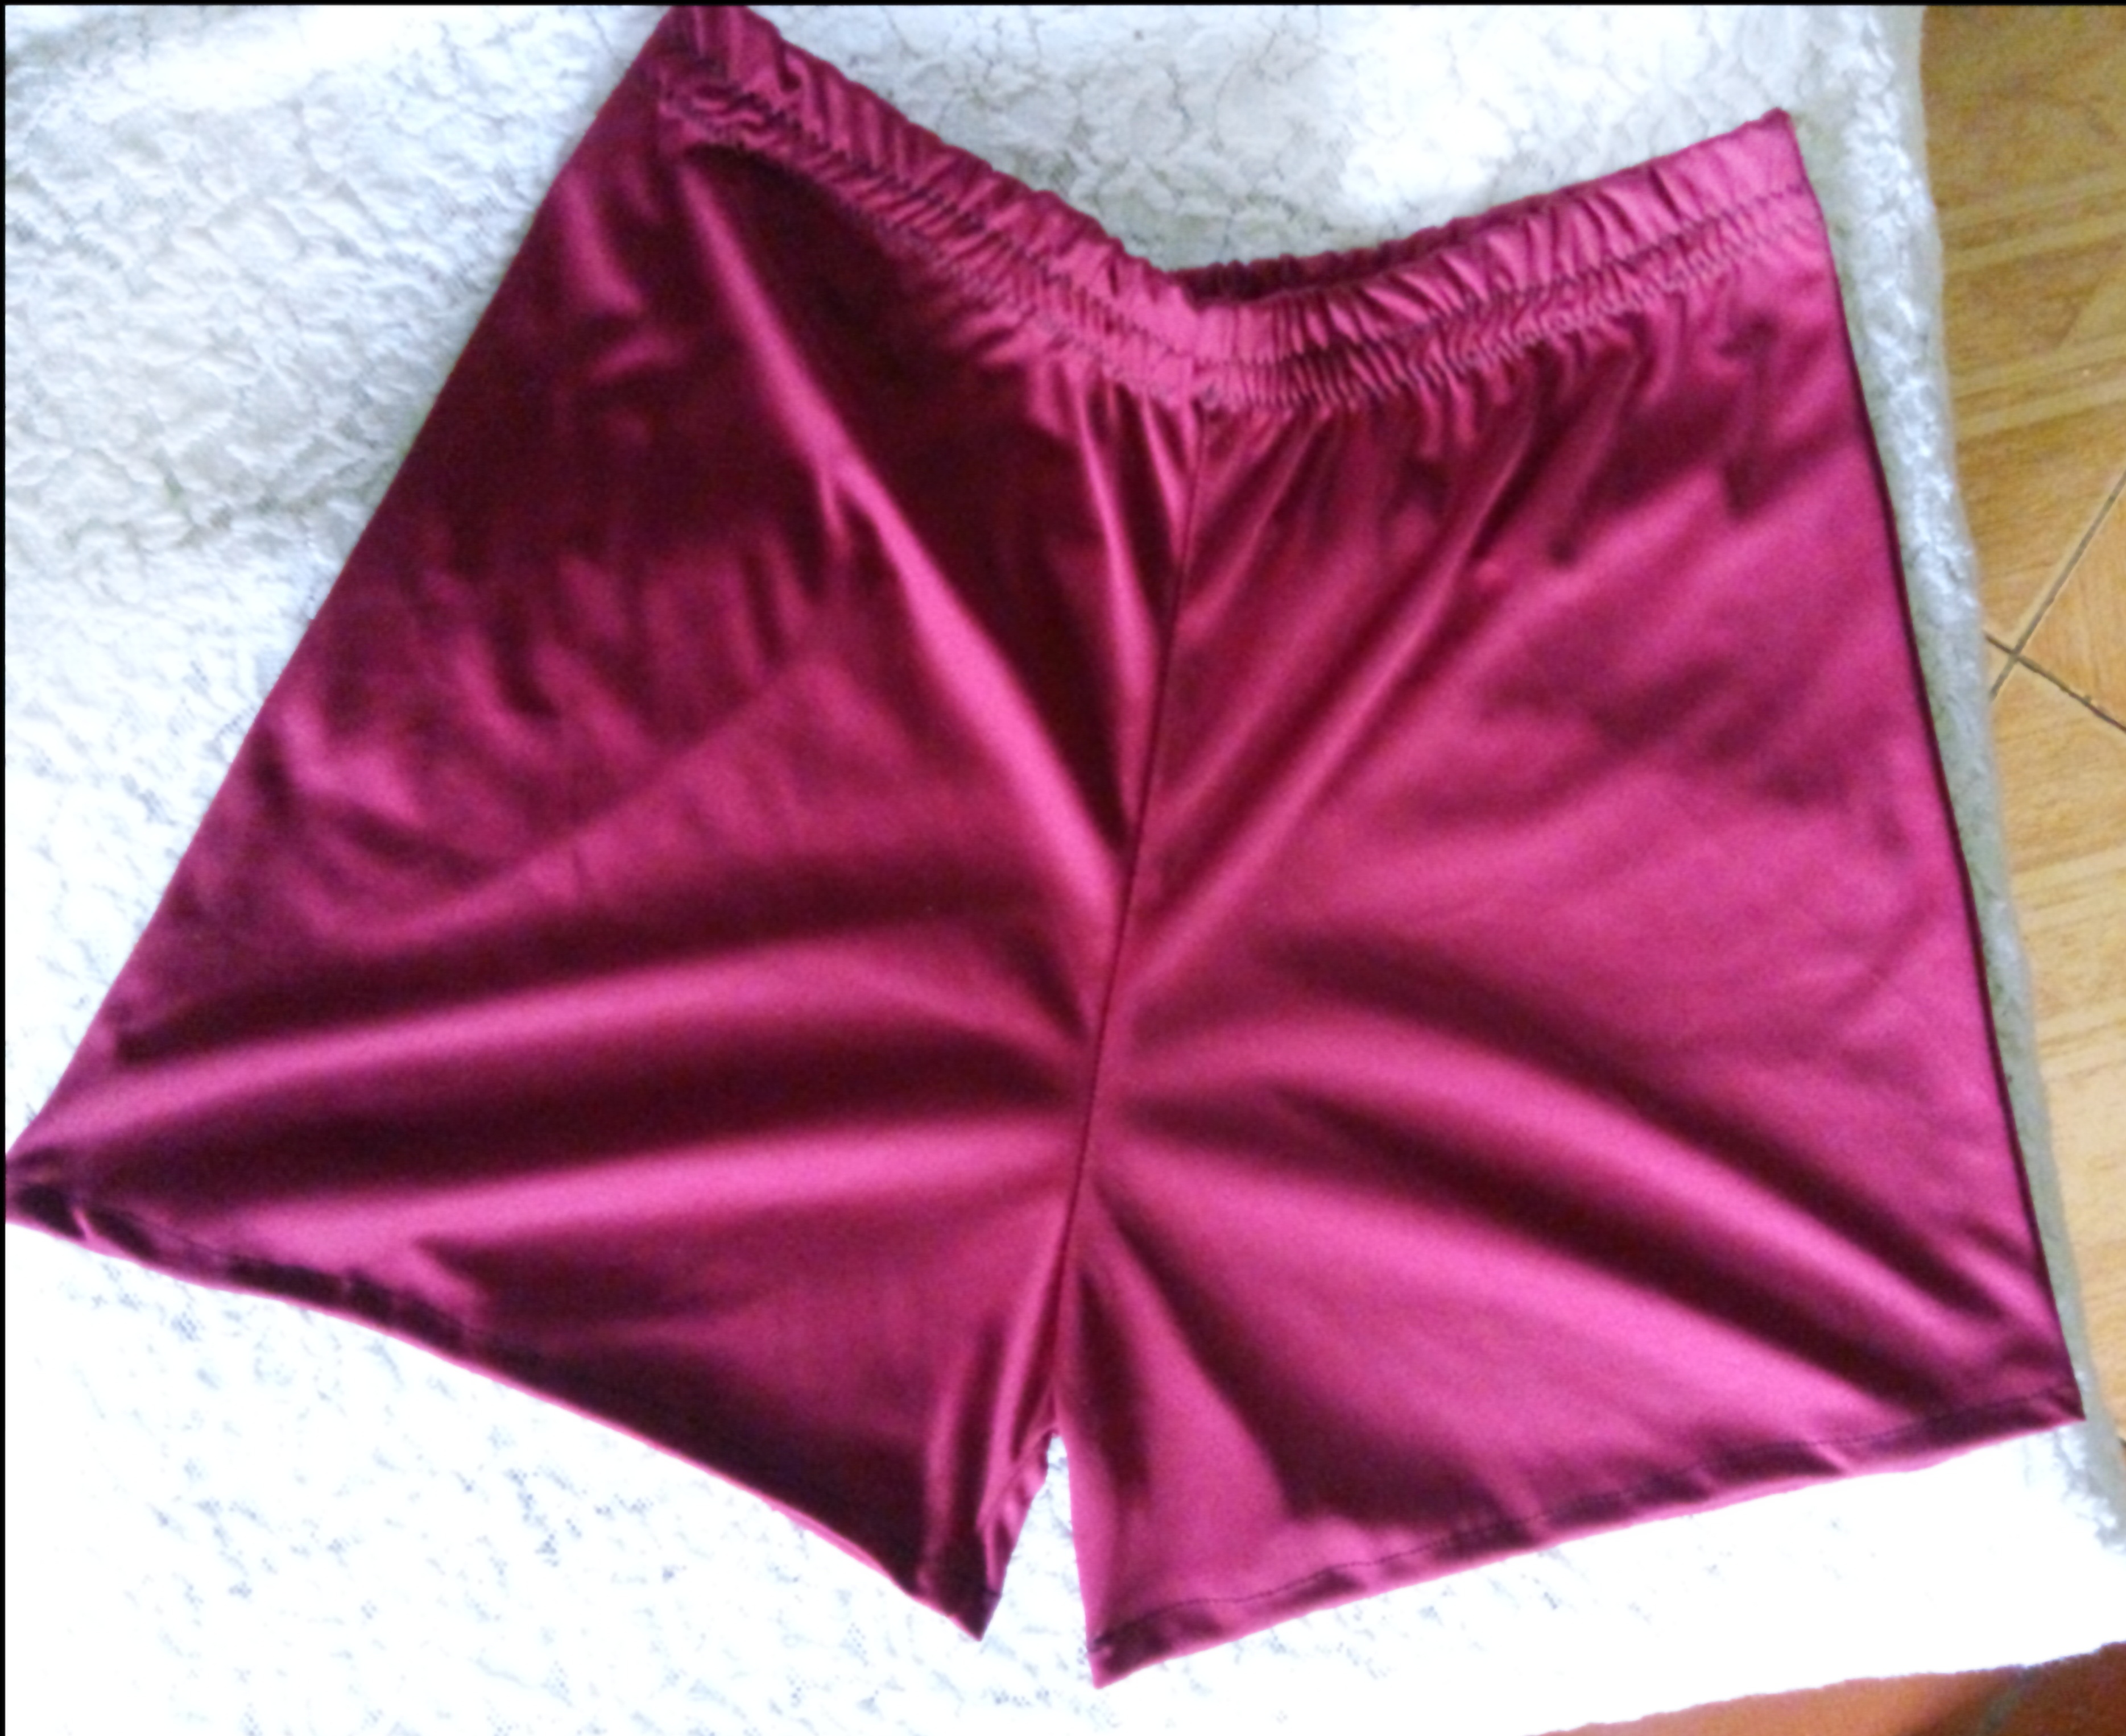
Este shorts amigos me ha gustado mucho, es muy cómodo, yo me haría de todos los colores, y ustedes?? Espero les haya gustado mi trabajo realizado con mucho cariño para ustedes . 🥰❤️❤️
Besos, Hasta la próxima!❤️❤️🌼
❤️❤️🌼
.

ENGLISH

Photographs of my property edited in Canva..

*Receive a greeting with lots of harmony and good vibes dear friends of Hive, I am happy to be here with you sharing creative ideas and knowledge that I get as the days go by.
*Today I want to share with you the realization of a very comfortable shorts that I made, the fabric is soft and serves to go for a walk near our homes, as it has an adequate length, it is very important that we choose a color that we like, I chose this vinotint of a recycled fabric I had, I did not know at first what to do with it but it gave me just the measures to make the shorts, so this makes me very happy, I hope you find this material very useful today * ❤️

Materials used
- ⭐Vinotint colored cloth
- ⭐ Crochet hooks
- ⭐ Scissors ✂
- ⭐Sewing machine
- ⭐Tape measure
- ⭐ 3-centimeter elastic tape

Steps to make the shorts
First Step:.
We will place the materials on our work table and we will proceed to arrange the fabric, we will take the fabric and fold it in half, then we will cut a rectangle of 30 centimeters wide, and 42 centimeters long this will be the front of the shorts, then we will take out the figure, the crotch measures 9 centimeters high, then we finish cutting.
The back part is 44 centimeters long and 33 centimeters wide. The crotch is also 9 centimeters high.

Second step:*
Now we are going to cut the side of both pieces, then we go to the machine and pass a straight seam and then a zigzag seam along the edge of the figure, without putting in the crotch.


Third Step:*
Once sewn the two pieces we will place the fronts of each piece, then with crochets we will hold them to prevent them from rolling, after doing this we will go to the machine and pass a straight seam and then continue with a zigzag seam. This is for the entire side of the shorts.


Fourth Step:.
We are now going to sew the crotch, we pass straight stitching and then zigzag to seal the seam and thus prevent it from unraveling.

Fifth Step:.
Now we are going to sew the part of the hems, we are going to make a hem of 1 centimeter, and we are going to use the machine to sew a straight seam.


Sixth Step:.
Now we are going to take the elastic tape of 3 centimeters wide and 66 centimeters long, we are going to fold it by the ends and sew it straight several times so that it is well fastened. After this we are going to place it in the middle of the seam of the shorts, we are going to go stretching the elastic tape as we are sewing, from the bottom leave half a centimeter of space.


Seventh step
After the previous step, I folded and sewed with zigzag stitching, I stretched as I was sewing, I made two seams so that I had a different pattern, so we finished the shorts.


Result


I really liked this shorts friends, it is very comfortable, I would do all the colors, and you? I hope you liked my work made with love for you . 🥰❤️❤️
Kisses, See you next time!❤️❤️🌼
❤️❤️🌼

Excellent work, you got a very nice and well done shorts. Congratulations and thanks for sharing your process @dilianny20 // Excelente trabajo, te quedo muy bonito y bien realizado el shorts. Felicidades y gracias por compartir tu proceso @dilianny20
Congratulations @dilianny20! You have completed the following achievement on the Hive blockchain And have been rewarded with New badge(s)
Your next target is to reach 4500 upvotes.
You can view your badges on your board and compare yourself to others in the Ranking
If you no longer want to receive notifications, reply to this comment with the word
STOPCheck out our last posts: