ESPAÑOL
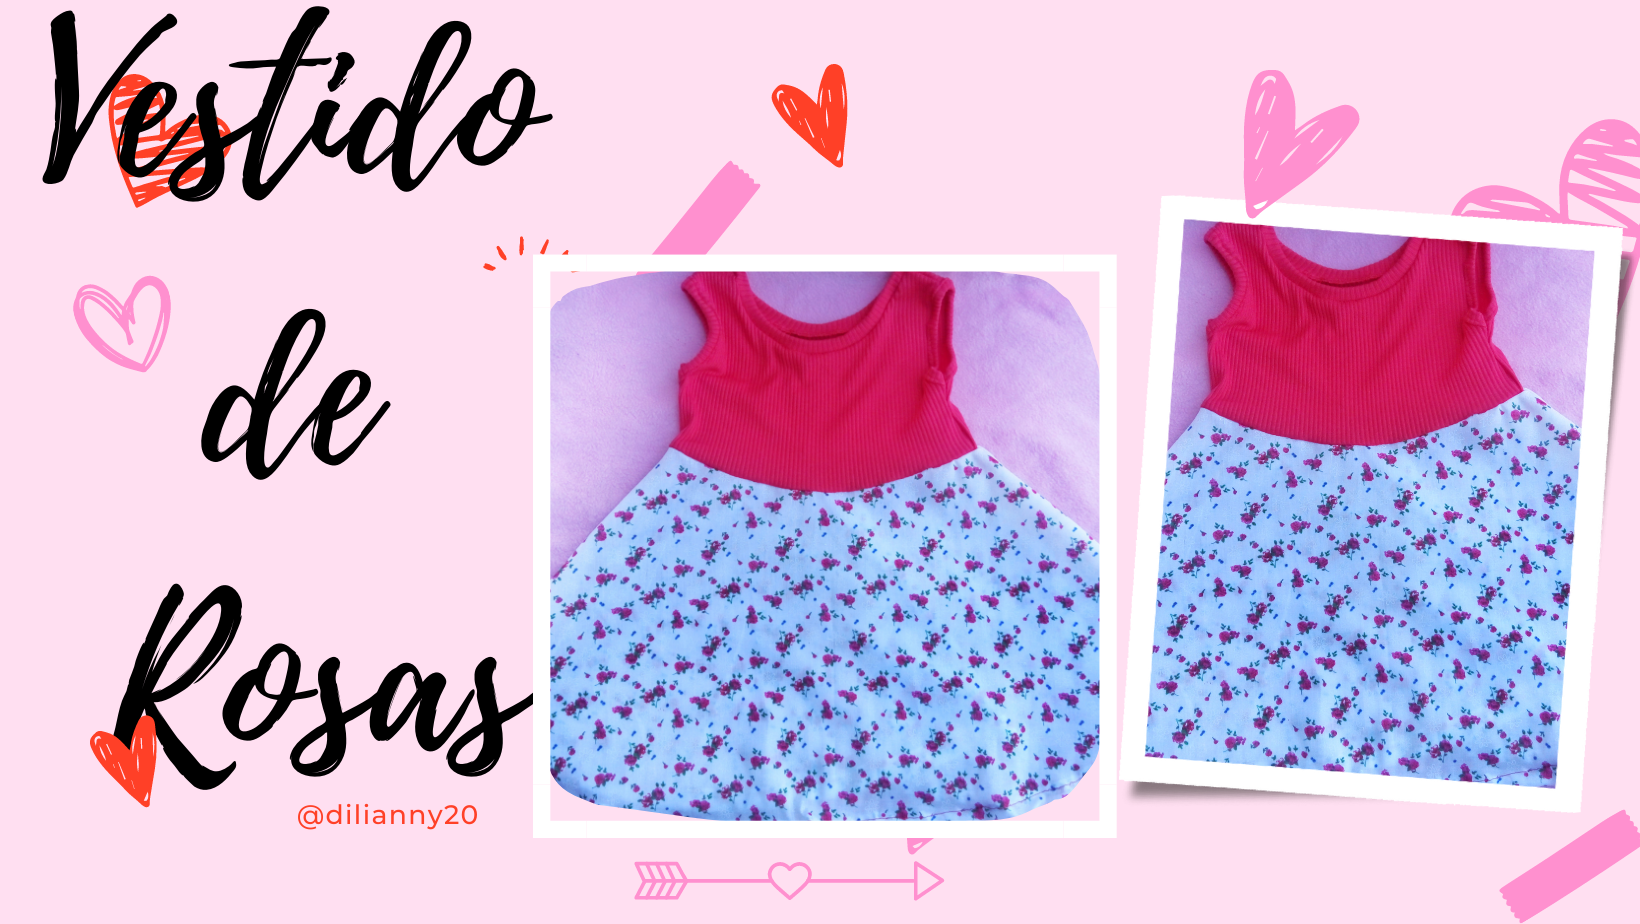 Fotografías de mi propiedad editadas en Canva.
Reciban un cálido saludo queridos amigos y sean bienvenidos a mi blog.❤️
Espero que estén teniendo un excelente día, lleno de muchas energías y creatividad 🥰🥰 yo he estado realizando varios trabajos y entre ellos hoy compartiré con ustedes cómo realicé un vestido a mi querida hija que tiene un año.
Utilicé tela Reciclada de trabajos anteriores, así que es una buena idea también para que ustedes puedan realizar.
Siempre me ha gustado vestir a mi hija con vestidos, son muy bonitos y la hace ver cómo toda una princesa✨
Los Materiales que utilicé 📝
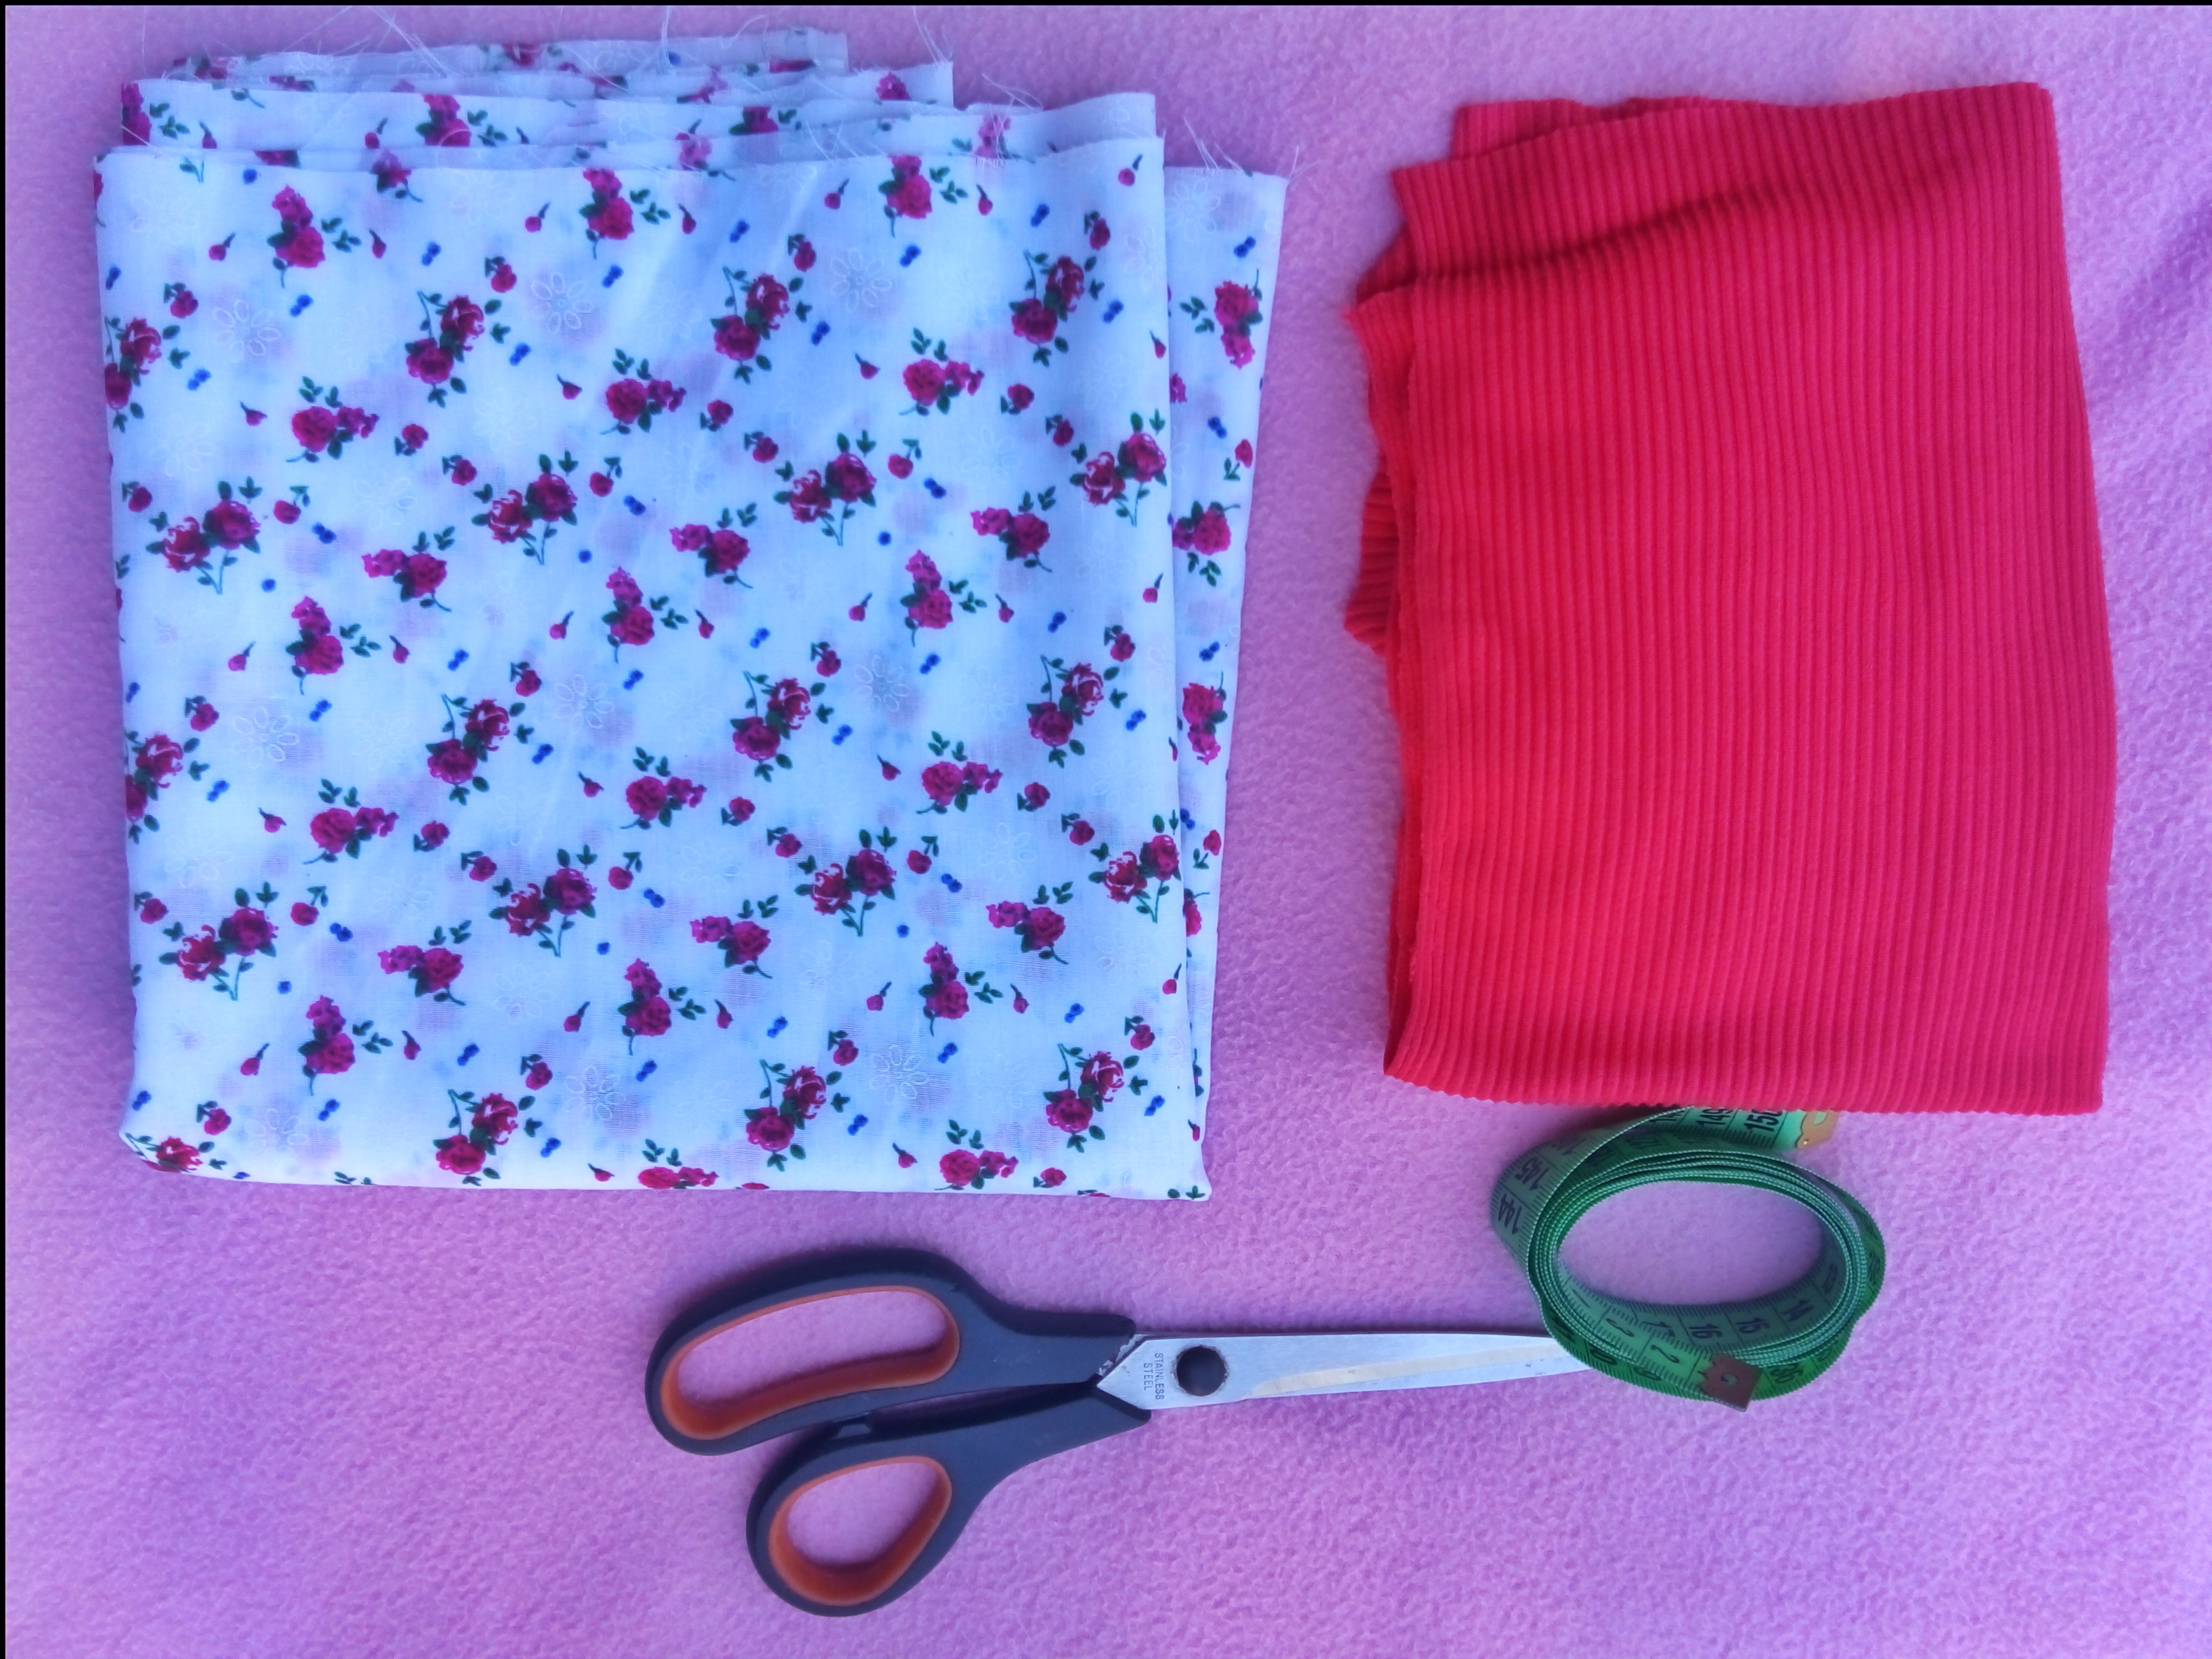
- 🌸 Tela Rib Reciclada color Rojo
- 🌸 Tela dracon
- 🌸 Ganchillos
- 🌸 Tijera ✂
- 🌸 Máquina de coser
- 🌸 Cinta métrica
- 🌸 Lápiz
Pasos para realizar el vestido de rosas
Primer Paso:
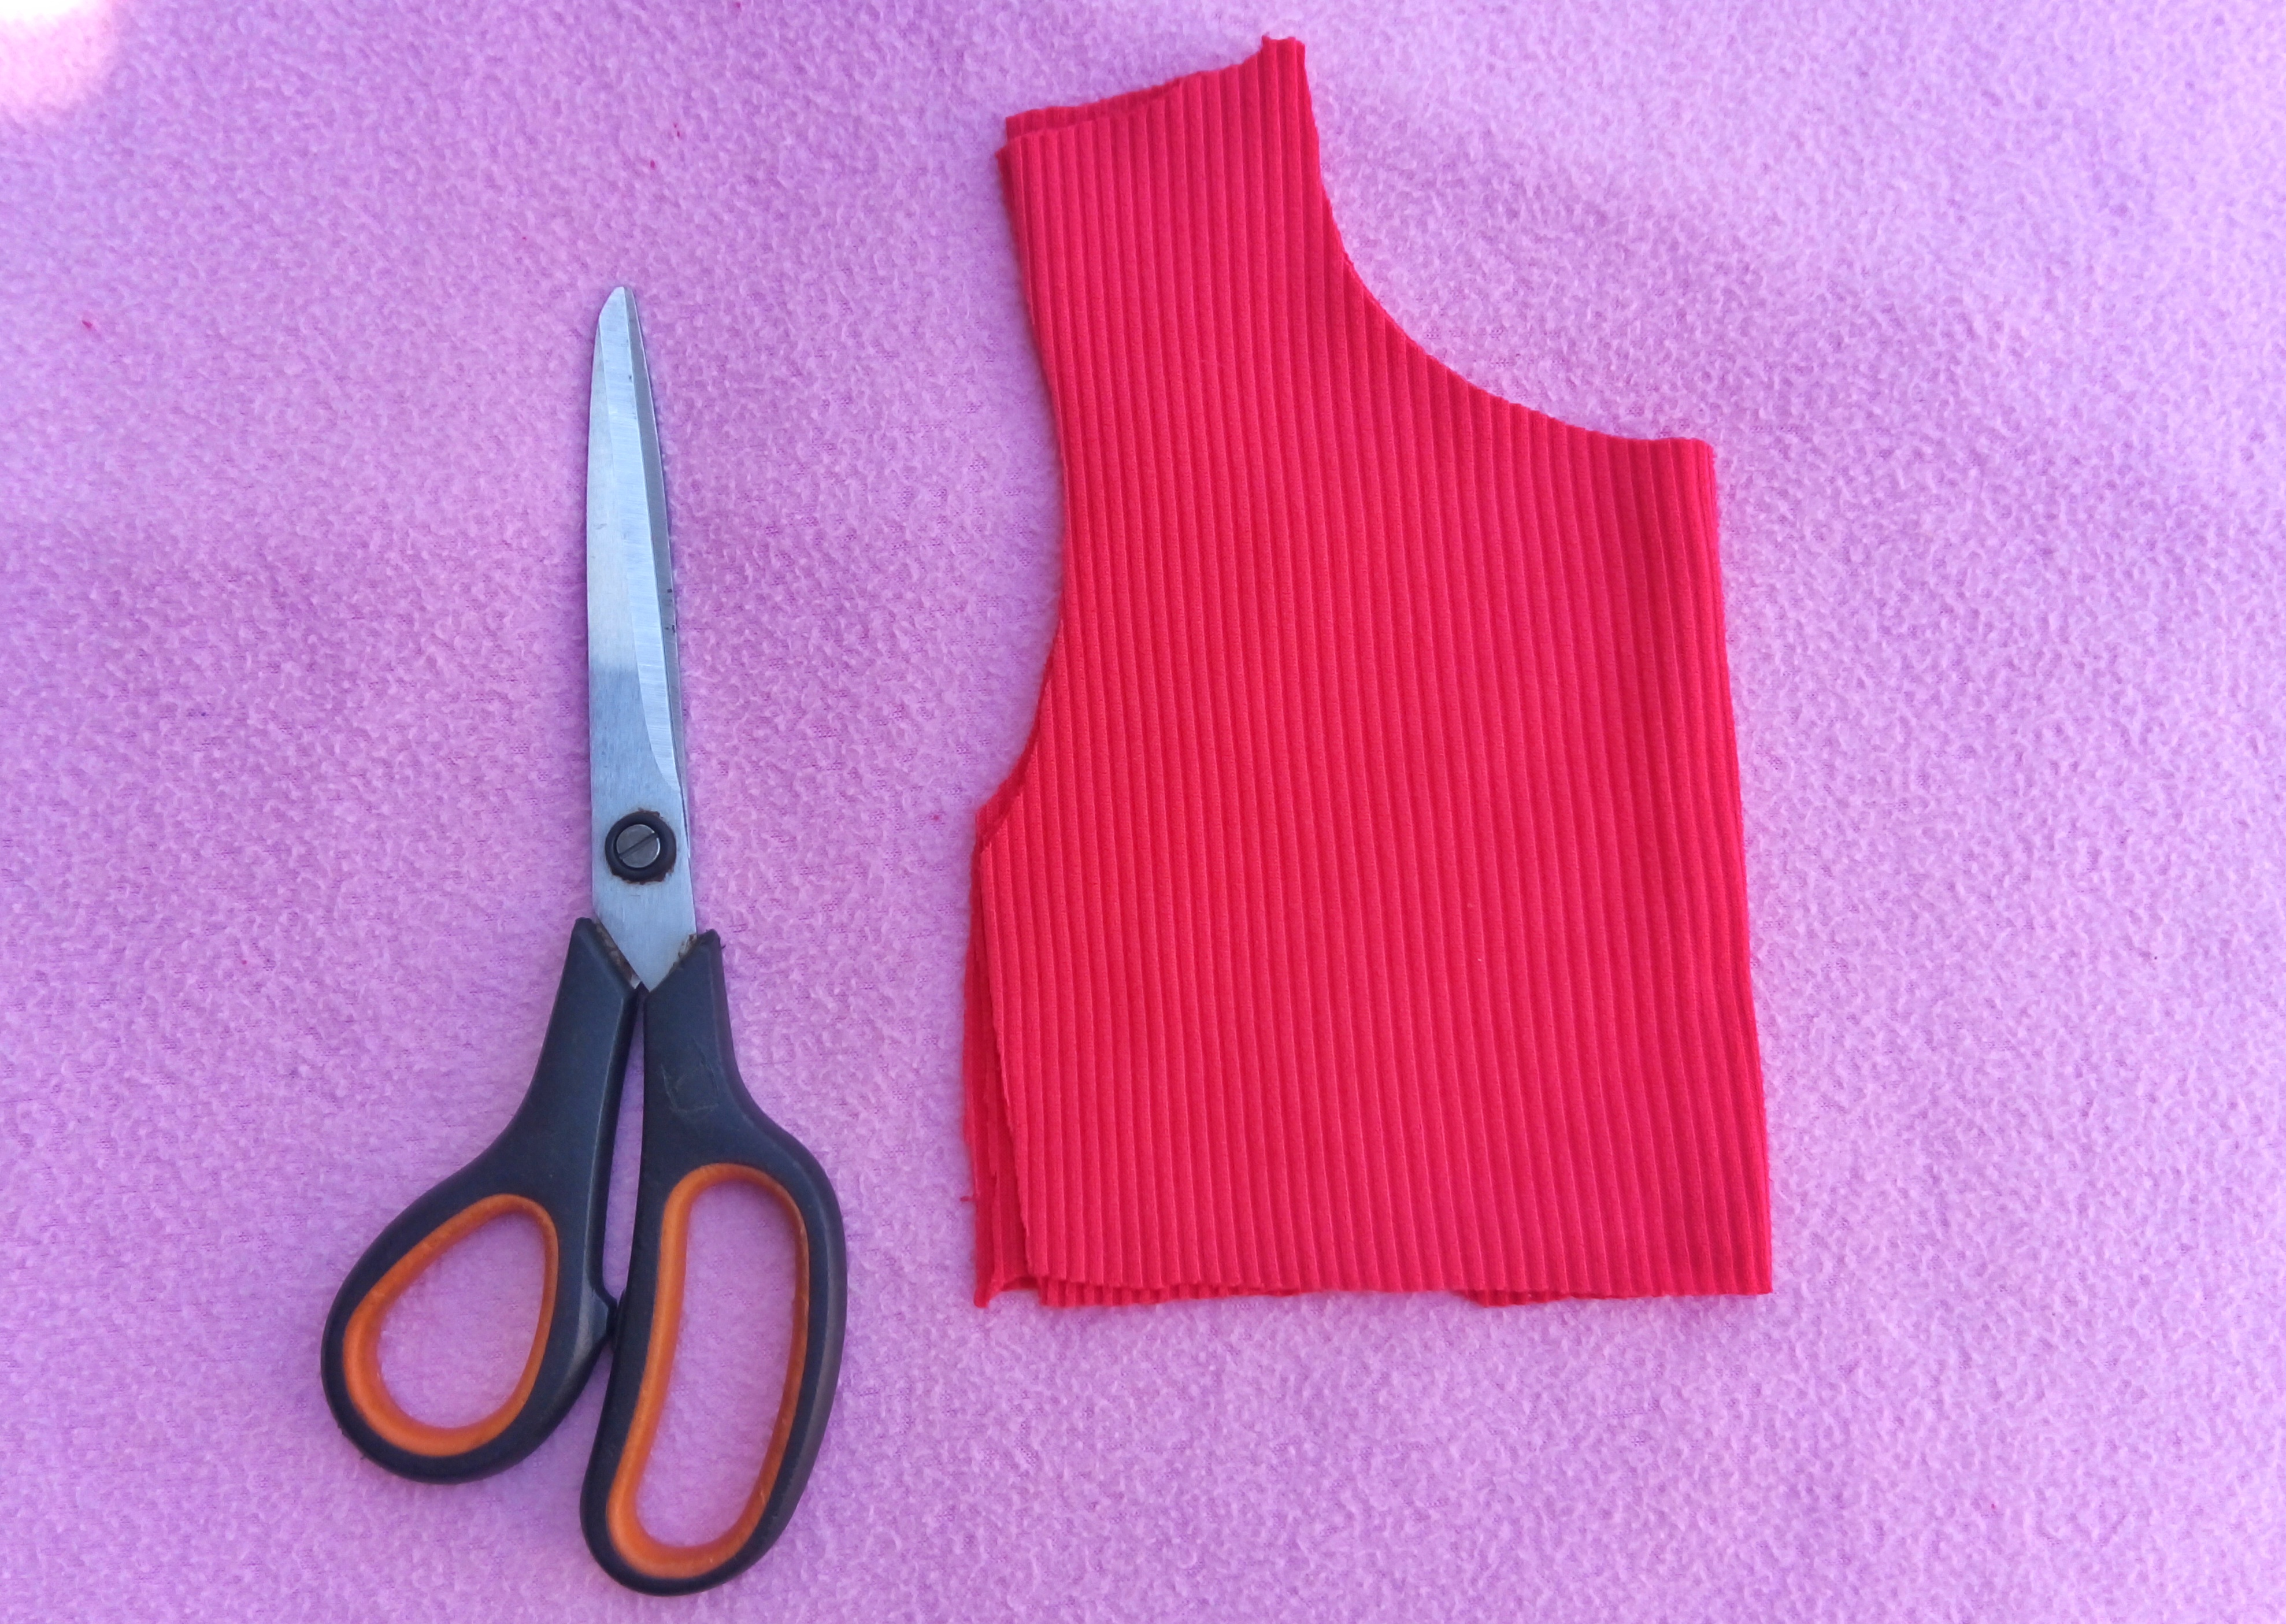
Lo primero que hice fue tomar la tela reciclada Rib color roja y colocarla en la mesa doblada por la mitad, donde sacaré la parte de la camisa del vestido. Después tome las medidas de mi hija y tomé la tijera para empezar a cortar.
Corte un cuadro de 20 cm de largo y 25 cm de ancho, una vez cortado saque la parte de la manga, que mide 11 cm de largo, luego hice el corte.
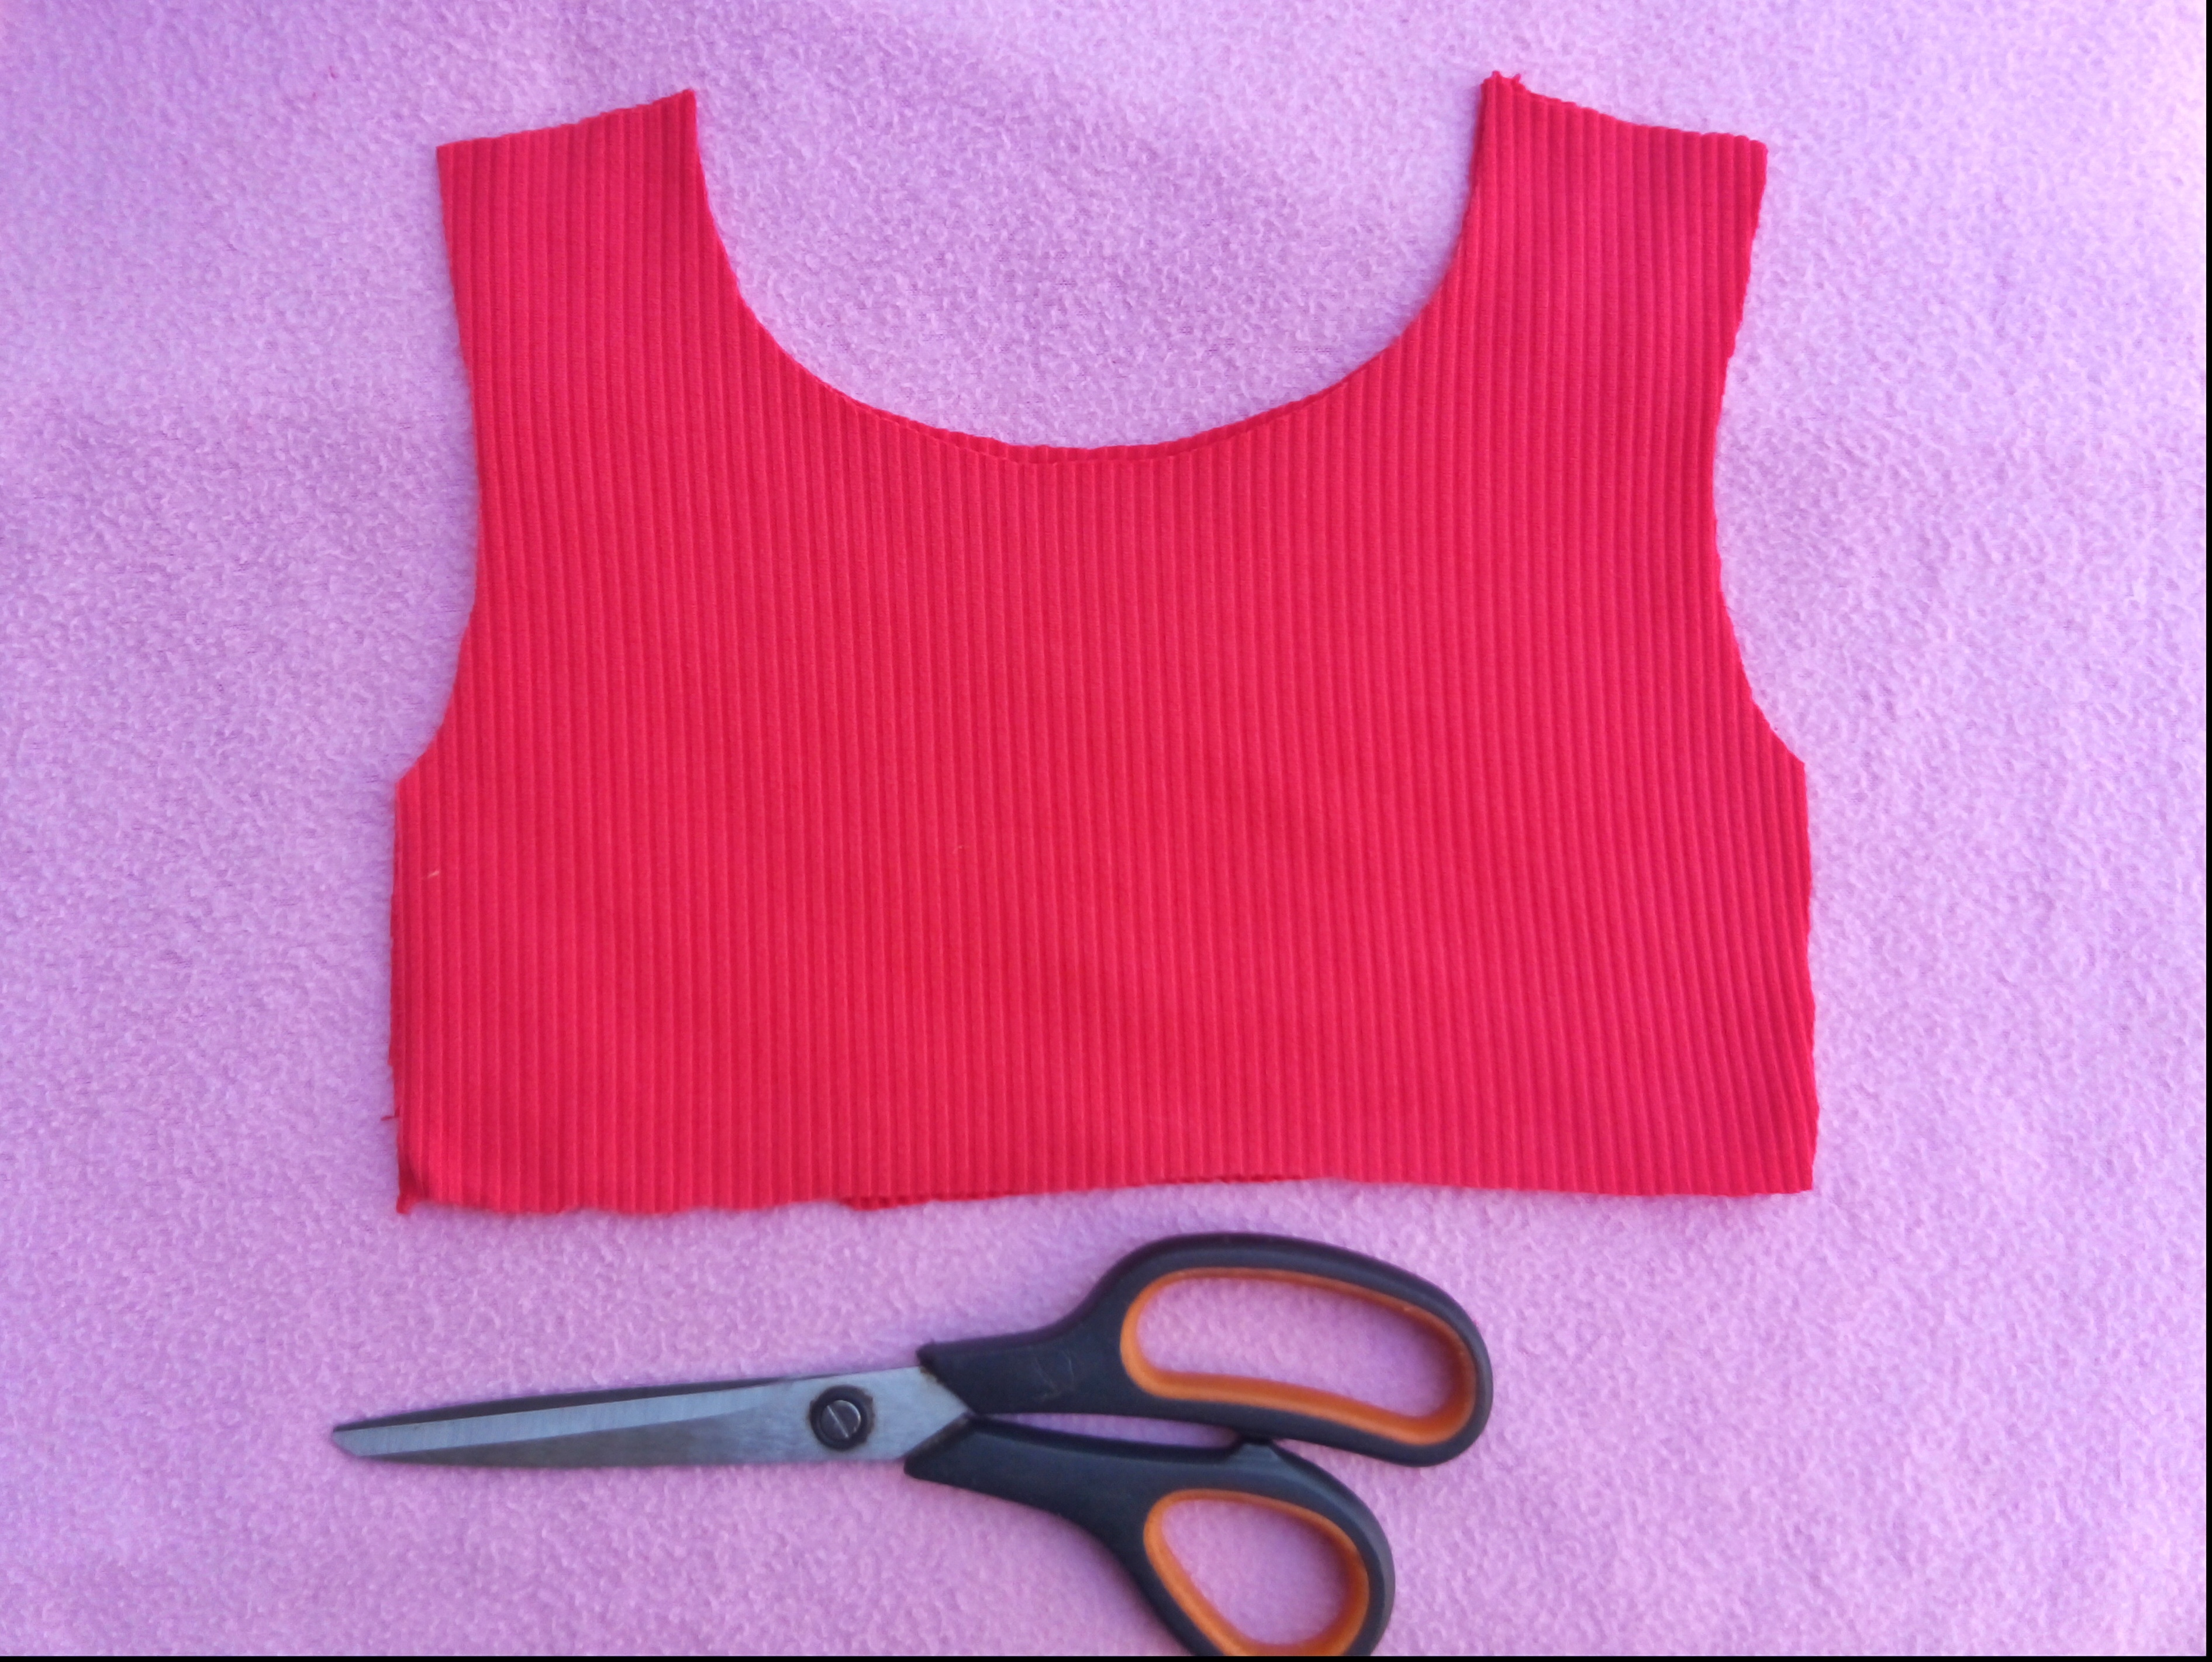
para hacer el cuello medí 13 cm de largo y 5 cm de ancho de hombros y proseguí a cortar.
Segundo Paso:
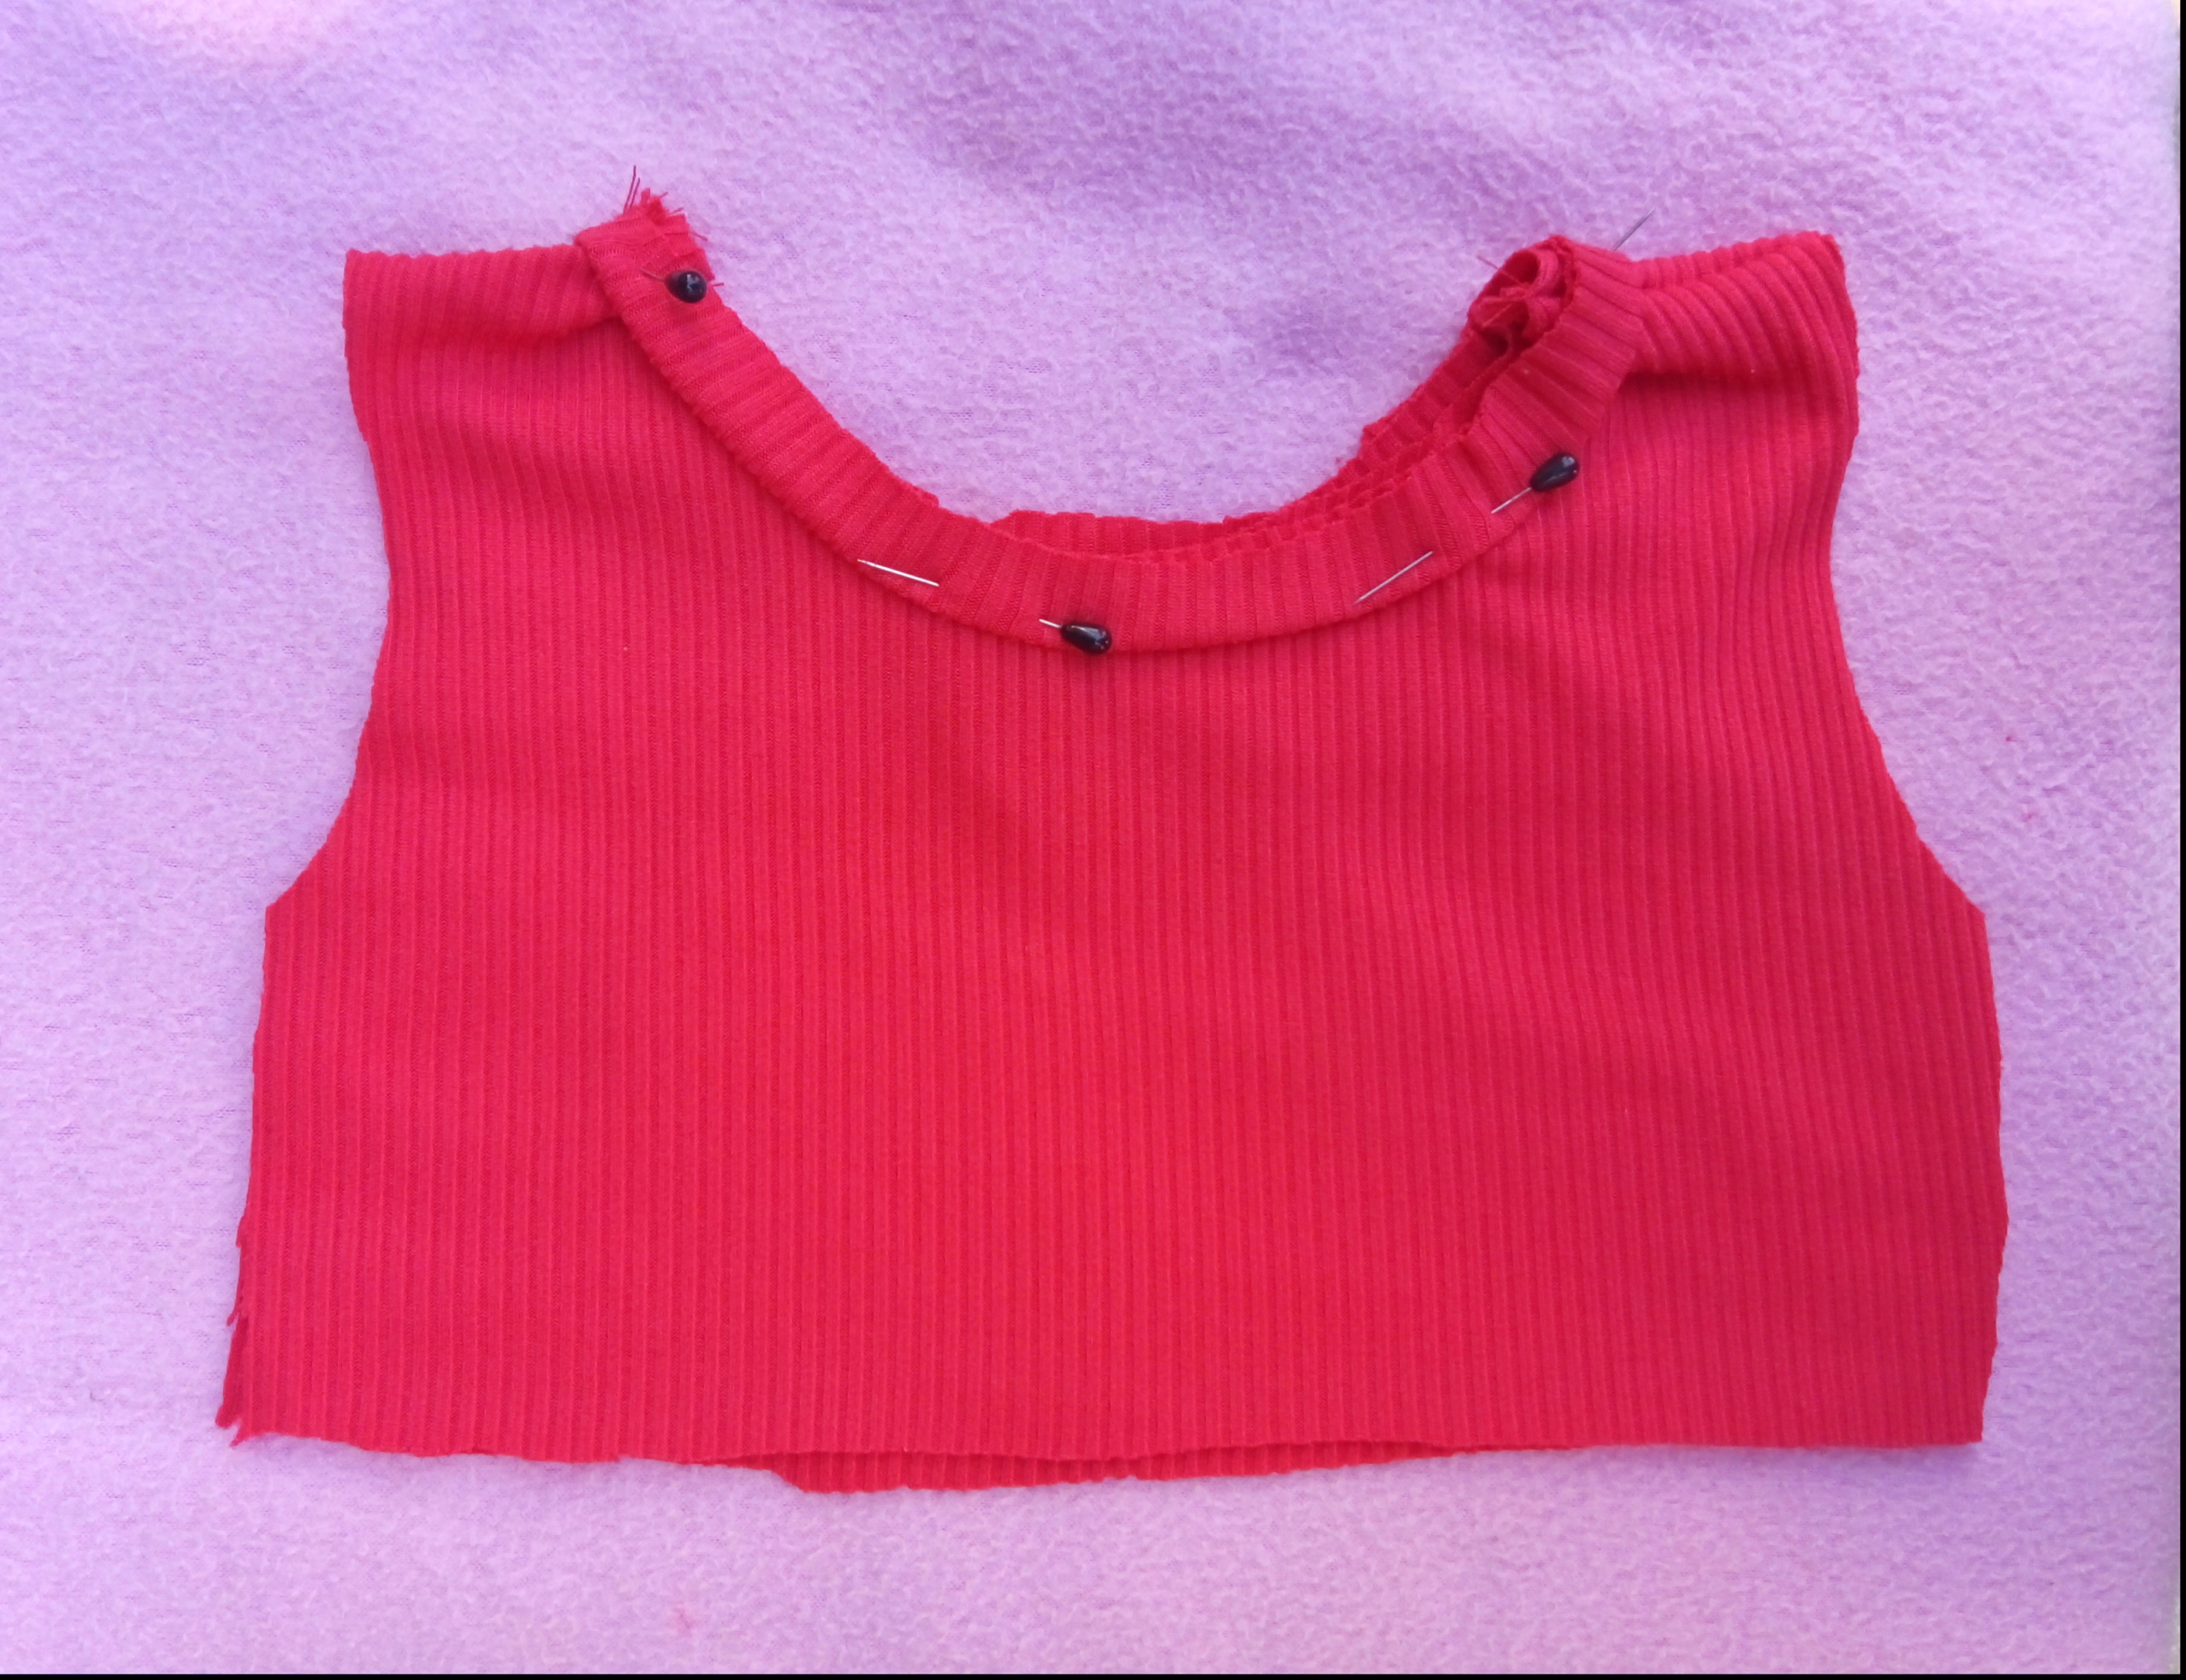
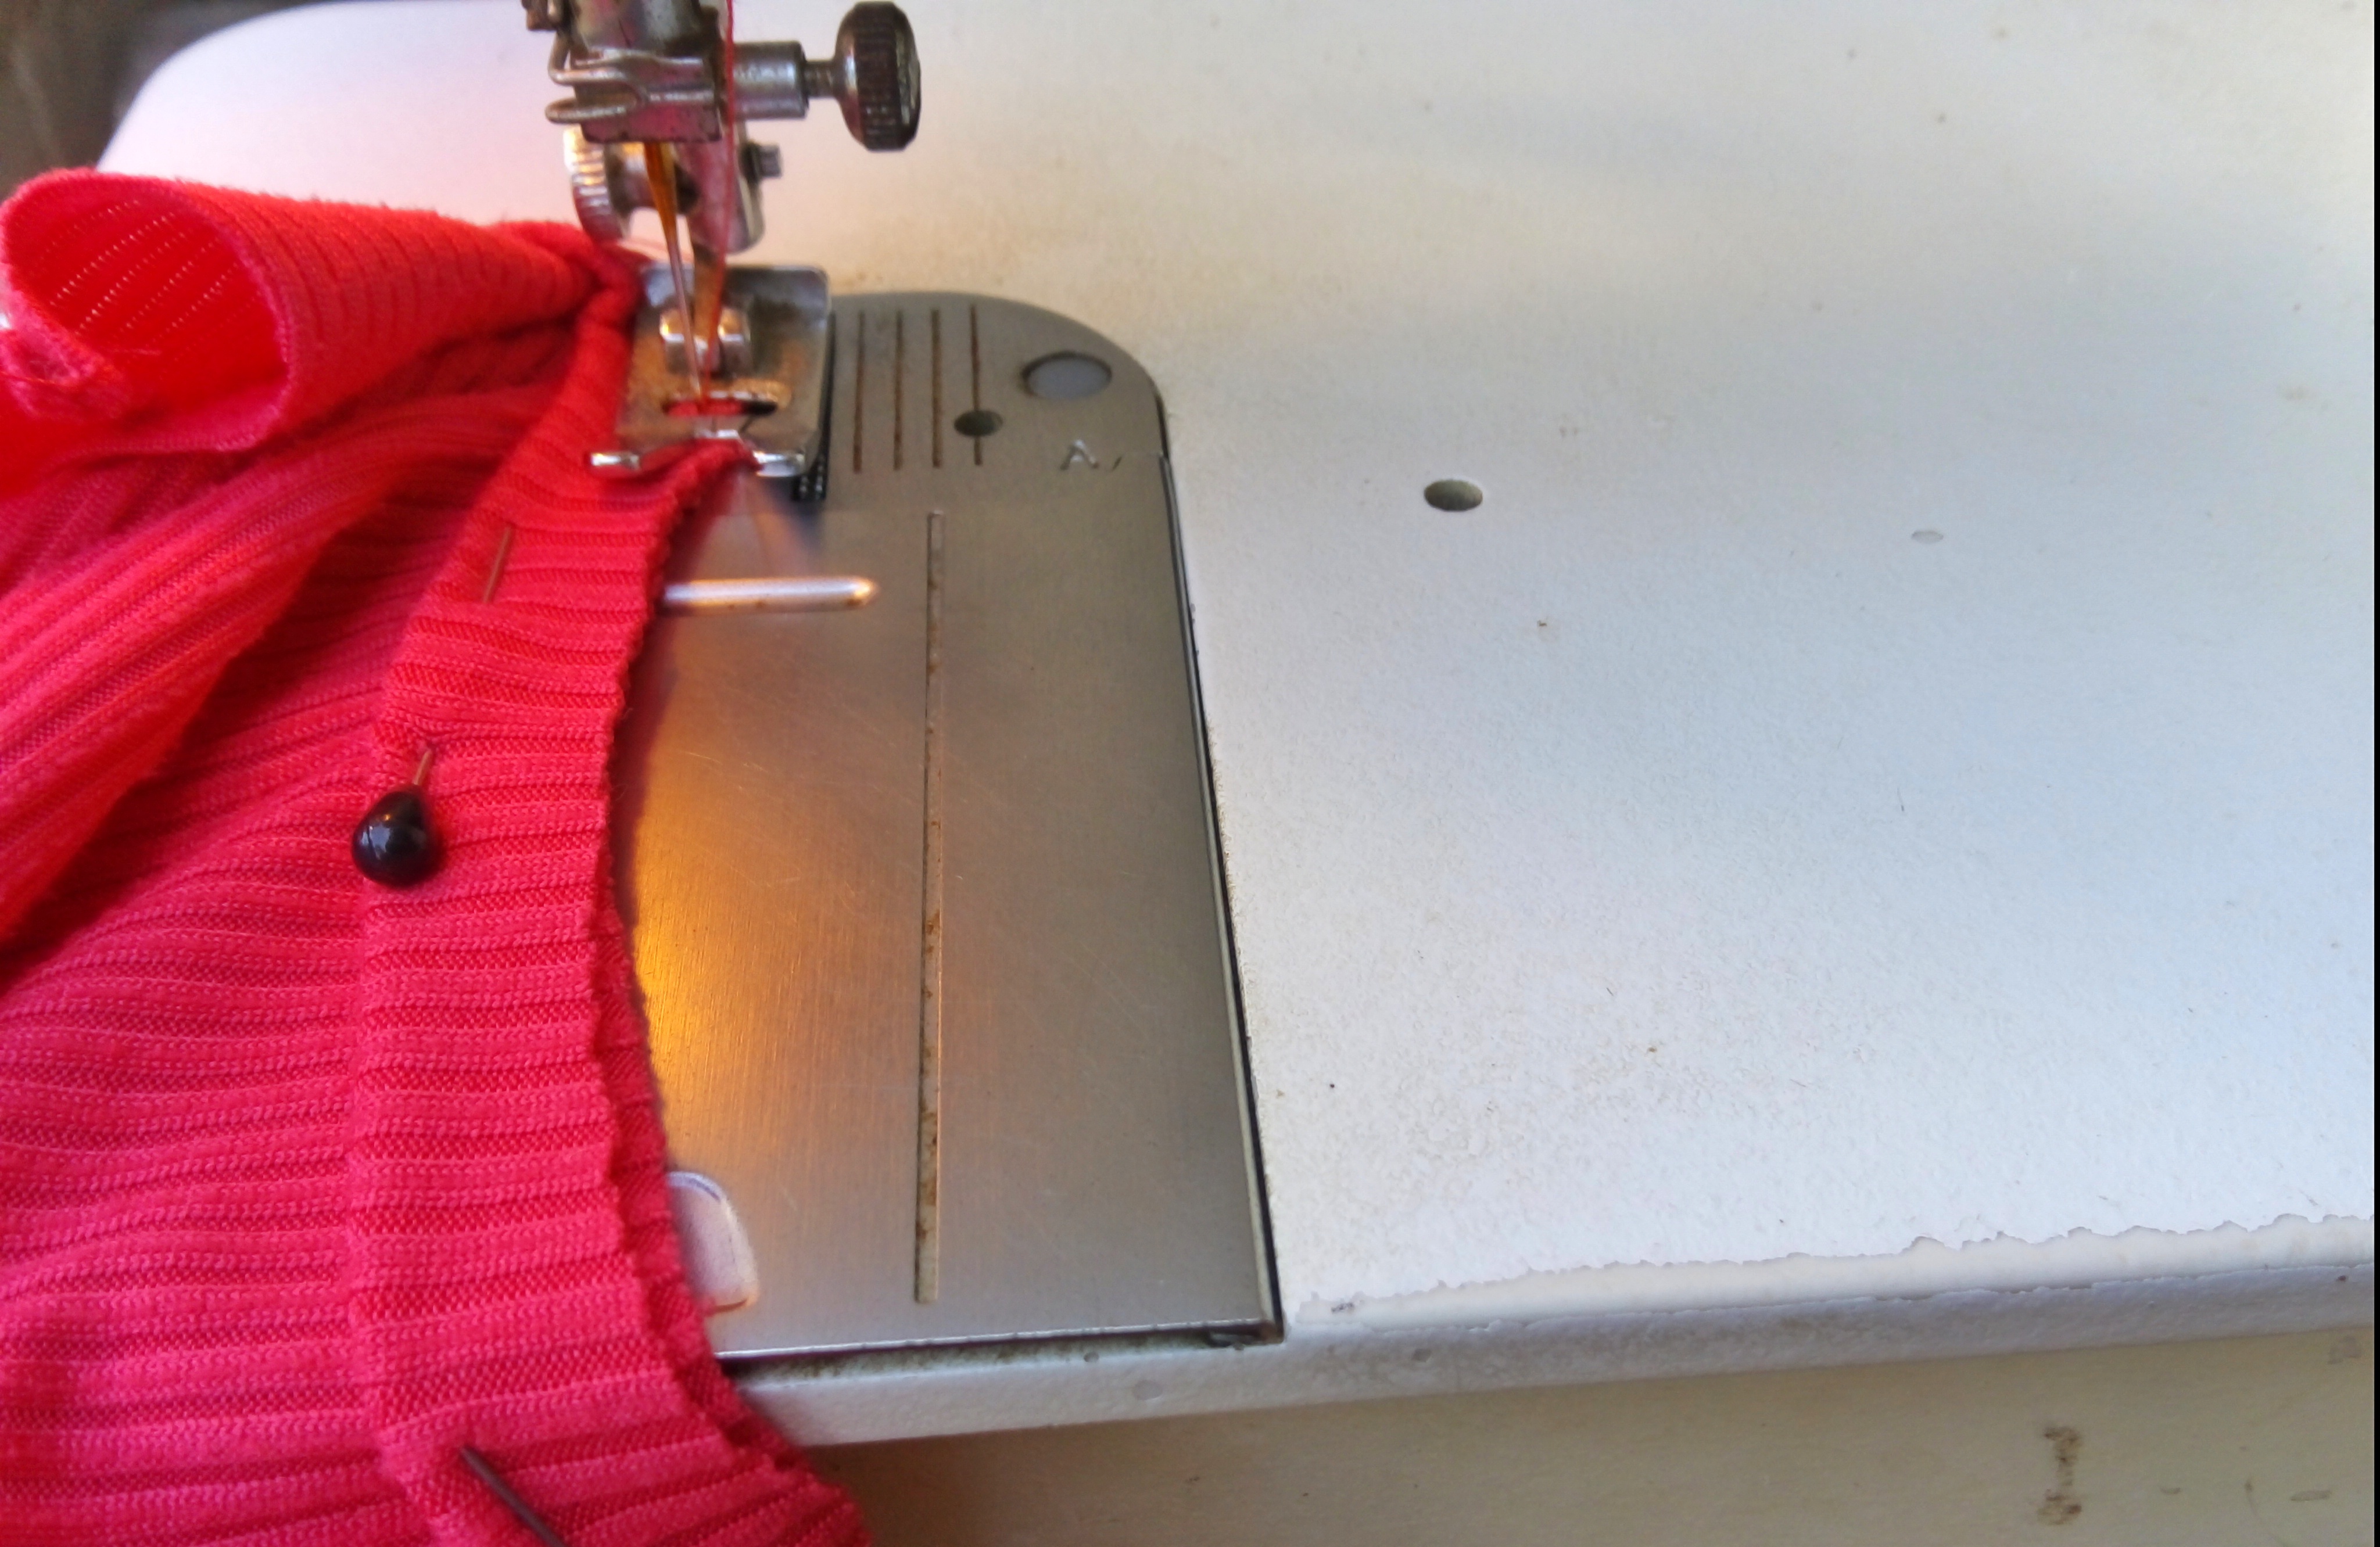
Al tener ya la forma de la camisa pase una costura recta para unir los hombros, luego corte una tira de 40 cm de largo y 3 cm de ancho, esto es para hacer el cuello, luego doble la tira a la mitad por el lado al revés de la tela y cosí los laterales con una costura recta y luego zigzag, después colgué la camisa al derecho y proseguí a estirar la tira y a sujetar con ganchillos para que no se moviera, hay que recordar que debemos estirar la tira para que está quede bien acomodada.
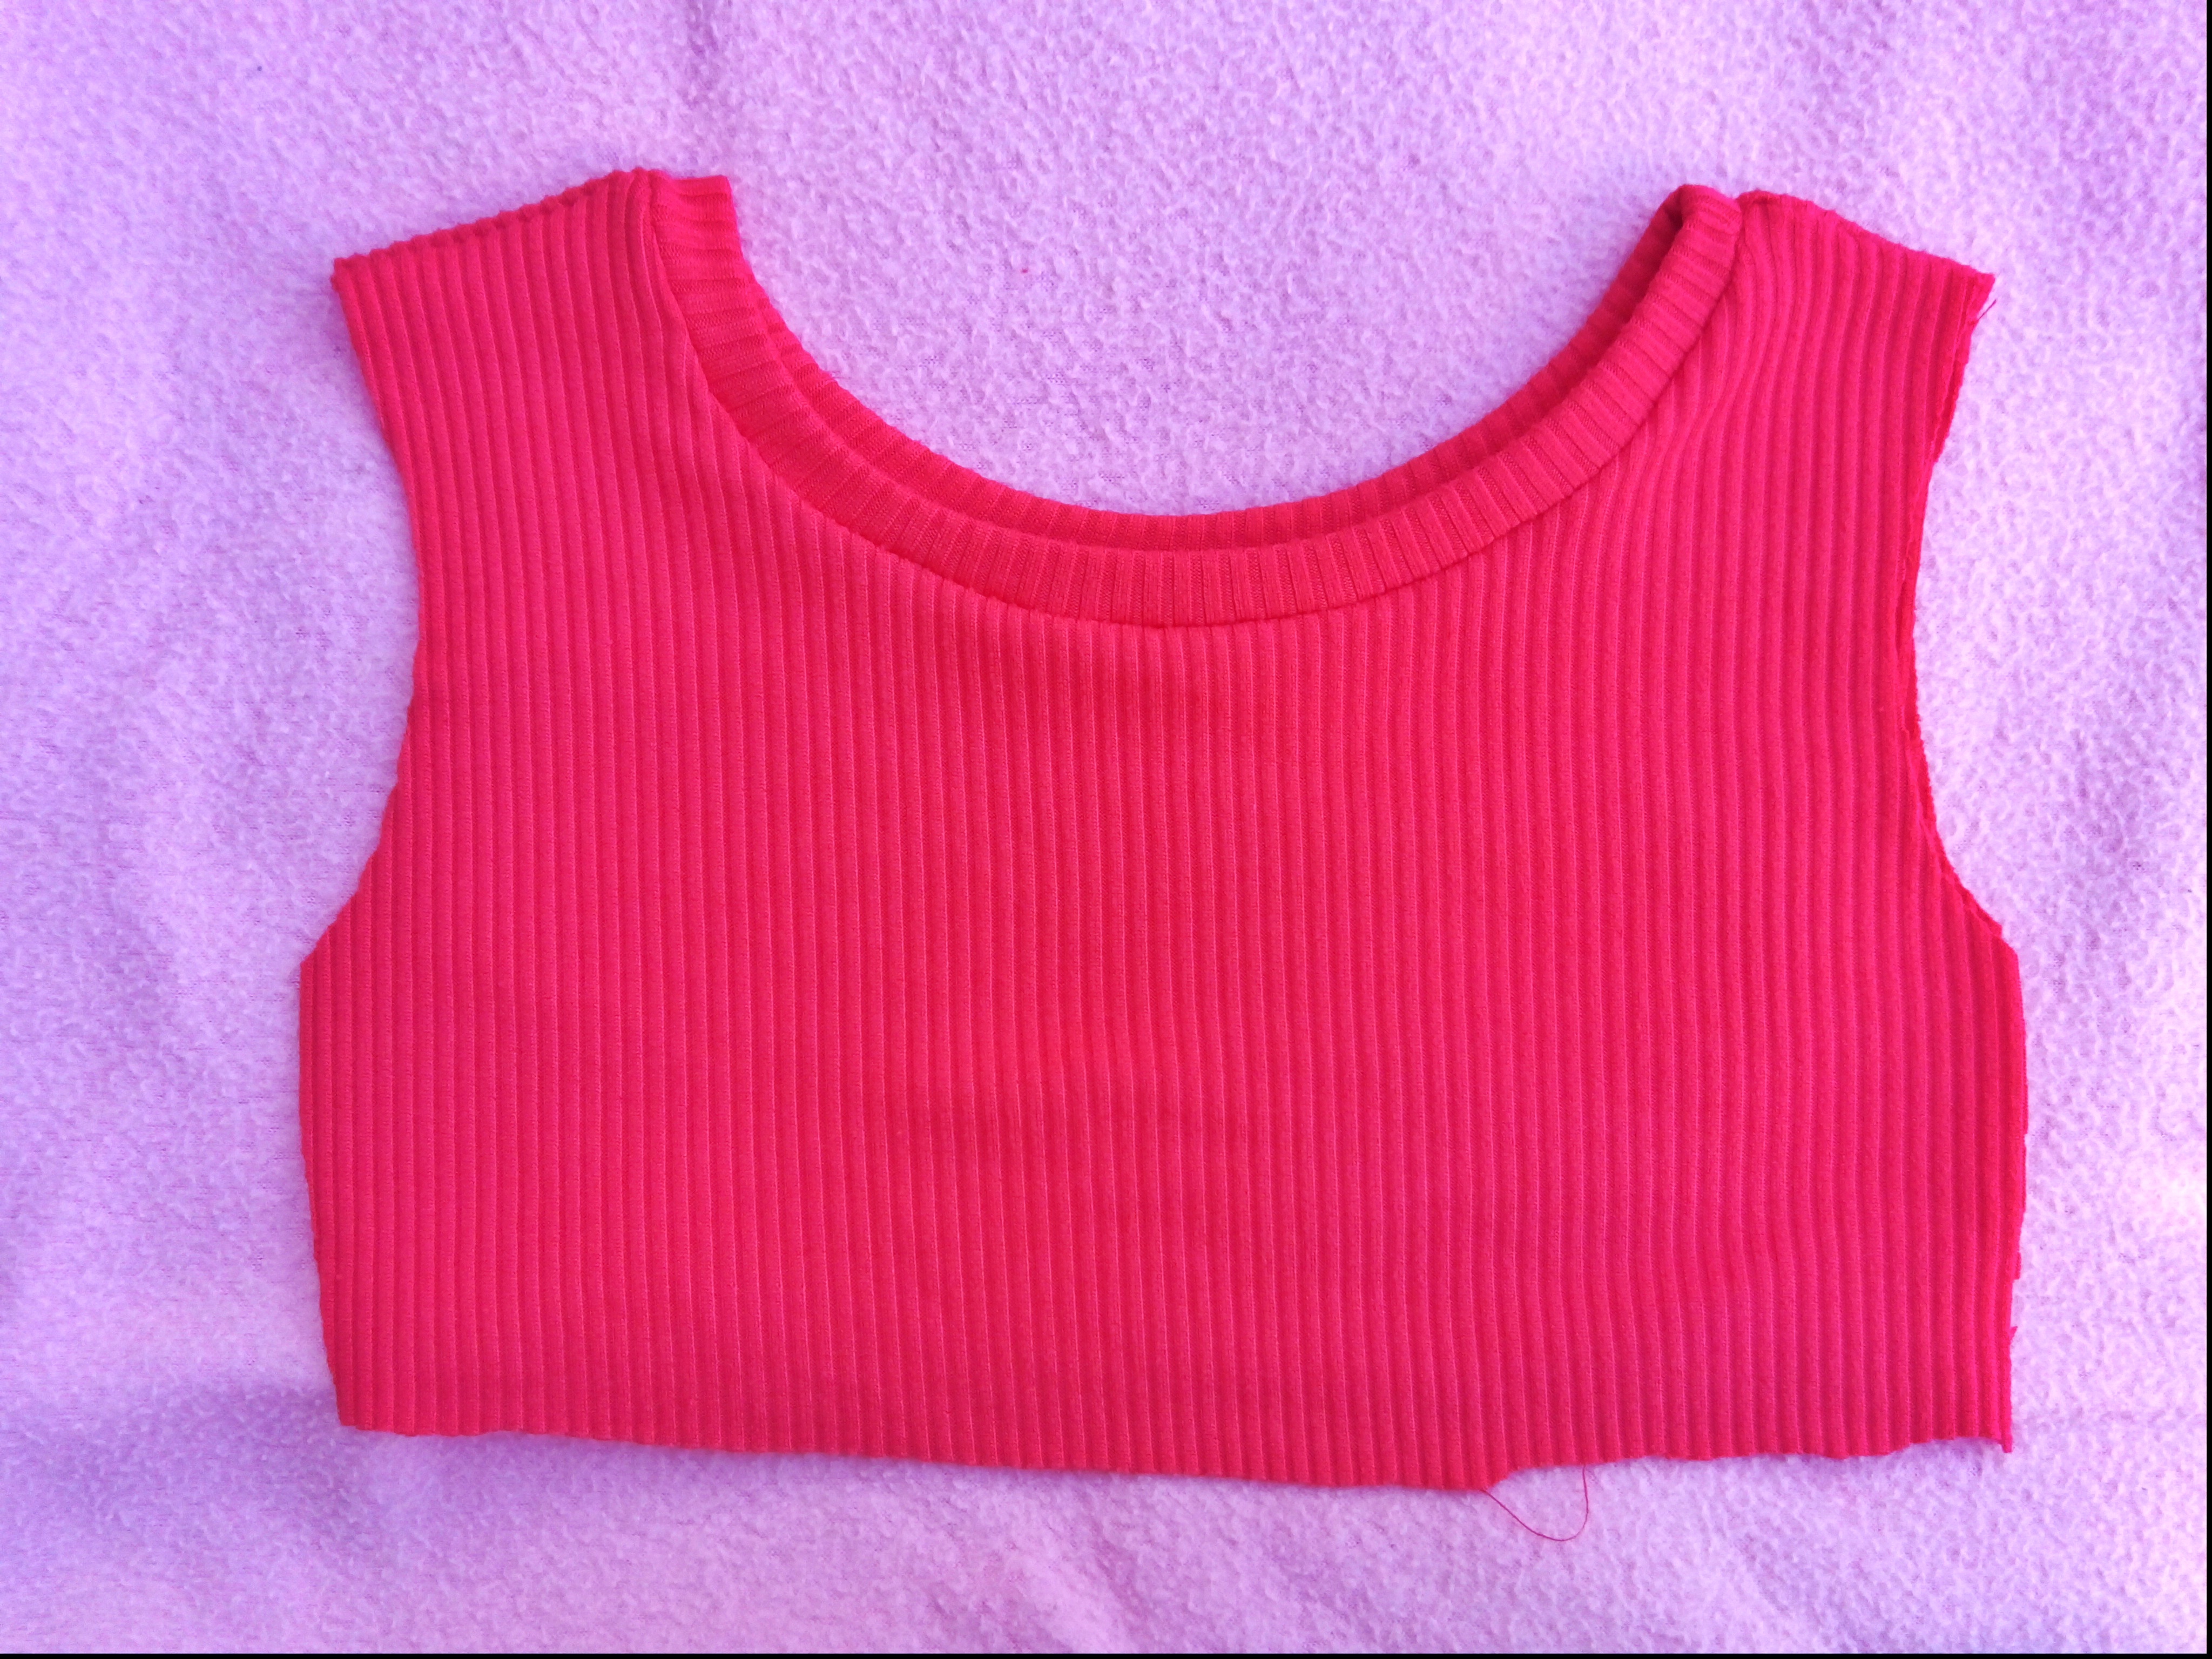
Luego pase una costura recta y luego zigzag.
Tercer Paso:
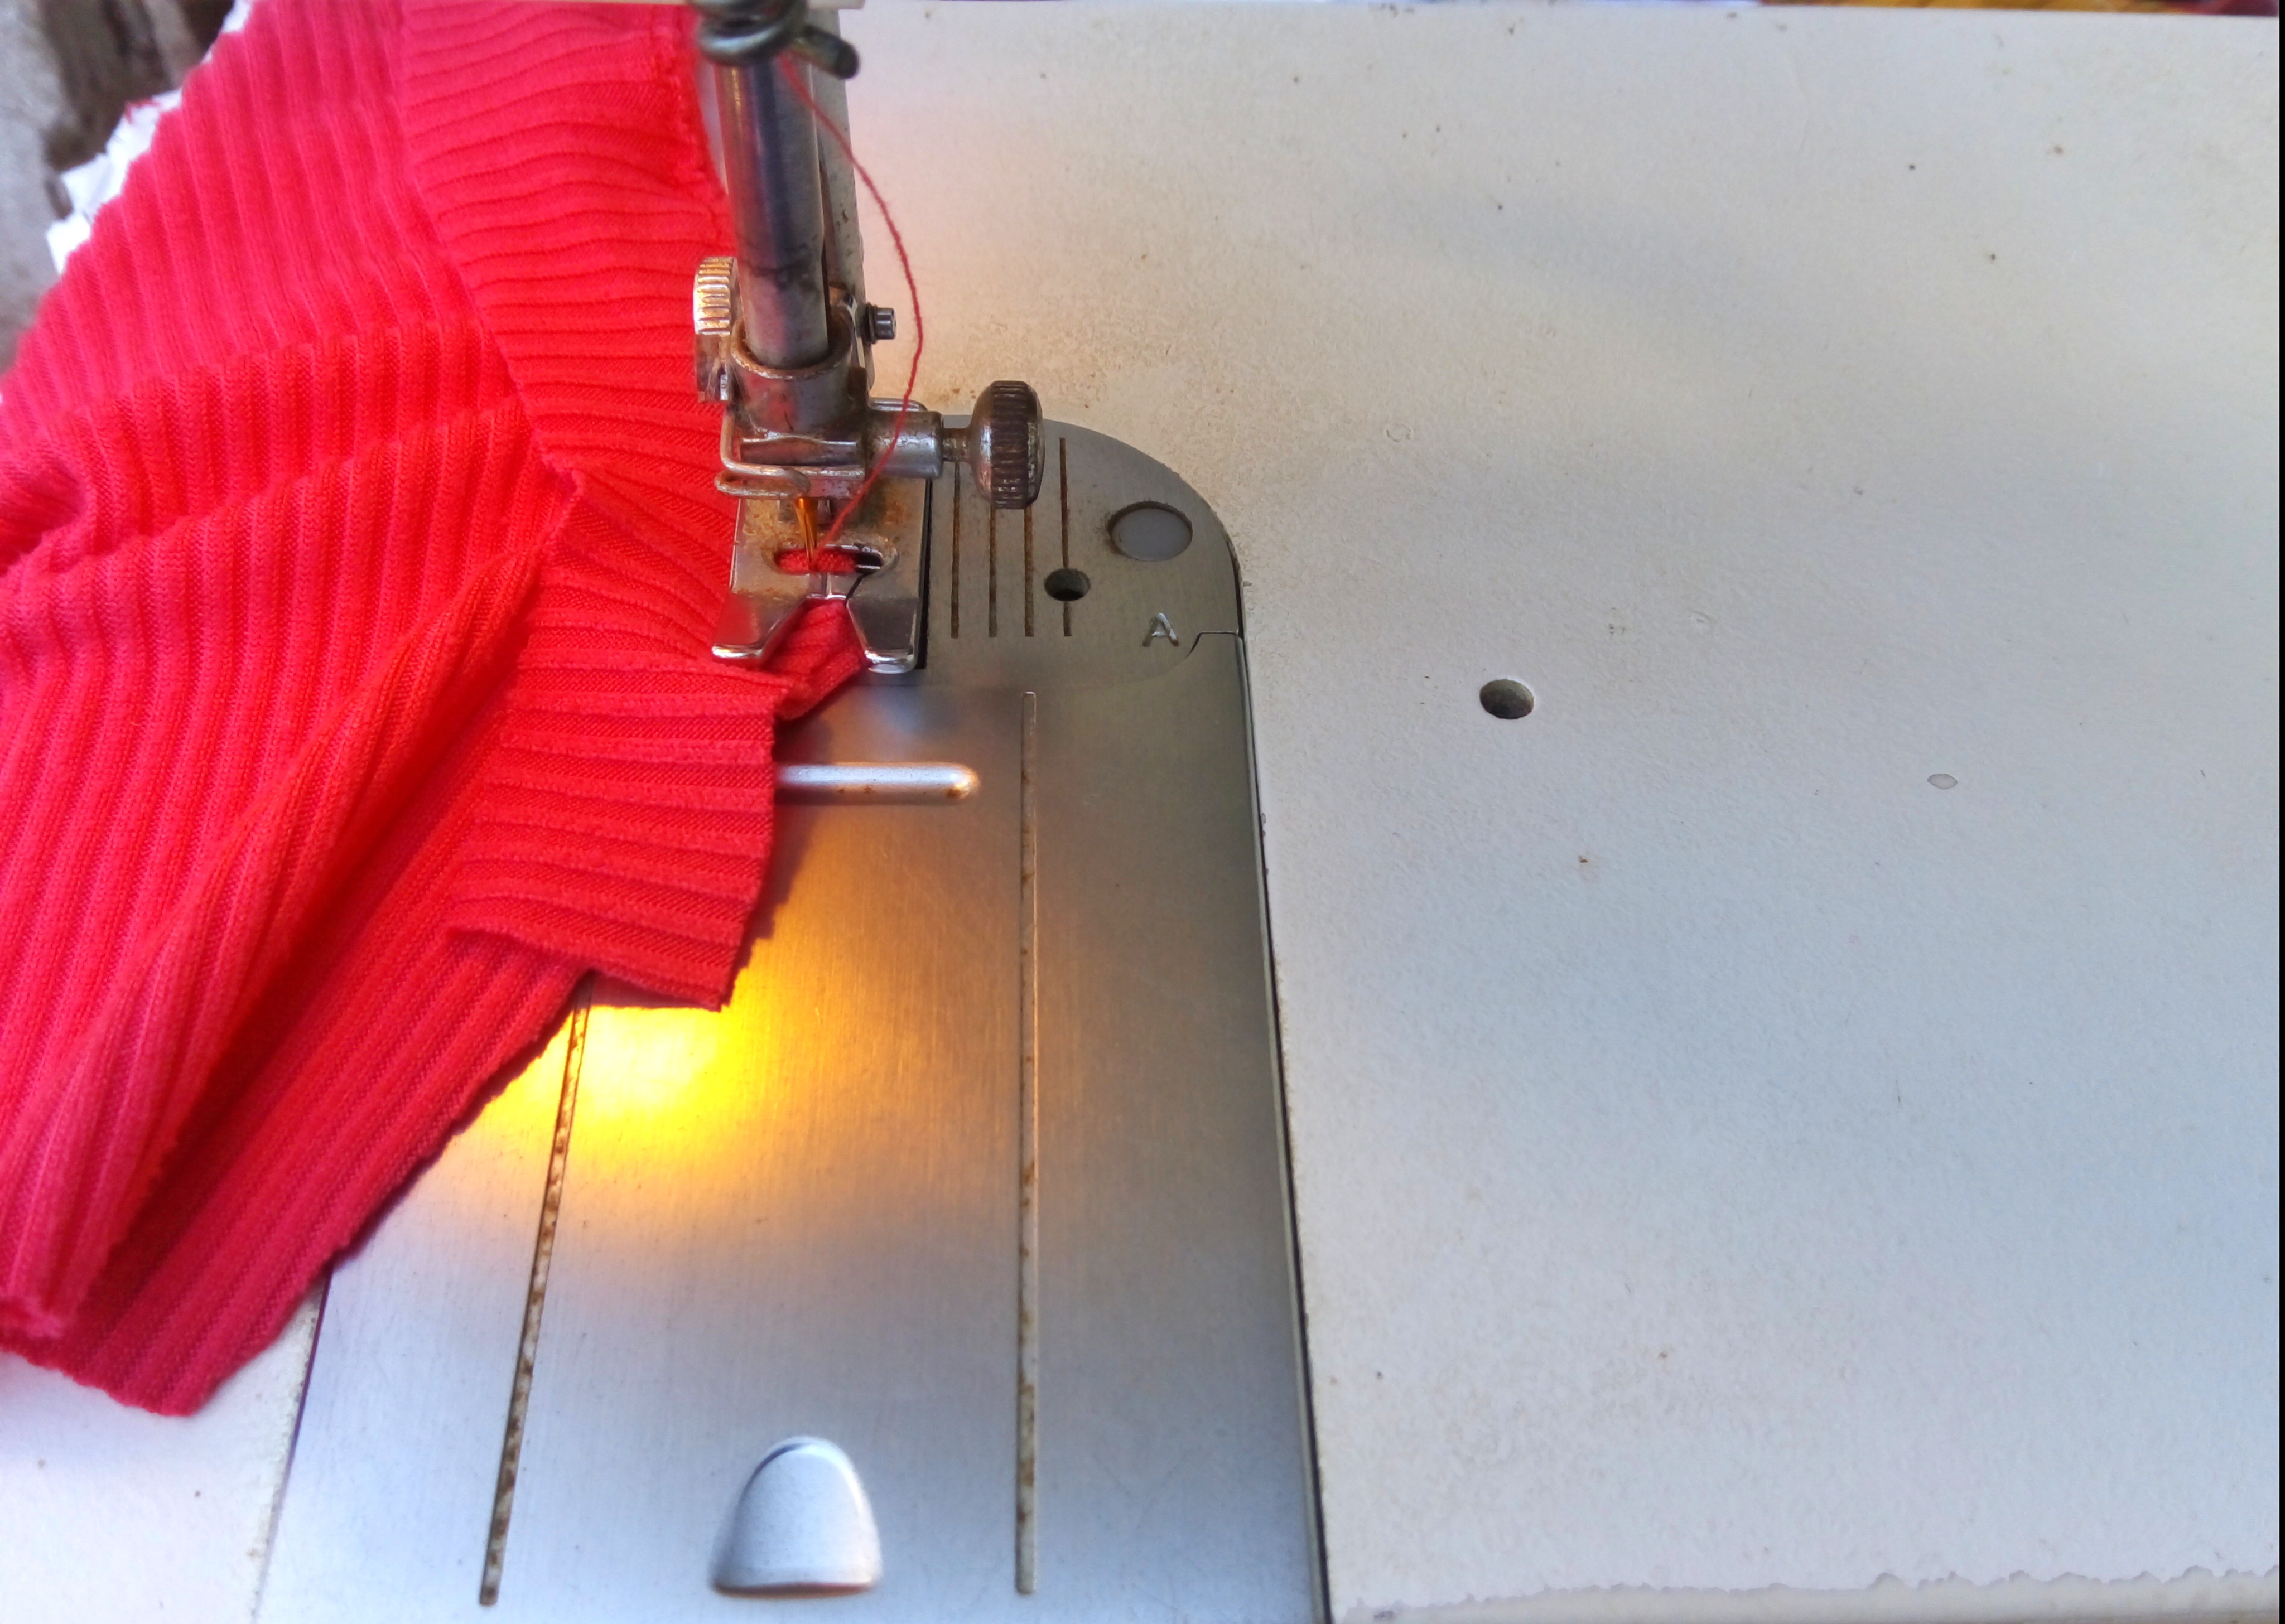
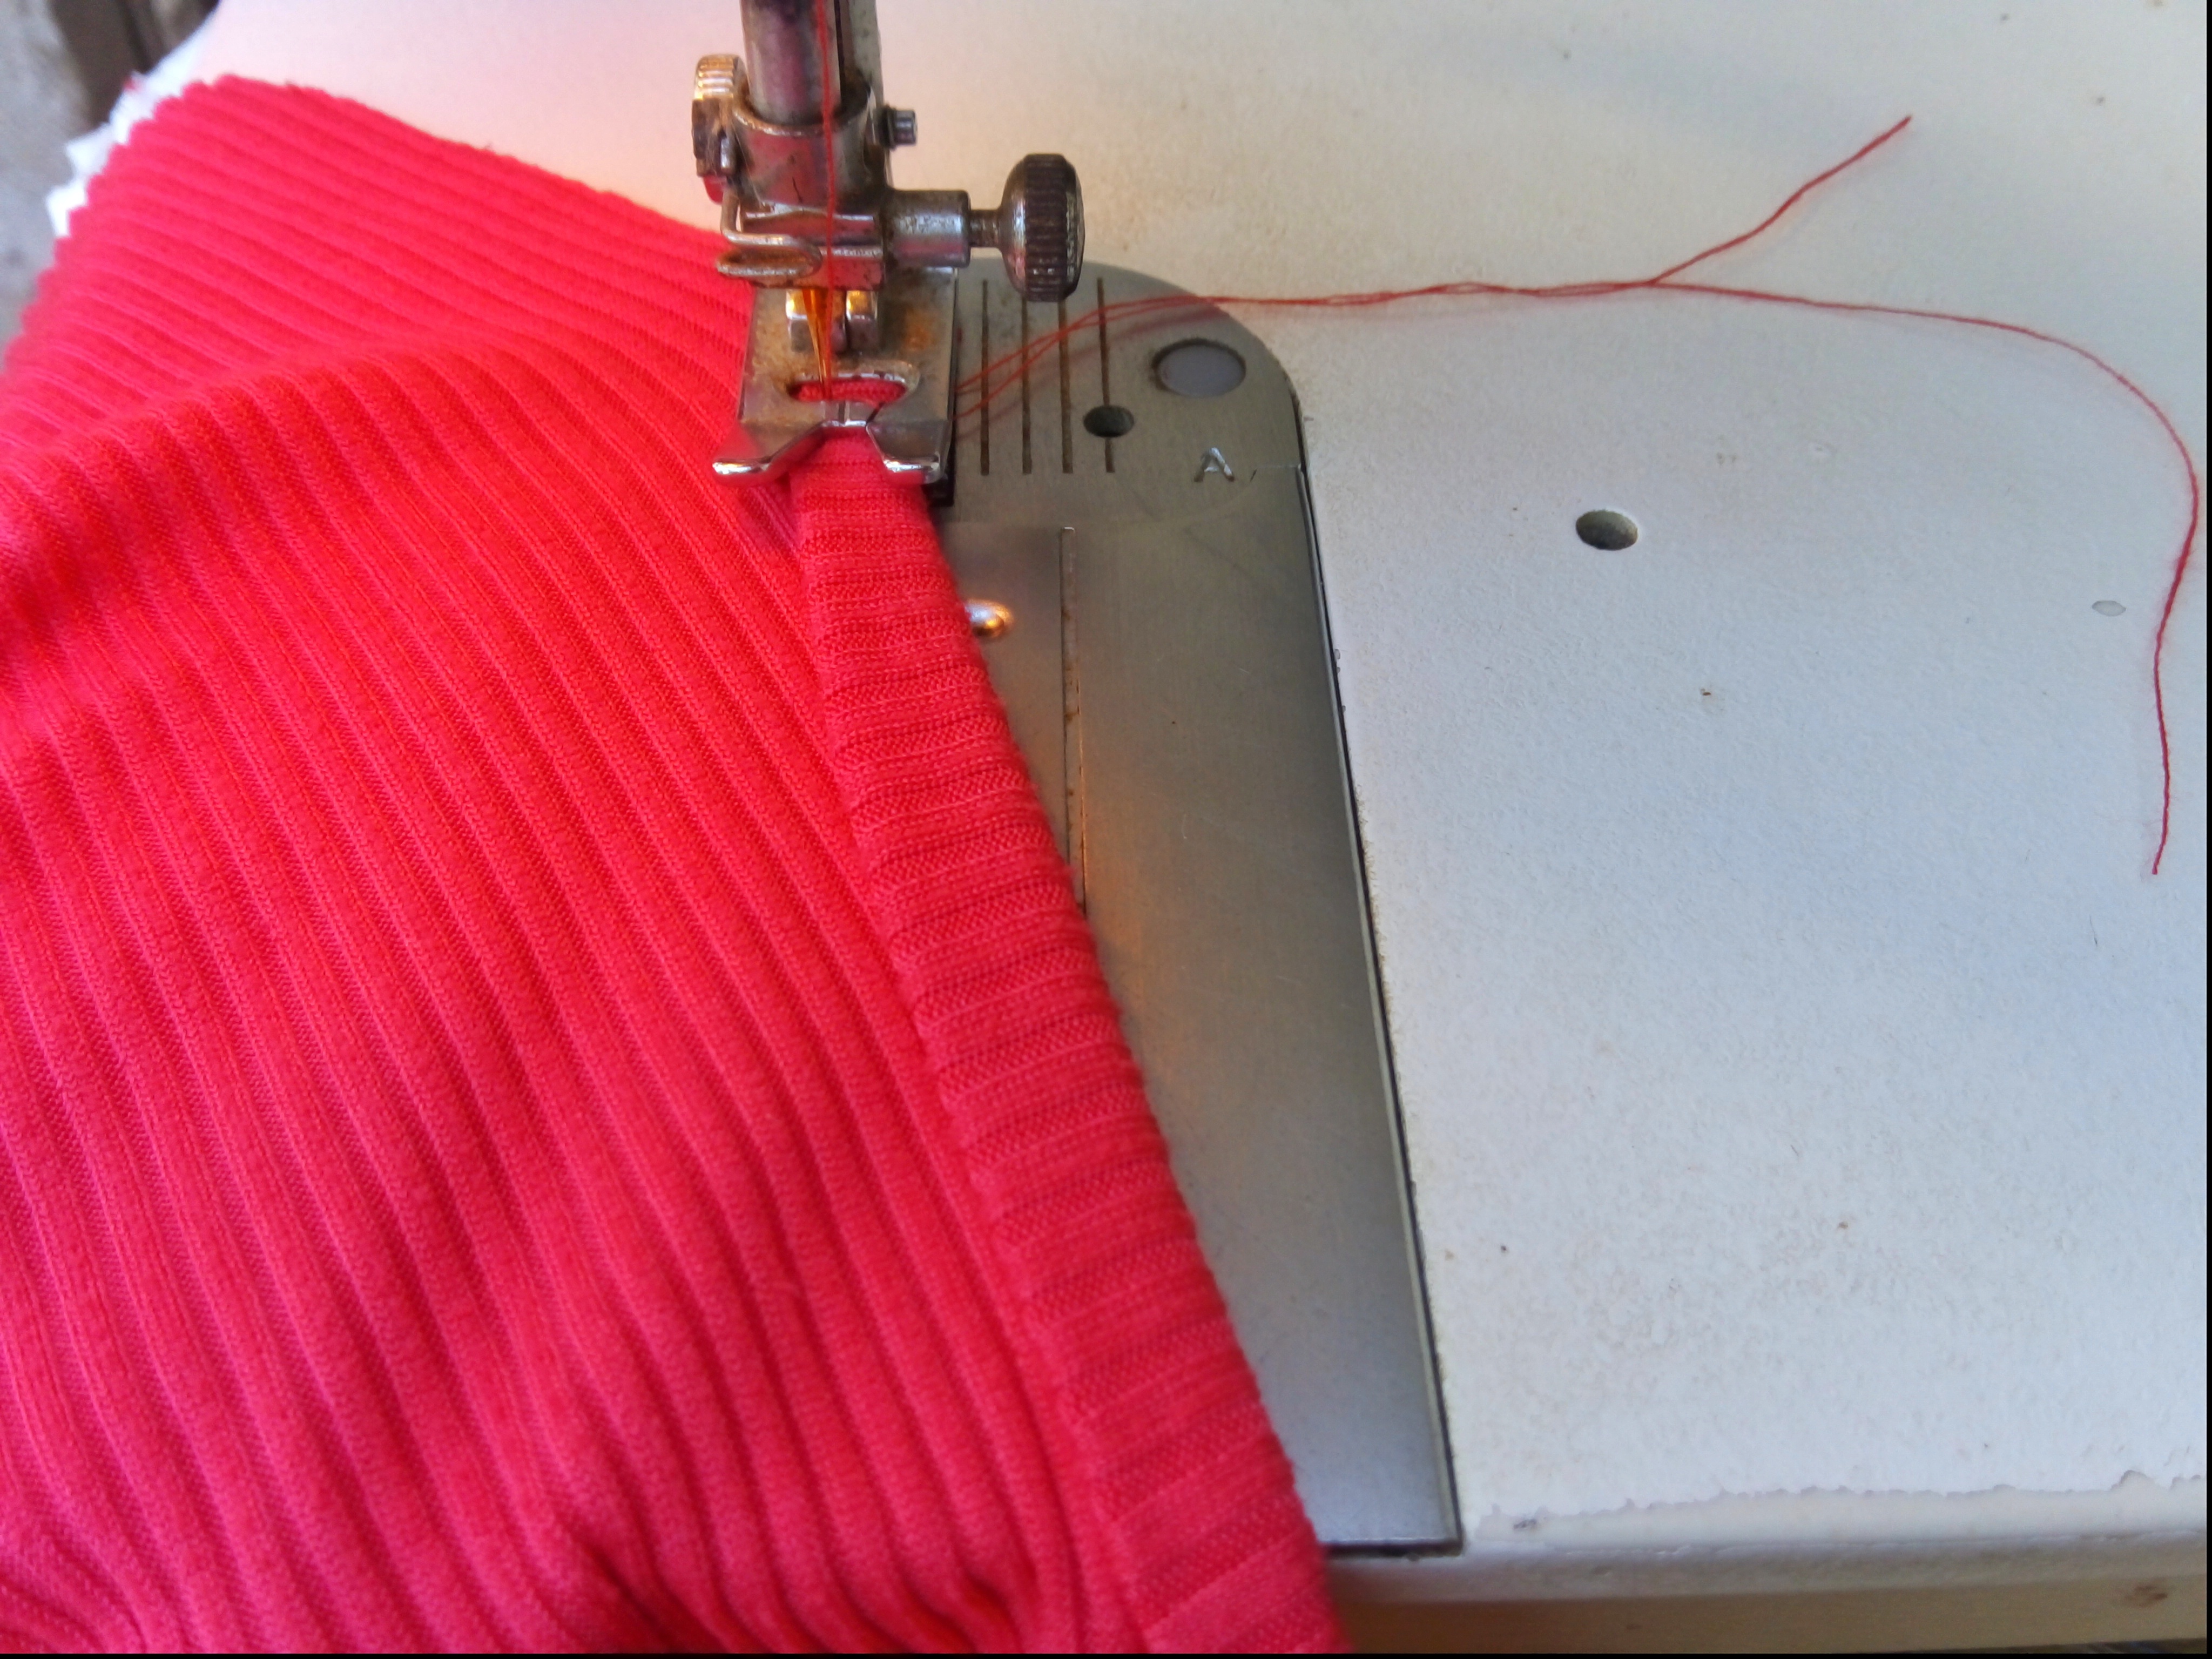
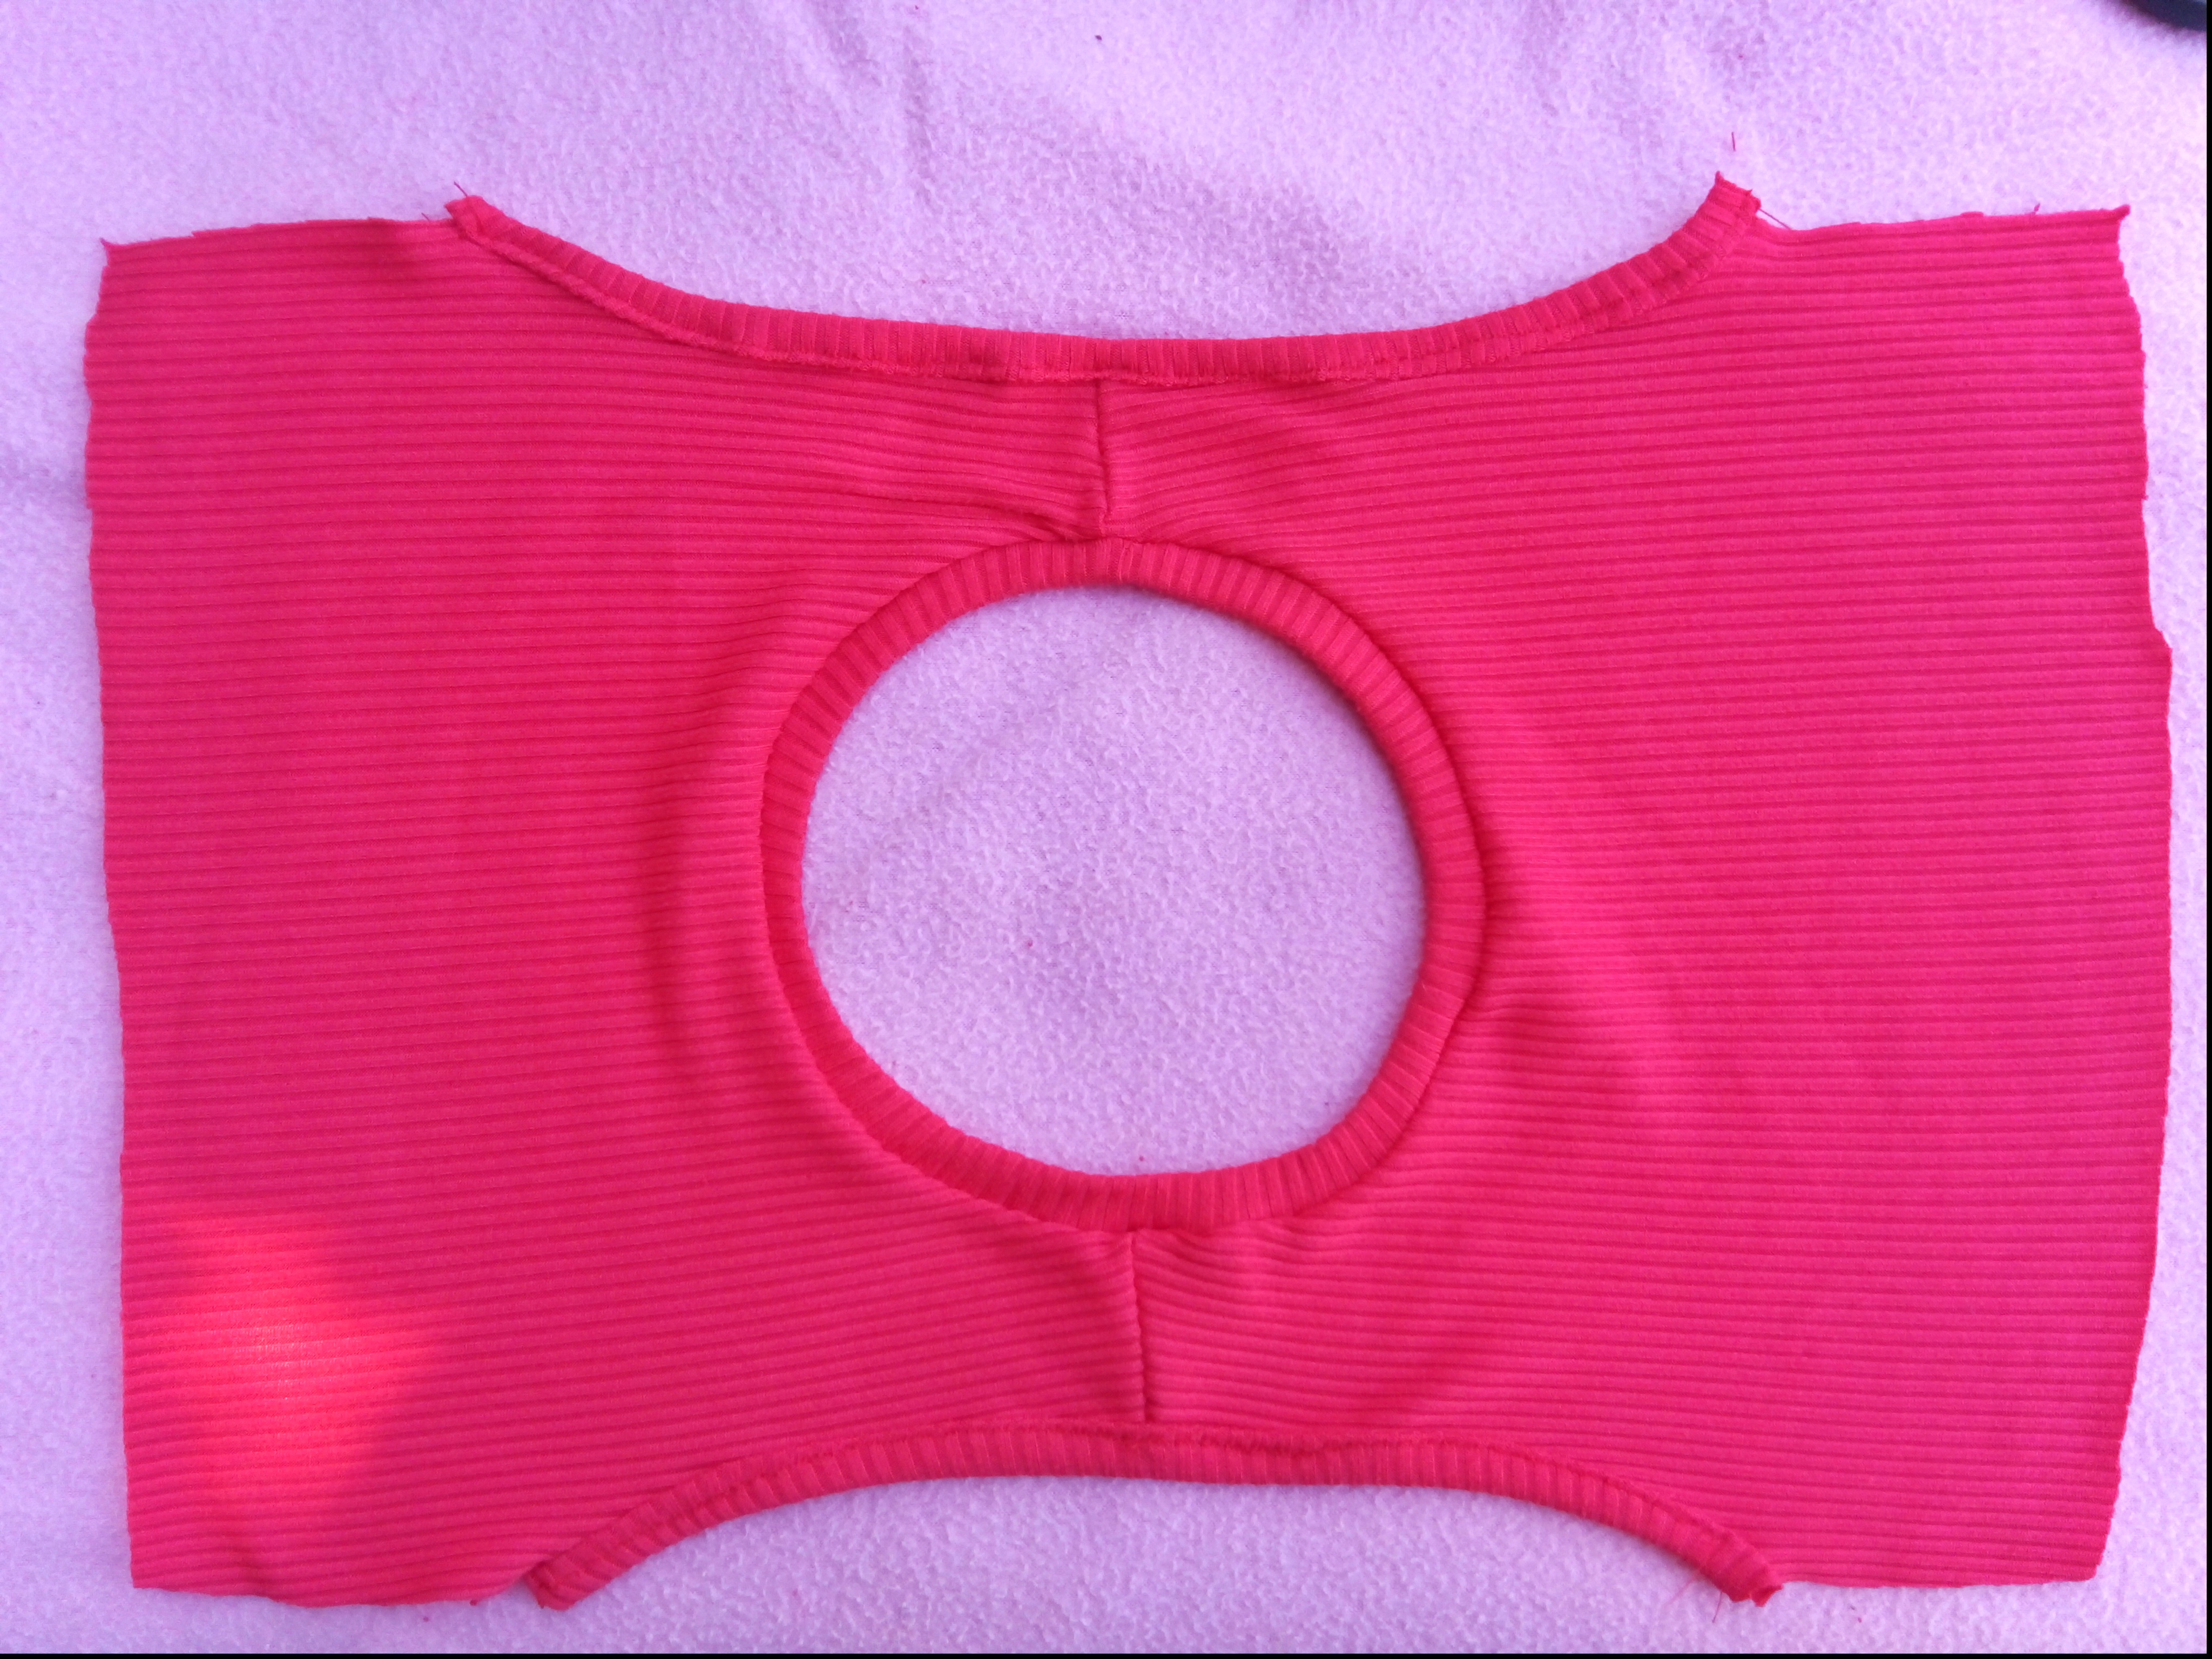
Ahora vamos a tomar la cinta métrica y cortar 2 tiras de 25 cm de largo y 3 cm de ancho, luego con la tela aún al lado delantero pegue lo que se llama bies, esto es colocar la tira y coser de forma recta, luego hacemos un pequeño dobles y volvemos a coser
Cuarto Paso:
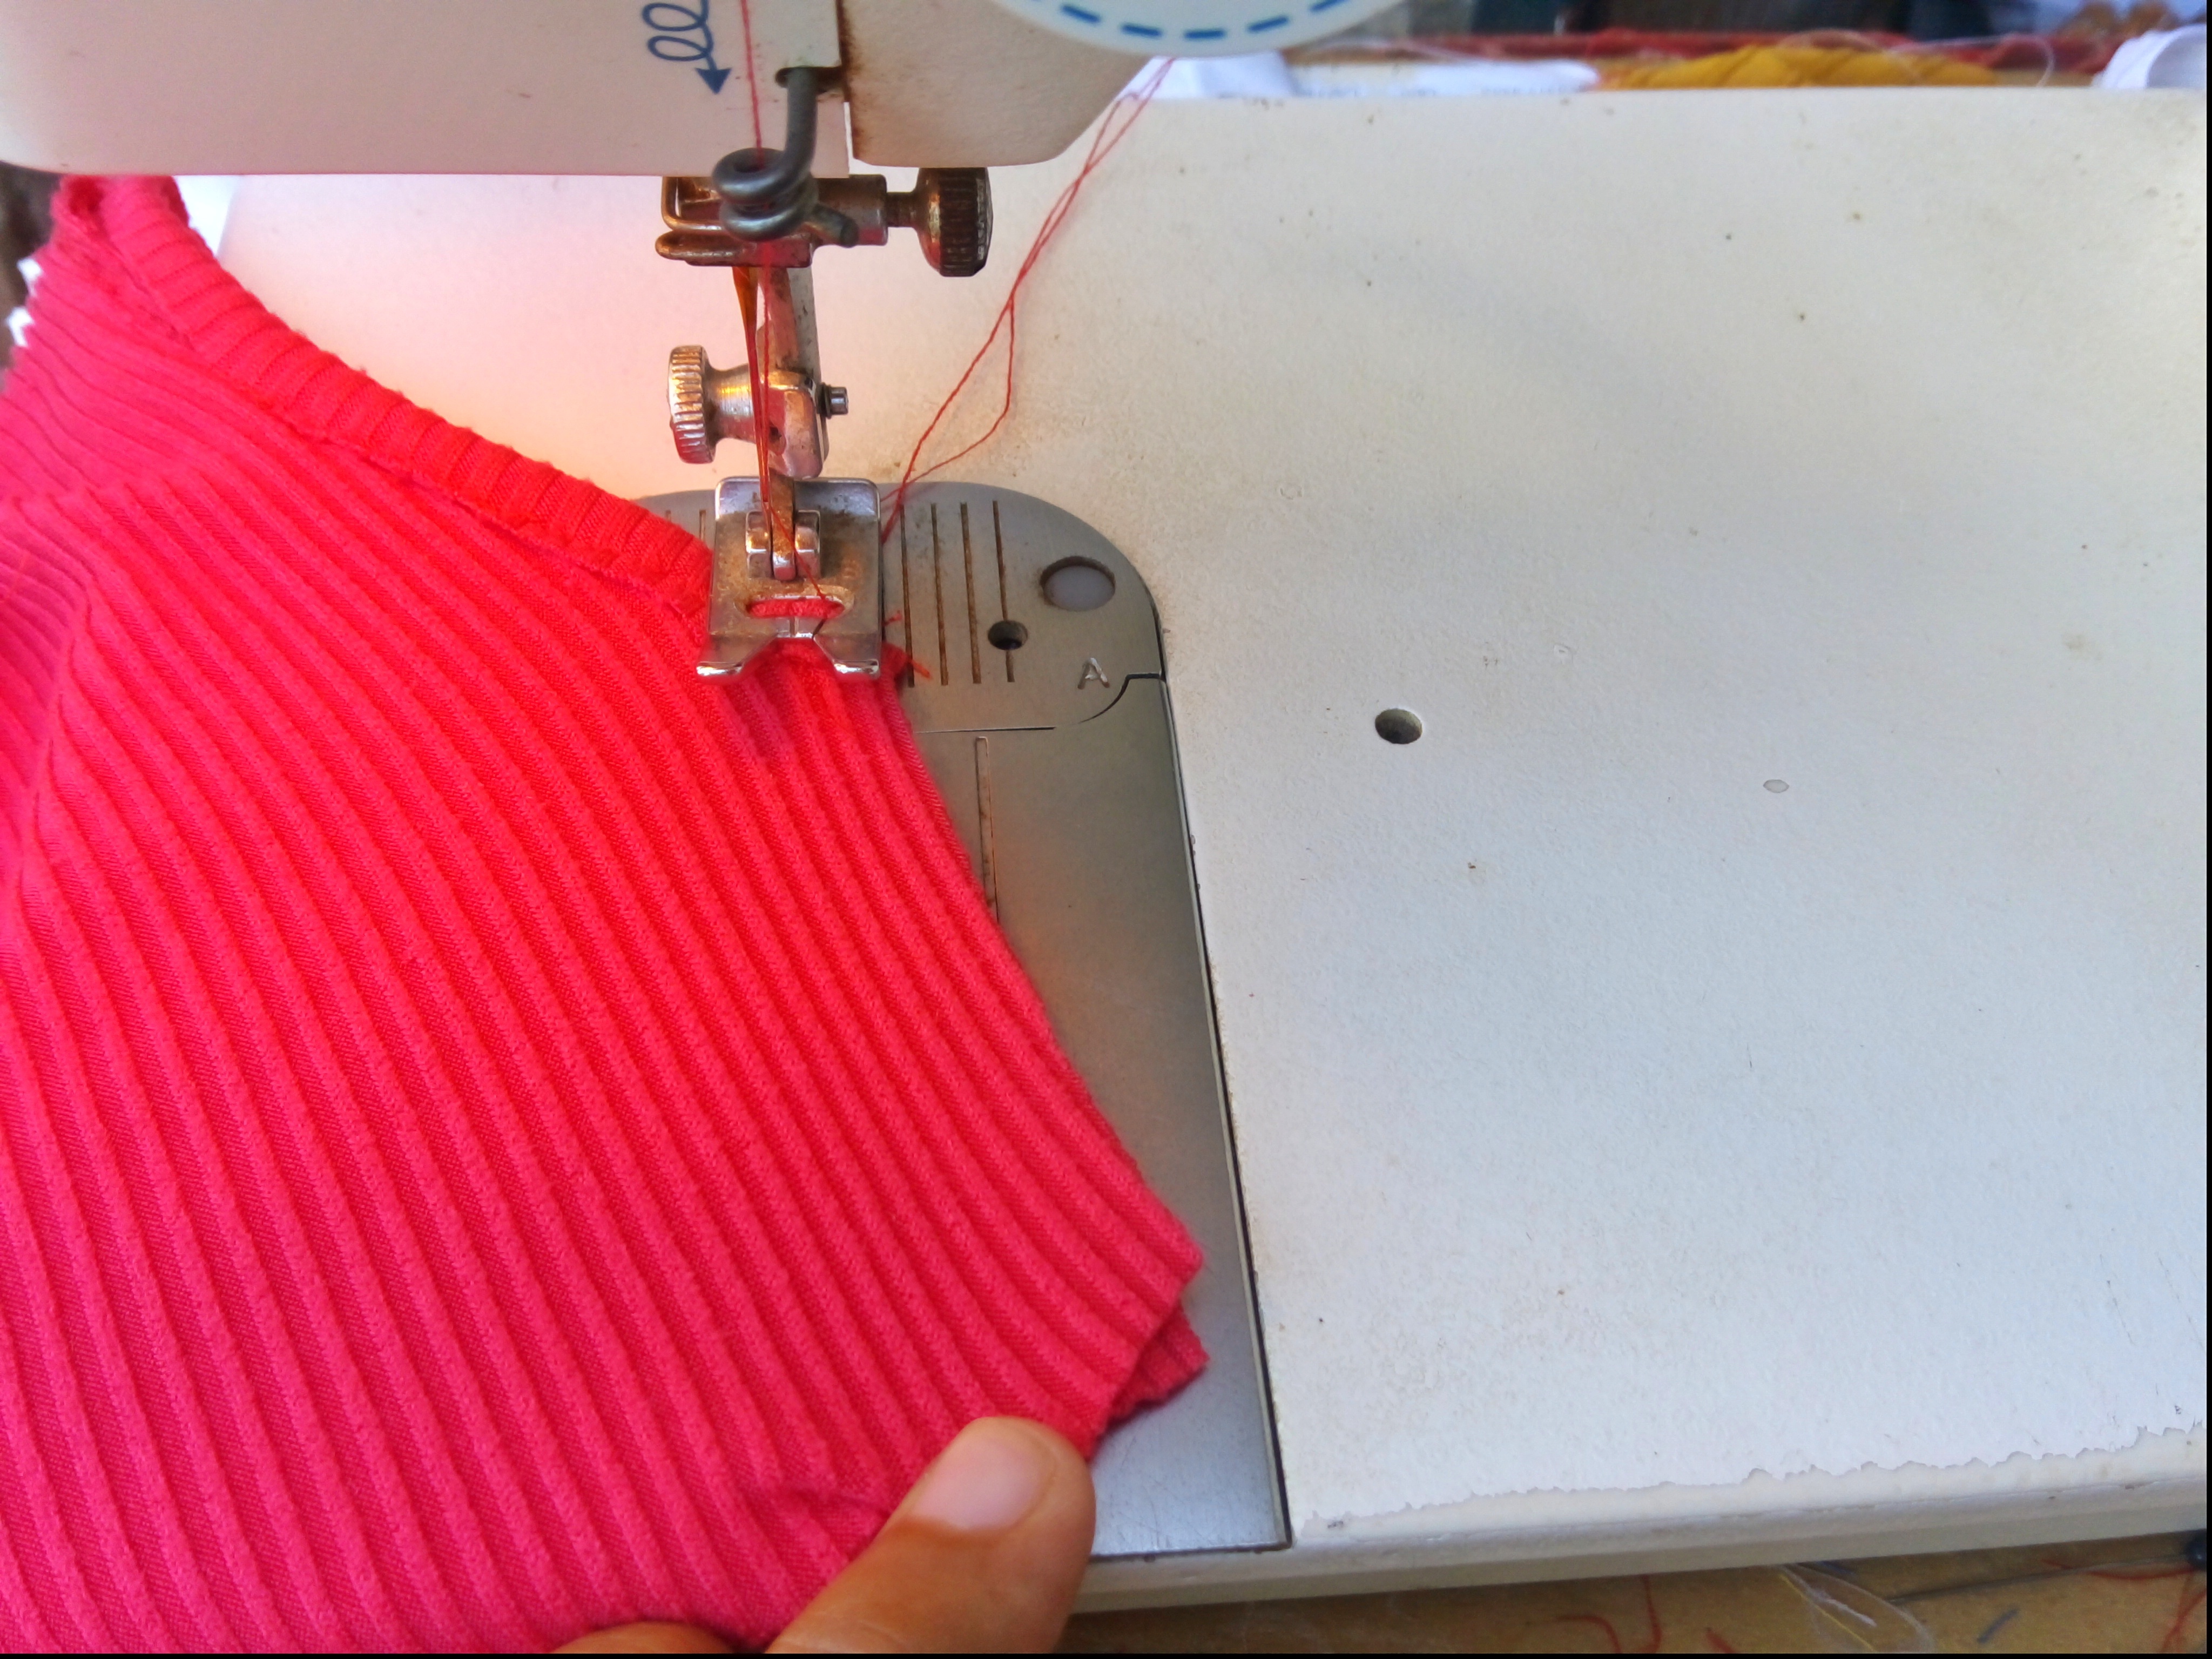
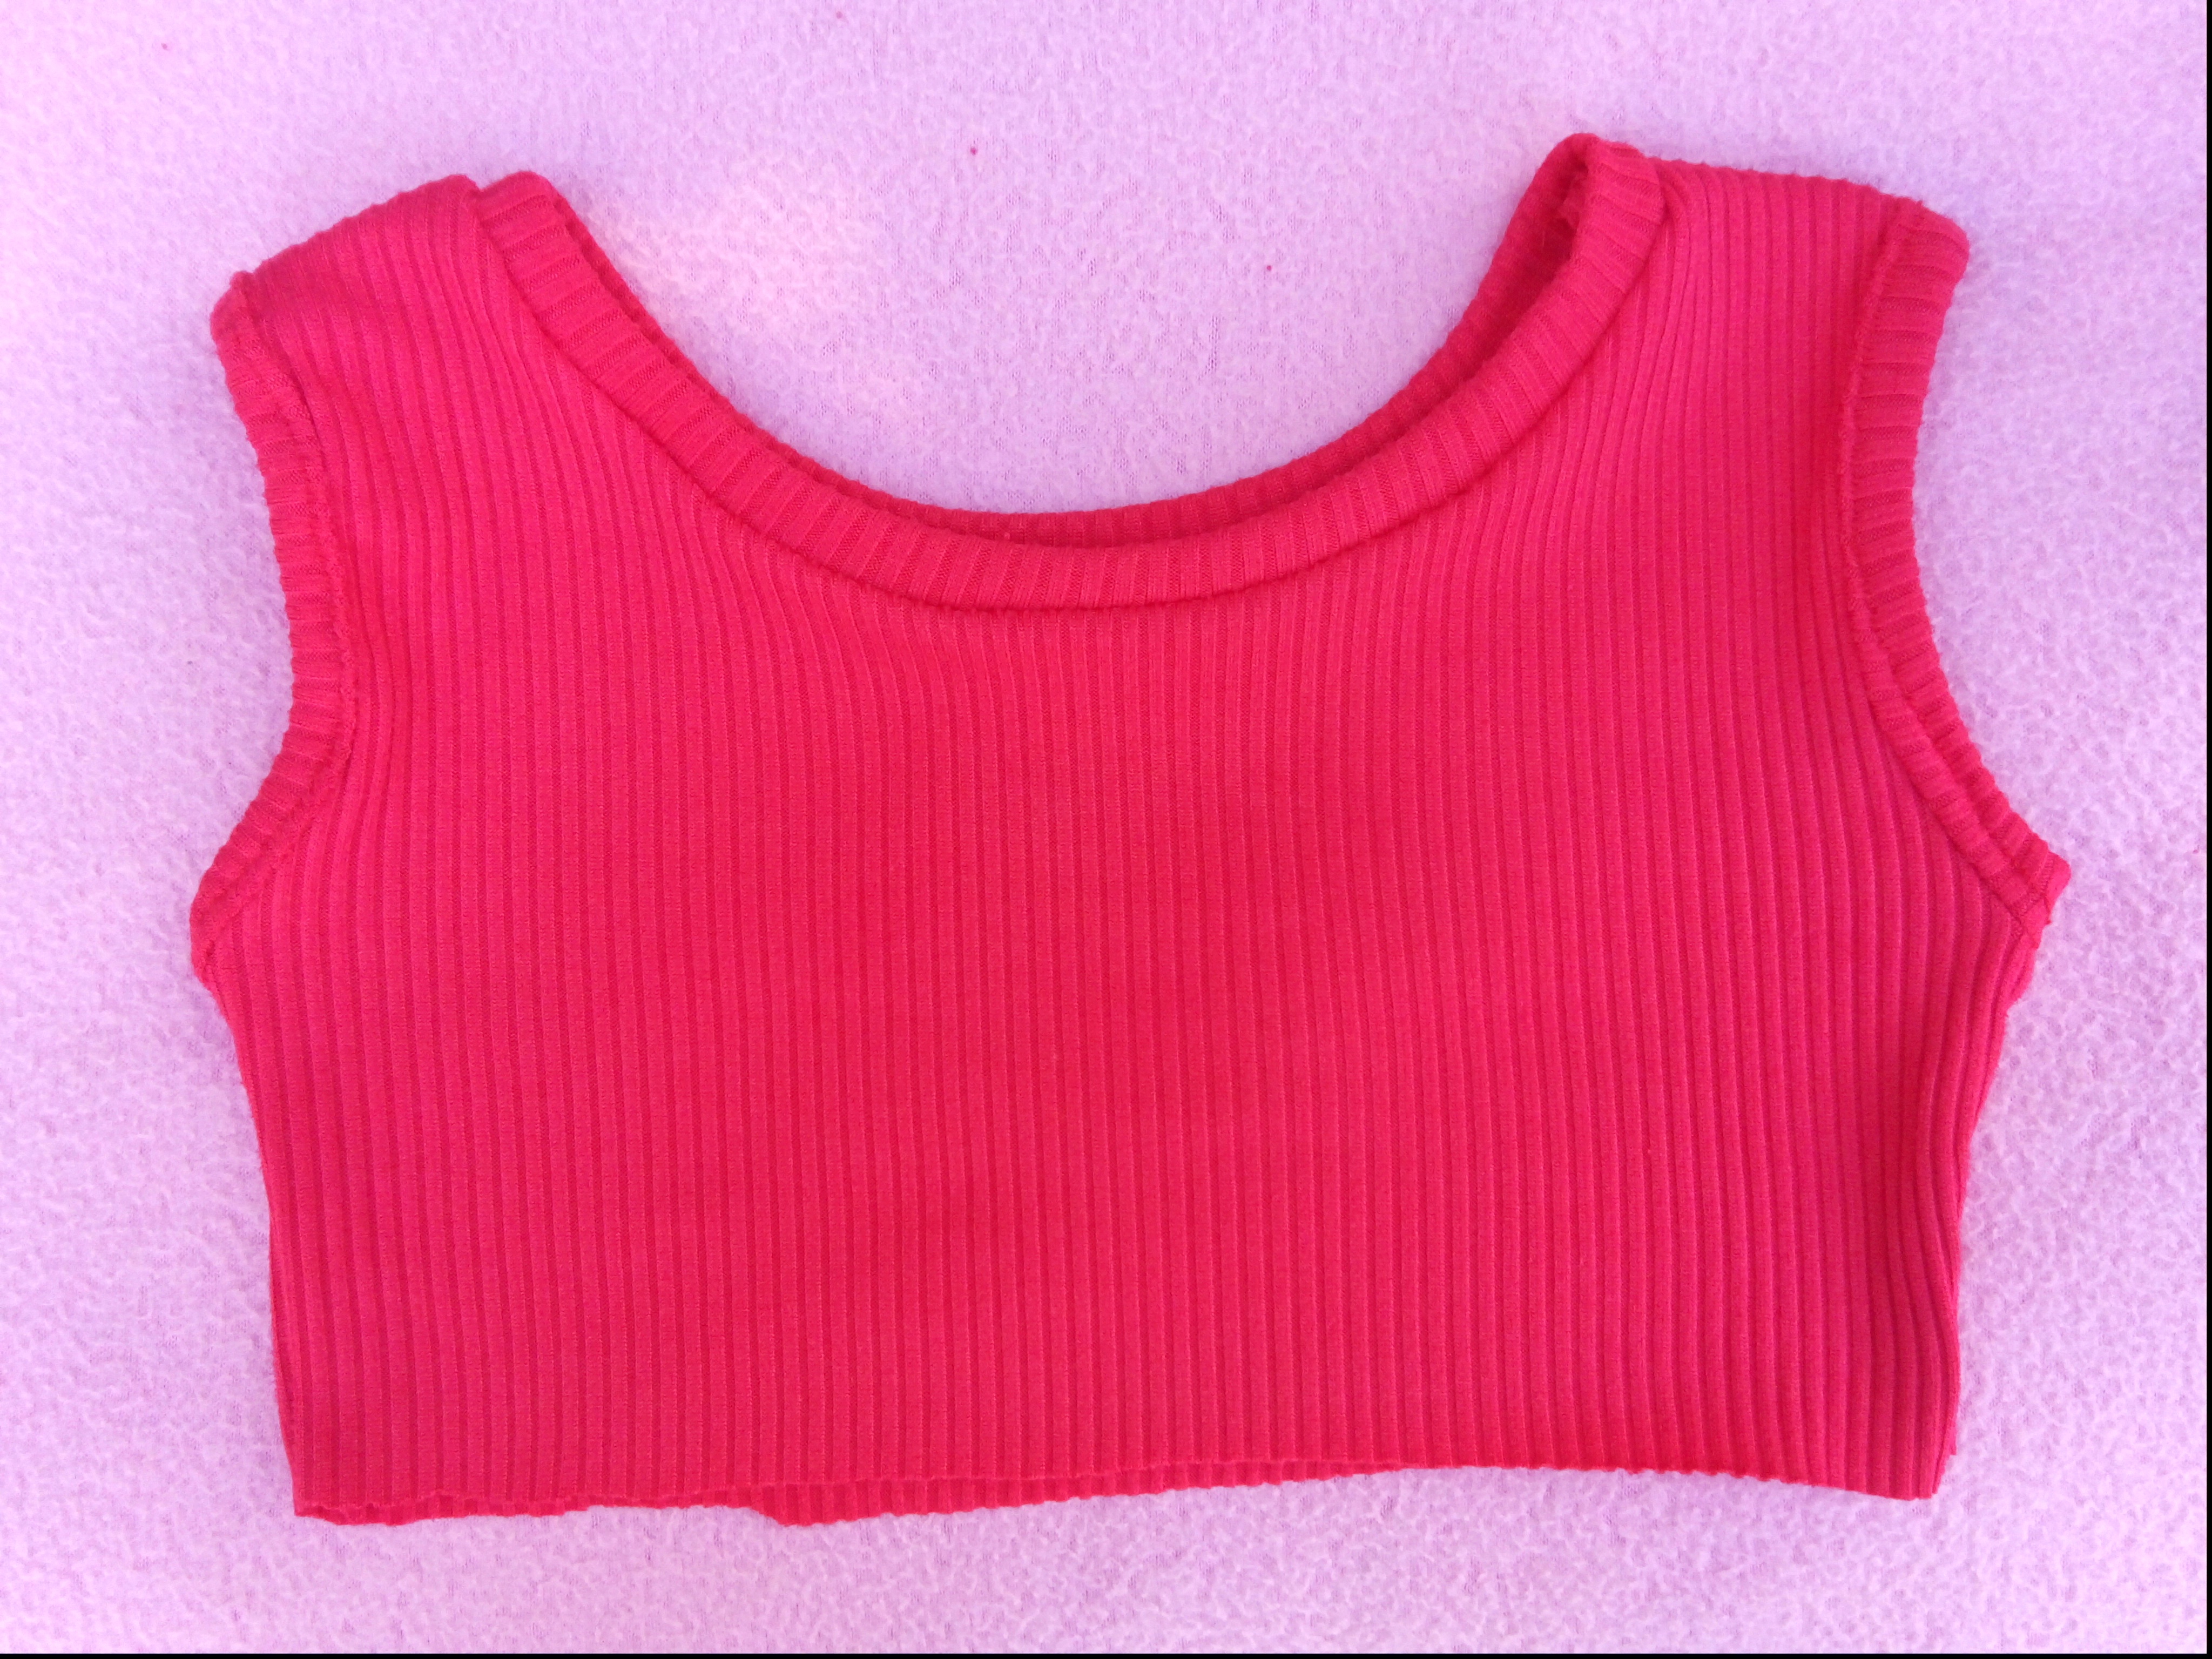
Luego de pegar el cuello y el bies a la camisa vamos a coser los laterales con costura recta y luego zigzag.
Quinto Paso:
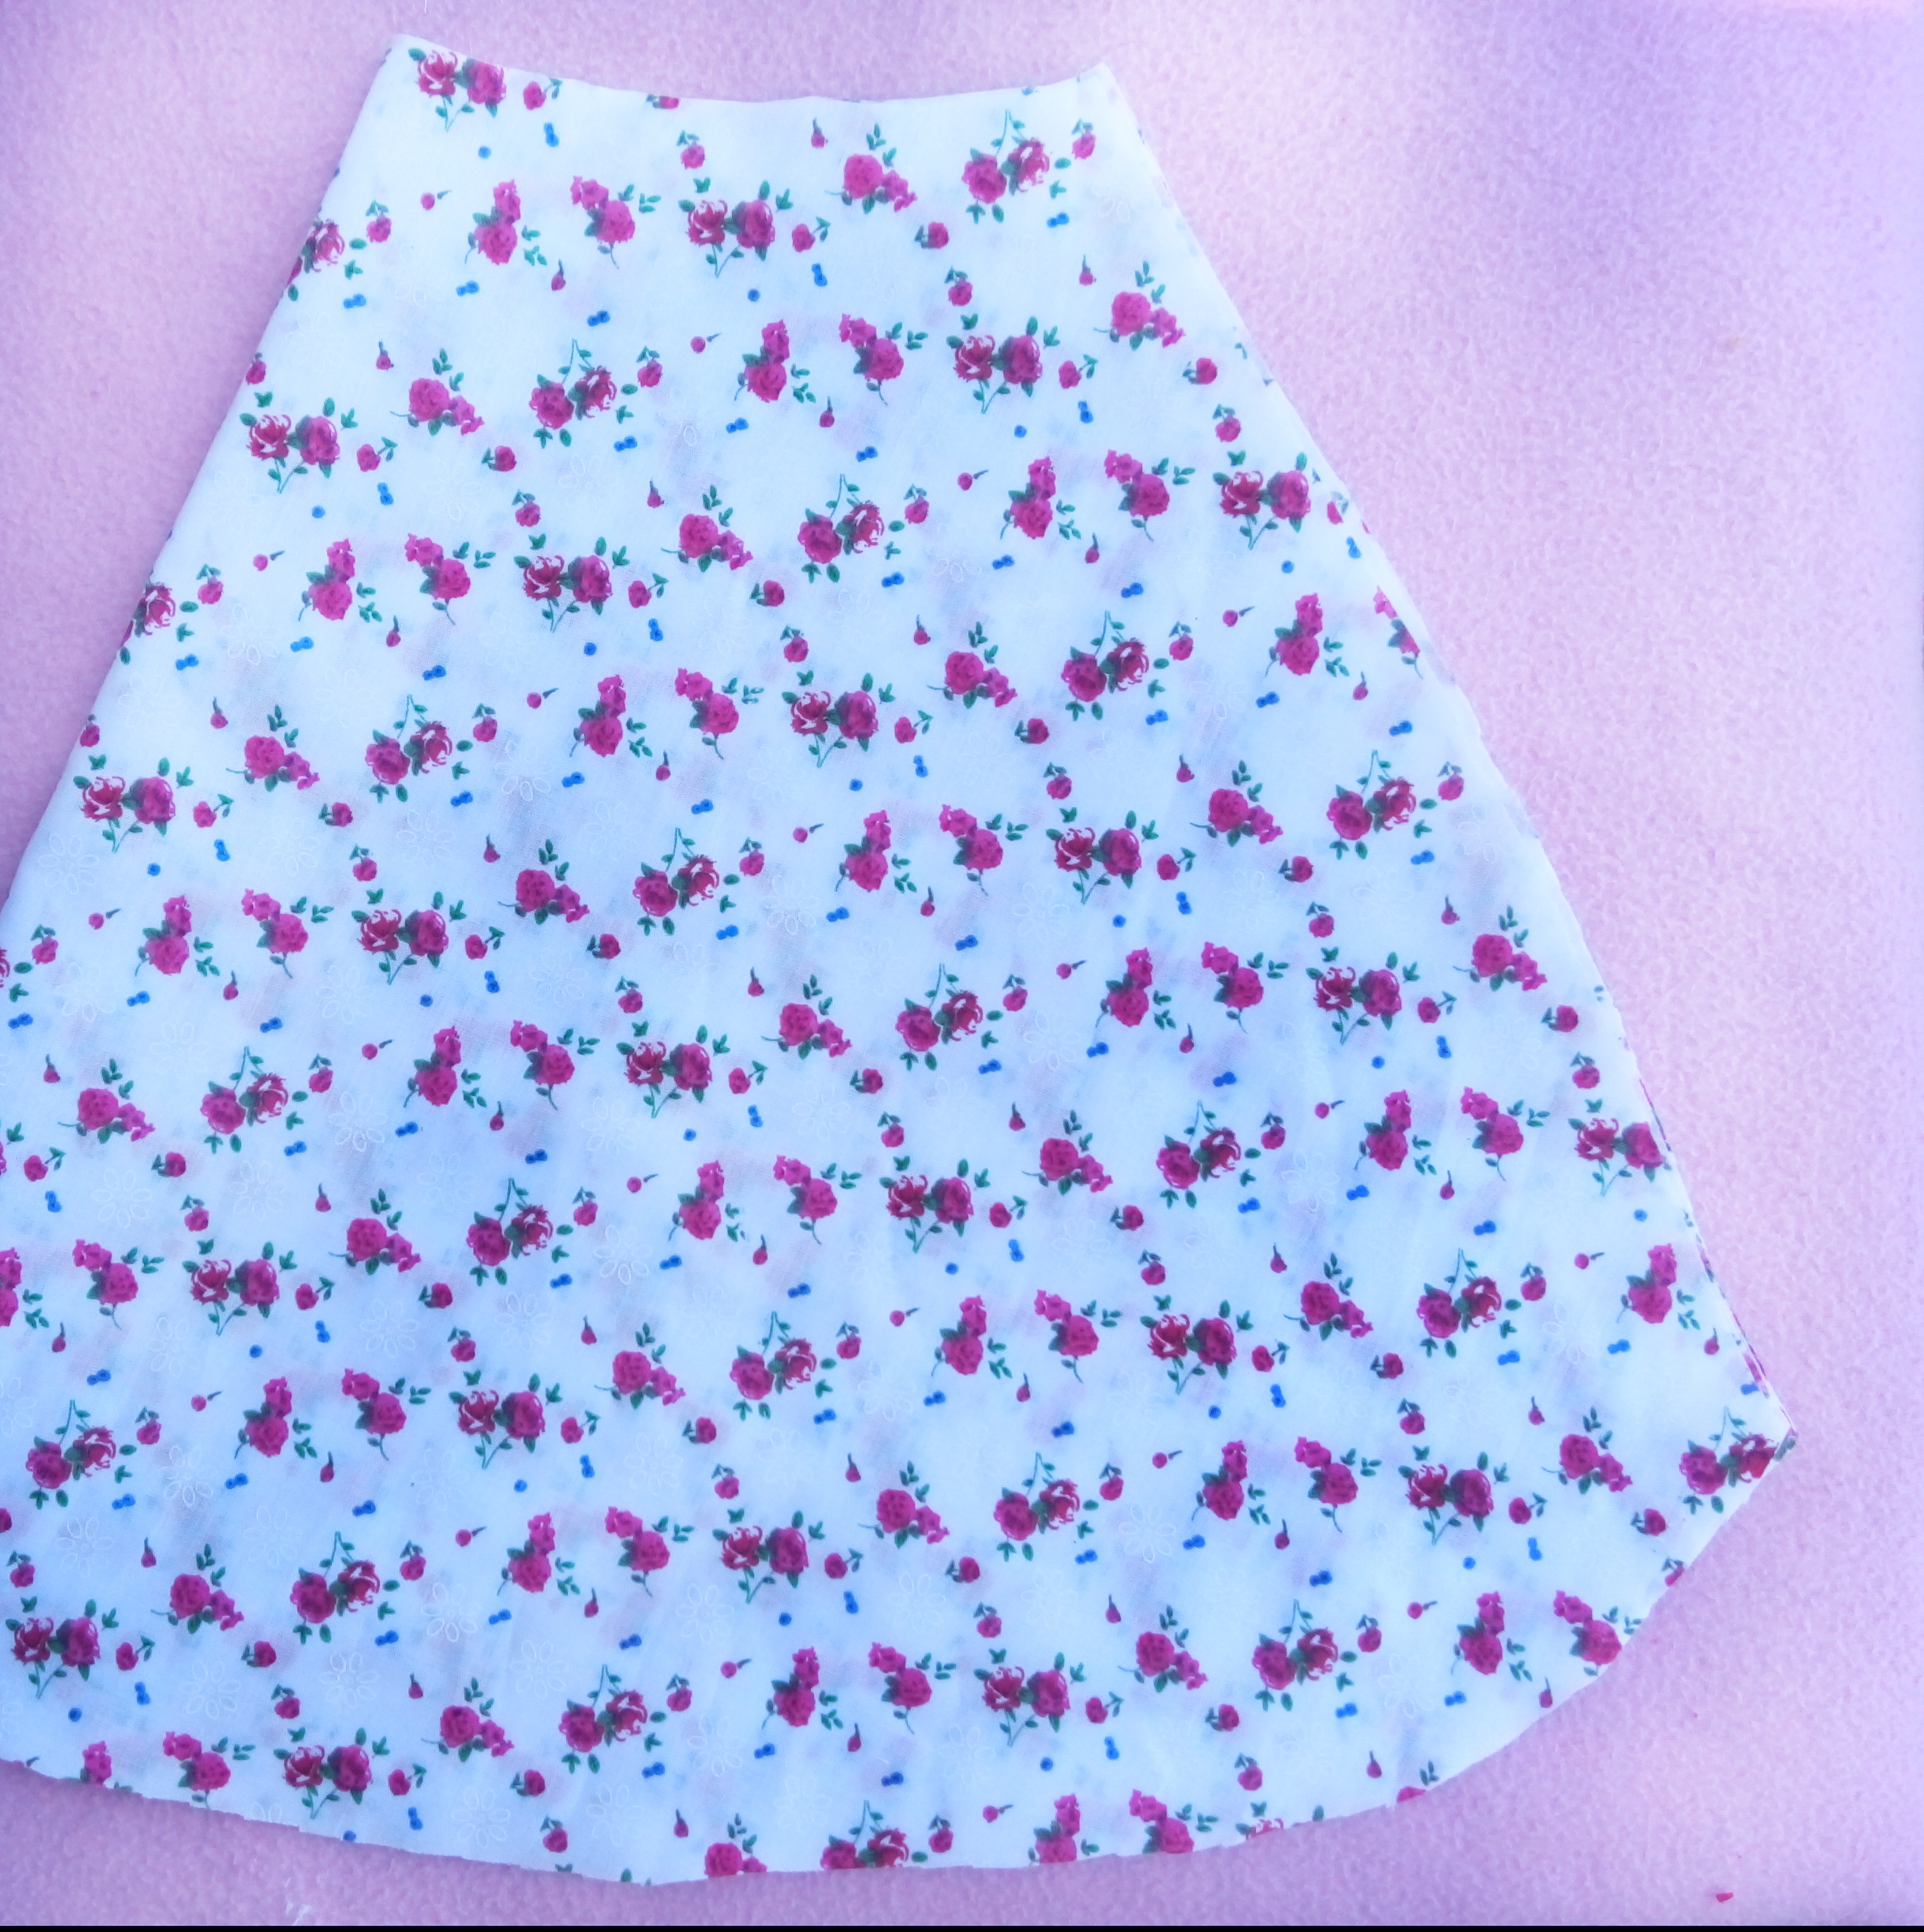
Vamos ahora a colocar la tela de rosas para hacer la falda, las medidas son, 33 cm de largo y el ancho que tiene normalmente la tela.
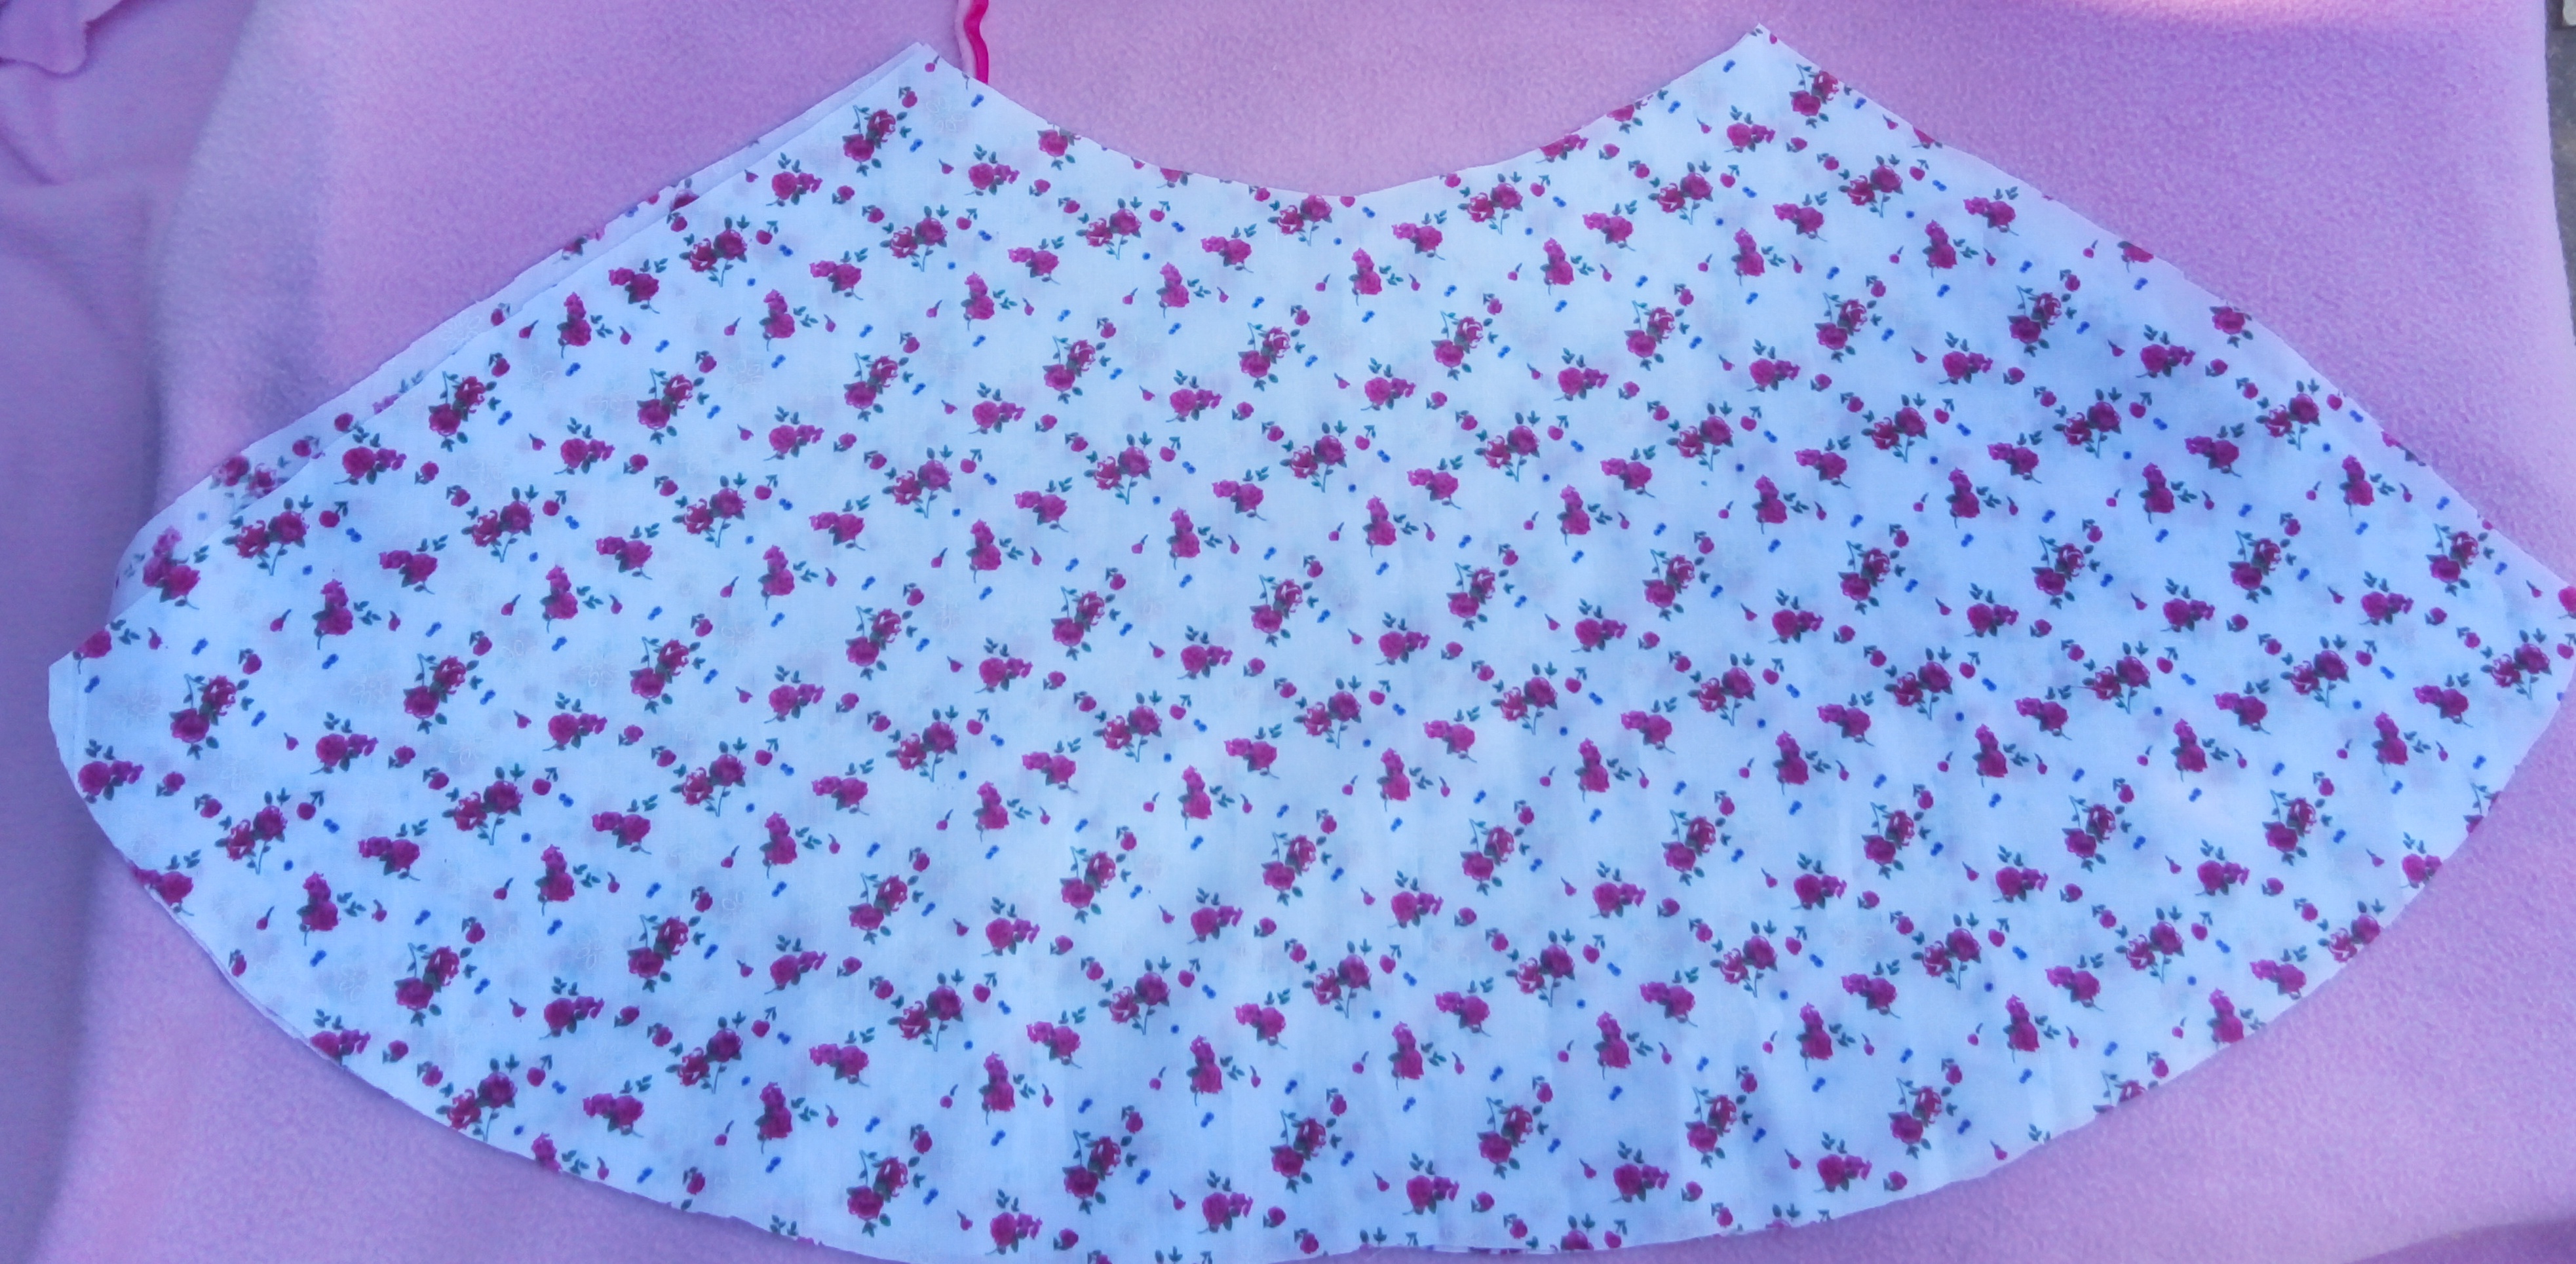
vamos a doblar la tela por la mitad, y luego volvemos a doblar, nos quedarán 4 capas, luego vamos a cortar haciendo un ovalado, después cortamos la parte de la cintura que mide 27 cm de ancho. luego abrimos y cortamos los laterales de la falda.
Sexto Paso:
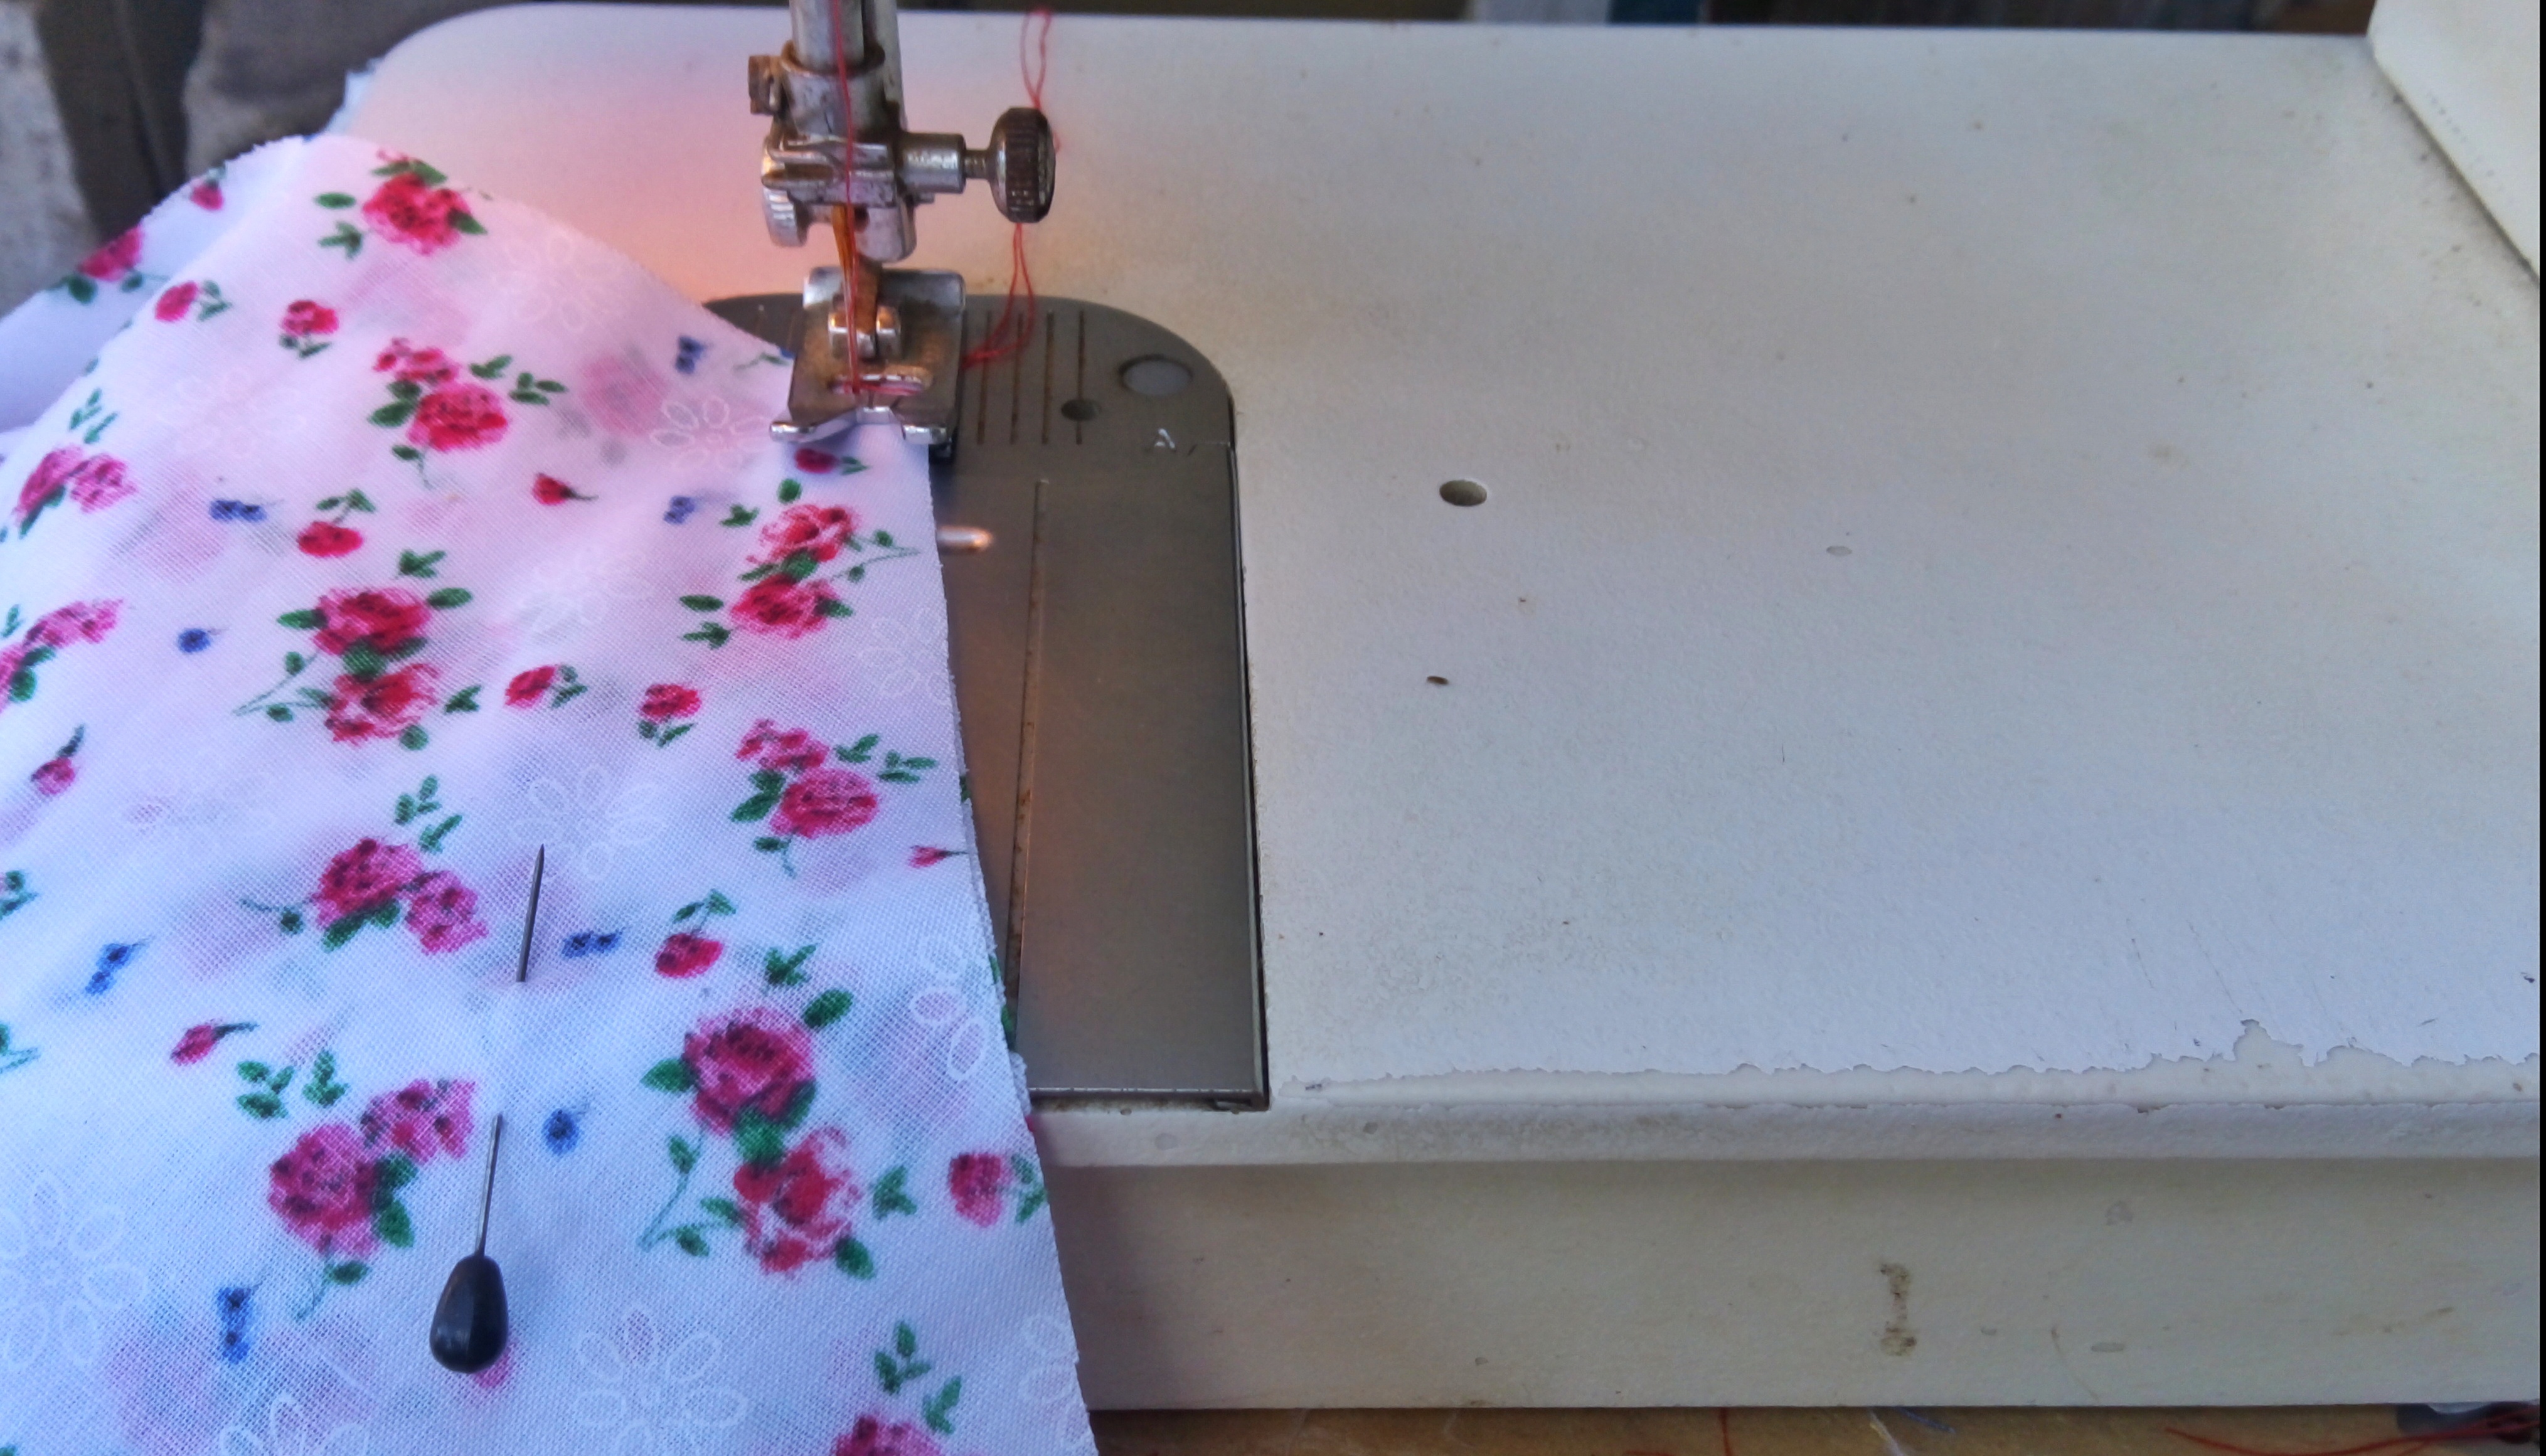
Ahora vamos a realizar la costura de los laterales, pasamos una costura recta y luego zigzag, después hacemos el dobladillo en la parte de la orilla, doblamos 2 cm y cosemos de forma recta.
Séptimo Paso
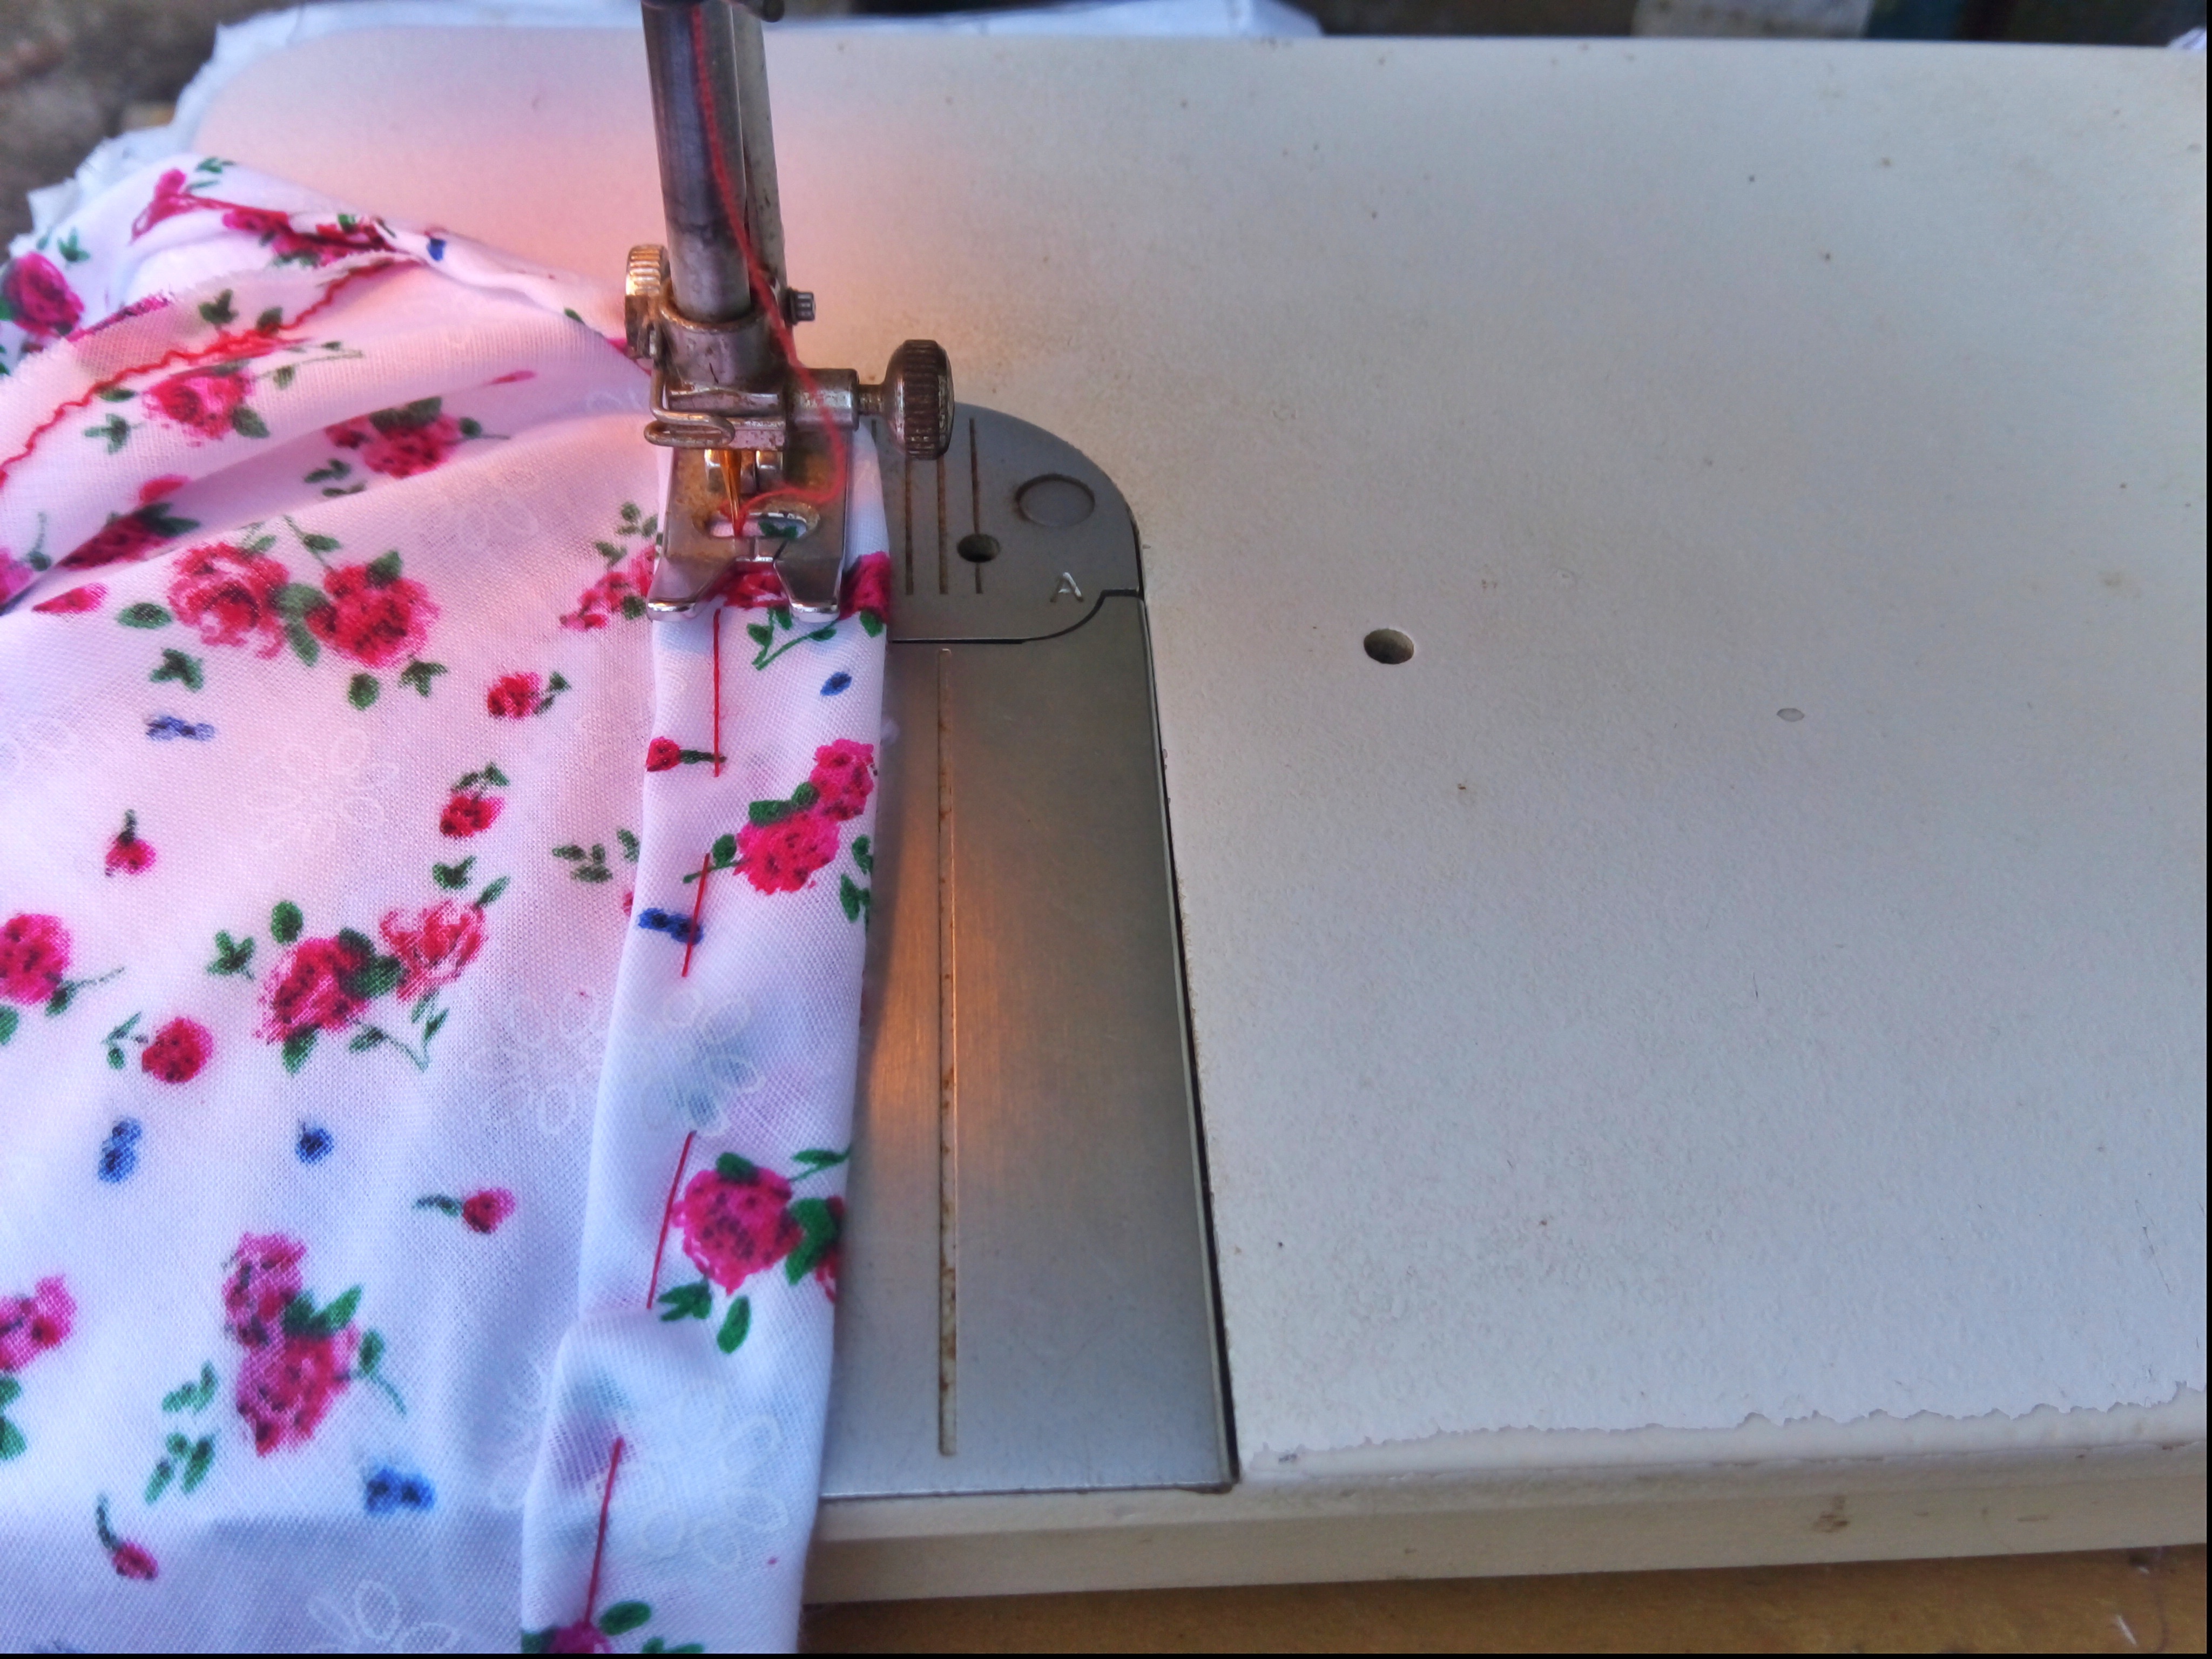
Luego volteamos la falda y colocamos la parte de la camisa, vamos sujetar con ganchillos y a unir con una costura recta y luego con zigzag. así damos por terminado nuestro vestido.
Resultado
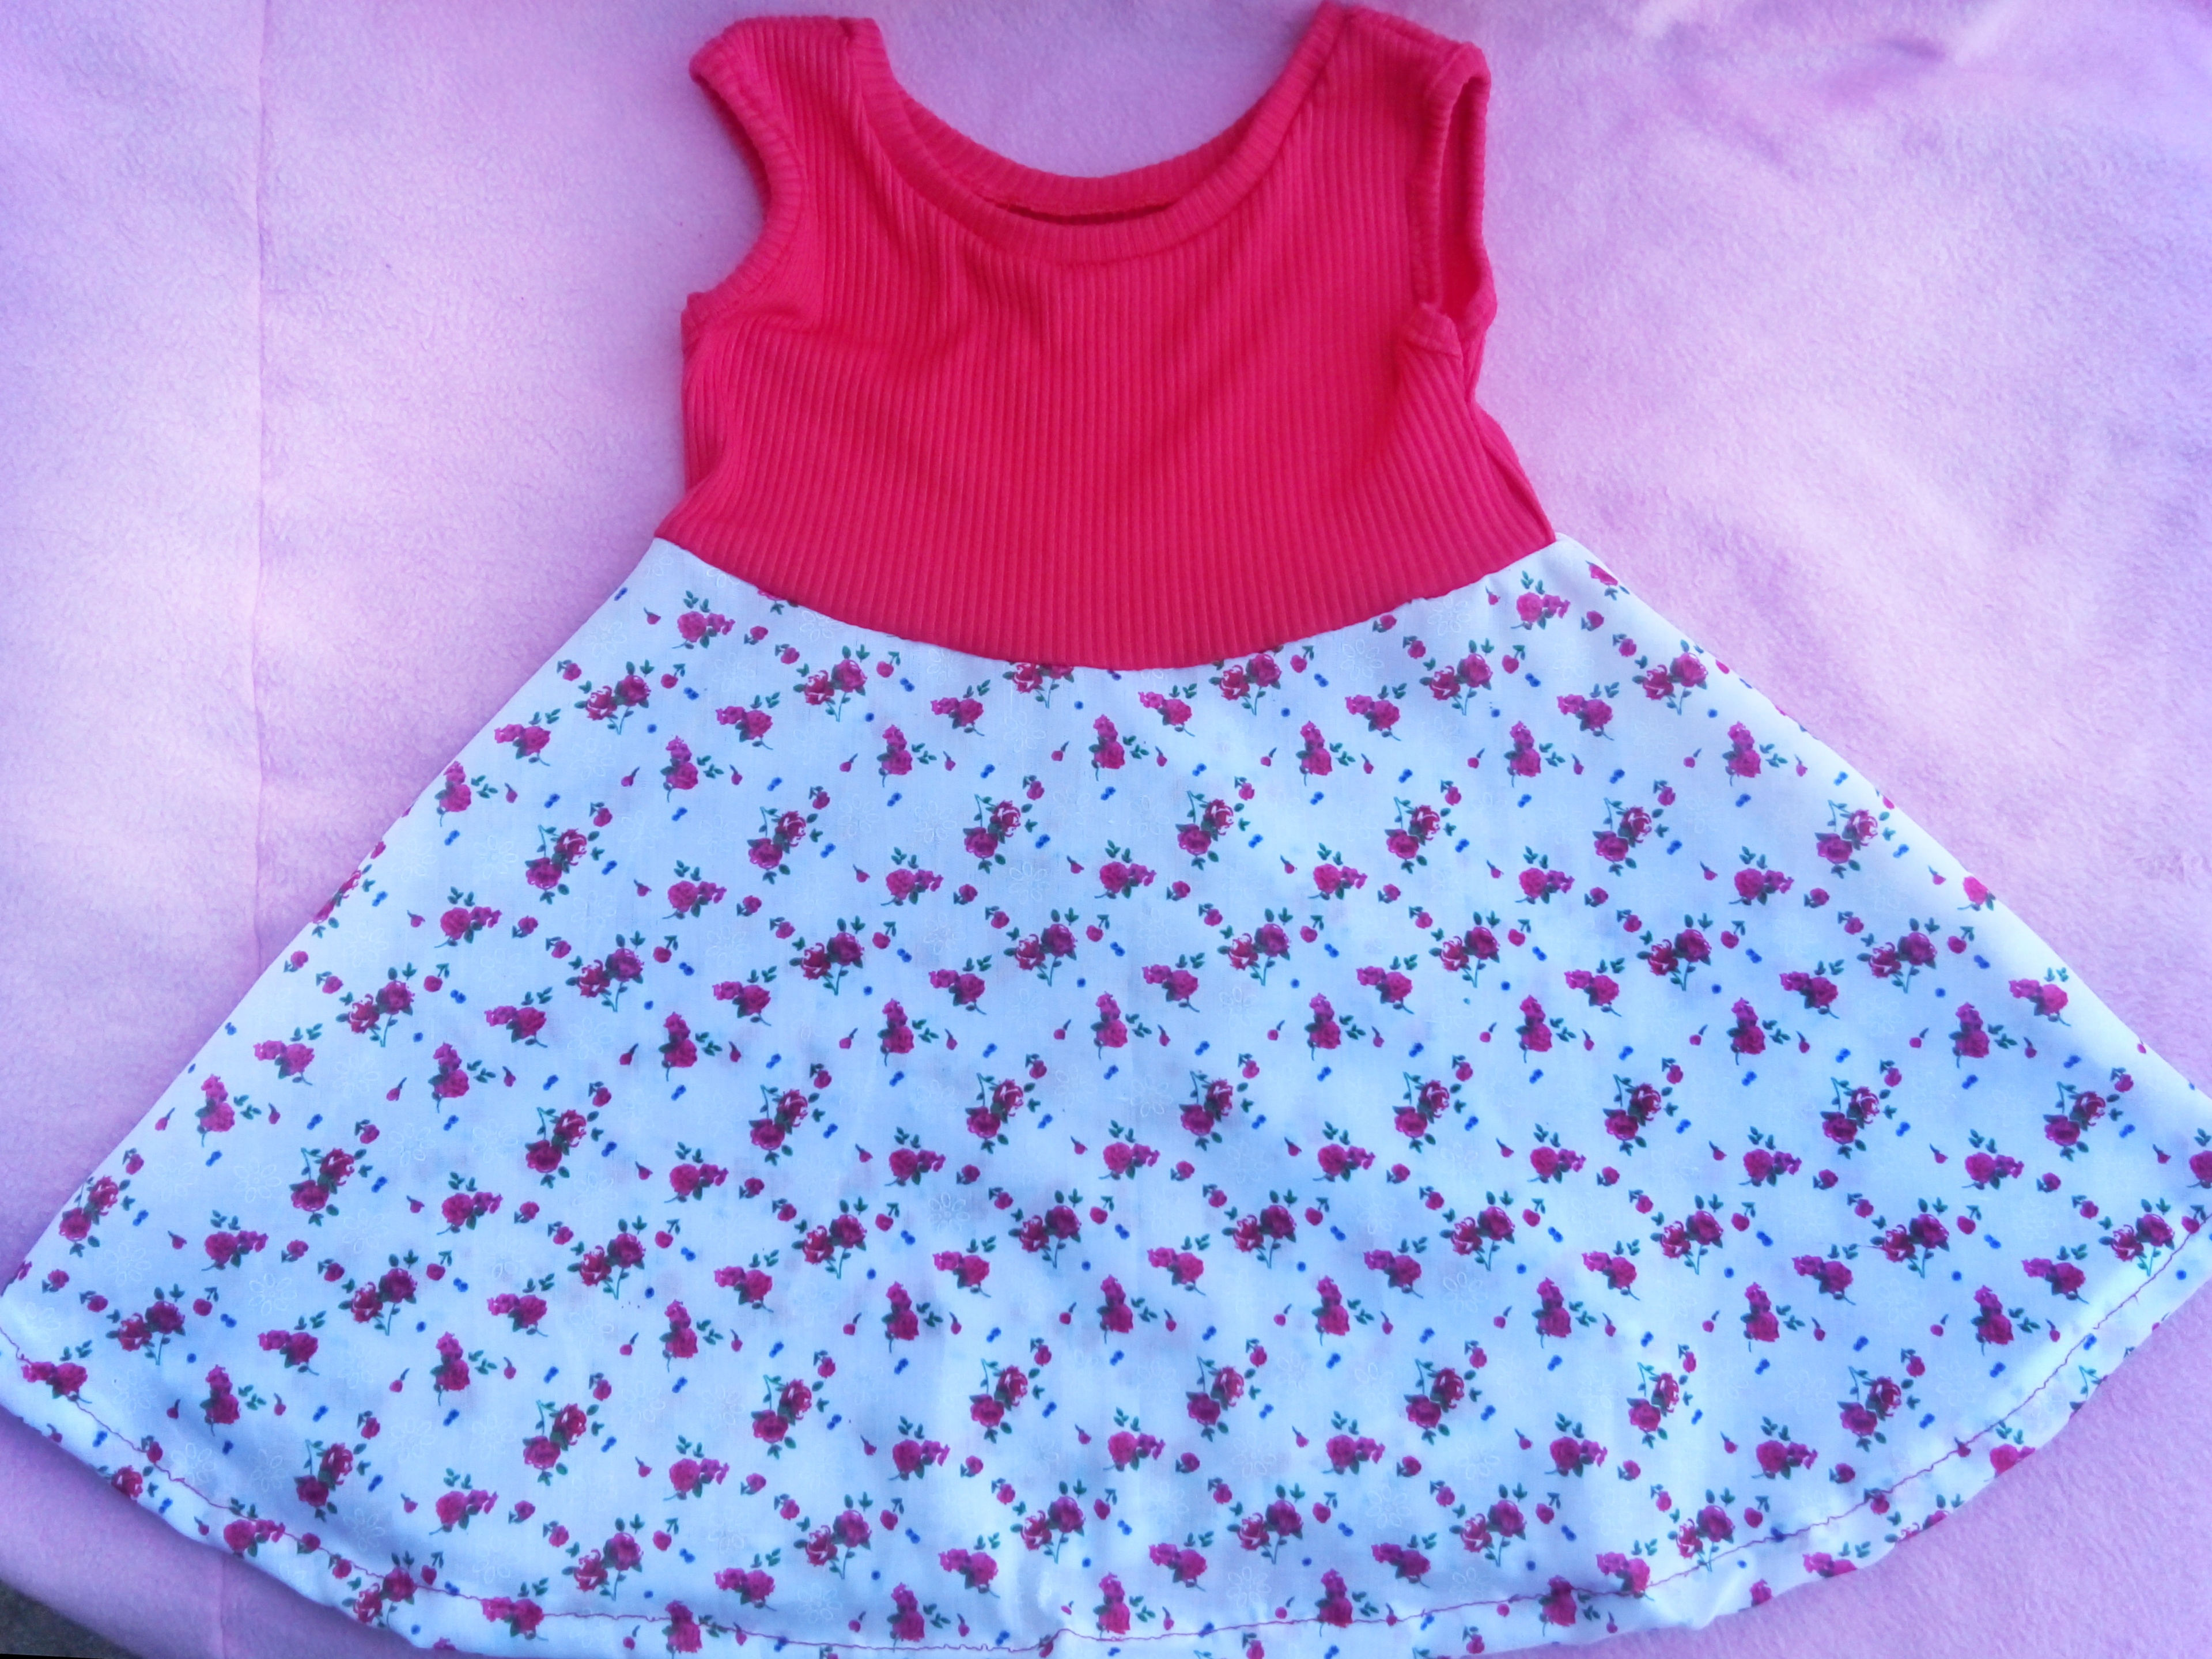

Espero que les haya gustado este trabajo que traje hoy para compartirlo con ustedes, quedé muy feliz con los resultados, cada día estamos aprendiendo más y espero poder seguir con ustedes para que como yo aprendan día a día un poco más de este hermoso arte. 🥰❤️❤️

ENGLISH
 Photographs of my property edited in Canva.
Receive warm greetings dear friends and welcome to my blog.❤️
I hope you are having an excellent day, full of lots of energy and creativity 🥰🥰 I have been doing several works and among them today I will share with you how I made a dress for my dear daughter who is one year old.
I used Recycled fabric from previous works, so it is a good idea also for you to make.
I have always liked to dress my daughter with dresses, they are very pretty and make her look like a princess✨.
Materials I used 📝

- 🌸 Recycled Rib Fabric Red color
- 🌸 Dracon fabric
- 🌸 Crochet hooks
- 🌸 Scissors ✂
- 🌸 Sewing machine
- 🌸 Tape measure
- 🌸 Pencil
Steps to make the rose dress
First Step:
The first thing I did was to take the red Rib recycled fabric and place it on the table folded in half, where I will take out the shirt part of the dress. Then I took my daughter's measurements and took the scissors to start cutting.
I cut a square 20 cm long and 25 cm wide, once cut I took out the sleeve part, which is 11 cm long, then I made the cut.
To make the neck I measured 13 cm long and 5 cm wide shoulders and proceeded to cut.


Second step:
Once I have the shape of the shirt I sew a straight seam to join the shoulders, then I cut a strip of 40 cm long and 3 cm wide, this is to make the collar, then I fold the strip in half on the wrong side of the fabric and sewed the sides with a straight seam and then zigzag, then I hung the shirt right side out and proceeded to stretch the strip and fasten it with crochets so that it does not move, remember that we must stretch the strip so that it is well accommodated.
Then pass a straight seam and then zigzag.


Third Step:
Now we will take the tape measure and cut 2 strips of 25 cm long and 3 cm wide, then with the fabric still on the front side paste what is called bias, this is to place the strip and sew straight, then we make a small double and sew again.


Step 4
After attaching the collar and bias binding to the shirt, we will sew the sides with a straight seam and then zigzag.


Fifth Step:
We are now going to place the rose fabric to make the skirt, the measures are, 33 cm long and the width that the fabric normally has.
We are going to fold the fabric in half, and then fold again, we will have 4 layers, then we are going to cut making an oval, then we cut the waist part that measures 27 cm wide. then we open and cut the sides of the skirt.


Sixth Step:
Now we are going to sew the side seams, we sew a straight seam and then zigzag, then we make the hem on the edge, fold 2 cm and sew straight.


Seventh step
Then we flip the skirt and place the shirt part, we will fasten with crochets and join with a straight seam and then with a zigzag, so we finish our dress.
Result


I hope you liked this work that I brought today to share with you, I was very happy with the results, every day we are learning more and I hope to continue with you so that like me you learn day by day a little more of this beautiful art. 🥰❤️❤️

Congratulations @dilianny20! You have completed the following achievement on the Hive blockchain And have been rewarded with New badge(s)
Your next target is to reach 2500 upvotes.
You can view your badges on your board and compare yourself to others in the Ranking
If you no longer want to receive notifications, reply to this comment with the word
STOPCheck out our last posts:
Support the HiveBuzz project. Vote for our proposal!
!discovery 37
This post was shared and voted inside the discord by the curators team of discovery-it
Join our Community and follow our Curation Trail
Discovery-it is also a Witness, vote for us here
Delegate to us for passive income. Check our 80% fee-back Program
Una elaboración con mucho cariño y de gran labor, excelente diseño, gracias por compartir.
Contáctenos para saber más del proyecto a nuestro servidor de Discord.
Si deseas delegar HP al proyecto: Delegue 5 HP - Delegue 10 HP - Delegue 20 HP - Delegue 30 HP - Delegue 50 HP - Delegue 100 HP.
Muchas gracias por el gran apoyó
Precioso, aunque tengo preferencia por el rosado.
Muchas gracias 🥰