Les quiero enseñar el día de hoy la elaboración de un hermoso centro de mesa con motivo de pingüino utilizando pocos materiales espero les guste y se anime a realizarlo.
Happy Saturday to all my friends of this beautiful community, I hope you are very well.
I want to show you today the elaboration of a beautiful centerpiece with penguin motif using few materials I hope you like it and I encourage you to make it.
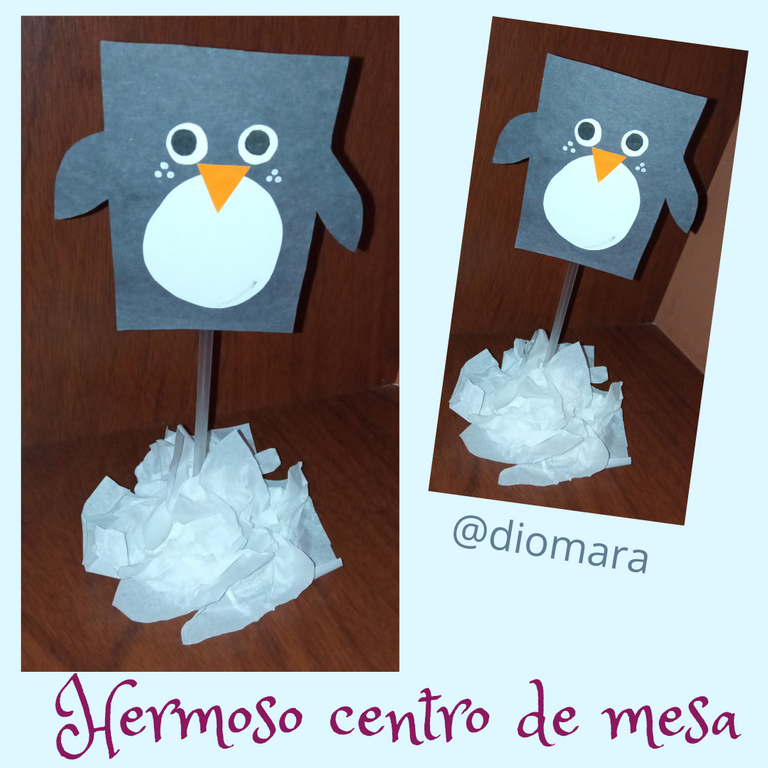
Hermoso centro de mesa motivo pingüino
Beautiful centerpiece with penguin motif
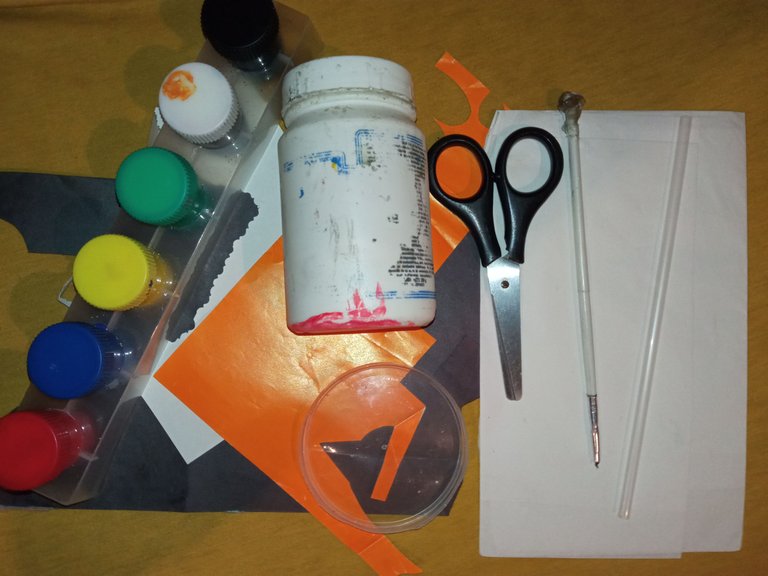
Materiales utilizados en el proceso:
Cartulina
Papel lustrillo
Pinturas
Pincel
Pitillo
Lápiz
Tapa plástica
Papel de seda
Pegamento
Tijera
Materials used in the process:
Cardboard
Shine paper
Paints
Brush
Straw
Pencil
Plastic cover
Tissue paper
Glue
Scissors
Manos a la obra | Let's get to work
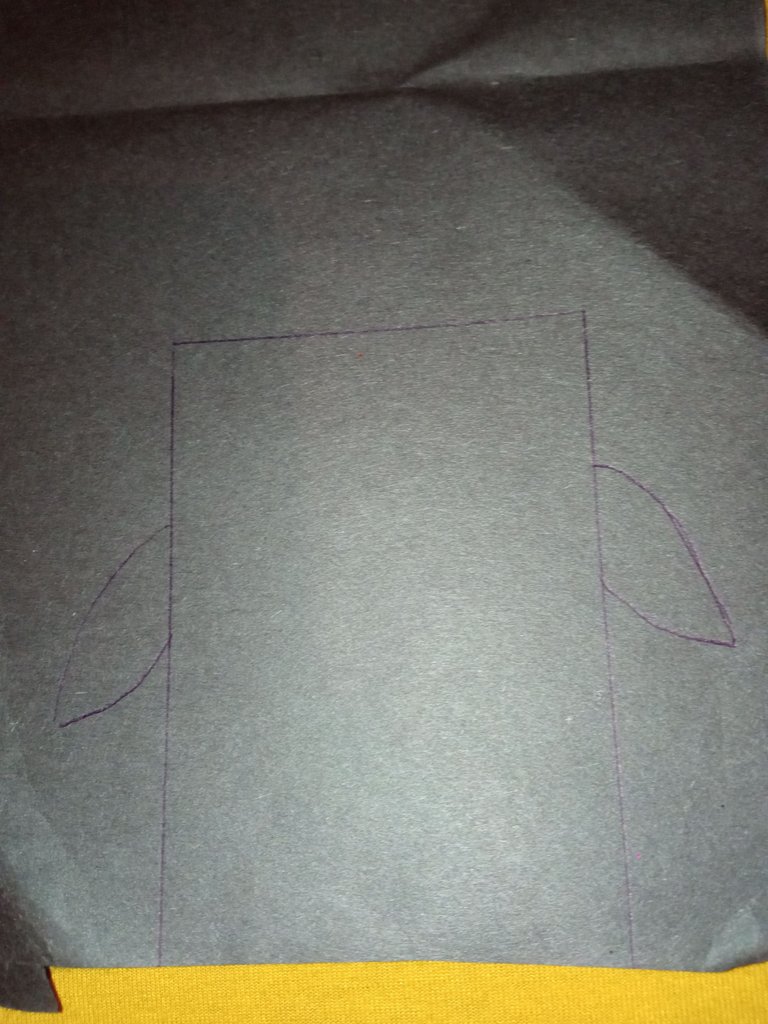
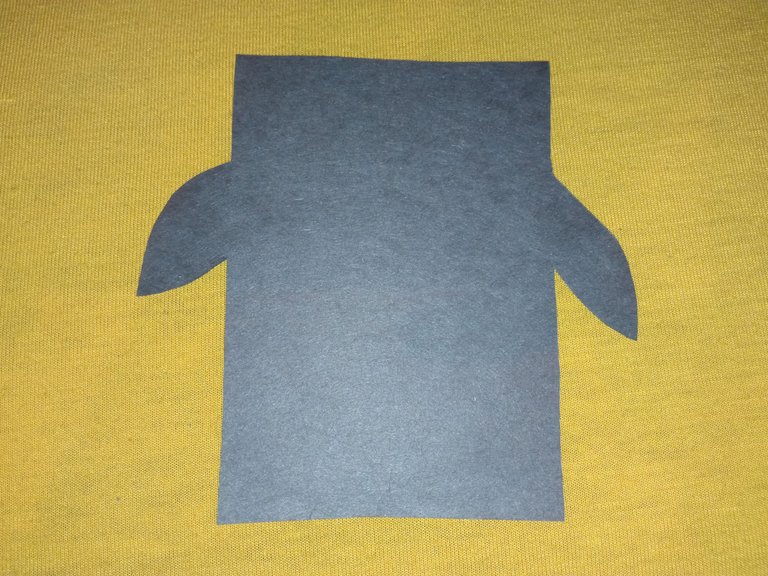
Comenzamos marcando el cuerpo del pingüino en la cartulina negra.
We start by marking the penguin's body on the black cardboard.
Recortamos el cuerpo del pingüino marcado en la cartulina.
Cut out the penguin's body marked on the cardboard.
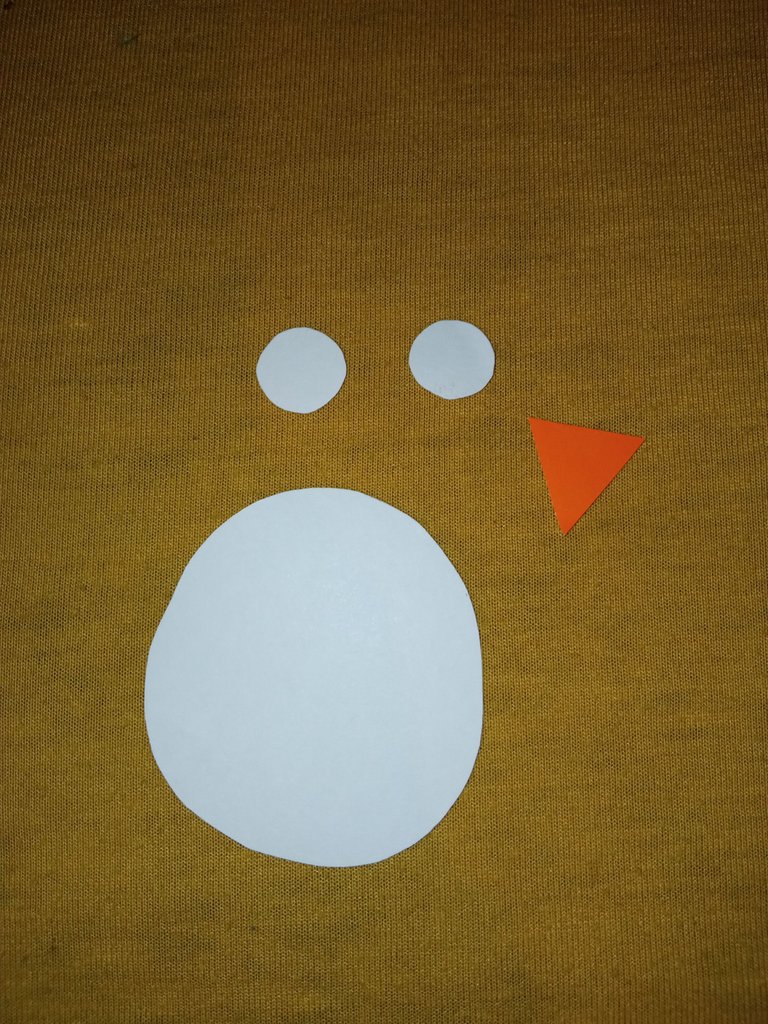
Marcamos y recortamos en el papel lustrillo los ojos, la barriga y el pico del pingüino.
We mark and cut out the penguin's eyes, belly and beak on the lustrillo paper.
Pegamos las piezas recortadas para formar el pingüino.
Glue the cut pieces together to form the penguin.
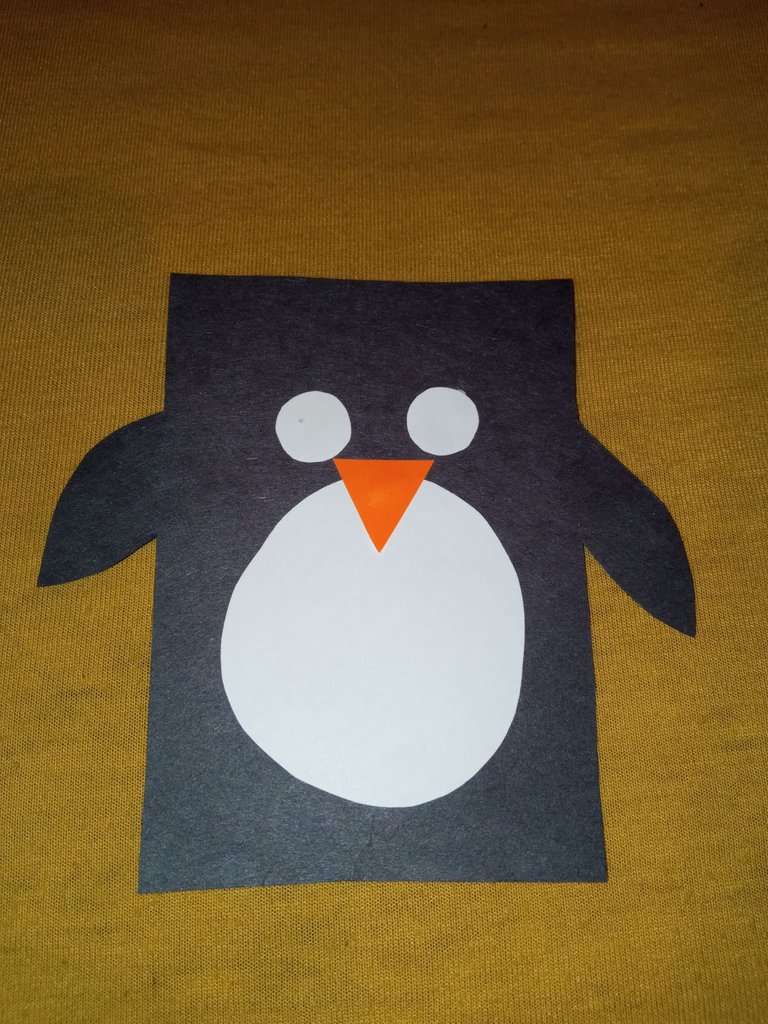
Pintamos los ojos y algunas pintos blancos en las mejillas.
We paint the eyes and some white pints on the cheeks.

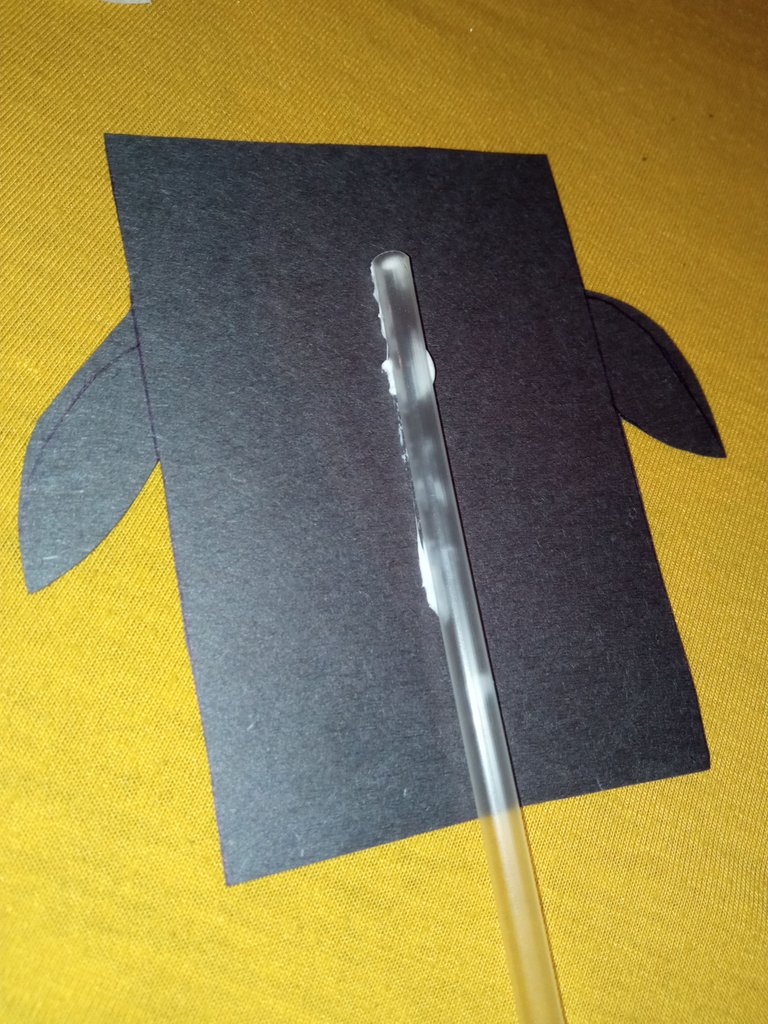
Pegamos el pitillo en la parte trasera del pingüino.
Glue the straw to the back of the penguin.
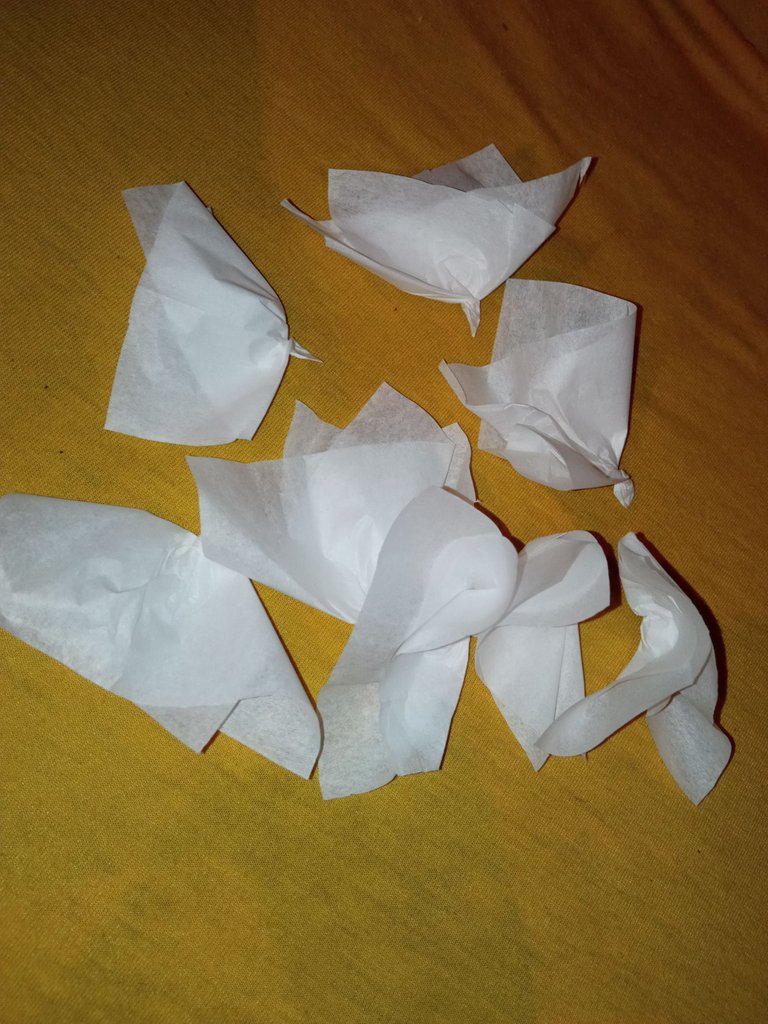
Recortamos pequeños cuadros de papel de seda y enrollamos formando flores.
We cut out small squares of tissue paper and roll them into flowers.
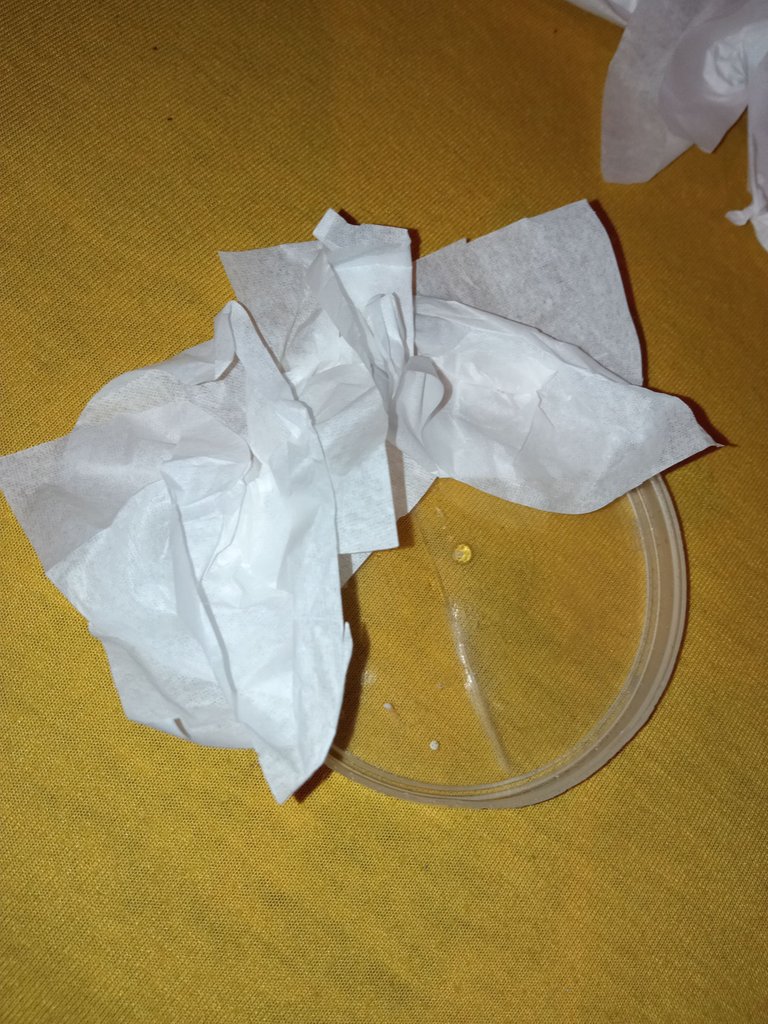
Luego pegamos las flores de papel de seda en la tapa plástica.
Then we glue the tissue paper flowers on the plastic lid.
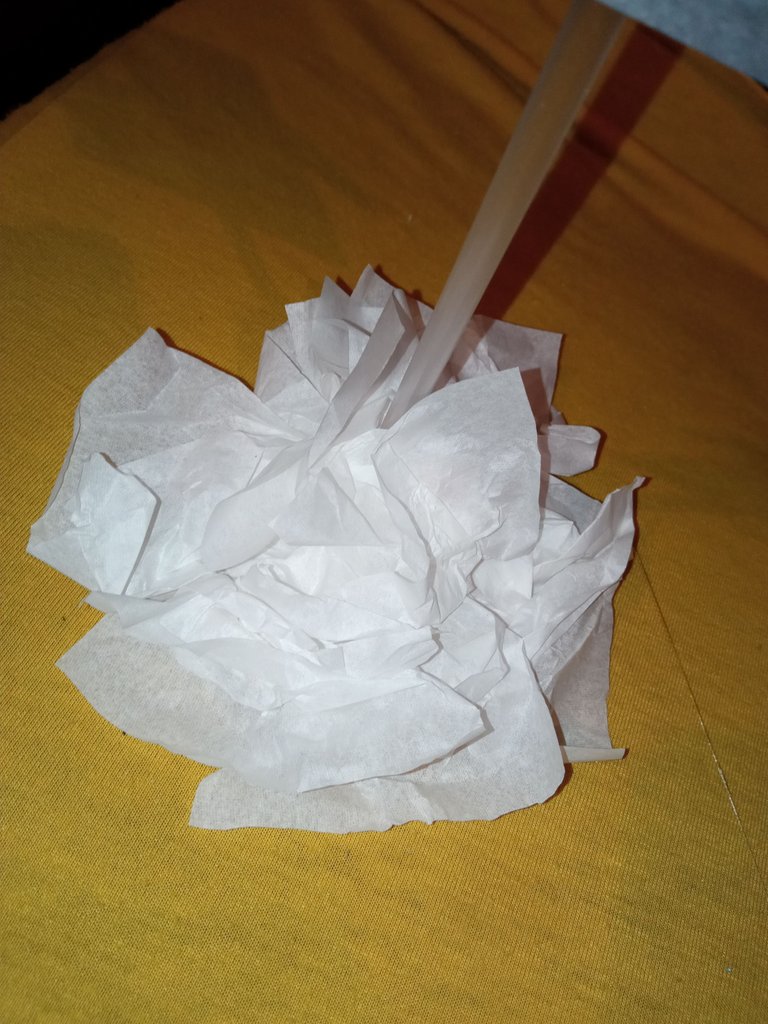
Por último pegamos el pitillo en la pata plástica decorada.
Finally we glue the straw on the decorated plastic leg.
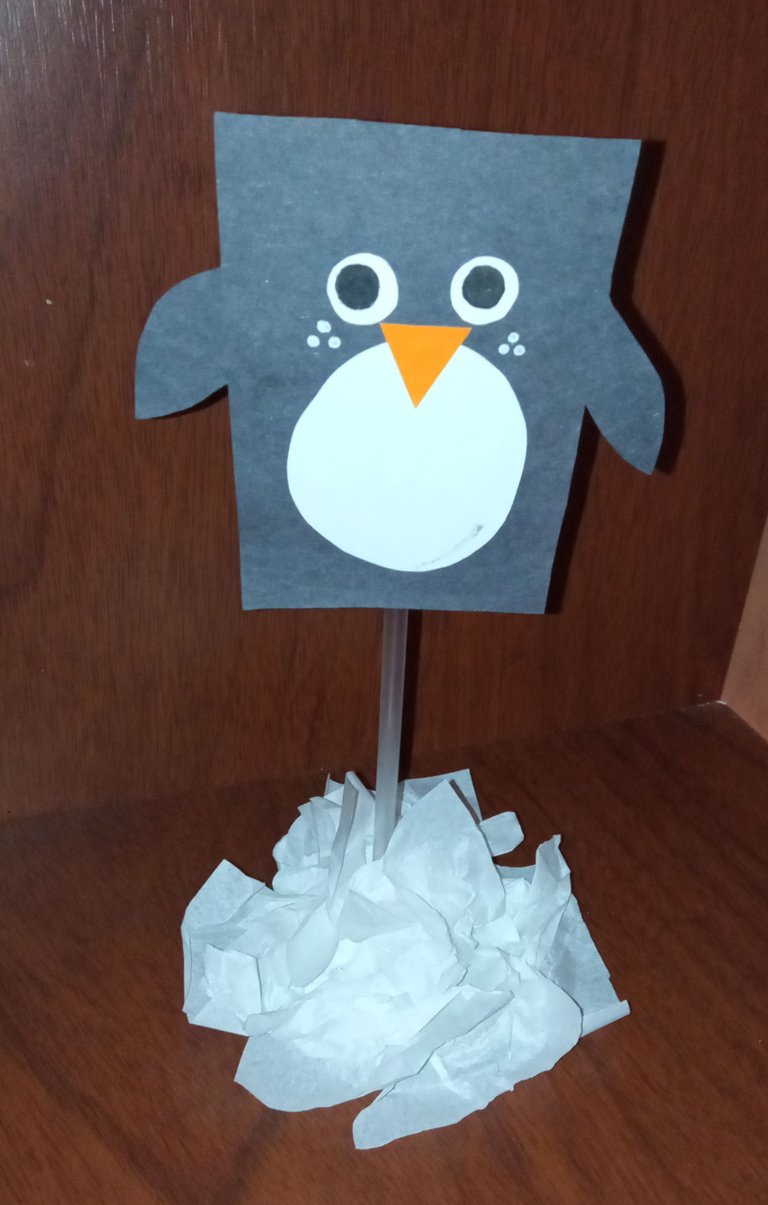
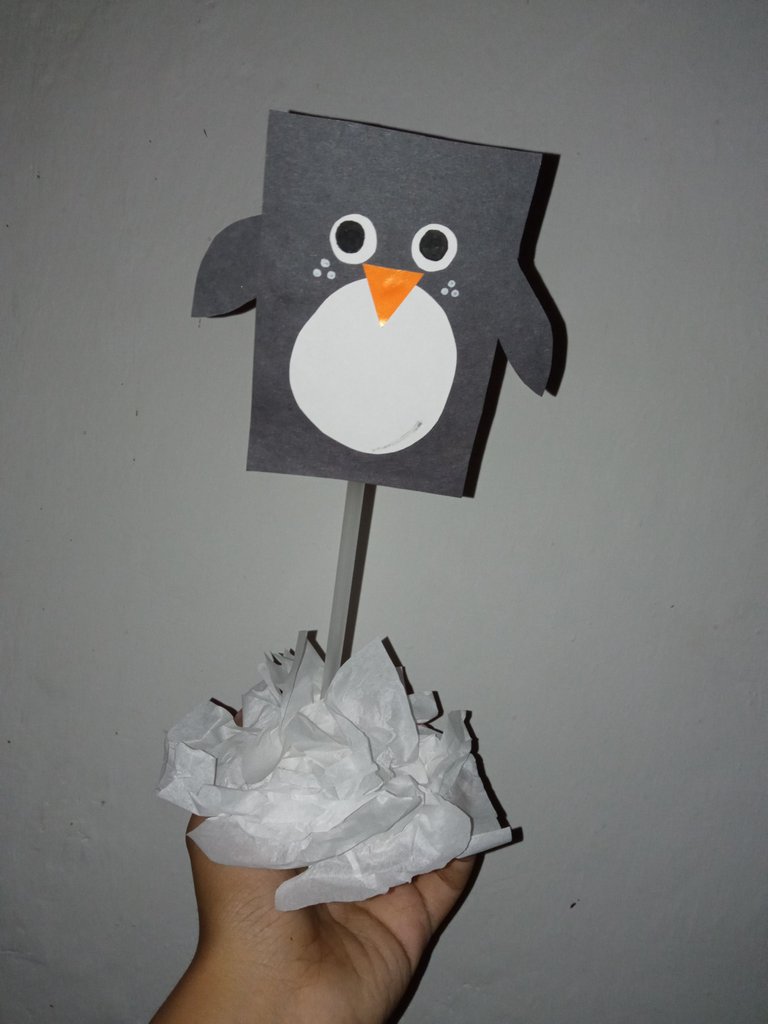
El hermoso resultado de este centro de mesa motivo de pingüino:
The beautiful result of this penguin motif centerpiece:
Cómo pudieron ver es súper fácil de hacer este hermoso centro de mesa motivo pingüino espero les haya gustado.
As you could see it is super easy to make this beautiful centerpiece penguin motif I hope you liked it.
Me despido hasta un próximo post, nos vemos.
I'll say goodbye until a future post, see you.
@diomara

¡Felicidades! Esta publicación obtuvo upvote y fue compartido por @la-colmena, un proyecto de Curación Manual para la comunidad hispana de Hive que cuenta con el respaldo de @curie.
Si te gusta el trabajo que hacemos, te invitamos a darle tu voto a este comentario y a votar como testigo por Curie.
Si quieres saber más sobre nuestro proyecto, acompáñanos en Discord: La Colmena.