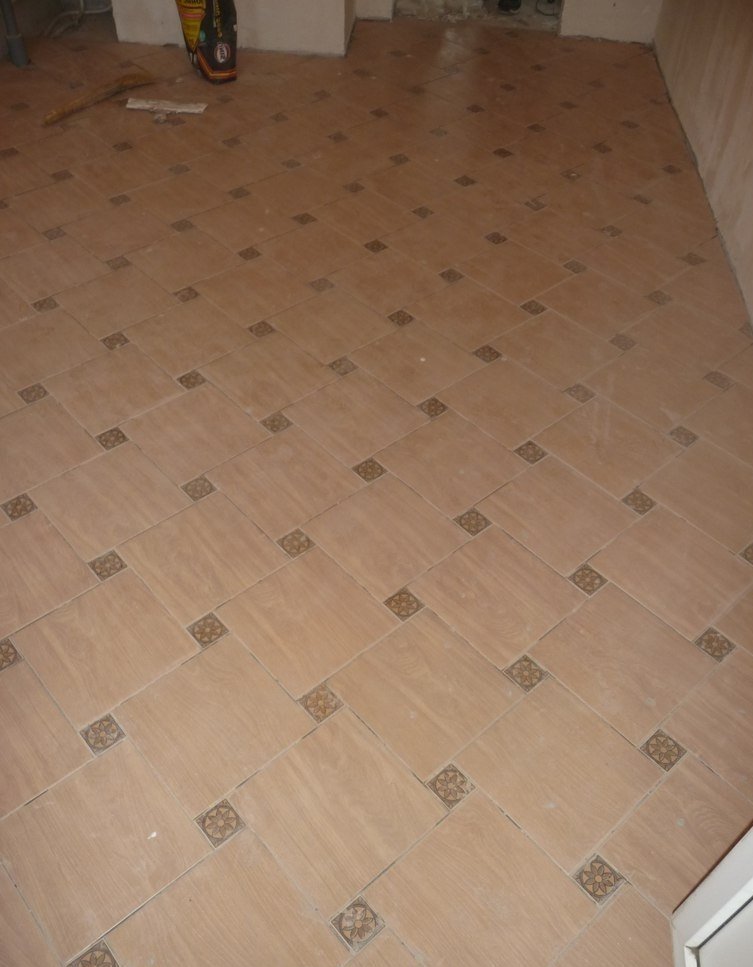
How to lay tiles? This question is of interest to apartment owners who have started repairs in the room. In order to update the floor in the bathroom or in the kitchen does not require special skills. This task can be handled without special training or building education. It is enough to purchase the necessary tools and strictly follow our instructions.
¿Cómo colocar azulejos? Esta pregunta es de interés para los propietarios de apartamentos que han iniciado reparaciones en la habitación. Para actualizar el piso en el baño o en la cocina no se requieren habilidades especiales. Esta tarea se puede manejar sin capacitación especial o educación en construcción. Es suficiente comprar las herramientas necesarias y seguir estrictamente nuestras instrucciones.
Training.
Everything starts with preparation. The base must be cleaned of the old coating and carefully treated with a primer. Humidification is carried out either with a paint brush or roller. When dried, the liquid will create a strong film on the surface, which will contribute to better adhesion of materials.
Capacitación
Todo comienza con la preparación. La base debe limpiarse del revestimiento anterior y tratarse cuidadosamente con una imprimación. La humidificación se realiza con brocha o rodillo. Cuando se seca, el líquido creará una película fuerte en la superficie, lo que contribuirá a una mejor adherencia de los materiales.
Mixing solution.
Then the tile adhesive is kneaded. In appearance, it is more like a cement-sand mortar, however, it contains various additives in its composition. It is advisable to stir the glue with a special mixer or with a perforator with a nozzle.
Solución de mezcla.
Luego se amasa el adhesivo para baldosas. En apariencia, se parece más a un mortero de cemento y arena, sin embargo, contiene varios aditivos en su composición. Es recomendable remover el pegamento con un mezclador especial o con un perforador con boquilla.
Laying tiles.
Laying tiles usually begins with a well-visible area, then gradually move inside the repaired premises. Thus, all the trimmed tile elements will later be closed by the bathroom, sink or washing machine.
Each product is smeared with glue on the reverse side and, unfolding, is pressed against the floor. The correct installation of the tiles is checked with a bubble level. If there are any deviations, the material is carefully knocked out with a special rubber mallet for tiles.
Plastic crosses are mounted between adjacent tiles. They set the same type of gaps, which are filled with grout at the final stage of the repair. The optimal slot width is 1.5-2 mm.
Colocación de azulejos.
La colocación de baldosas generalmente comienza con un área bien visible, luego se mueve gradualmente dentro de las instalaciones reparadas. Así, todos los elementos de azulejos recortados serán luego cerrados por el baño, el lavabo o la lavadora.
Cada producto se unta con pegamento en el reverso y, al desplegarse, se presiona contra el piso. La correcta instalación de las tejas se comprueba con un nivel de burbuja. Si hay alguna desviación, el material se golpea con cuidado con un mazo de goma especial para azulejos.
Las cruces de plástico se montan entre baldosas adyacentes. Establecen el mismo tipo de brechas, que se llenan con lechada en la etapa final de la reparación. El ancho de ranura óptimo es de 1,5-2 mm.


Cutting tiles is carried out with two tools. The tile cutter allows you to get even strips of tiles of the right size. The grinder is used when cutting holes for pipes, as well as for grinding tiles.
After the tile is completely laid out, wait for the mortar to partially set and proceed to the grouting work. Dilute the mixture in a small container. Fill the decorative gaps between the tiles with it using a rubber spatula. At the very end, wipe the entire surface with a damp sponge, and then with a dry cloth.
El corte de azulejos se realiza con dos herramientas. El cortador de azulejos le permite obtener incluso tiras de azulejos del tamaño adecuado. La amoladora se utiliza para cortar agujeros para tuberías, así como para moler baldosas.
Después de que la loseta esté completamente colocada, espere a que el mortero fragüe parcialmente y proceda con el trabajo de lechada. Diluir la mezcla en un recipiente pequeño. Rellene los huecos decorativos entre los azulejos con una espátula de goma. Al final, limpie toda la superficie con una esponja húmeda y luego con un paño seco.

Excellent, very beautiful design.
Source of potential plagiarism
Plagiarism is the copying & pasting of others' work without giving credit to the original author or artist. Plagiarized posts are considered fraud.
Guide: Why and How People Abuse and Plagiarise
Fraud is discouraged by the community and may result in the account being Blacklisted.
If you believe this comment is in error, please contact us in #appeals in Discord.