Greetings friends hivers.
 Today I share a card that I made to participate in an initiative of @hivediy but due to some problems with my phone, it was not possible. However; here it is, since it was made with much affection.
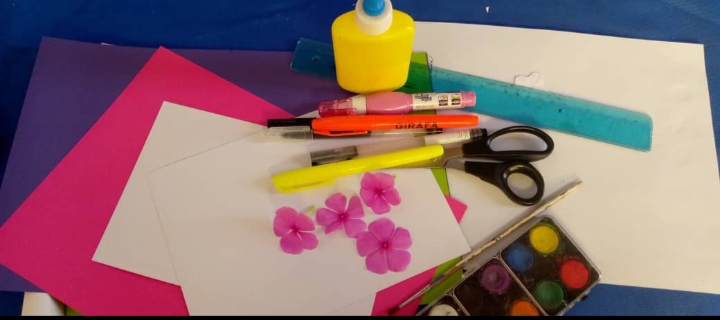
Materials:
- White, fuchsia, yellow and green construction paper.
- Fine tip markers
- Watercolors
- Paintbrush
- White glue
- Natural flowers
- Corrector
- Scissors
- Ruler
Step by Step Elaboration
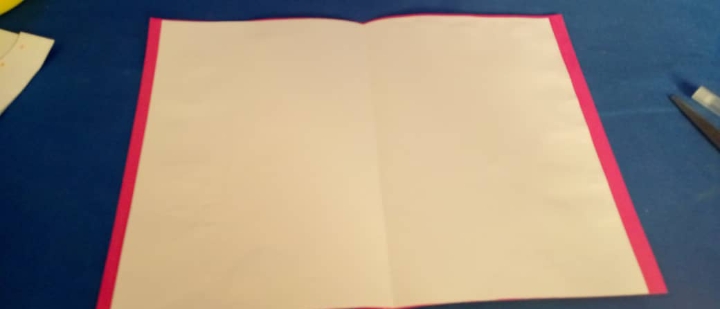
Step 1.
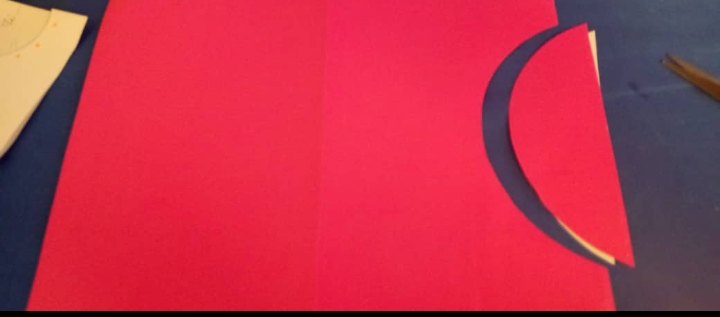
I chose to make this card with fuchsia color cardboard and white color for the inner part. To begin its elaboration I proceeded to fold each cardboard in half, then I put glue on the inside of the fuchsia cardboard and glued the white sheet, then I proceeded to measure an oval and then cut it out, as shown in the photo.

Step 2.
In this step I made the flowers that I used to decorate the card, for this I took a pattern so that they were all the same size and then I traced them on white paper, after cutting them out I shaded them using fuchsia watercolors, once shaded I pressed the center to take the shape and with a small piece of yellow construction paper I made the center of the flower.

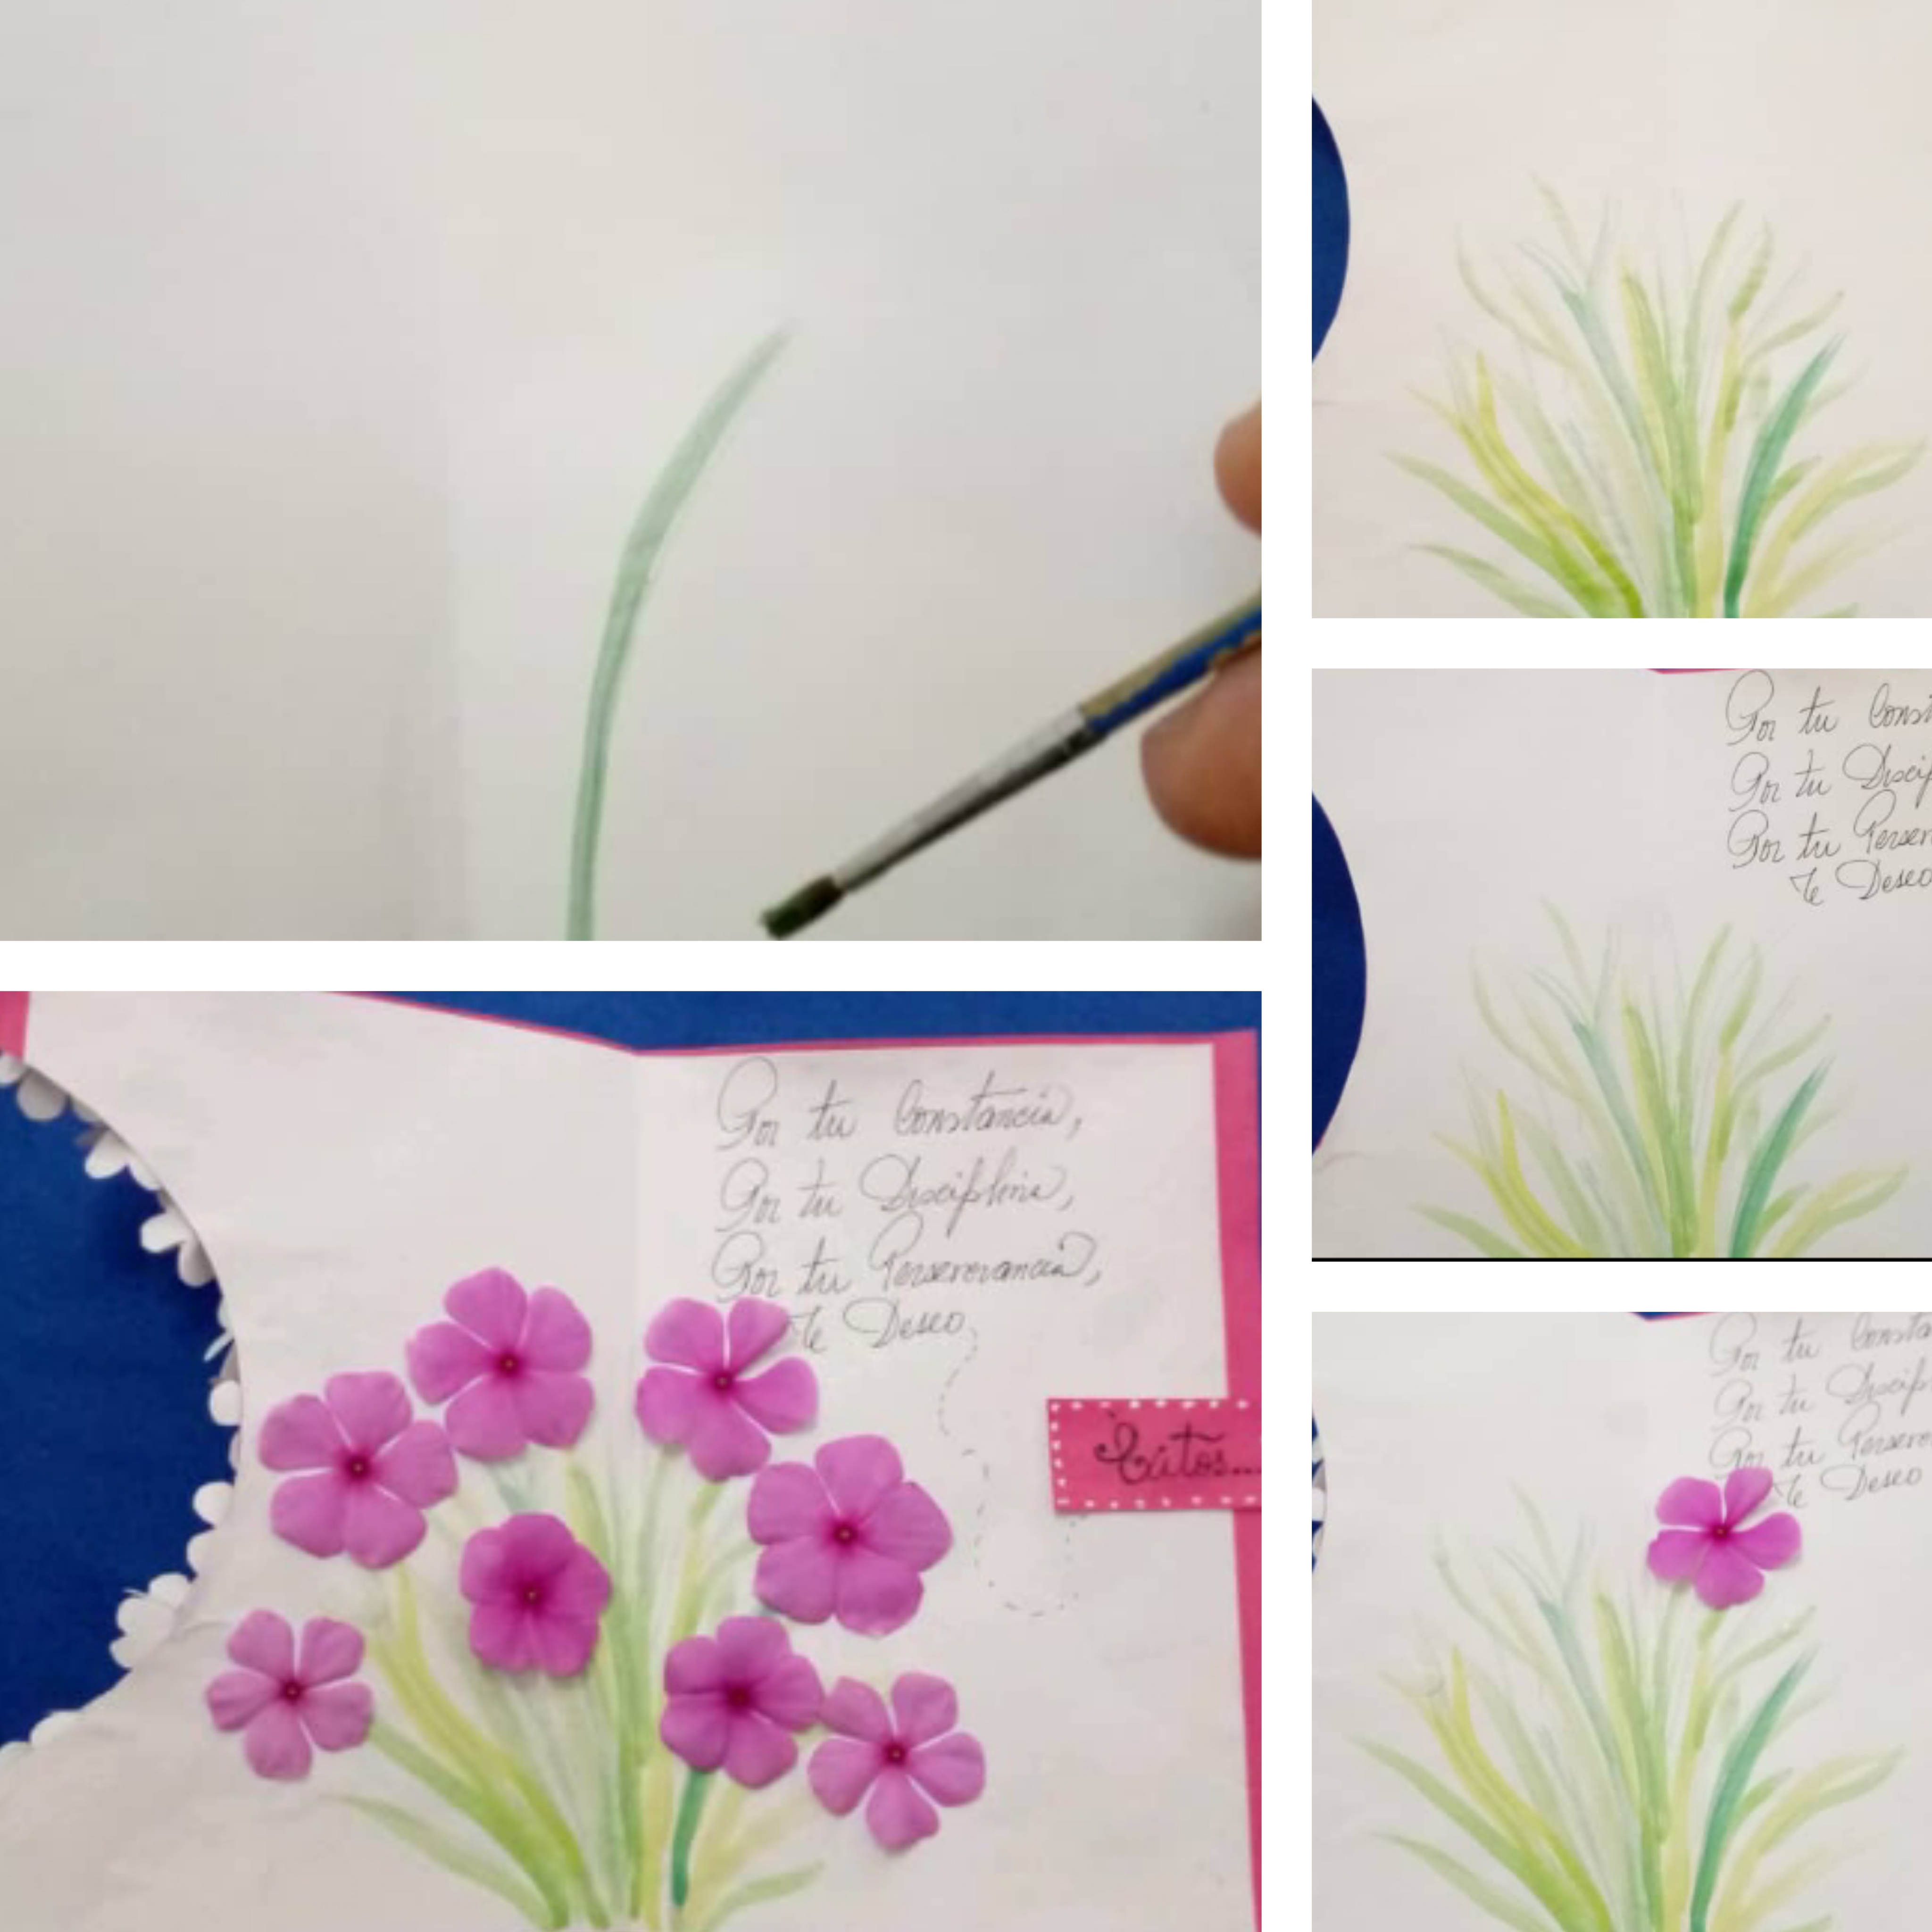
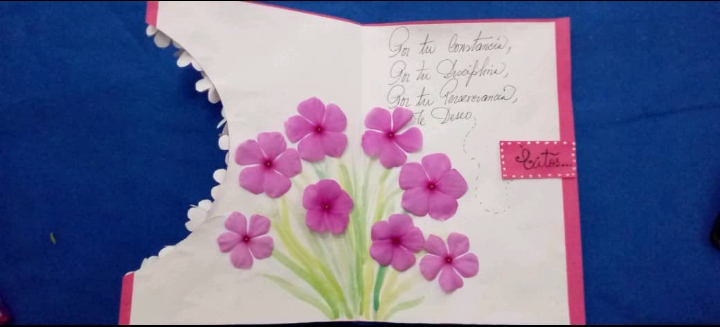
Step 3.
At this point I proceeded to make the inner part of the card, for this I wanted to make some stems or foliage with watercolors, I also made a writing and then proceeded to glue the natural flowers. These flowers give a very nice touch and after several days they dry and stay on the card for a long time.
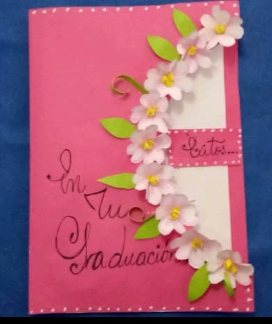
Step 4.
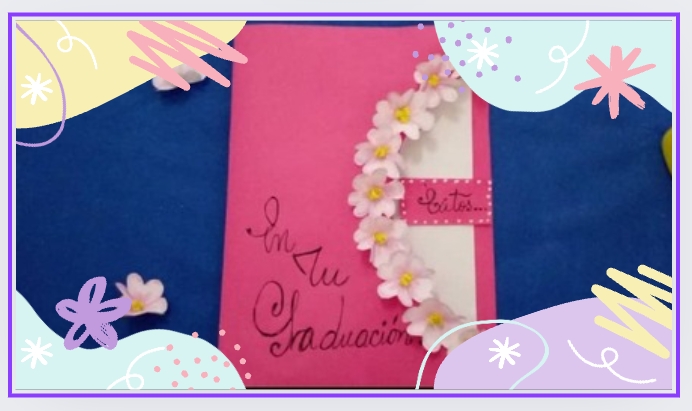
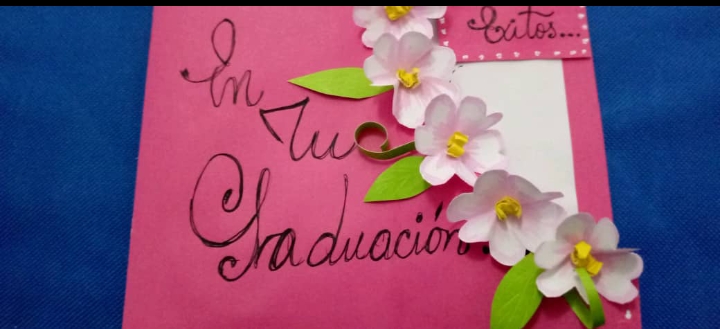
In this step I placed the flowers on the cover of the card, I glued them one by one with the white glue, I placed the writing "on your graduation", since I dedicated it to a graduate. I also added some leaves made of green cardboard and finally I placed white dots around the edges of the card.

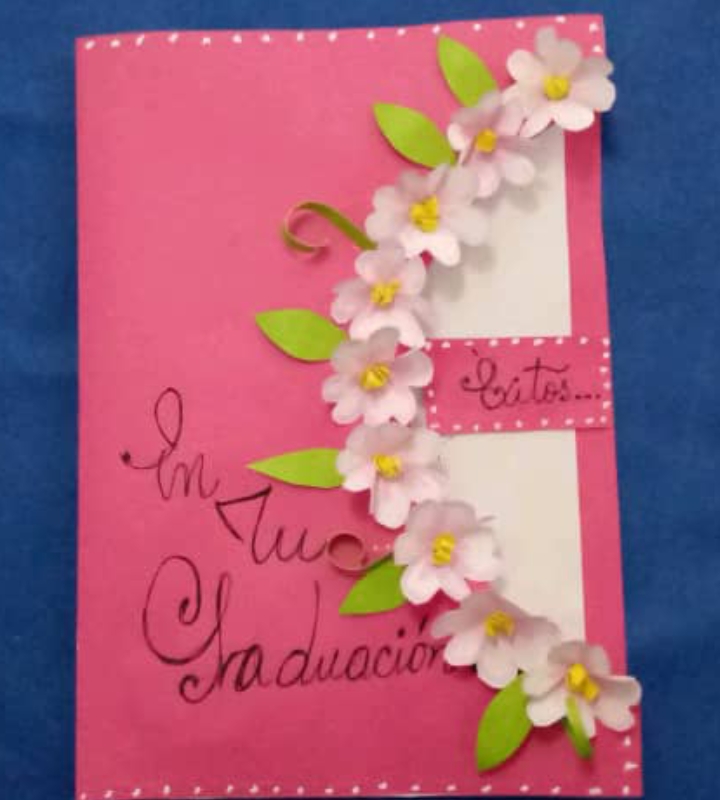
Here is the finished card...
Life is Art...
Thanks for reading me. See you in @dorada's next post.
Images captured with tecno spark mobile device.
Translation https://www.deepl.com/translator
Versión Español
Saludos amigos hivers.
Hoy comparto una tarjeta que realicé para participar en una iniciativa de @hivediy, pero por ciertos inconvenientes con mi teléfono no fue posible. Sin embargo; acá se las dejo, ya que fue hecha con mucho cariño.
Materiales:
- Cartulina de construcción blanco, fucsia, amarillo y verde.
- Marcadores de punta fina
- Acuarelas
- Pincel
- Pegamento blanco
- Flores naturales
- Corrector
- Tijera
- Regla
Elaboración Paso a Paso
Paso 1.
Escogí para realizar esta tarjeta cartulina en color fucsia y color blanco para la parte interna. Para comenzar su elaboración procedí a doblar cada cartulina por la mitad, luego coloqué pega en la parte interna de la cartulina fucsia y pegué la lámina de color blanco, posteriormente procedí a medir un óvalo para luego recortar, tal como se puede observar en la foto.
Paso 2.
En este paso elaboré las flores que utilicé para decorar la tarjeta, para ello saqué un patrón para que todas me quedaran del mismo tamaño y luego las tracé en papel blanco, luego de recortarlas las maticé utilizando acuarelas color fucsia, una vez matizadas le presioné el centro para que tomaran la forma y con un trocito de cartulina de construcción amarillo realicé el centro de la flor.
Paso 3.
En este momento procedí a realizar la parte interna de la tarjeta, para ello quise realizar unos tallos o un follaje con acuarelas, también le realicé un escrito y luego procedí a pegar las flores naturales. Estas flores dan un toque muy lindo y luego de varios dias se secan y quedan en la tarjeta por mucho tiempo.
Paso 4.
En este paso coloqué las flores de la portada de la tarjeta, las fui pegando una a una con el pegamento blanco, le coloqué el escrito "en tu graduación", ya que; la dediqué a una graduando. También le agregué unas hojitas realizadas en cartulina verde y para finalizar le coloqué puntos blancos por los bordes de la tarjeta.
()
Aquí está culminada la tarjeta...
La Vida es Arte...
Gracias por leerme. Nos encontraremos en el próximo post de @dorada.
Imágenes capturadas con dispositivo móvil tecno spark.
Traducción https://www.deepl.com/translator
Gracias @ rutablockchain por estar siempre presente. 🤗
Wow, what a beautiful decoration, it is really elegant and flirtatious 😍
Those flowers you put on it gave it that special touch. I love the design, a card like this would keep it in a very special place hehe ❤️
I once made a card as a project in elementary school. It was all too simple but nice, regardless. This brought back that memory. Jist reminds me that I haven't tried making another ecer since. I should do so sometime soon.
Thanks for sharing this with us.