
Español
Saludos amigos hivers, reciban un cordial saludo.
Feliz de disfrutar de lo que hago, hoy quise sacar algunas telas y activar mi máquina de coser, estoy elaborando varios detalles para mí casa y para obsequiar, luego les seguiré mostrando. Este hacer es una manera de canalizar cierta ansiedad por crear, por ocupar el tiempo en lo que me gusta.
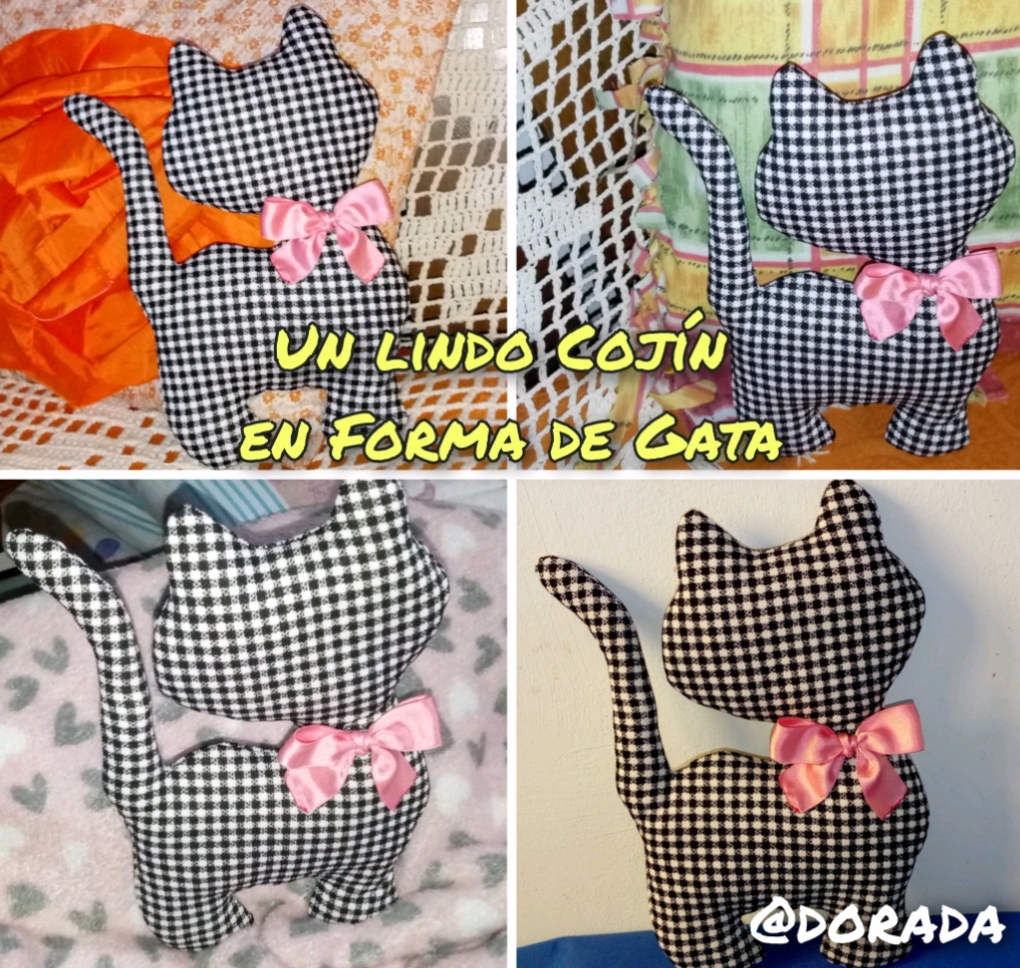
Hoy comparto con ustedes este cojín hermoso que elaboré, me encantan porque los puedo colocar en cualquier rinconcito, es una manera divertida de tener gatitos por toda la casa.
Además, son fáciles de realizar, requieren de muy pocos materiales, se pueden elaborar con pequeños retazos de telas y quedan hermosos para colocar en la habitación de las niñas o cualquier espacio que se desee.
English
Greetings friends hivers, receive a warm greeting.
Happy to enjoy what I do, today I wanted to take out some fabrics and activate my sewing machine, I am making several details for my house and to give as gifts, then I will continue showing you. This is a way of channeling some anxiety to create, to spend time doing what I like to do.
Today I share with you this beautiful cushion that I made, I love them because I can place them in any corner, it is a fun way to have kittens all over the house.
They are also easy to make, require very few materials, can be made with small scraps of fabric and are beautiful to place in the girls' room or any space you want.
Materiales Utilizados:
- Tela
- Tijera
- Hilo y aguja
- Algodón de relleno
- Cinta de raso
- Palito de madera
*Alfileres - Molde o patrón
- Marcador
- Máquina de coser (opcional
Materials Used:
- Fabric
- Scissors
- Thread and needle
- Cotton stuffing
- Satin ribbon
- Wooden stick
*Pins - Mold or pattern
- Marker
- Sewing machine (optional)

Elaboración Paso a Paso.
Paso 1. Trazado y Recortado.
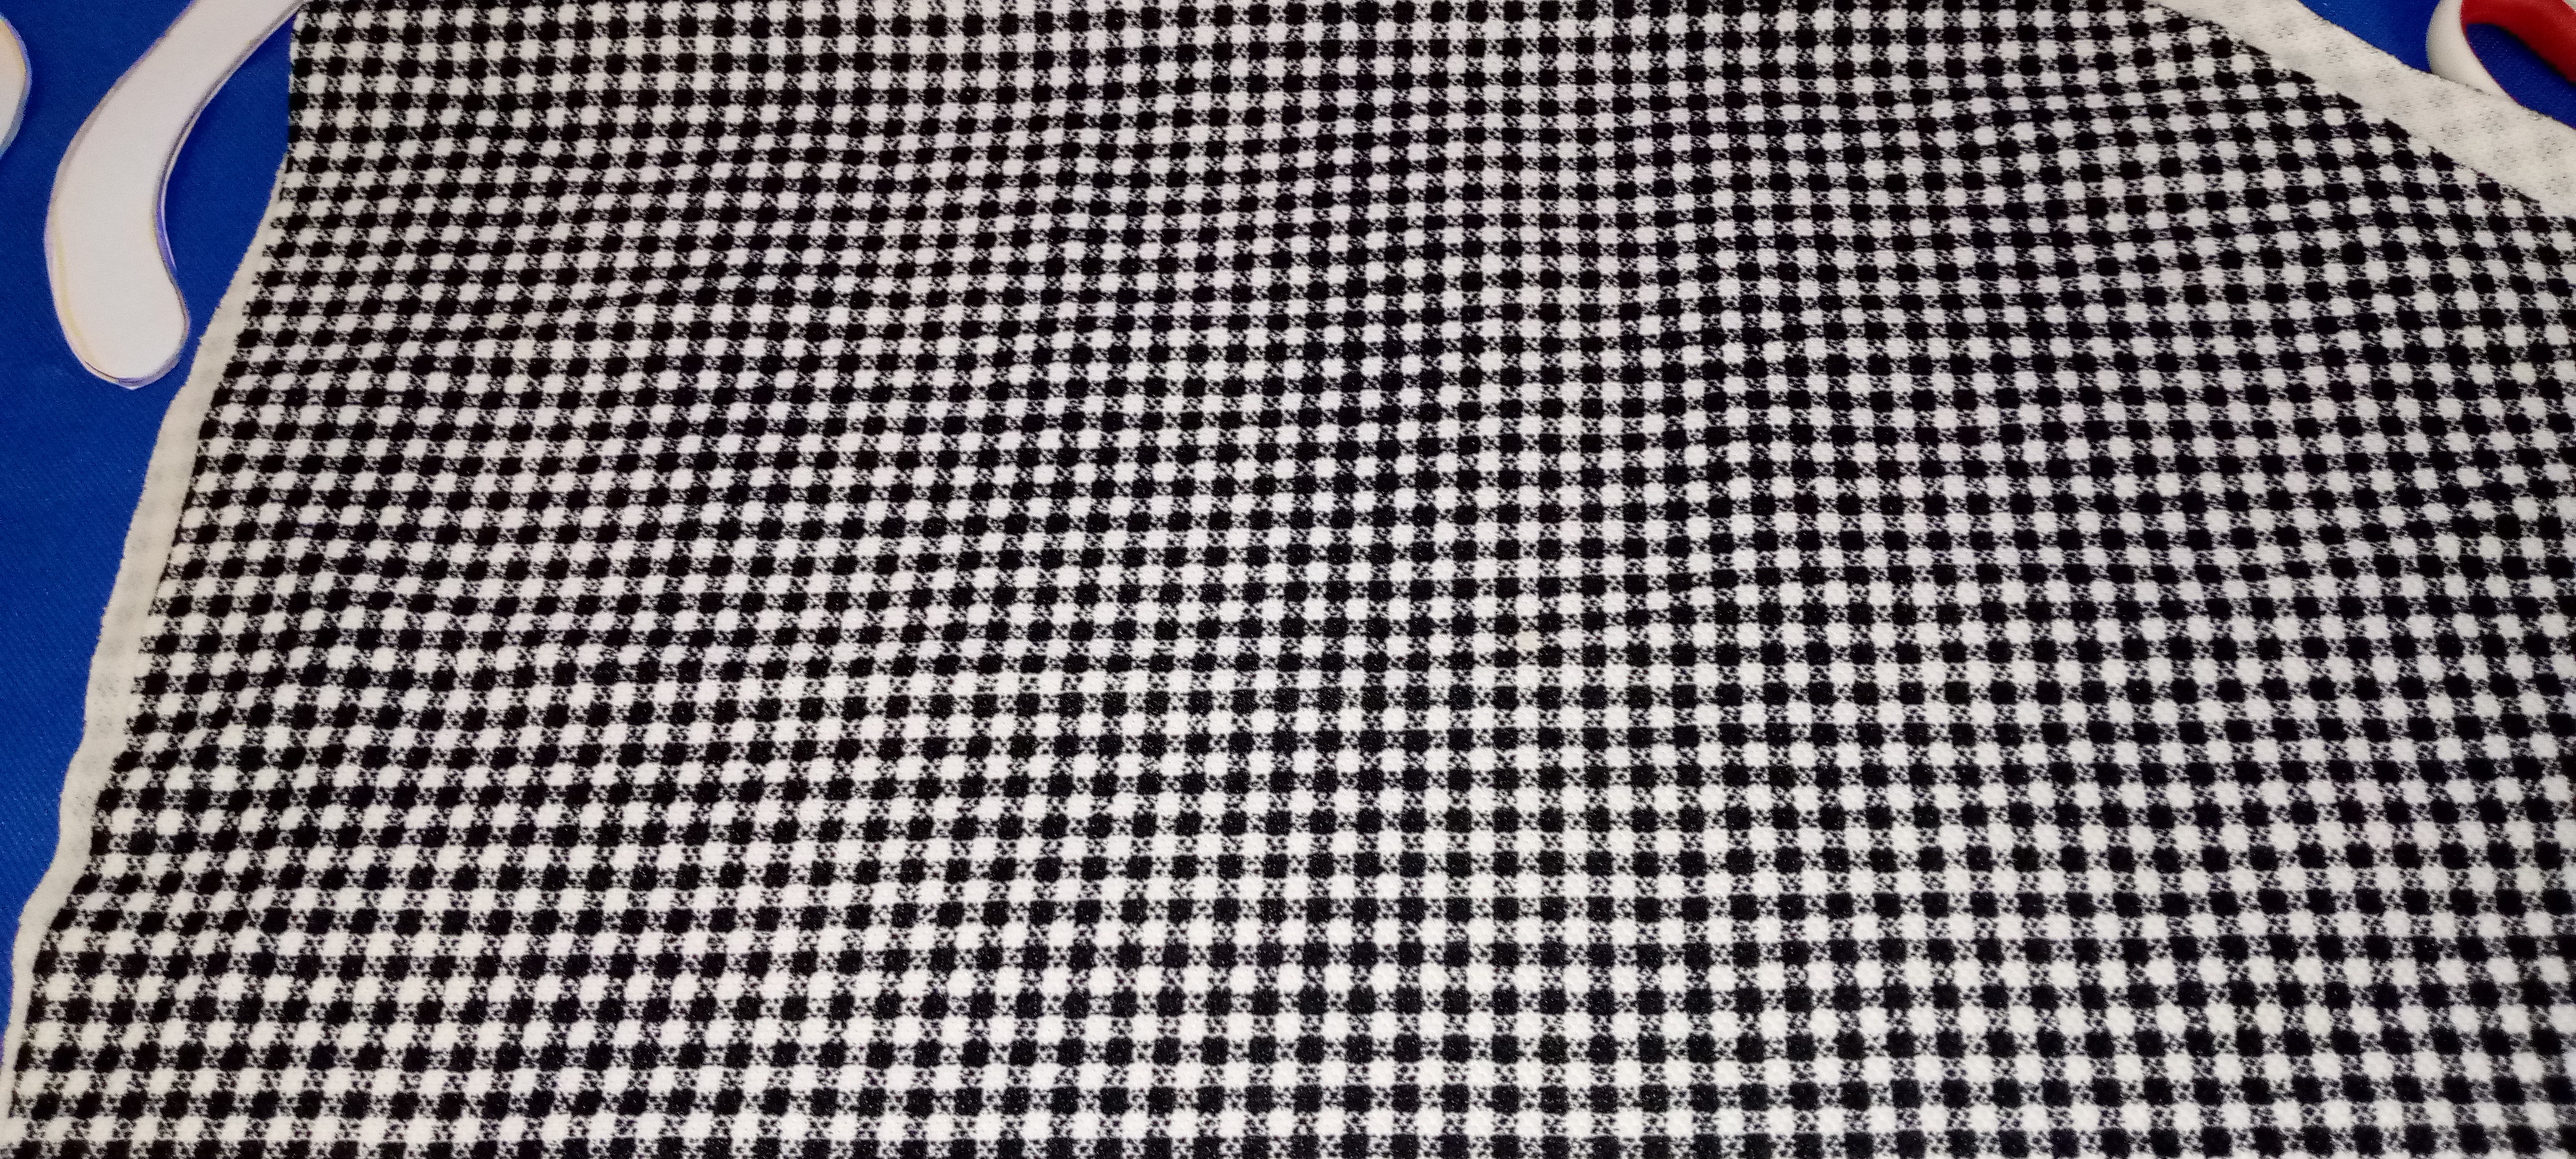
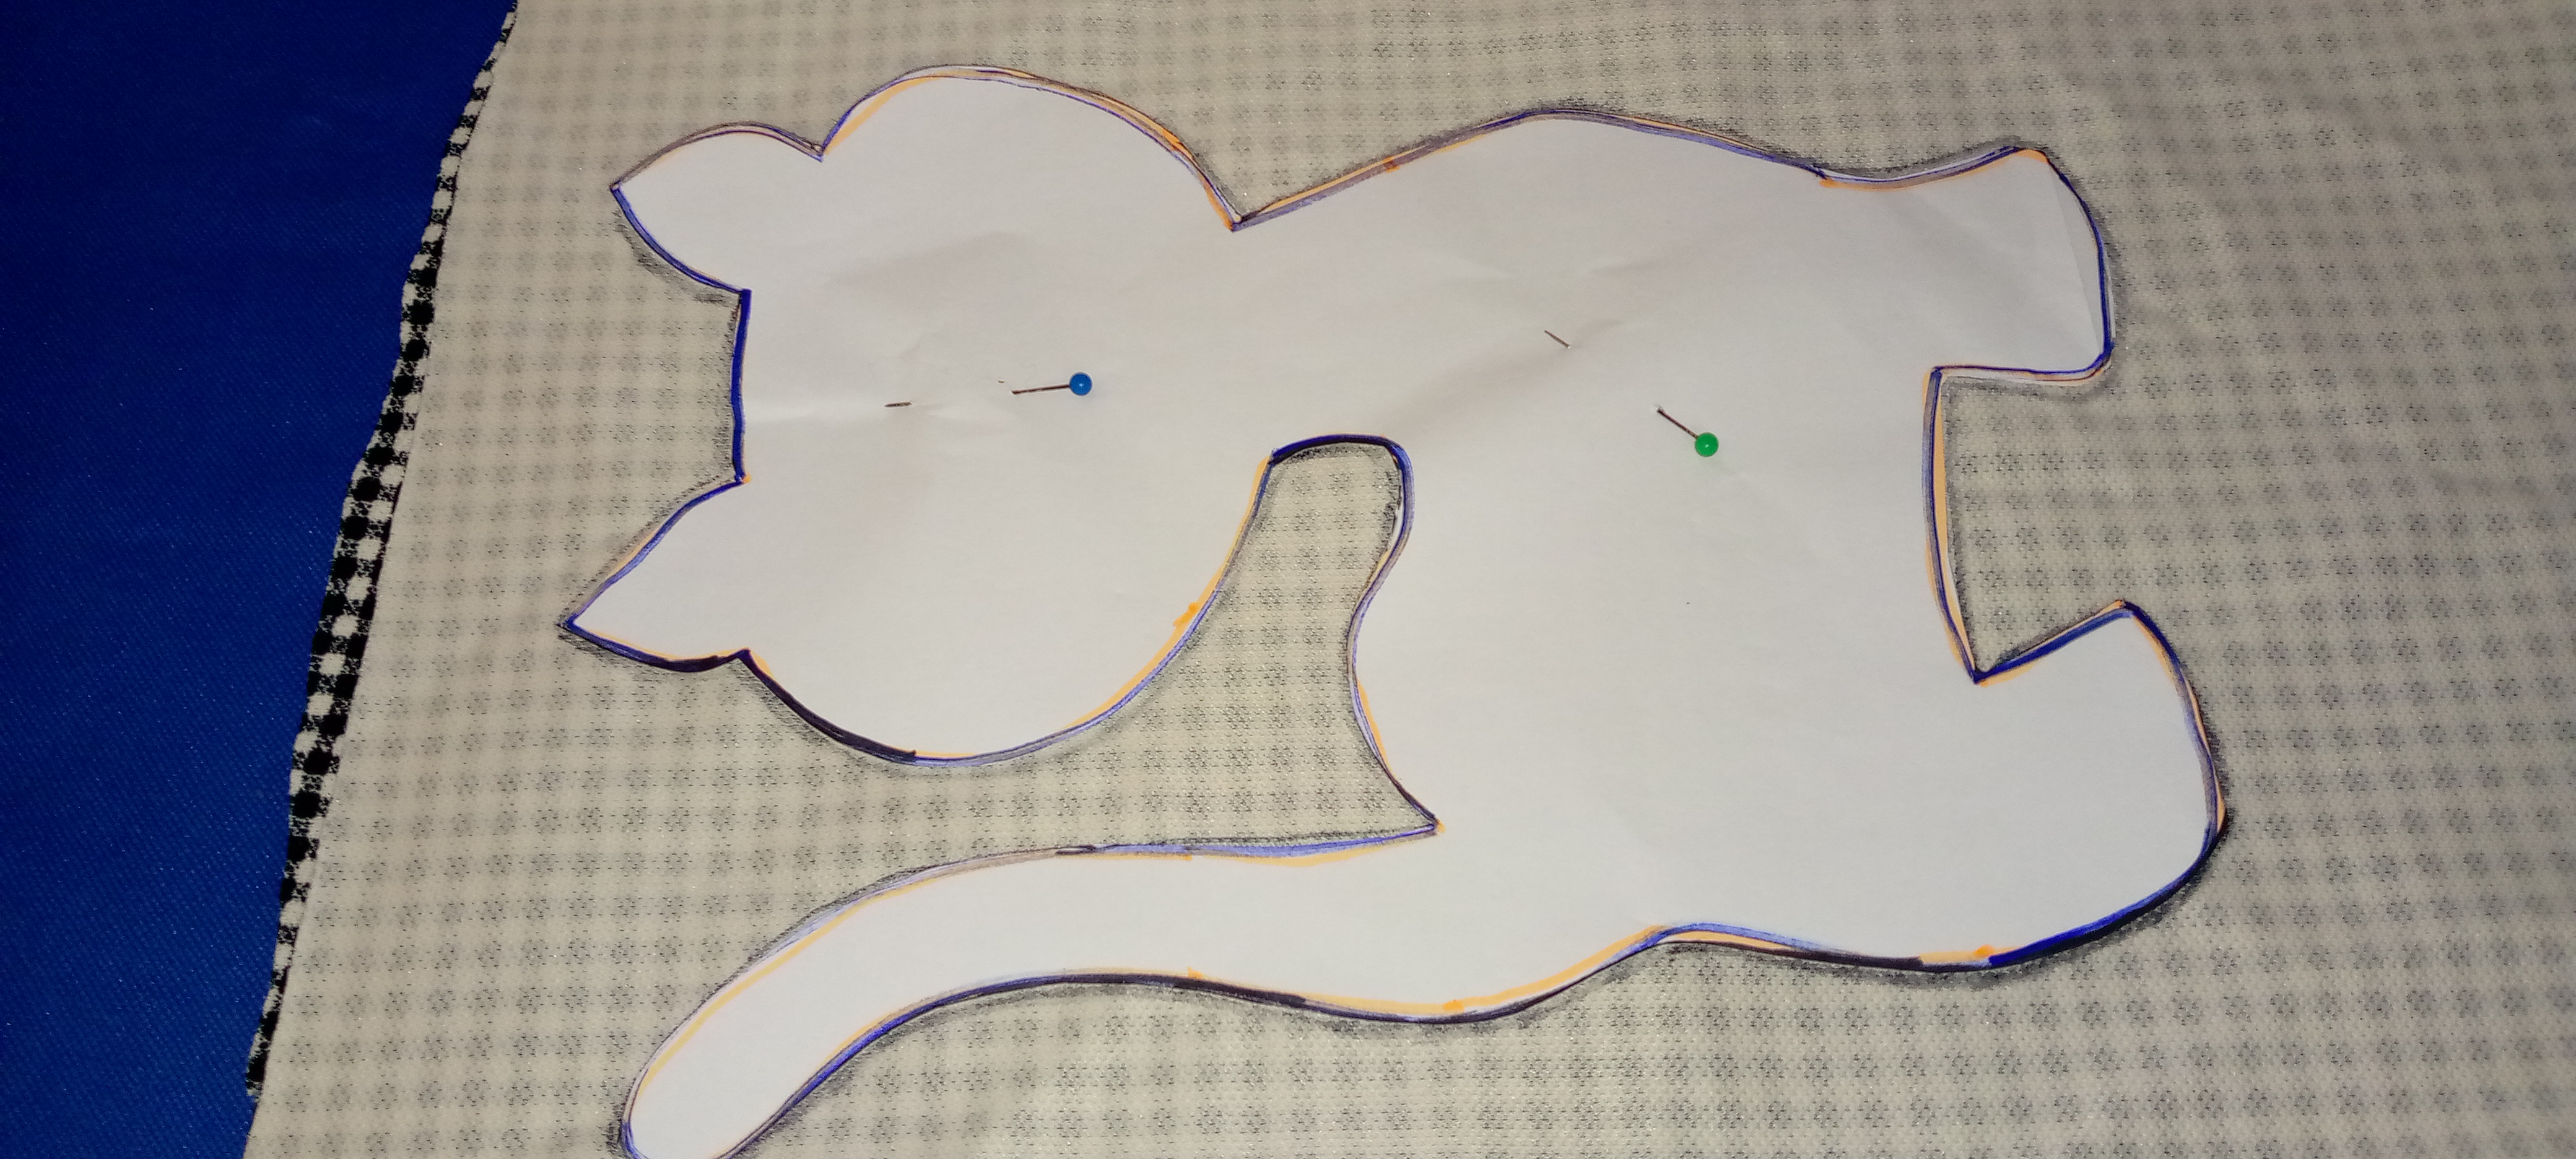
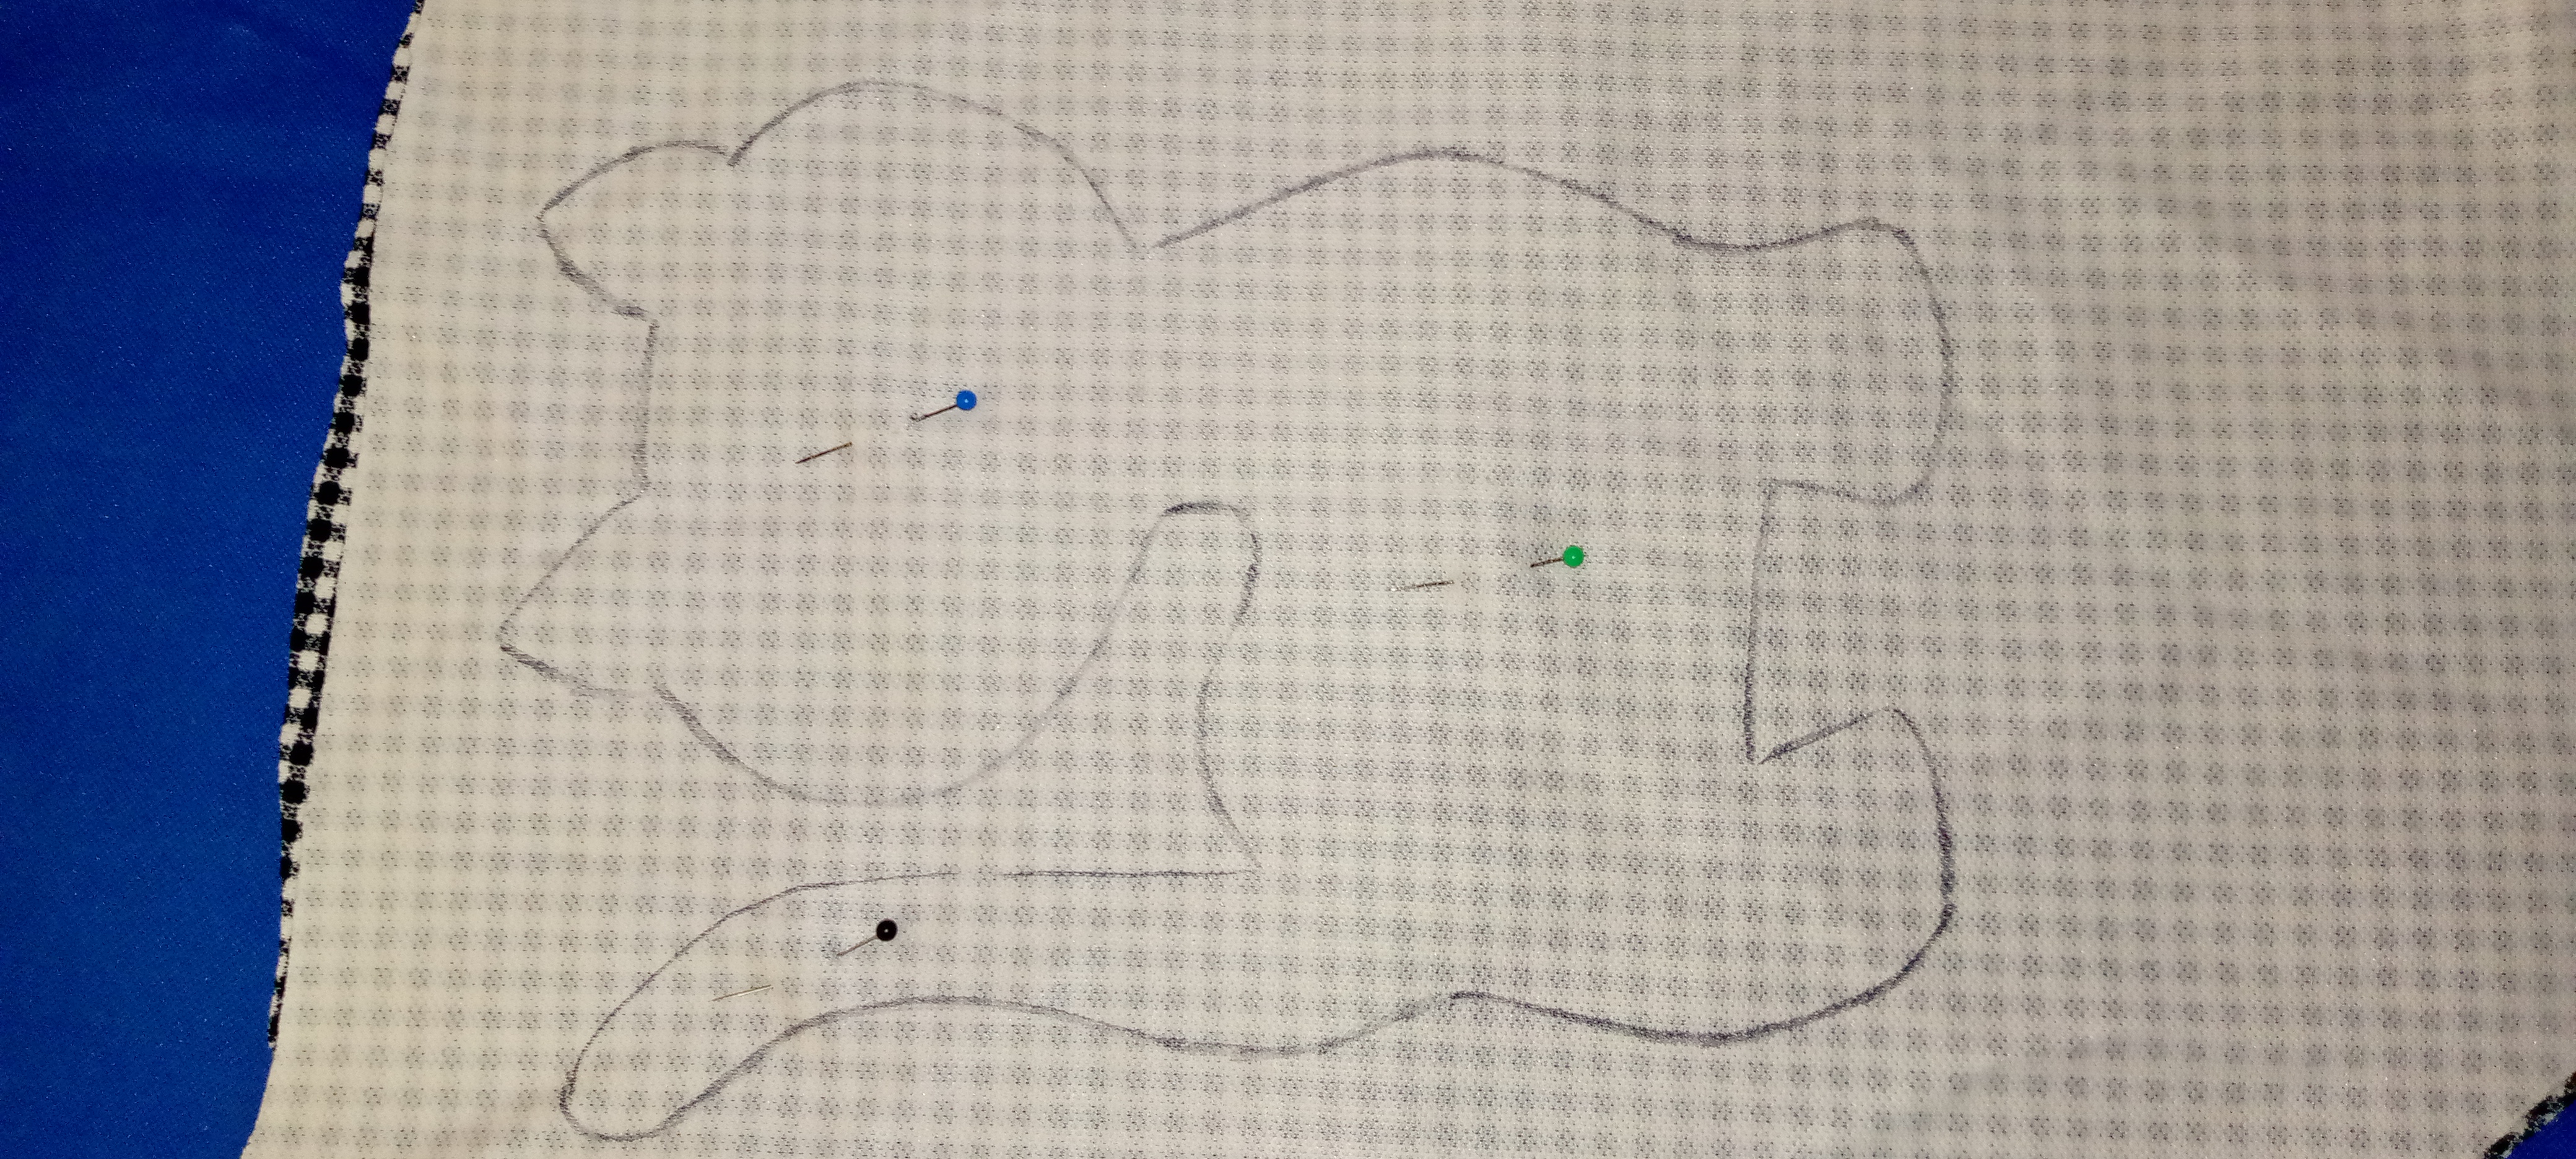
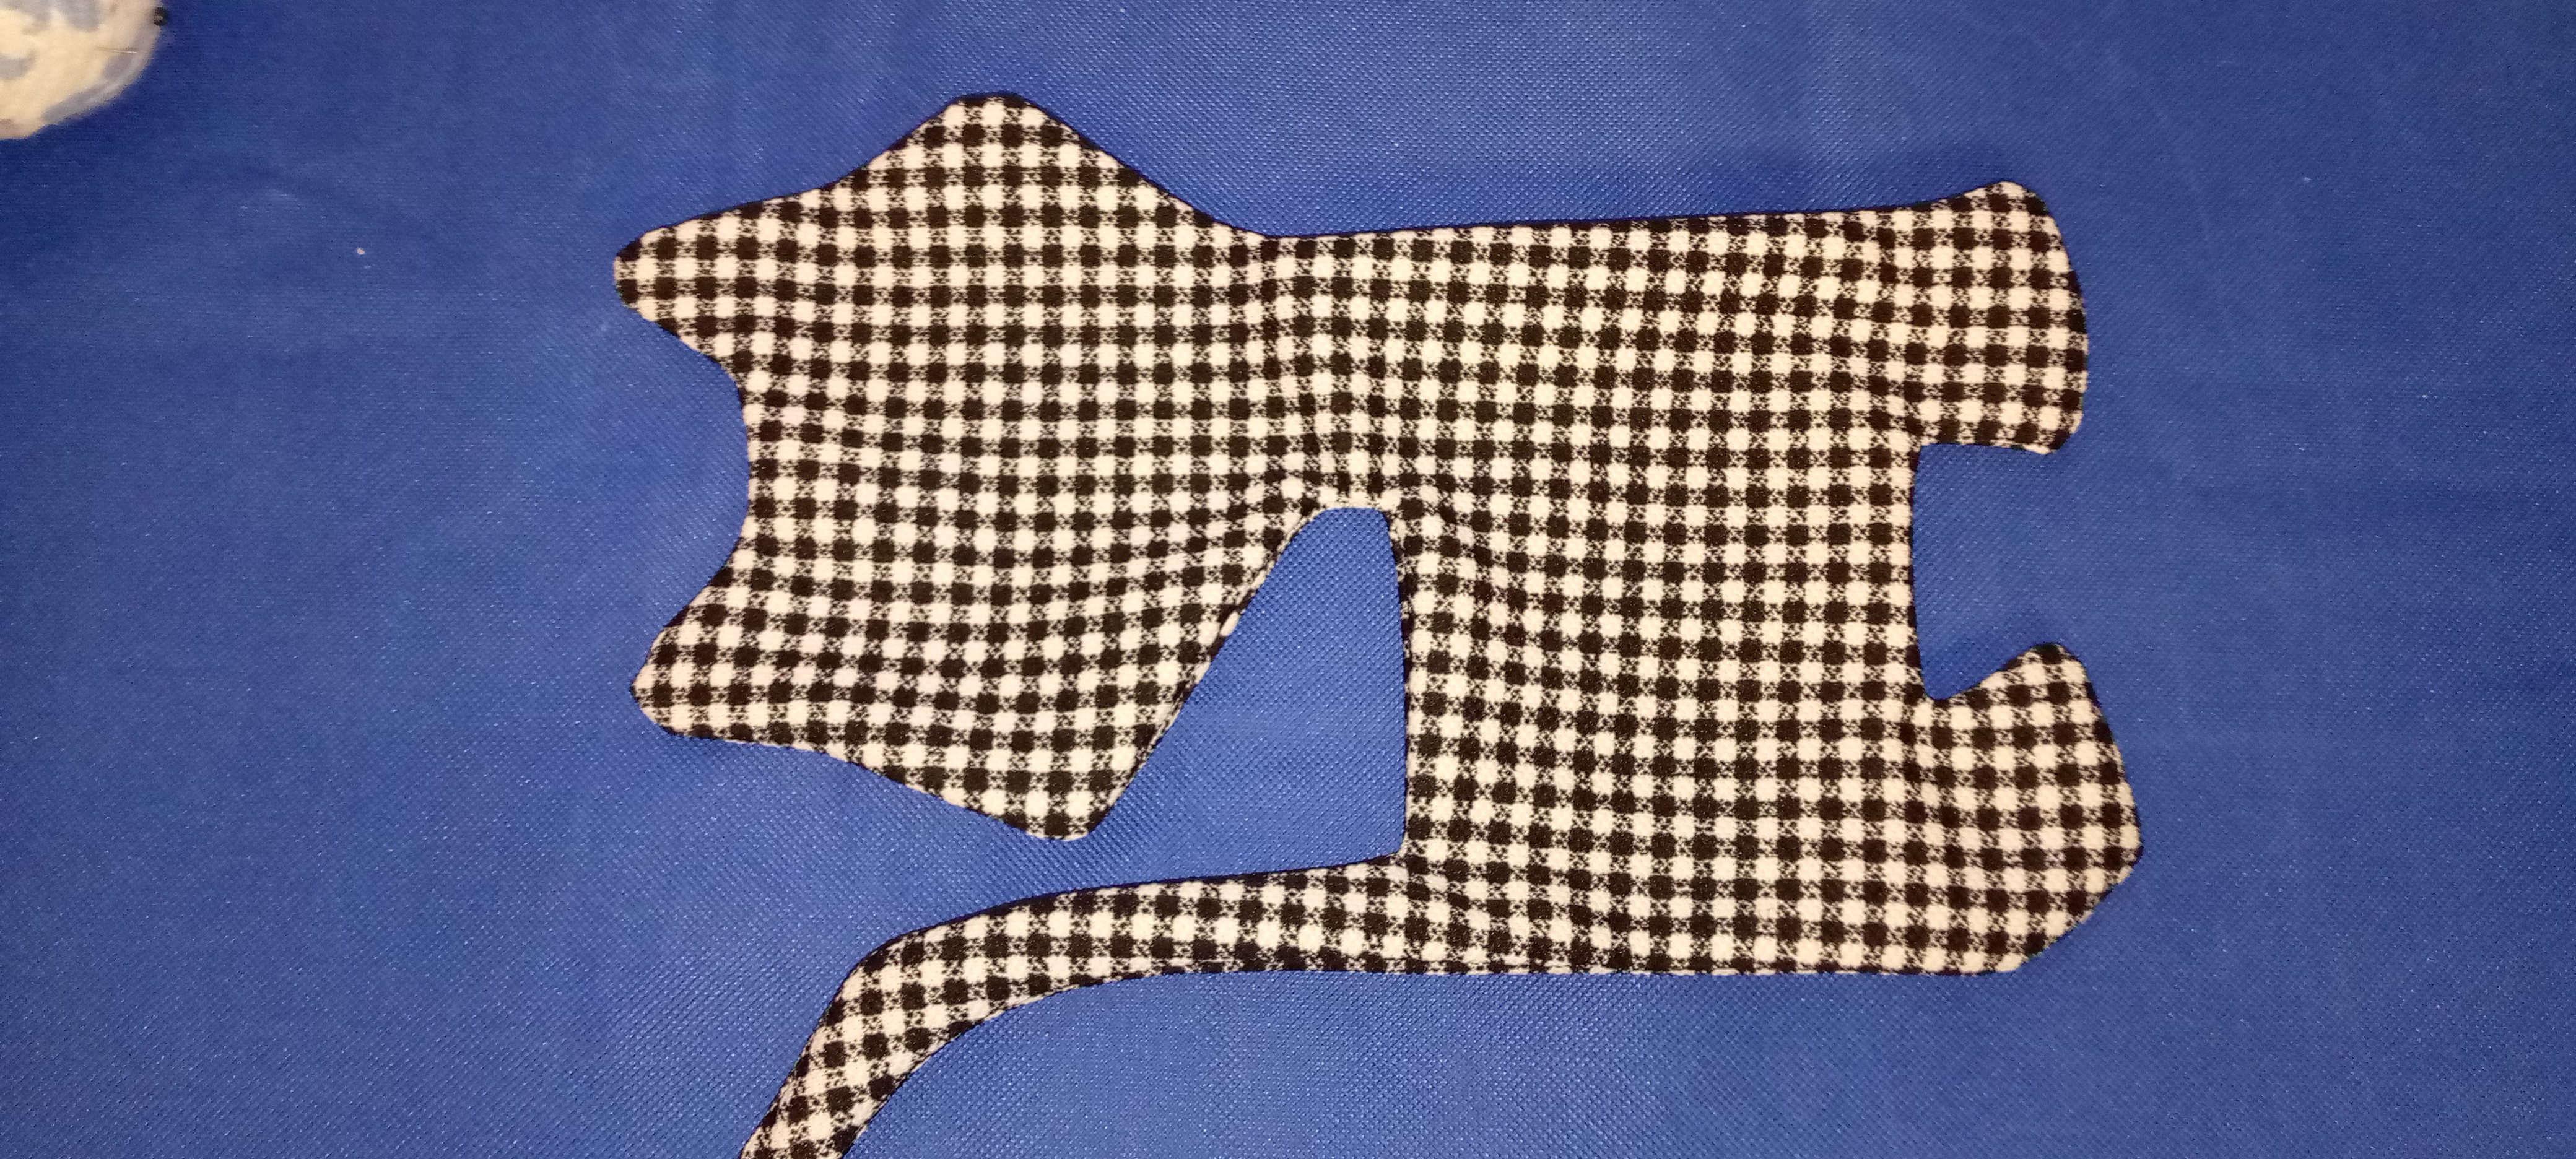
Para elaborar este cojín, comencé por seleccionar un retazo de tela suficiente para el tamaño del patrón que utilicé. Coloqué la tela al doblez, derecho con derecho y fijé con alfileres el patrón, esto para evitar que la tela se mueva, luego tracé el molde en la tela utilizando para ello un marcador, esto lo realizo con la finalidad de tener el trazo exacto por donde se realizará la costura y de esta manera se conserva la forma de la gata.
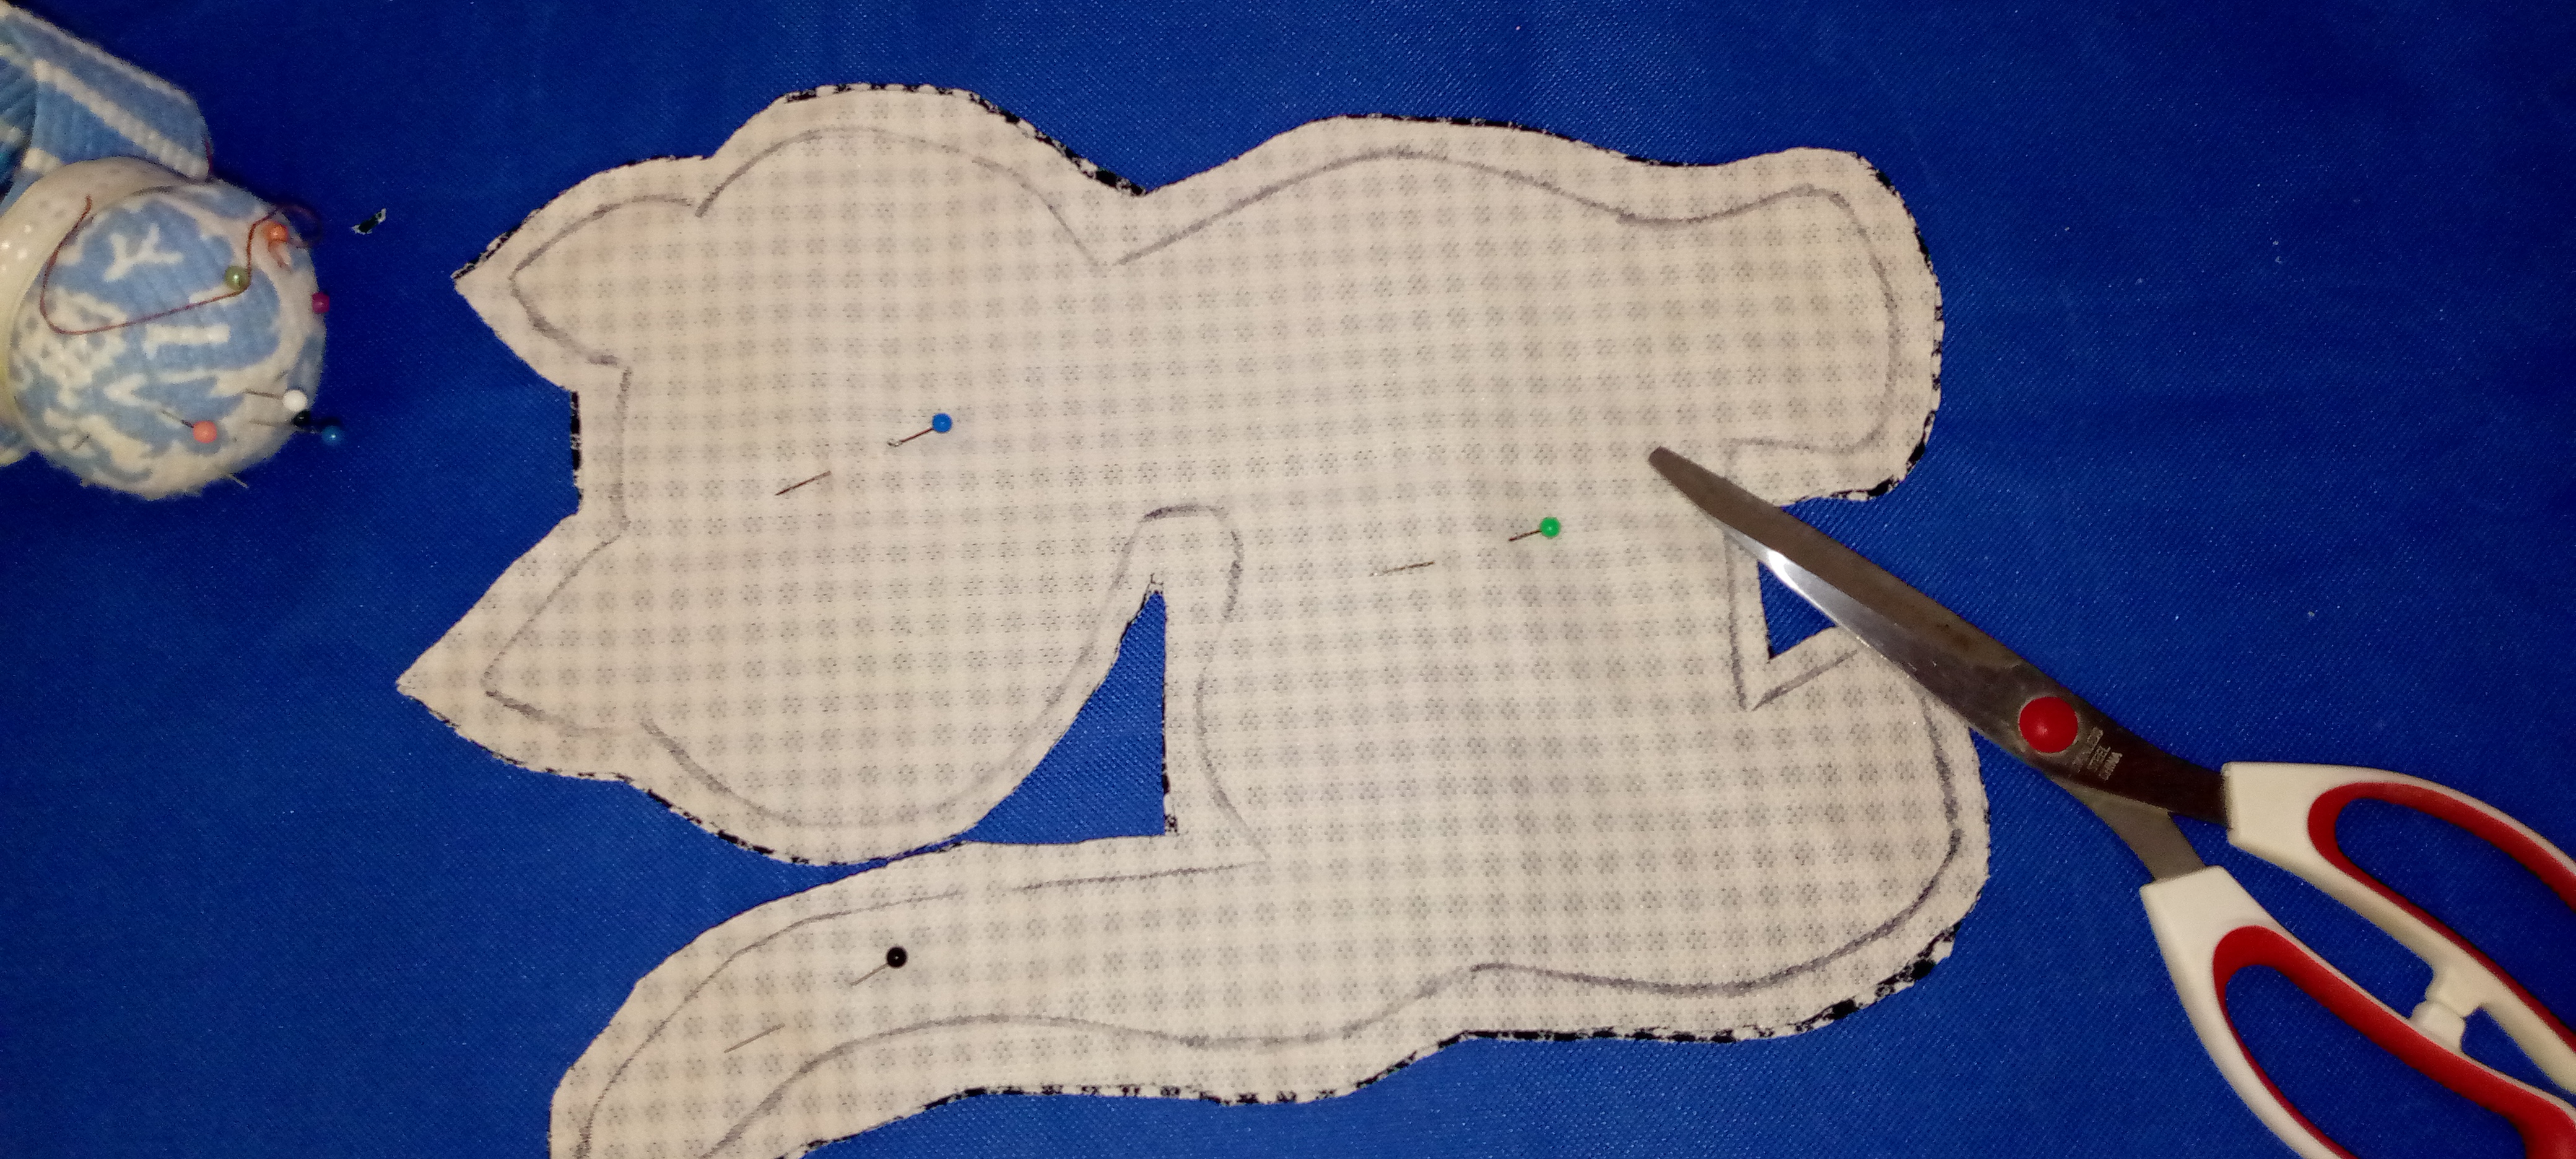
Luego de trazar el patrón sobre la tela retiro el patrón y procedo a cortar la figura por todo el contorno dejando aproximadamente un centímetro para la costura.
Elaboration Step by Step
Step 1. Tracing and Cutting.
To make this cushion, I started by selecting a piece of fabric sufficient for the size of the pattern I used. I placed the fabric at the fold, right side to right side and pinned the pattern, this to prevent the fabric from moving, then I traced the mold on the fabric using a marker, I do this in order to have the exact line where the seam will be made and thus retains the shape of the cat.
After tracing the pattern on the fabric I remove the pattern and proceed to cut the figure around the contour leaving approximately one centimeter for the seam.
Paso 2. Costura
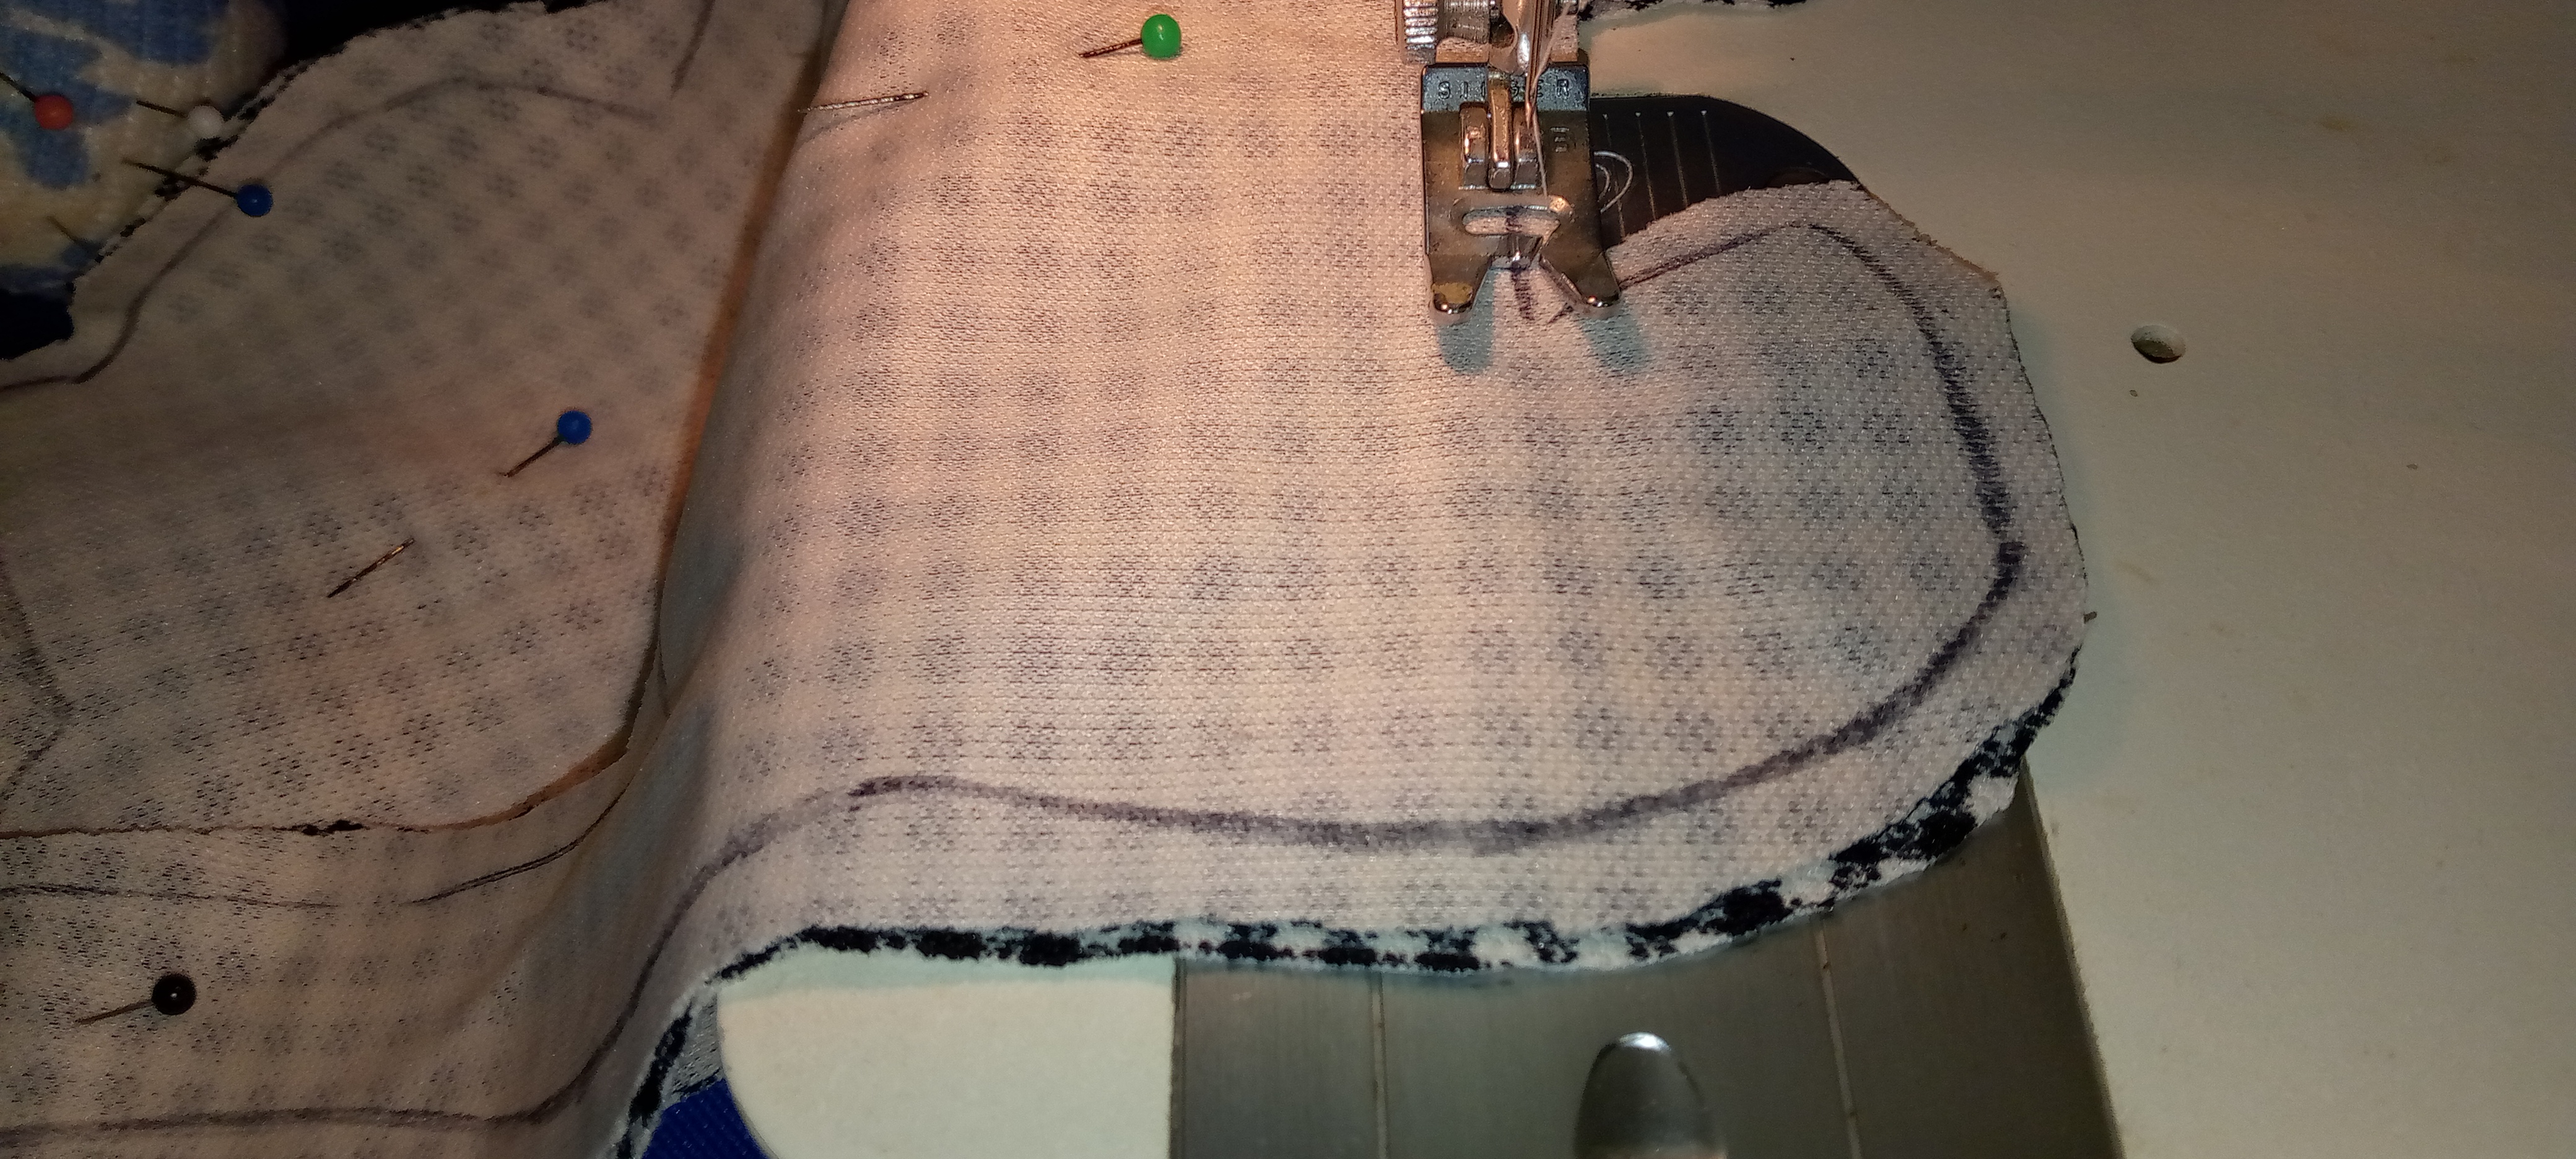
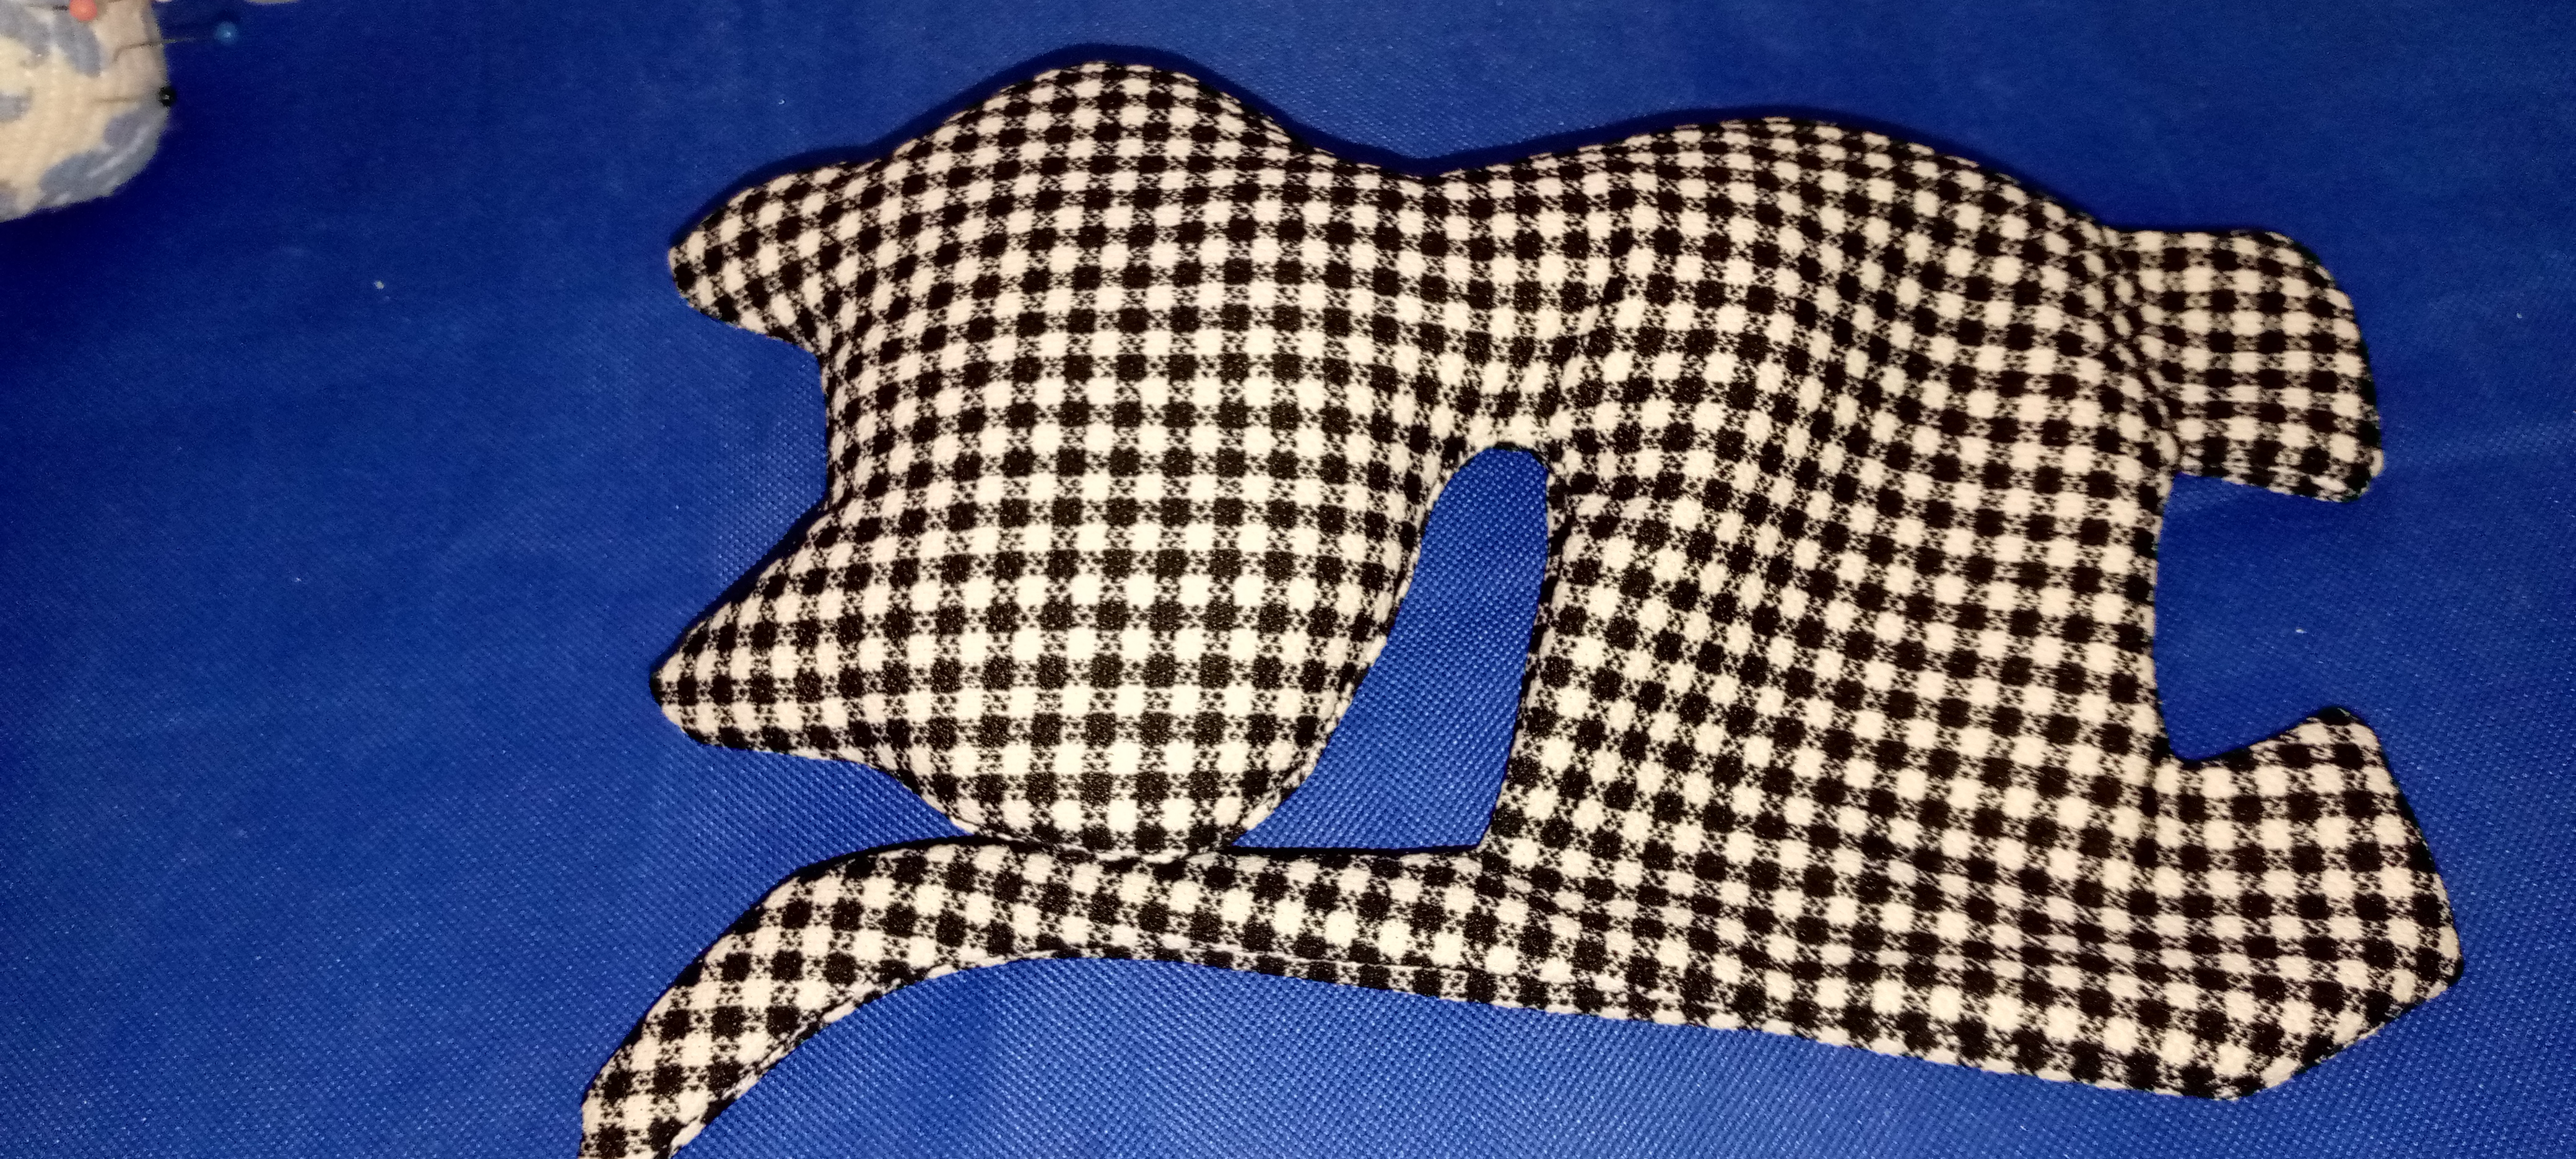
En este paso procedí a coser utilizando la máquina, pasé costura recta por el contorno de la tela siguiendo el trazo realizado previamente y visualizando con antelación donde dejar la abertura para posteriormente introducir el relleno. Es importante seguir el trazo con la costura para evitar que se pierda la forma exacta del cojín.
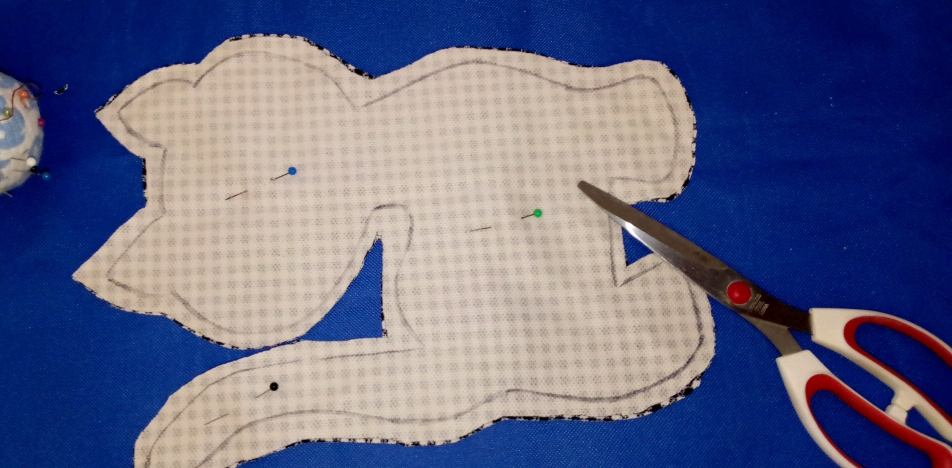
Luego de coser procedí a cortar los bordes de la tela para evitar que quede muy grueso y realicé pequeños cortes en las esquinas y curvas pronunciadas, esto con la finalidad de evitar arrugas en la tela. Después volteé la tela al derecho y con el palito de madera le di la forma en los espacios pequeños.
Step 2. Sewing
In this step I proceeded to sew using the machine, I sewed straight along the contour of the fabric following the outline previously made and visualizing in advance where to leave the opening to insert the stuffing. It is important to follow the outline with the stitching to avoid losing the exact shape of the cushion.
After sewing I proceeded to cut the edges of the fabric to prevent it from being too thick and made small cuts in the corners and sharp curves, this in order to avoid wrinkles in the fabric. Then I turned the fabric right side out and with the wooden stick I gave it the shape in the small spaces.
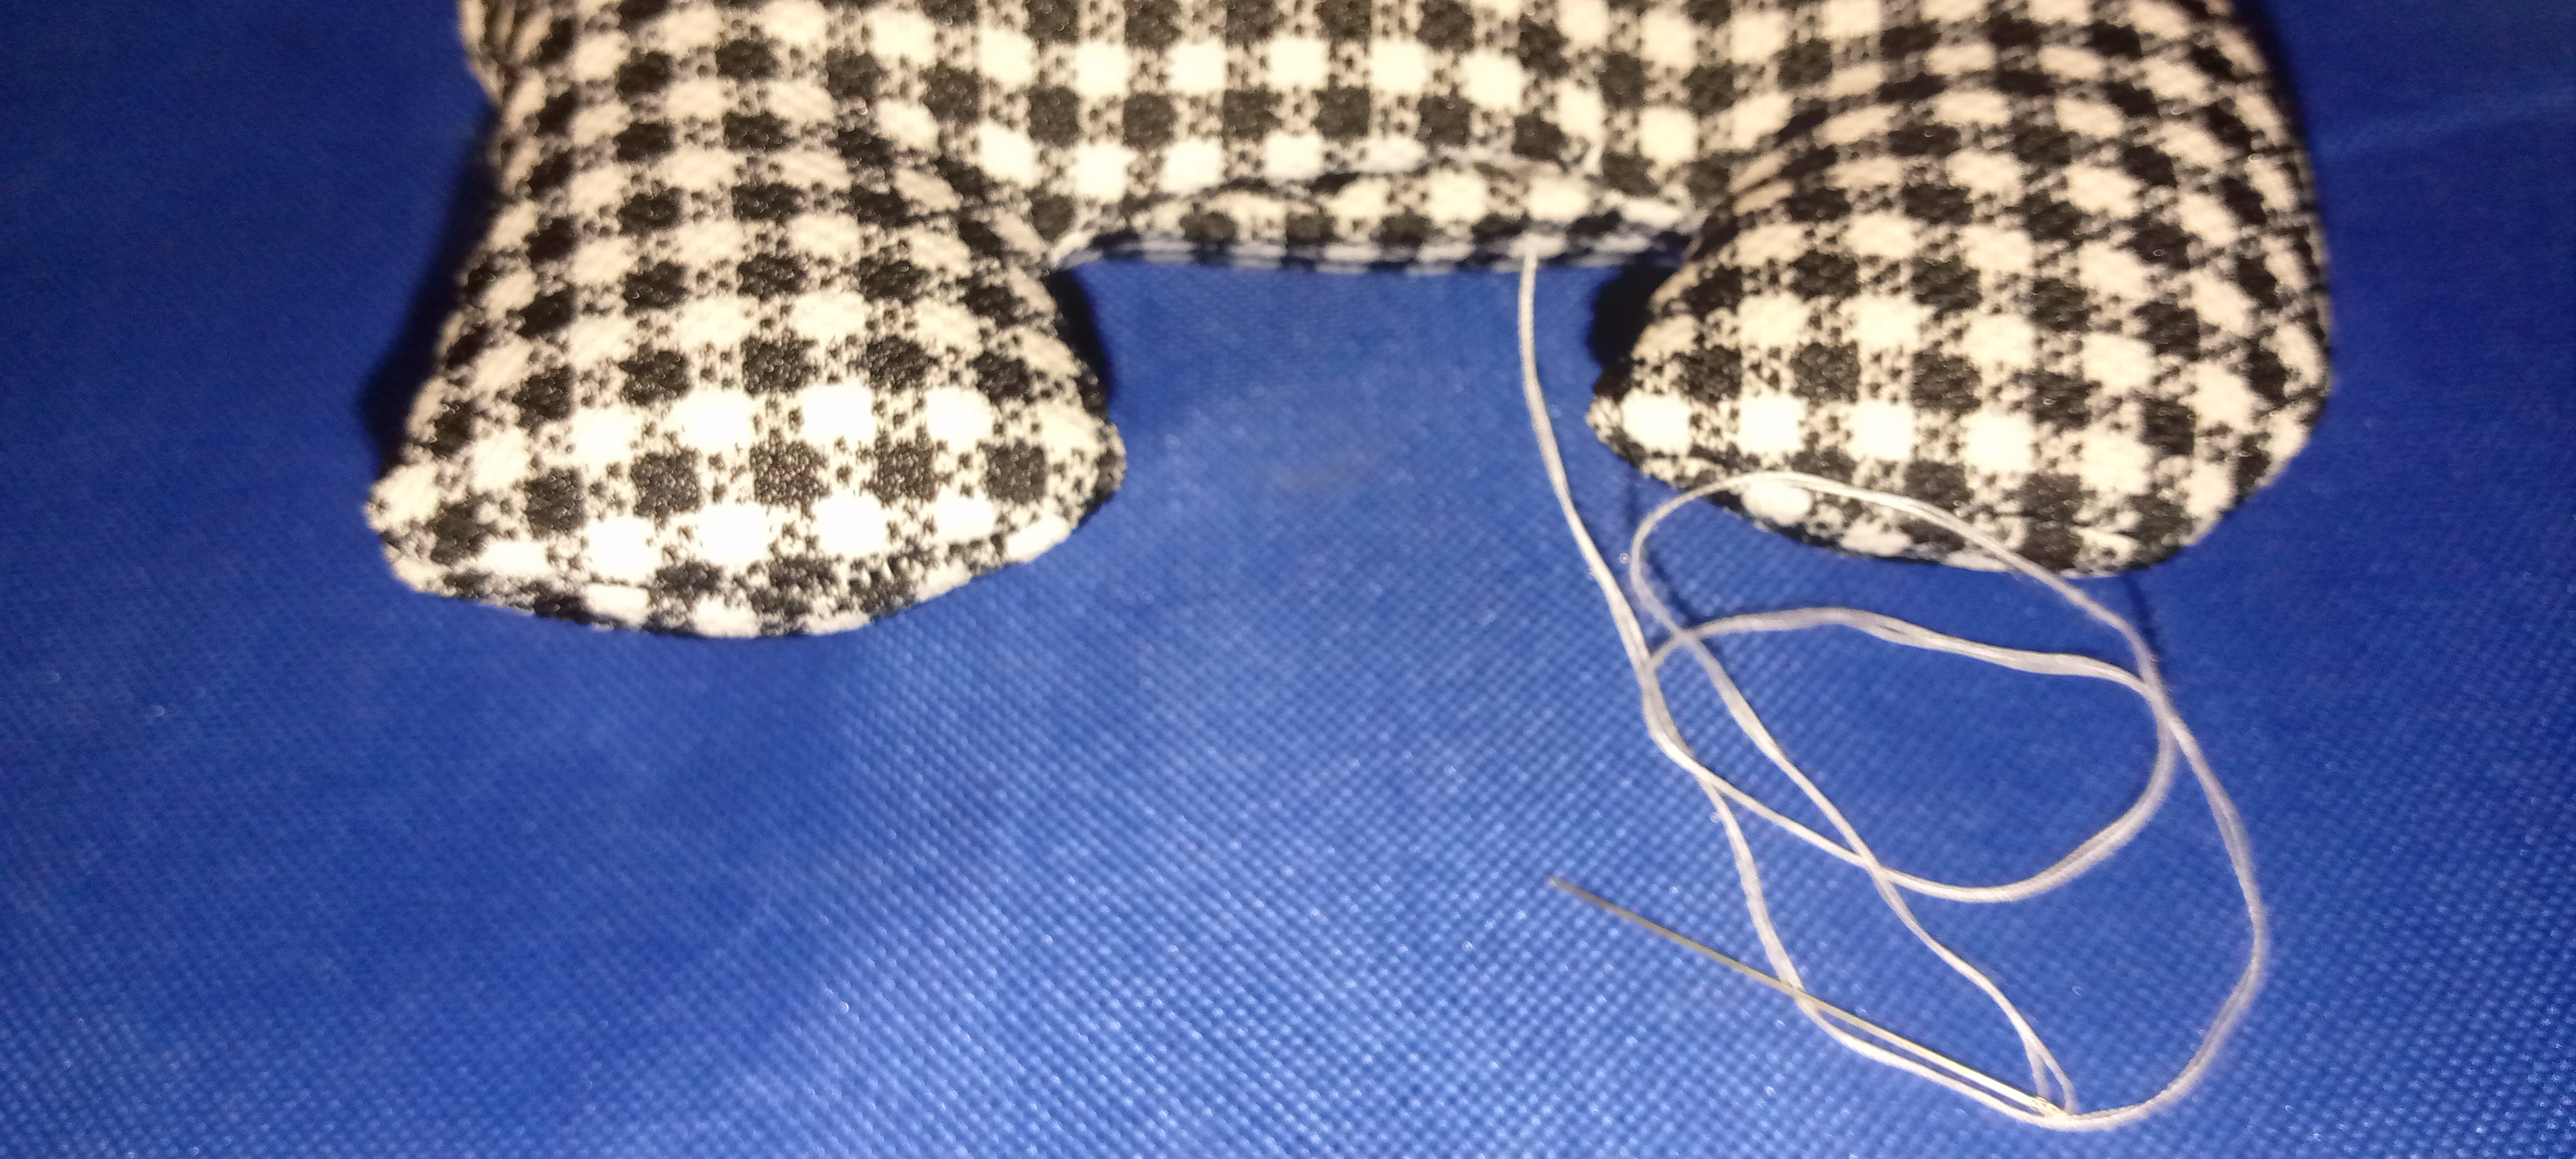
Paso 3. Relleno del Cojín
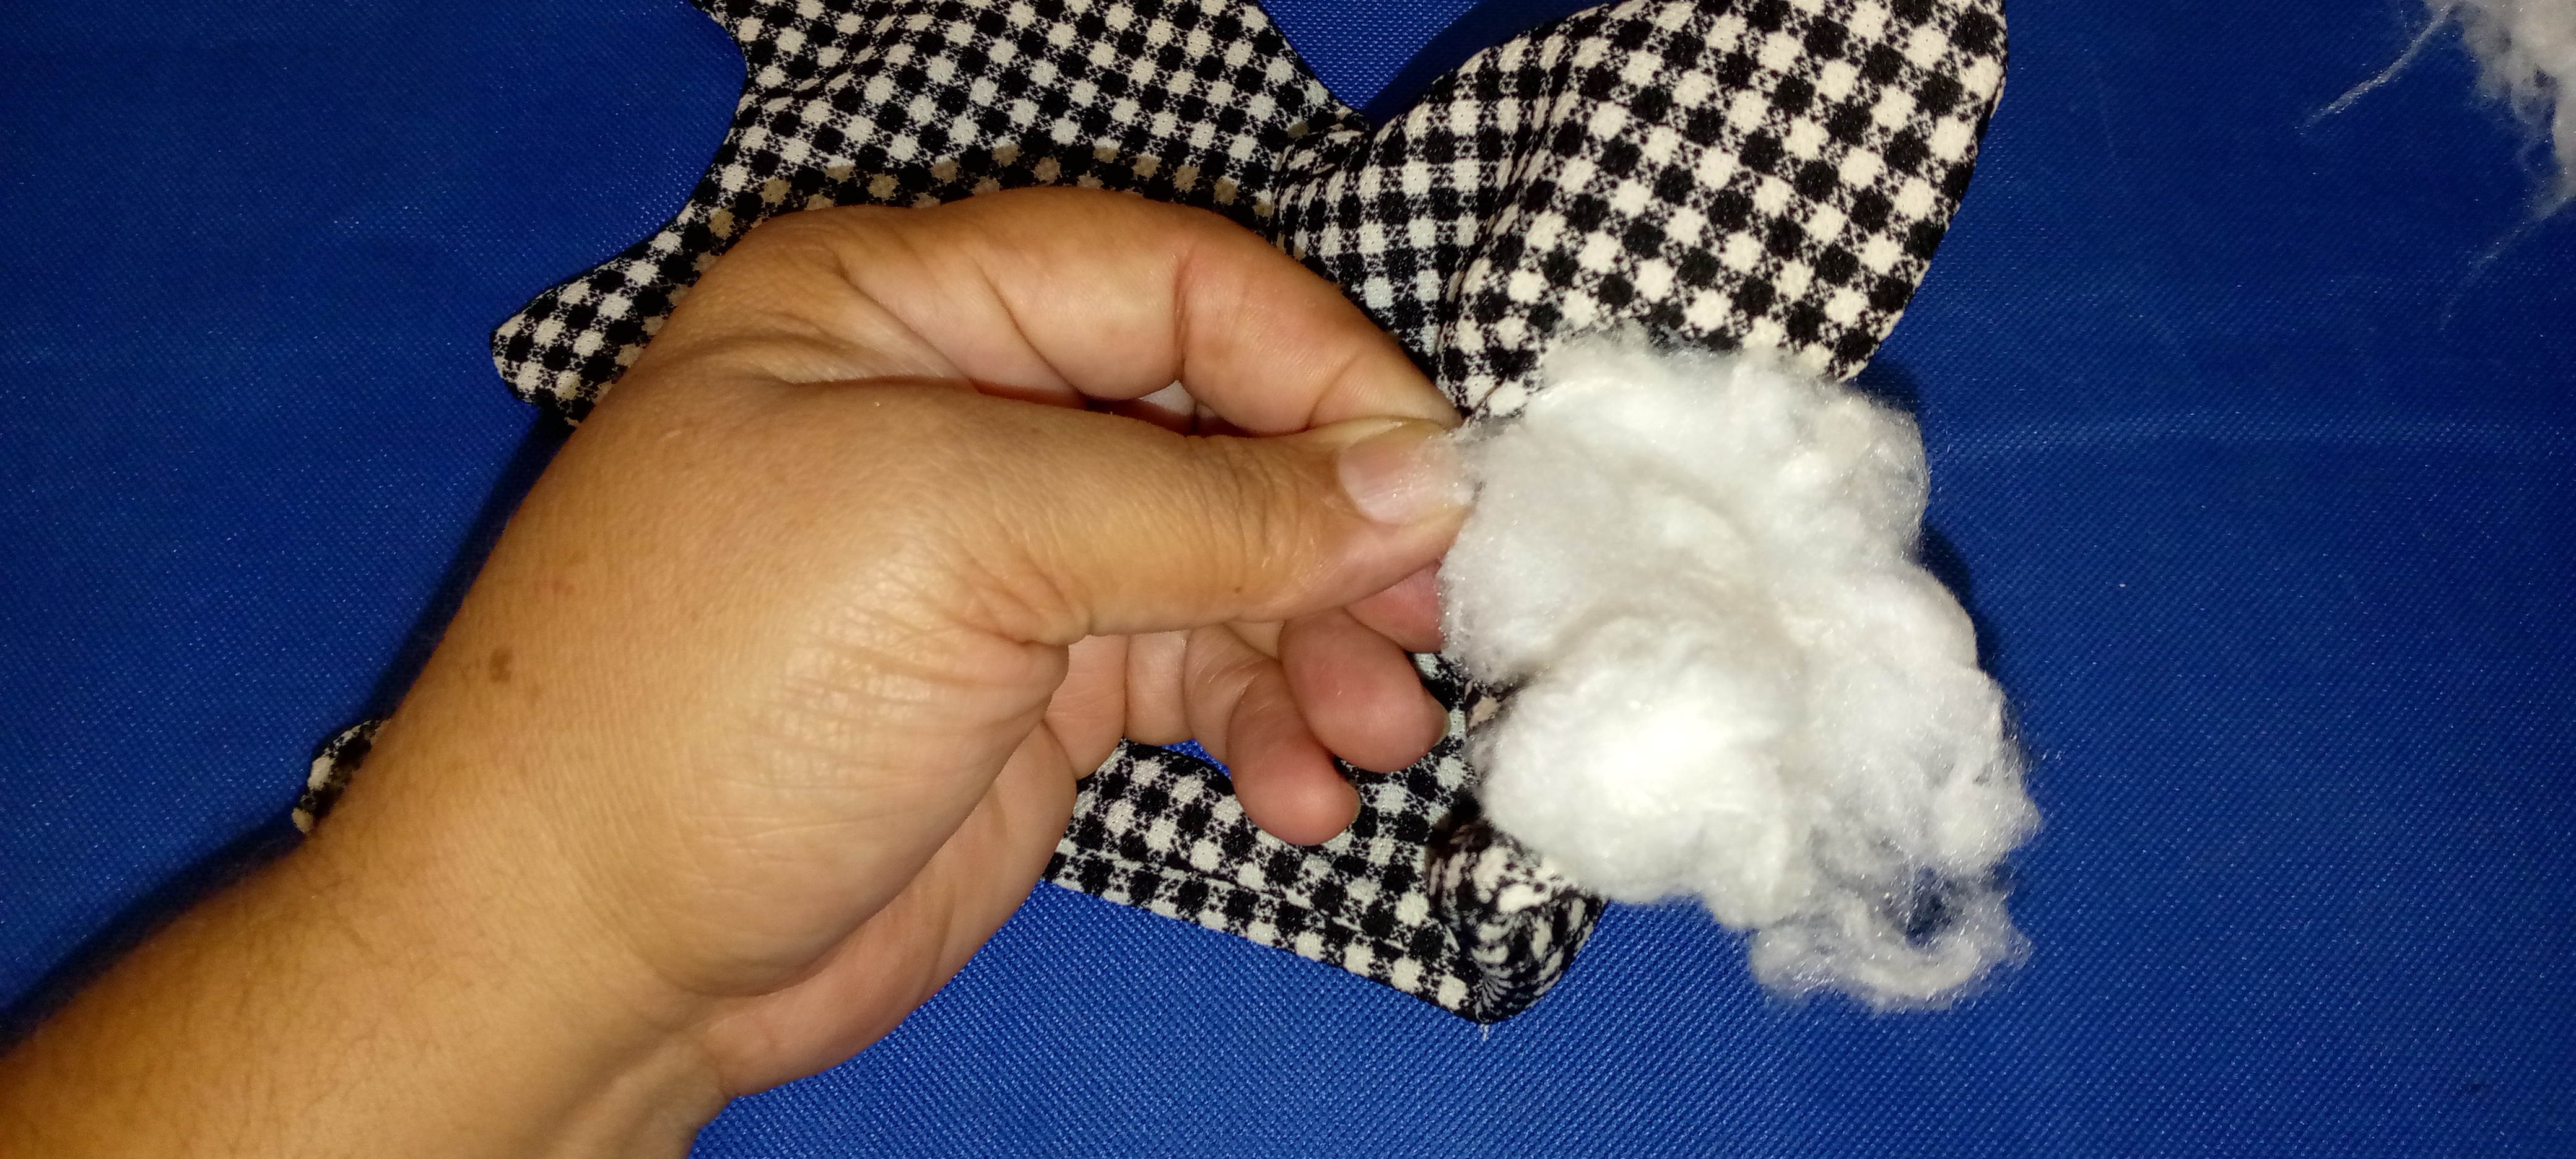
A continuación, realizo el relleno del cojín, utilizo algodón de relleno el cual suavizo previamente antes de introducir, lo voy colocando en pequeñas porciones y utilizo el palito de madera para ir llenando todos los espacios de manera que se conserve la forma del cojín.
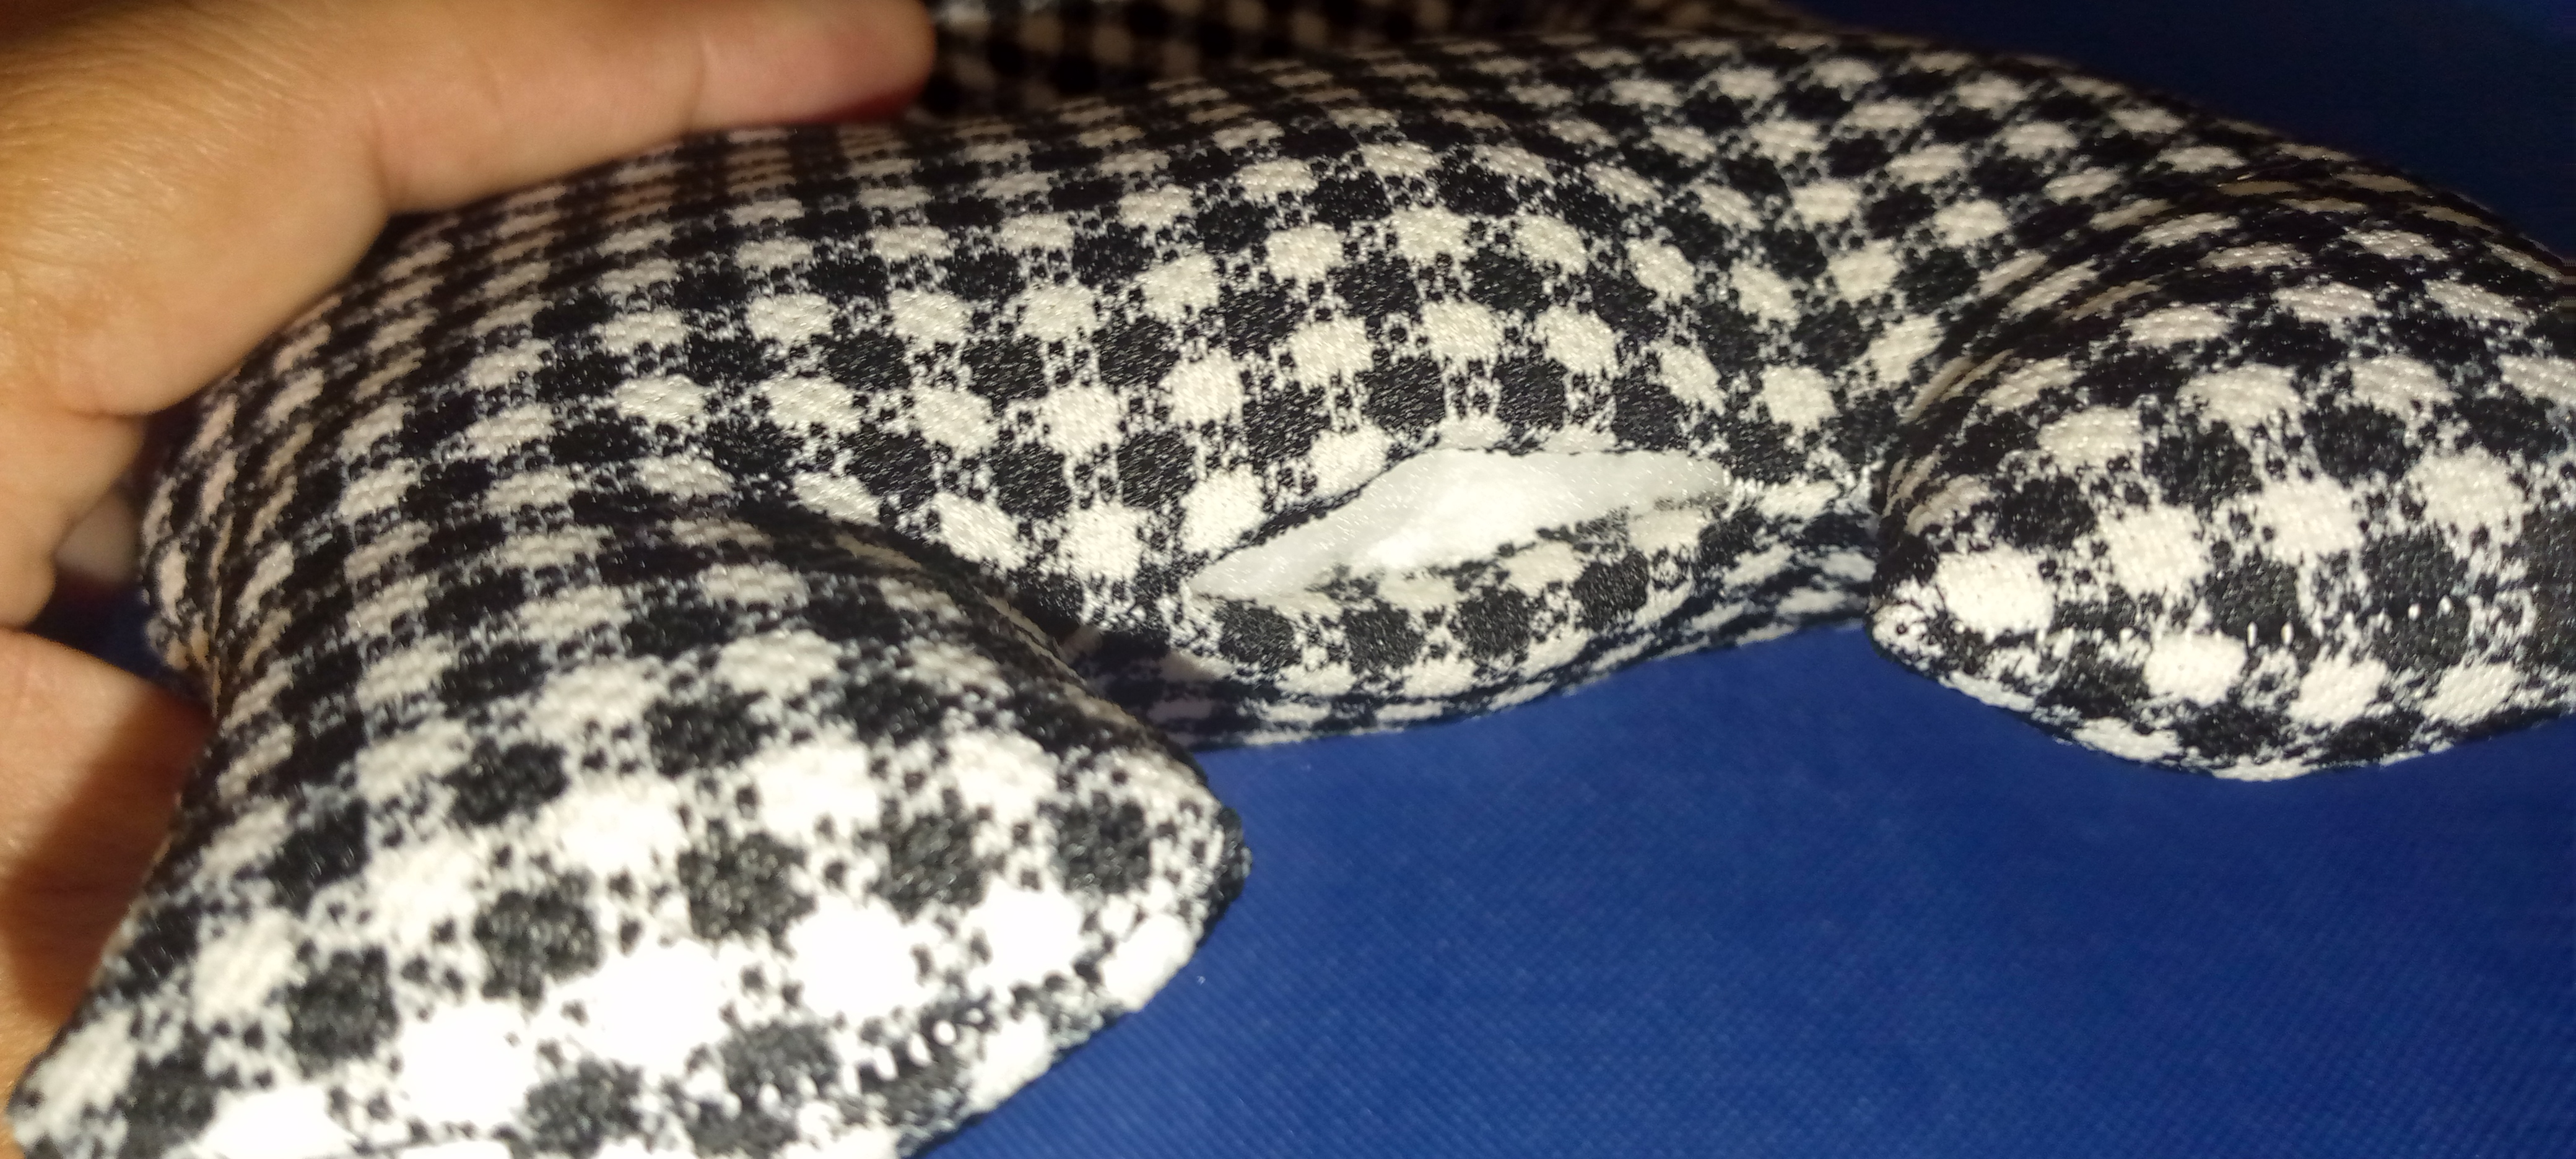
Luego de rellenar el cojín cerré la abertura con unas puntadas. En este caso dejé una abertura pequeña por la parte inferior del cojín, al momento de coser se le coloqué unas puntadas discretas para que no se note.
Step 3. Filling of the cushion
Next, I stuff the cushion, I use cotton stuffing which I soften previously before inserting, I place it in small portions and I use the wooden stick to fill all the spaces so that the shape of the cushion is preserved.
After filling the cushion I close the opening with a few stitches. In this case I left a small opening at the bottom of the cushion, at the time of sewing I placed a few discreet stitches so that it is not noticed.
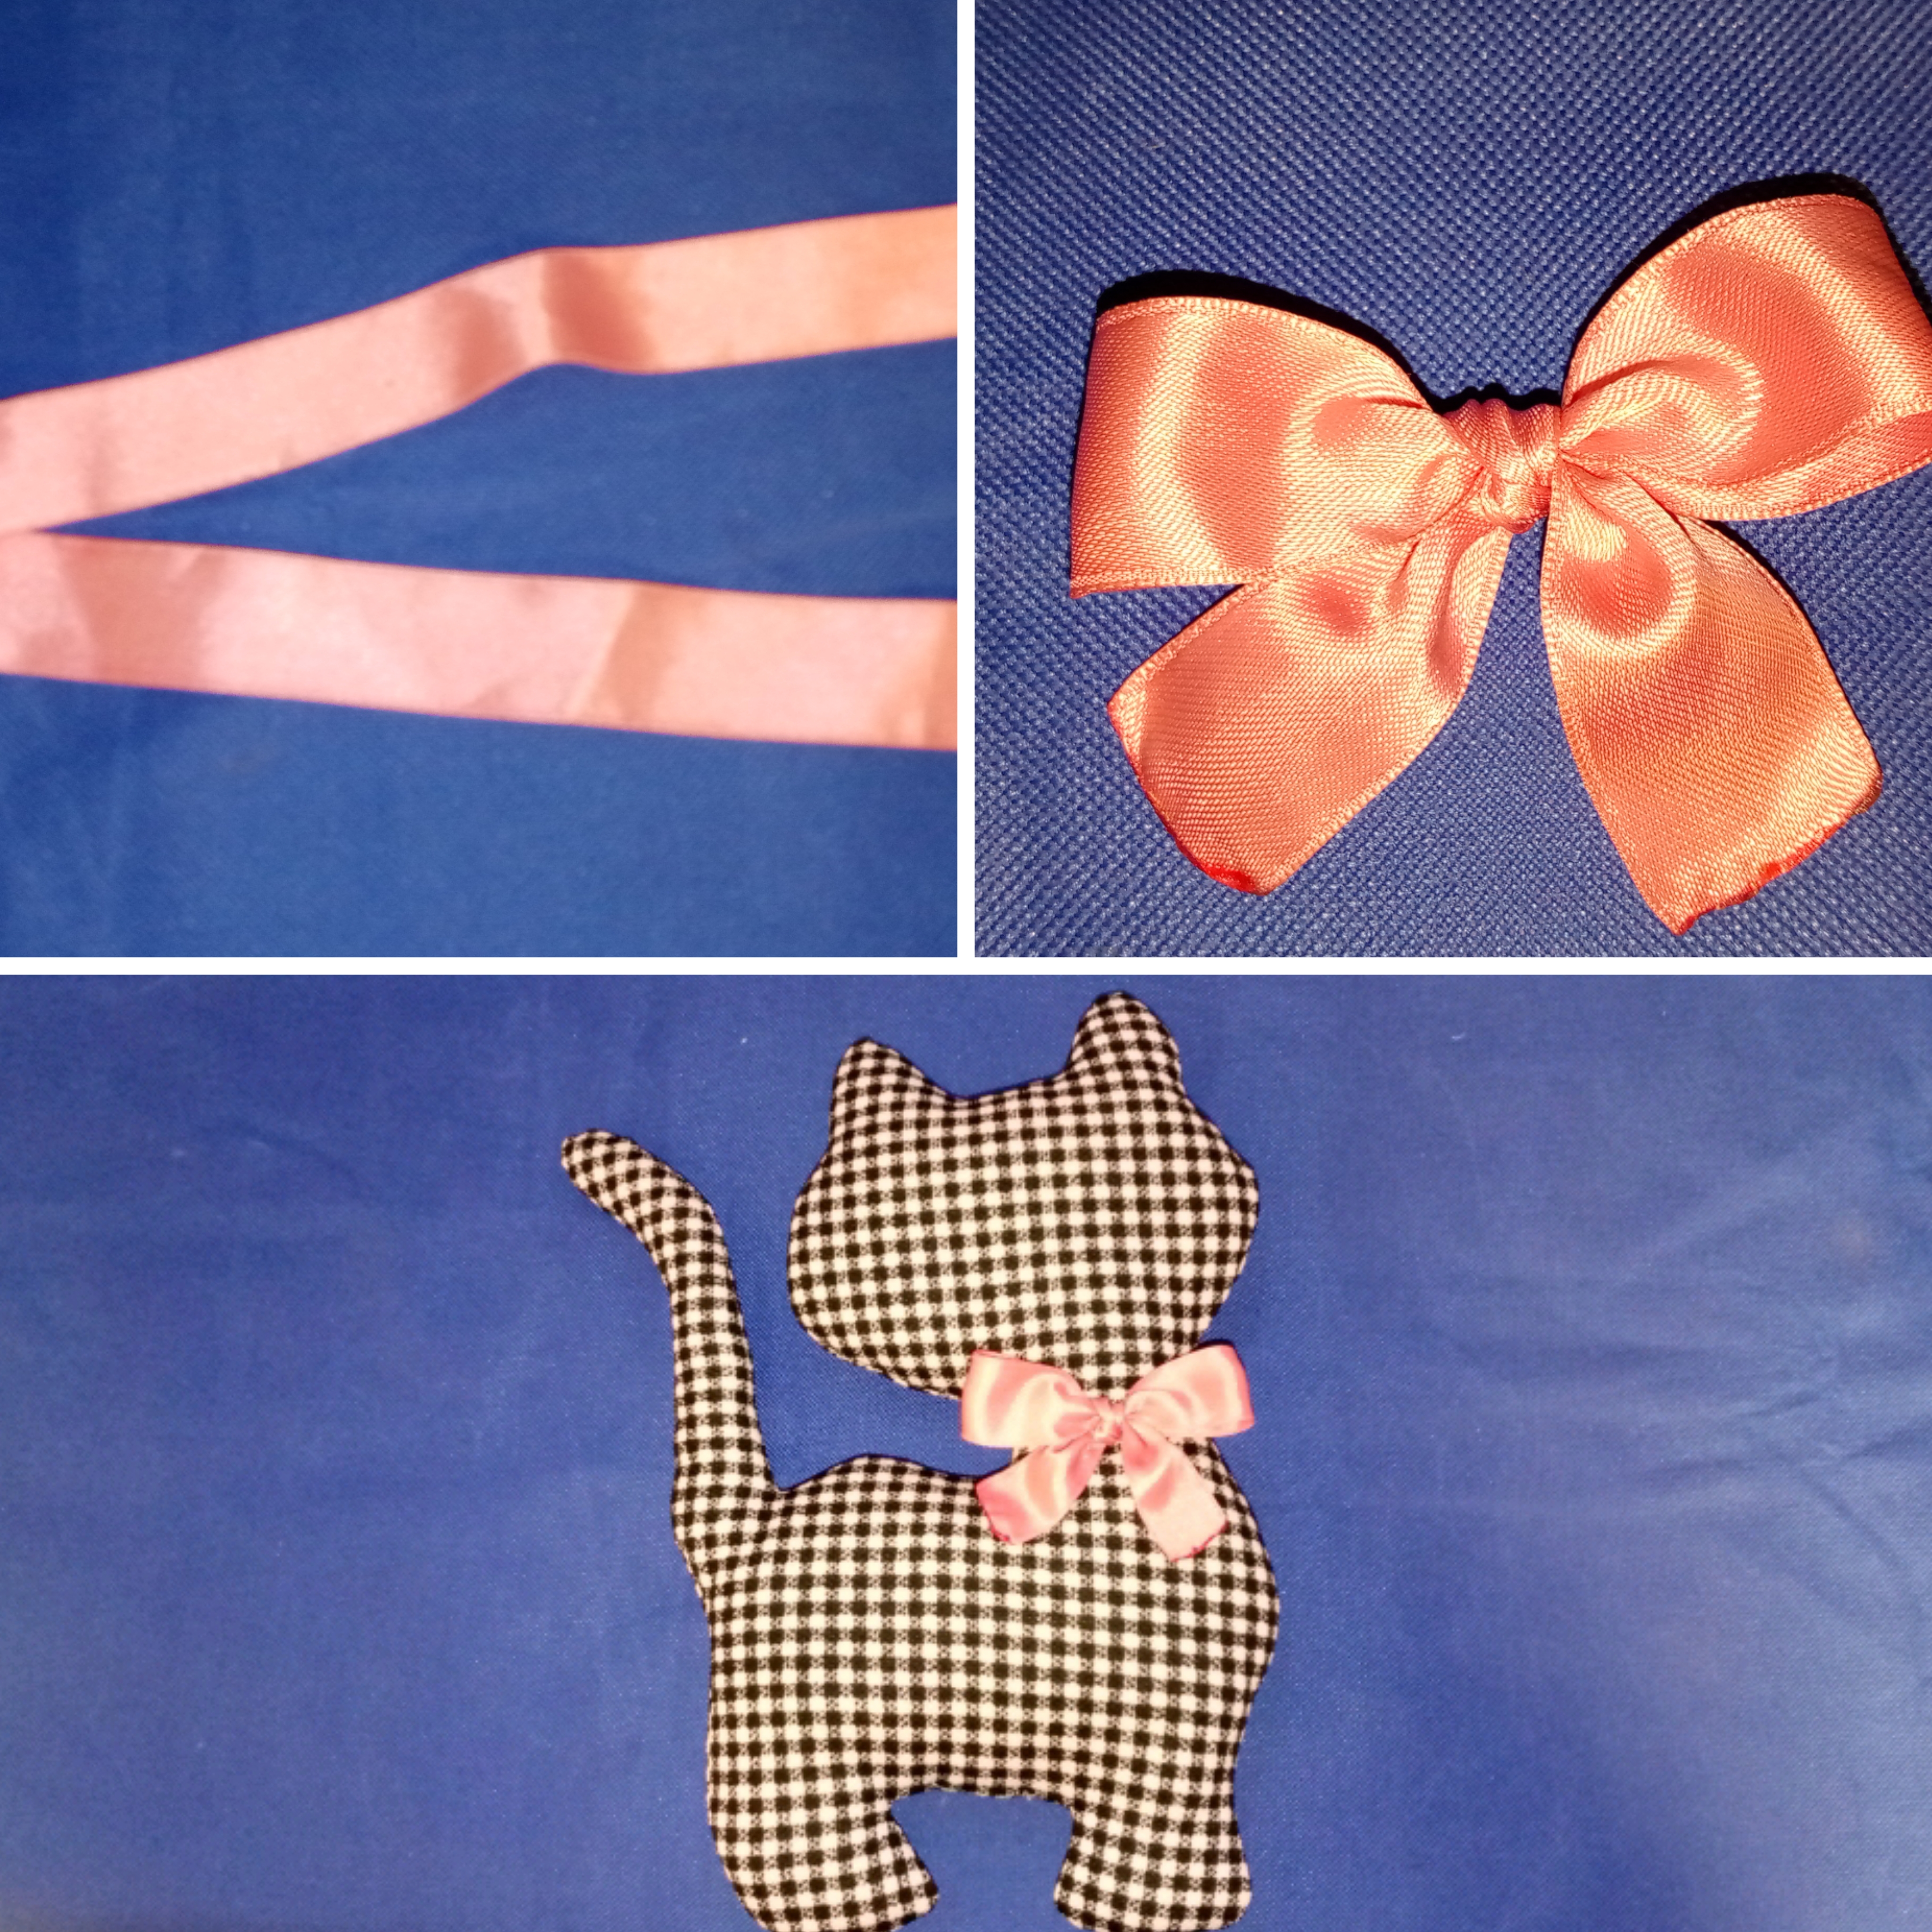
Paso 4. Decoración
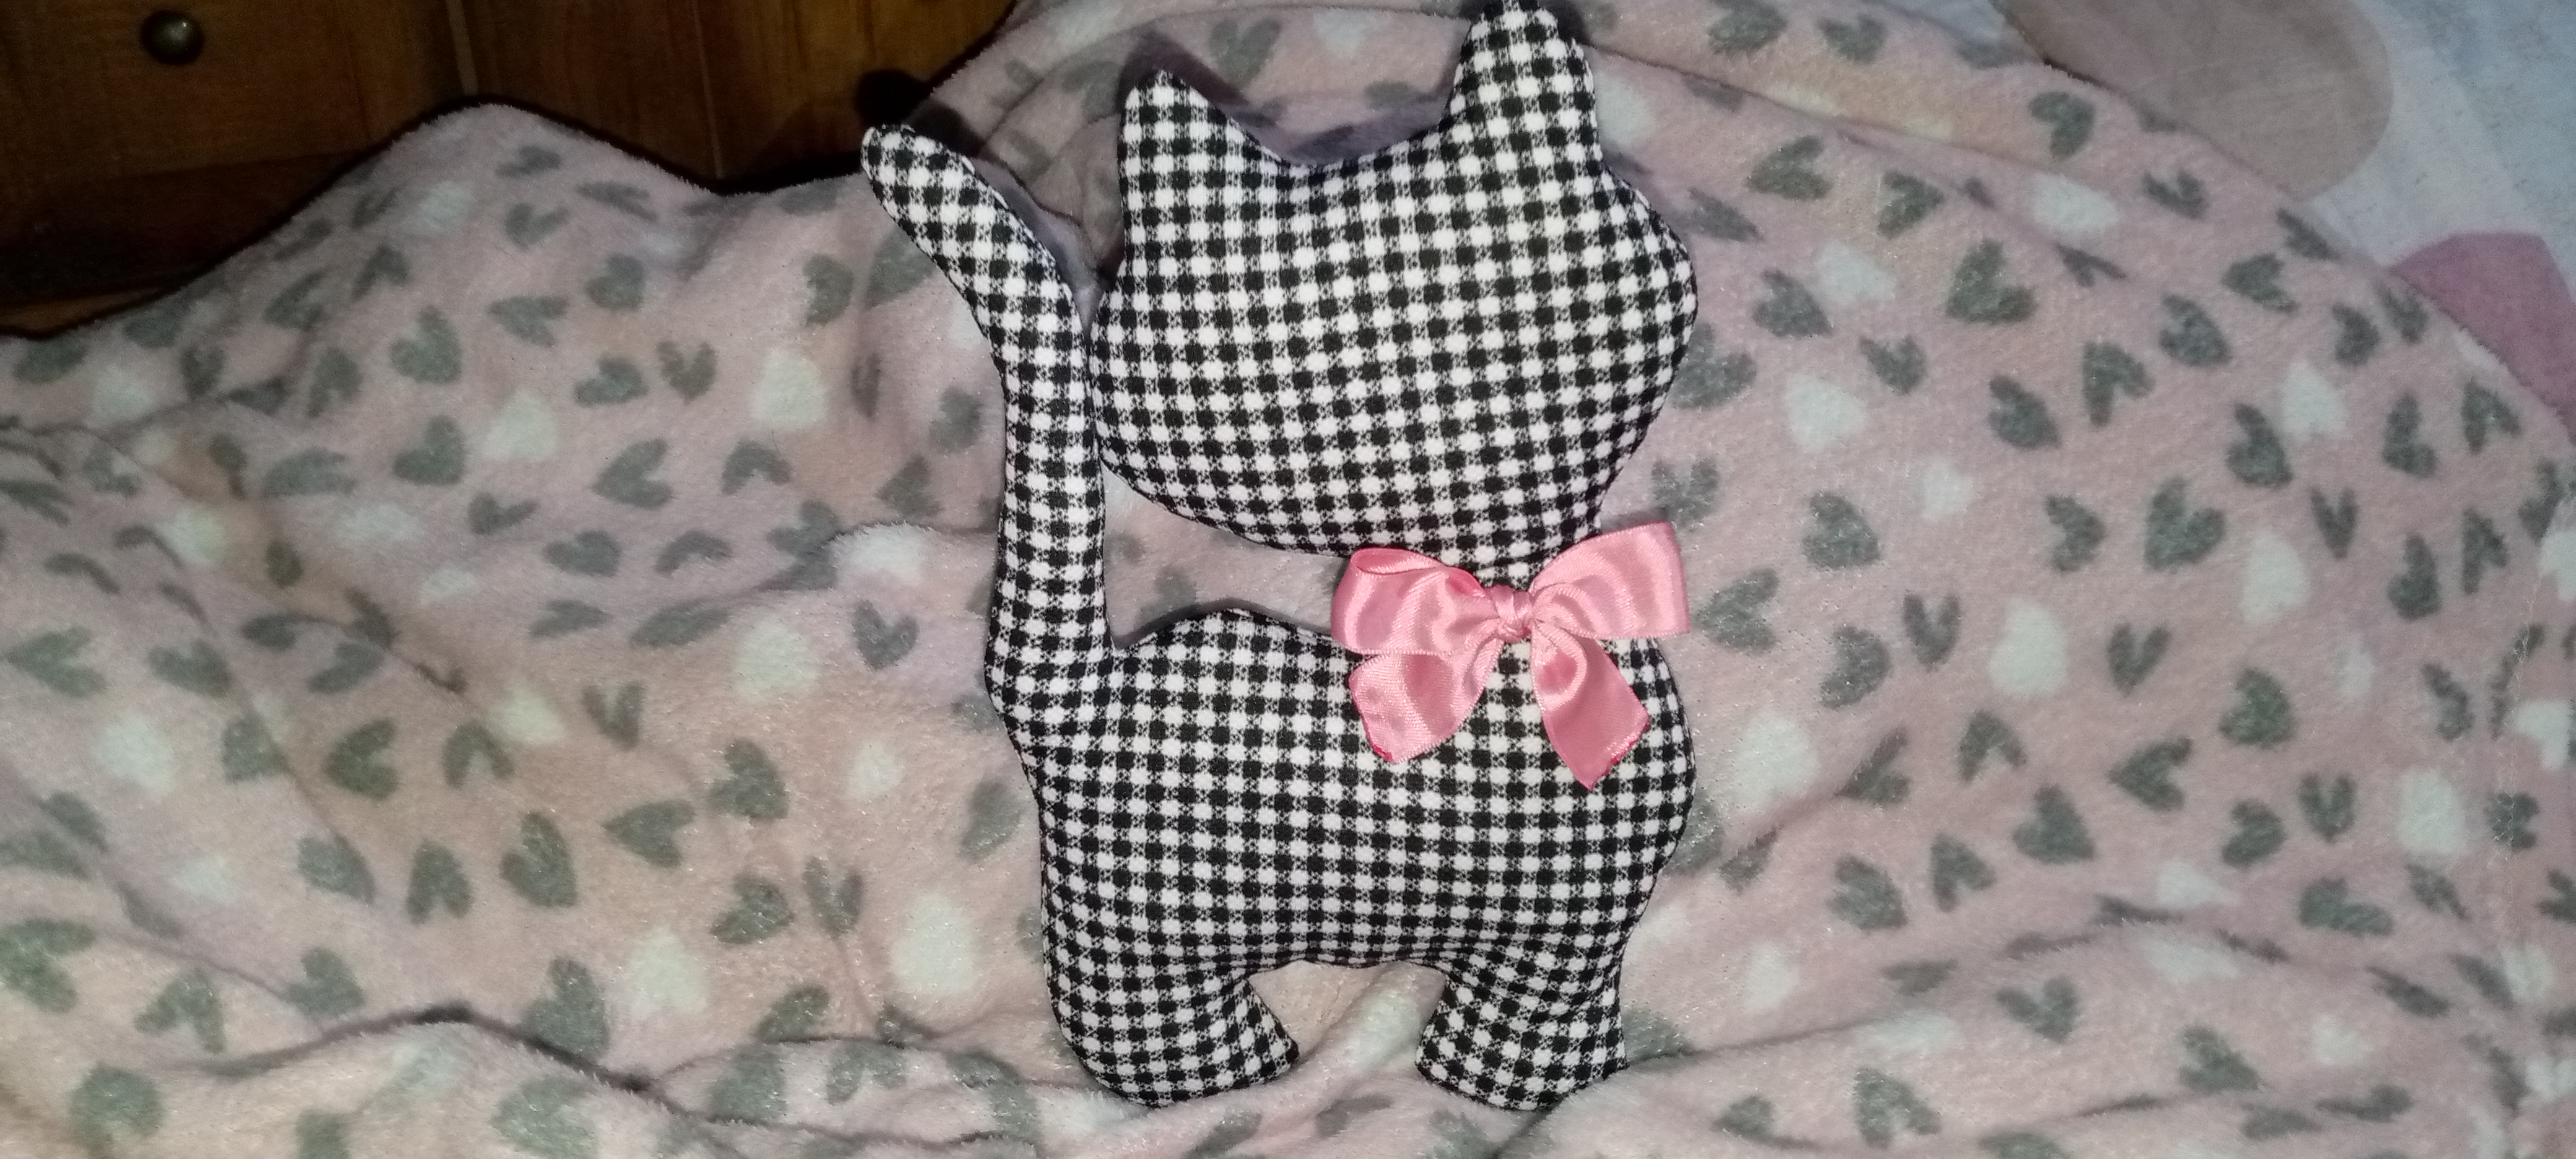
Para decorar el cojín realicé un lazo con cinta de raso y lo fijé a la gatita con unas puntadas de hilo. En este caso no quise colocar ojos, por el diseño de la tela me parece que luce mejor. Igualmente, eso queda al gusto y creatividad de cada quien.
Step 4. Decoration
To decorate the cushion I made a bow with satin ribbon and attached it to the kitty with some thread stitches. In this case I didn't want to add eyes, because the design of the fabric makes it look better. Anyway, it's up to each one's taste and creativity.
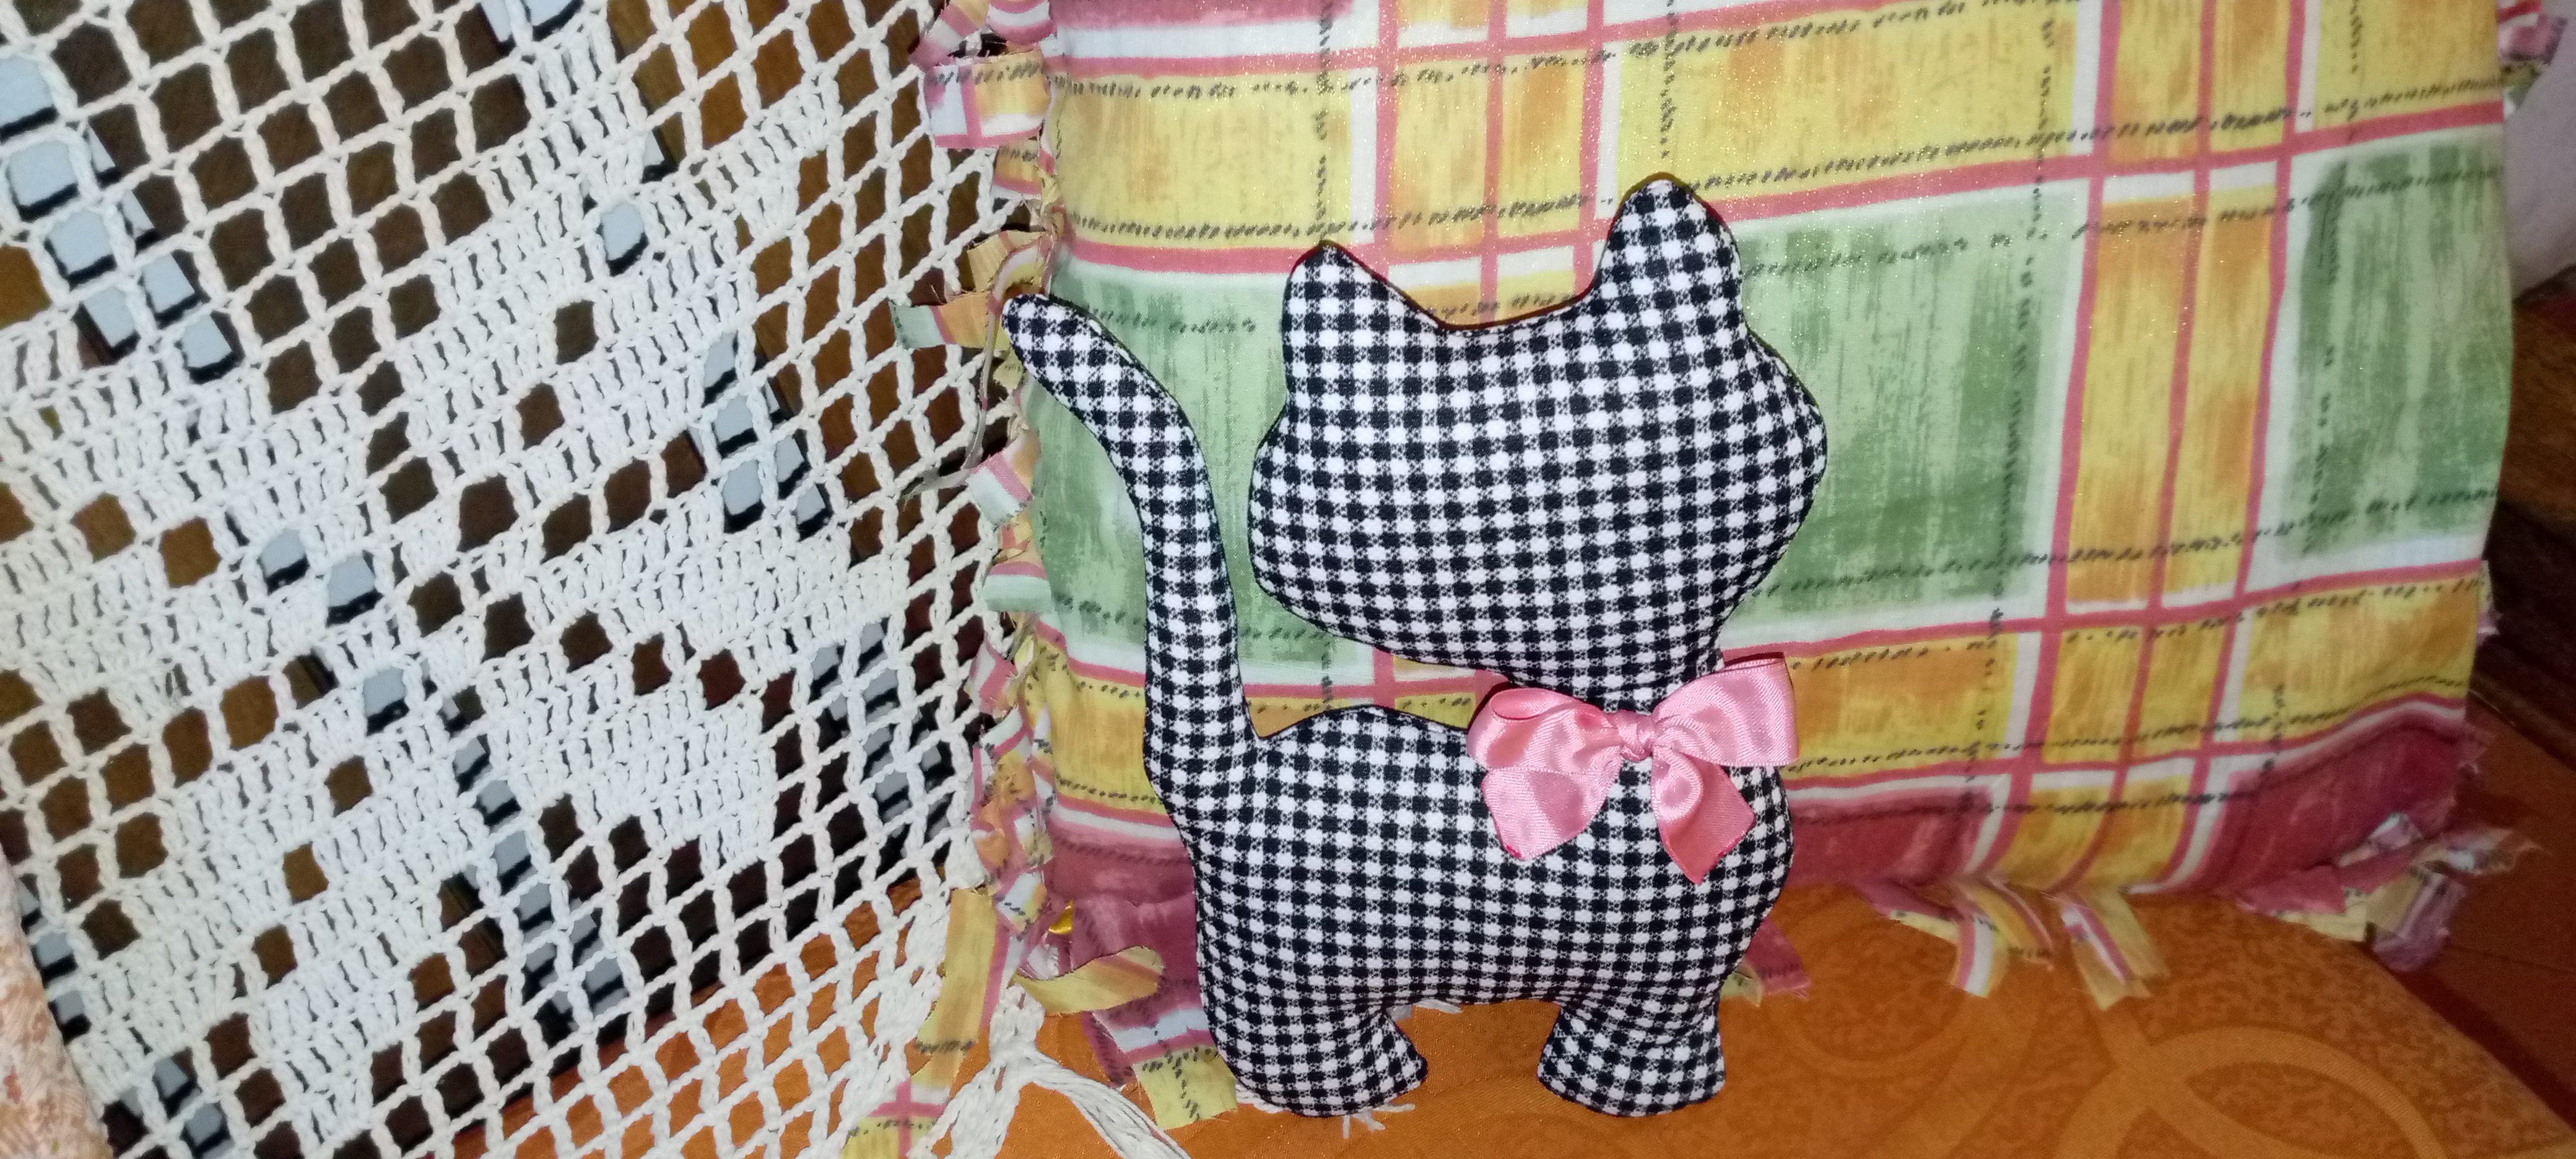
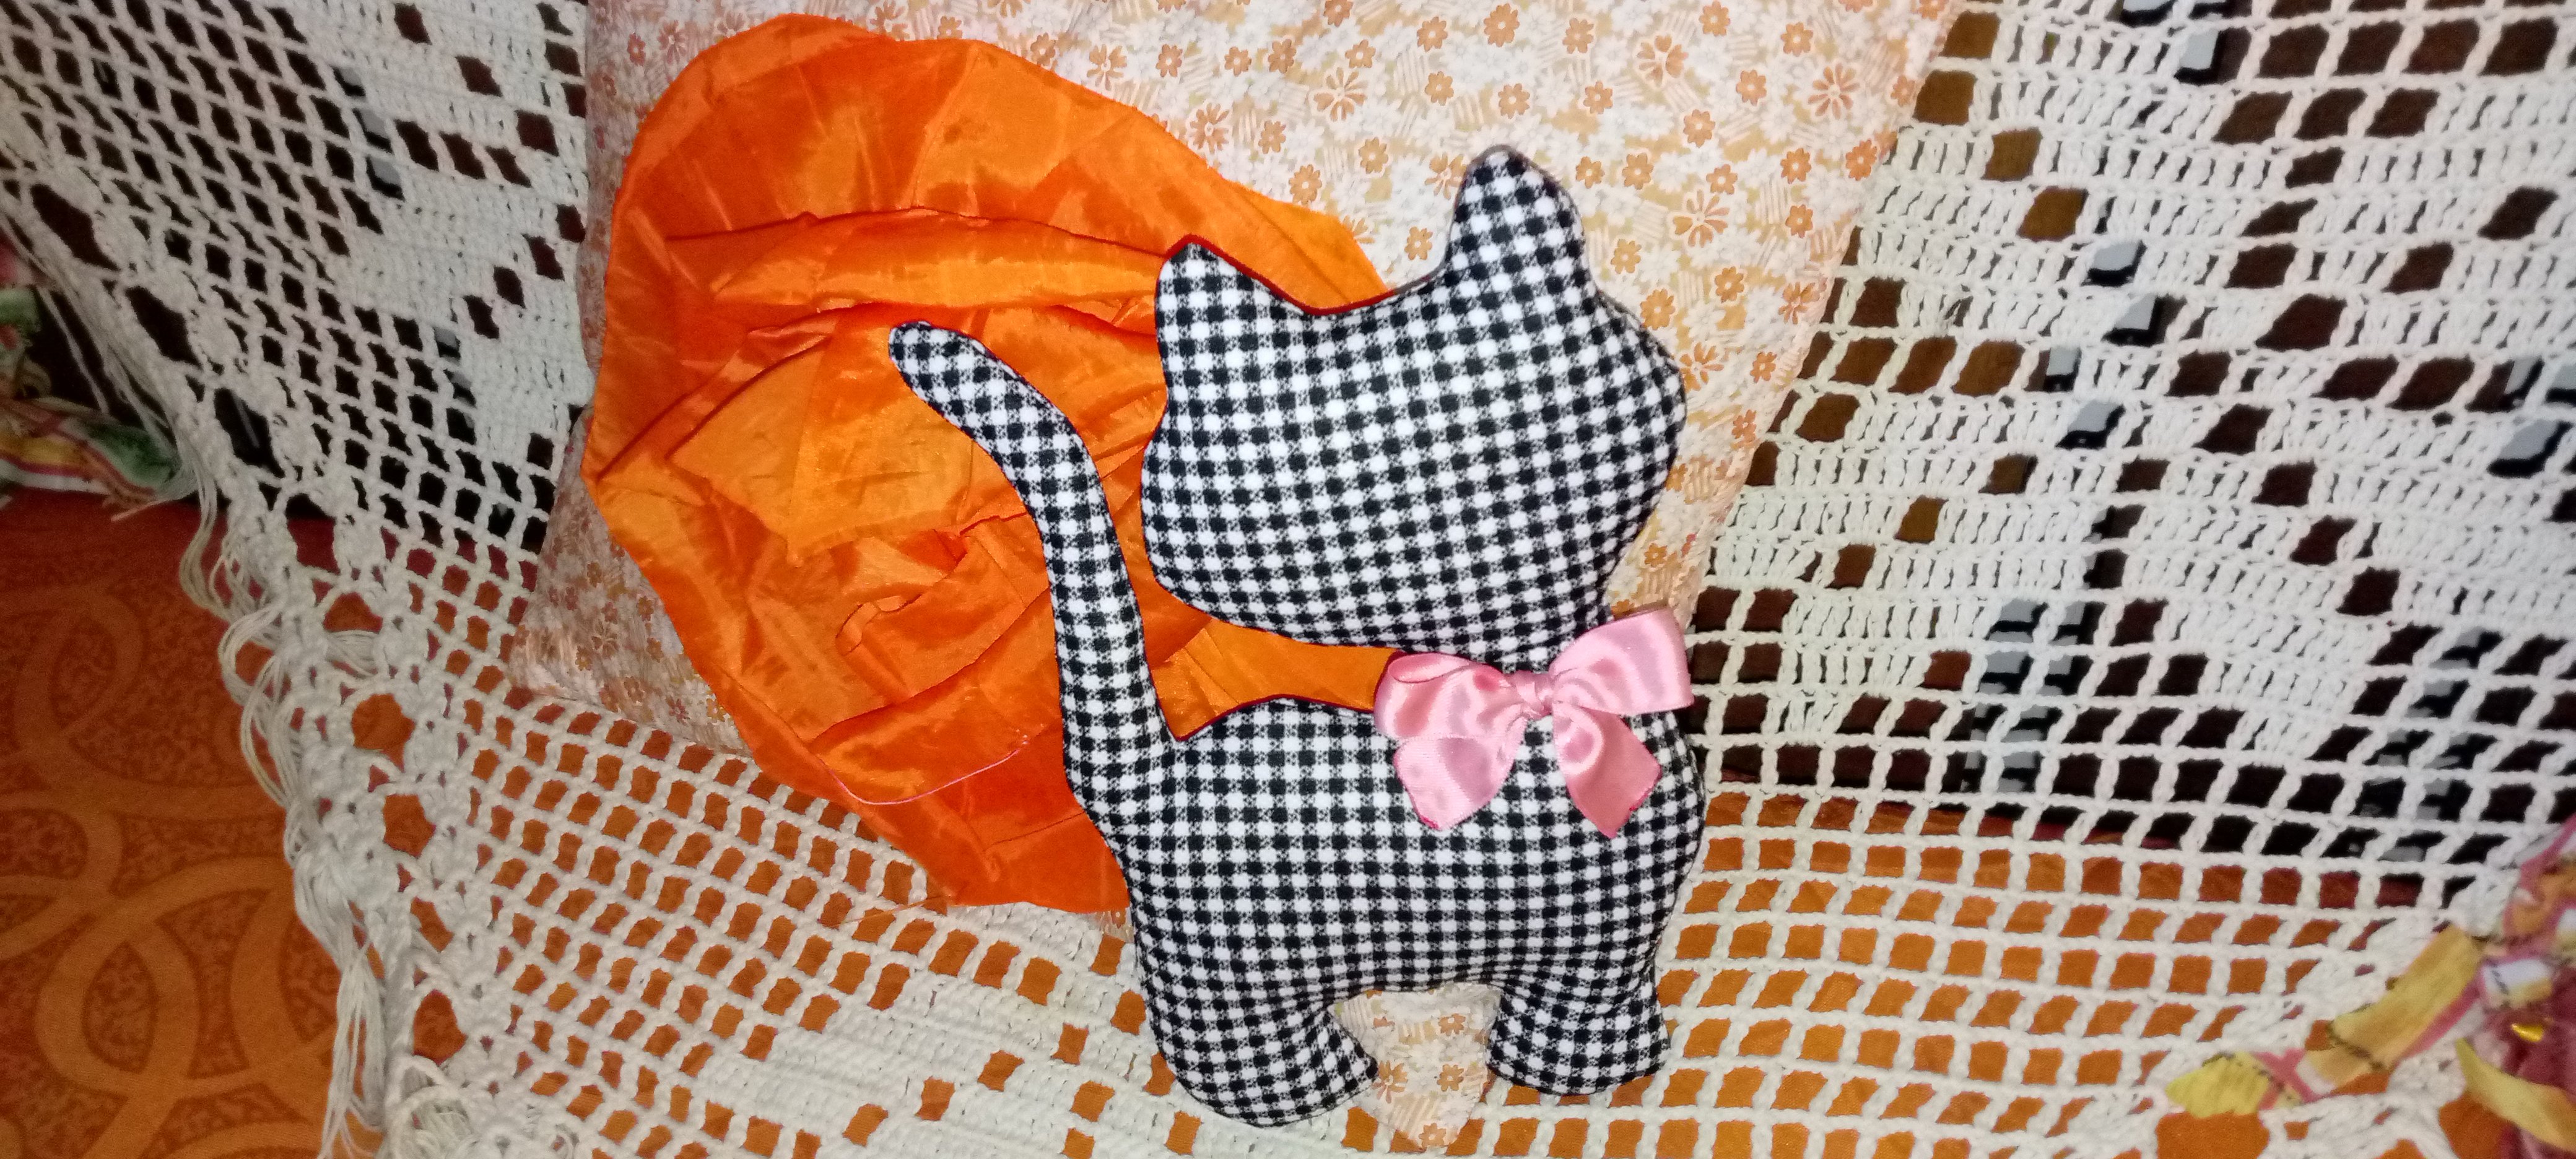
Así quedó mi cojín con forma de gatita...//This is how my cushion in the shape of a kitten turned out...
La Vida es Arte...
Gracias por leerme. Nos encontraremos en el próximo post de @dorada
Imágenes capturadas con dispositivo móvil tecno spark.
Traducción
Separadores
Posted Using InLeo Alpha
This is so beautiful dear
Hermoso y muy tierno gatito. Me encantan ese tipo de cojines aunque he hecho dos nada más: una cabeza de osa y una luna, que uso en mi cama. Me gustó mucho tu gatito. Gracias por compartir 🌻🌹💐🌼🌺
Hermoso te quedo, esta muy lindo para abrazarlo cuando te vas a dormir jeje me encanto el color de la tela y el moño, los gatitos inspiran ternura 😘
From Venezuela, our witness drives decentralization and the adoption of Web3 technology, creating opportunities for the local community and contributing to the global ecosystem. // Desde Venezuela, nuestro testigo impulsa la descentralización y la adopción de la tecnología Web3, generando oportunidades para la comunidad local y contribuyendo al ecosistema global.
Sigue, contacta y se parte del testigo en: // Follow, contact and be part of the witness in:
Que bonito cojín😍 definitivamente, ese lazo al final le dió un plus, se ve con mucho estilo✨ y el paso a paso está muy explicado, así que gracias por compartir esta idea☺️
Hola @dorada, que hermoso cojín, me encantó la tela, la gata se ve coqueta con el moño, está prefecto para decorar la cama.
Feliz lunes!
¡Felicitaciones!
1. Invierte en el PROYECTO ENTROPÍA y recibe ganancias semanalmente. Entra aquí para más información.
3. Suscríbete a nuestra COMUNIDADEntra aquí para más información sobre nuestro trail., apoya al trail de @Entropia y así podrás ganar recompensas de curación de forma automática.
4. Creación de cuentas nuevas de Hive aquí.
5. Visita nuestro canal de Youtube.
Atentamente
El equipo de curación del PROYECTO ENTROPÍA