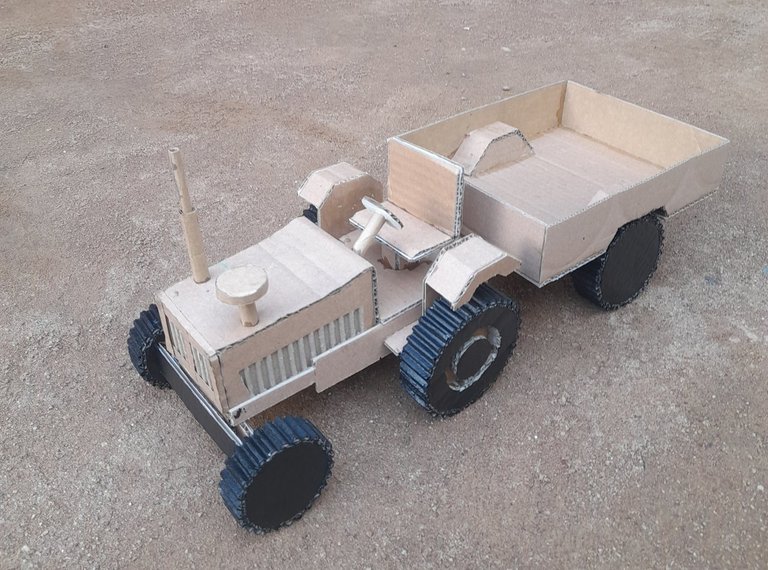
Good day to the creative members of this wonderful community, hope you are all fine and having a blessed day just as I am. Over the past month crafting is an art which I have mastered, the beauty and feeling of creating something out of nothing is extraordinary and I must say I love that feeling. Today was no different from other days but what made today special for me was the joy I felt after completing my diy craft which is an miniature cardboard tractor. Today I present to you the process and steps to create a Diy miniature cardboard tractor, stay tuned.
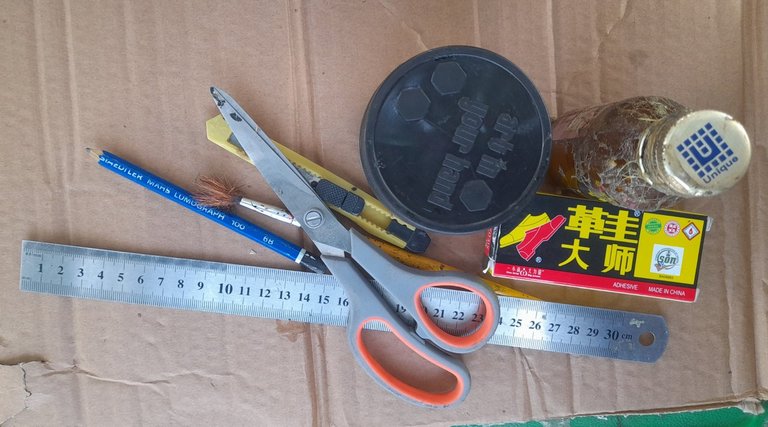
MATERIALS
• waste cardboard
• Ruler
• Pencil
• Sharpener
• Paper cutter
• Scissors
• Adhesive
• Evostik gum
• Acrylic colour
• Brush
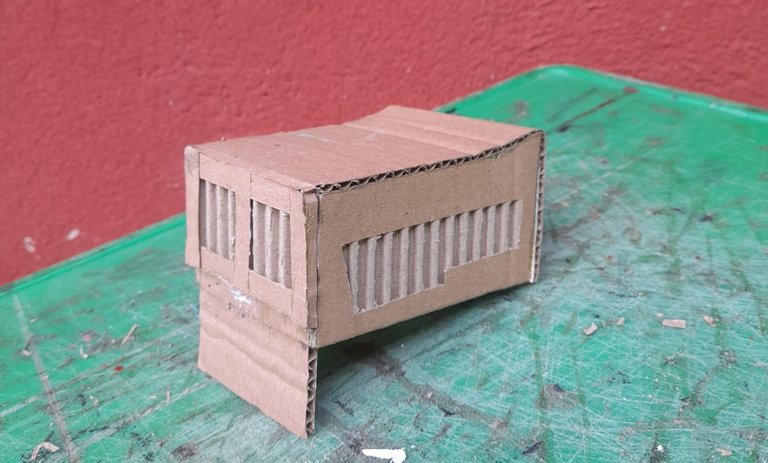
step I
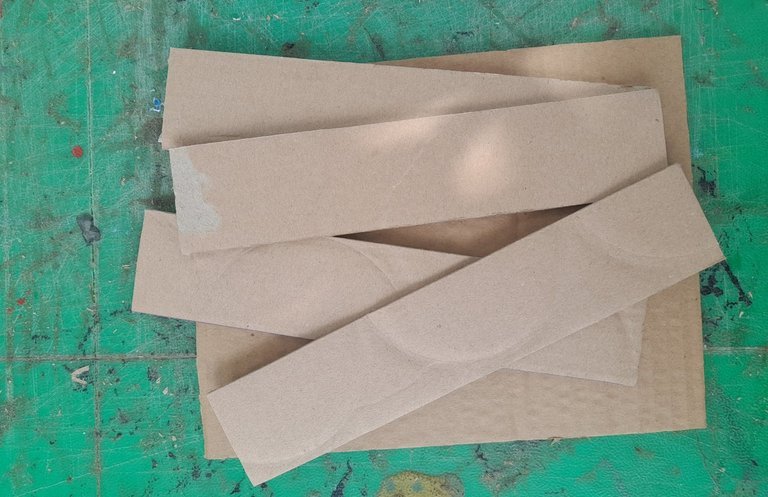
I began by constructing the engine cover. I first took all the measurements on the cardboard and cut them using a paper cutter. The length of the engine cover is 11cm, the width is 8cm, the height at the front is 5.5cm and the front is 6. 5cm. I then gummed the parts using my evostik gum to form the engine cover. I measured and peeled both sides of the engine cover for ventilation and I also designed the front to serve as the radiator of the tractor.
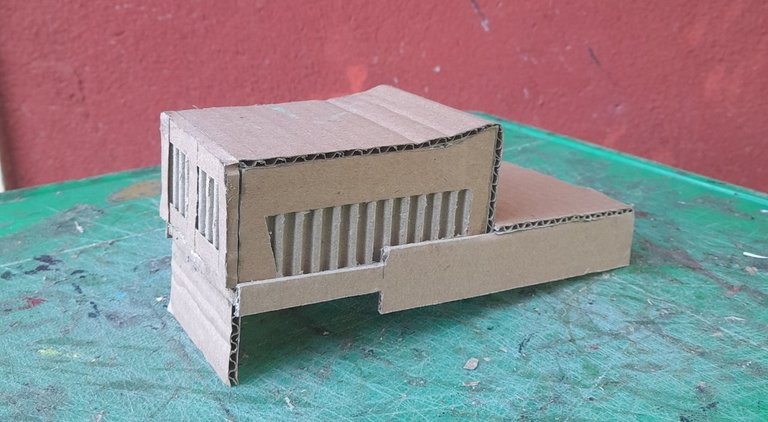
step 2
After doing that, I then measured 20 cm x 9 cm long cardboard , made the drivers space and cut another cardboard to act as a connection between the engine and driver's space. Then I gummed them together.
step 3
Next, I constructed the four wheels of the tractor, I cut circular cardboard into several pieces and peeled a piece of my cardboard and then I gum them together to look like this.

step 4
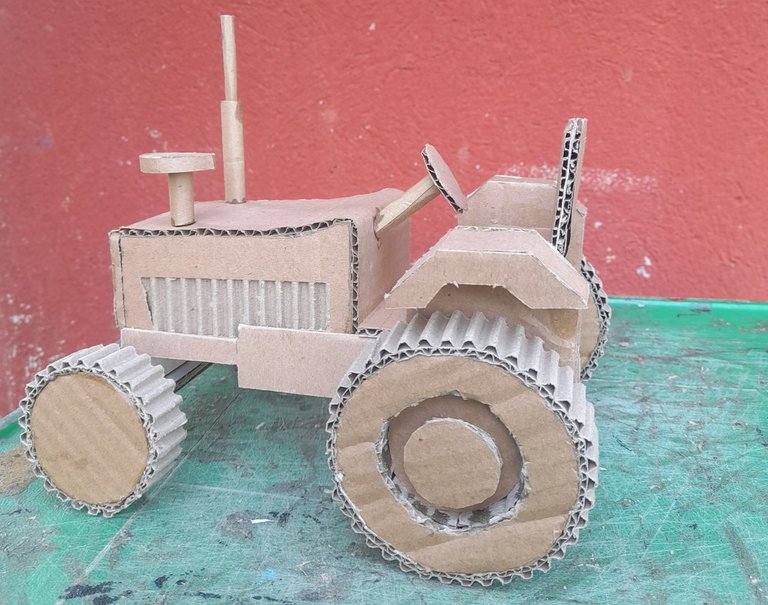
In this step, I then mounted the wheels on the body of the tractor and constructed the motor guard of the rear wheel.
step 5
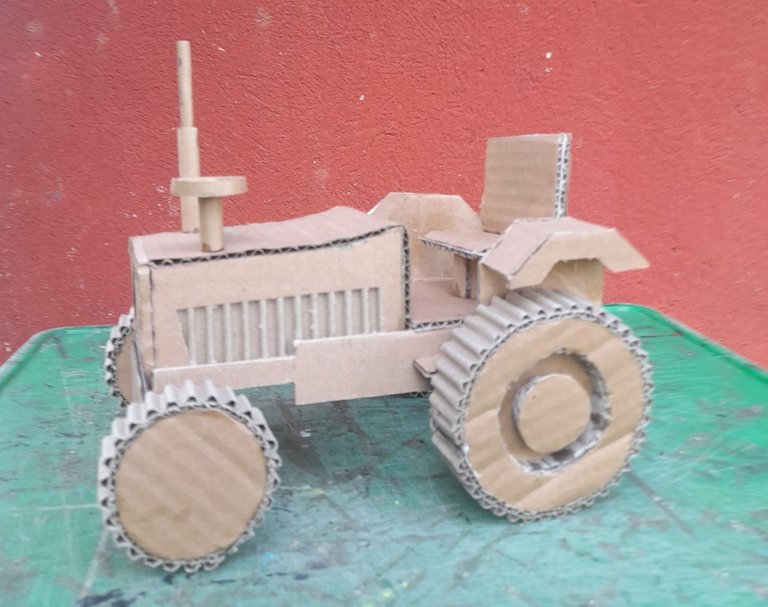
After doing that, I then constructed the exhaust pipe, air cleaner and the driver's seat using my cardboard and gummed them to the tractor.
step 6
Next I constructed the steering wheel of the tractor and gummed it in the tractor close to the seat.
step 7
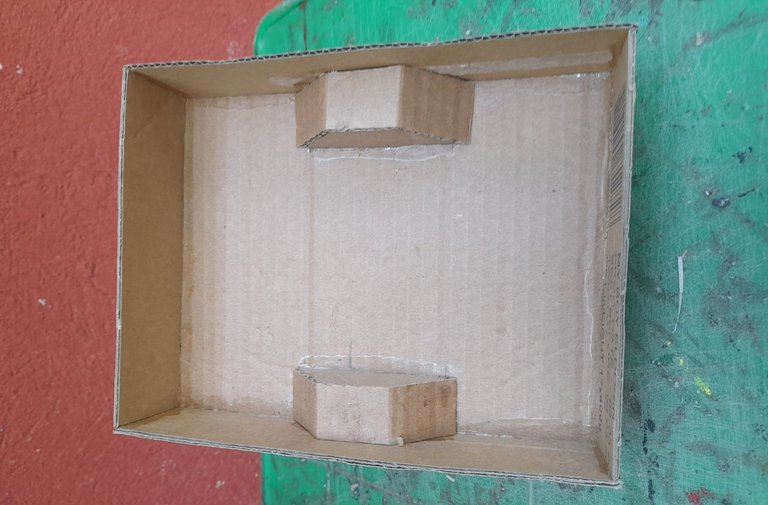
Then I measured 18 cm x 5 cm and cut it out from the cardboard for the construction of the boot. And I also cut round pieces of circular cardboard for the wheels of the boot.

step 8
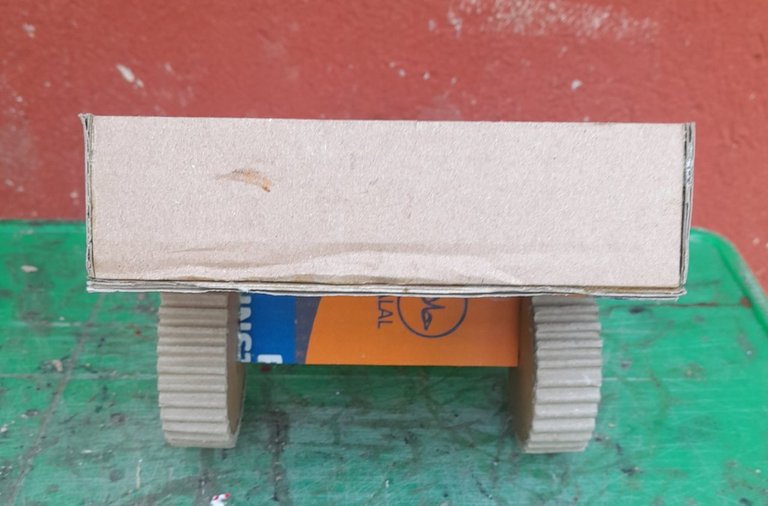
Using the measurement I have cut out on my cardboard, I then gummed them together to form the boot and attach the wheel on it.
step 9
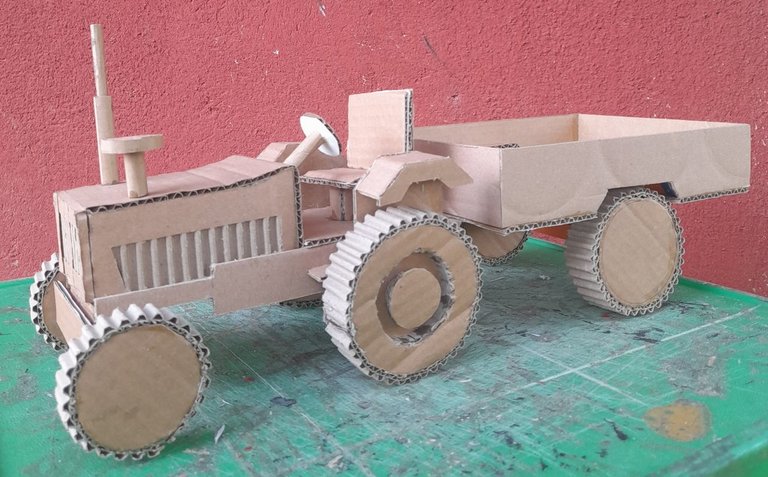
At this point I then connected the boot of the tractor to the head using my gum.
step 10
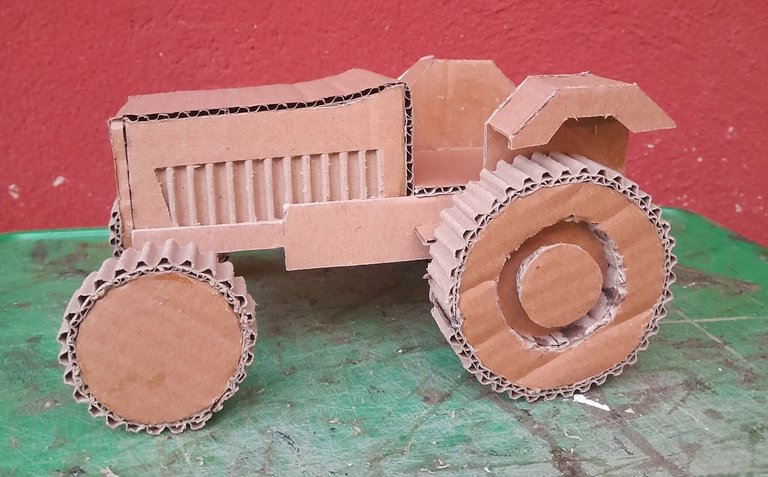
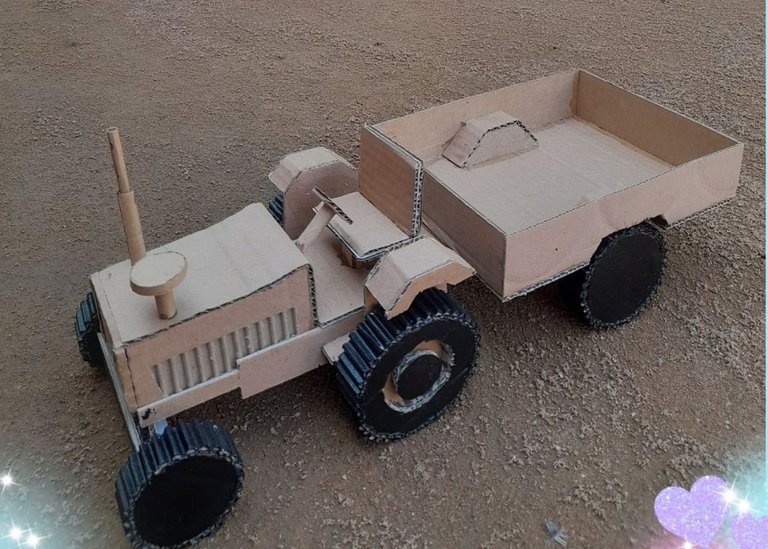
Finally I coloured the wheels of the tractor with my black acrylic colour and I was done with my craft.
Here's a picture of my final result
Making a miniature tractor from cardboard is an excellent and wonderful way to express my creativity while creating something unique. I hope you all liked my post, this is the end of my post and have a nice day.
WOW! What you did, that's impressive. It looks pretty cool. Love it. Good to see how you made it. Well done!
Thank you for your kind words
How cool, you have used very well the cardboard to create this beautiful tractor that could be very fun and attractive for the little ones and not so little hehe ❤️
Excellent💯
Thanks
Welcome
your work is very cool bro👍
Thanks ☺️
you're welcome, have a nice day.