Hello everyone, greetings to you all, it's me again with another craft to share with you all in this wonderful community. Recycling and upcycling has become an essential part of my daily routine where I transform discarded cardboard into functional and beautiful piece of craft, so I decided to make a mini sofa from it. I was alone and bored at home and so I was doing some thinking and an idea of making a sofa popped up in my mind, at first it was unclear to me but through creativity and critical thinking I was able to bring to reality an imagination which I formed in my head and the result is stunning. Here's how I made it.
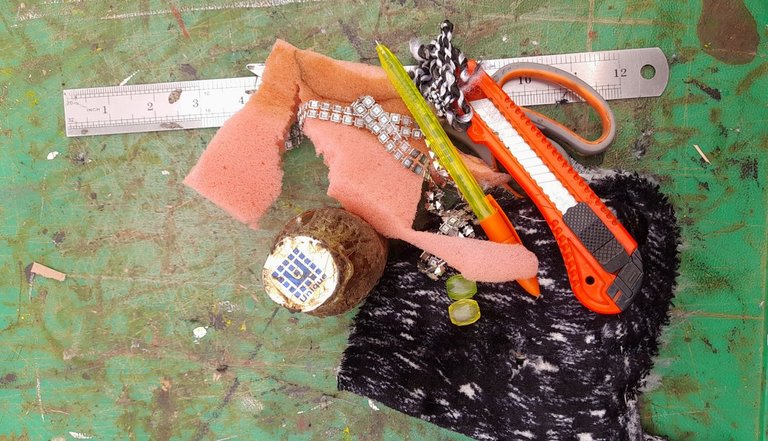
MATERIALS
• Carton
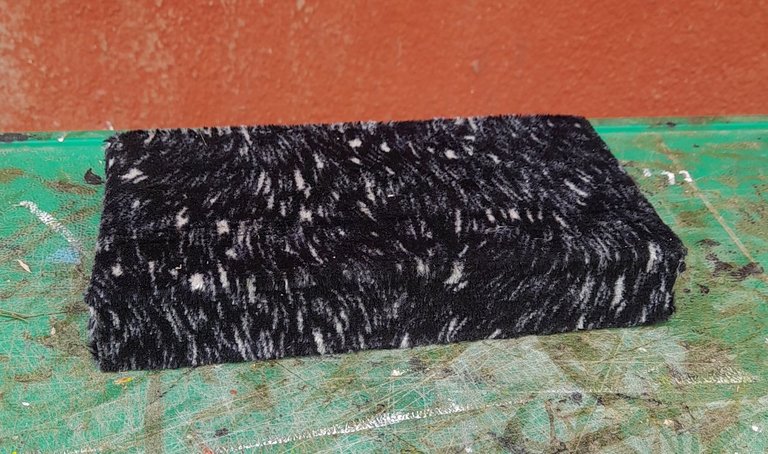
• Fabric material
• Evostik gum
• Scissors
• paper cutter
• Beads
• Biro
• fabric mesh
• Ruler
• form
step I
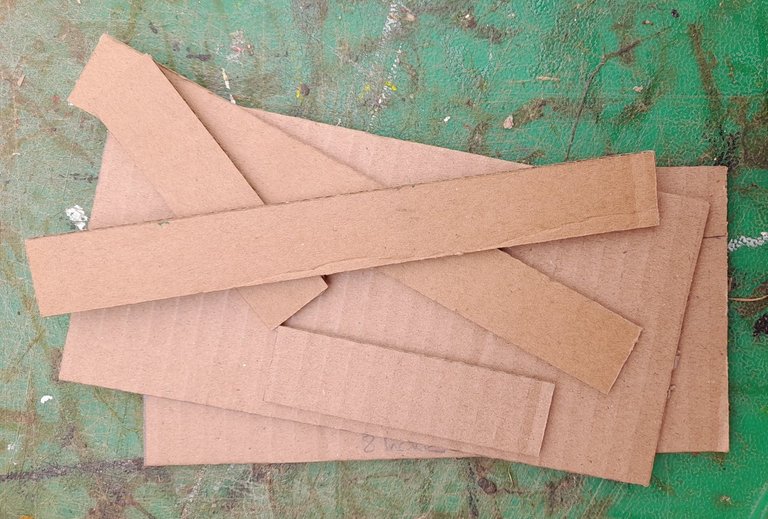
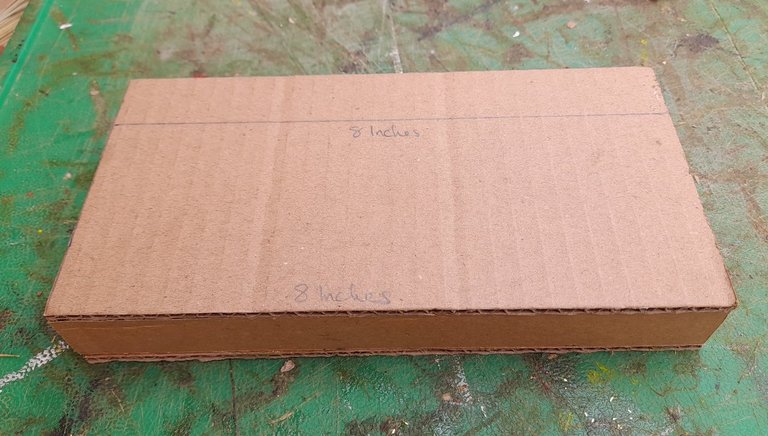
I began my construction from the seat of the sofa. Here, I measured the frame of the seat to be 4 inches by 8 inches, where 1 inch from the 4 inches is the seater of the sofa back. I also took two measurements of 1 inch by 8 inches and then 1 inch by 4 inches. After the measurement, I cut them out using a paper cutter.
step 2
After doing that, I then used my gum and attach all the cut cardboard to form the seat of the sofa.
step 3
Then I measured 6 inches by 9 inches on my fabric material and I applied gum to it and used it to cover the seat of the sofa, by this the seat of the sofa is formed.
step 4
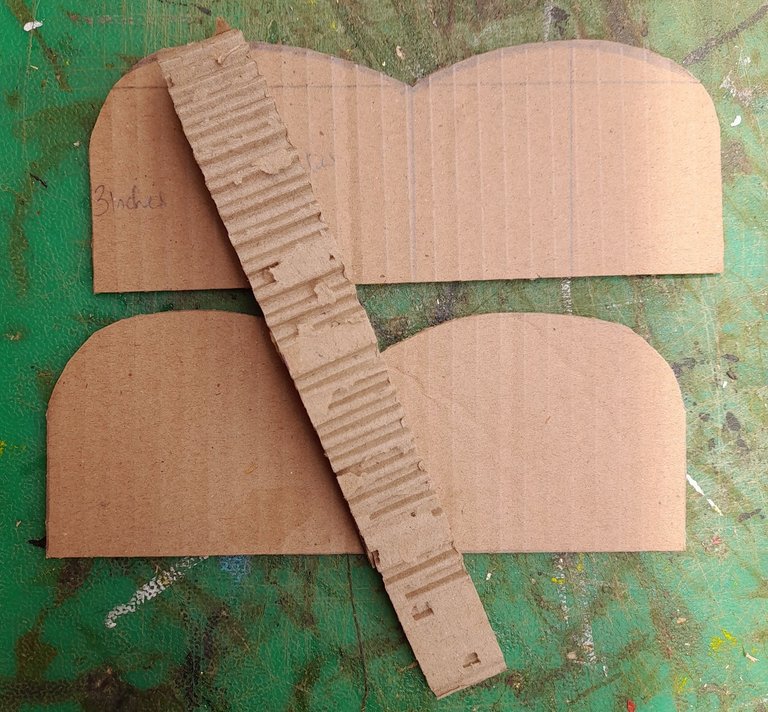
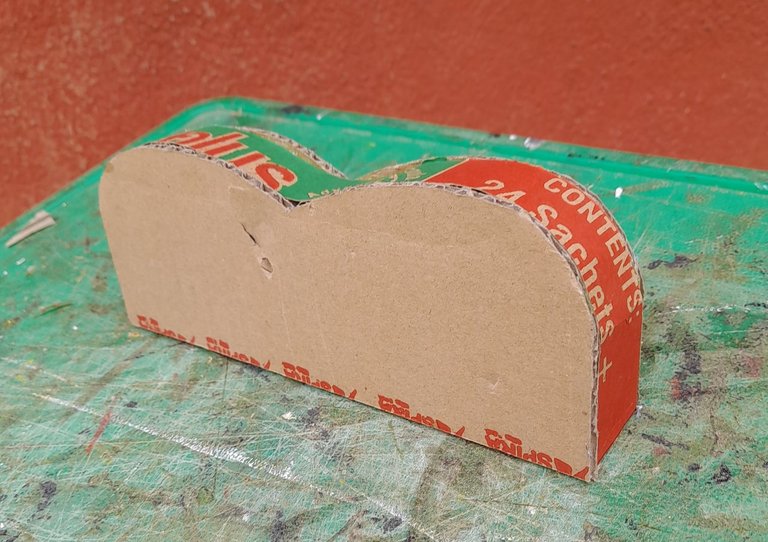
Then I took the measurements 4 inches by 8 inches to form the back of the sofa and curved the top also, then I also measure a 1-inch by 15-inch cardboard and after this measurement, I cut them out using scissors and paper cutter.
step 5
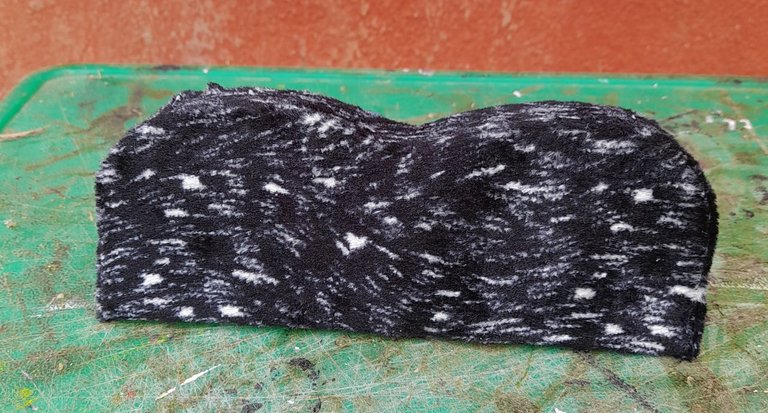
I then finally attach the cardboard cut in step 4 to form the frame of the sofa back. Then I used my fabric material to carefully gum it to it.
step 6
At this point I then gummed the sofa seat together with the back of the sofa , then I used white weave material and gum it to the edge's of the sofa.
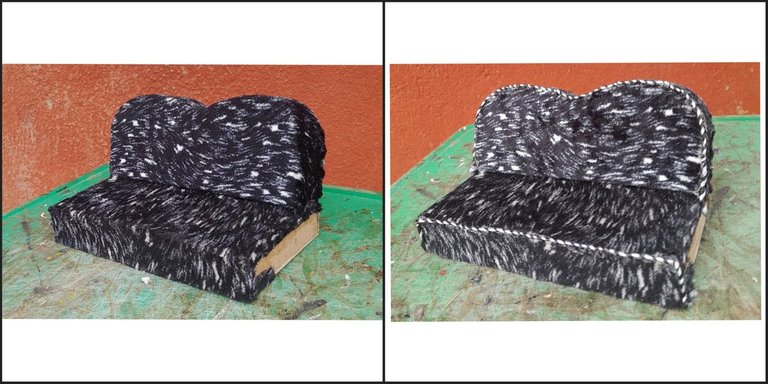
step 7
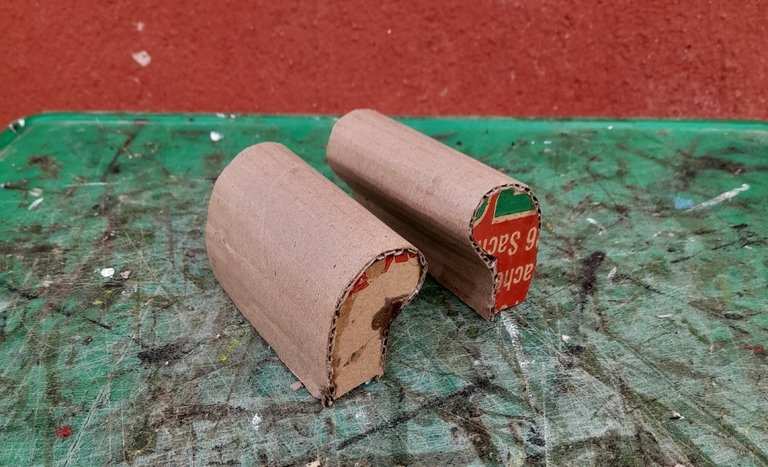
I formed the frame of the arm of the chair. At first, I drew how I wanted the arm to be on a carton. I cut it out and duplicated it into four so that each arm would carry two. I also cut another carton measuring 4 inches wide. I peeled one of the sides and then gummed the design of the arm at the edges of the 4-inch wide carton with Evostik gum
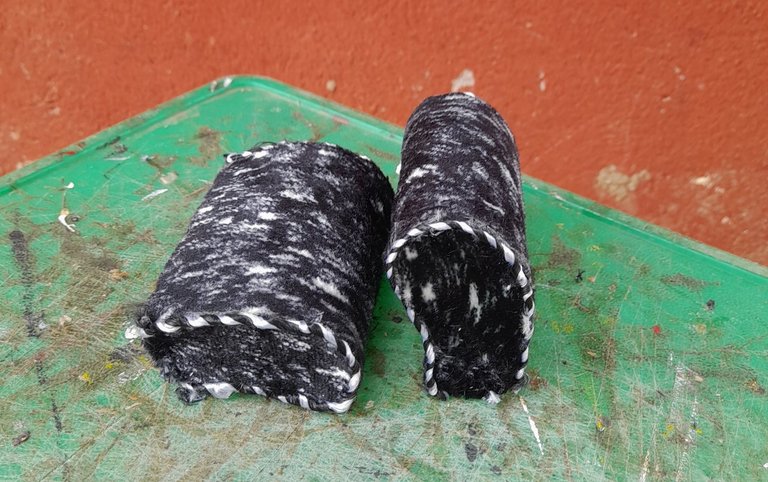
Then I applied my fabric material on it and added white weave at the edges of it.
step 8
Here I then gummed the seat and the arm of the sofa together.
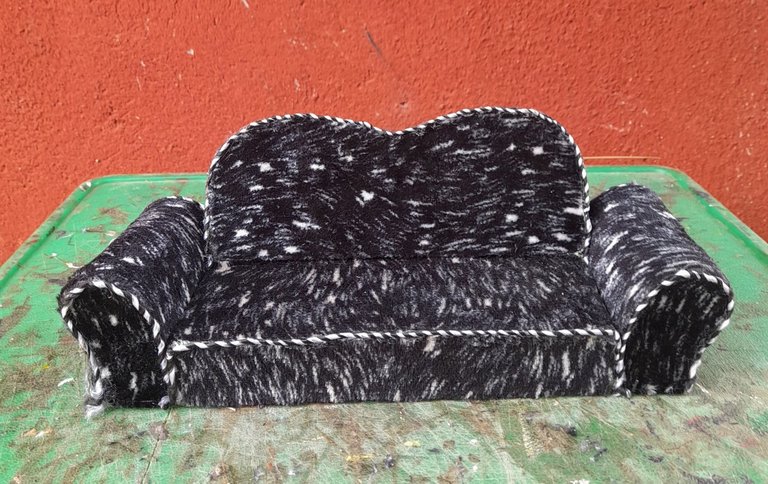
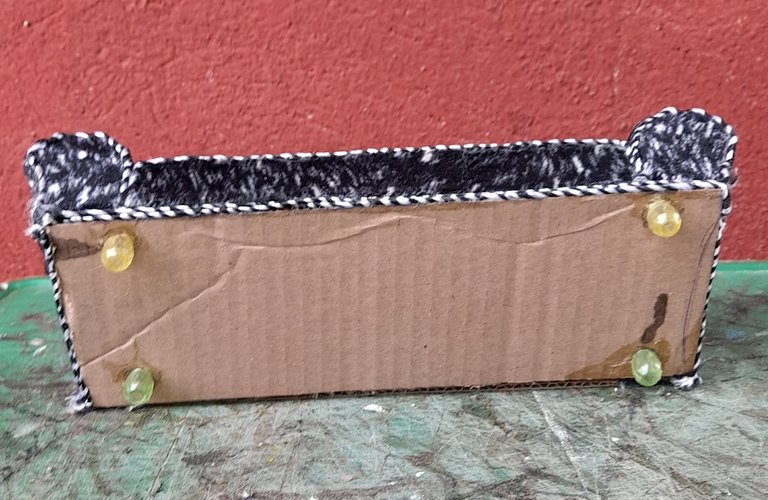
step 9
After doing that, I then cut my cardboard by the length 4 inches by 8 inches and then gum it on the under of the sofa. Then I gummed four big bead's at each edge to form the legs of the sofa, then I applied my black and white weave material at the edges.
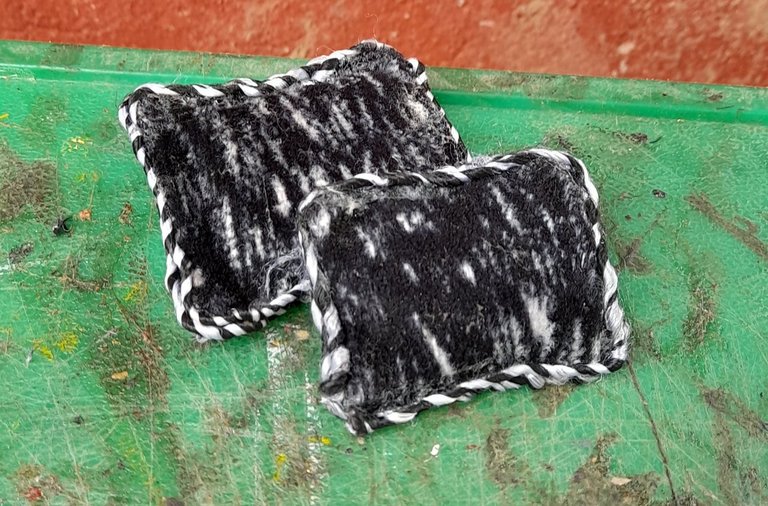
step 10
Next I formed throw pillows with a form and fabric material. I just cut the form and then cut a fabric material that can cover it. I then covered the form with the fabric material using evostik gum and finally, I gummed the black and white weave material around the throw pillows
Then I gum a fabric mesh at the back of the sofa and then place the throw pillows on top of the sofa.
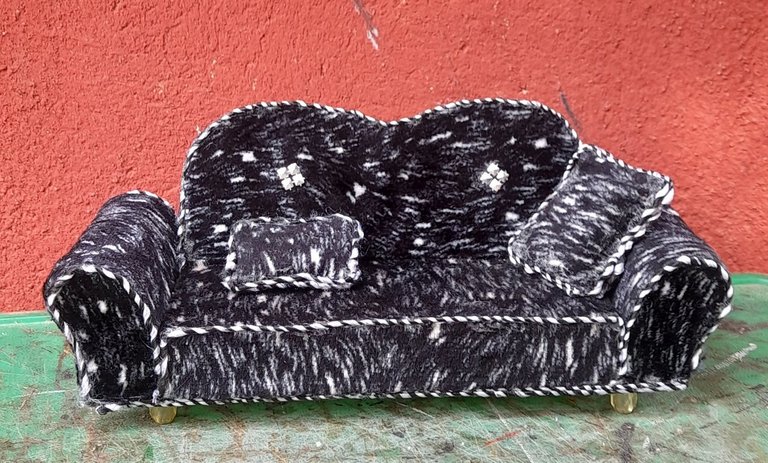
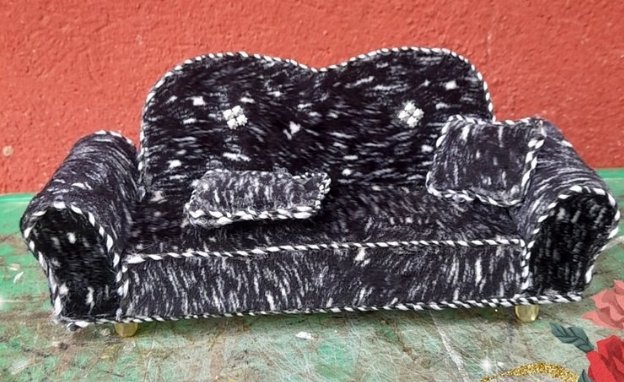
Finally with every step completed I am done with my craft and below is my final result
One thing I have come to realize is that all things are possible if you truly put your mind to it. This craft was just an ordinary imagination from my mind but through the help of some simple materials like cardboard and some basic crafting skills, I was able to bring to reality this craft and am really glad I did it. I hope you all liked my craft just as I do , see you next time and bye for now.
👍
Thanks ☺️
Welcome🎉
Your creativity is in full flow with this sofa craft. So nice and well made.
Oh dios que cosa tan linda, quedé enamorada, intentaré realizar uno a mis sobrinas. Gracias por compartir 😊.
Thanks for reading through, am sure your niece will very much like it.