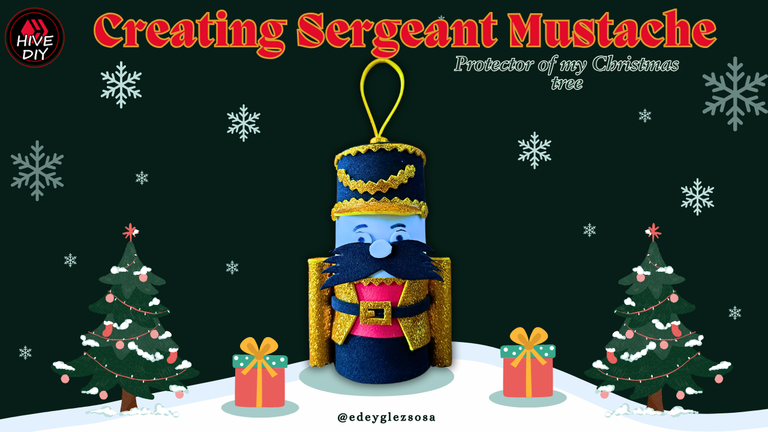
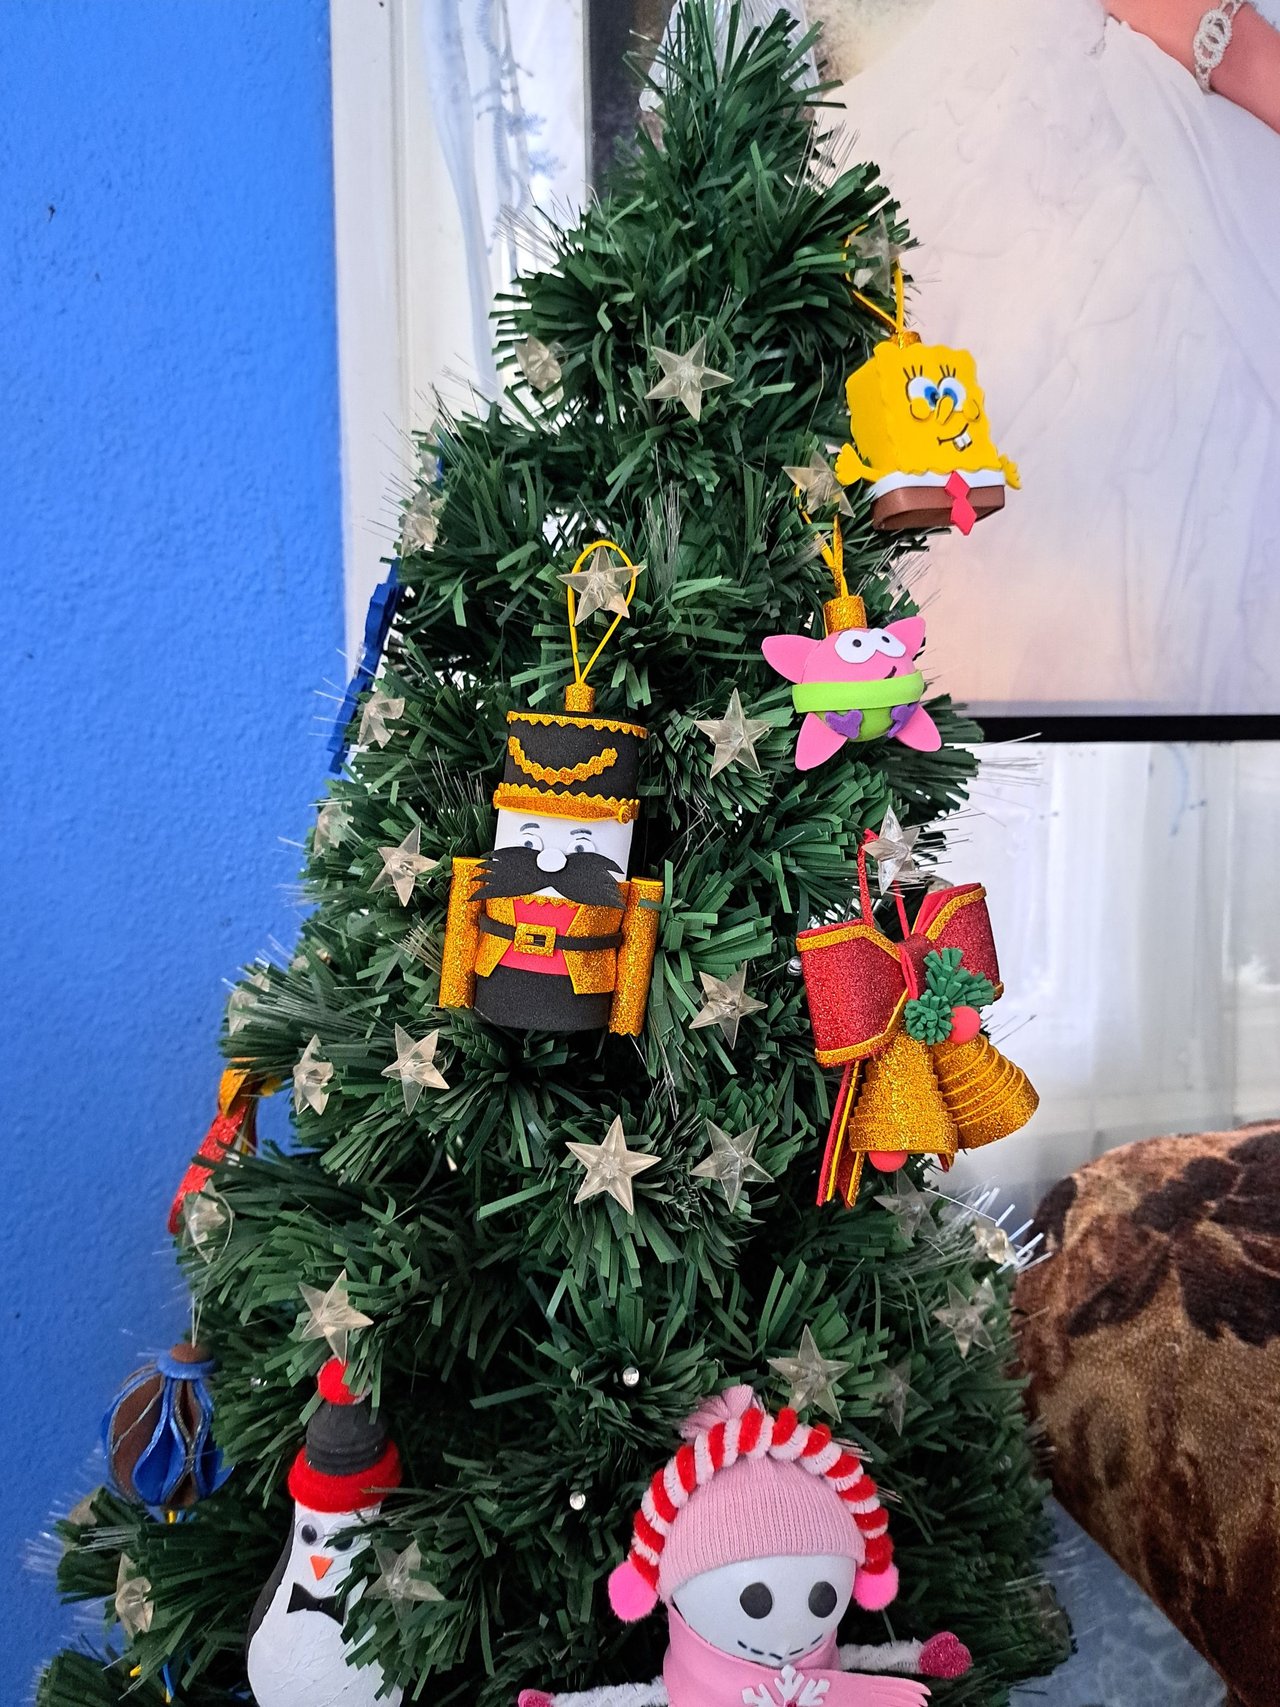
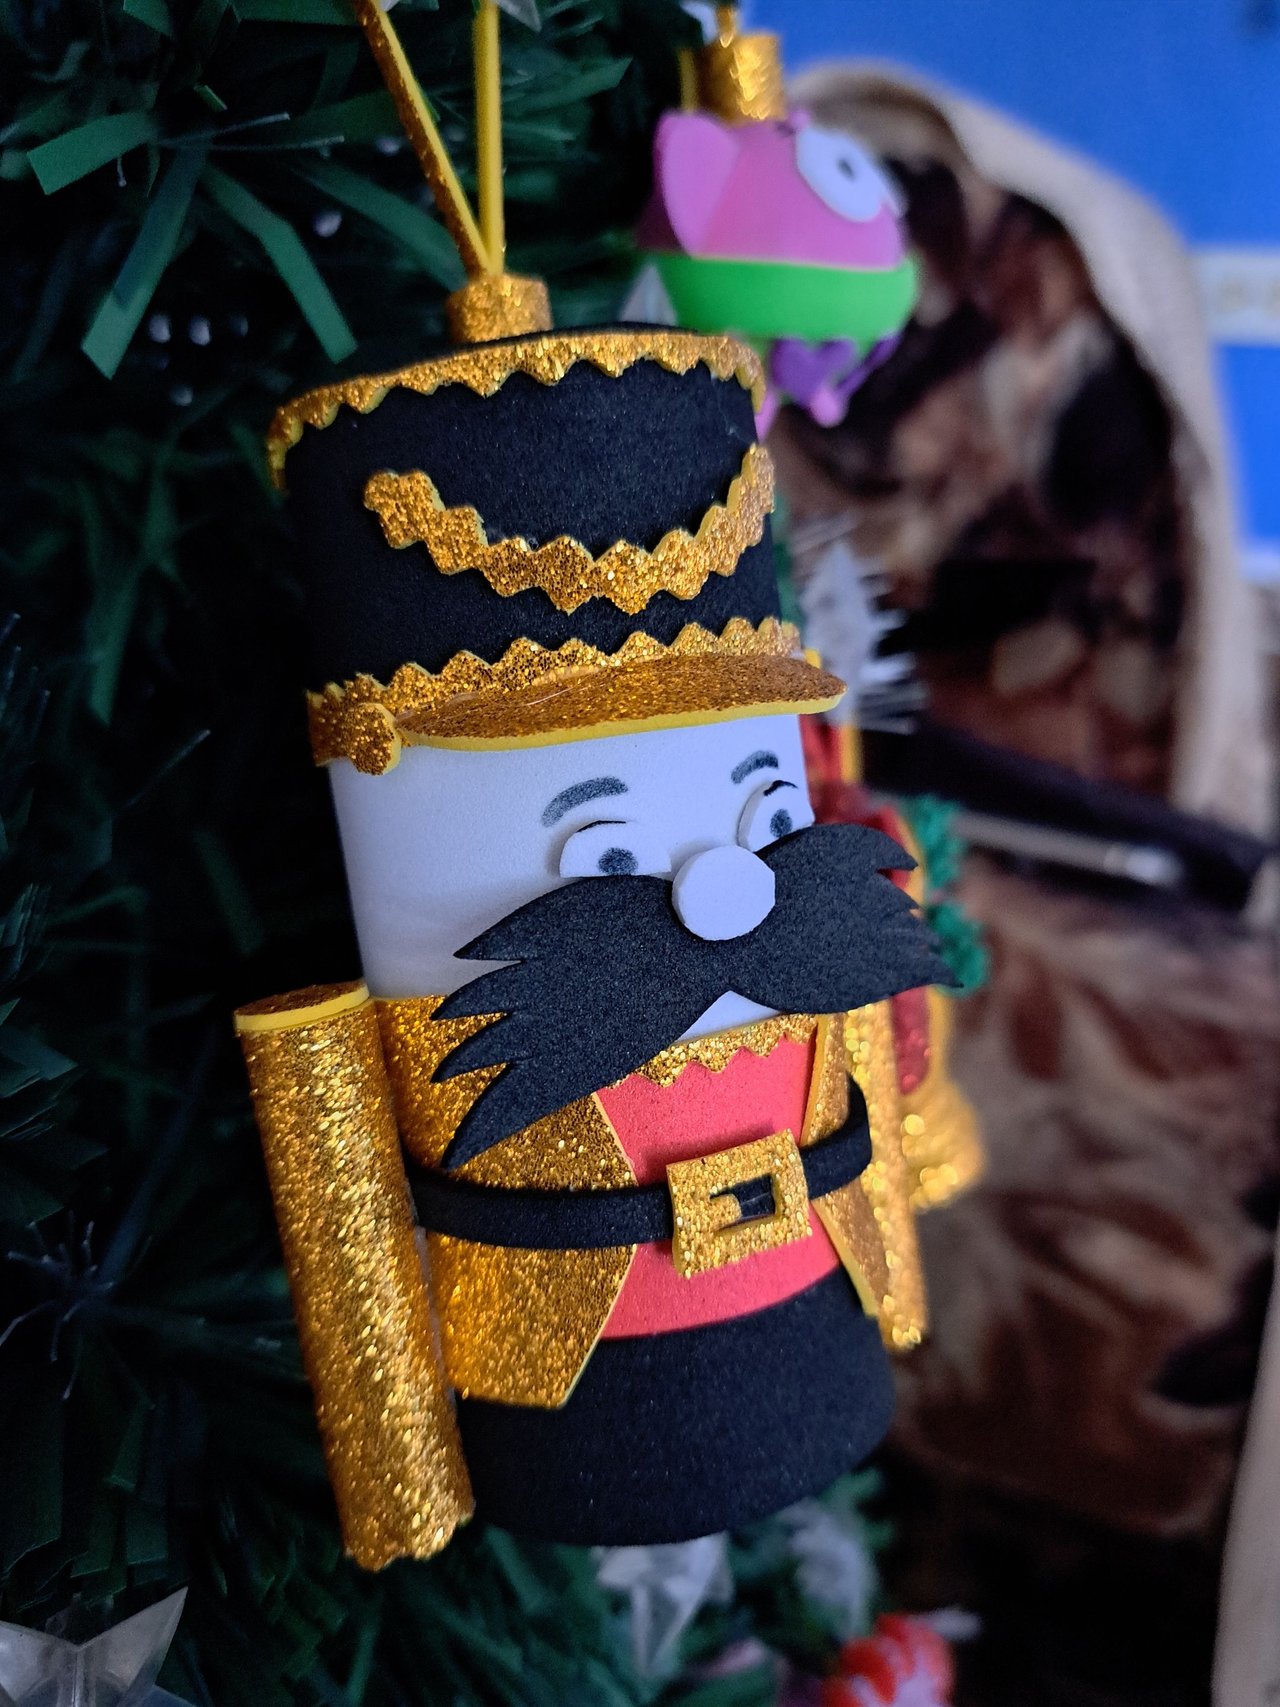
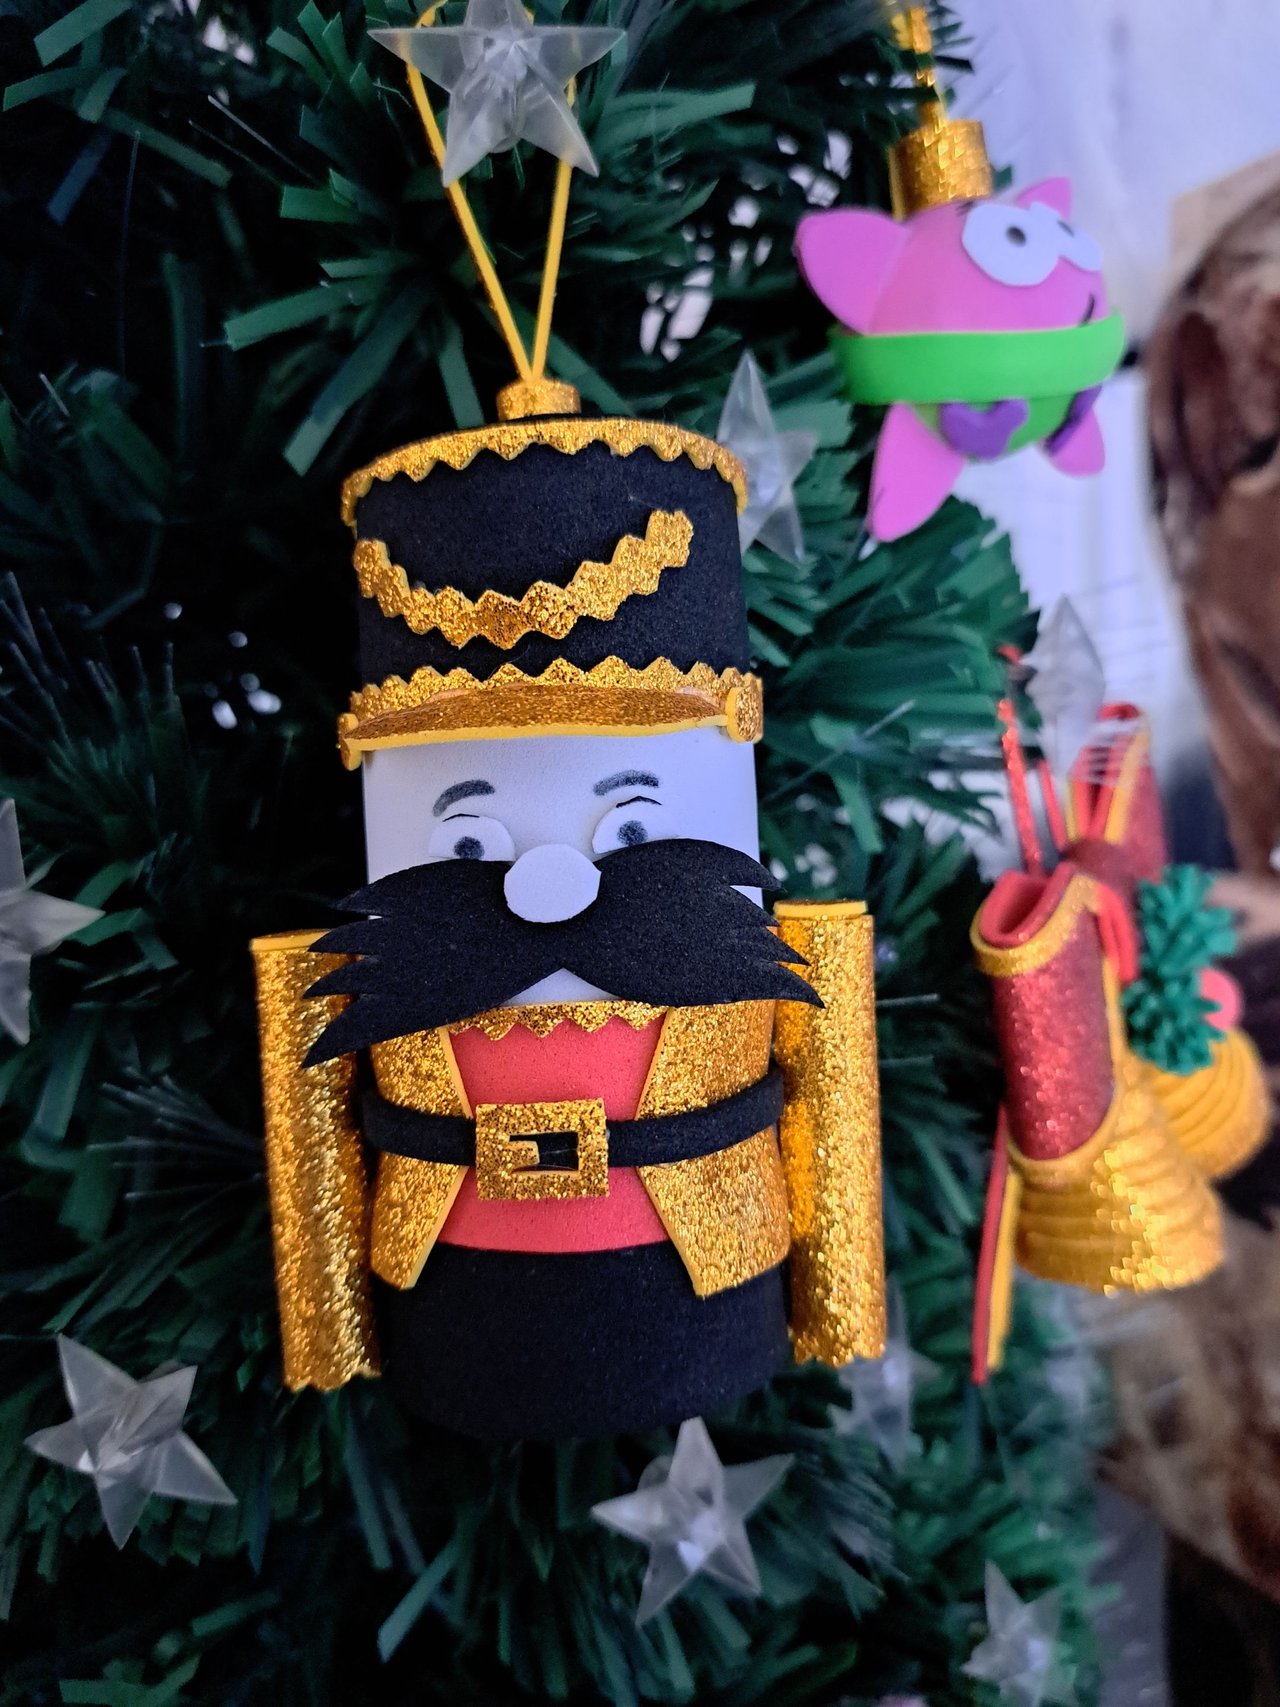
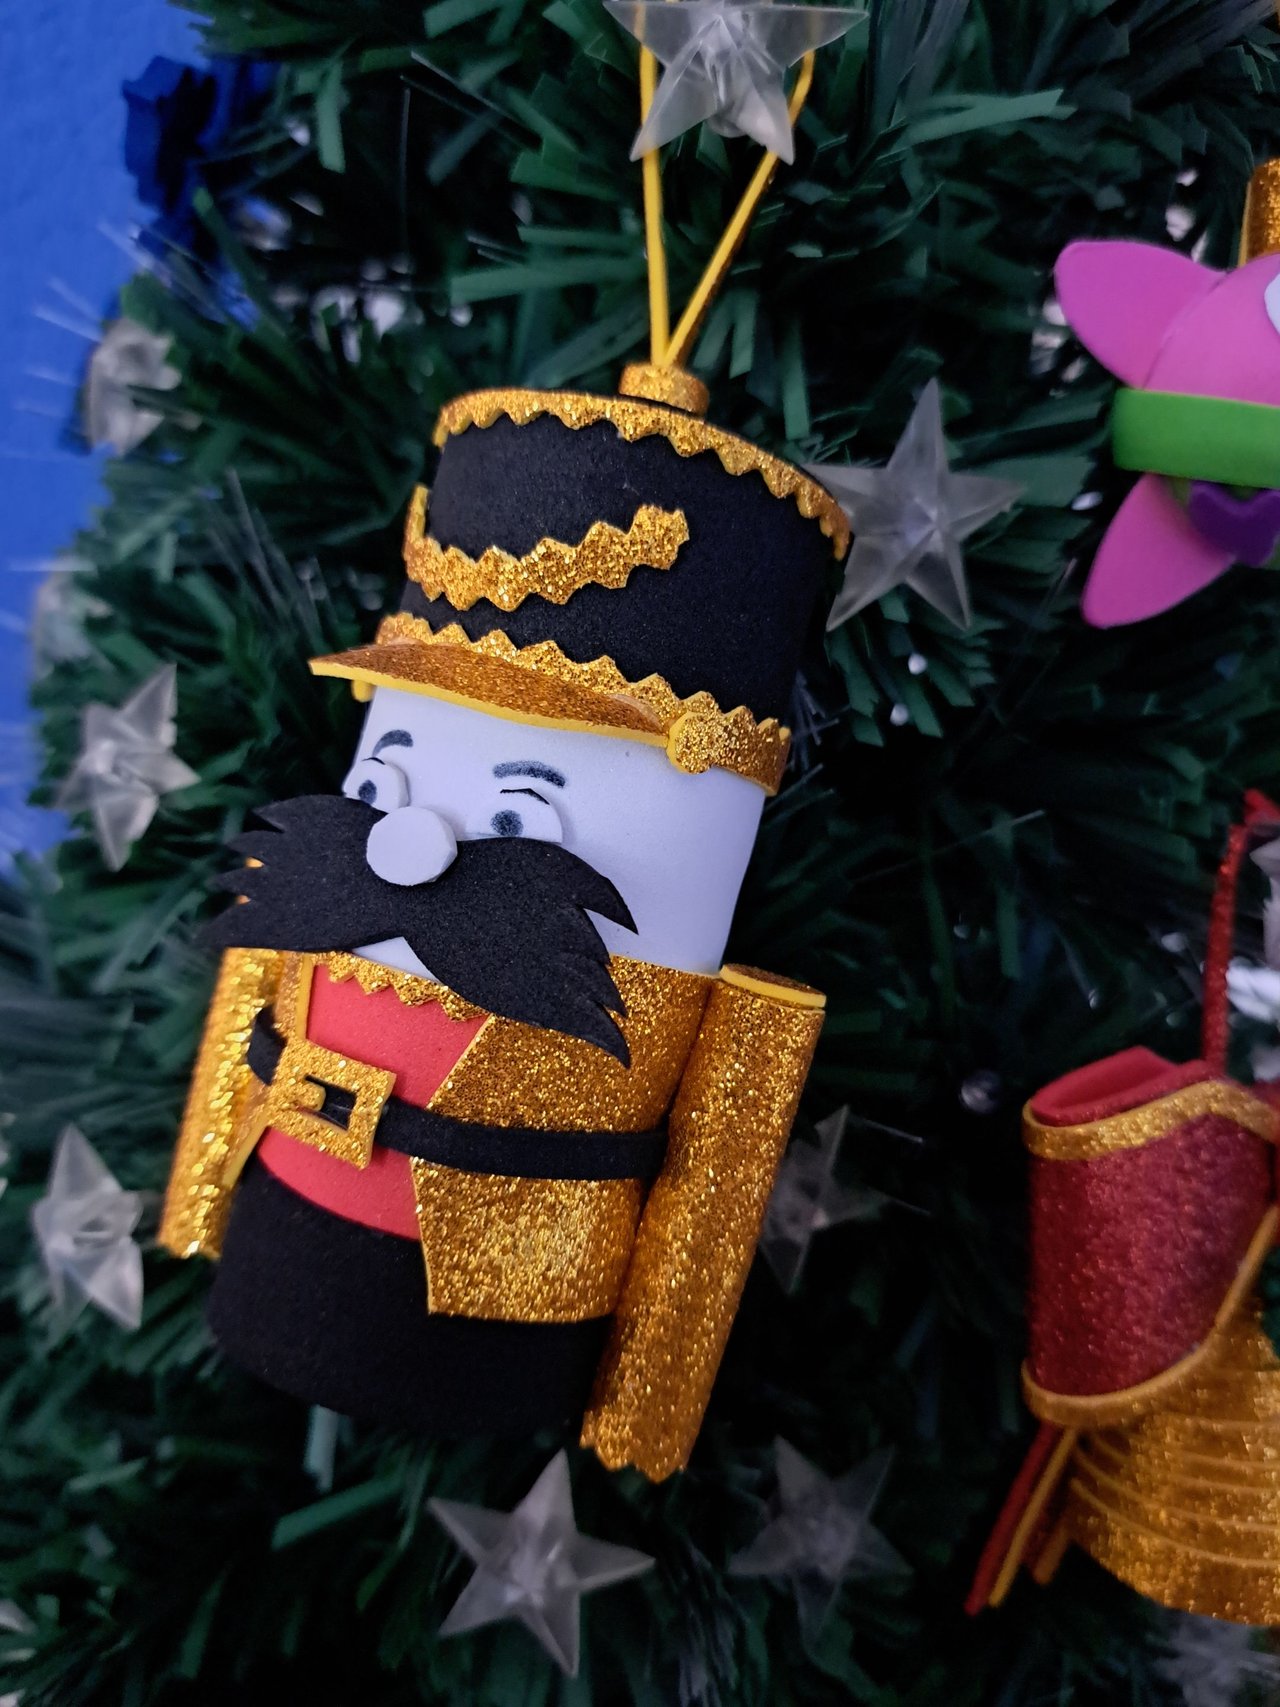
The Christmas tree in my house is a bit crowded. The truth is that this year I have accomplished ahead of time my goal of replacing all the decorations on my tree with my own and my wife's crafts. Although there is still some space left to add one more decoration, I have decided to put a permanent guard on the tree, since I feel that if I leave it alone, at any moment some family member could take some of my precious decorations.
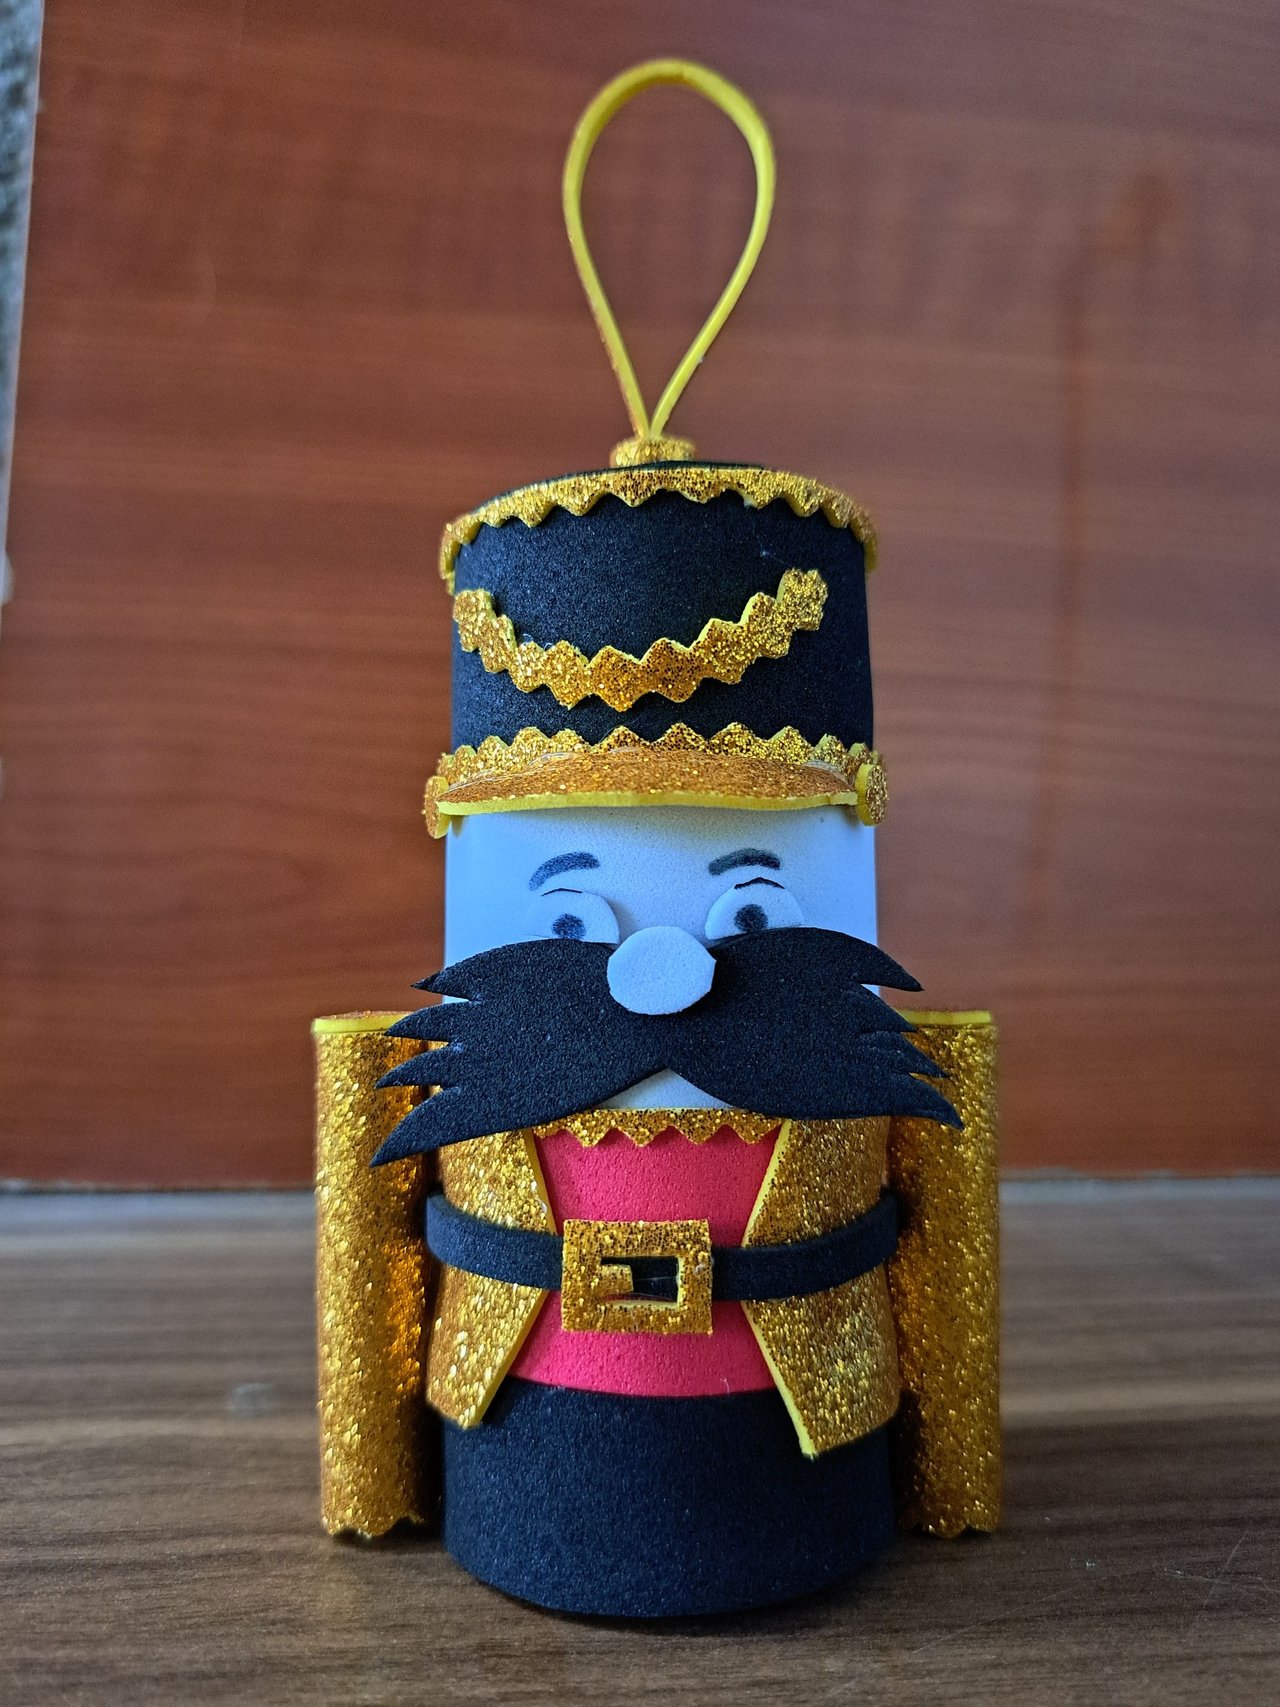
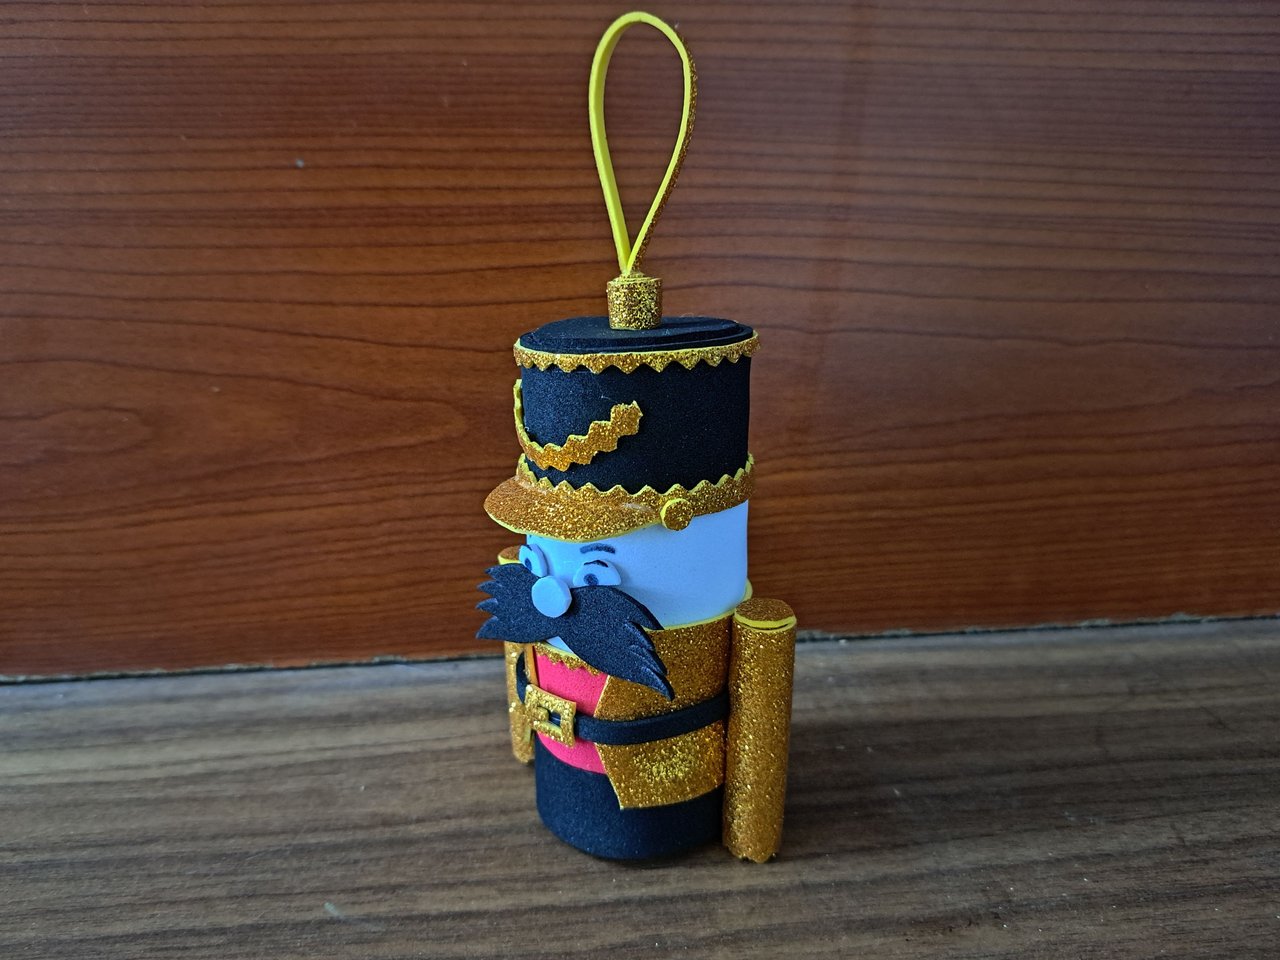
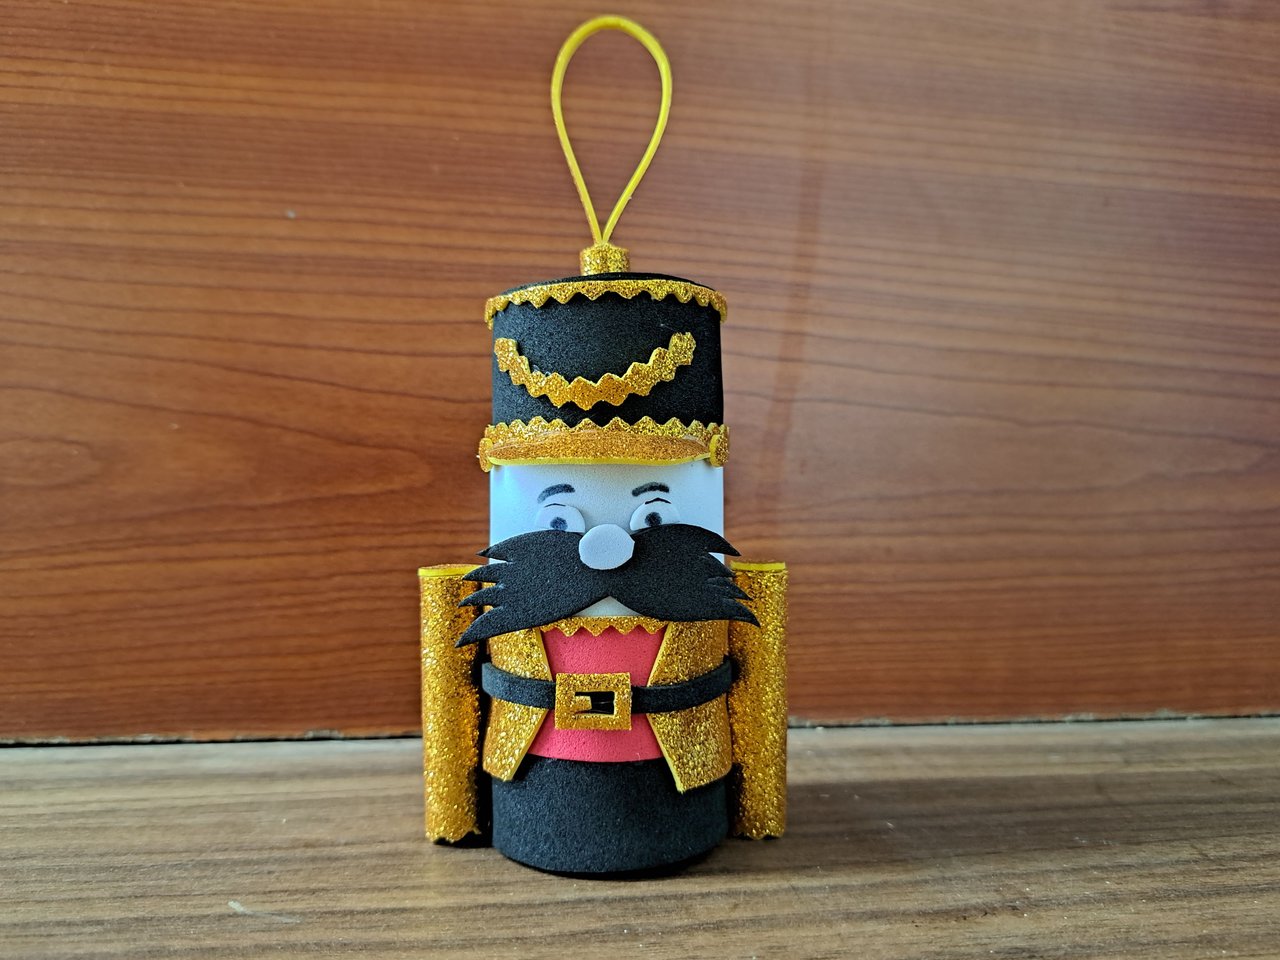
To fulfill the duty of safeguarding this Christmas, I have created Sergeant Mustache. A decorated gold and black military man of the old snowball Christmas wars. Sergeant Mustache is made from a cardboard tube lined with black and gold fomi. Like the good military man he is, he has sworn to the twinkling star to defend the Christmas tree with his life. If you want to know how Sergeant Whiskers was made, I invite you to join me in the following tutorial.
El árbol de Navidad de mi casa está un poco lleno. La verdad es que este año he cumplido antes de tiempo mi meta de reemplazar todas las decoraciones de mi árbol con manualidades mías y de mi esposa. Aunque todavía queda uno que otro espacio para agregar una decoración más, he decidido ponerle una custodia permanente al árbol, ya que siento que si lo dejo solo, en cualquier momento algún familiar podría llevarse alguna de mis preciadas decoraciones.
Para cumplir con el deber de salvaguardar estas navidades, he creado al Sargento Bigote. Un militar dorado y negro condecorado de las antiguas guerras navideñas con bolas de nieve. El sargento bigotes está hecho a partir de un tubo de cartón forrado con fomi negro y dorado. Como buen militar que es, ha jurado a la estrella parpadeante defender el árbol de Navidad con su vida. Si quieres saber cómo se elaboró el Sargento Bigotes, te invito a acompañarme en el siguiente tutorial.
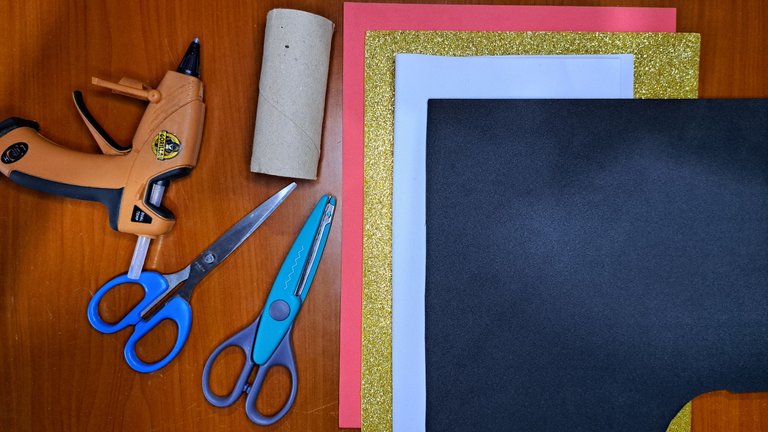
Materials // Materiales
| English | Español |
| ✔️ Plain black, red and white fomi | ✔️ Fomi liso negro, rojo y blanco |
| ✔️ Golden frosted fomi | ✔️ Fomi escarchado dorado |
| ✔️ Cardboard tube | ✔️ Tubo de cartón |
| ✔️ Cardboard tube | ✔️ Tijera de corte irregular |
| ✔️ Straight cutting scissors | ✔️ Tijera de corte recto |
| ✔️ Hot silicone | ✔️ Silicona caliente |
Step by step // Paso a paso
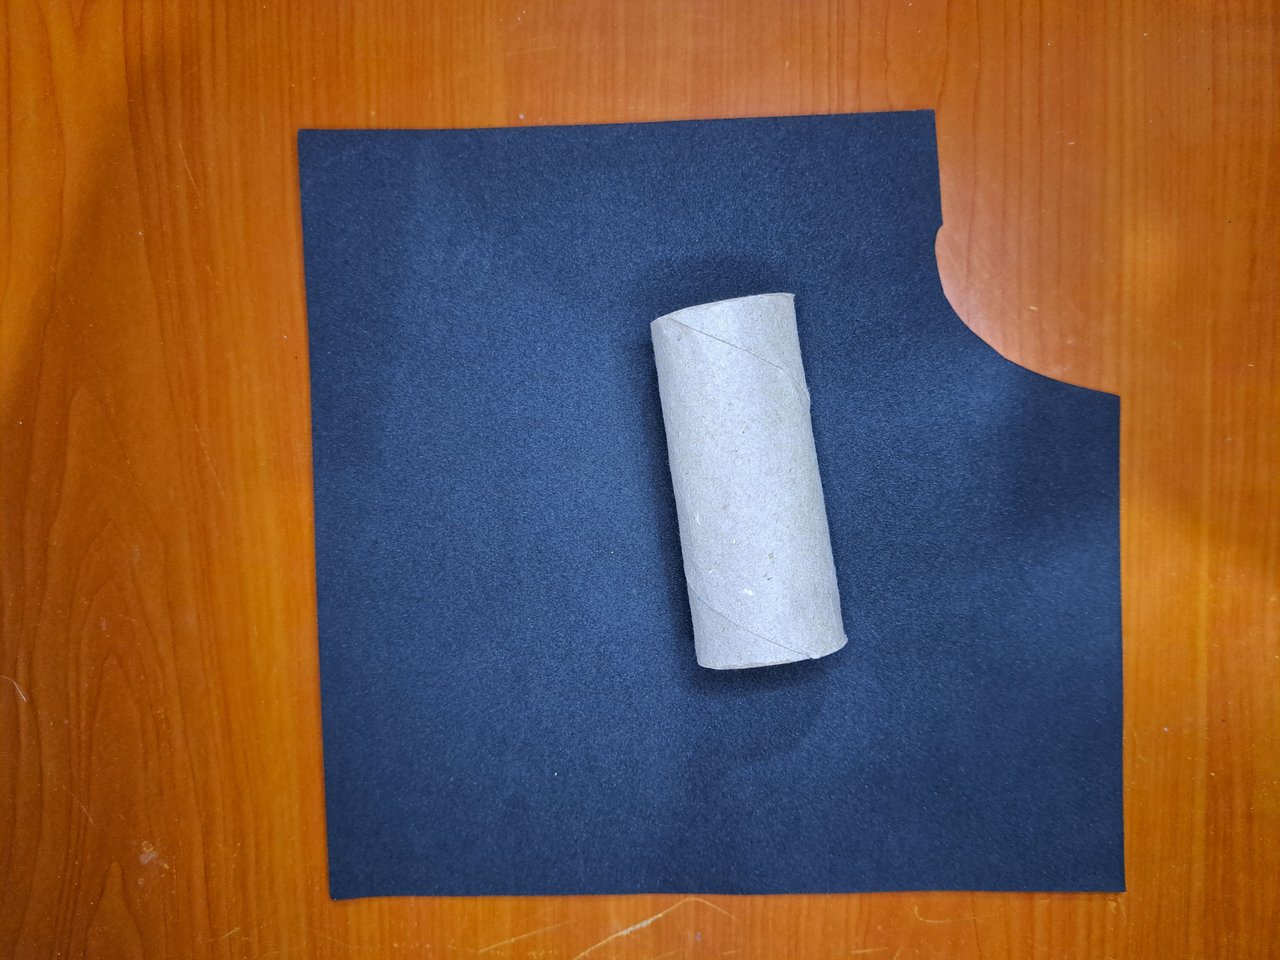
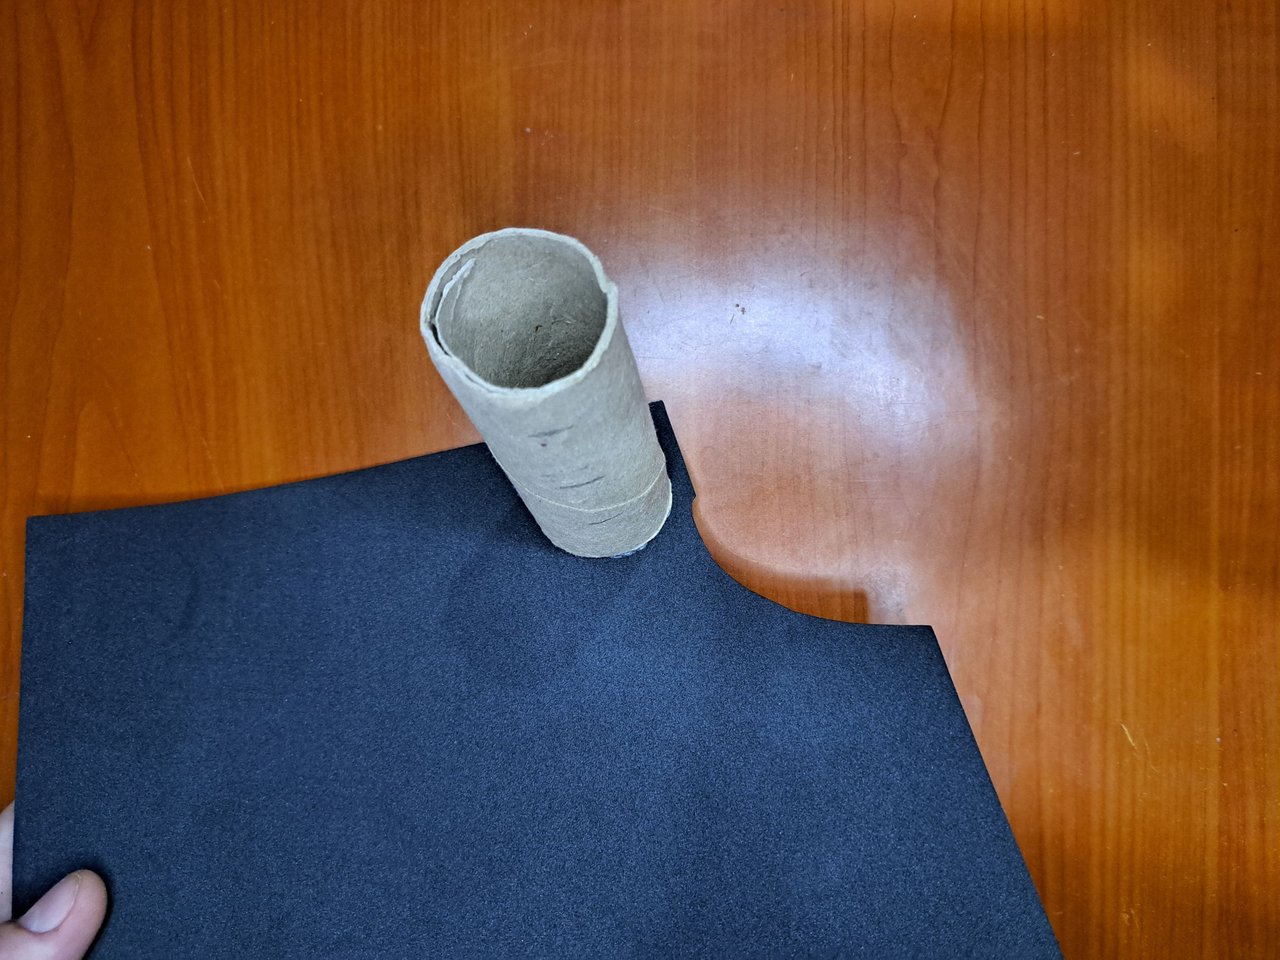
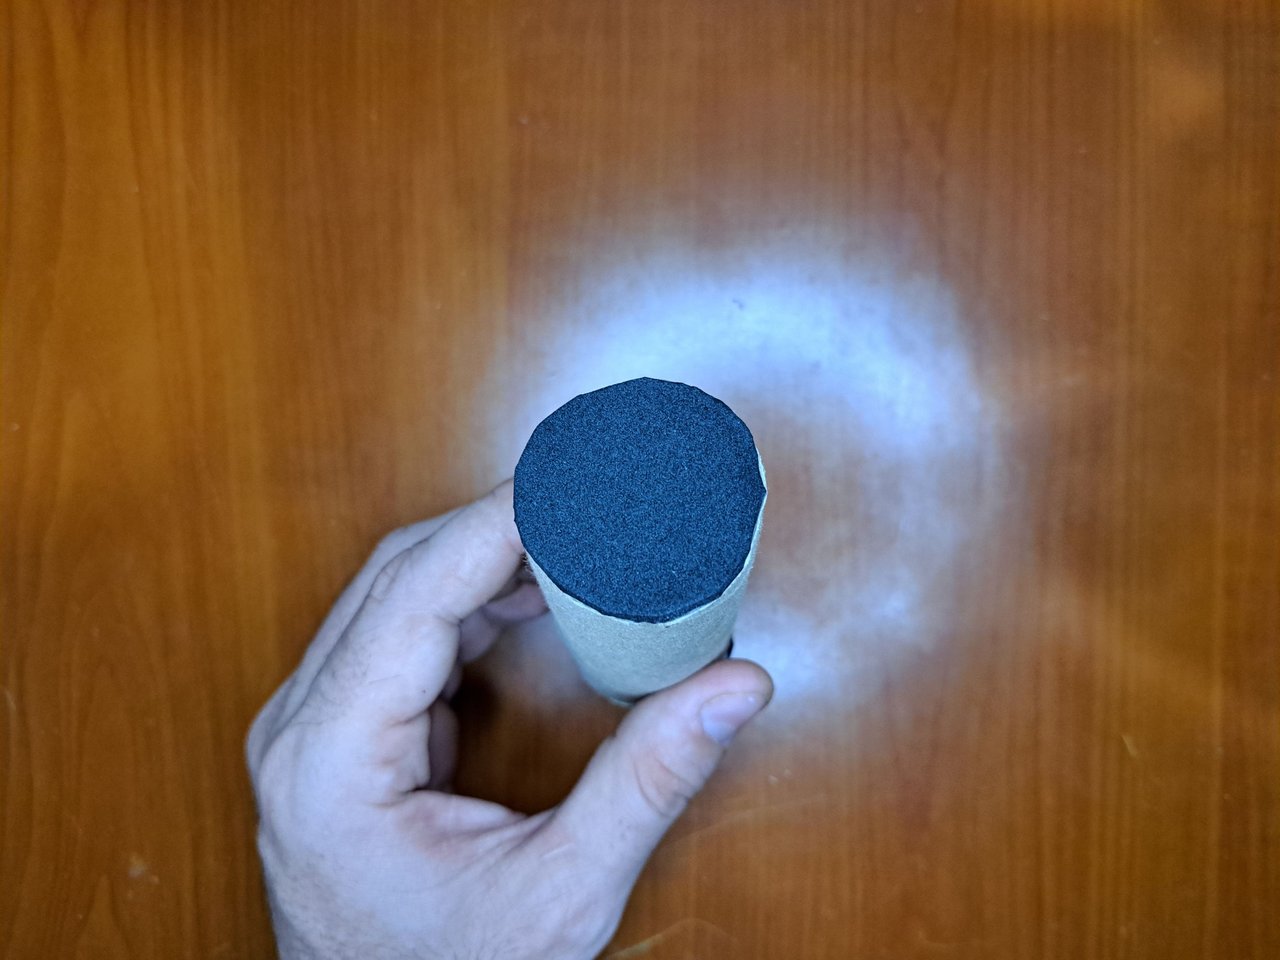
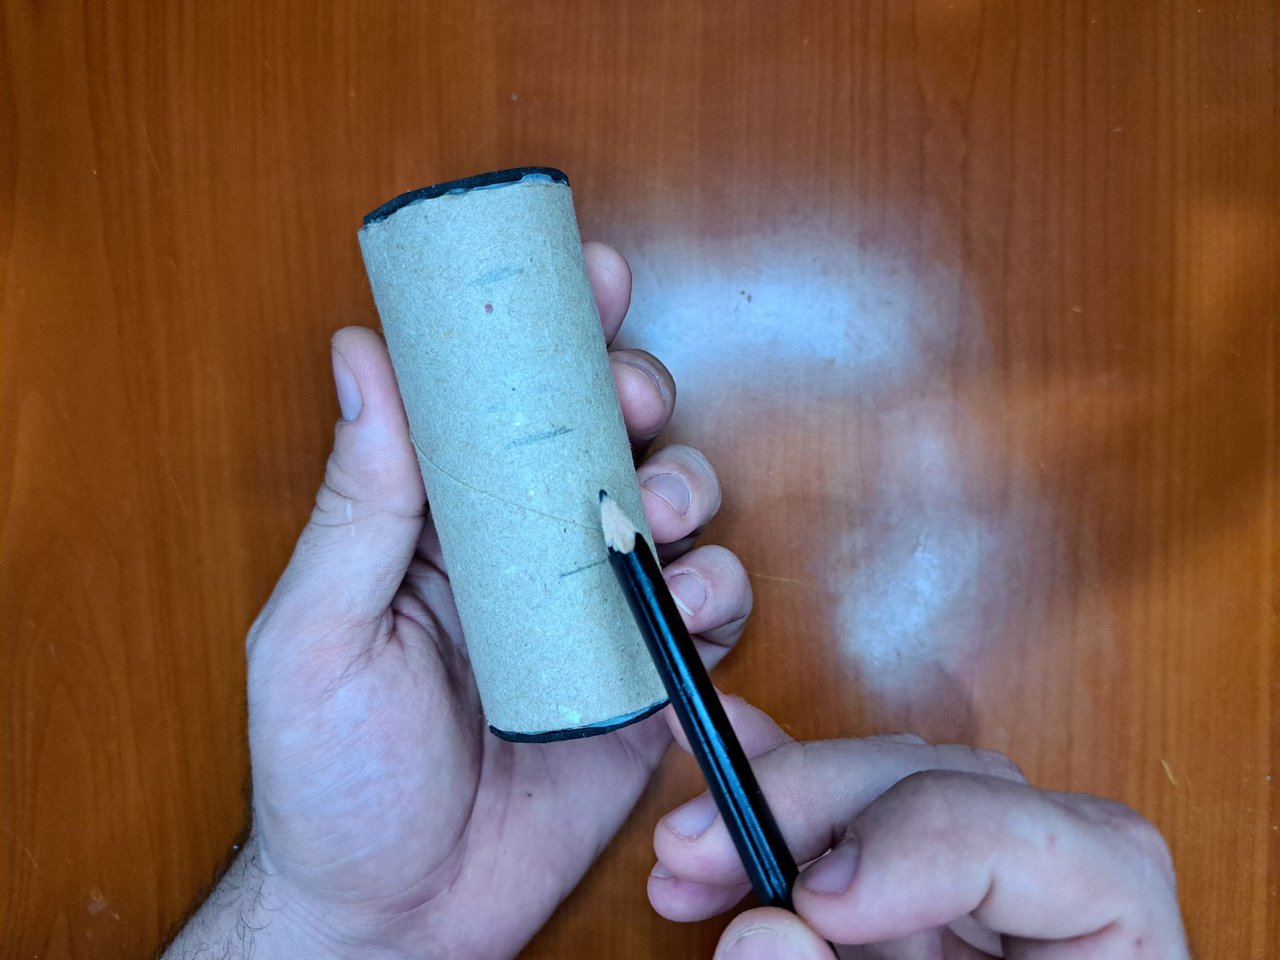
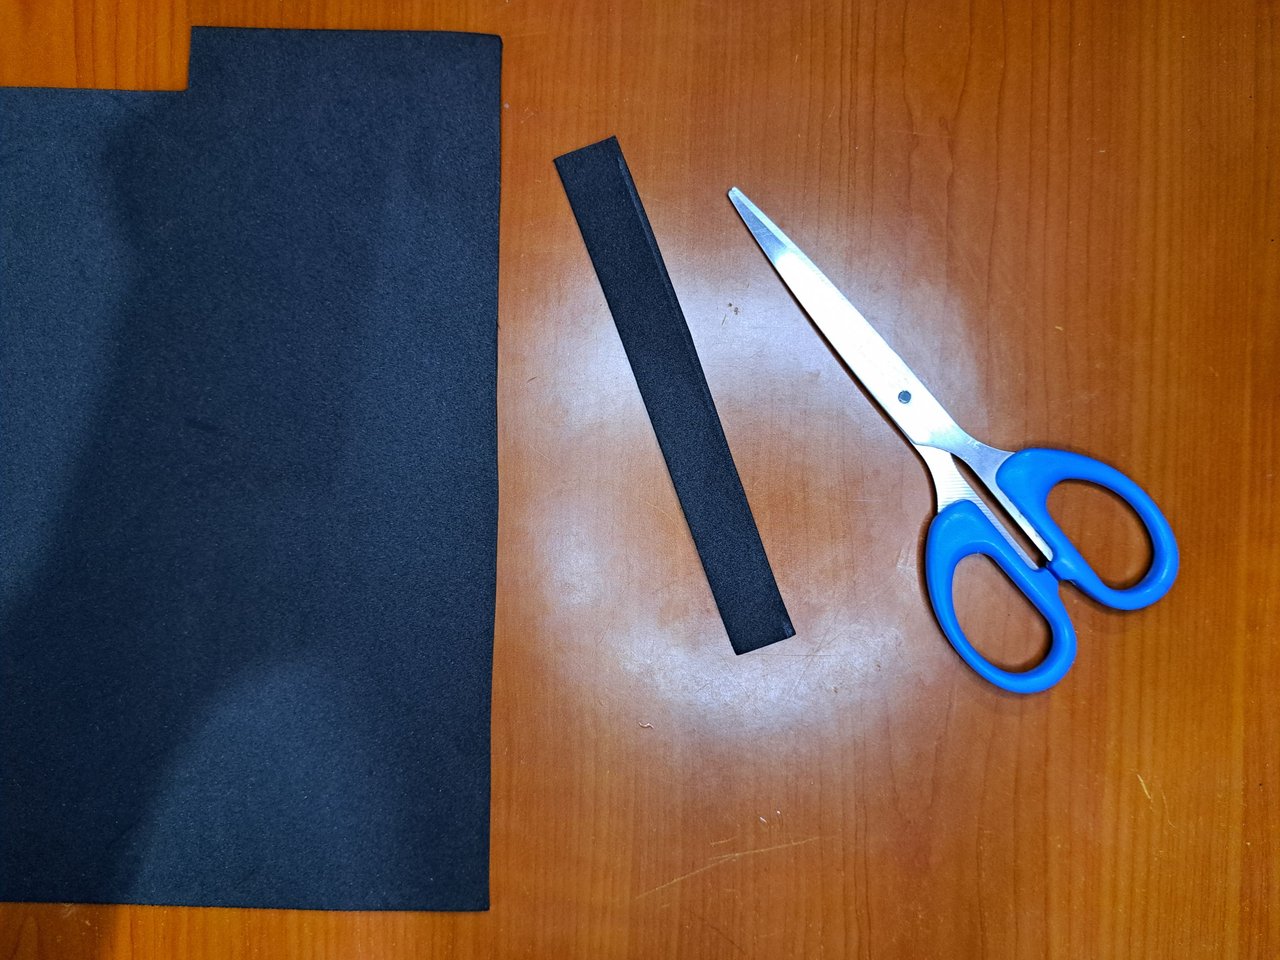
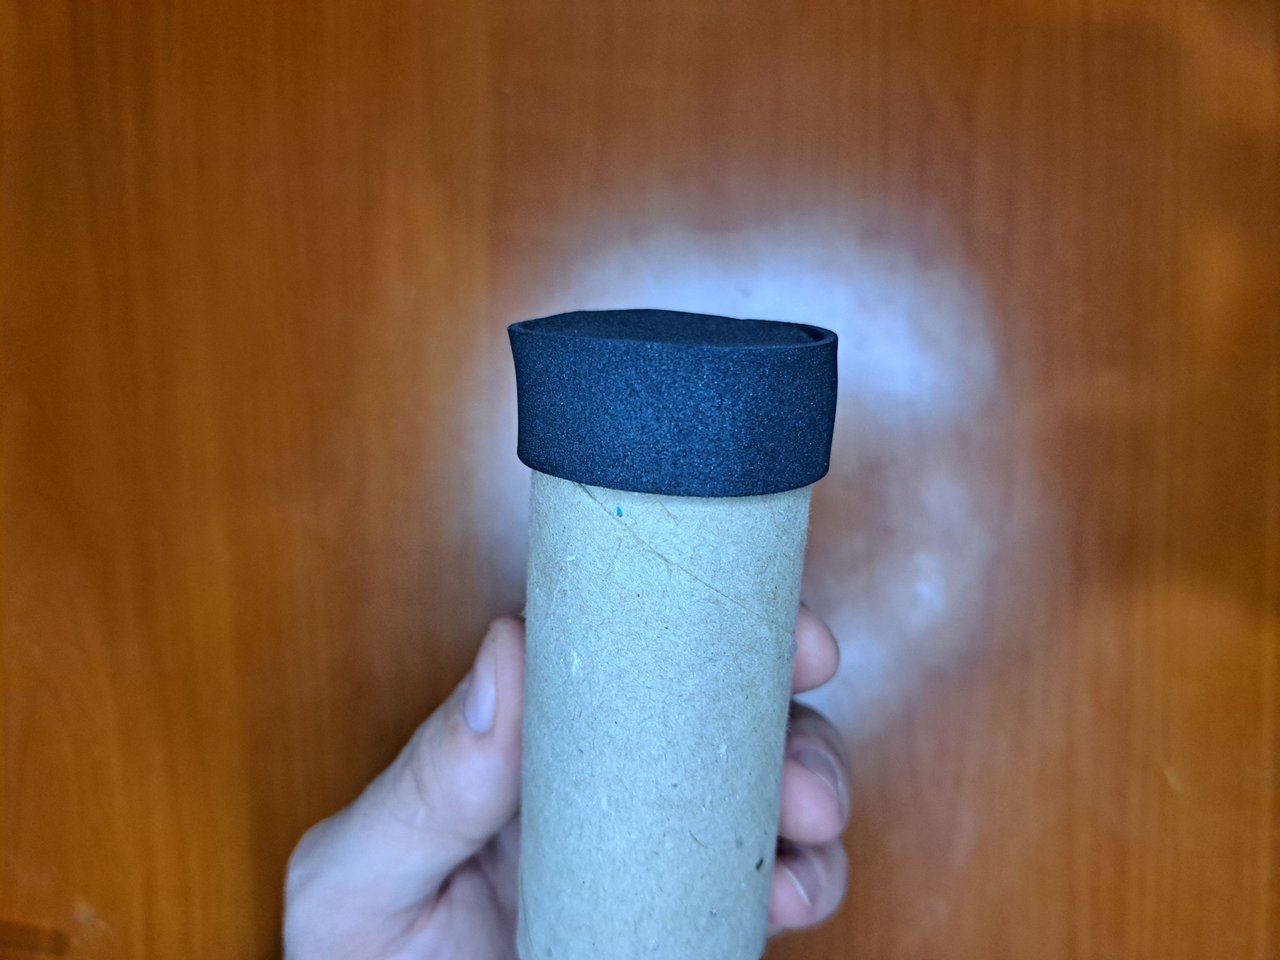
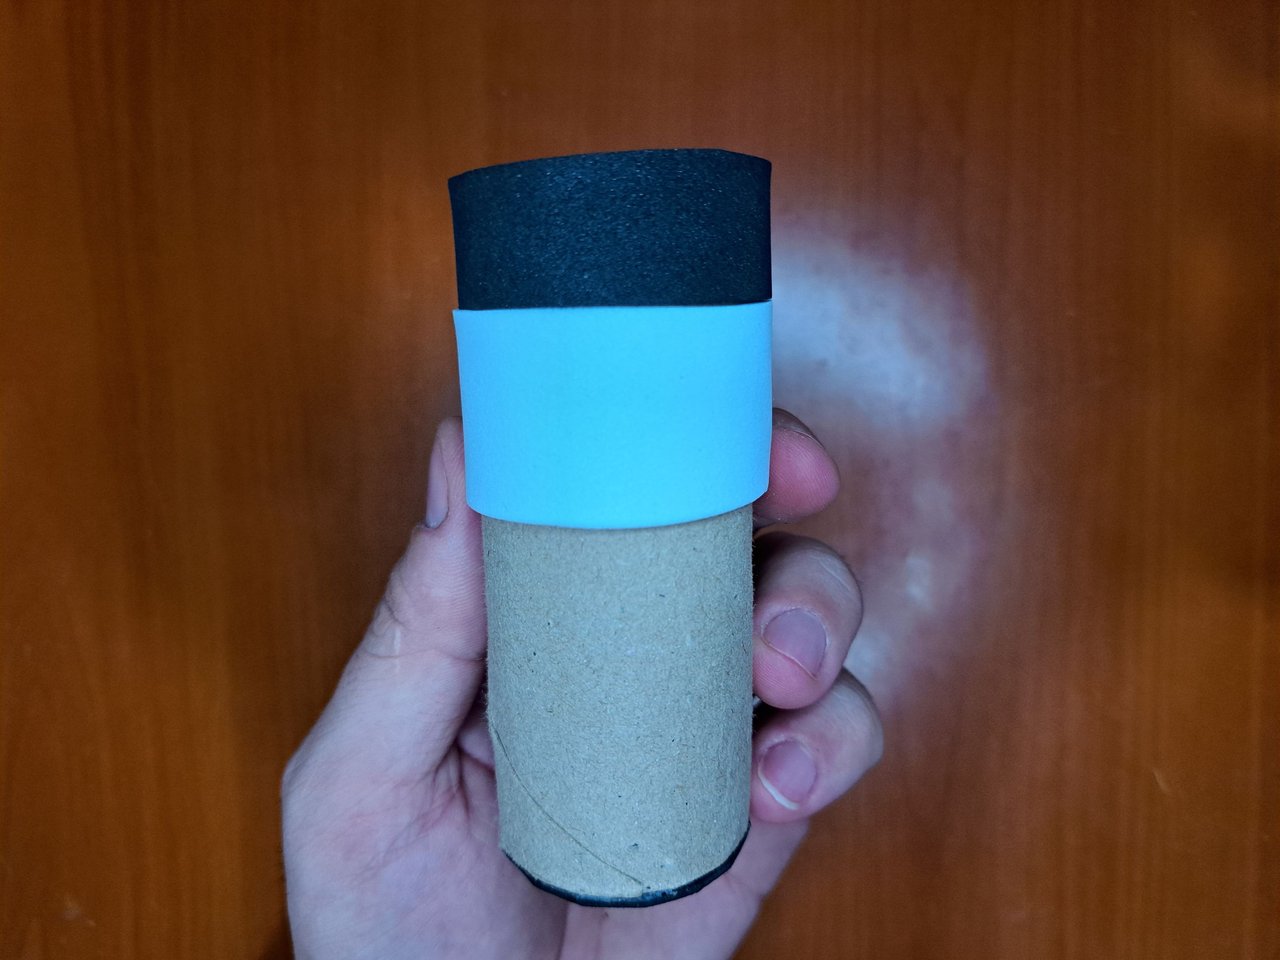
1️⃣ The first thing I did was to glue the cardboard tube on top of the black fomi and cut its outline to cover both ends. Then I marked three levels on the tube and on the top level I glued a 15 cm x 3.5 cm strip of black fomi.
Lo primero que hice fue pegar el tubo de cartón encima del fomi negro y recortar su contorno para tapar ambos extremos. Luego marque tres niveles en el tubo y en el nivel superior pegue una tira de fomi negro de 15 cm x 3.5 cm.
 |  |  |
 |  |  |
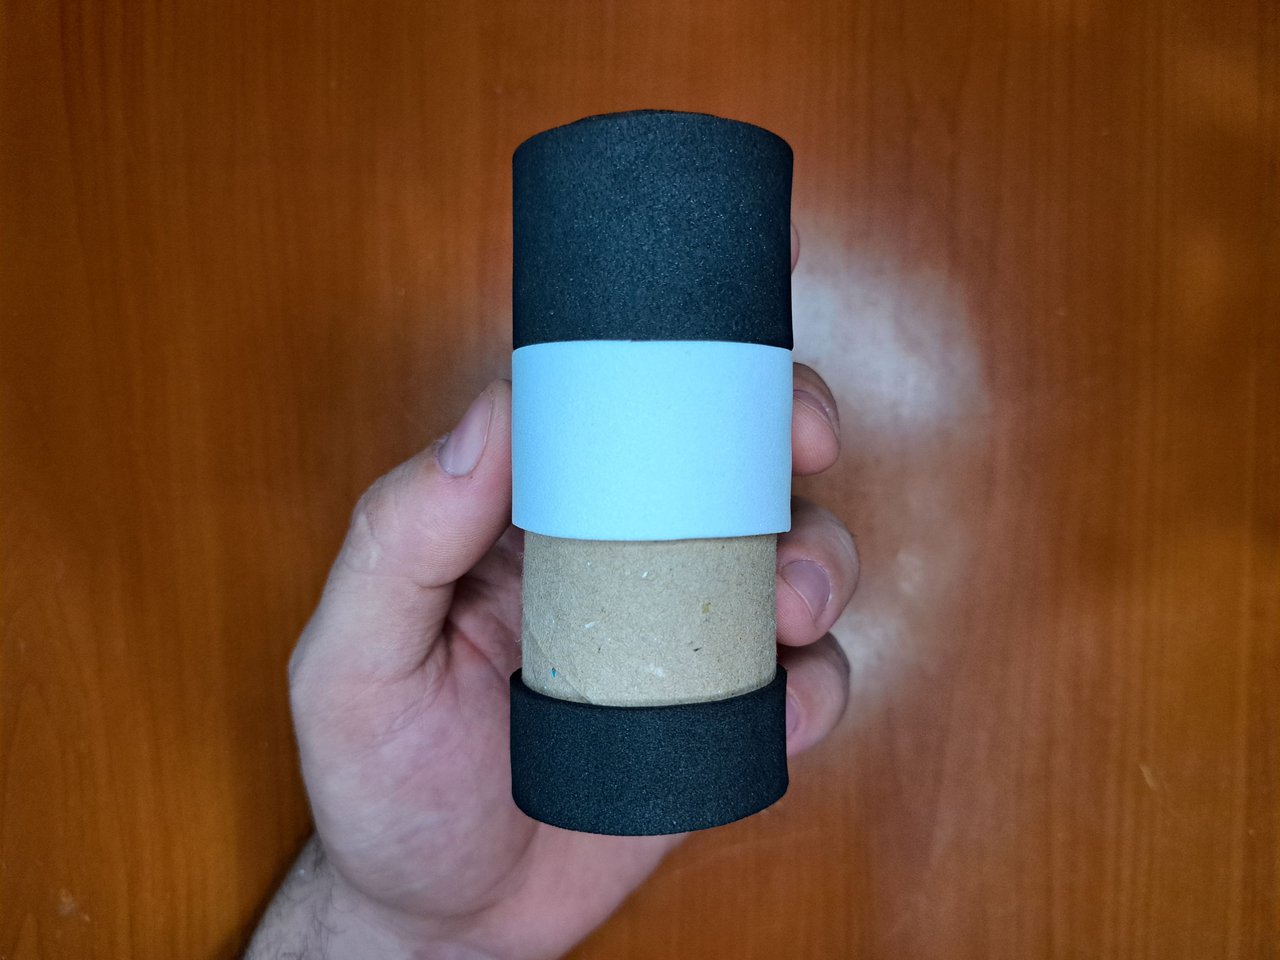
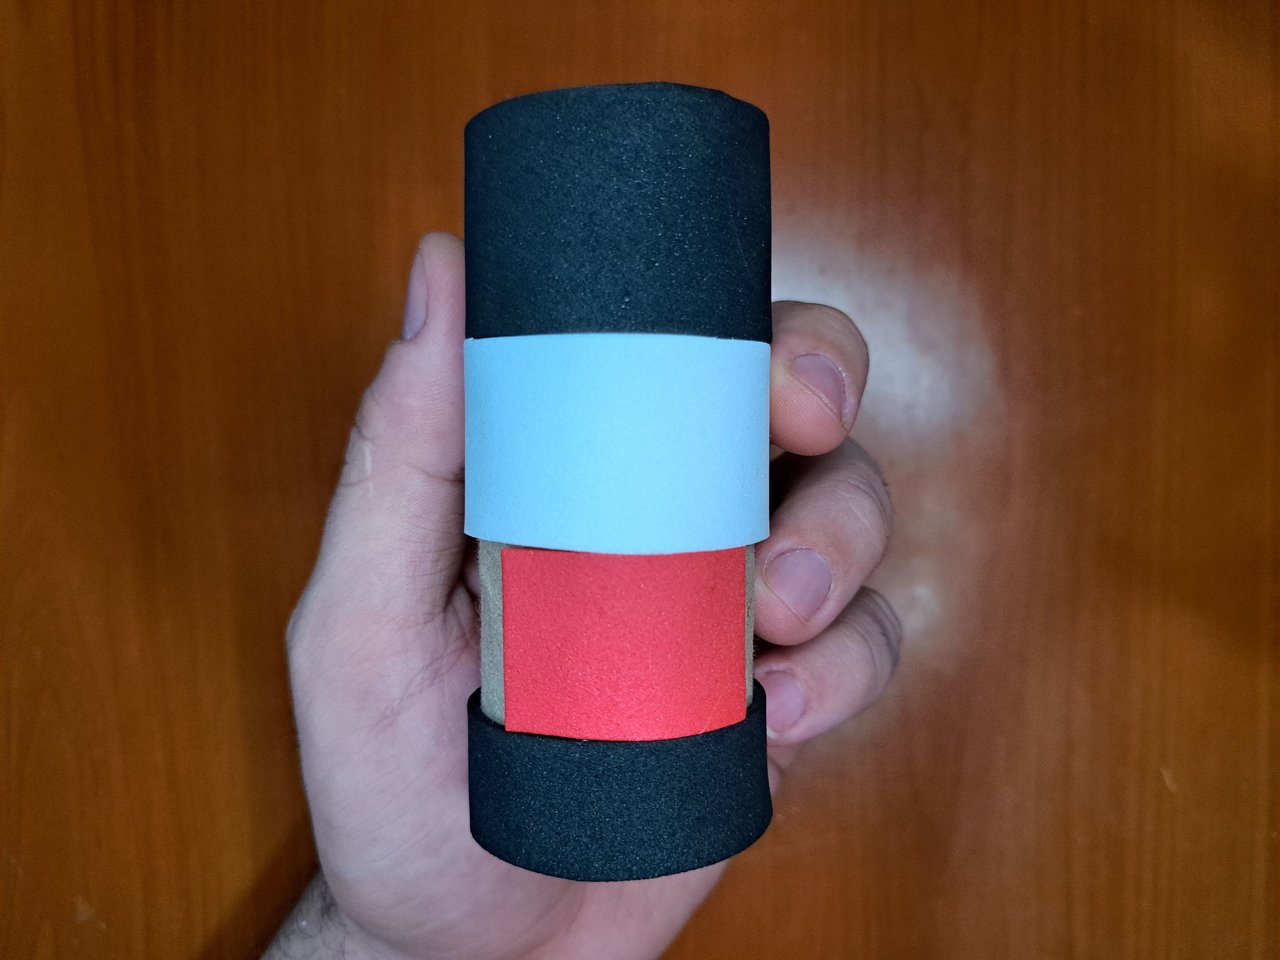
2️⃣ Next, cut out a 15 cm x 3 cm strip of white fomi and glue it under the black one. Underneath the white one, I glued a 3.5 cm x 4 cm piece of red fomi in the front area and further down a 15 cm x 2.5 cm piece of black fomi.
A continuación, recorte una tira de fomi blanco de 15 cm x 3 cm y péguela debajo de la negra. Debajo de la blanca, pegue en la zona frontal una pieza de fomi rojo de 3,5 cm x 4 cm y más abajo una de fomi negro de 15 cm x 2,5 cm.
 |  |
 |  |
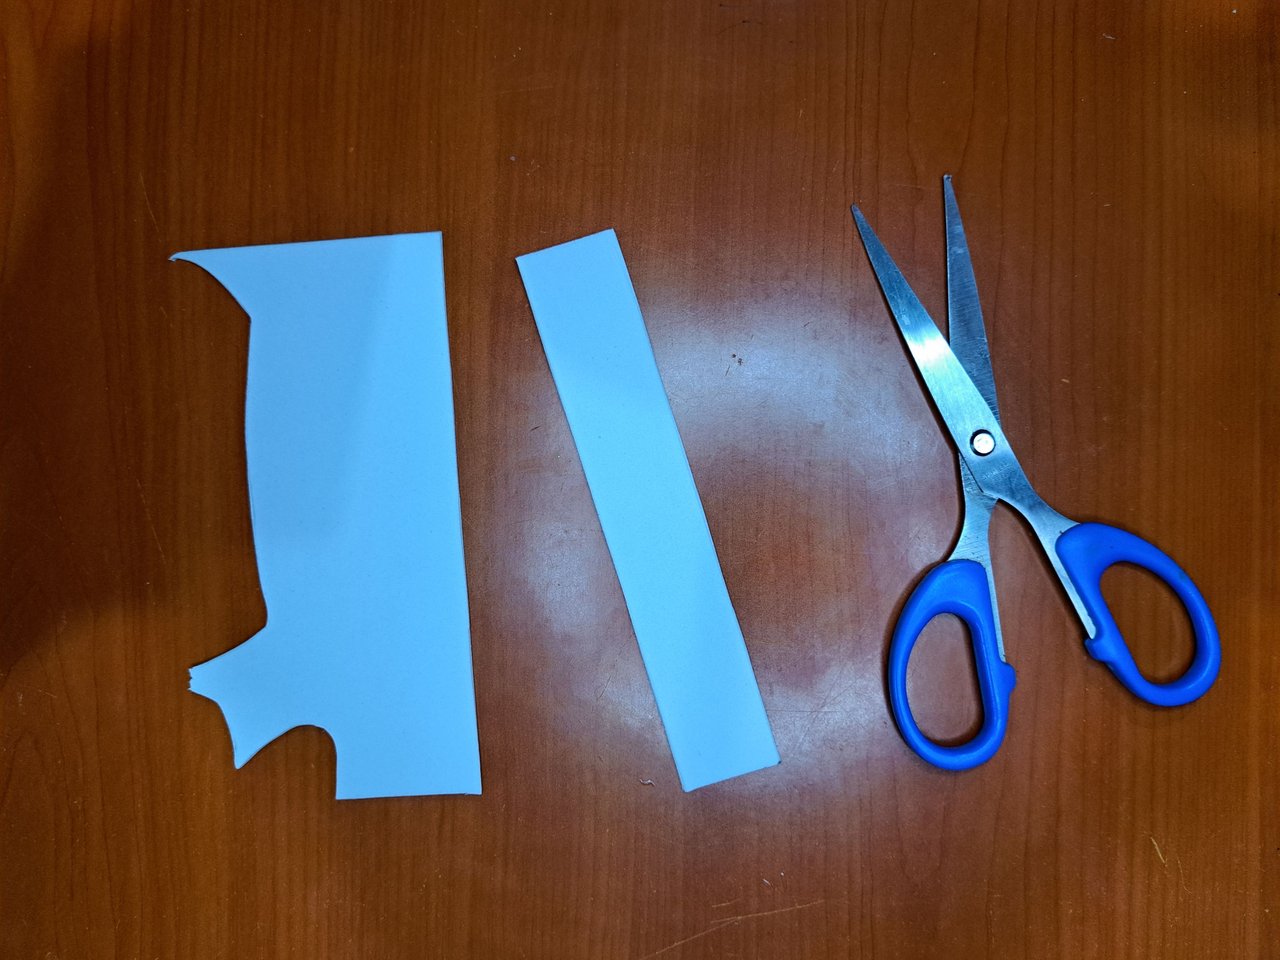
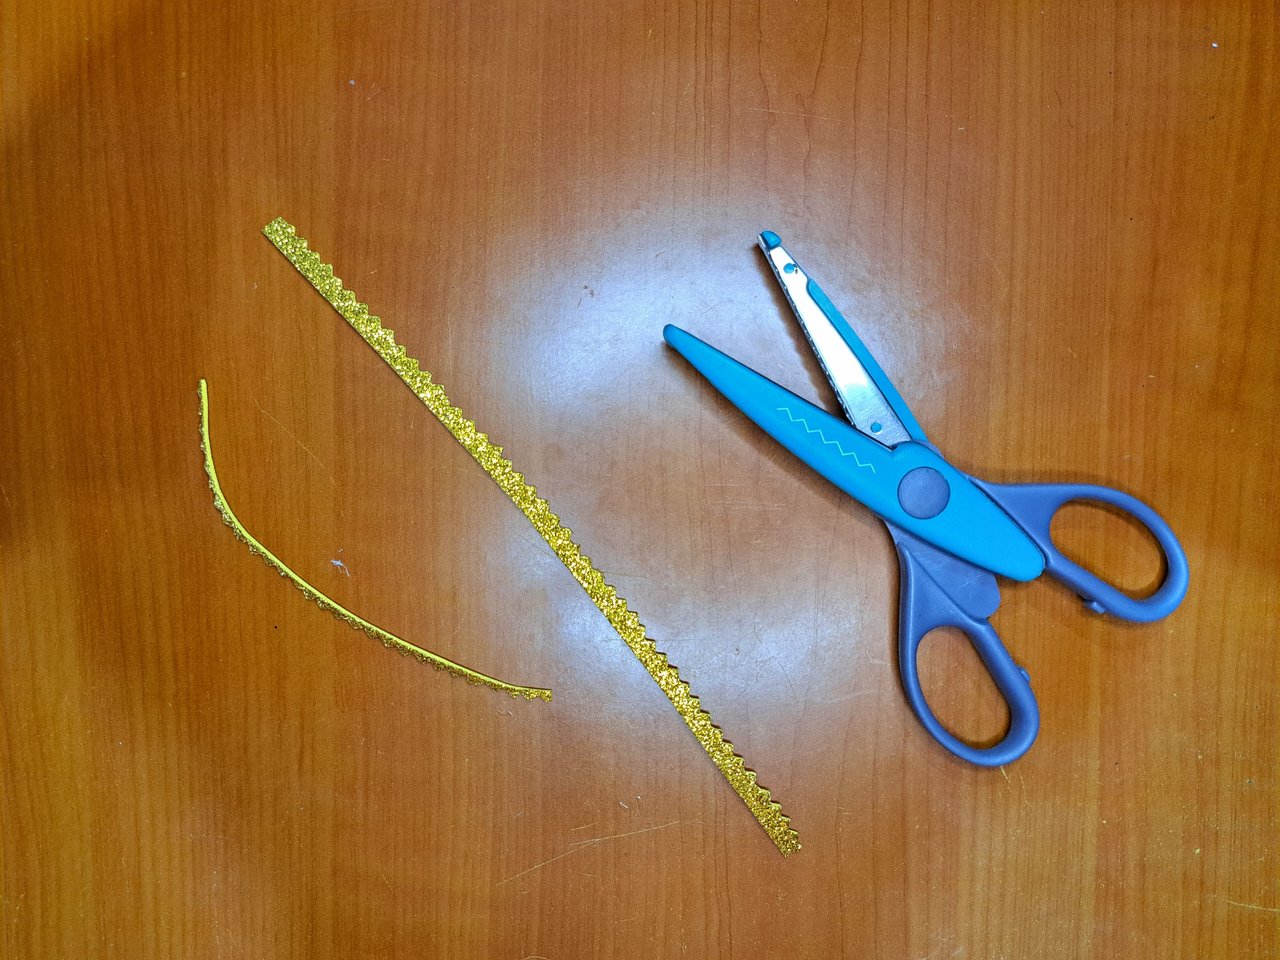
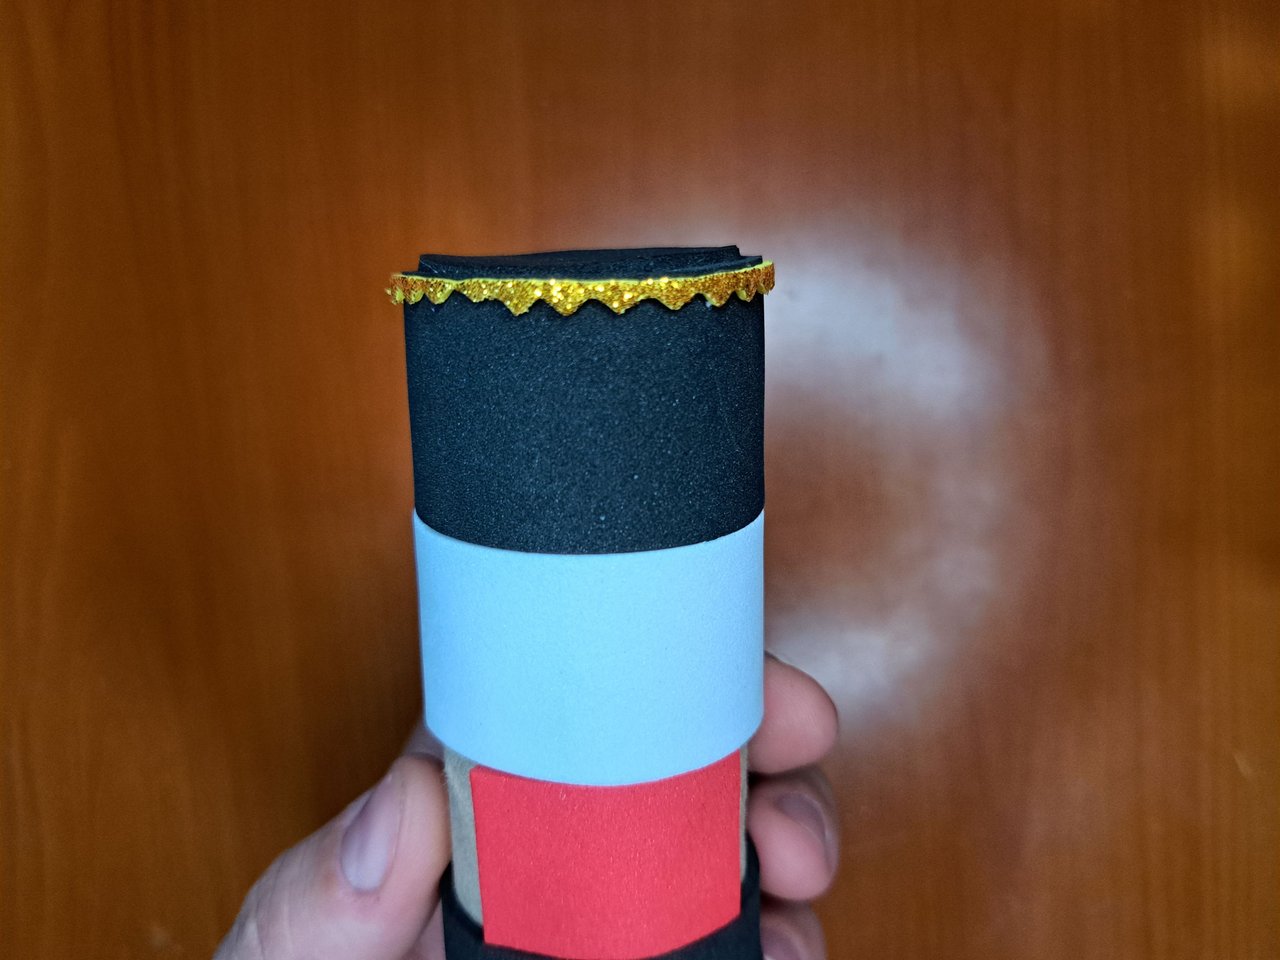
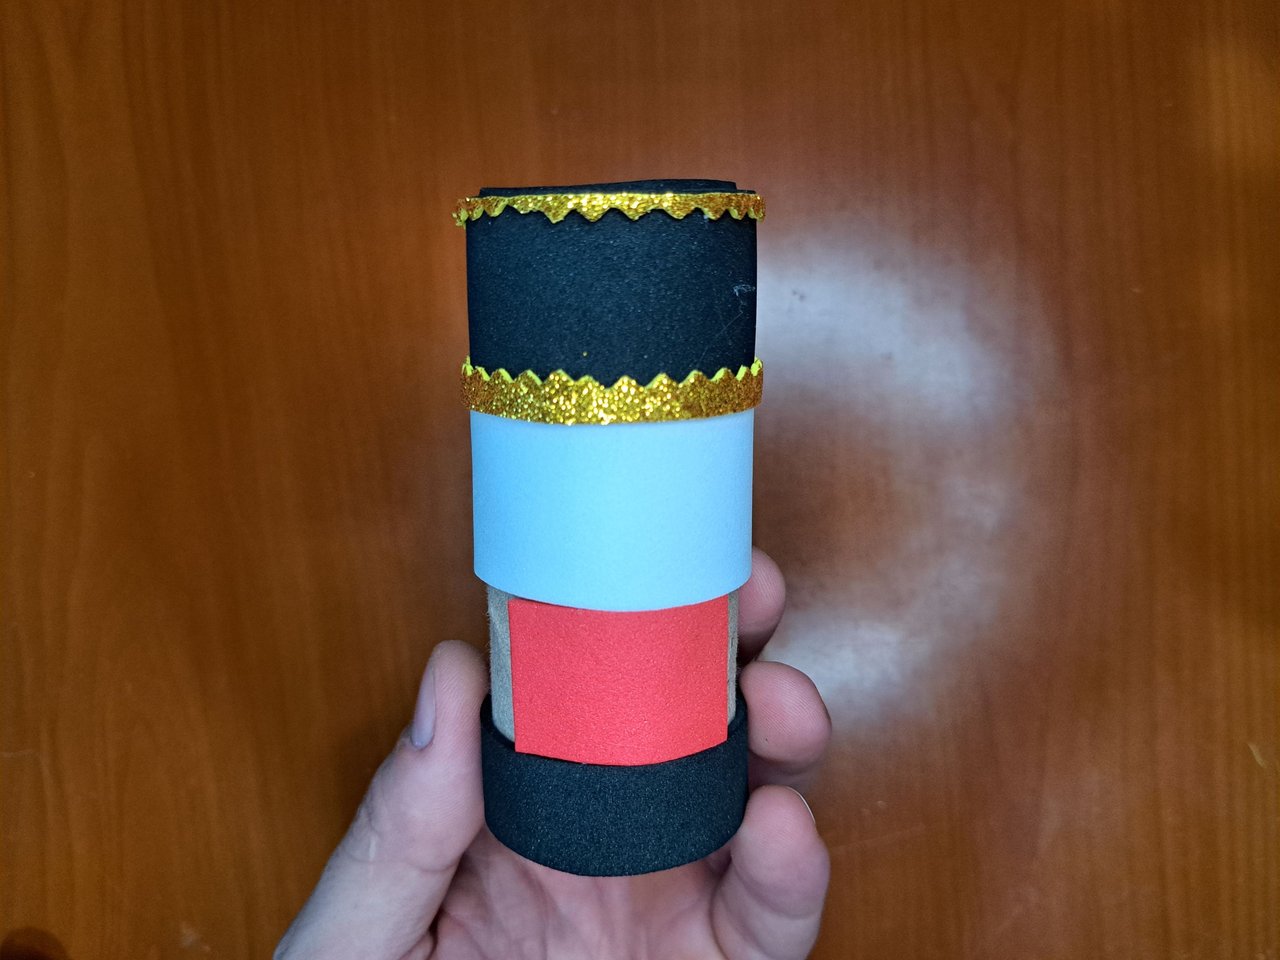
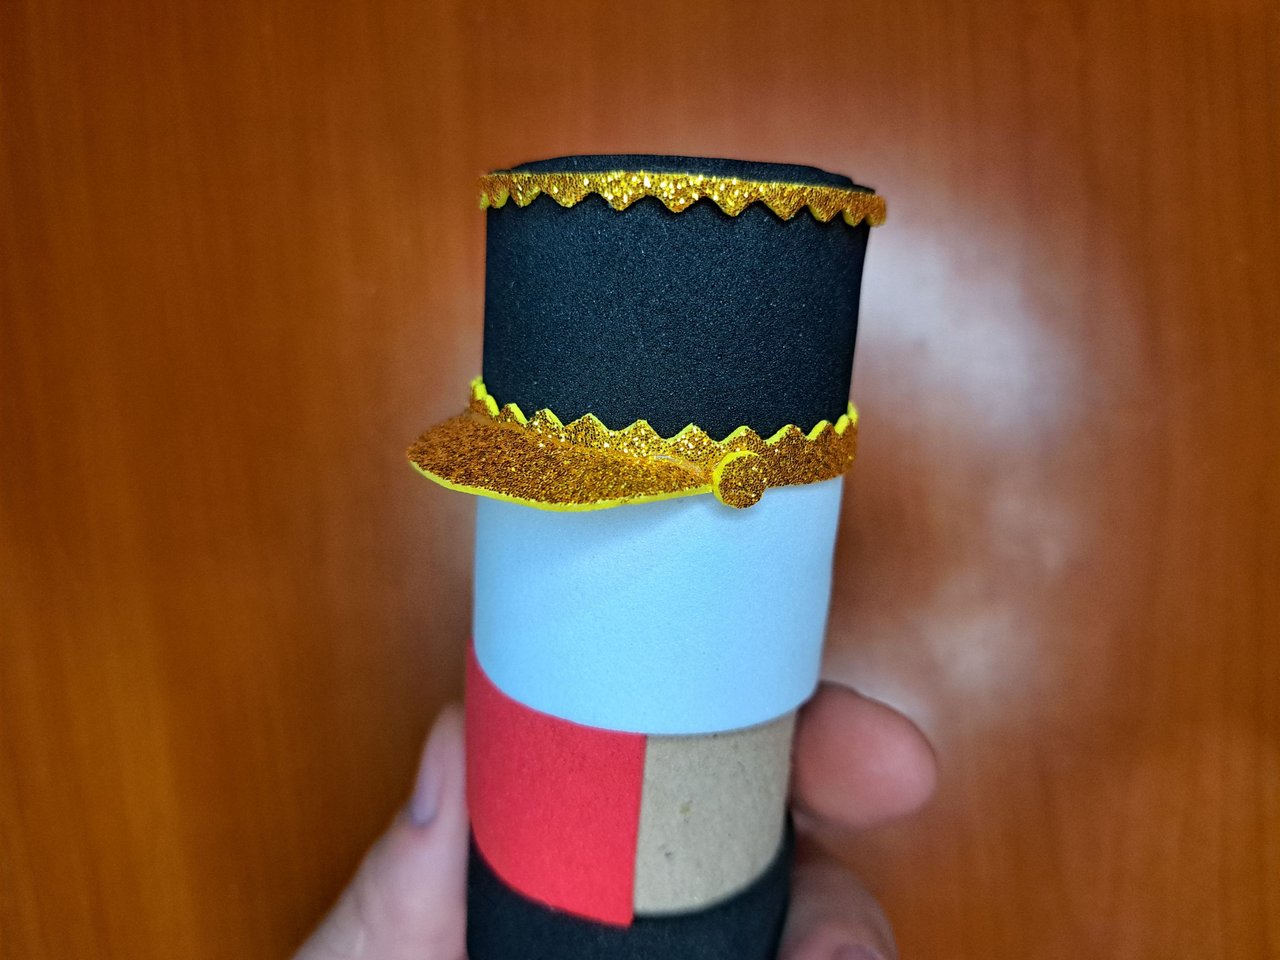
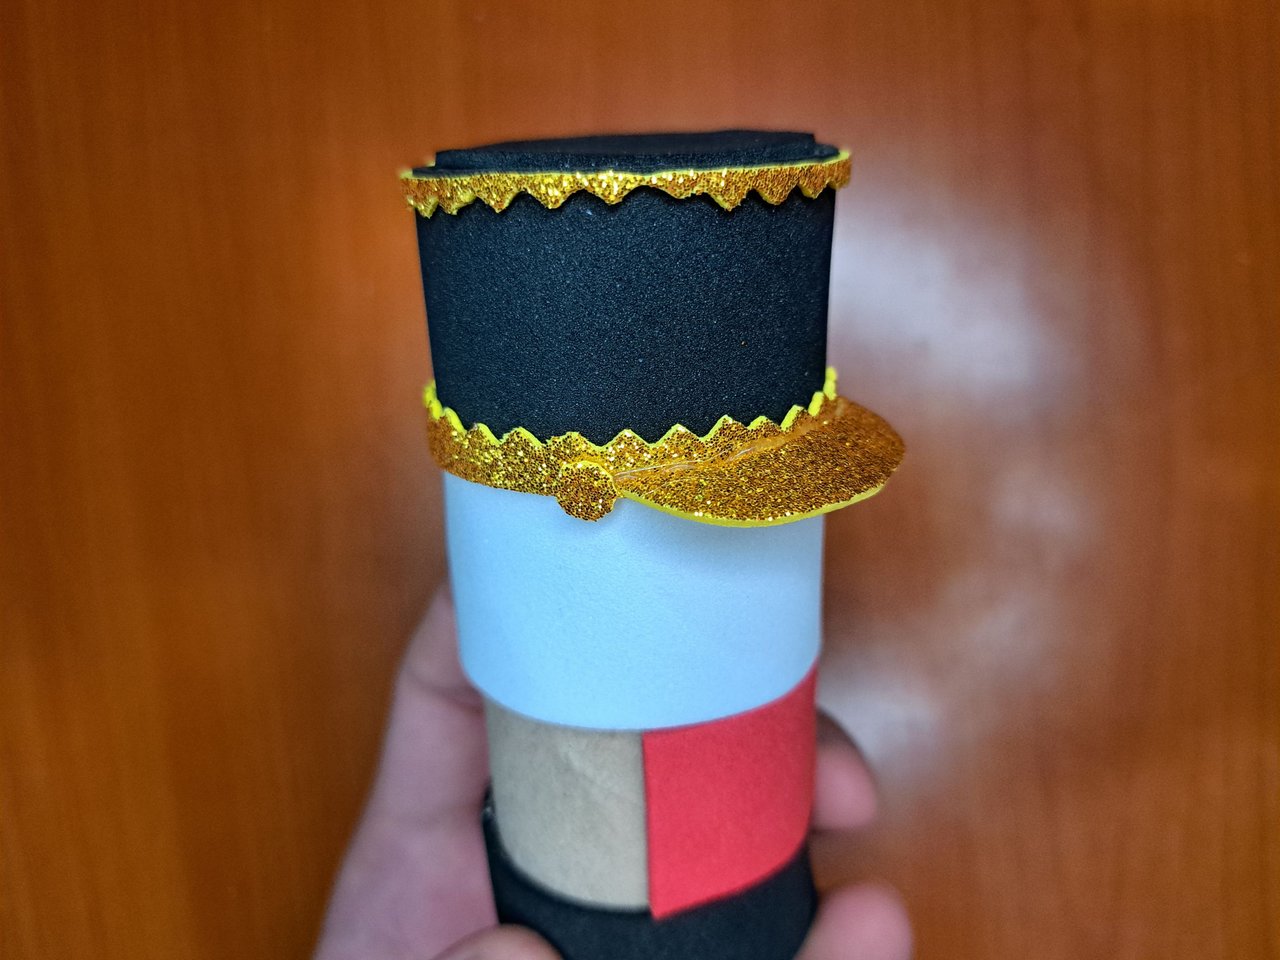
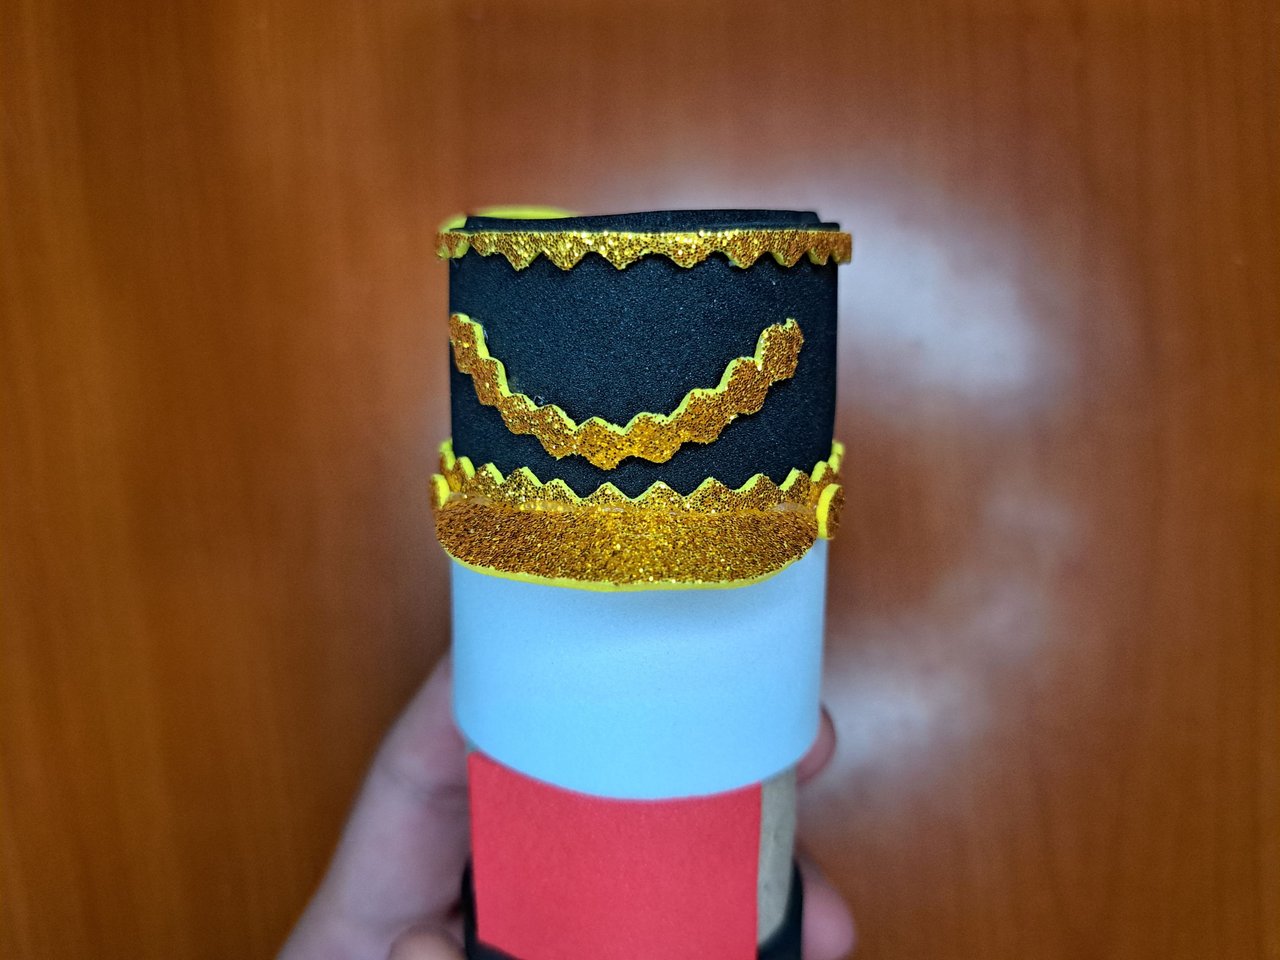
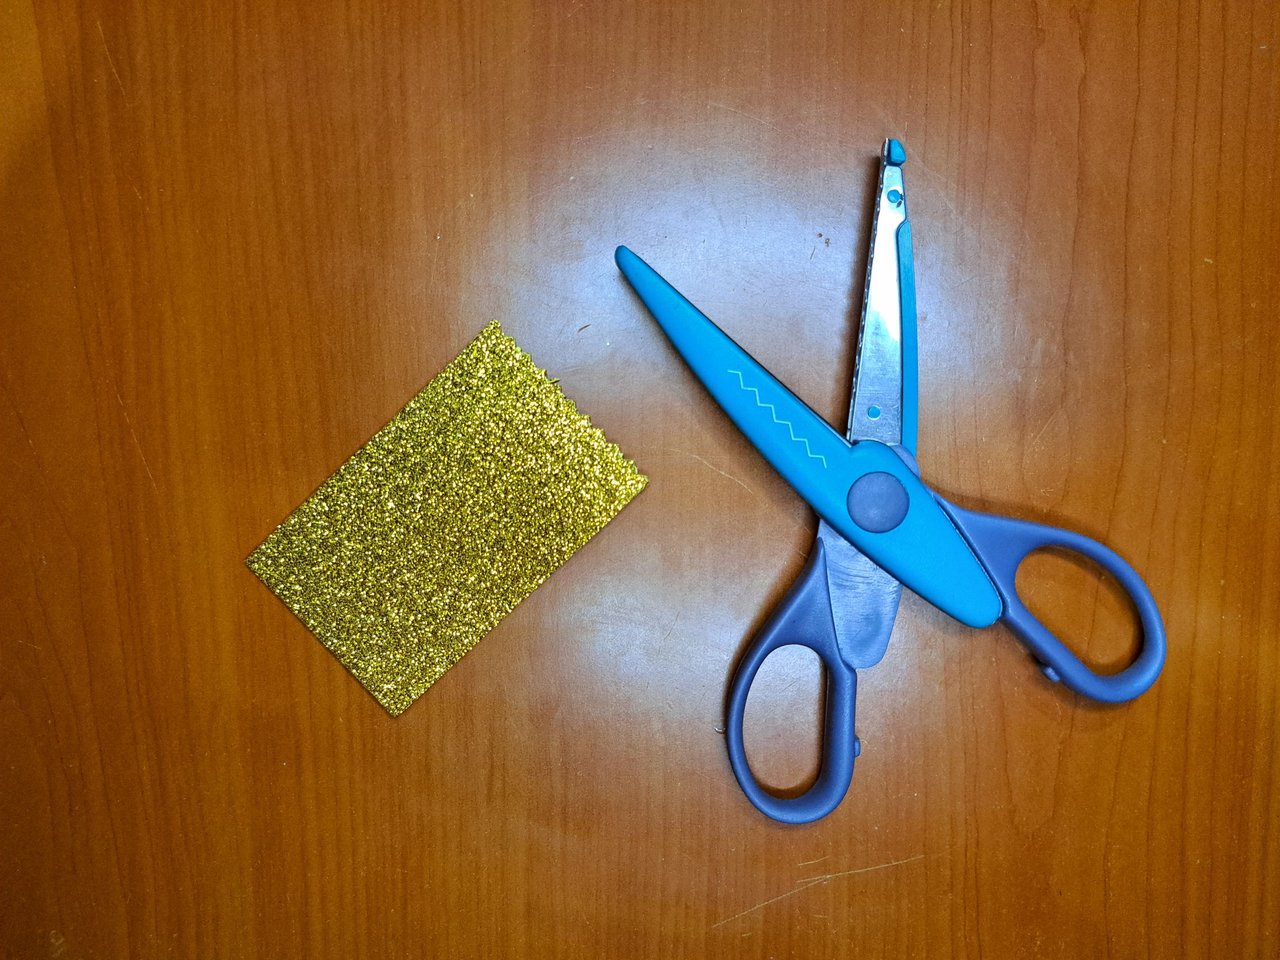
3️⃣ Using the irregularly cut rubber strip, cut out two strips of gold fomi, one wider than the other, and both 6 inches long. The thinner strip she glues to the top edge of the wider black strip, and the gold strip she glues to the bottom of the same black strip. Both strips were glued with the irregular side facing inward.
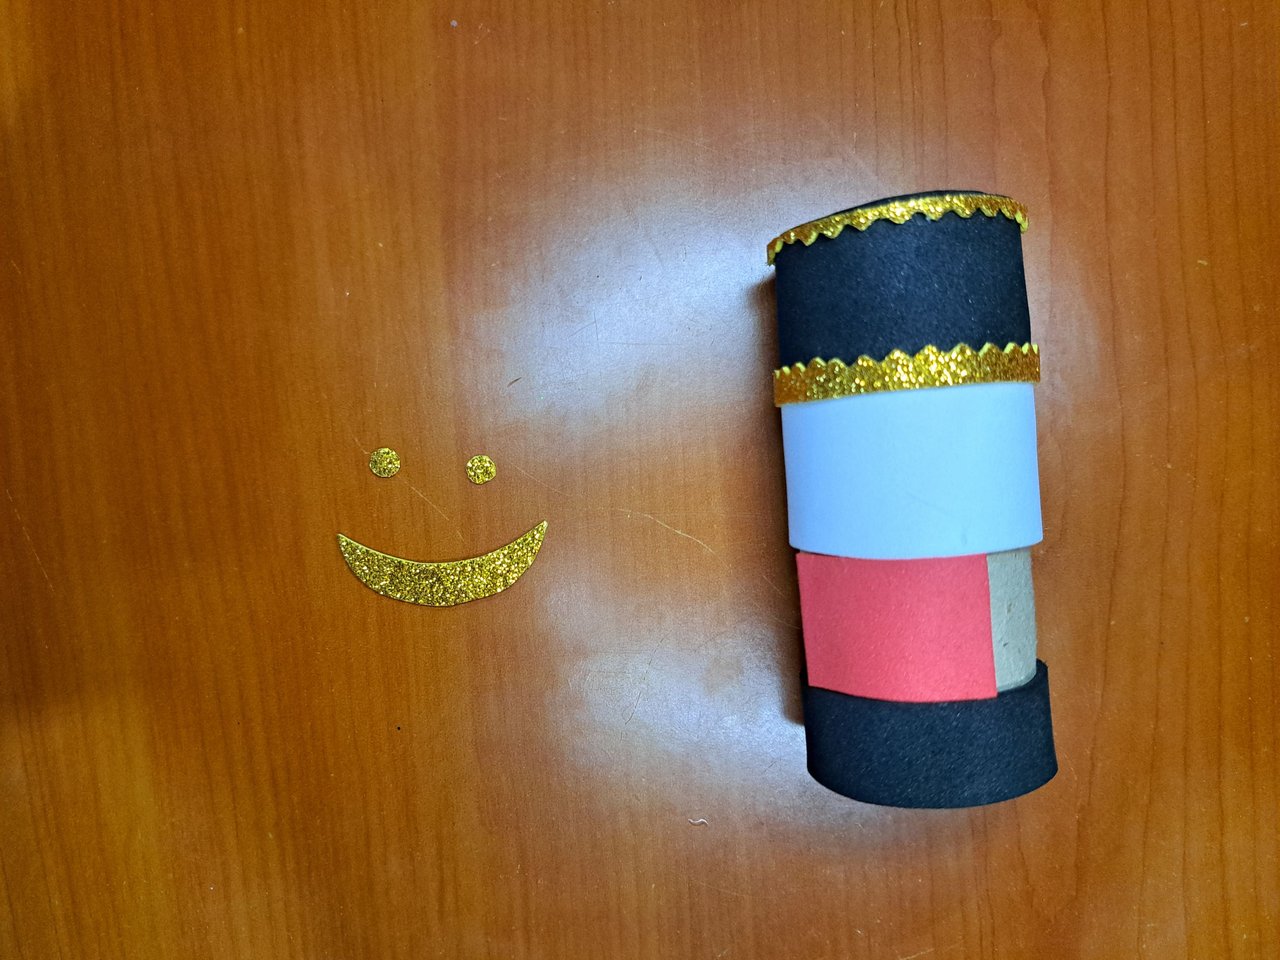
The visor of the cap I also made out of gold fomi and cut it out with the irregular cut scissors. In case you don't have such a scissors, you can cut the fomi with a straight line and then make small cuts in the shape of triangles.
Utilizando la tira de goma de corte irregular, recorta dos tiras de fomi dorado, una más ancha que la otra, y ambas de 15 cm de largo. La tira más fina la pega en el borde superior de la franja negra más ancha, y la tira dorada la pega en la parte inferior de la misma franja negra. Ambas tiras se pegaron con la parte irregular hacia adentro.
La visera del gorro también la hice de fomi dorado y la recorté con la tijera de corte irregular. En caso de no poseer una tijera de este tipo, se puede cortar el fomi con una línea recta y luego hacerle pequeños cortes en forma de triángulos.
 |  |
 |  |  |
 |  |
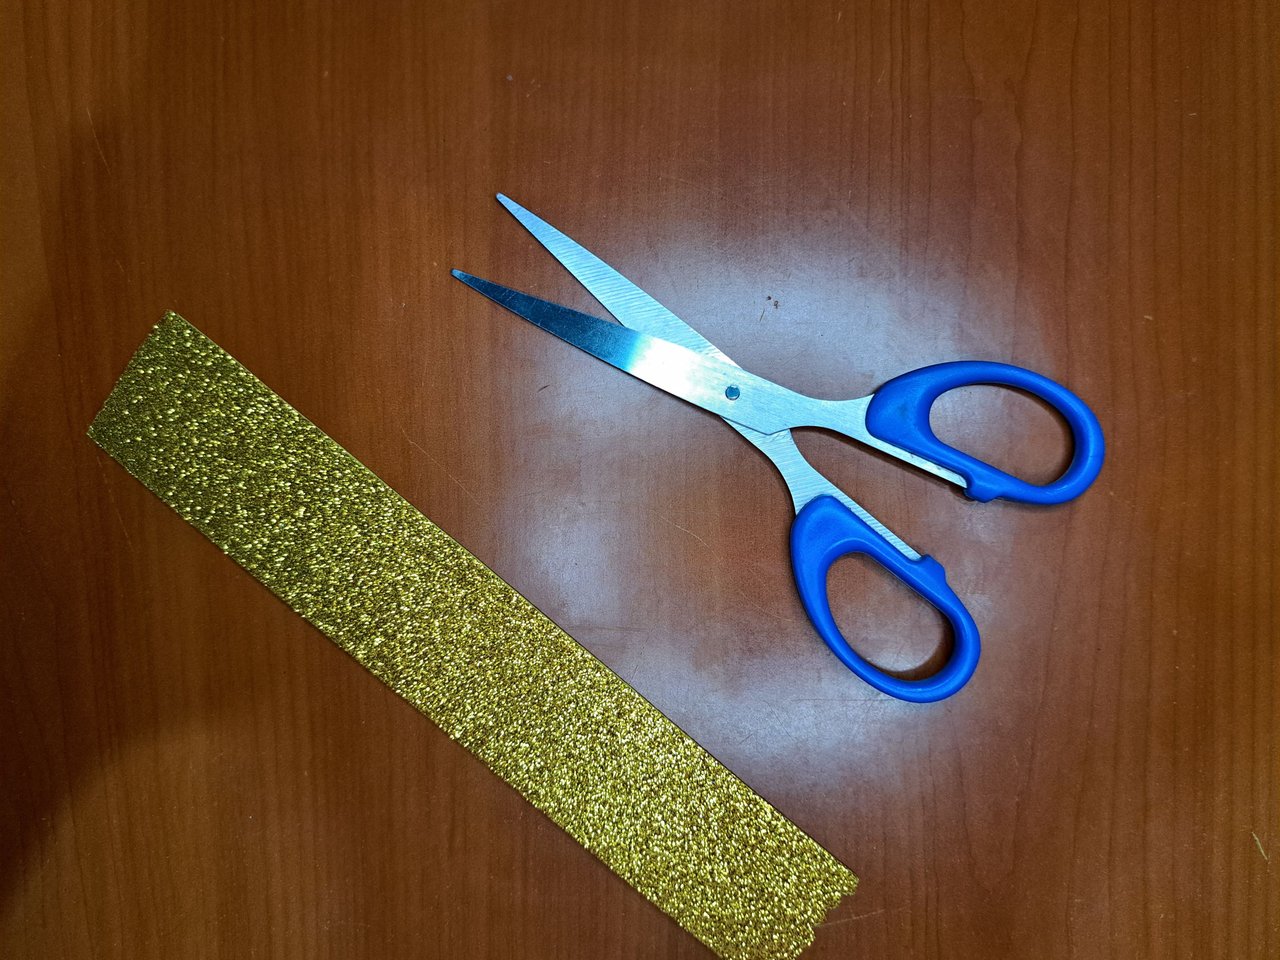
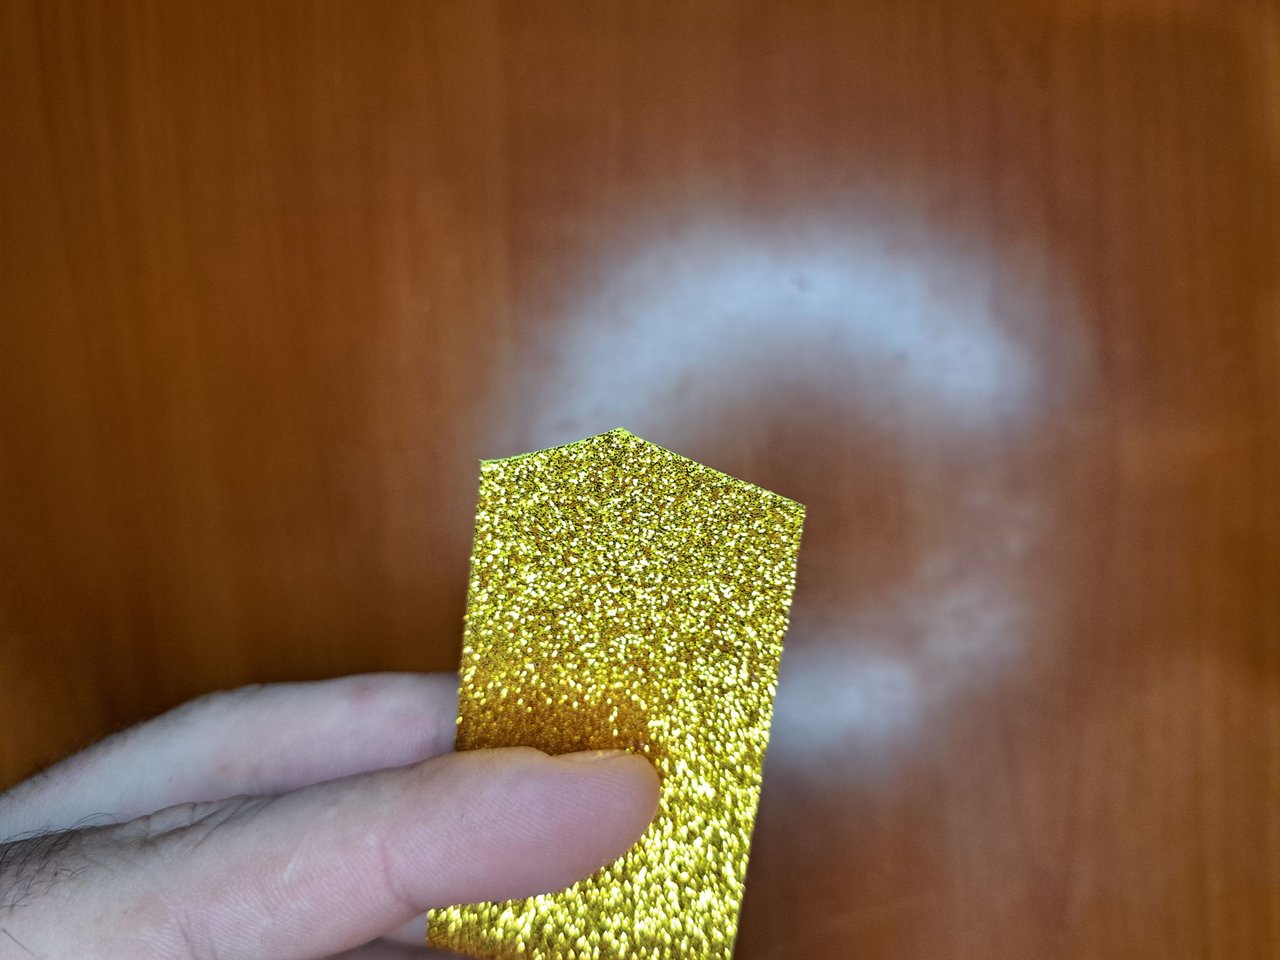
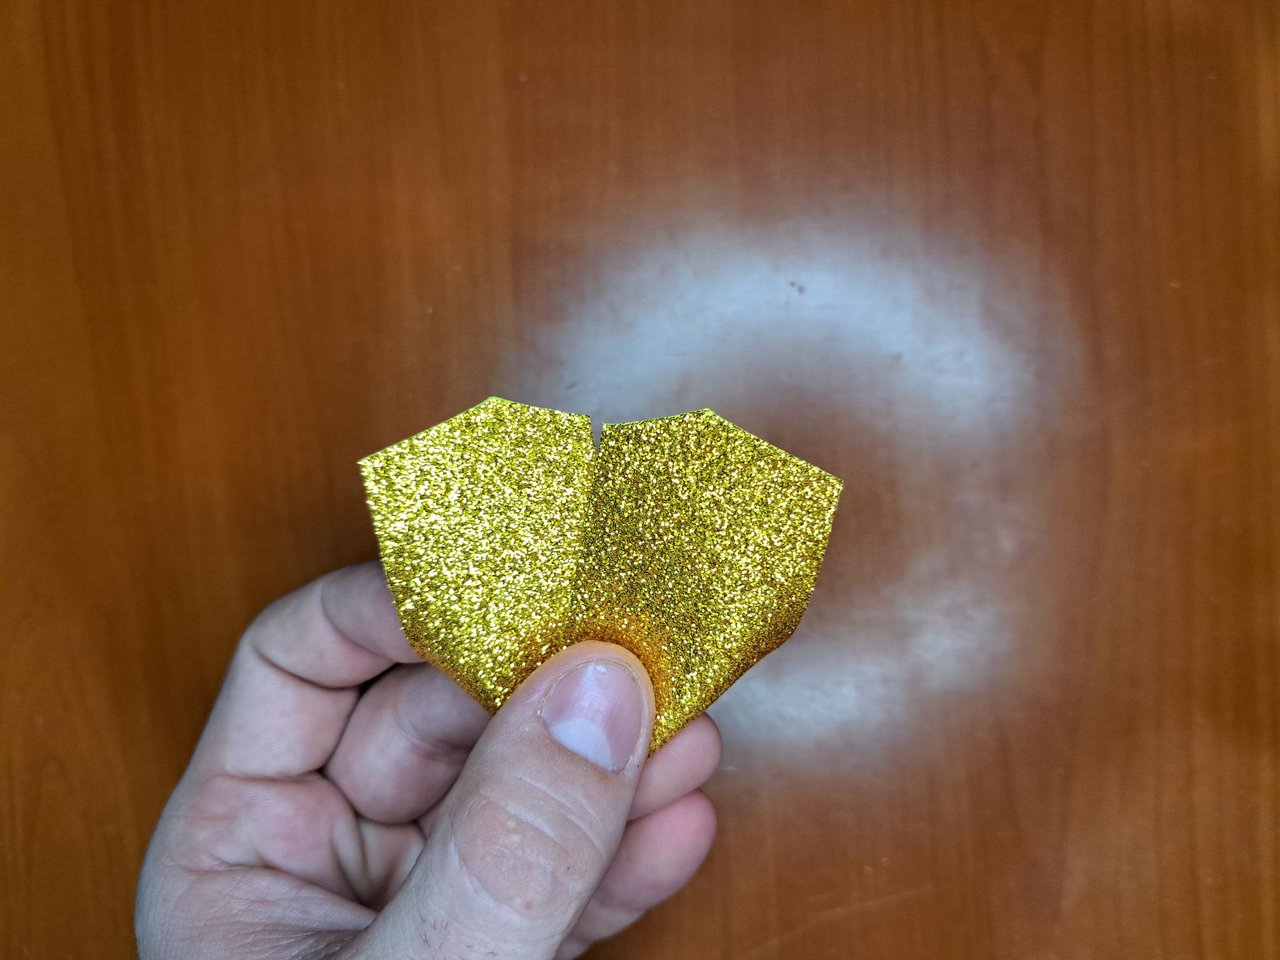
4️⃣ Next, I cut out a 12.5 cm x 4.5 cm piece of gold fomi to make the soldier's jacket. Before gluing the jacket, I cut out the ends in the shape of an arrow, but with unequal corners, the longest being the top.
Seguidamente, recorte una pieza de fomi dorado de 12,5 cm x 4,5 cm para realizar la chaqueta del soldado. Antes de pegar la chaqueta, recorte los extremos en forma de flecha, pero con las esquinas desiguales, siendo las más largas la parte de arriba.
 |  |
 | 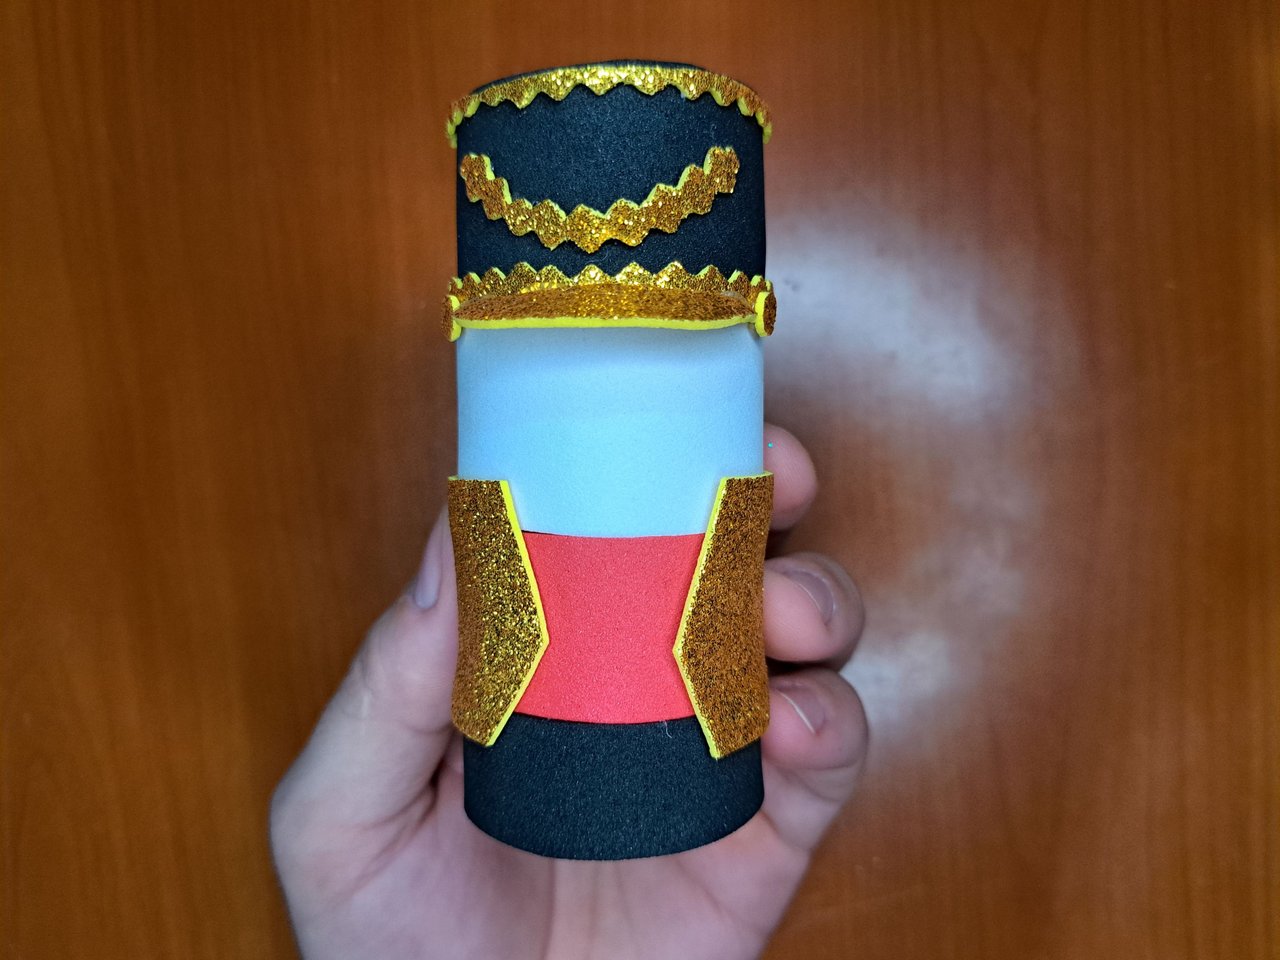 |
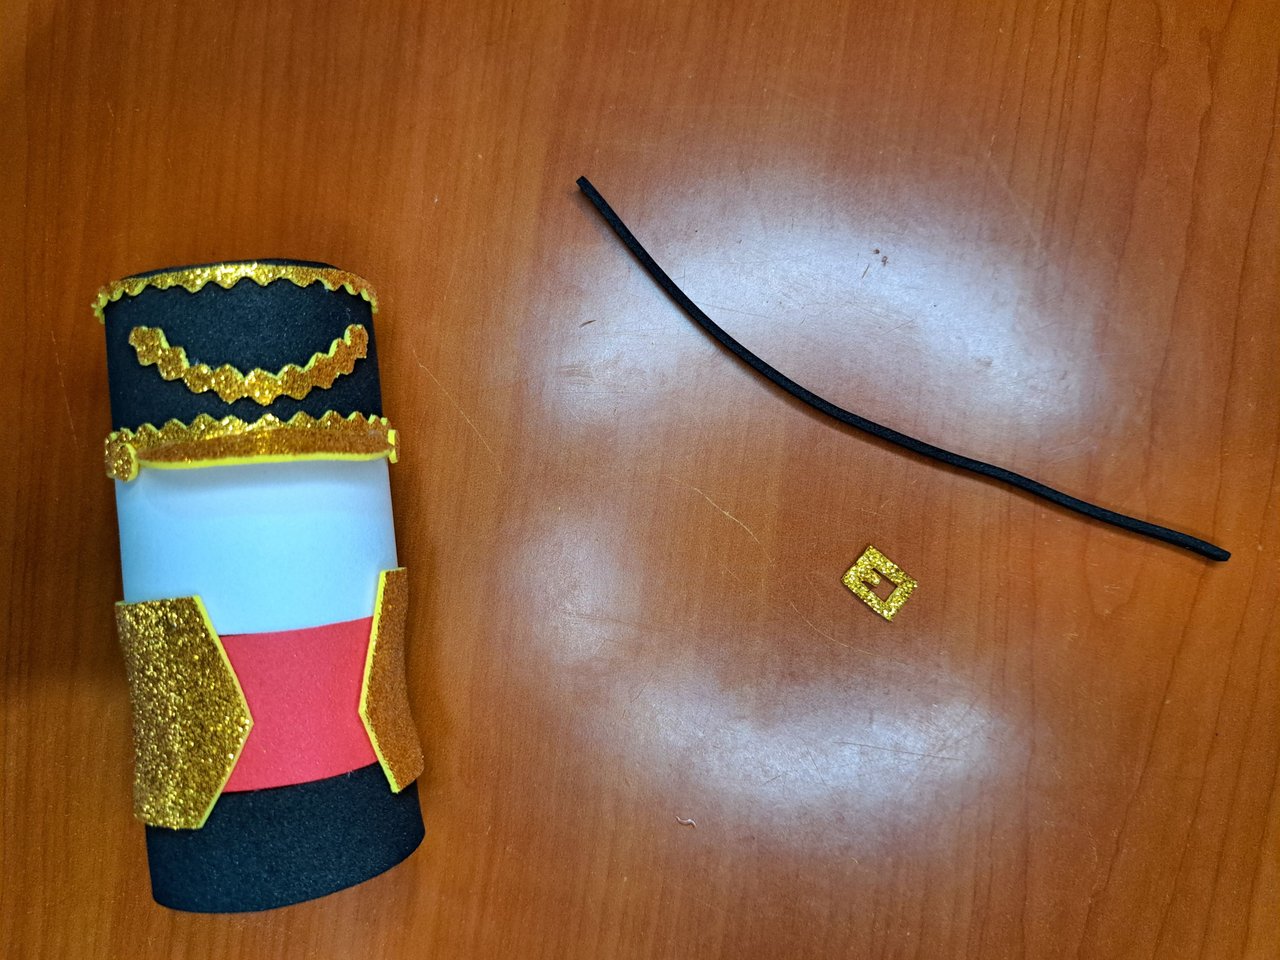
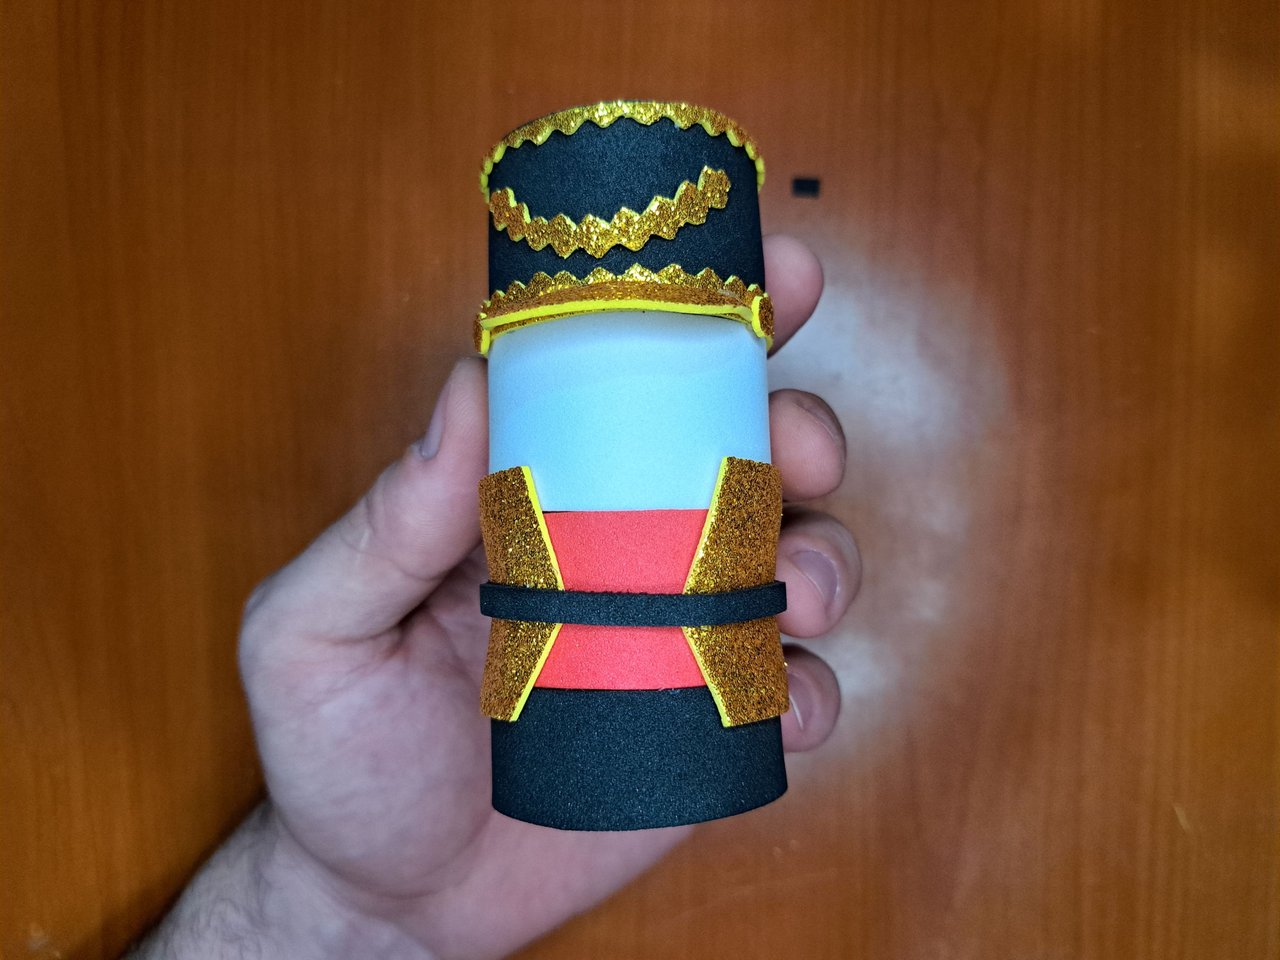
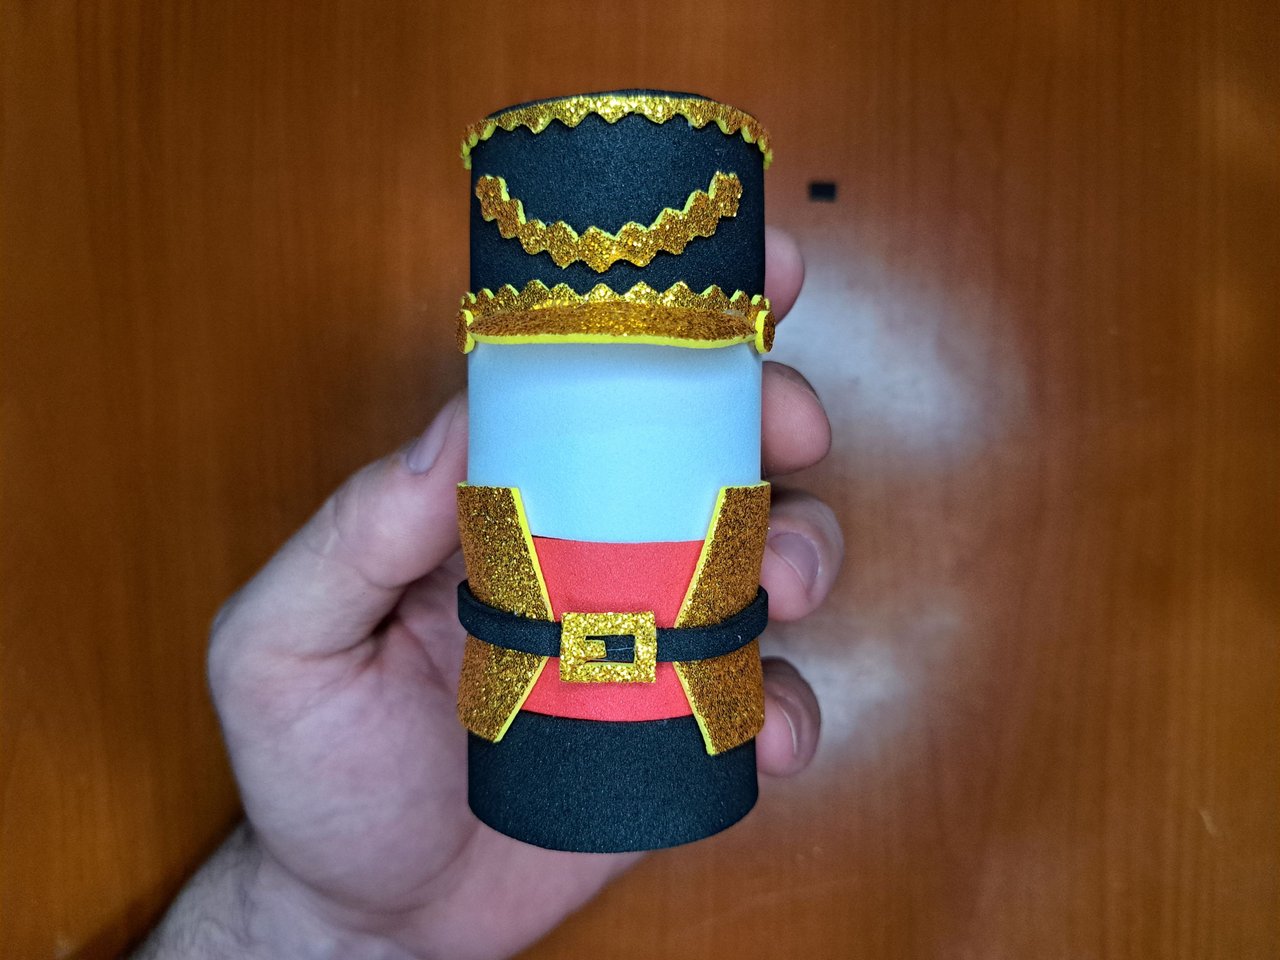
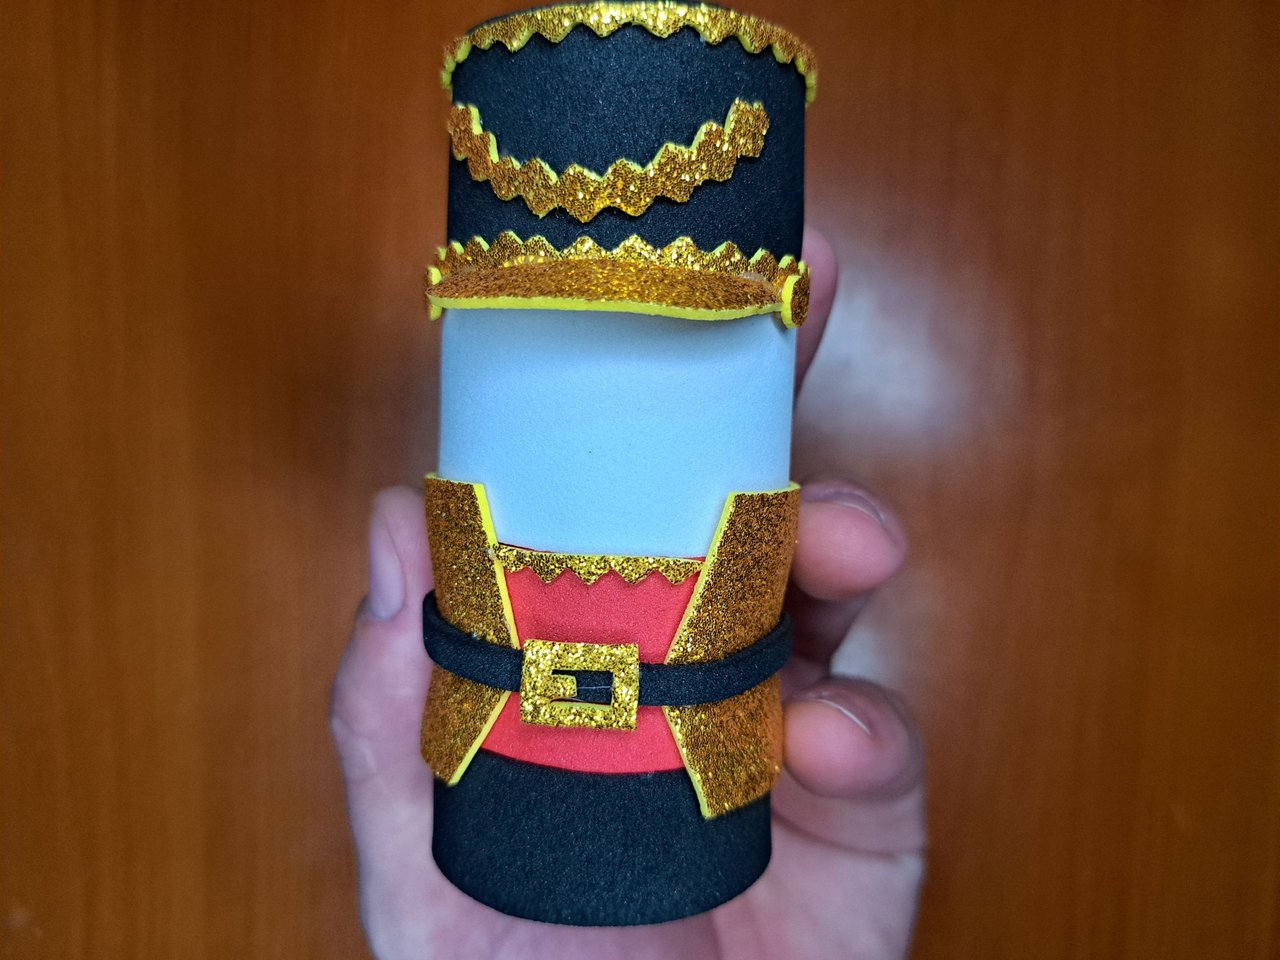
5️⃣ I also cut out a 15 cm x 0.5 cm strip of black fomi, which I glued around the soldier's waist, and on the front I glued a buckle to the belt. Additionally, I added an ornament with gold fomi on the front of the cap, above the visor.
También recorté una tira de fomi de color negro de 15 cm x 0,5 cm, la cual pegué alrededor de la cintura del soldado, y en la parte frontal le pegué una hebilla al cinturón. Adicionalmente, agregué un adorno con fomi dorada en la parte frontal de la gorra, encima de la visera.
 |  |
 |  |
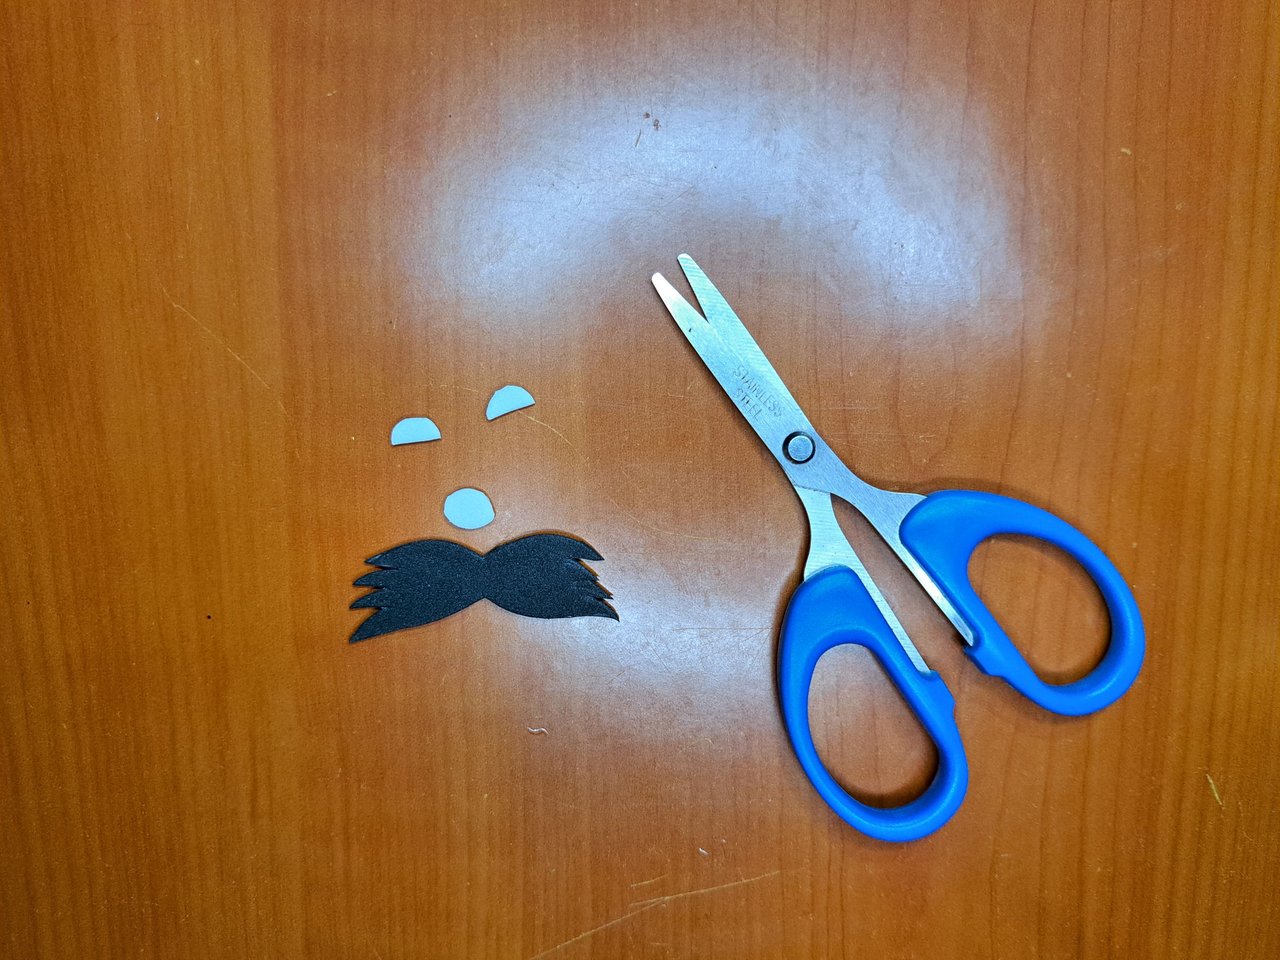
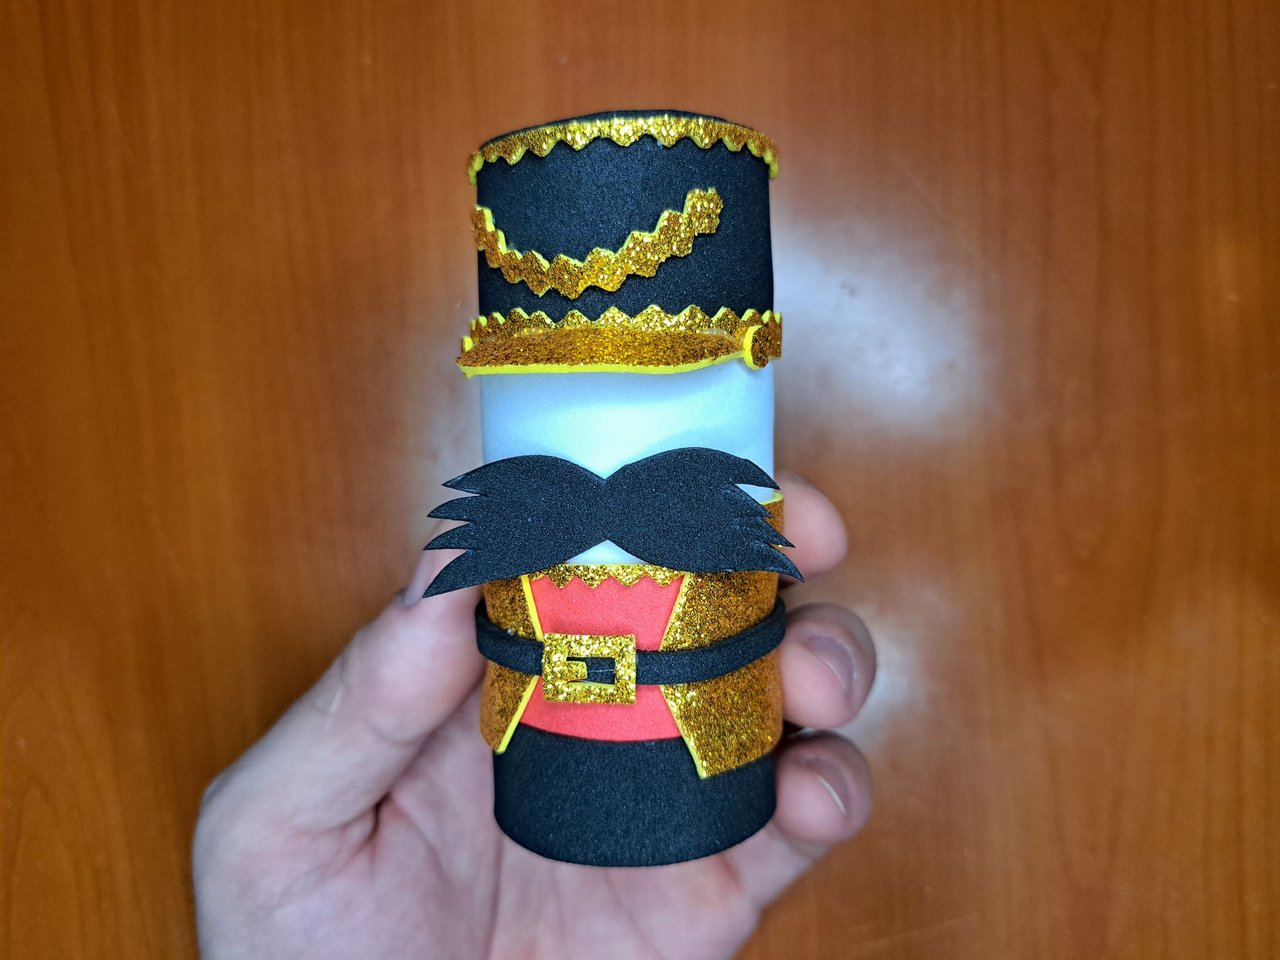
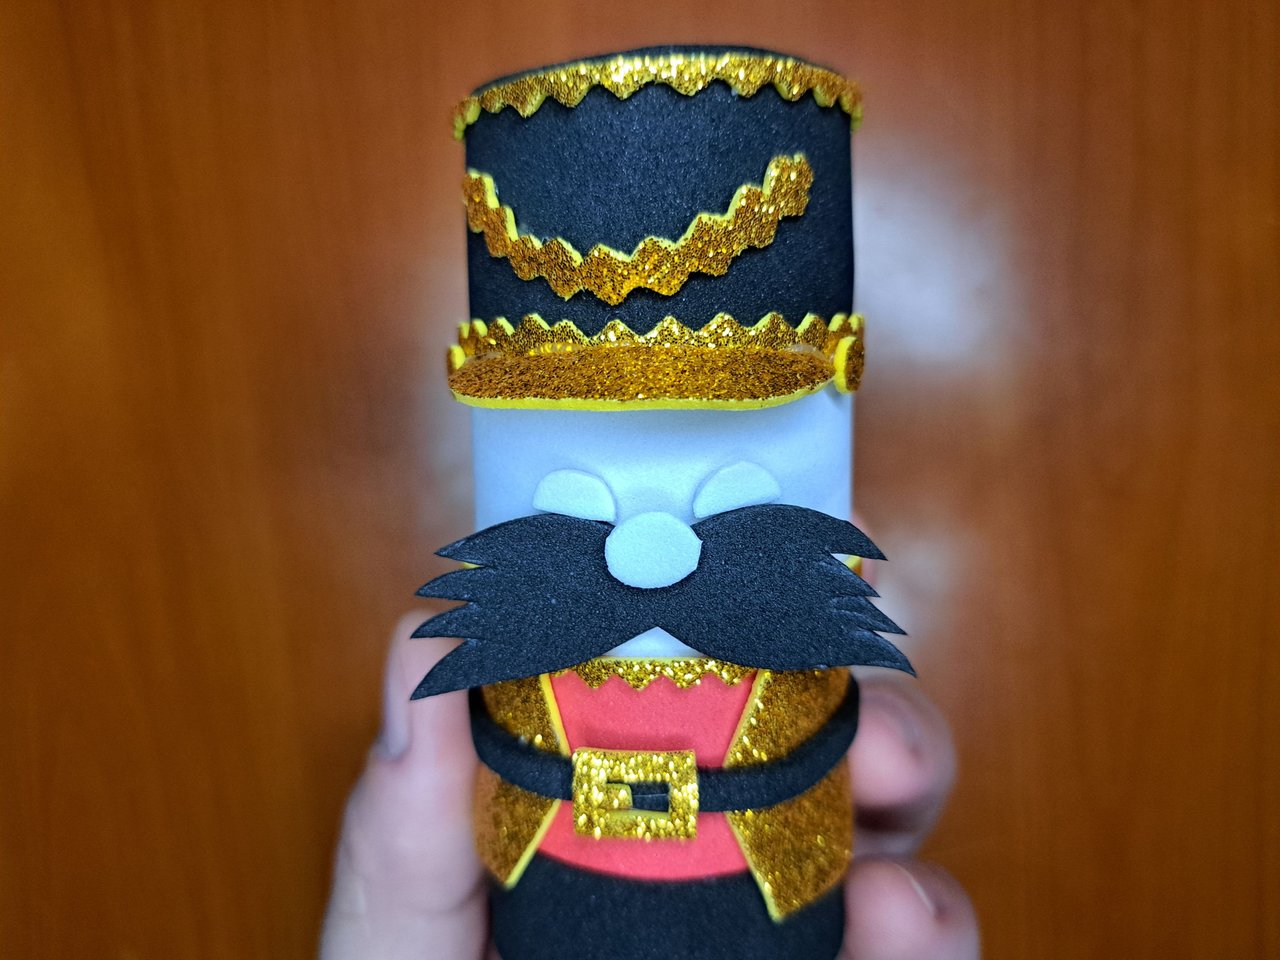
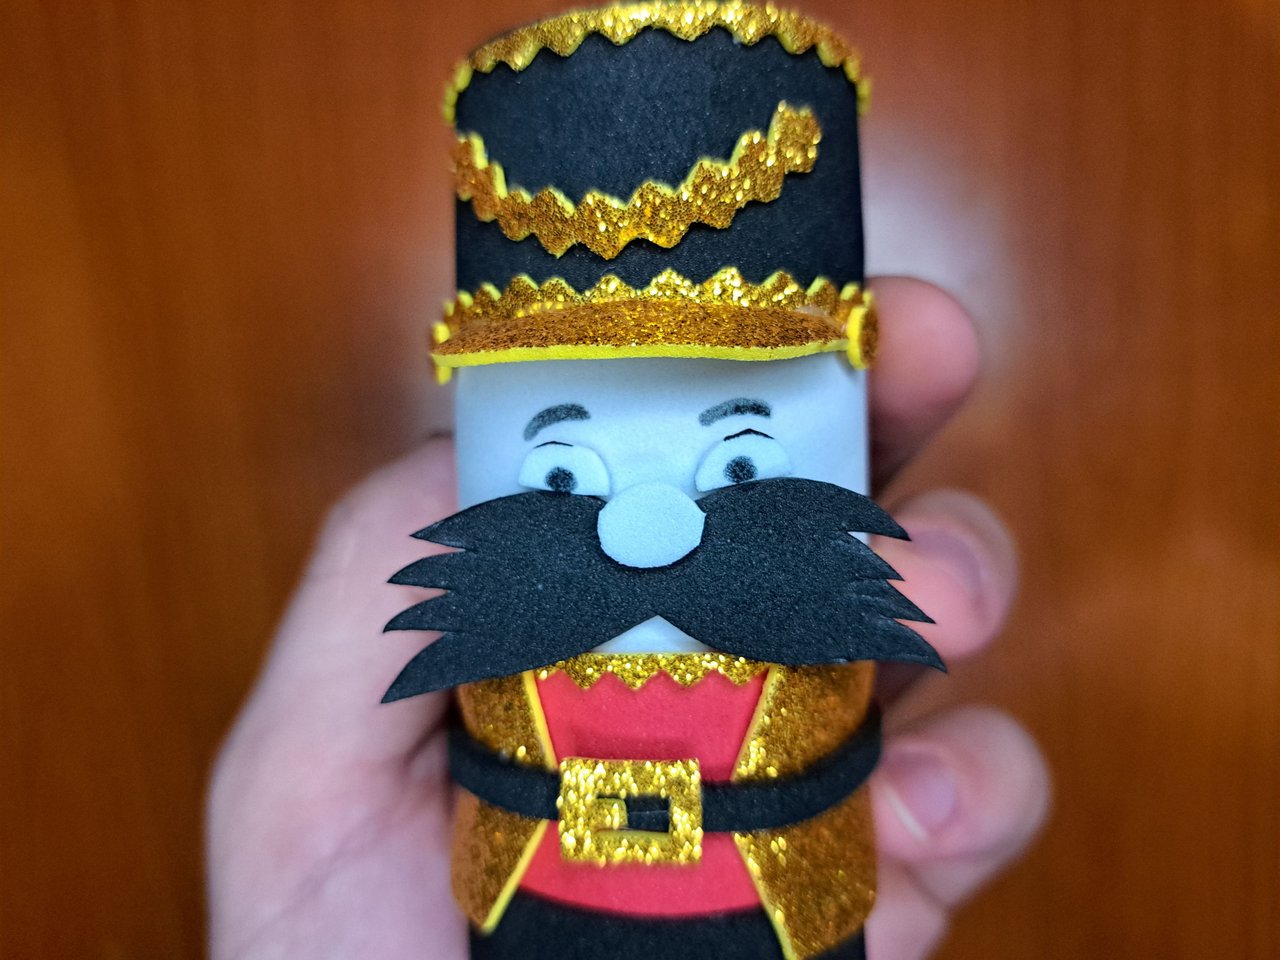
6️⃣ For the face, use a scissors and cut out the eyes and nose in white fomi, as well as a huge mustache in black fomi. I glued the mustache, eyes and nose in place, and with a marker draw the eyebrows and pupils of the eyes.
Para el rostro, utilice una tijera y recorte los ojos y la nariz en fomi blanco, así como un enorme bigote en fomi negro. Pegué el bigote, los ojos y la nariz en su lugar, y con un marcador dibuje las cejas y las pupilas de los ojos.
 |  |
 |  |
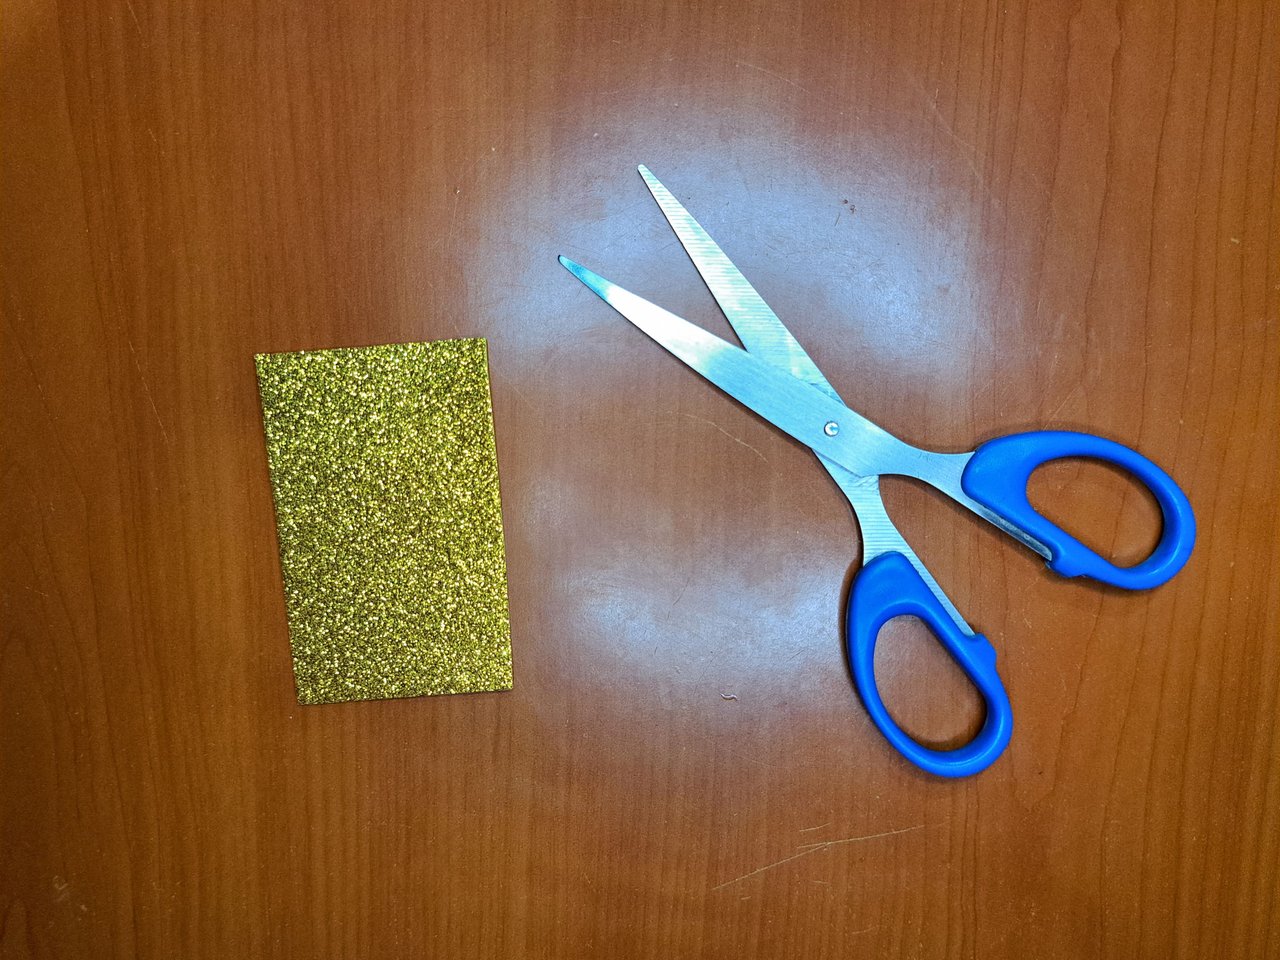
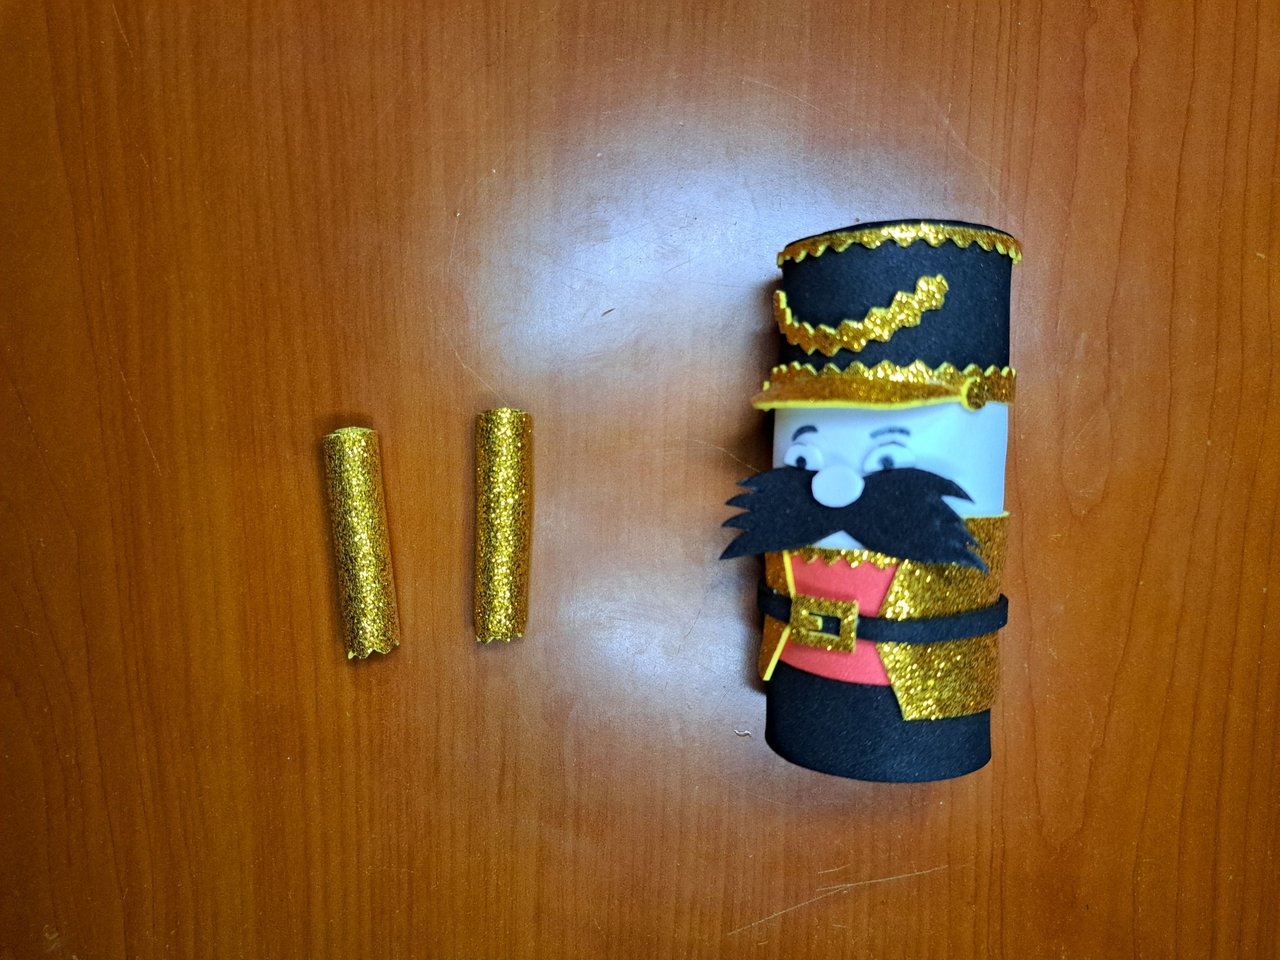
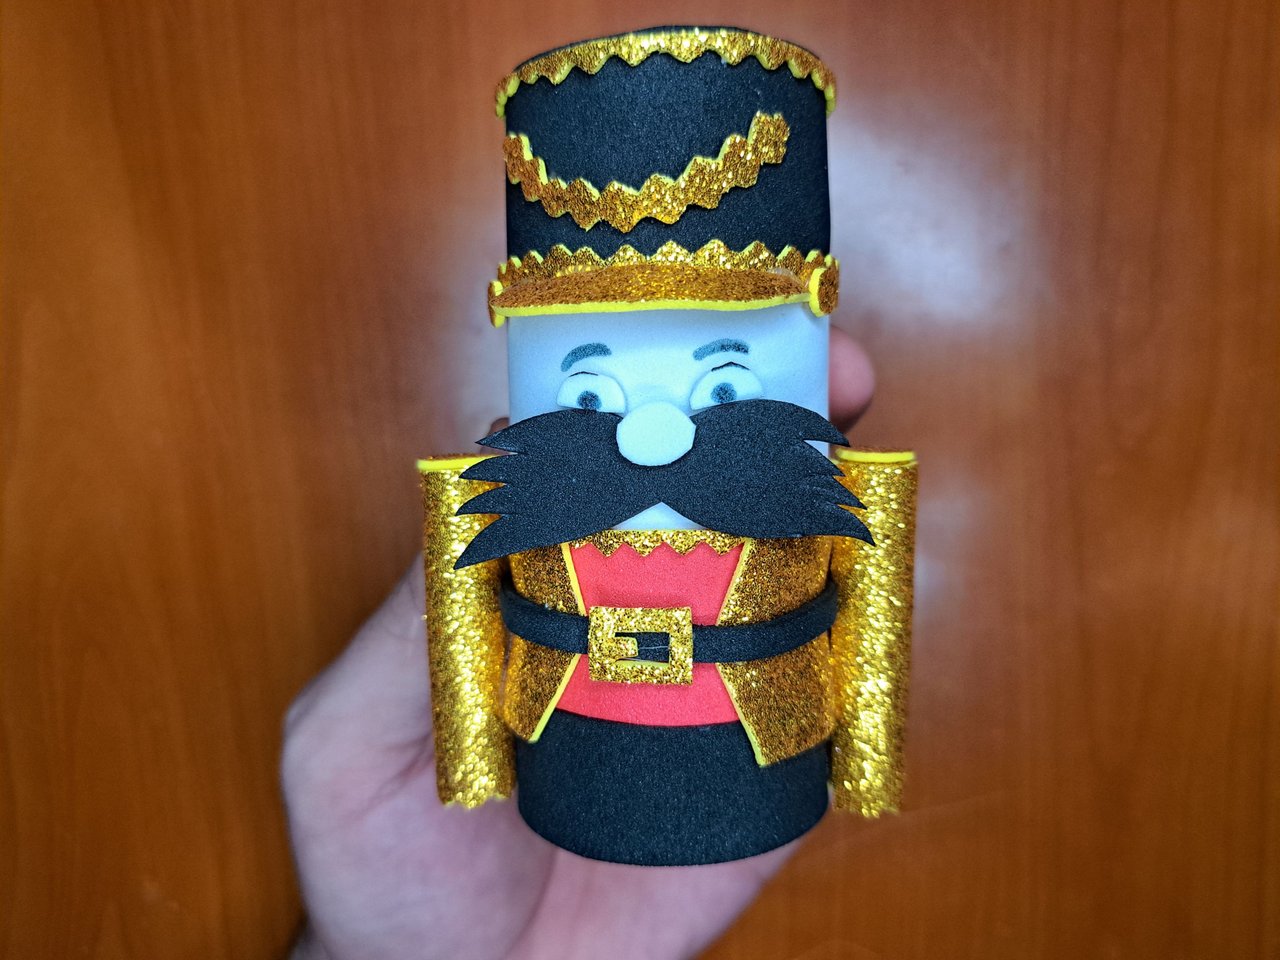
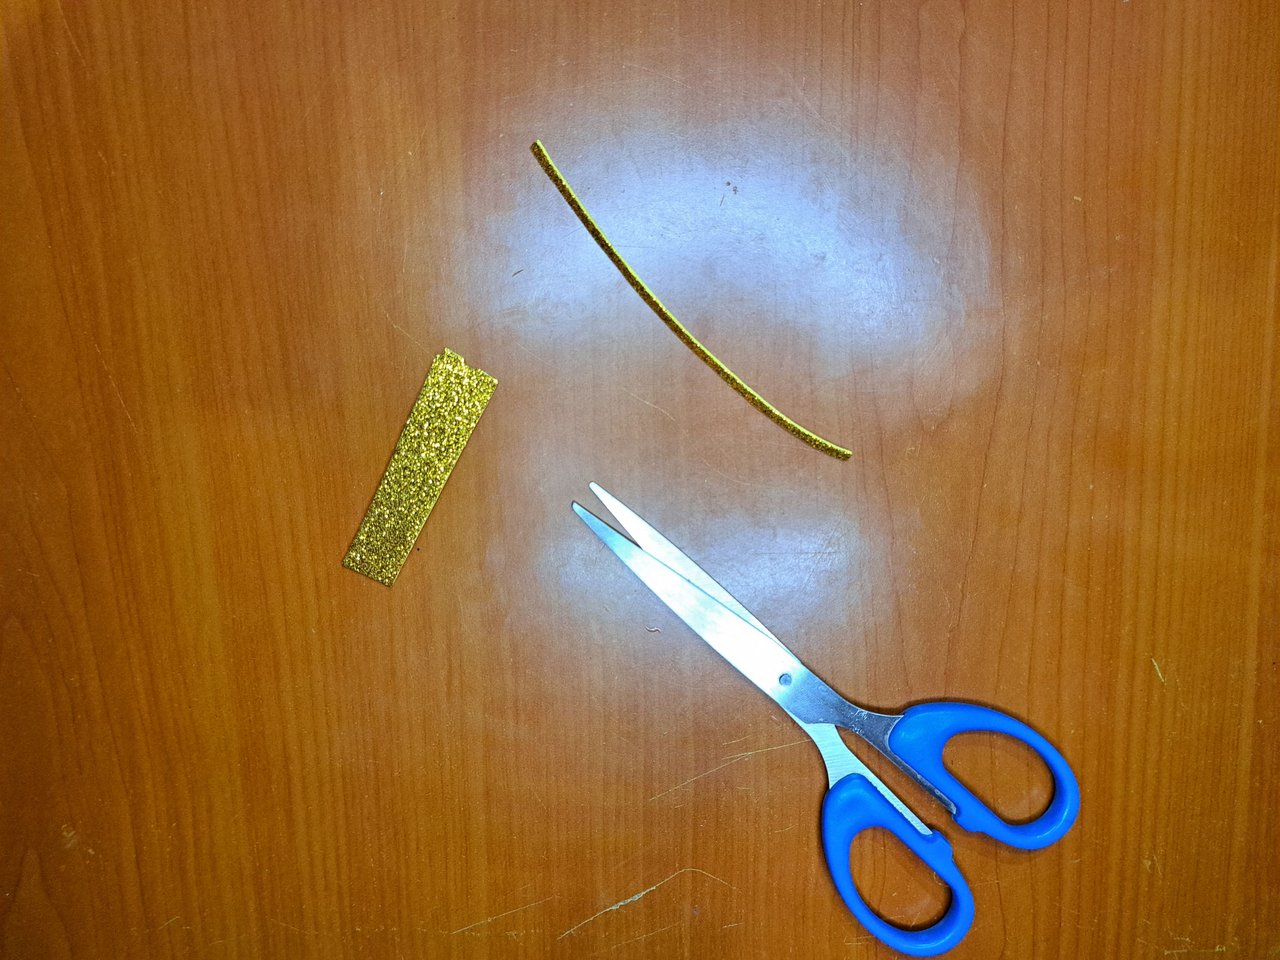
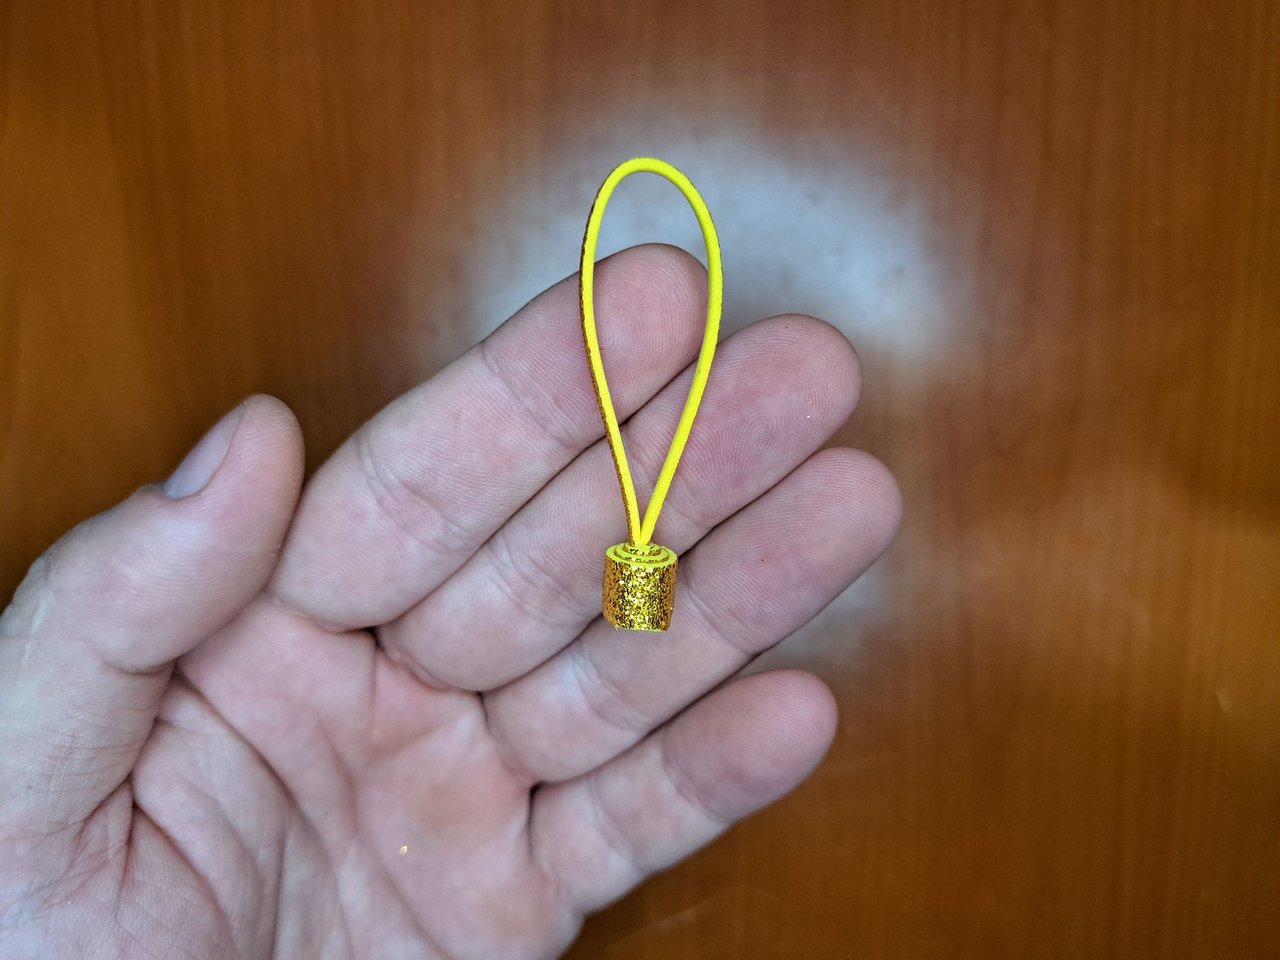
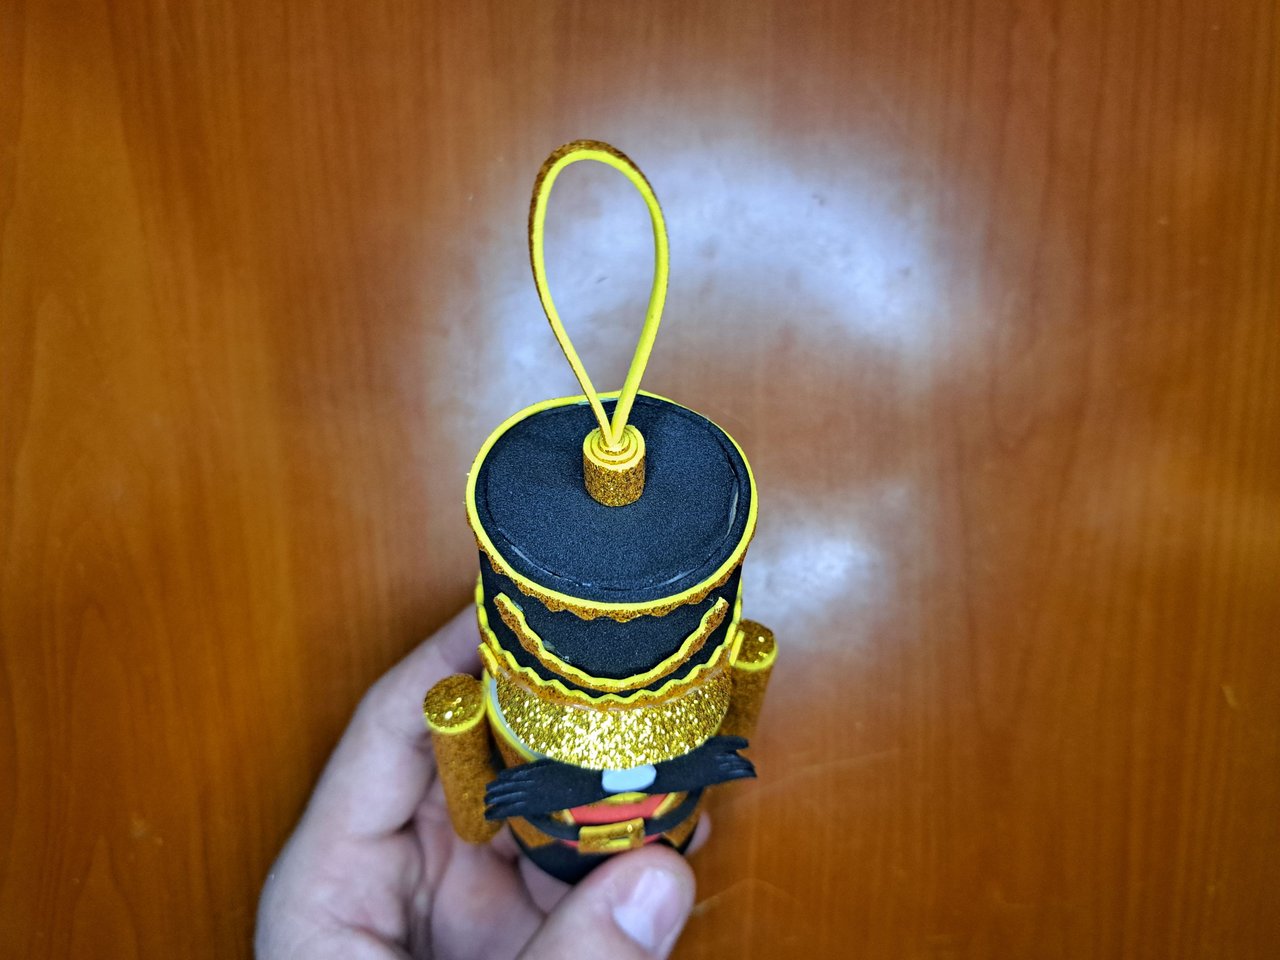
7️⃣ To finish, I cut out two pieces of golden fomi measuring 8 cm x 5.5 cm, to which I made a wavy edge and then wrapped them lengthwise and glued them to the side of the soldier, thus forming his arms. I also used a strip of fomi, which, by joining its ends and gluing it inside a small piece of fomi, I managed to create a hook for the ornament, which I glued on top of it.
Para finalizar, recorté dos piezas de fomi dorado de 8 cm x 5,5 cm, a las cuales les hice un borde ondulado para luego envolverlas a lo largo y pegarlas al costado del soldado, formando así sus brazos. También utilicé una tira de fomi, la cual, al unir sus puntas y pegarla dentro de una pieza de fomi pequeña, logré crear un enganche para el adorno, el cual pegué en la parte superior de este.
 |  |
 |  |  |
 |  |
Finished Work // Trabajo Terminado
Once again, we come to the end of the tutorial. I hope you liked it and found it useful. I, for one, feel more relaxed, because from now on I will be able to sleep peacefully, since Sergeant Whiskers told me that he was in charge of taking care of my Christmas decorations. And what do you think? Will Sergeant Whiskers be able to protect my Christmas tree? Let me know what you think in the comments.
Una vez más, llegamos al final del tutorial. Espero que les haya gustado y les fuera de utilidad. Yo, por mi parte, me siento más tranquilo, pues a partir de ahora podré dormir tranquilo, ya que el Sargento Bigotes me comentó que él se encargaba de cuidar de mis adornos navideños. ¿Y ustedes qué creen? ¿Podrá el sargento Bigotes proteger mi árbol de Navidad? Déjenme sus opiniones en los comentarios.
 |  |
 |  |  |
 |  |

Thank you very much for reading my post. If you liked it, please leave a comment and consider following me so you don't miss my next posts. I'd love to know your opinion and your thoughts about the topic I discussed in this post, see you in the next one!

Credits and Resources // Créditos y Recursos
Cover page created in Canva
Translated by DeepL
Images captured with my Samsung Galaxy A53


Posted Using InLeo Alpha
Cover page created in Canva
Translated by DeepL
Images captured with my Samsung Galaxy A53


Posted Using InLeo Alpha
Qué belloooooooooooooo! Está tan perfecto! Muchos de ellos decorarian un arbol y quedaria demasiado lindo y original.
Graciassss. Ya quisiera yo tener todo un regimiento de soldaditos decorando mi árbol.
Estoy encantada con lo hermoso de este sargento bigotes, ahora estando en tu árbol, ya nadie podrá querer llevarse ninguno de los preciosos adornos del árbol.
Muchas felicidades, un trabajo hecho con mucho amor y dedicación indudablemente.
Muchísimas gracias amiga. Espero que el Sargento Bigotes cuide muy bien de mis decoraciones navideñas.
😄Si amigo 🤗
Has hecho un gran trabajo @edeyglezsosa, el sargento bigotes está más que listo para cumplir su misión; cuidar los adornos del árbol .
Saludos!
Espero que así sea. Gracias por leerme y comentar.
Excelente este Sargento Protector, además me encanta su tamaño, ya que está en tendencia los adornos con estas escalas más grandes.
Muchas gracias. Se puede jugar bastante con las escalas en dependencia del tamaño del árbol de navidad. Saludos.
Excelente trabajo estimado Edey, como siempre sorprendiéndonos con tus estupendas manualidades, sobre todo en como detallas cada uno de los pasos
Gracias amigo. Con esta manualidad quise experimentar un poco con la creación de un personaje que también fuese una decoración.